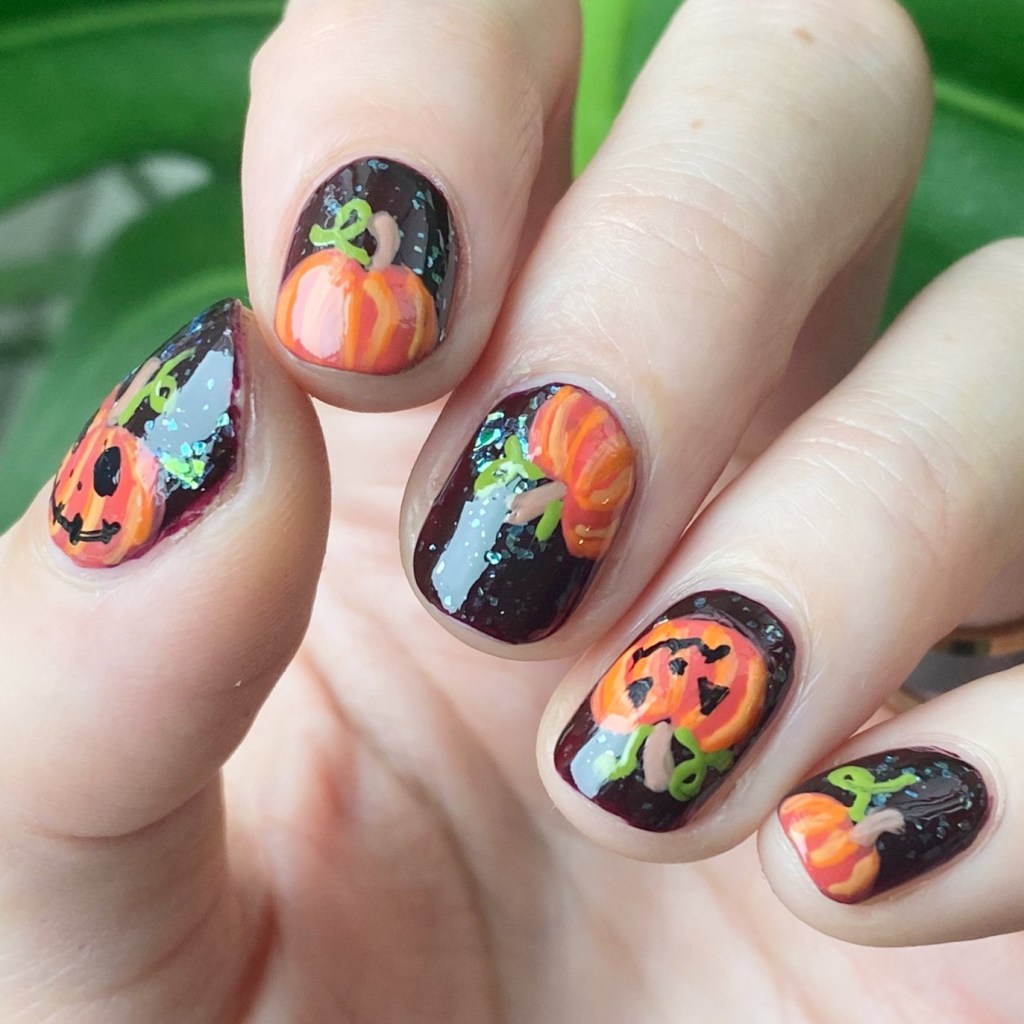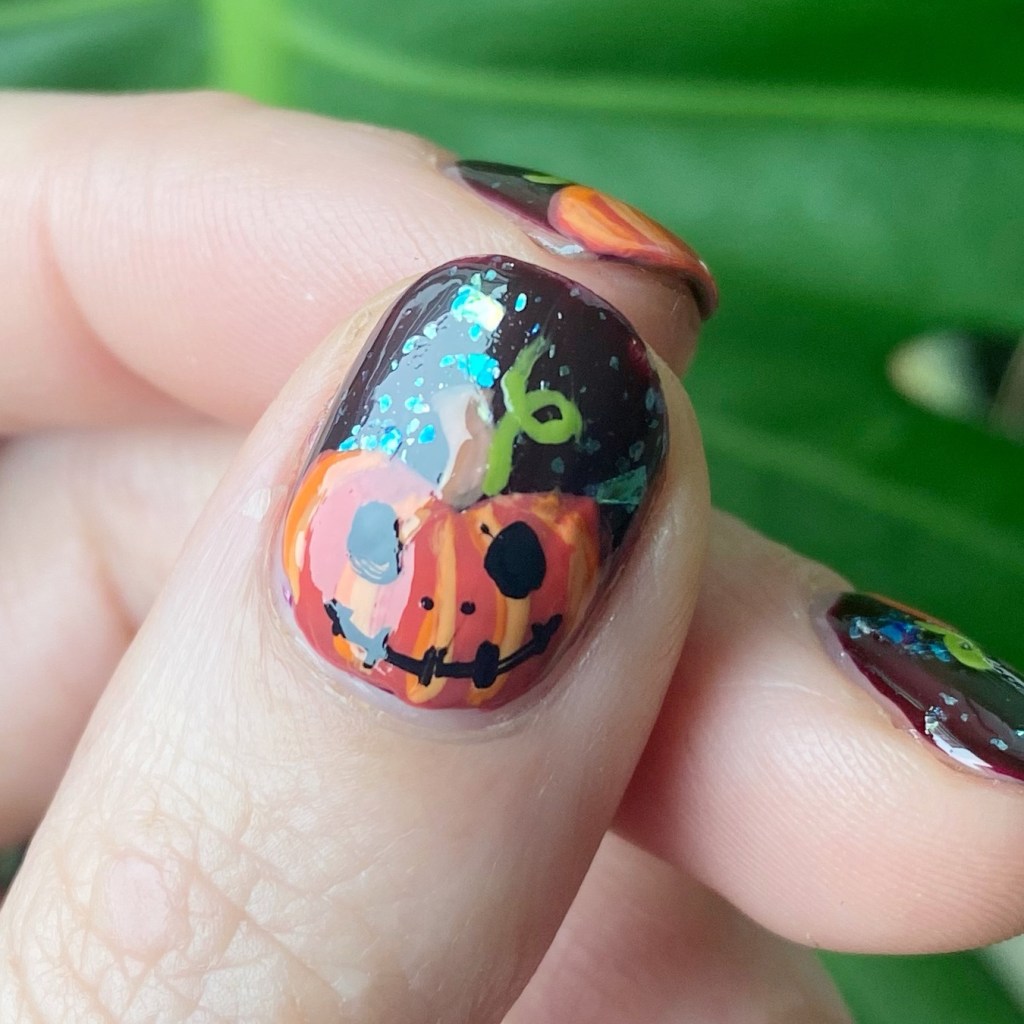
Hand-painted Jack O Lanterns 🎃✨

Hello lovelies & happy Tuesday.

I know my posting schedule is all over the place, but between life, family, sickness & work, I’m just trying to make sure this blog gets my attention — even if it’s not on the same schedule I have been posting! Especially this month, my favourite month. I have been busy busy busy on Pinterest saving a lot of Halloween nail art ideas, & then enviably spending a lot of time narrowing down which one I want to do first.

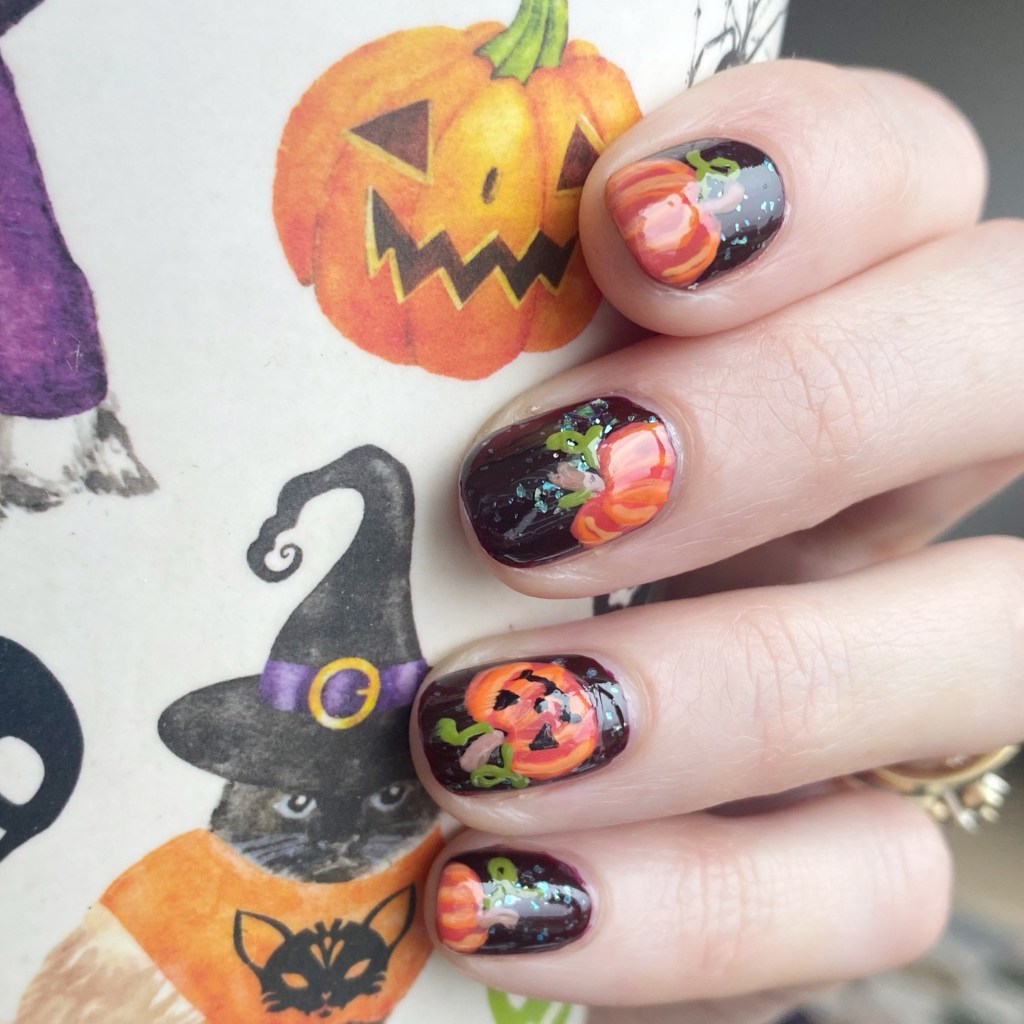
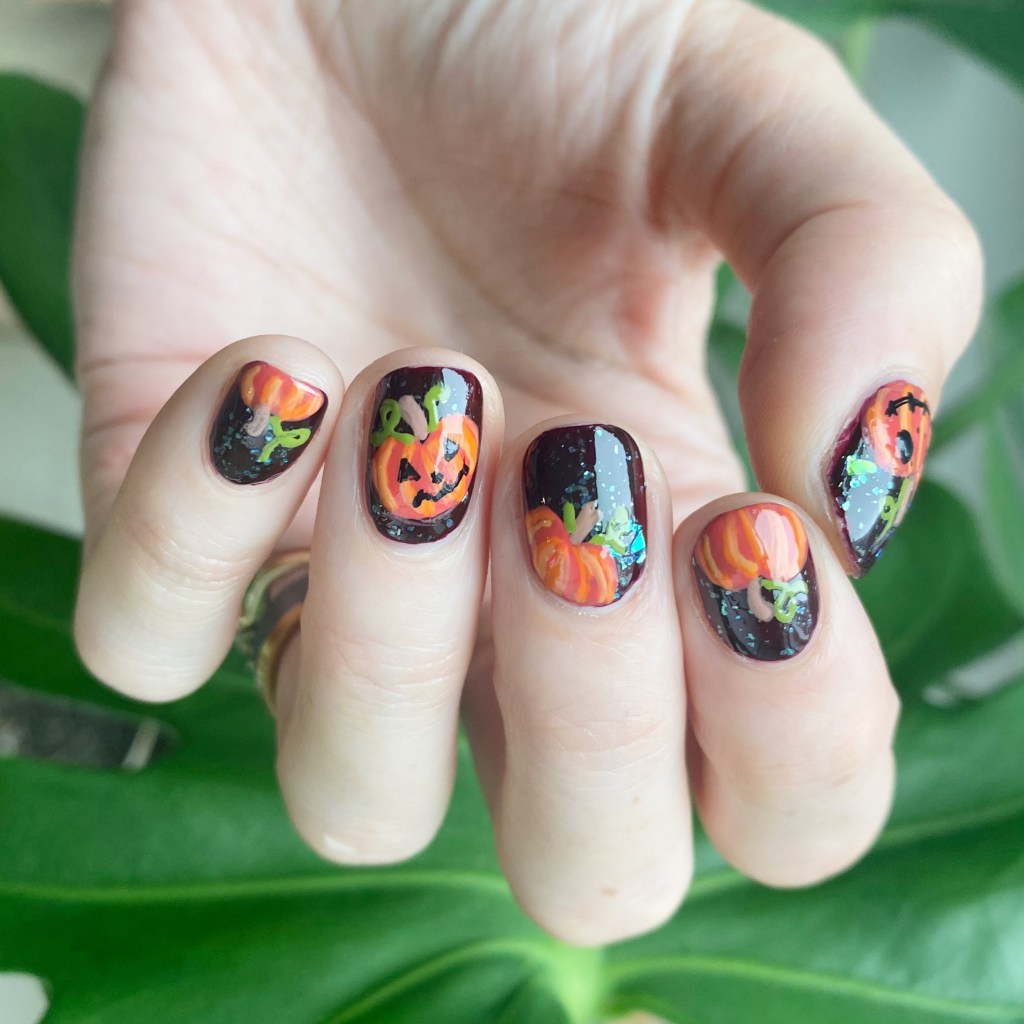
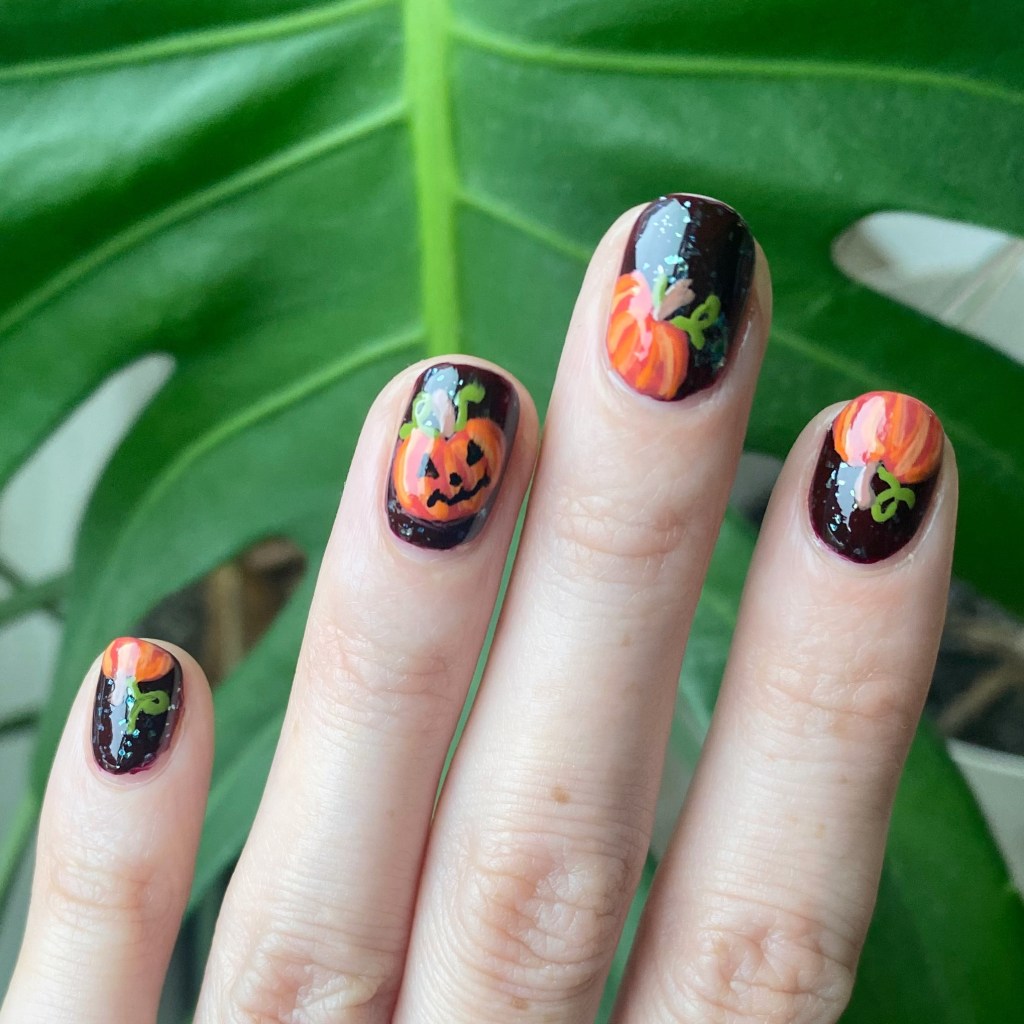
Naturally, I decided to start with pumpkins. I’m a basic bitch who loves her pumpkin spice, so it just felt very fitting.
The polishes I used for this manicure are: 

  • Base Coat: Sally Hansen Maximum Growth Base Coat 
  • Top Coat: Sinful Colors Power Paint Top Coat + Sally Hansen Insta-Dri Top Coat
  • OPI I Sing In Color
  • Essie Sparkle On Top
  • Essie Handmade With Love
  • Essie Fall for NYC
  • Essie Willow in the Wind
  • OPI Barefoot in Barcelona
  • Essie Cliffhanger
  • NailStuff Essentials Raven
  • NailStuff 7mm Liner Brush

I created my base with Sparkle on Top over I Sing In Color, & then sat back & tried to think what would look best over top. But pumpkins/jack-o-lanterns just felt like the obvious choice. I painted my pumpkins first, & then decided a few of them needed faces, so added them after the fact.
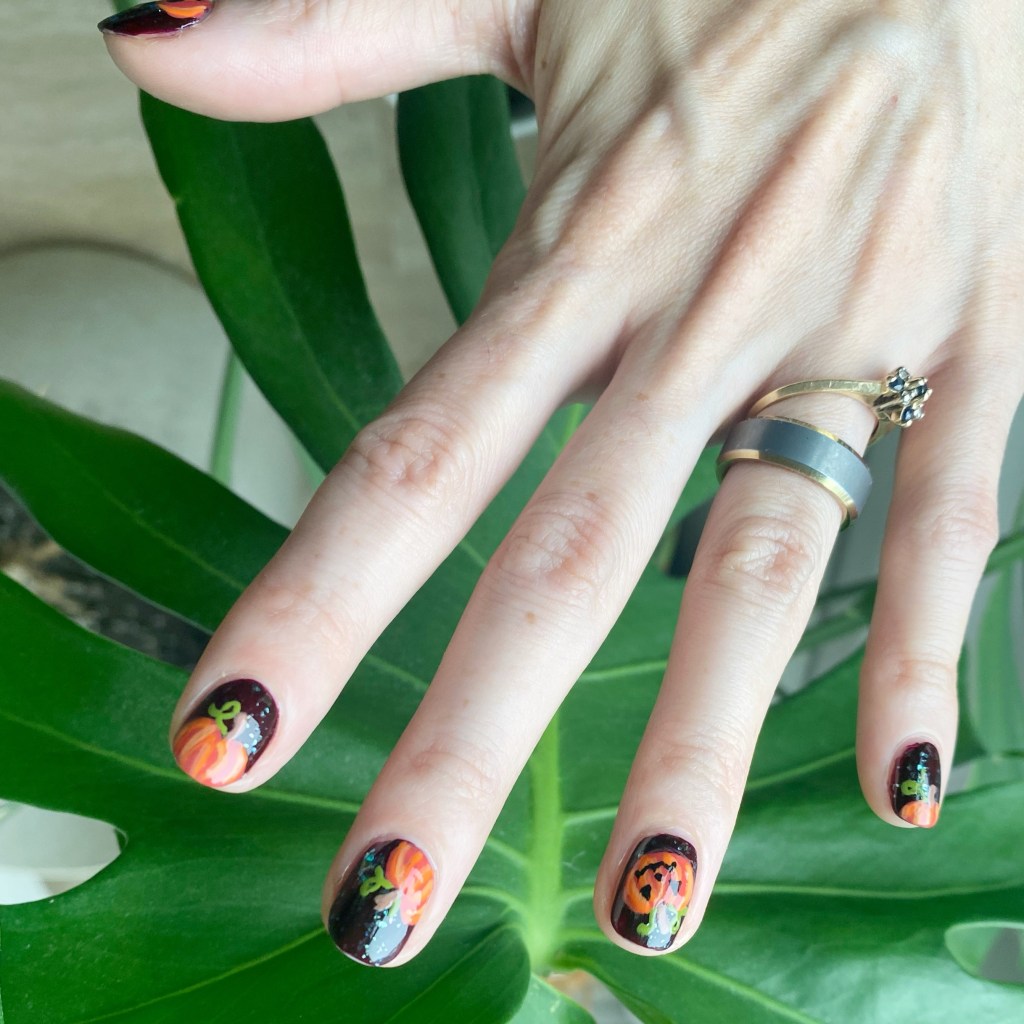
What do you think of these Halloween jack-o-lanterns? Do you like this handprinted design? I’d love to know what you think about this look & if you would wear this design on your nails!

To me, it’s the perfect look for spooky season!

♥︎
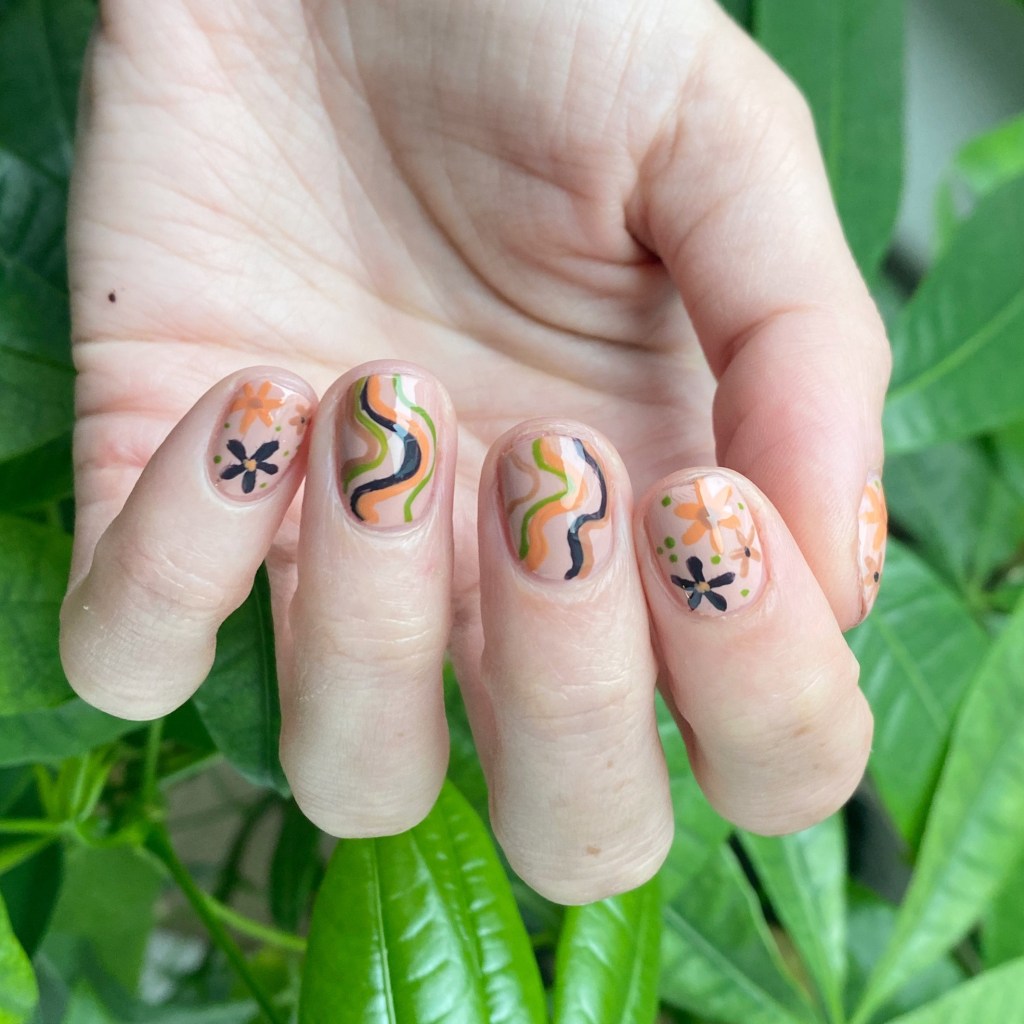
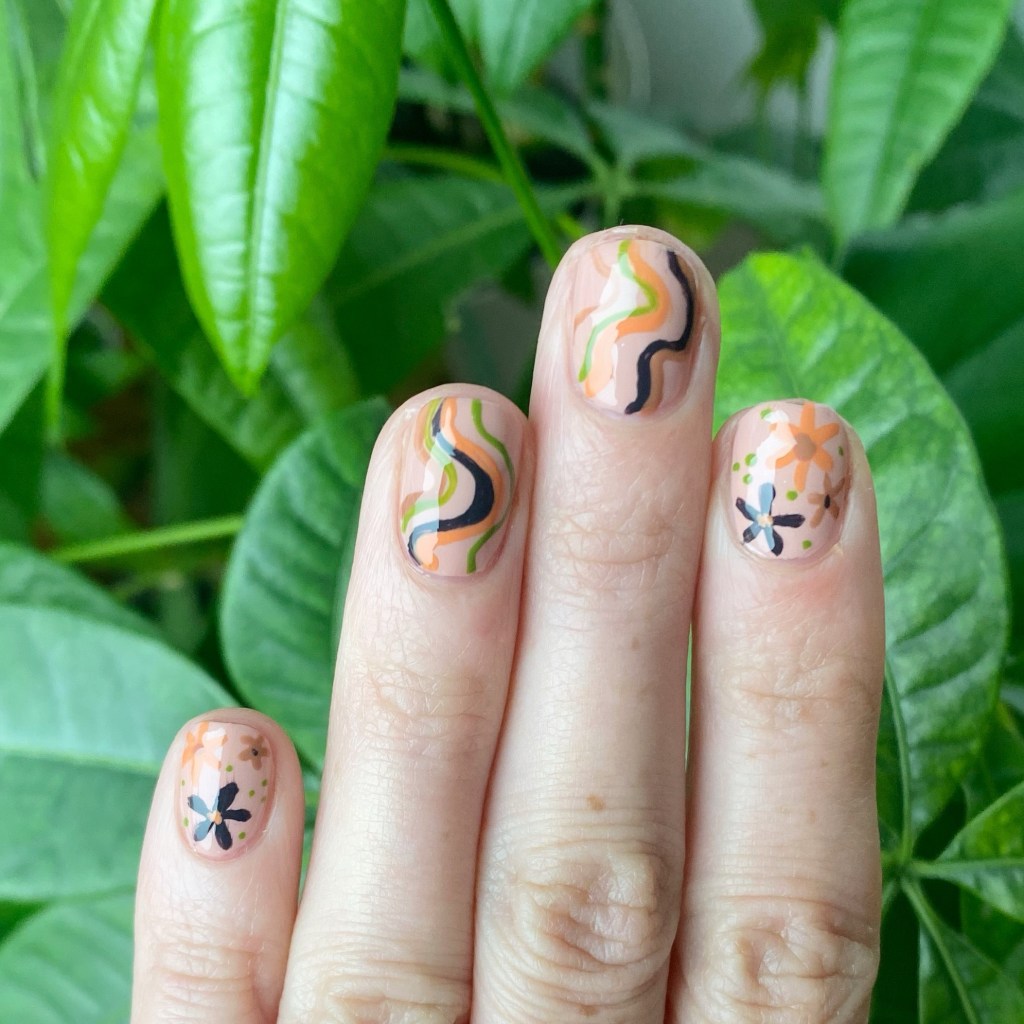
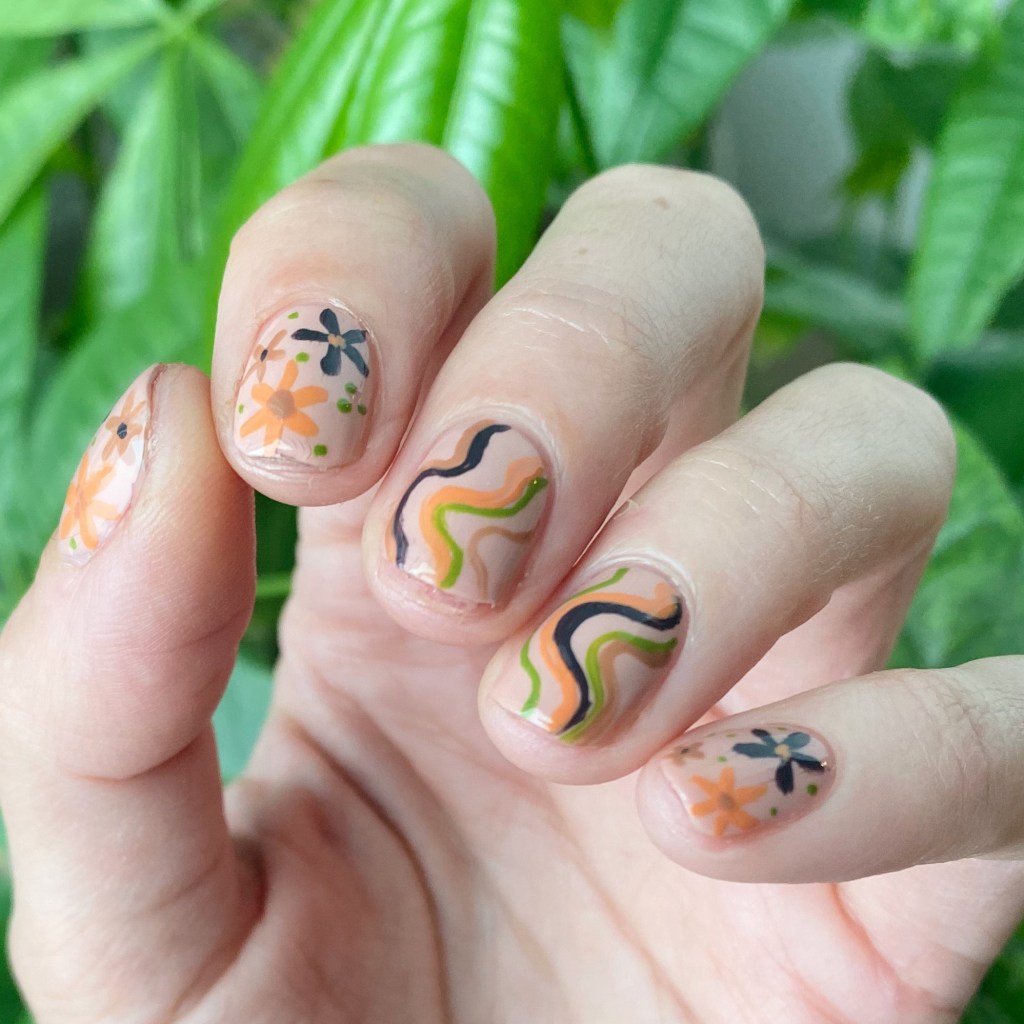
70s Groovy Autumn Vibes 🍂✨

Hello lovelies & happy Monday. It is rainy, & gloomy, & humid outside, & I’m really not enjoying it. It has me dreaming of better days — aka, Autumn. I did my best, I tried my hardest, but honestly… I just love Fall. I love everything about Fall, & I can’t wait for it to be here! I want knee high boots, tights, & plaid skirts, okay?

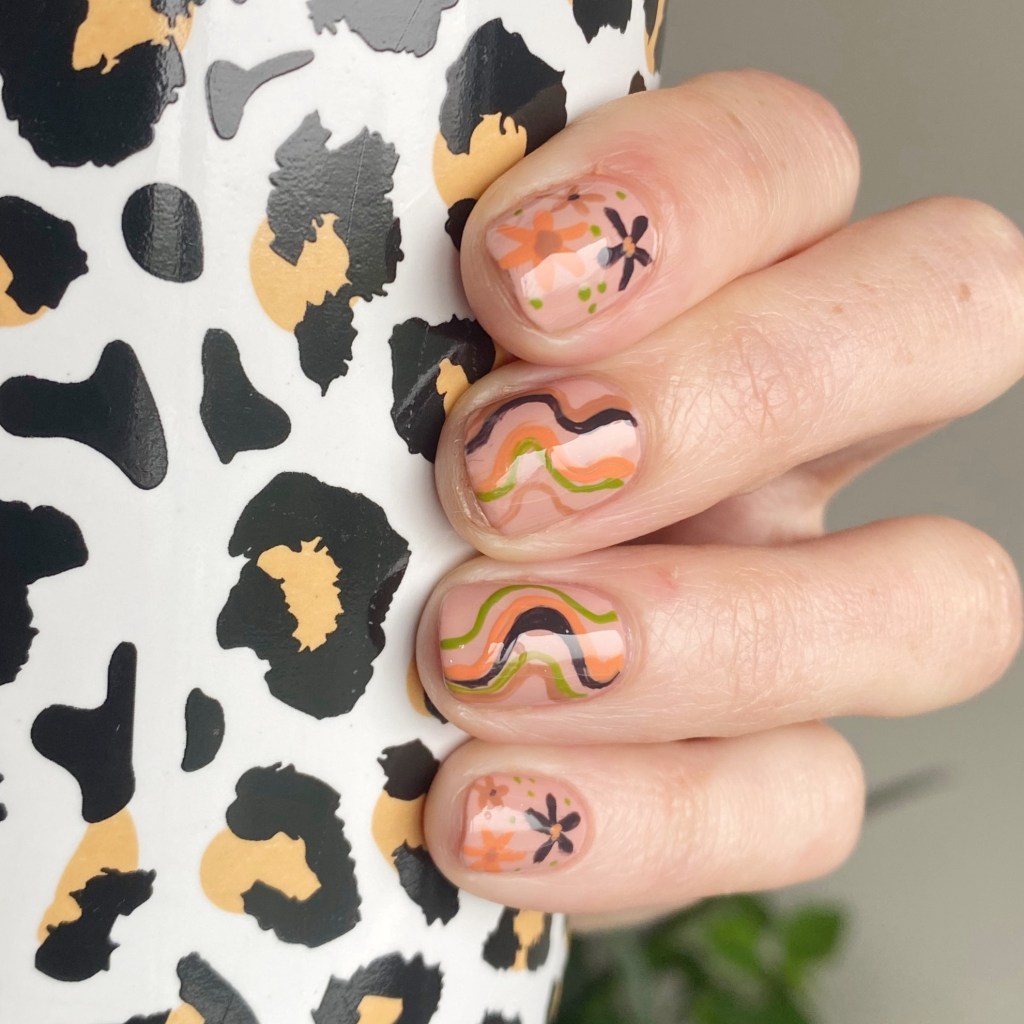
So I felt like some fun Autumn-esque toned nails were exactly what I needed.

I also had a horrendous break on my middle finger while opening a bin of coffee beans at work, so a bit snip was in order. But just because my nails are super duper short, doesn’t mean they can’t be cute!

The polishes I used for this manicure are: 

  • Base Coat: Essie Hard To Resist Strengthner
  • Top Coat: Sinful Colors Power Paint Top Coat + Essie Speed Setter
  • Essie Bare With Me
  • Essie Home After 8
  • Essie Frilly Lillies
  • Essie Cliffhanger
  • Essie Willow in the Wind
  • NailStuff 11mm Mermaid Tail Liner Brush

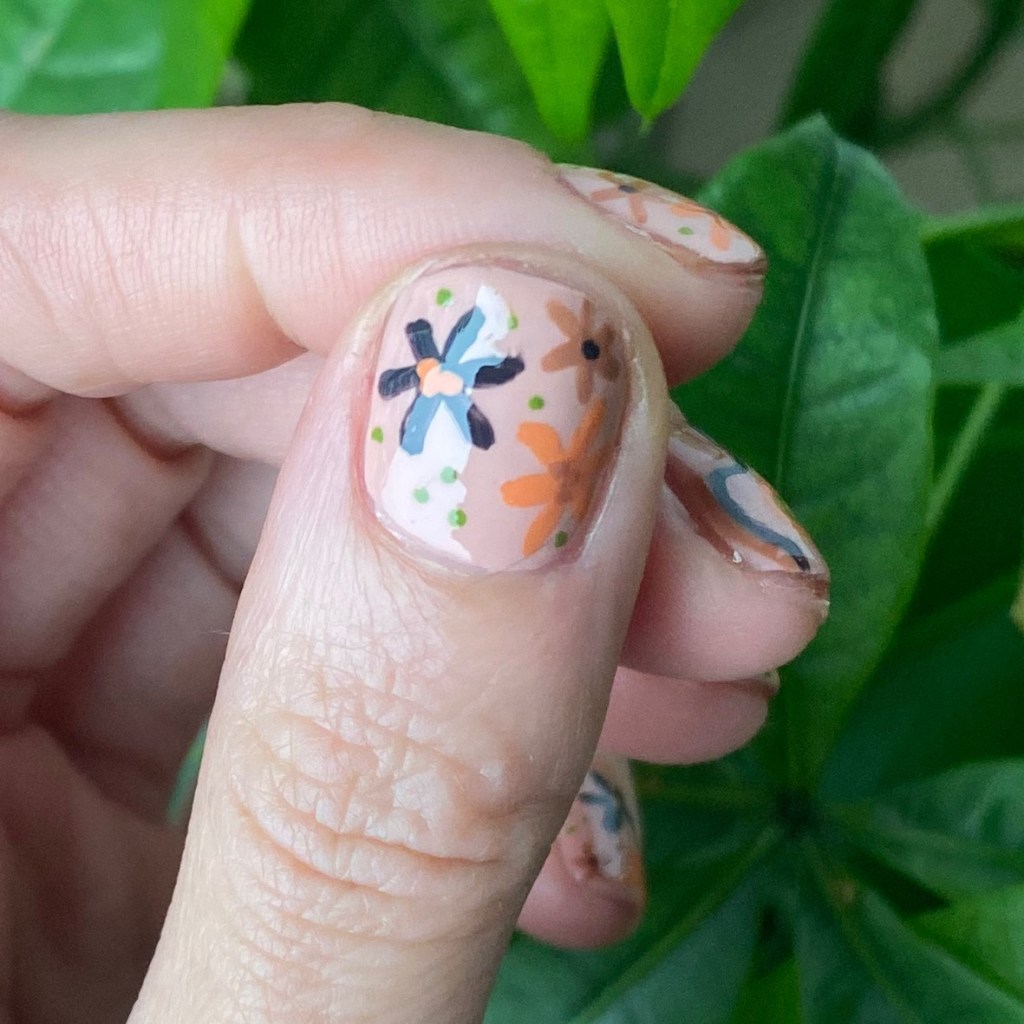
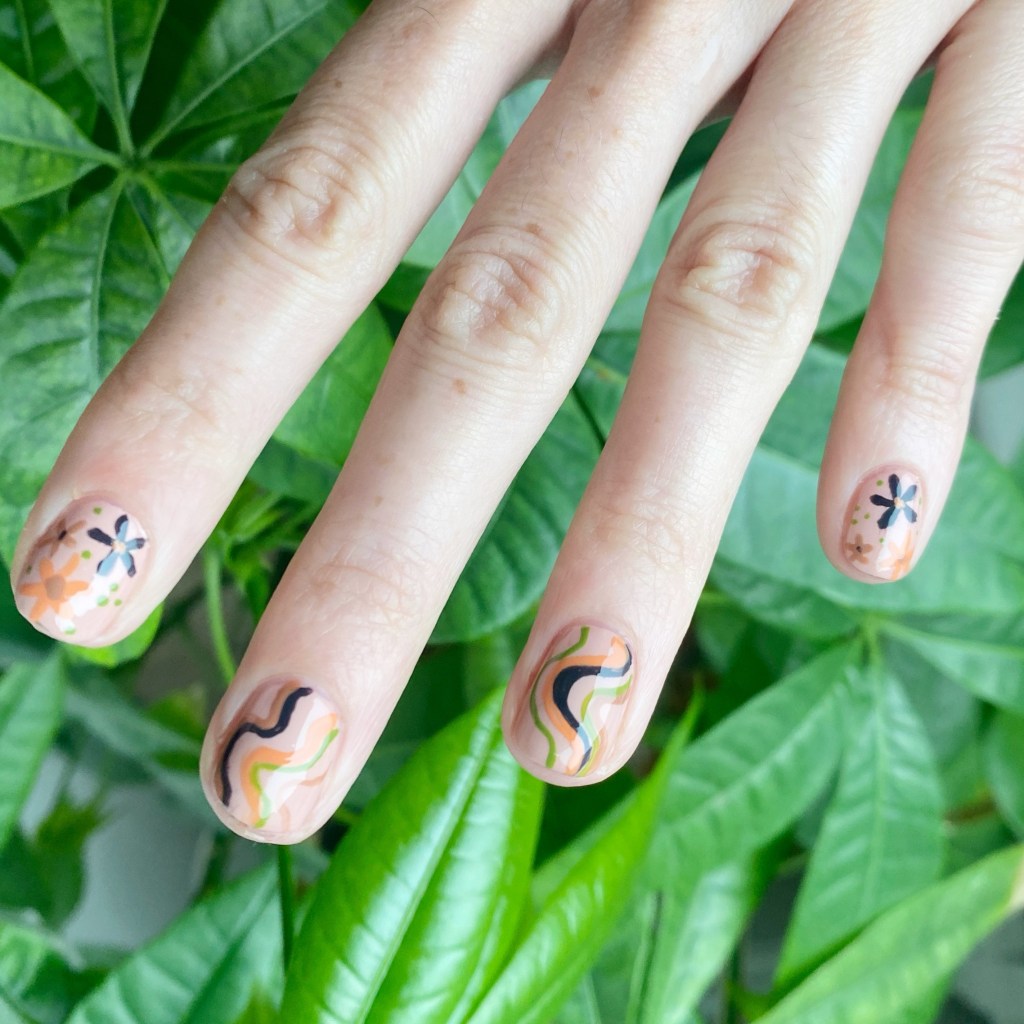
I love this colour combination together too. I picked out my colours before I knew what kind of design I was going to do, but it came together so fun! The colours work together so beautifully, & it is giving both 70s wallpaper vibes, & early Autumn.

My only gripe is a I wish I had mixed up my swirls & my flowers better so they alternated, but it’s such a small thing it doesn’t take away from how fun these look.

What do you think of this Autumn inspired look, featuring my brand new super shorties? Personally I’m really happy with how these turned out — & especially the colour combination. It’s giving just enough Fall vibes to keep this girl going until she gets her hands on her very first PSL.

Happy Tuesday!

♥︎

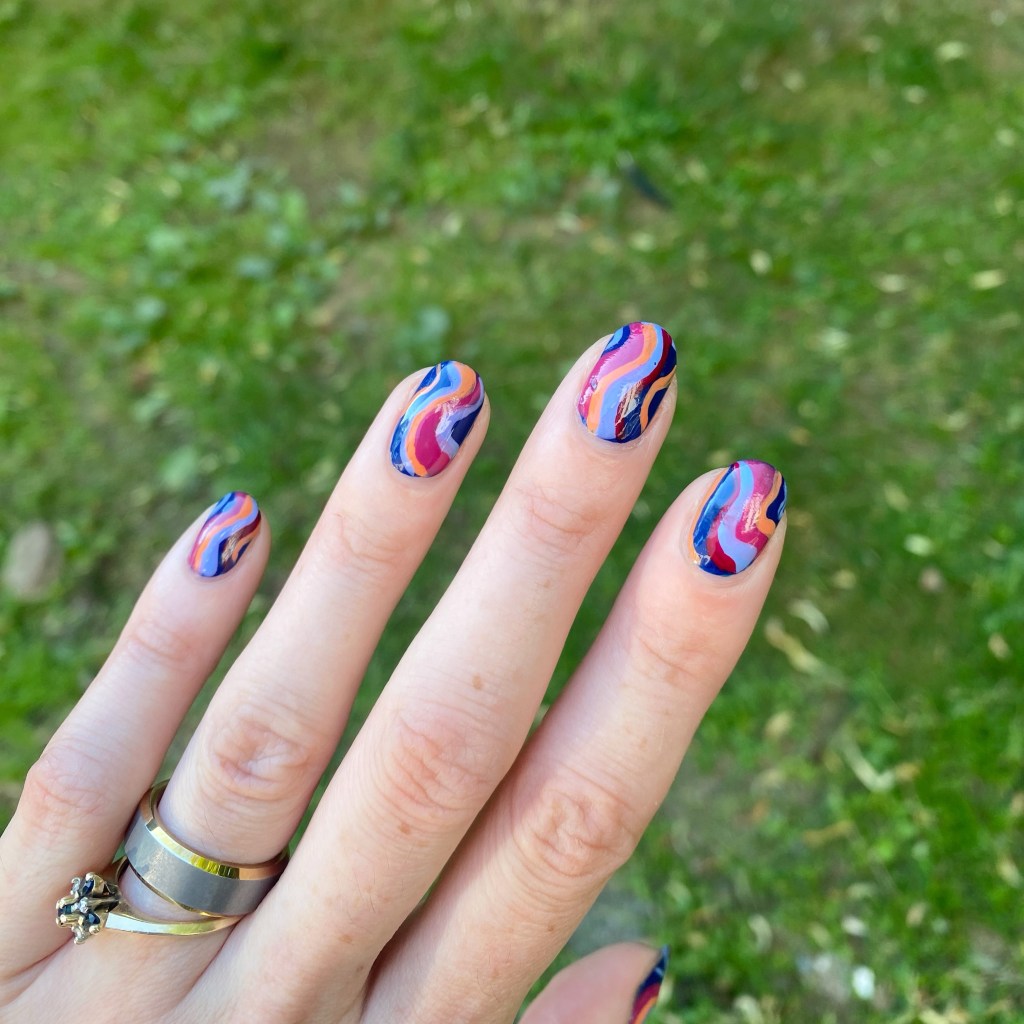
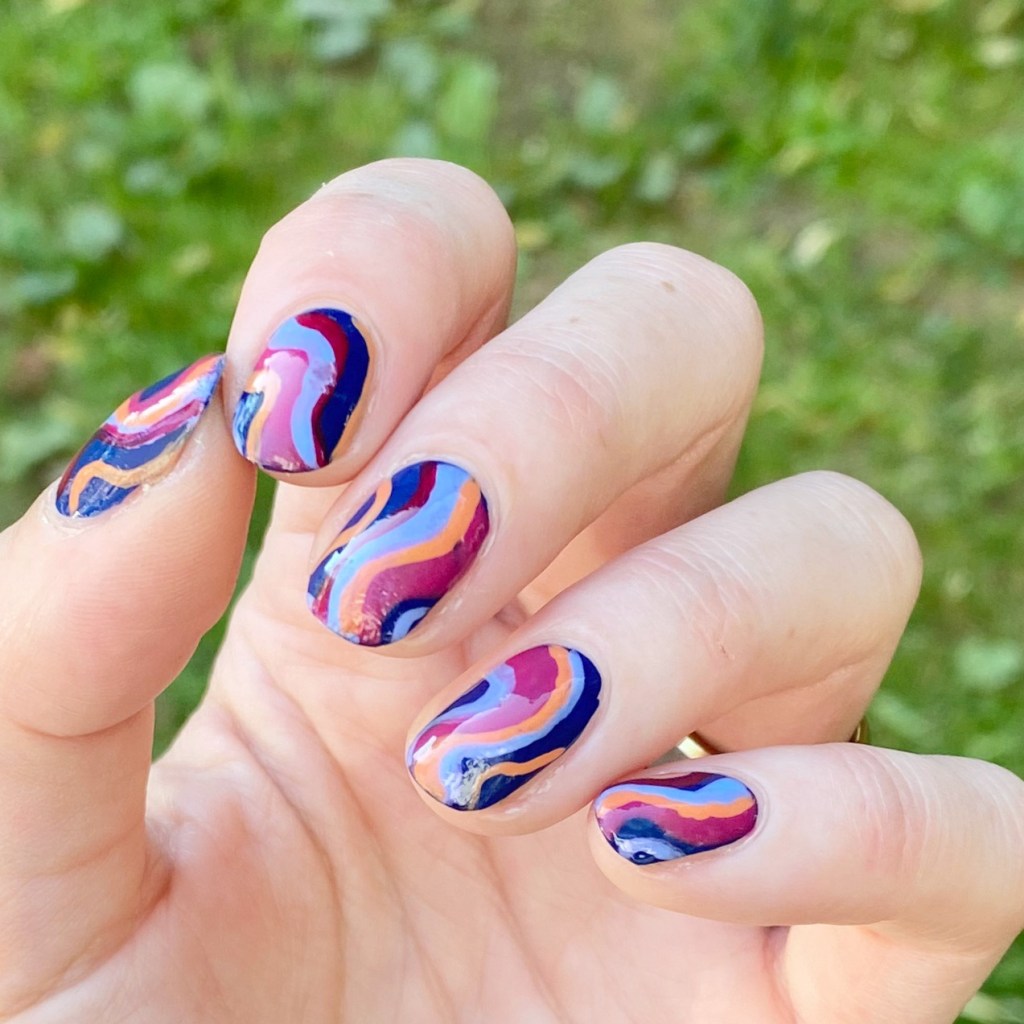
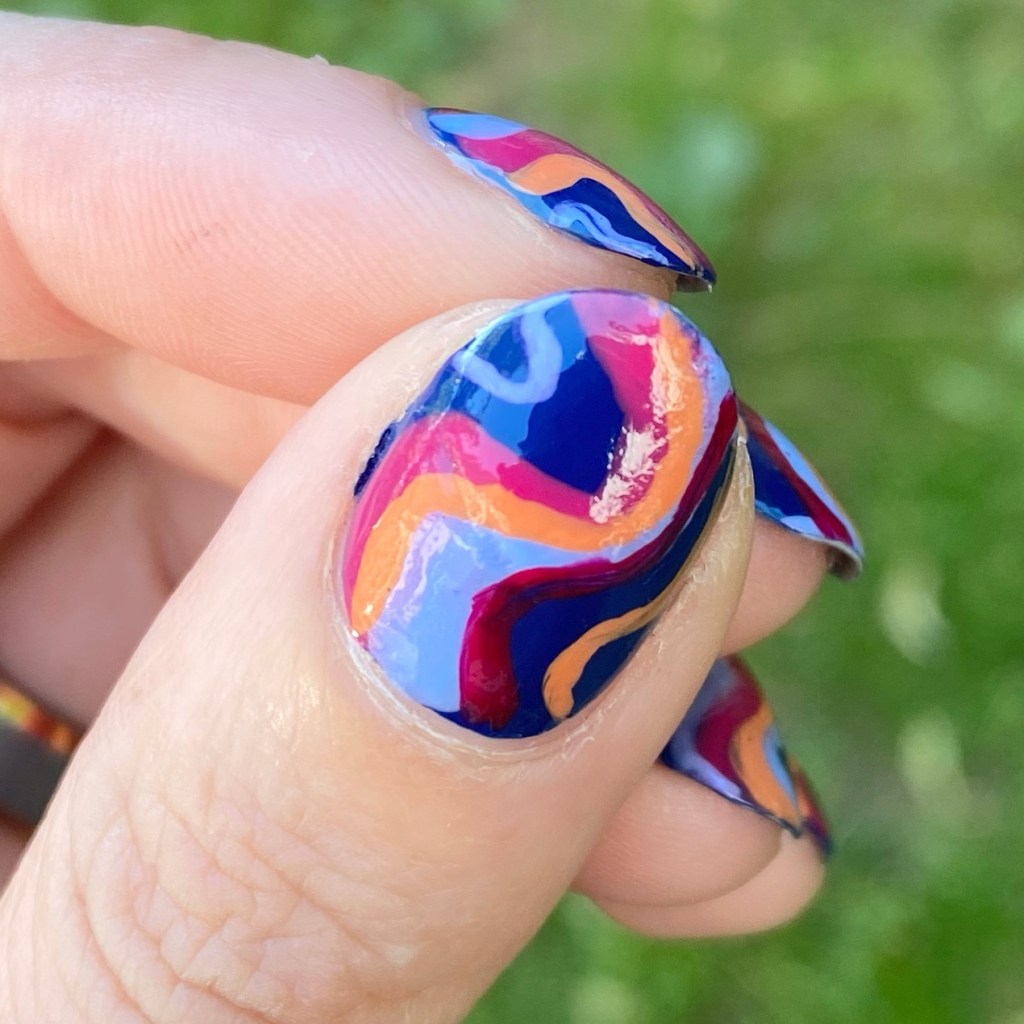
Funky Retro Inspired Abstract Stripes

Hello lovelies & happy… Tuesday? Yes Tuesday. I swear, the Summer makes all the days flow together & I can never keep track.

I’ve been on a nail art roll, feeling inspired to do some fun stuff on my nails. I also found a great top coat combi which is helping them last a closing shift at work (more or less). Today’s look is another nail design goto of mine, but I really think this colour combination is just perfection.

The polishes I used for this manicure are: 

  • Base Coat: Essie Hard To Resist Strengthner
  • Top Coat: Sinful Colors Power Paint Top Coat + Essie Speed Setter
  • Essie License to Thrill
  • Essie Frilly Lillies
  • Essie Brides No Grooms
  • Essie She’s Pampered
  • Essie You Do Blue
  • NailStuff.ca 16mm Striper Brush

I really love how these colours came together. I feel like my goal with abstract stripes is I want them to have a vintage feel, & this is giving 70s wallpaper. Maybe someday I’ll venture into another decade — like maybe some Y2K inspired ones — but for now I enjoy how these ones look.

What do you think of this look? Do you love how bold & vibrant they are! Plus I got a ton of compliments on them at work, which is always the sign of a successful manicure.

Happy Tuesday!

🖤

Pink Glitter Snowflakes

Hello lovelies!

Happy day after (American) Thanksgiving to my American readers, & happy Black Friday! This is my first year in a while I’m not working in retail for Black Friday sales, so I’m kind of enjoying the breather.

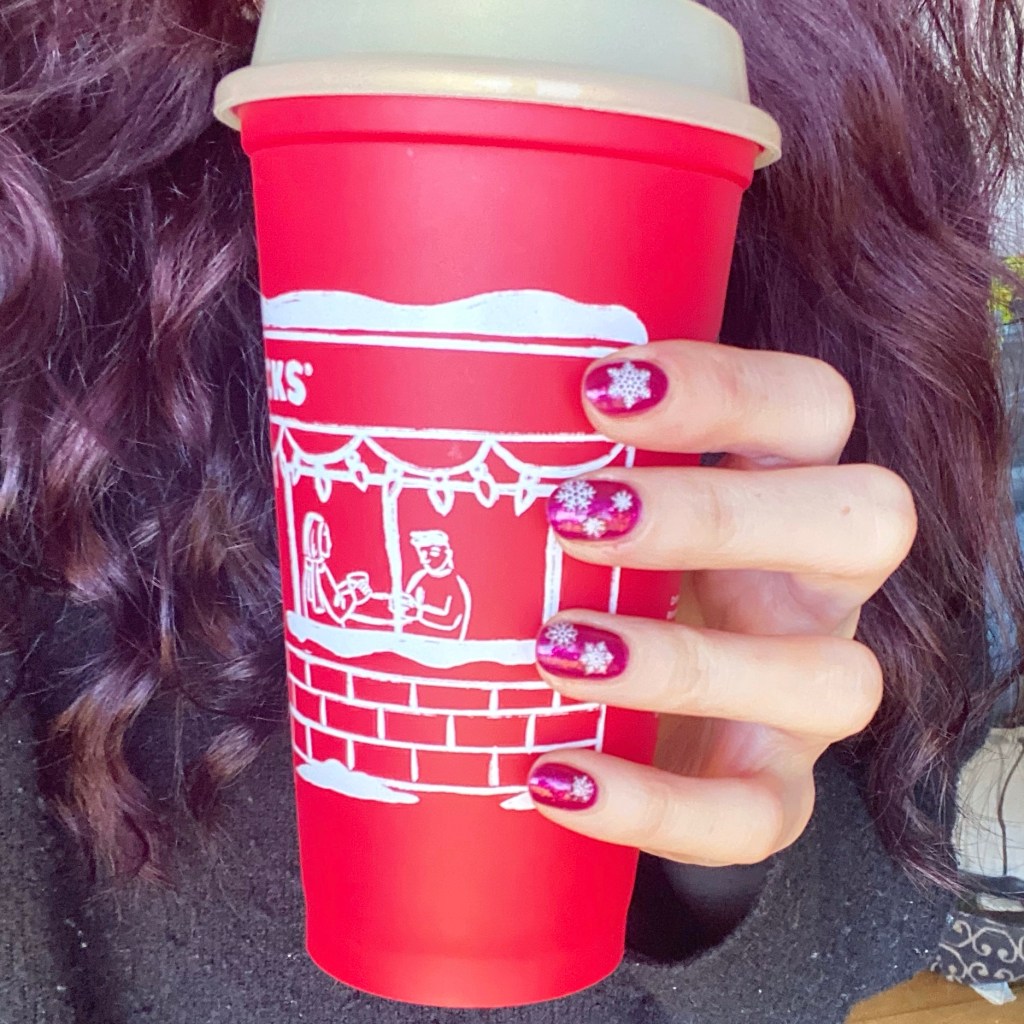
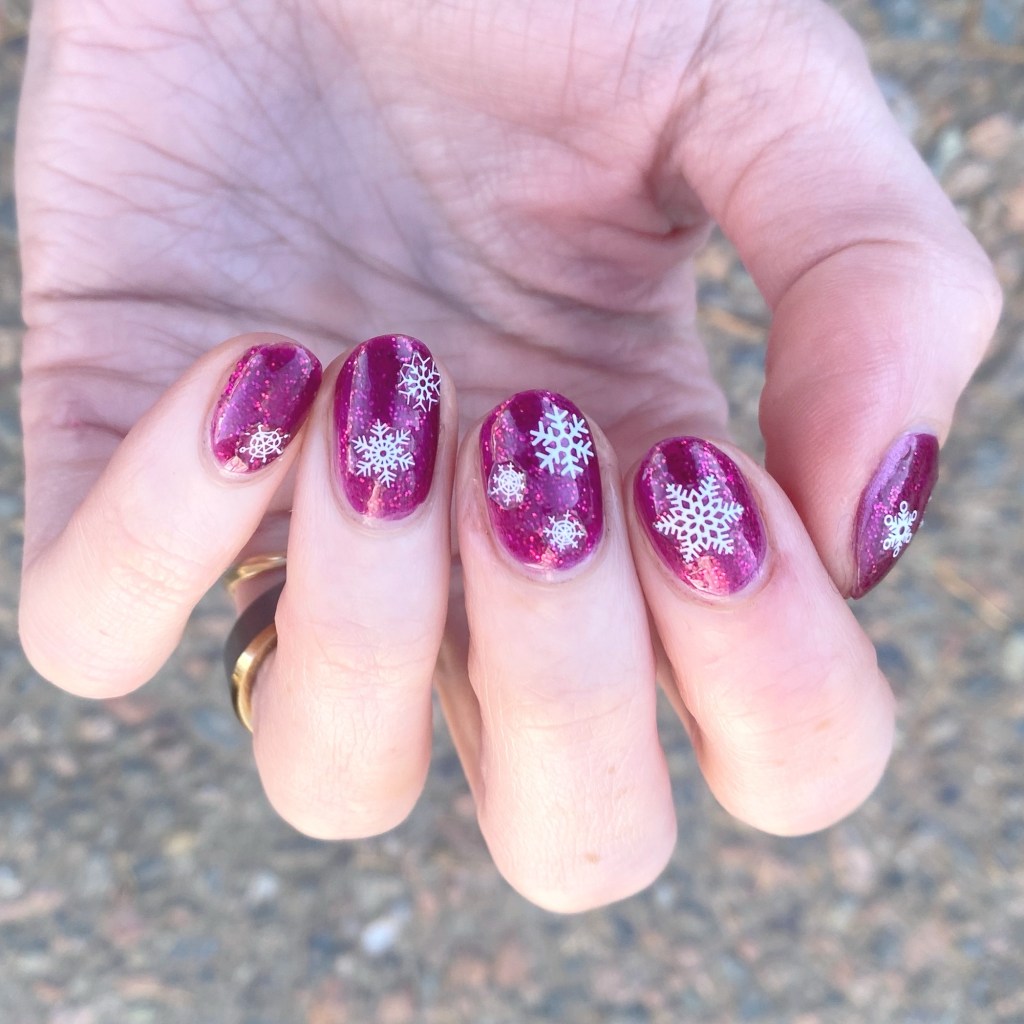
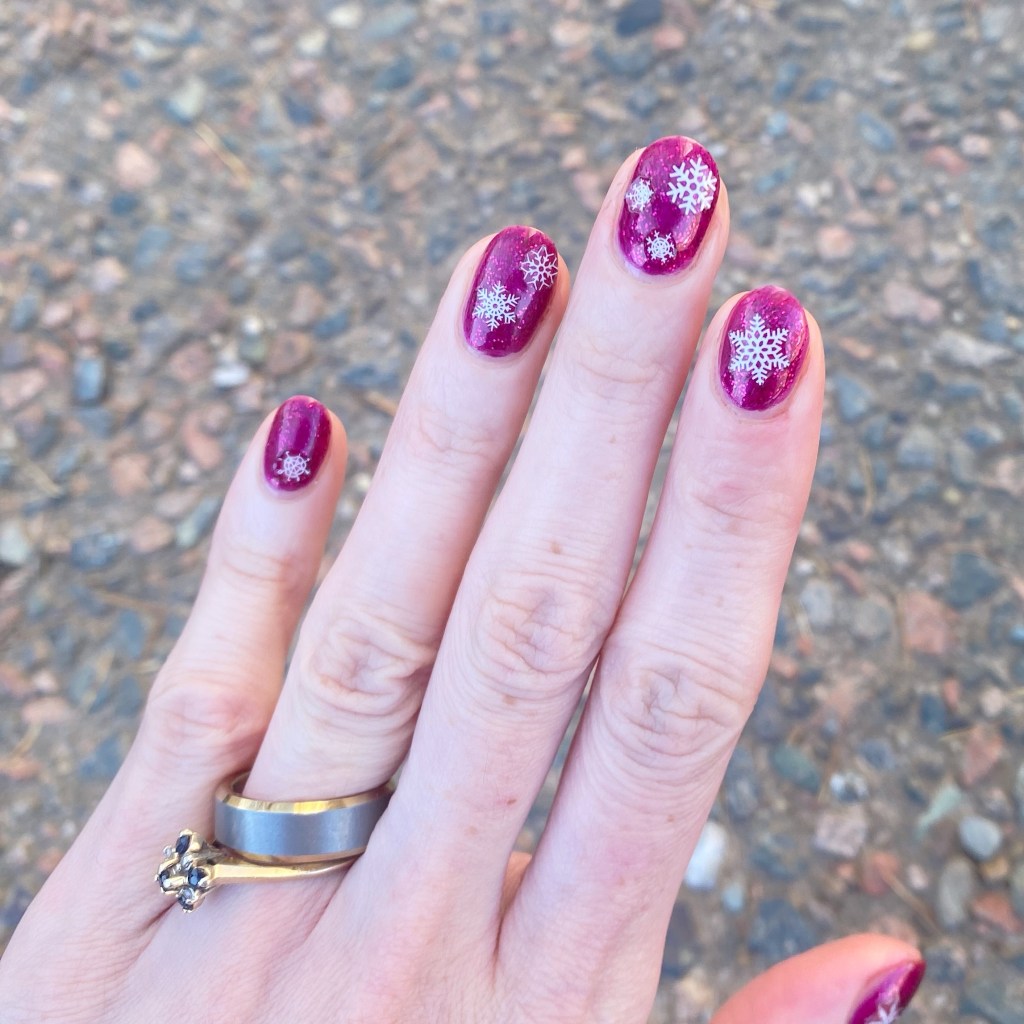
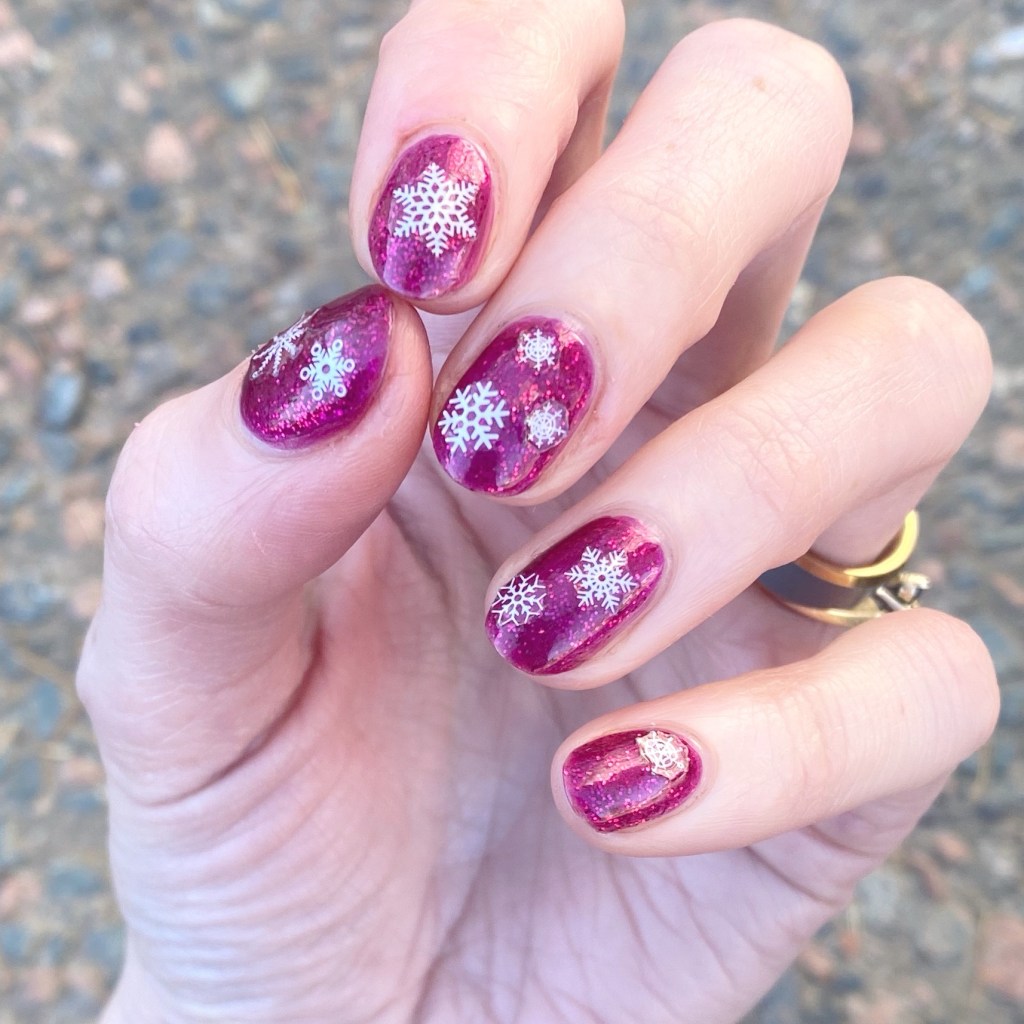
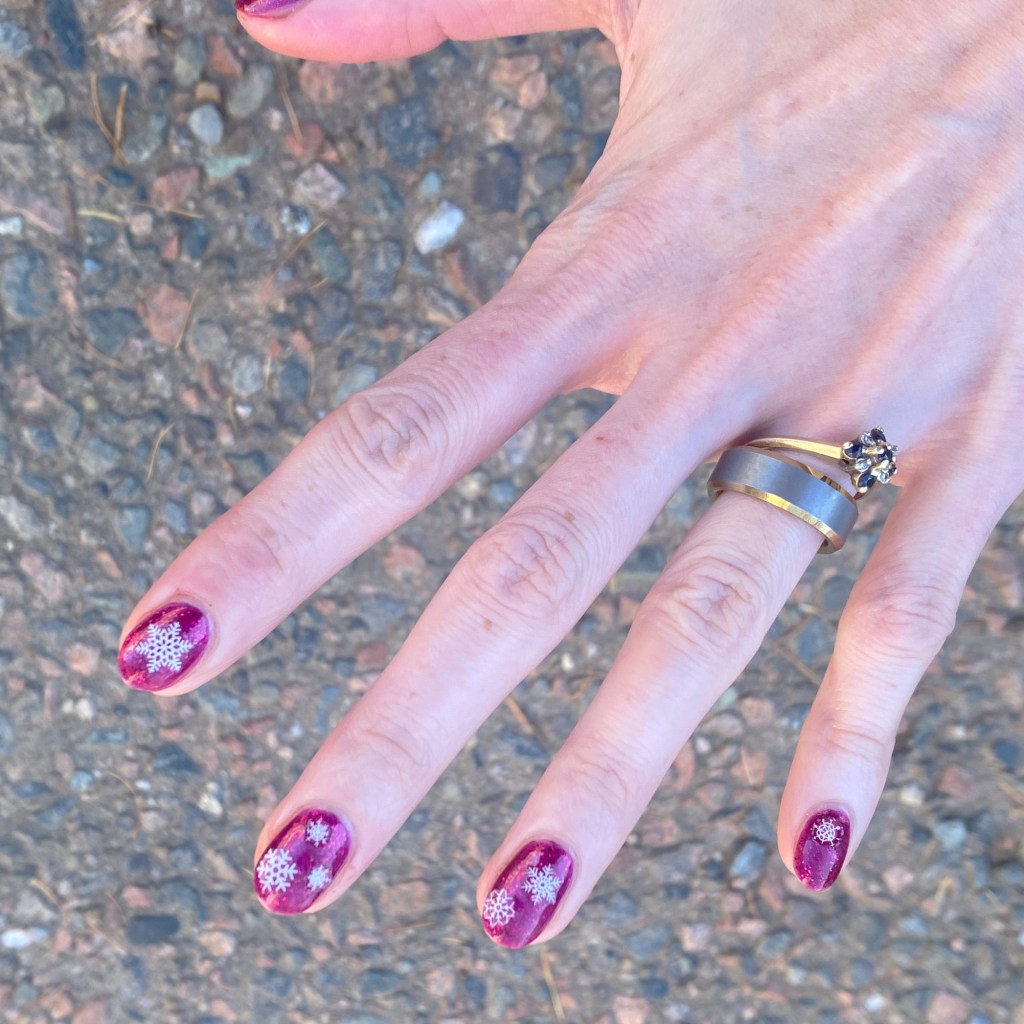
But we can’t deny — Christmas is coming. & even though I’m feeling less than zero Christmas spirit this year, I figured it was time I at least tried to summon some Holiday/Winter spirit. So naturally I thought we’d dip our toes in with some snowflake nail art stickers.

The polishes I used for this manicure are: 

  • Base Coat: Sally Hansen Miracle Cure
  • Top Coat: Sally Hansen InstaDri Top Coat (red bottle) 
  • Sally Hansen Miracle Gel Wrapped in Love
  • Ardene Dancing Queen
  • NailStuff.ca Snowflake Nail Art Stickers

First off, I’m officially petitioning for glitter pink to become an official Christmas colour. Secondly, I love how cute these are! I’ve had these nail art stickers in my collection forever, & I love that they’re still being used for cute nail art looks.

& it was way simpler than me trying to hand paint snowflakes on my nails! The white of the stickers just pop so well against that pretty pink. Definitely giving Christmas vibes — at least for me.

What do you think about these pink glittery snowflakes? Are they giving holiday vibes? Let me know all your thoughts in the comments below! & how you’re getting your nails into the festive spirit.

Happy Friday

🖤

Deep Wine Red with Sparkly Glitter Placement

Good morning lovelies & happy Friday! & happy The Life of a Showgirl release day to my fellow swifties! I’m going to one of the showings tonight with a friend for the album, after I get off work, & we decided to go in blind without pre-listening, so today is going to be a serious test of my willpower!

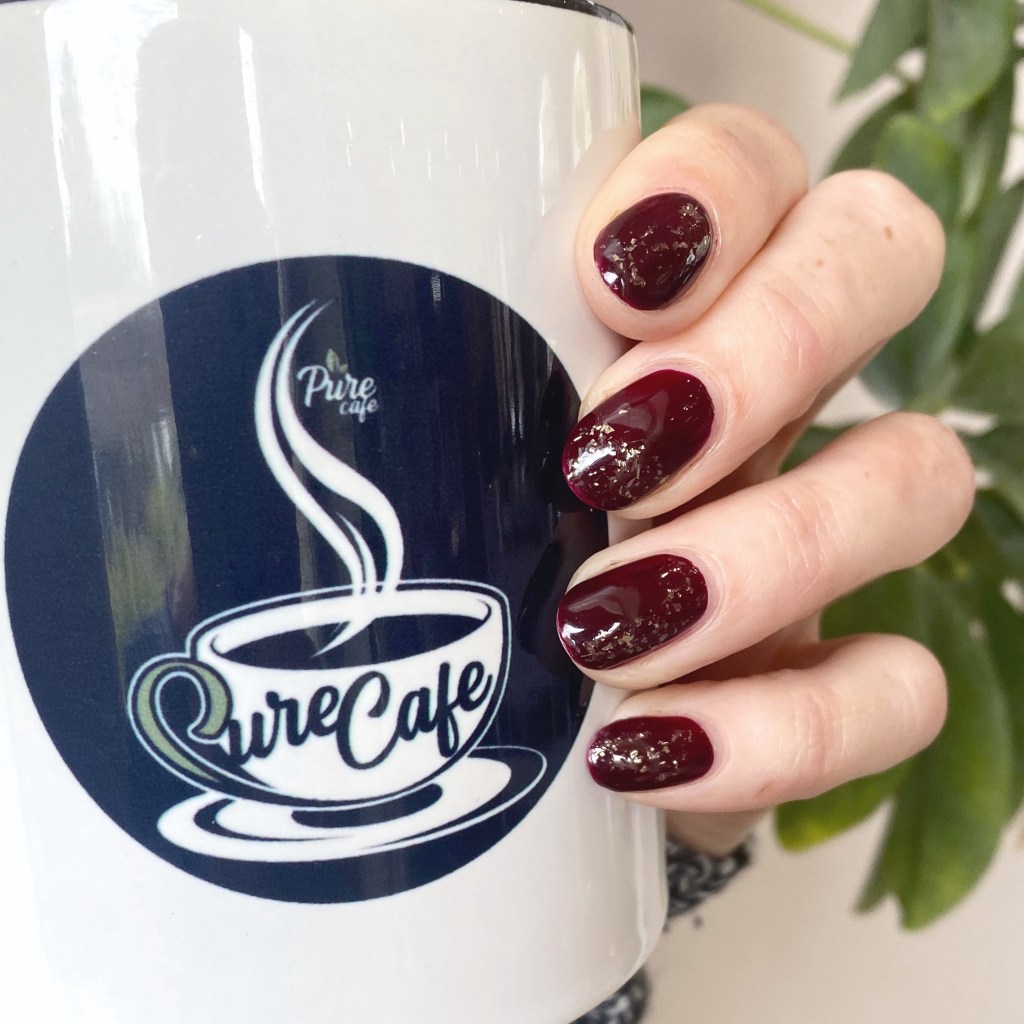
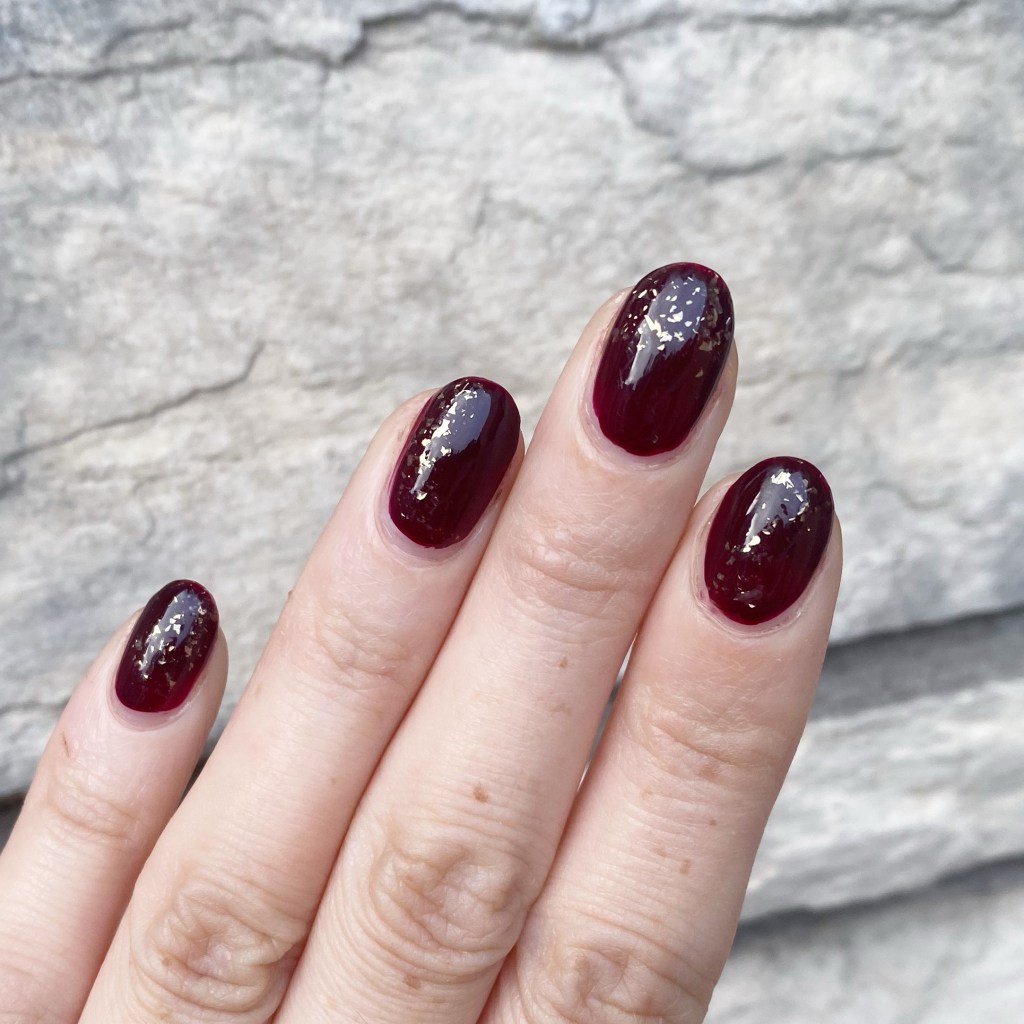
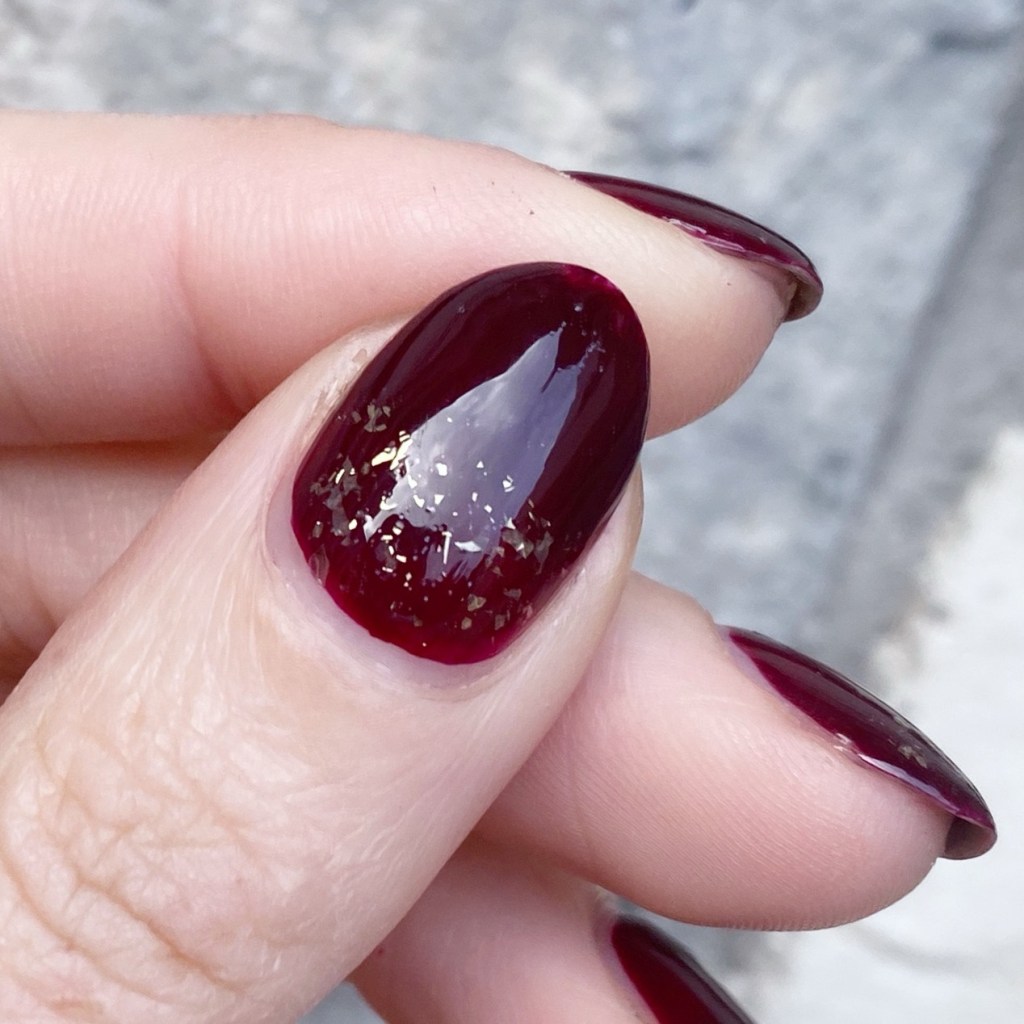
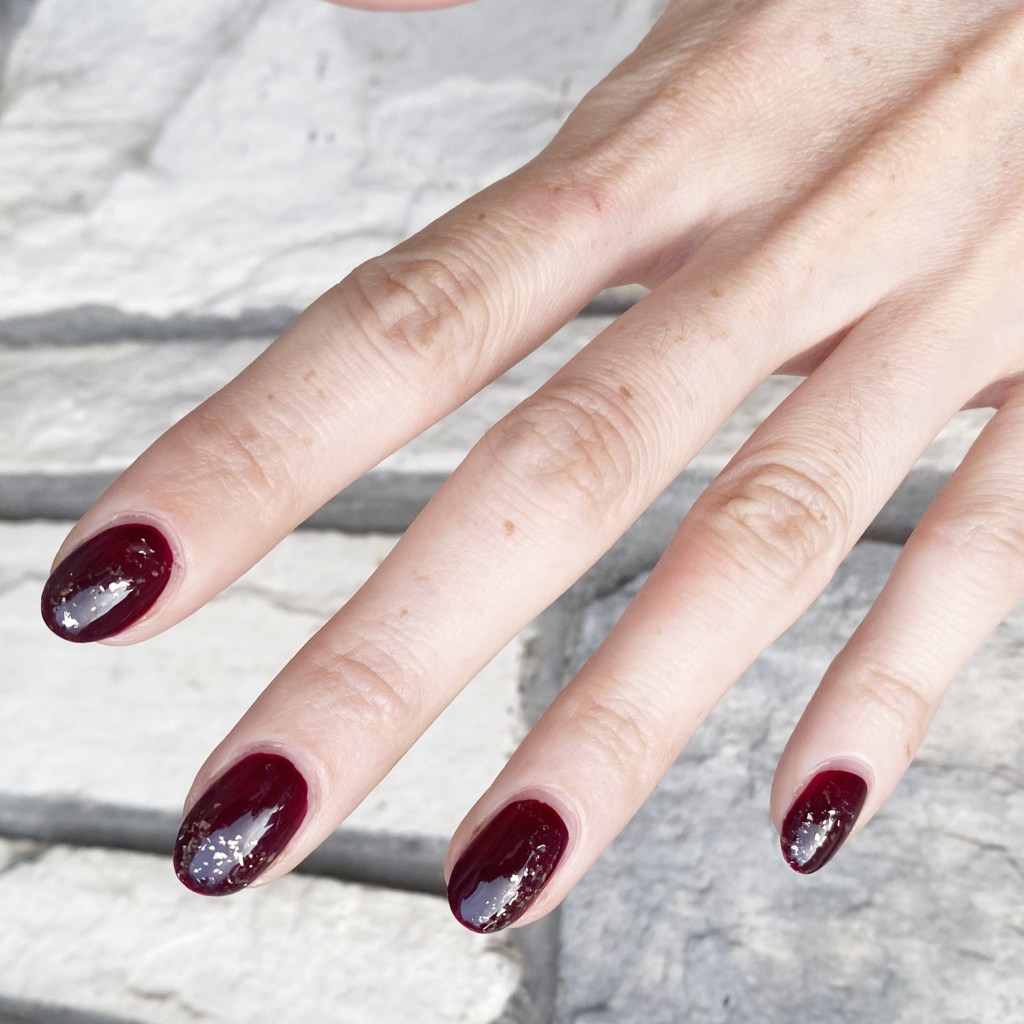
But in the meantime, how about a little sparkle. We are in full October vibes now, & while I am having so much fun doing Halloween designs for the Glam Nails Challenge, I thought I would switch it up a bit with just a little dark glitter placement.

The polishes I used for this manicure are: 

  • Top Coat: Sally Hansen InstaDri Top Coat (red bottle)
  • Base Coat: Essie Hard to Resist (purple)
  • Revlon Color Stay Gel Envy Heartbreaker
  • Essie Nail Art Studio Glitter Separated Starlight

Okay I don’t want to sound too conceited, but like how freaking glamorous do these nails look? I absolutely adore how they turned out. The sparkle is kind of subtle, but not subtle. It’s definitely an everyday kind of glamour, & perfect for these Autumn October days! Also, no tools required which I always love because sometimes I’m just too tired to spend an hour on something more complex (especially when I have to be up at 5:30am to get ready for work!)

So what do you think of this design? I know it’s not a groundbreaking nail art look, but I think it just looks so pretty. Definitely my go to when I want something chic, but not complex. & just a little bit subtle.

Happy Friday!

🖤