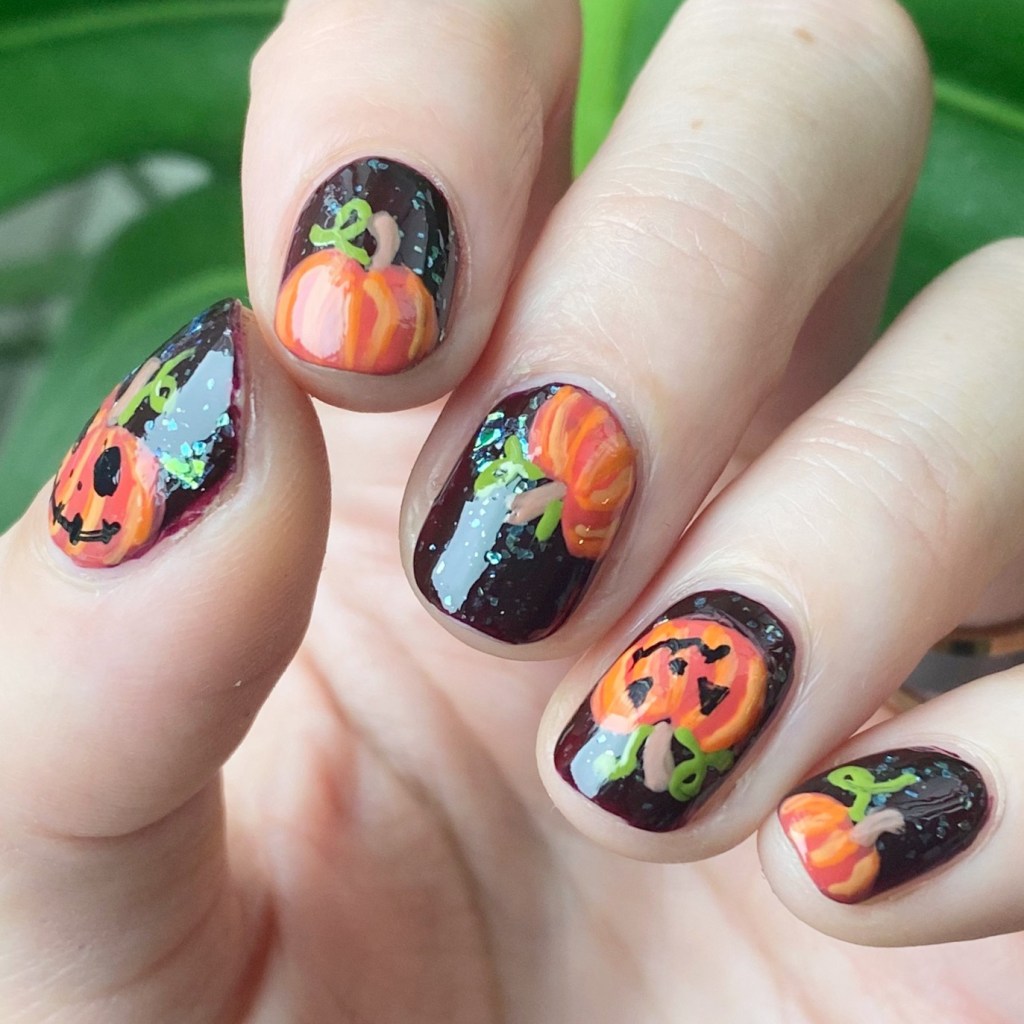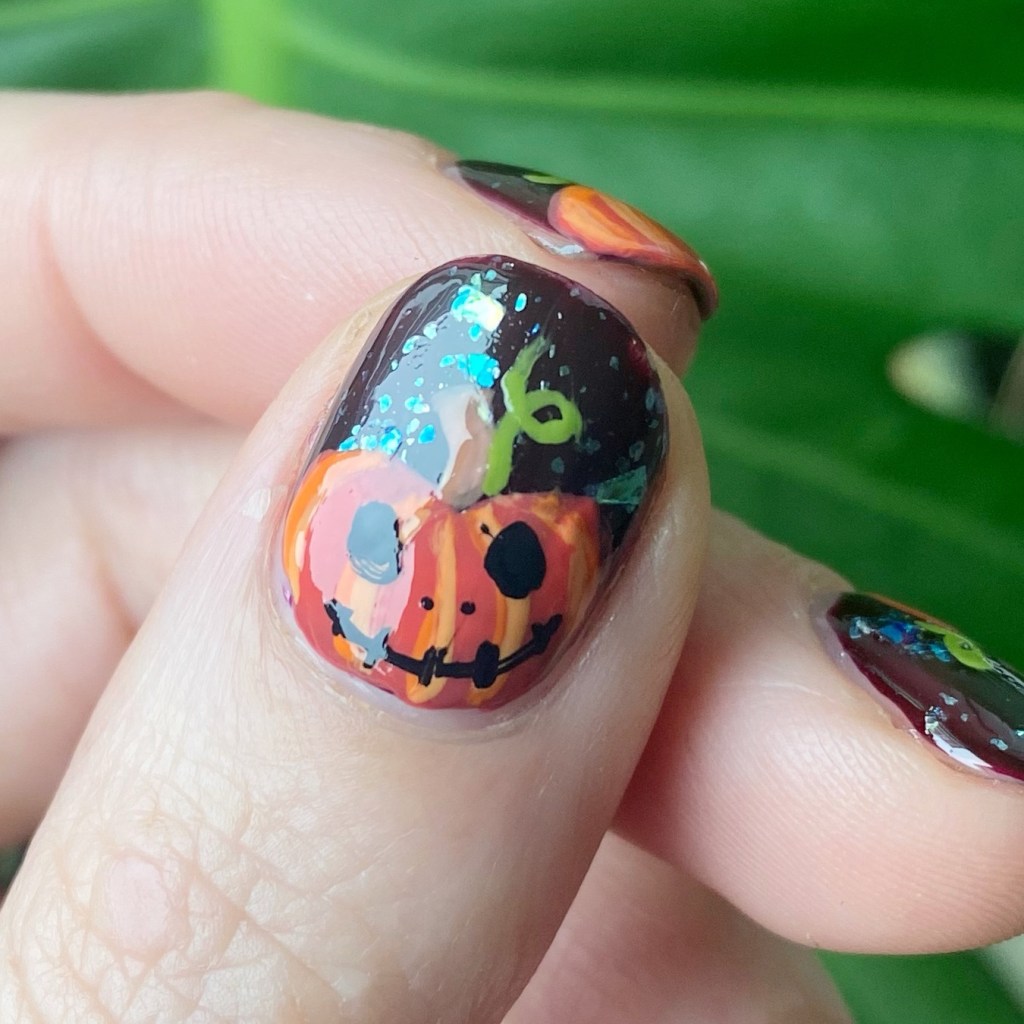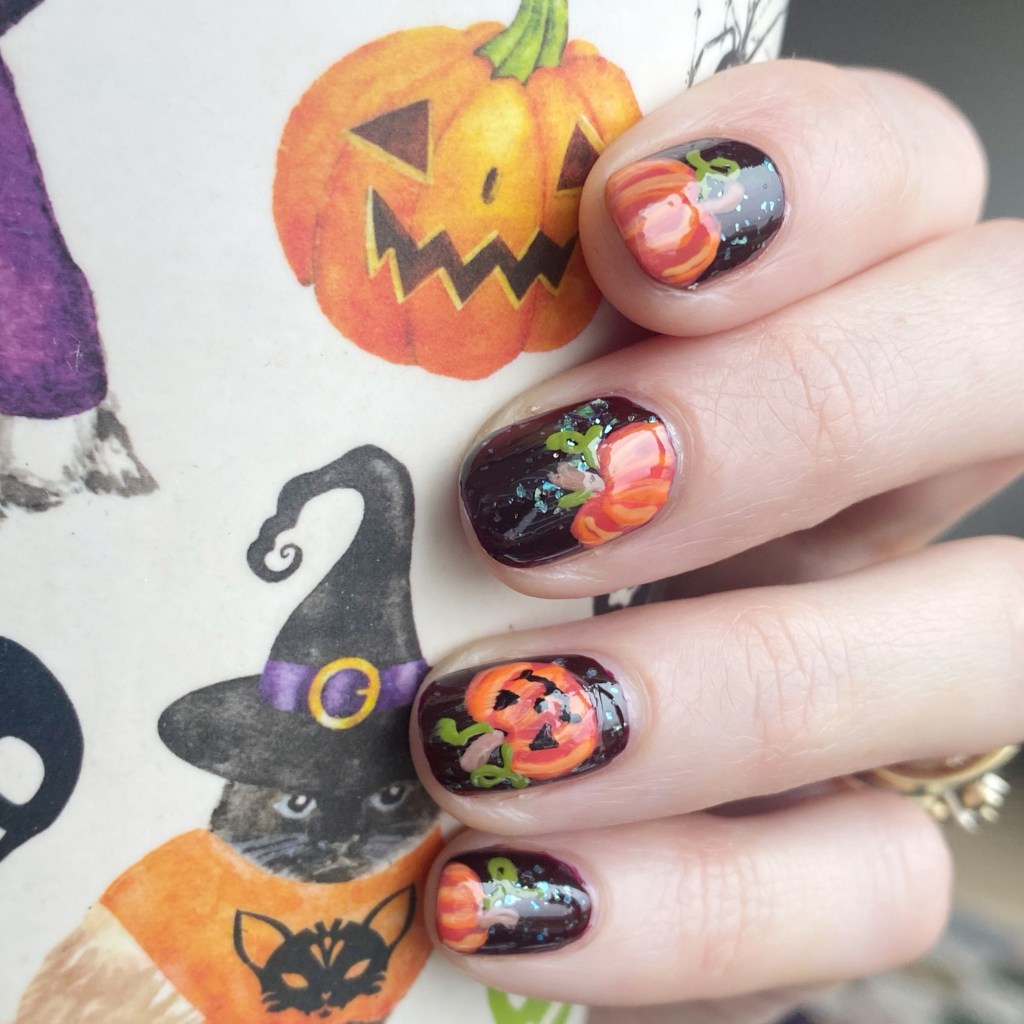
Hand-painted Jack O Lanterns 🎃✨

Hello lovelies & happy Tuesday.

I know my posting schedule is all over the place, but between life, family, sickness & work, I’m just trying to make sure this blog gets my attention — even if it’s not on the same schedule I have been posting! Especially this month, my favourite month. I have been busy busy busy on Pinterest saving a lot of Halloween nail art ideas, & then enviably spending a lot of time narrowing down which one I want to do first.

Naturally, I decided to start with pumpkins. I’m a basic bitch who loves her pumpkin spice, so it just felt very fitting.
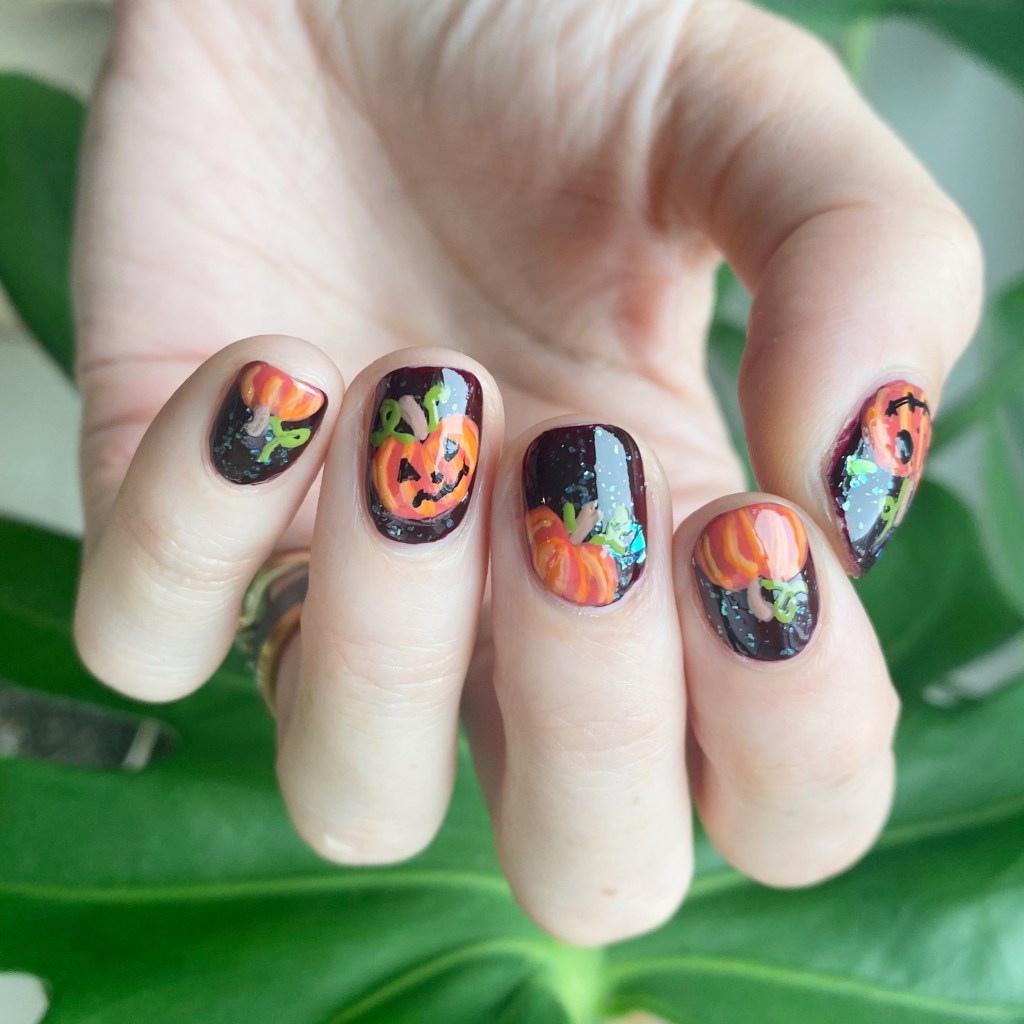
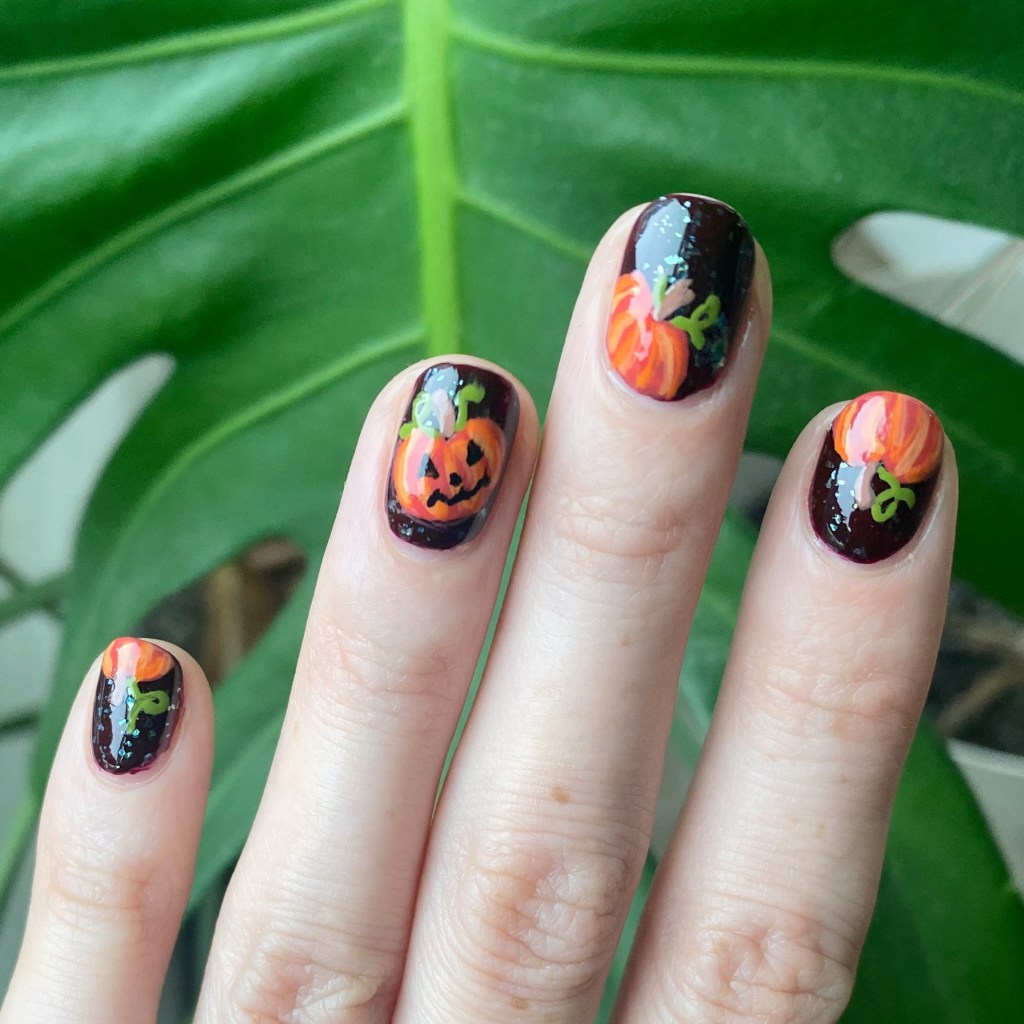
The polishes I used for this manicure are: 

  • Base Coat: Sally Hansen Maximum Growth Base Coat 
  • Top Coat: Sinful Colors Power Paint Top Coat + Sally Hansen Insta-Dri Top Coat
  • OPI I Sing In Color
  • Essie Sparkle On Top
  • Essie Handmade With Love
  • Essie Fall for NYC
  • Essie Willow in the Wind
  • OPI Barefoot in Barcelona
  • Essie Cliffhanger
  • NailStuff Essentials Raven
  • NailStuff 7mm Liner Brush

I created my base with Sparkle on Top over I Sing In Color, & then sat back & tried to think what would look best over top. But pumpkins/jack-o-lanterns just felt like the obvious choice. I painted my pumpkins first, & then decided a few of them needed faces, so added them after the fact.
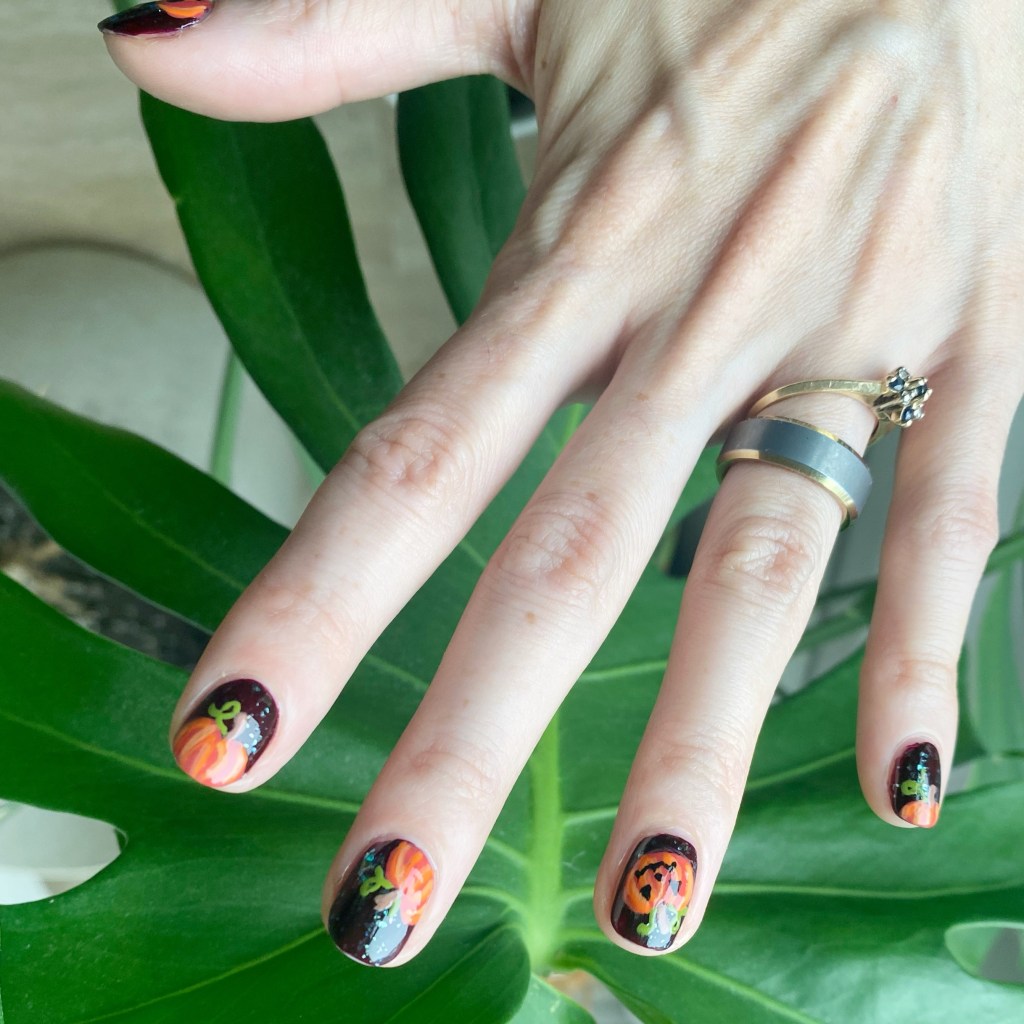
What do you think of these Halloween jack-o-lanterns? Do you like this handprinted design? I’d love to know what you think about this look & if you would wear this design on your nails!

To me, it’s the perfect look for spooky season!

♥︎
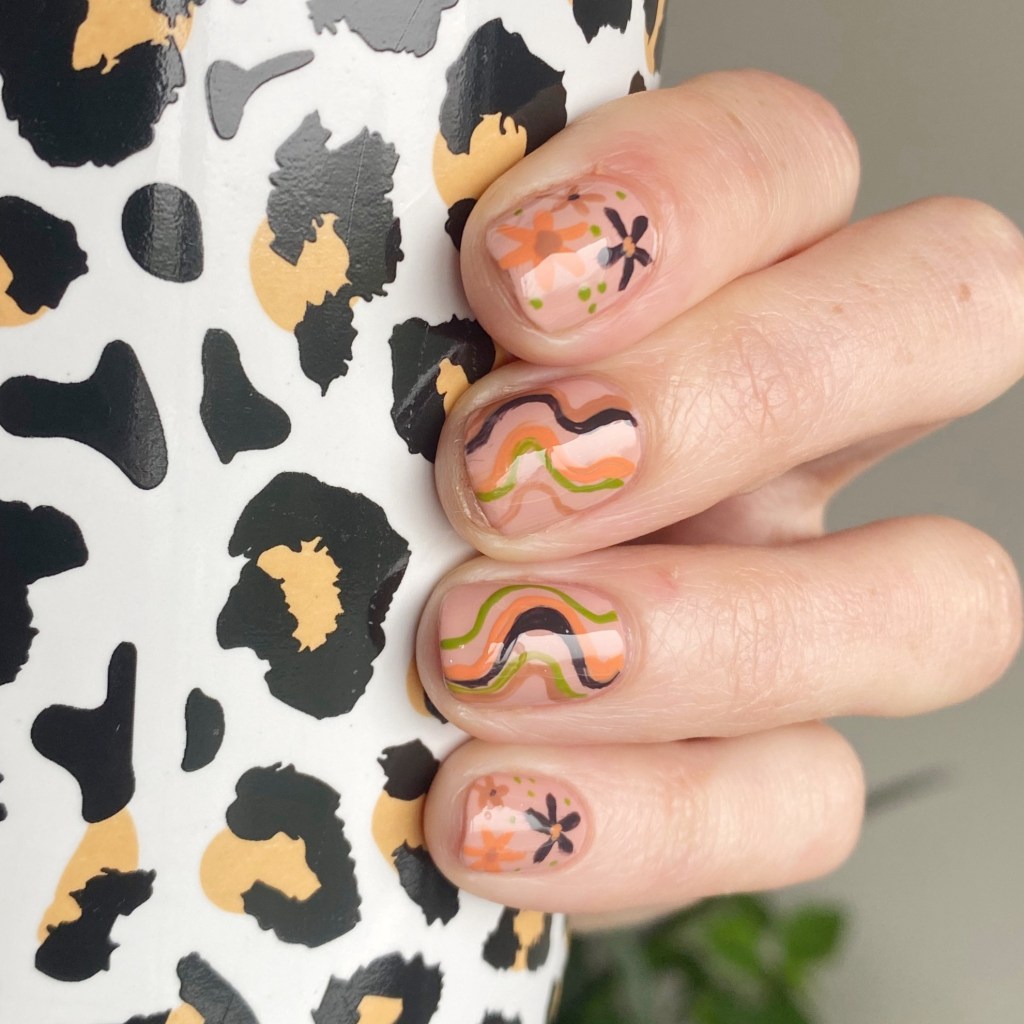
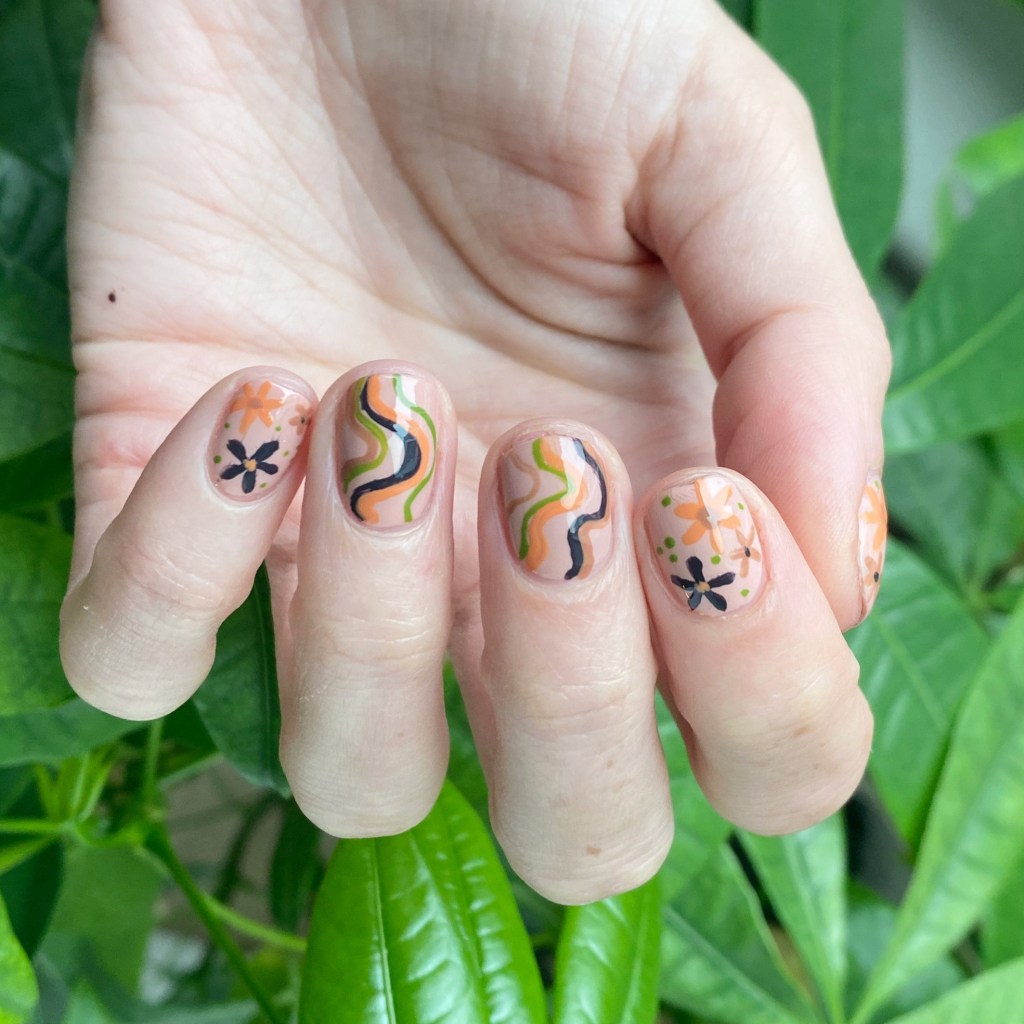
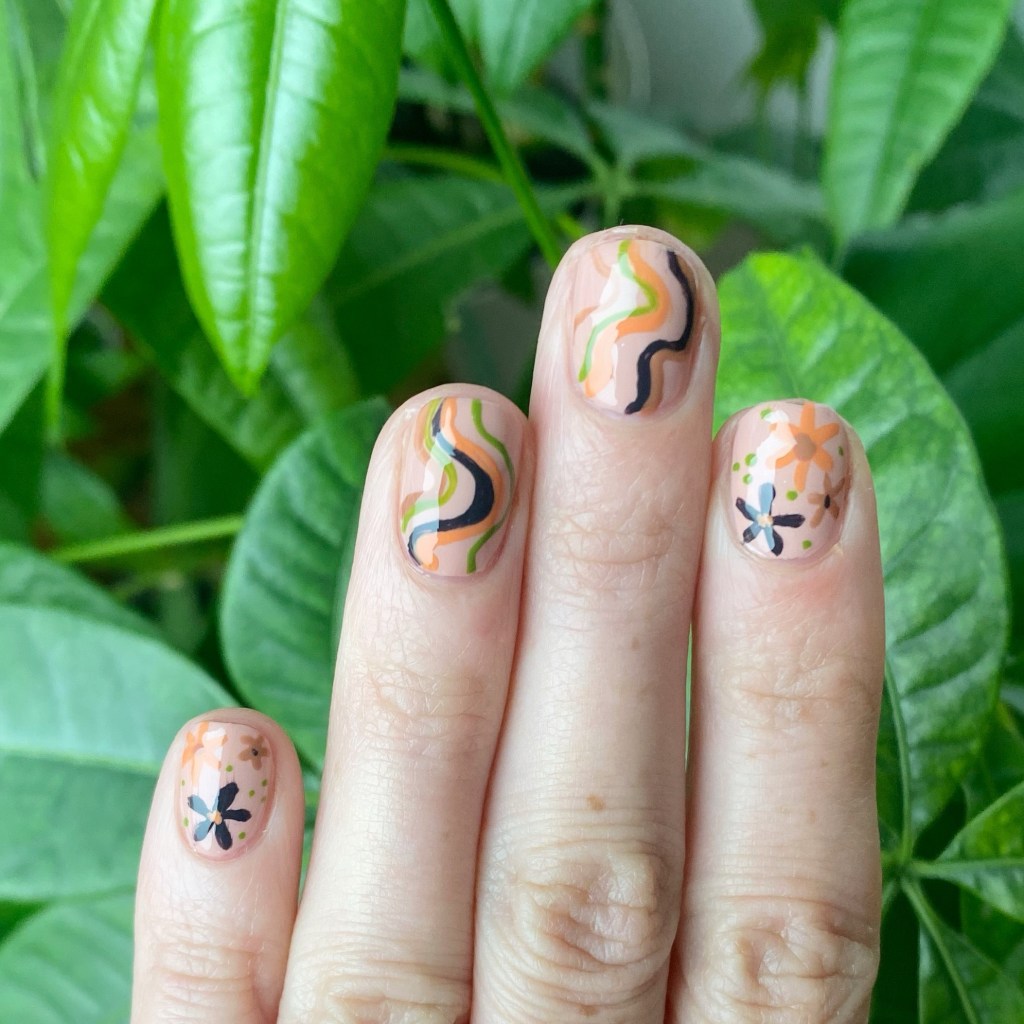
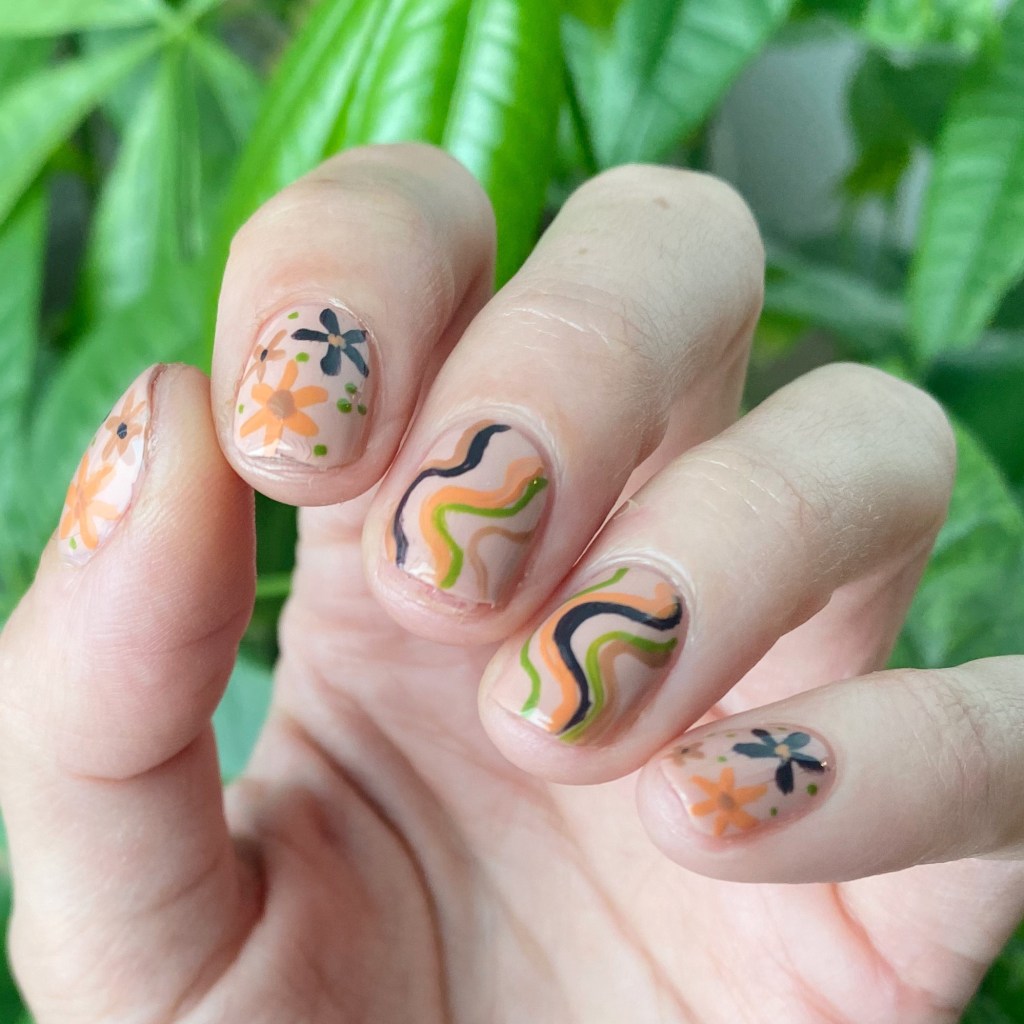
70s Groovy Autumn Vibes 🍂✨

Hello lovelies & happy Monday. It is rainy, & gloomy, & humid outside, & I’m really not enjoying it. It has me dreaming of better days — aka, Autumn. I did my best, I tried my hardest, but honestly… I just love Fall. I love everything about Fall, & I can’t wait for it to be here! I want knee high boots, tights, & plaid skirts, okay?

So I felt like some fun Autumn-esque toned nails were exactly what I needed.

I also had a horrendous break on my middle finger while opening a bin of coffee beans at work, so a bit snip was in order. But just because my nails are super duper short, doesn’t mean they can’t be cute!

The polishes I used for this manicure are: 

  • Base Coat: Essie Hard To Resist Strengthner
  • Top Coat: Sinful Colors Power Paint Top Coat + Essie Speed Setter
  • Essie Bare With Me
  • Essie Home After 8
  • Essie Frilly Lillies
  • Essie Cliffhanger
  • Essie Willow in the Wind
  • NailStuff 11mm Mermaid Tail Liner Brush

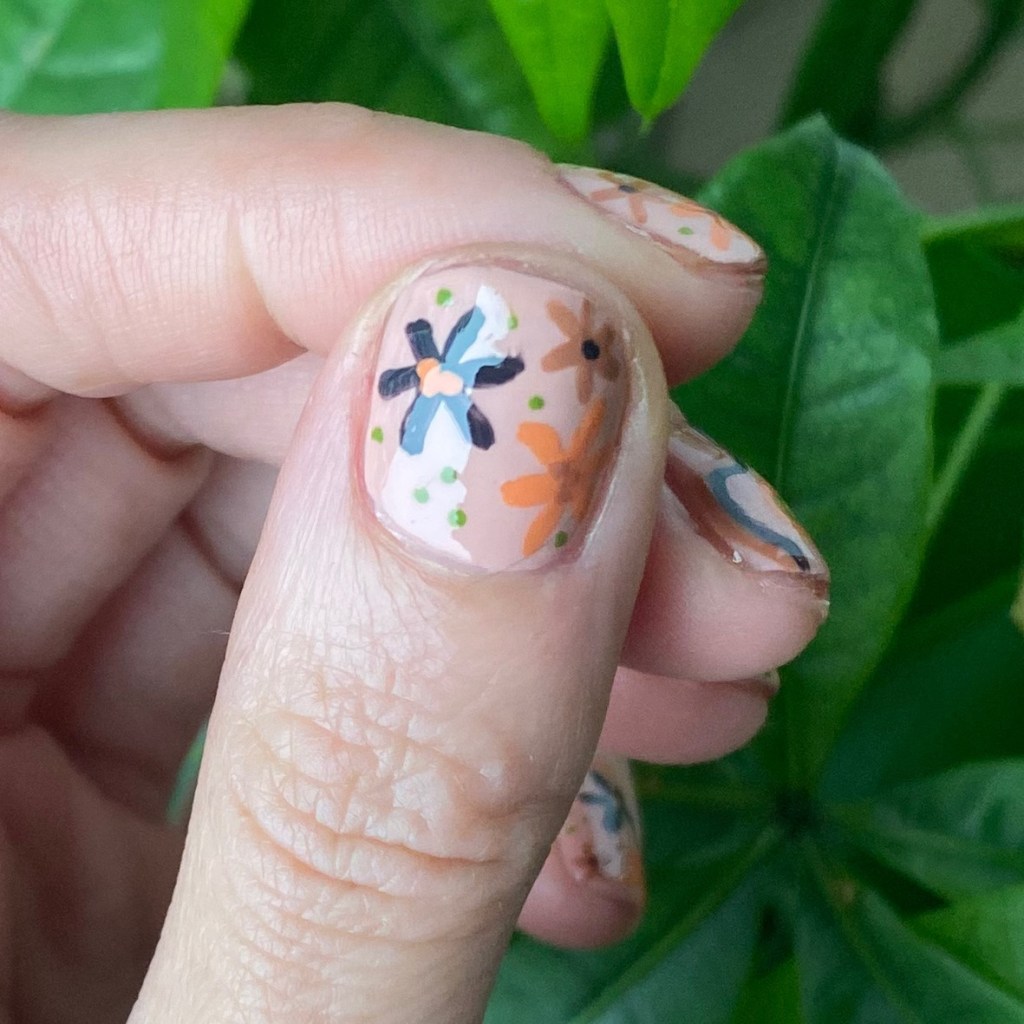
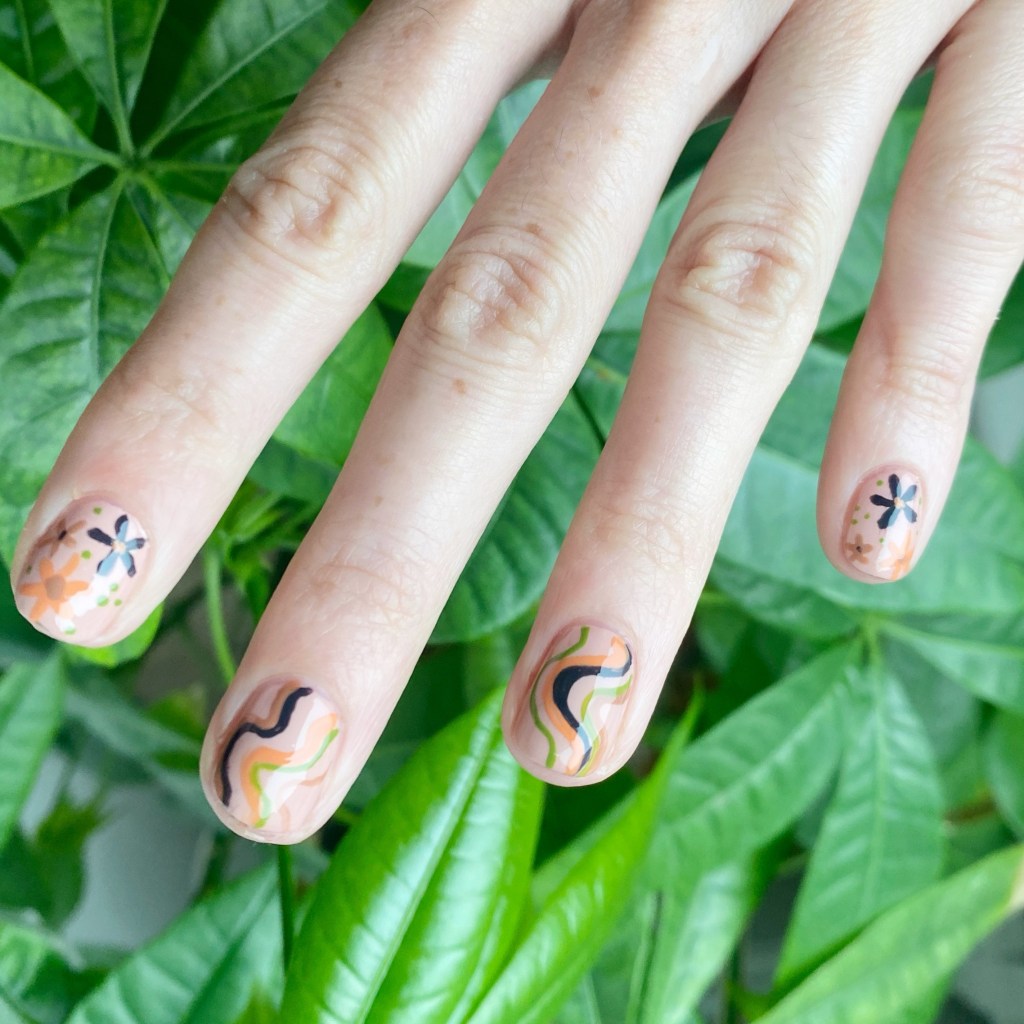
I love this colour combination together too. I picked out my colours before I knew what kind of design I was going to do, but it came together so fun! The colours work together so beautifully, & it is giving both 70s wallpaper vibes, & early Autumn.

My only gripe is a I wish I had mixed up my swirls & my flowers better so they alternated, but it’s such a small thing it doesn’t take away from how fun these look.

What do you think of this Autumn inspired look, featuring my brand new super shorties? Personally I’m really happy with how these turned out — & especially the colour combination. It’s giving just enough Fall vibes to keep this girl going until she gets her hands on her very first PSL.

Happy Tuesday!

♥︎

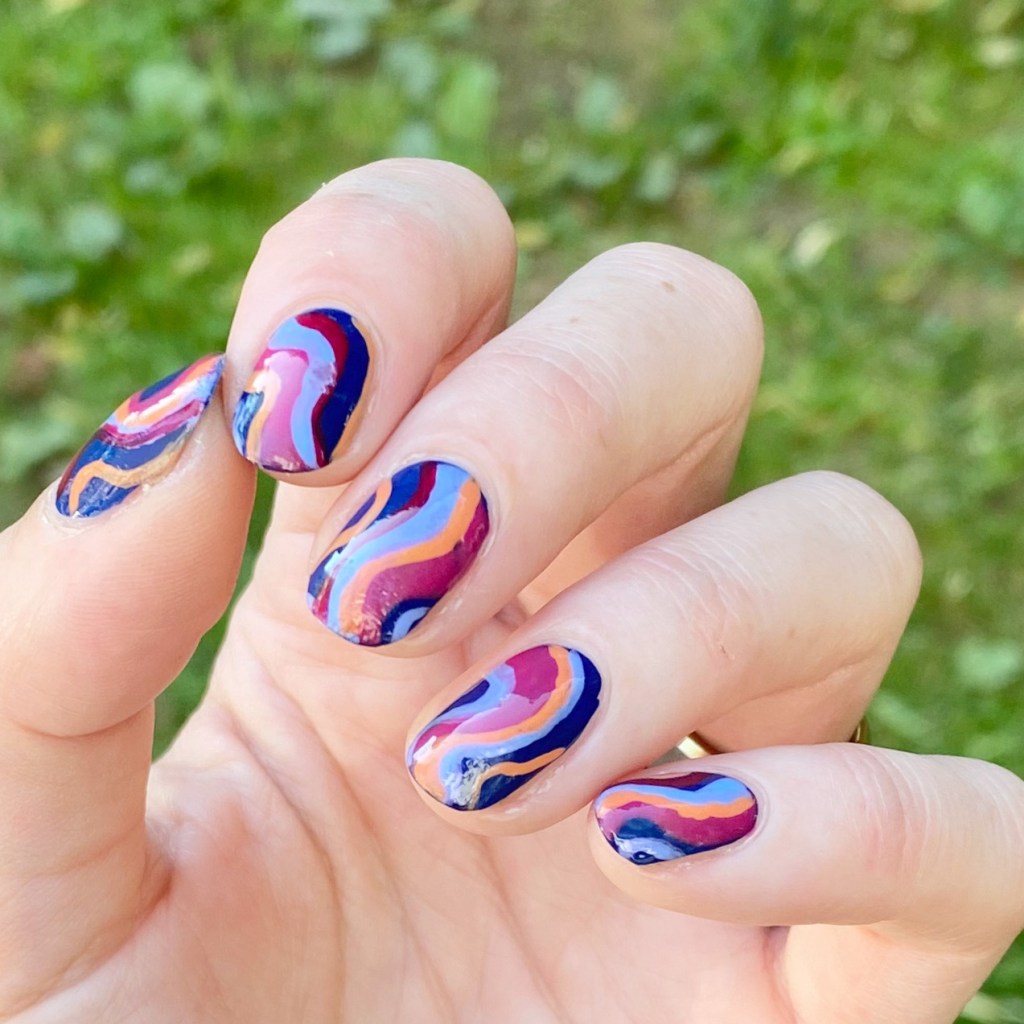
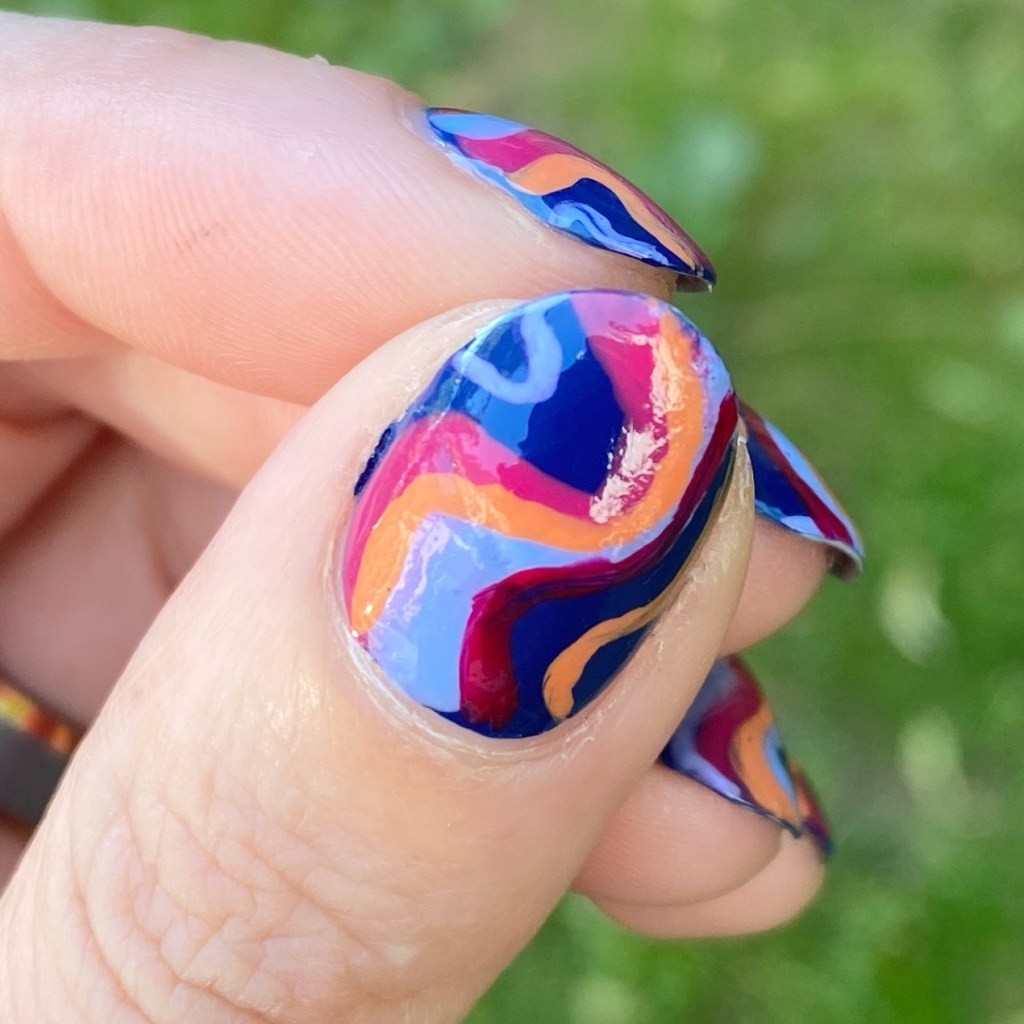
Funky Retro Inspired Abstract Stripes

Hello lovelies & happy… Tuesday? Yes Tuesday. I swear, the Summer makes all the days flow together & I can never keep track.

I’ve been on a nail art roll, feeling inspired to do some fun stuff on my nails. I also found a great top coat combi which is helping them last a closing shift at work (more or less). Today’s look is another nail design goto of mine, but I really think this colour combination is just perfection.

The polishes I used for this manicure are: 

  • Base Coat: Essie Hard To Resist Strengthner
  • Top Coat: Sinful Colors Power Paint Top Coat + Essie Speed Setter
  • Essie License to Thrill
  • Essie Frilly Lillies
  • Essie Brides No Grooms
  • Essie She’s Pampered
  • Essie You Do Blue
  • NailStuff.ca 16mm Striper Brush

I really love how these colours came together. I feel like my goal with abstract stripes is I want them to have a vintage feel, & this is giving 70s wallpaper. Maybe someday I’ll venture into another decade — like maybe some Y2K inspired ones — but for now I enjoy how these ones look.

What do you think of this look? Do you love how bold & vibrant they are! Plus I got a ton of compliments on them at work, which is always the sign of a successful manicure.

Happy Tuesday!

🖤

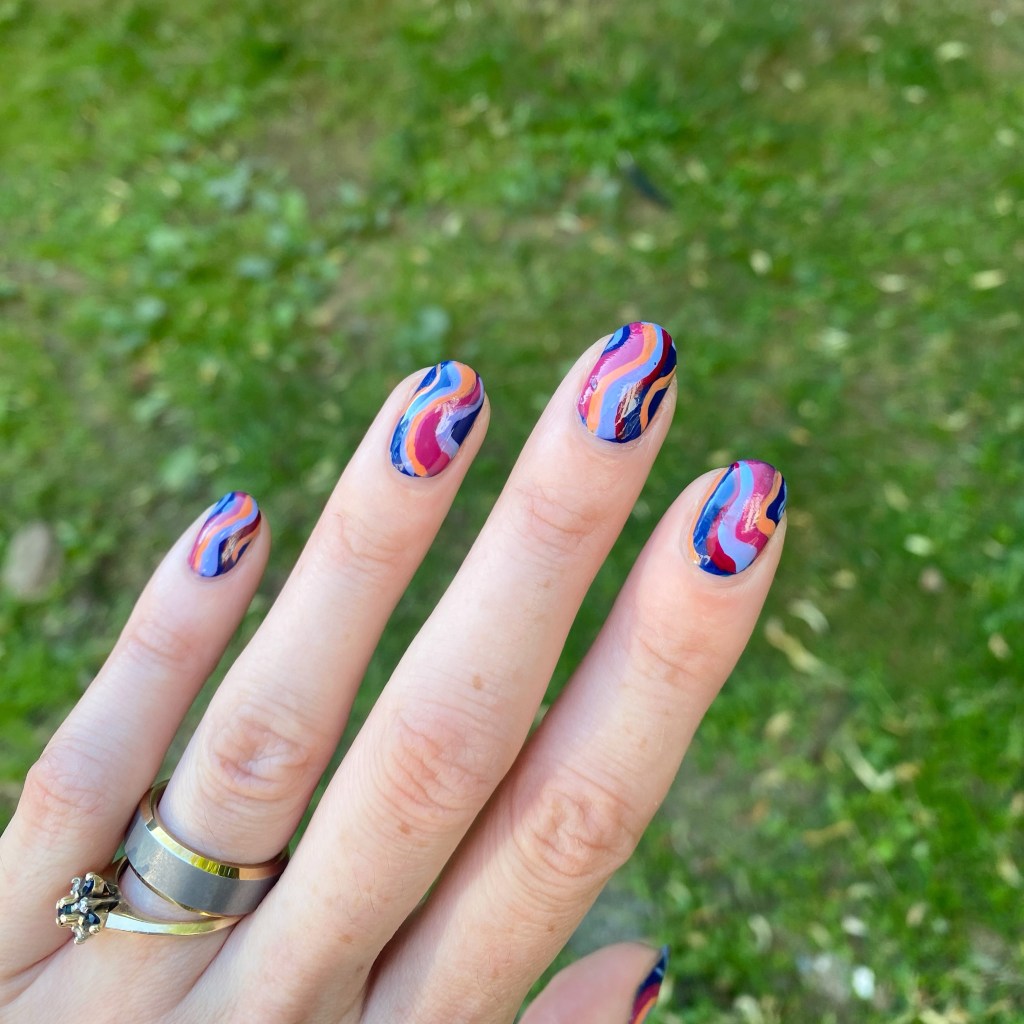
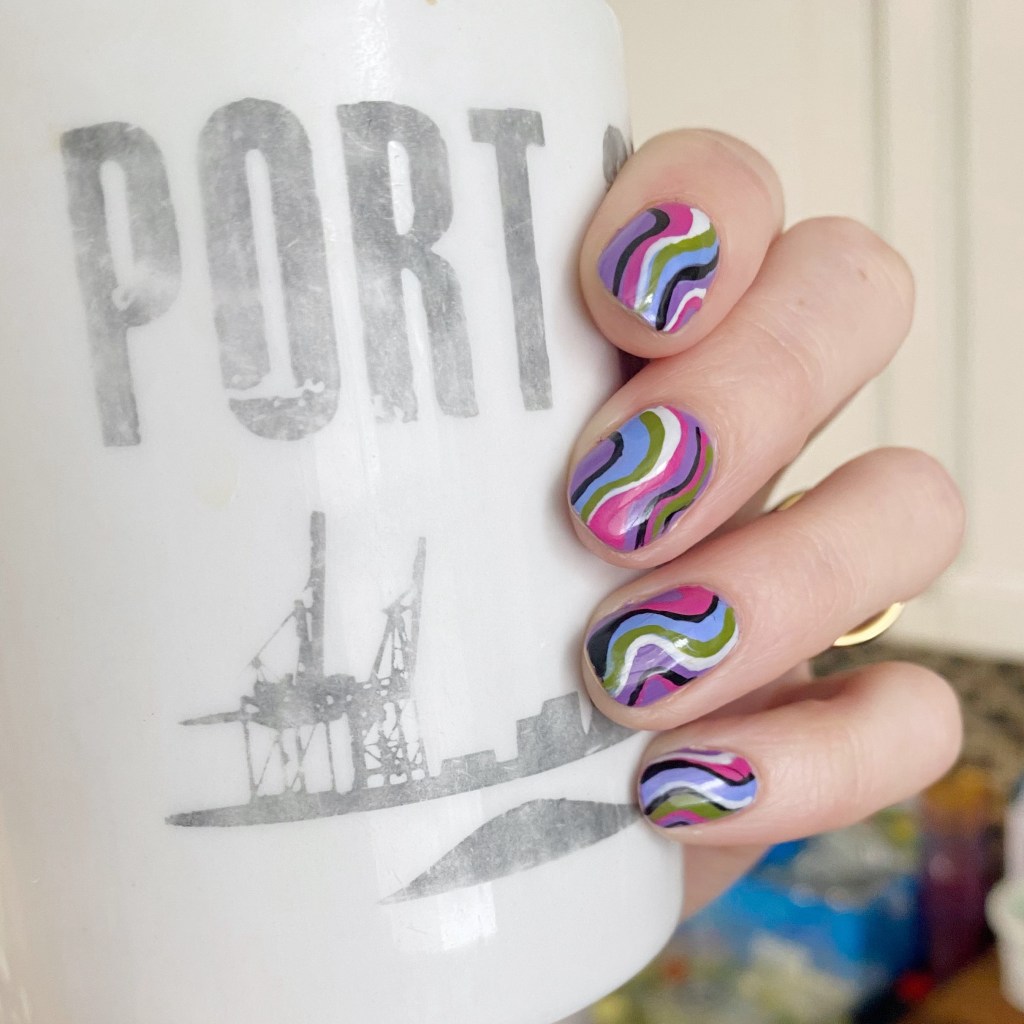
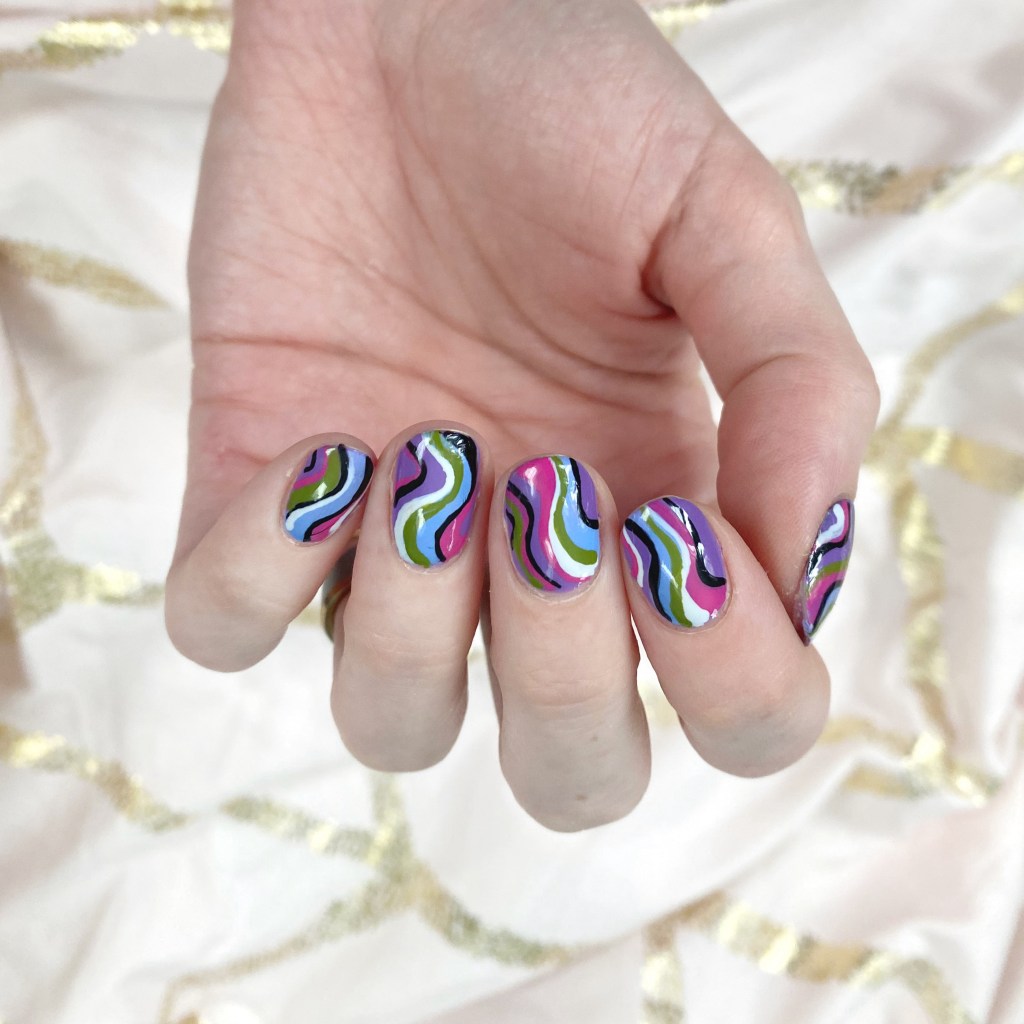
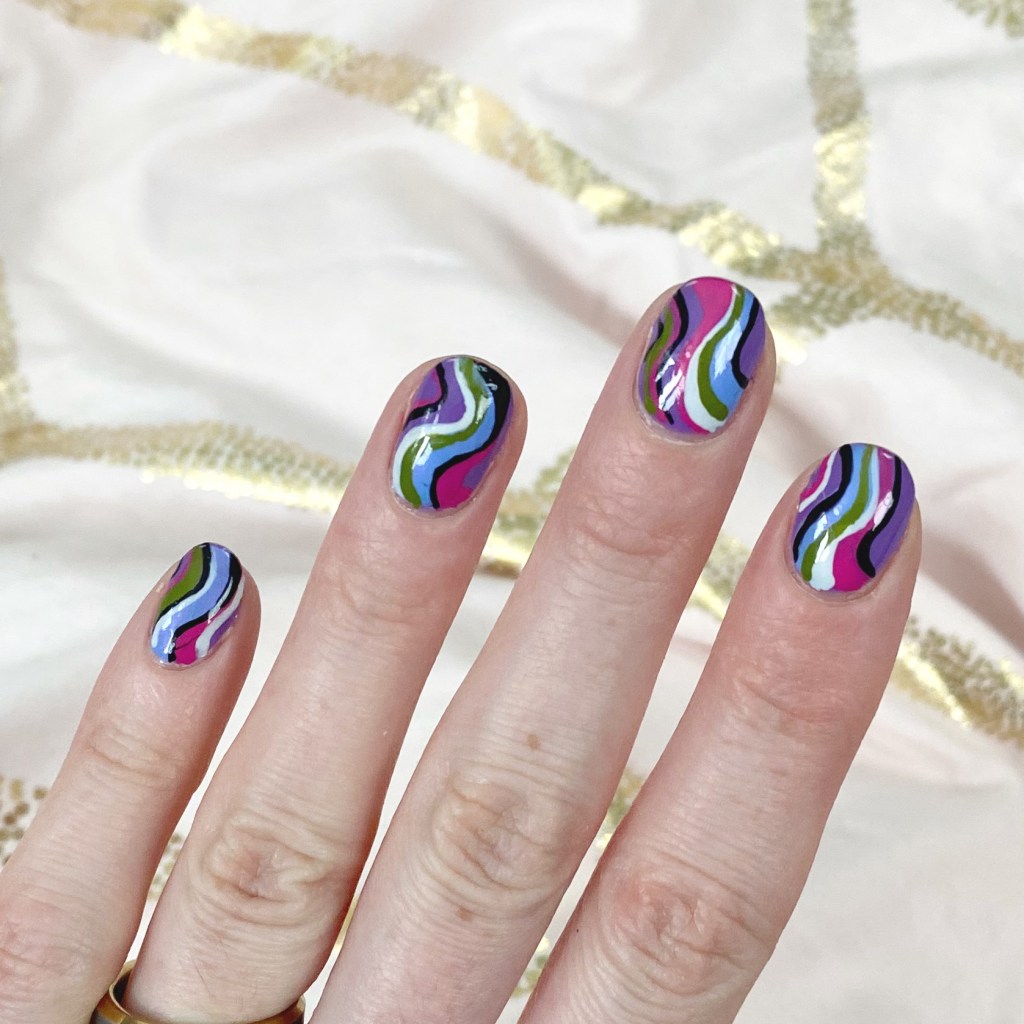
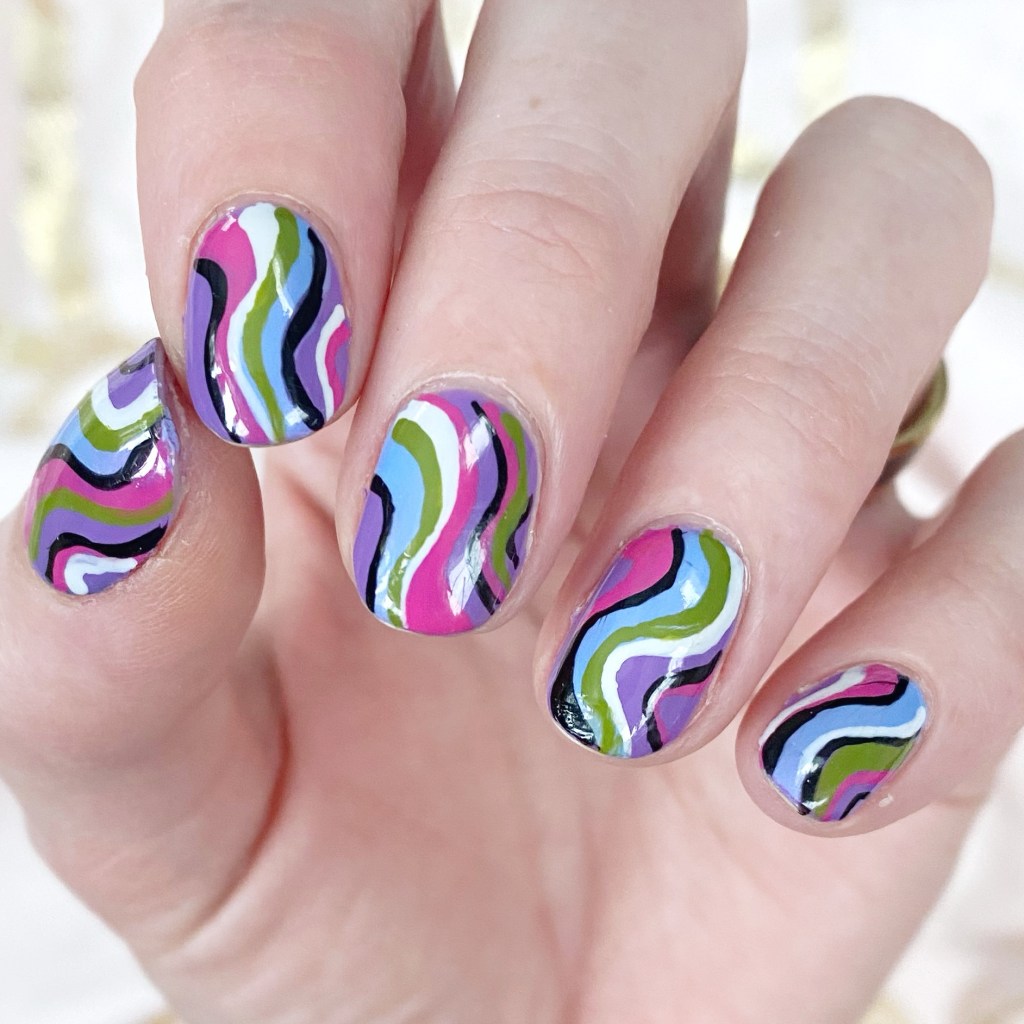
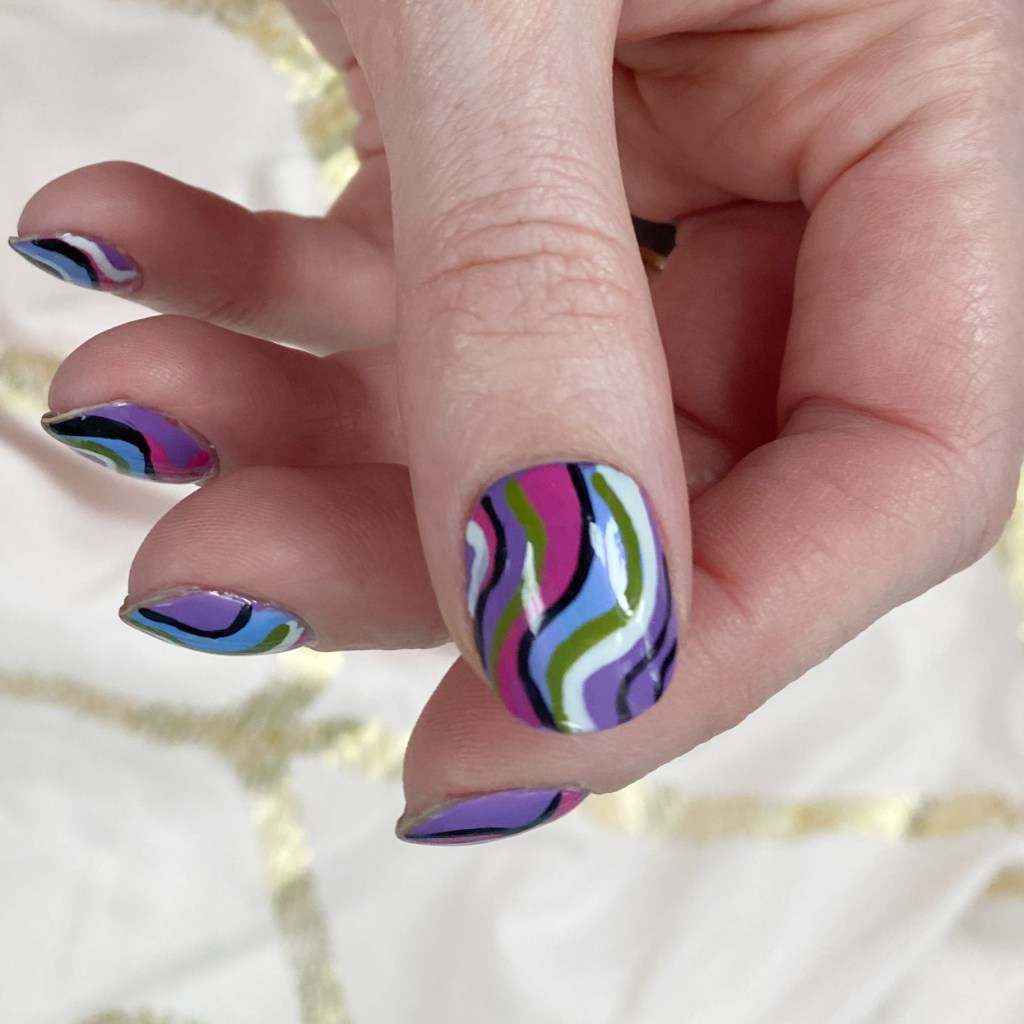
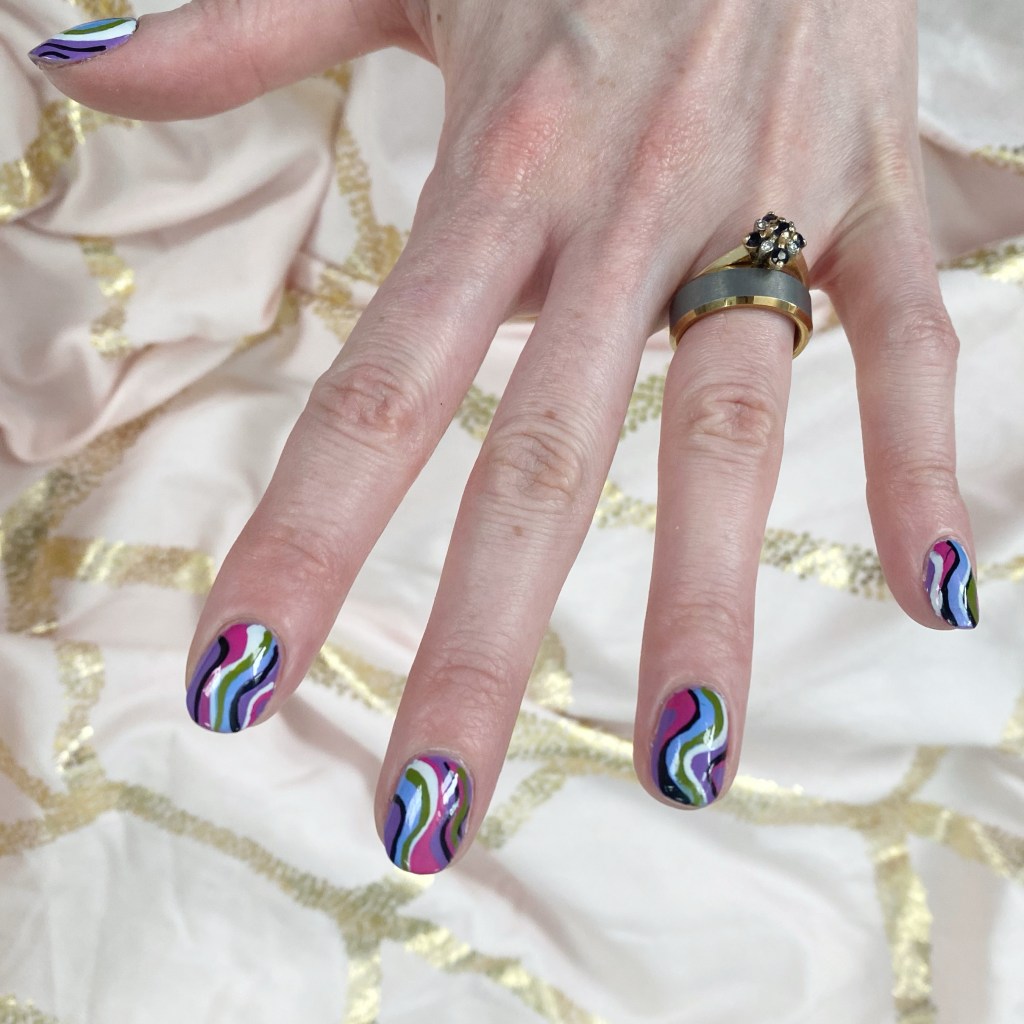
Bright & Funky Abstract Stripes (2000s Inspired)

*contains PR/gifted items

Hello loves & happy Monday!

I am still over here desperately craving Spring weather — while the actually weather does not cooperate. You would think I would be used to it by now (after all these years), & yet every year I get enraged when Spring doesn’t come quick enough. But… I digress. You’re here for nails, & I absolutely love today’s design!

I’m calling these Pucci-esque–not to be confused with Color Club Pucci-licious–& they’re giving me mid-2000s vibes. Specifically: Emilio Pucci’s Spring 2005 collection. I wanted something absolutely bright & colourful, that just screamed Spring, & this combination delivered.

The polishes I used for this manicure are: 

  • Base Coat: Sally Hansen Maximum Growth
  • Top Coat: Seche Vive Gel Like Top Coat
  • Butter London Pure Colour 21X Bloomsbury
  • Essie You Do Blue
  • Sally Hansen Good. Kind. Pure. Peony Origins
  • Essie Willow in the Wind
  • OPI I Cannoli Wear OPI
  • Quo by Orly Nail Art Striper in black
  • NailStuff.ca Mermaid Tail 7mm Liner Brush

Okay — how gorgeous & fun are these nails? I love the combination of colours & how they pop on the nails. They’re just so sunny, & bright which is exactly what my days need when it’s quite a bit below freezing today. I need a little hit of Spring, even if it’s only on my nails (while I stare wistfully at the Spring dresses hanging in my closet, just waiting for me.)

What do you think of these bright & colourful nails? Do you love the colourful combination as much as I do? Let me know all your thoughts down in the comments below, & if you would rock this look on your own nails!

Happy Monday

♥︎

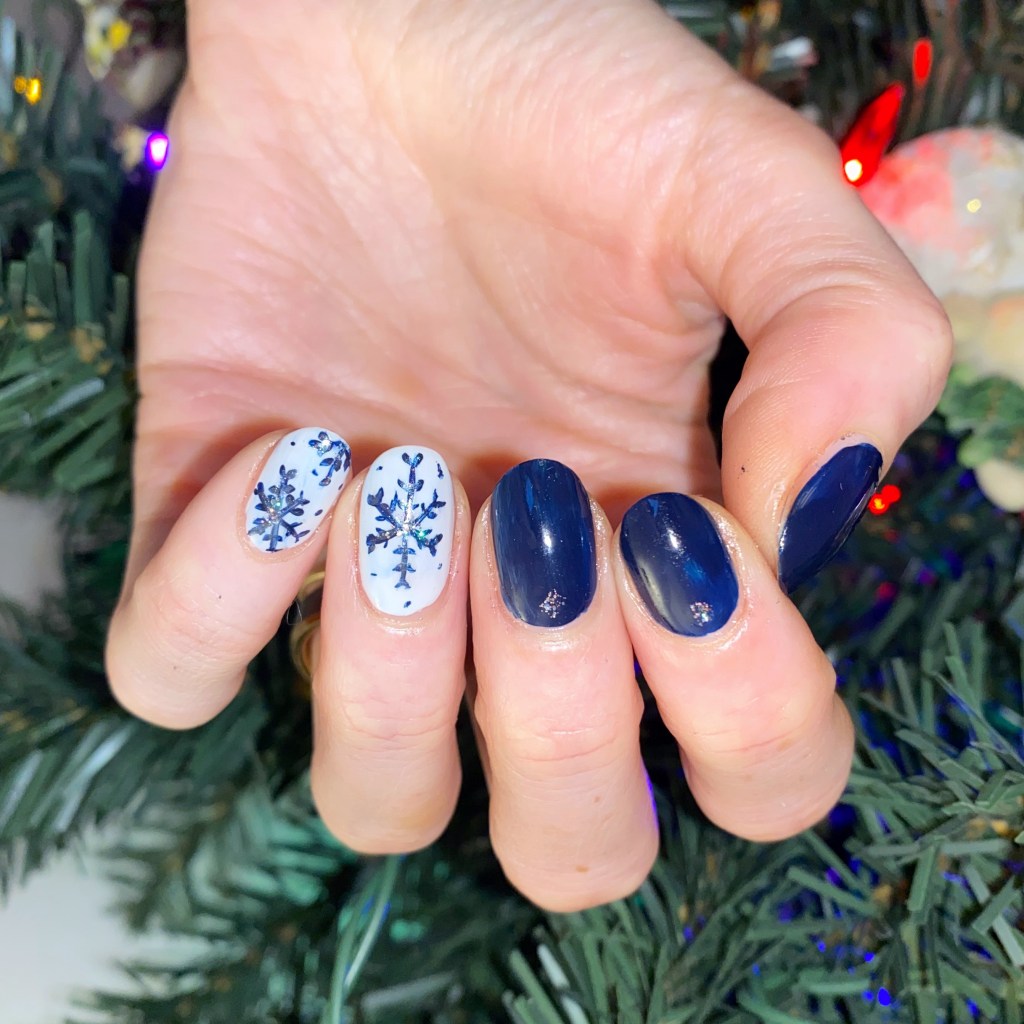
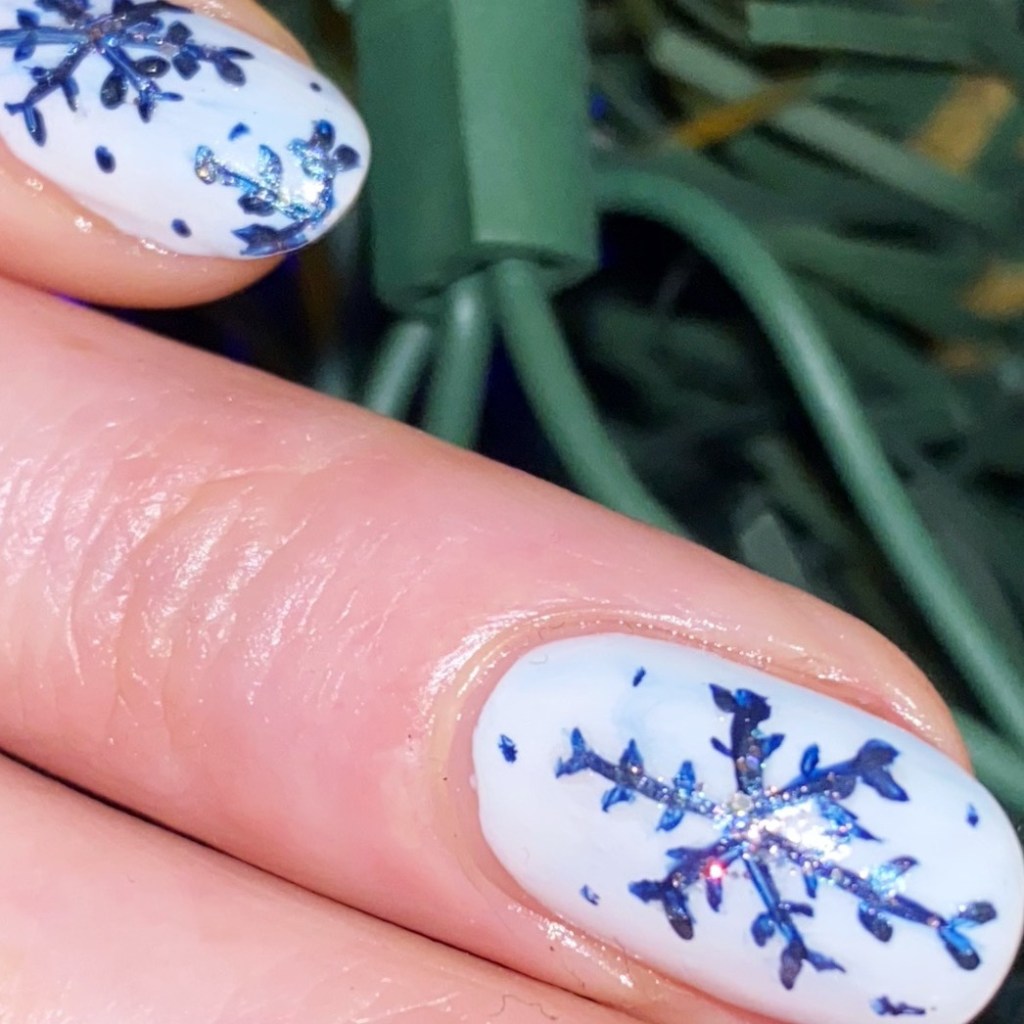
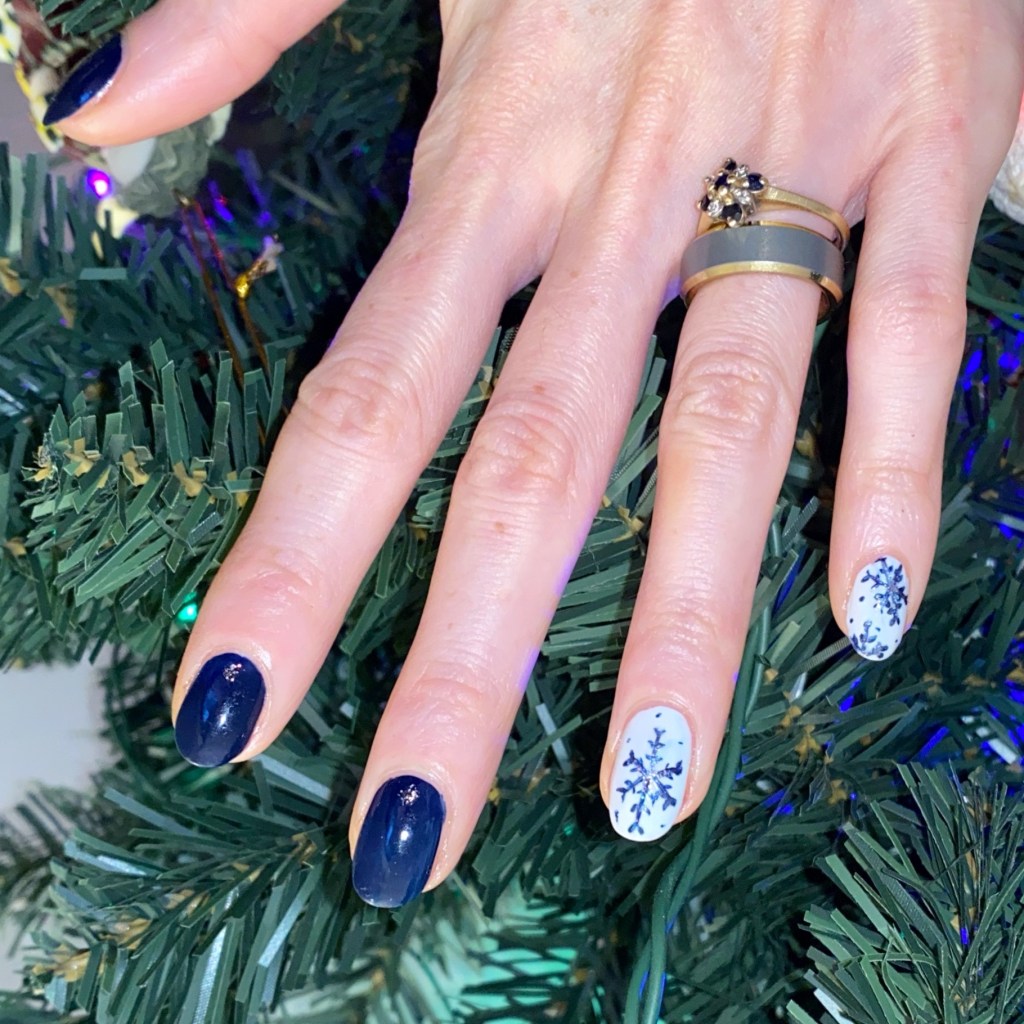
Navy Freehand Snowflake Accent Nails ❄️

Hello lovelies & happy Monday! & happy Holiday week. Sending lots of beautiful wishes to everyone preparing for Christmas, or celebrating Hanukkah, or whatever brings you joy this time of year. The crunch is on right now to finish up this year, so I apologize for my sporadic posting schedule.

Today I’m sharing a freehand nail art Winter look I recently did. It’s not December/Christmas until I paint some freehand snowflakes, & I’m very proud of this design!

The polishes I used for this manicure are: 

  • Base Coat: Sally Hansen Miracle Cure
  • Top Coat: Essie Speed Setter
  • Sally Hansen Complete Salon Manicure Dark Hue-mor
  • Sally Hansen Miracle Gel It’s a Moo Point
  • Sally Hansen Xtreme Wear Strobe Light
  • NailStuff.ca 4mm Micro Detail Brush

I always get scared to freehand something delicate like this, because in case you didn’t know — I can be kind of a perfectionist. But I’m trying to work on that, & challenge myself, & I’m really proud of my snowflakes. They’re dainty, & cute, with just the right amount of glitter.

These are just such fun winter-y Holiday nails. I love how they turned out. Also I’ve been really, really feeling blue lately which is funny, because it’s not the most Christmas heavy colour. But I think for a design like this it’s perfect. & I got lots of compliments when I wore these nails to work, which always makes my whole day when someone notices them.

What do you think about these blue snowflake nails? Do you think it’s a fun, pretty design for the holidays? Are you all ready for the holidays? Let me know what you think down in the comments below.

& good luck to all my fellow last minute shoppers out there! I’ll be right out in the crowds finishing up my shopping, just like you.

♥︎