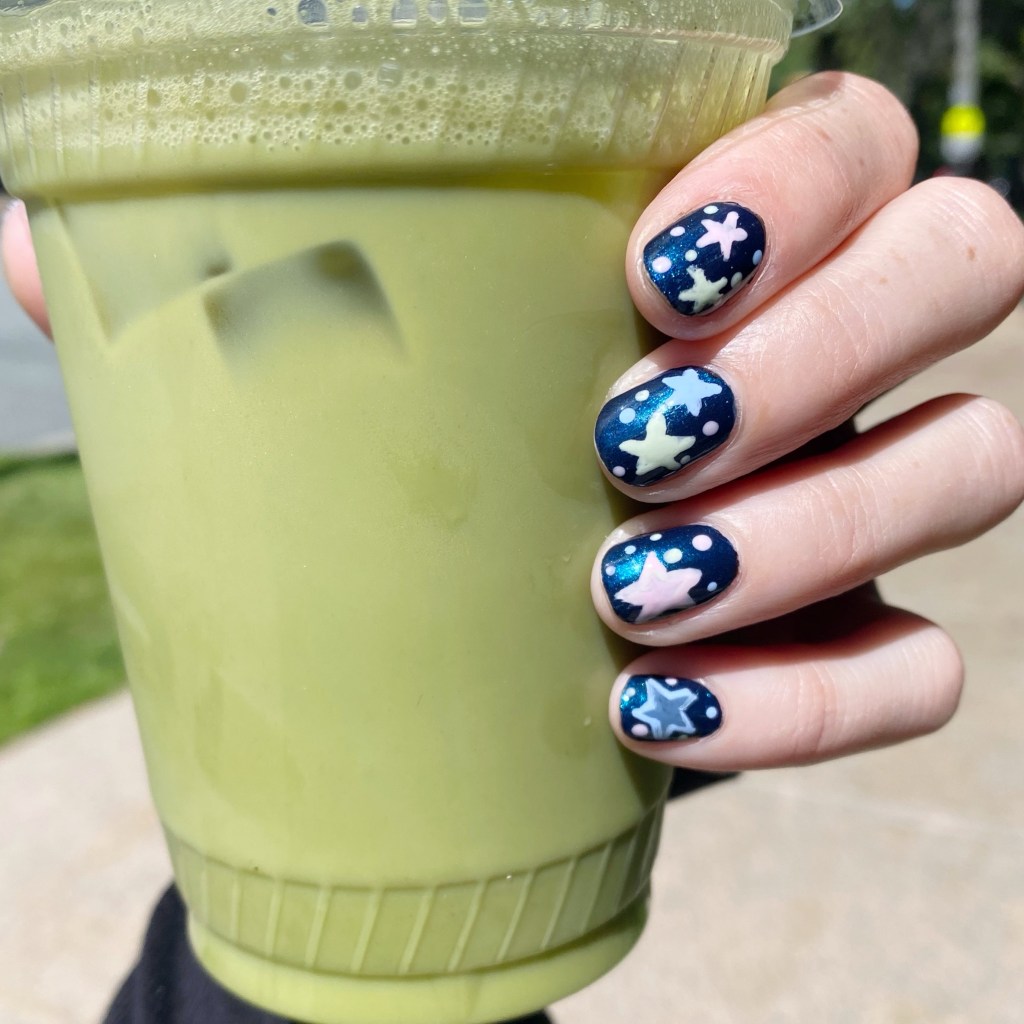
Glow-in-the-Dark Inspired Stars ⭐️

Hello lovelies & happy Tuesday! I hope you’re having a beautiful start to your week.

I’m starting my week off (ish) with a fun nail art look. It feels like absolute ages since I attempted any kind of nail art on my nails… I’ve mostly just been wearing solid colours, press on nails, or maybe like a glitter accent nail (very 2013). So it was kind of fun to dig into my nail desk box, find my good nail art brushes, & give some art a try.
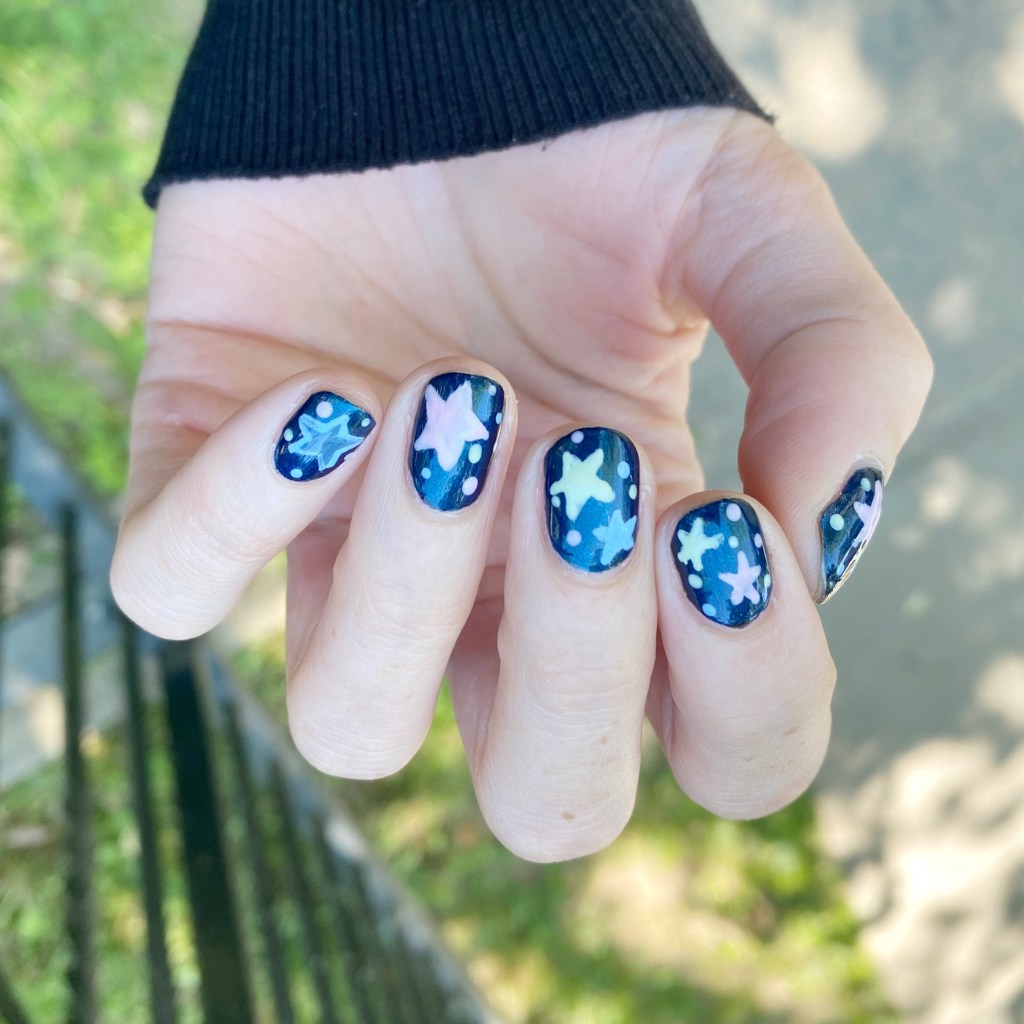
The polishes I used for this manicure are: 

  • Base Coat: Essie Hard To Resist Strengthner
  • Top Coat: Sinful Colors Power Paint Top Coat
  • Essie Bell Bottom Blues
  • OPI Suzi Shops & Island Hops
  • OPI That’s Hula-rious
  • Essie Bikini So Teeny
  • Quo by Orly Breathable De-stressed Denim
  • NailStuff Mermaid Tail Brush
  • Bobby Pin (couldn’t find my dotting tools haha)

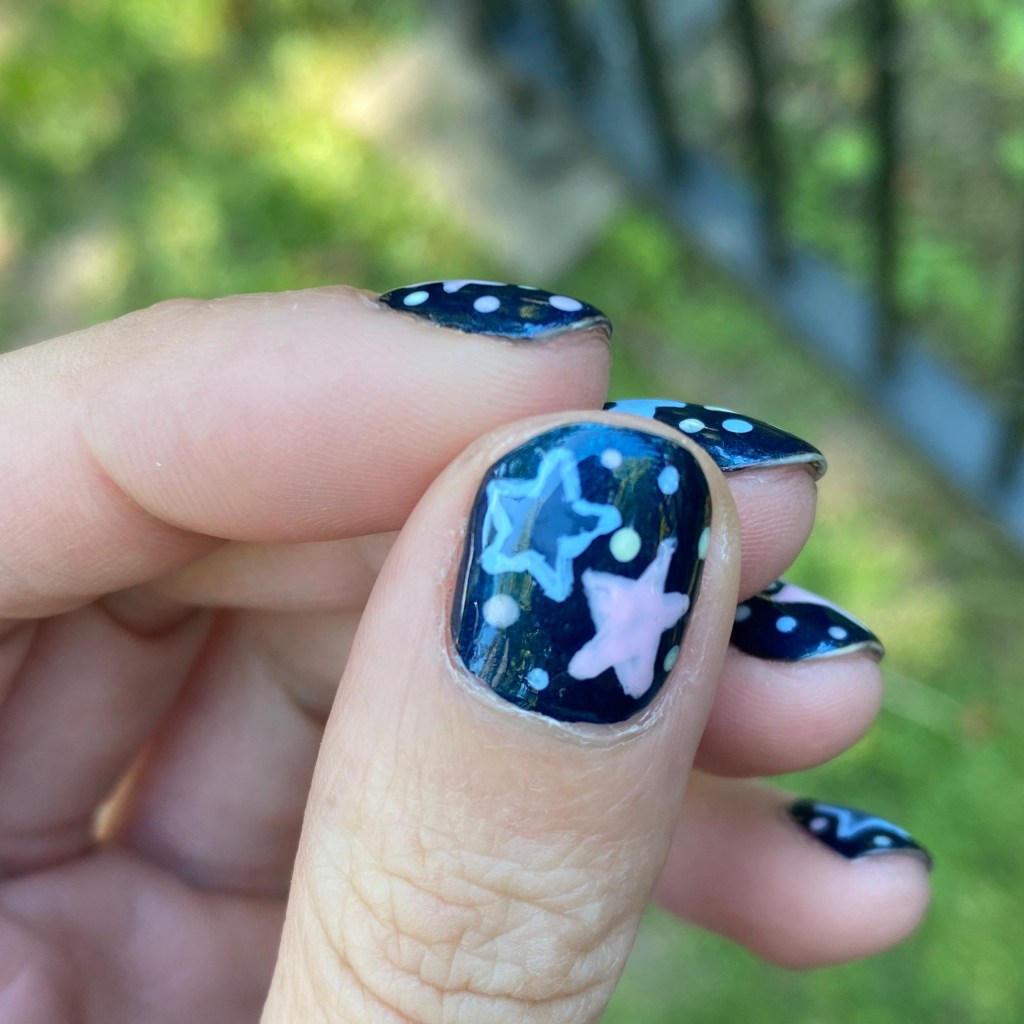
So the inspiration behind this nail art look are glow-in-the-dark stars. Truthfully, I was seeing way too many videos of Hilary Duff’s Glow in the Dark star dress she’s wearing on tour, & this blue base was the perfect not-black shade, that I really wanted to see if I could freehand some stars on my nails!

& even though it’s been forever since I did any freehand designs on my nails, I’m so obsessed with how these turned out! Plus, I got complimented on them while out & about, so I feel pretty awesome about this nail art. They look exactly how I imagined them in my head!

What do you think about my glow-in-the-dark inspired star nails? Do these remind you of being a kid, like they do me? Would you wear this look? Let me know all your thoughts in the comments below & if you love them too!

Happy Wednesday darlings.

♥︎
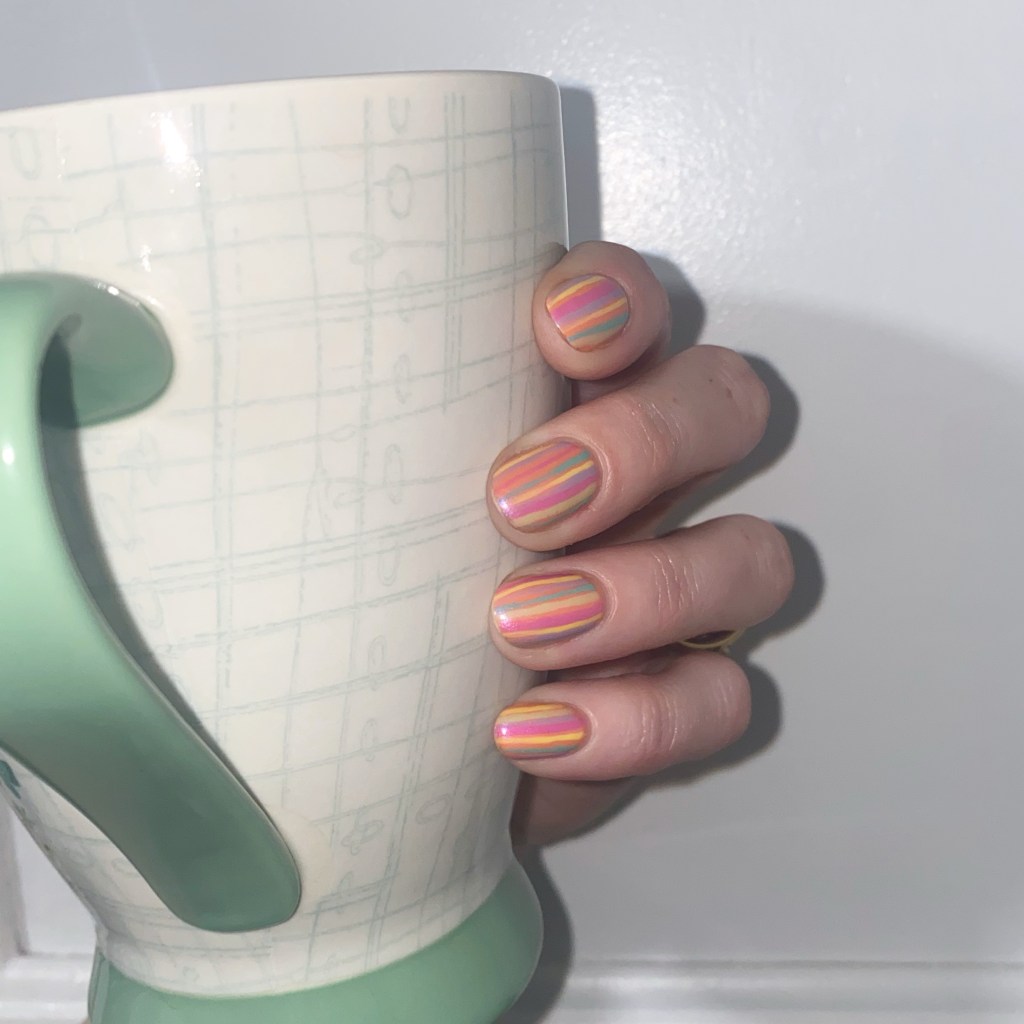
Spring Perfect Pastel Stripes 🌸🌼

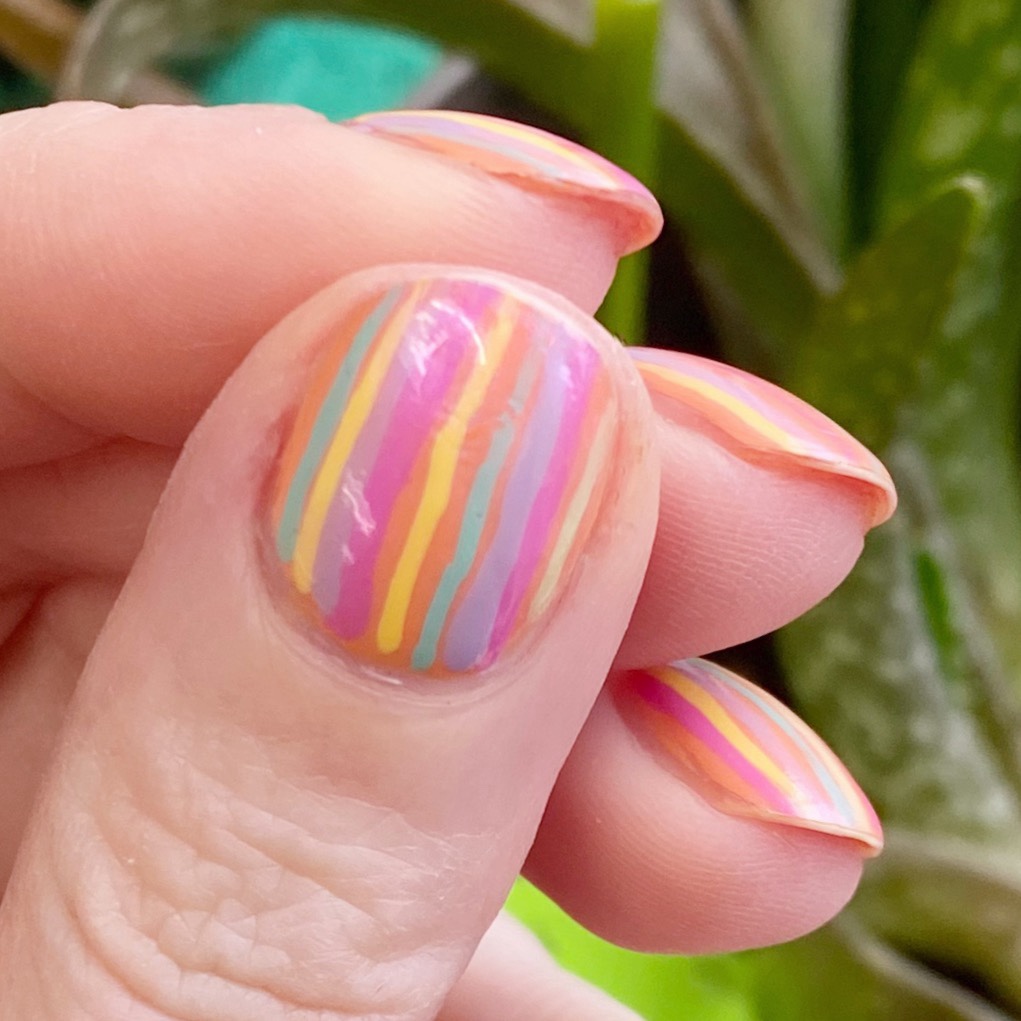
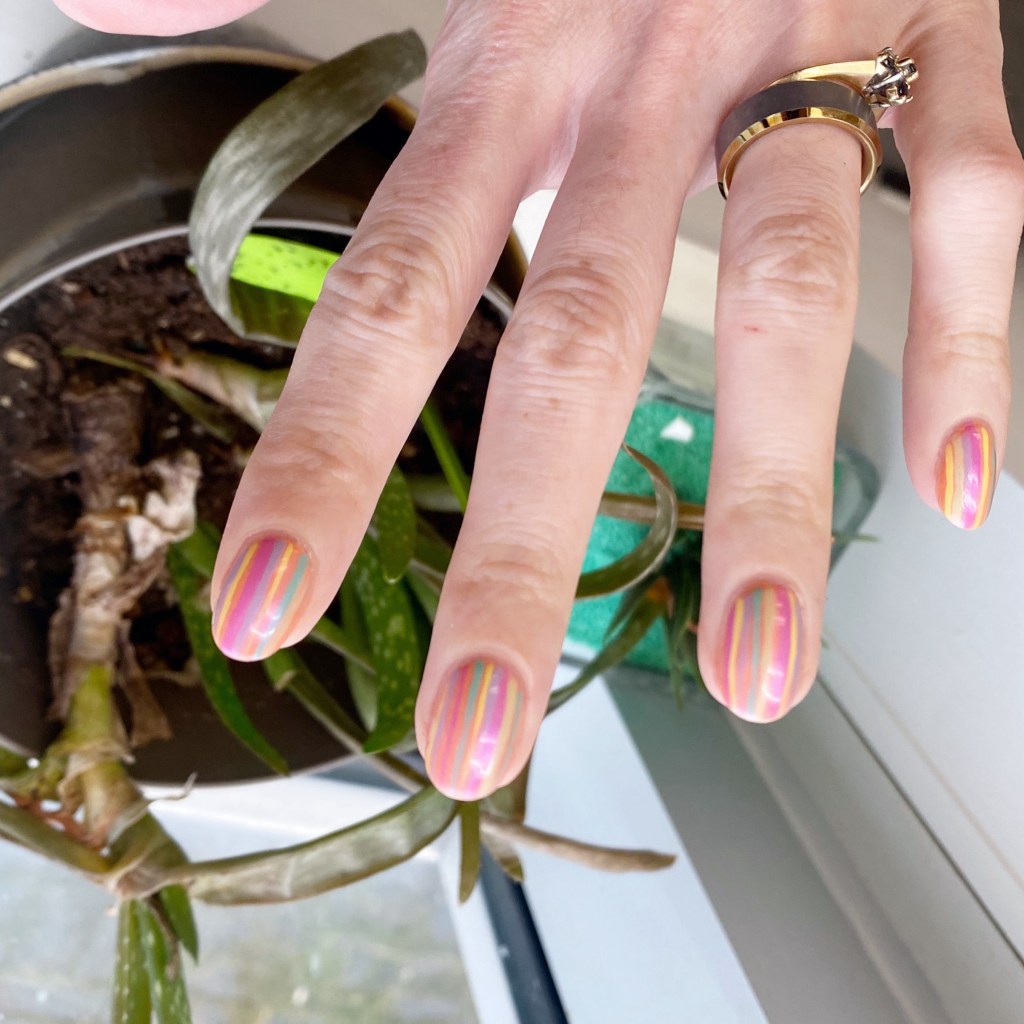
Hello lovelies & happy Easter Monday (to those who celebrate!) It’s a brand new week, & the first full week of April. Maybe we’ll finally feel some more Spring-like temperatures, or — then again — maybe we won’t. But what I can definitely confirm is that I’m going to have some Spring-y nail art designs to share!

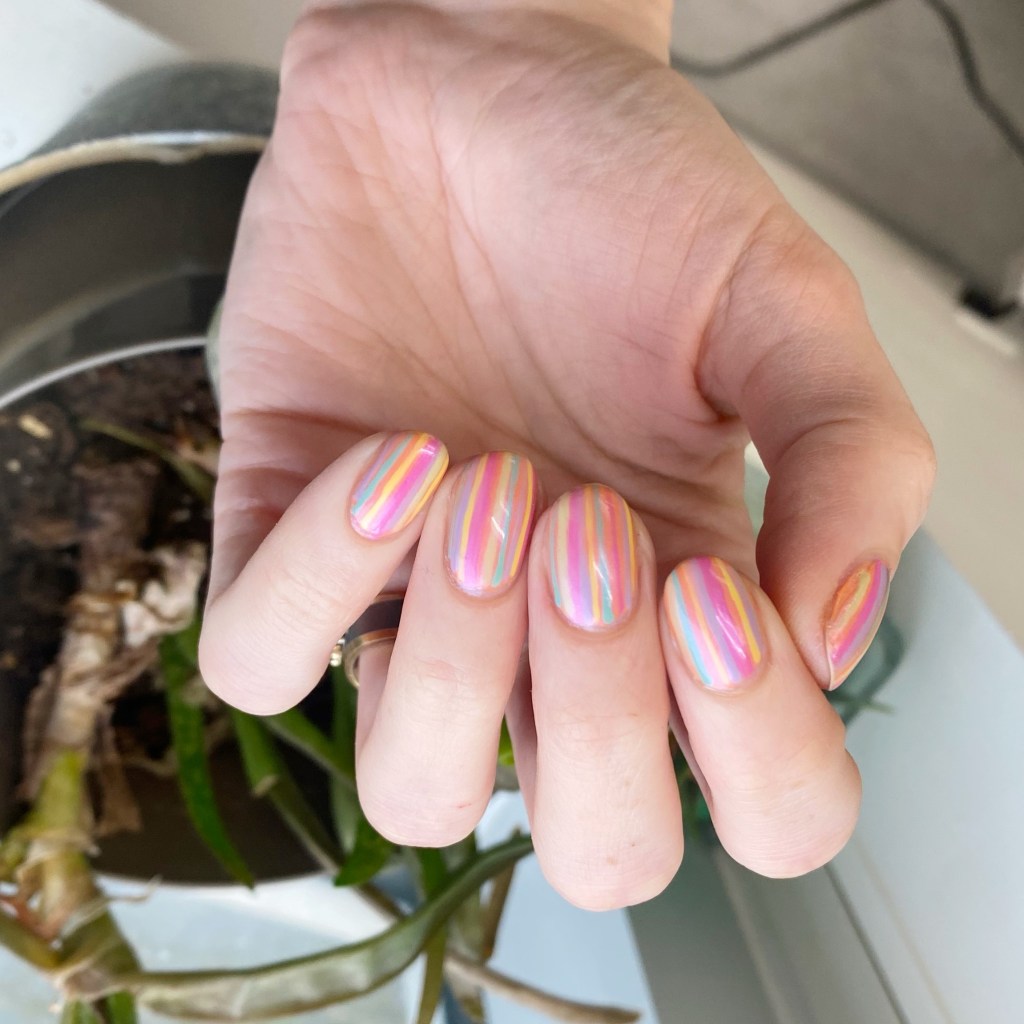
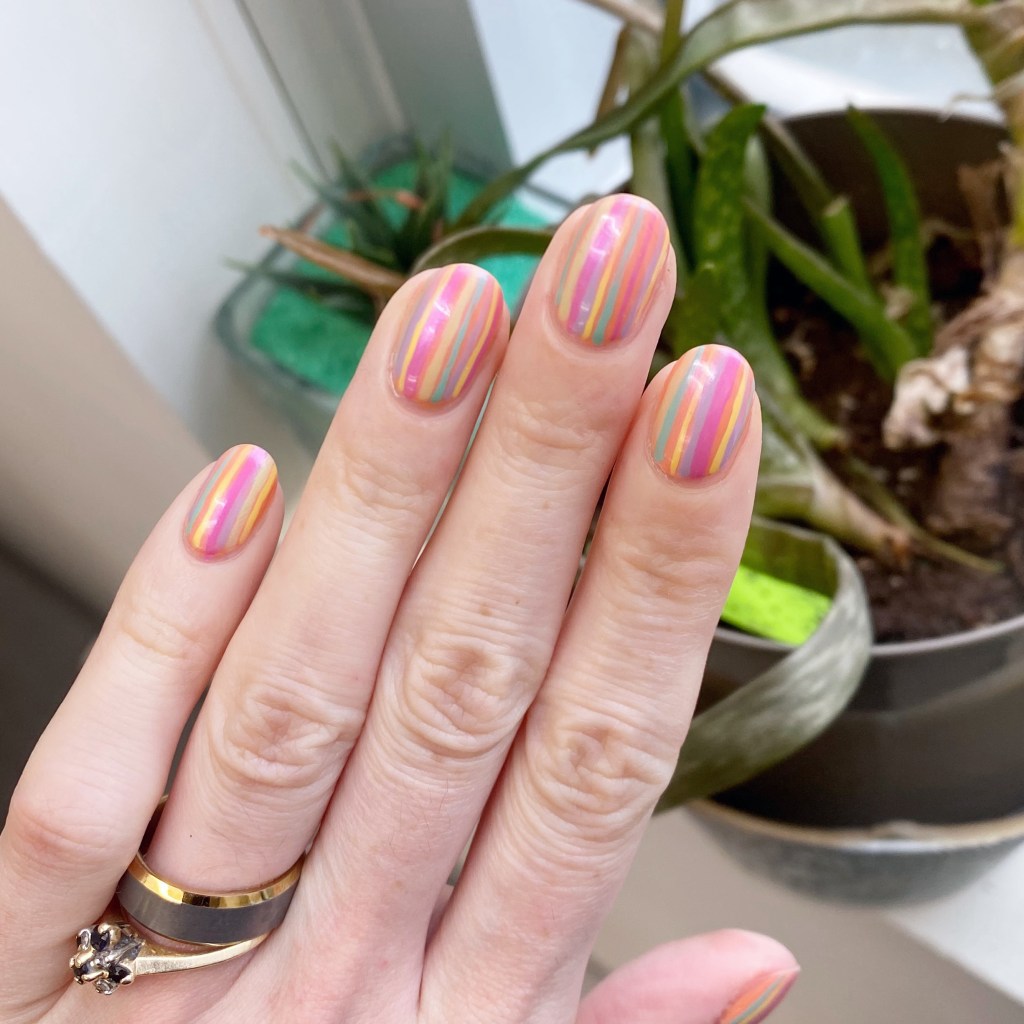
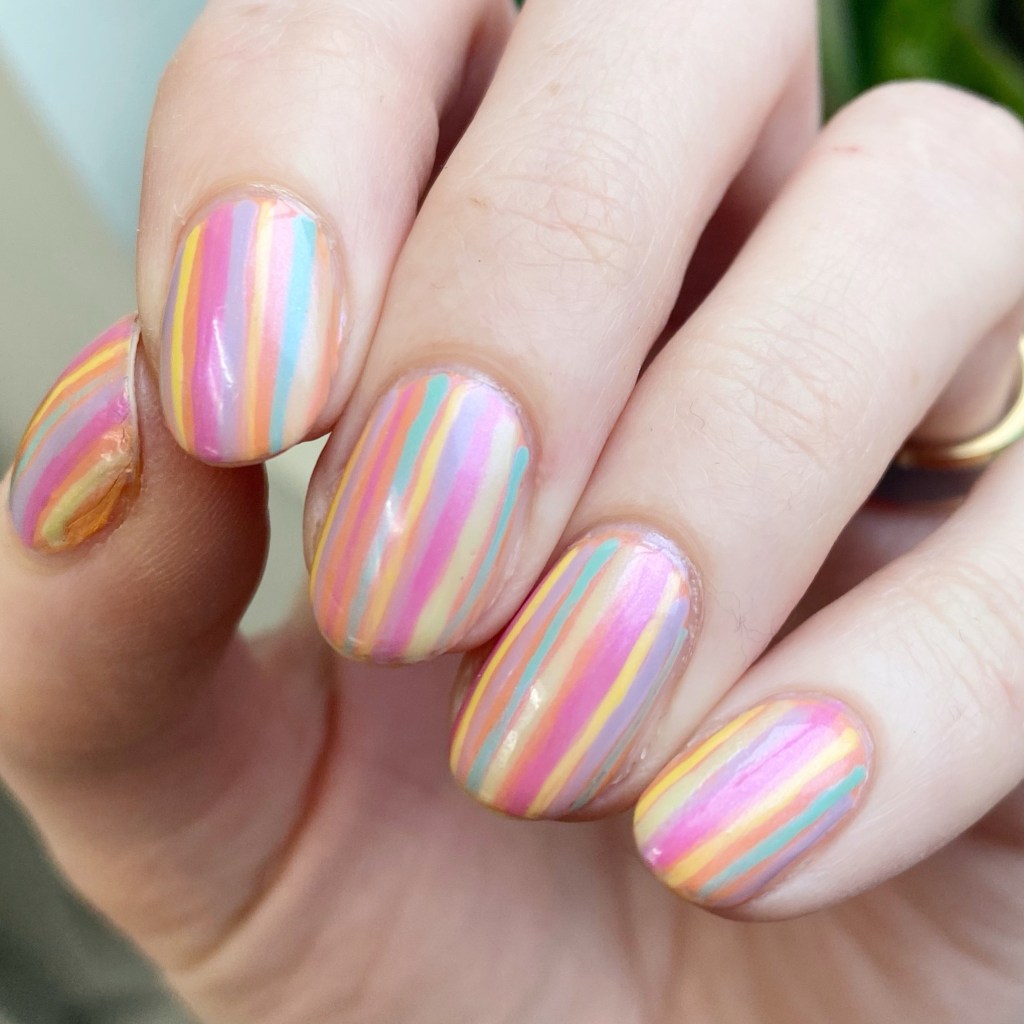
Starting with some fun Easter-esque Spring stripes. These kind of feel Easter egg adjacent, but I think the colours themselves are the just right amount of brightness for this time of year.

The polishes I used for this manicure are: 

  • Base Coat: Sally Hansen Maximum Growth
  • Top Coat: Seche Vive Gel Like Top Coat
  • OPI Where’s Suzi’s Man-go
  • OPI Gargantuan Green Grape
  • OPI Nature Strong Emflowered
  • OPI Nature Strong Cactus What You Preach
  • OPI Nature Strong  Make My Daisy
  • OPI Sickeningly Sweet
  • OPI Altar Ego
  • NailStuff.ca 16mm Striper Brush

So many pretty colours paired together. I ended up adding a swipe of OPI Altar Ego over my stripes to give it a bit of a muted, subdued look which I think added to the over all look of everything & gave it that more subtle Spring colour effect (if you know what I mean.)

Do you think these stripes are giving Spring/Easter? Do you like the muted effect I created using Altar Ego over top? Would you wear this look? Let me know all your thoughts down in the comments below!

Enjoy your Monday!

♥︎

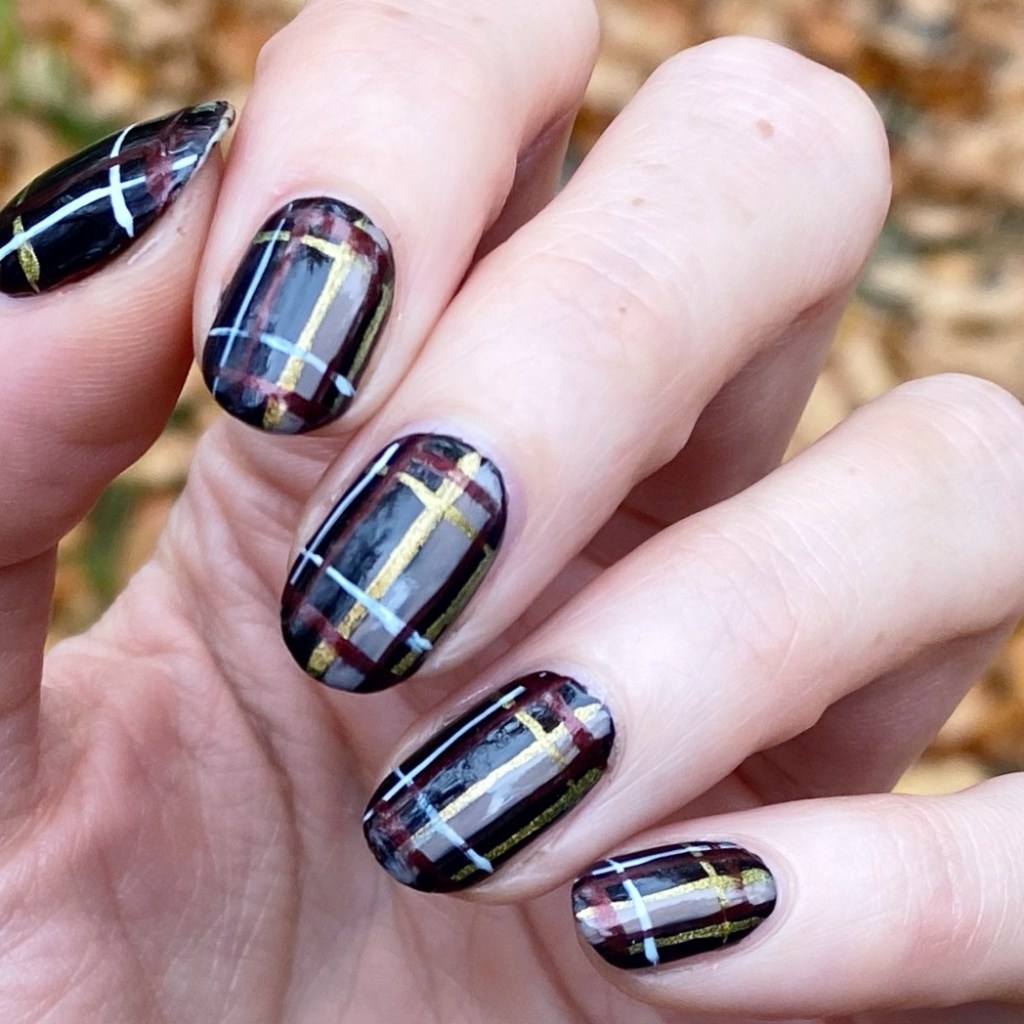
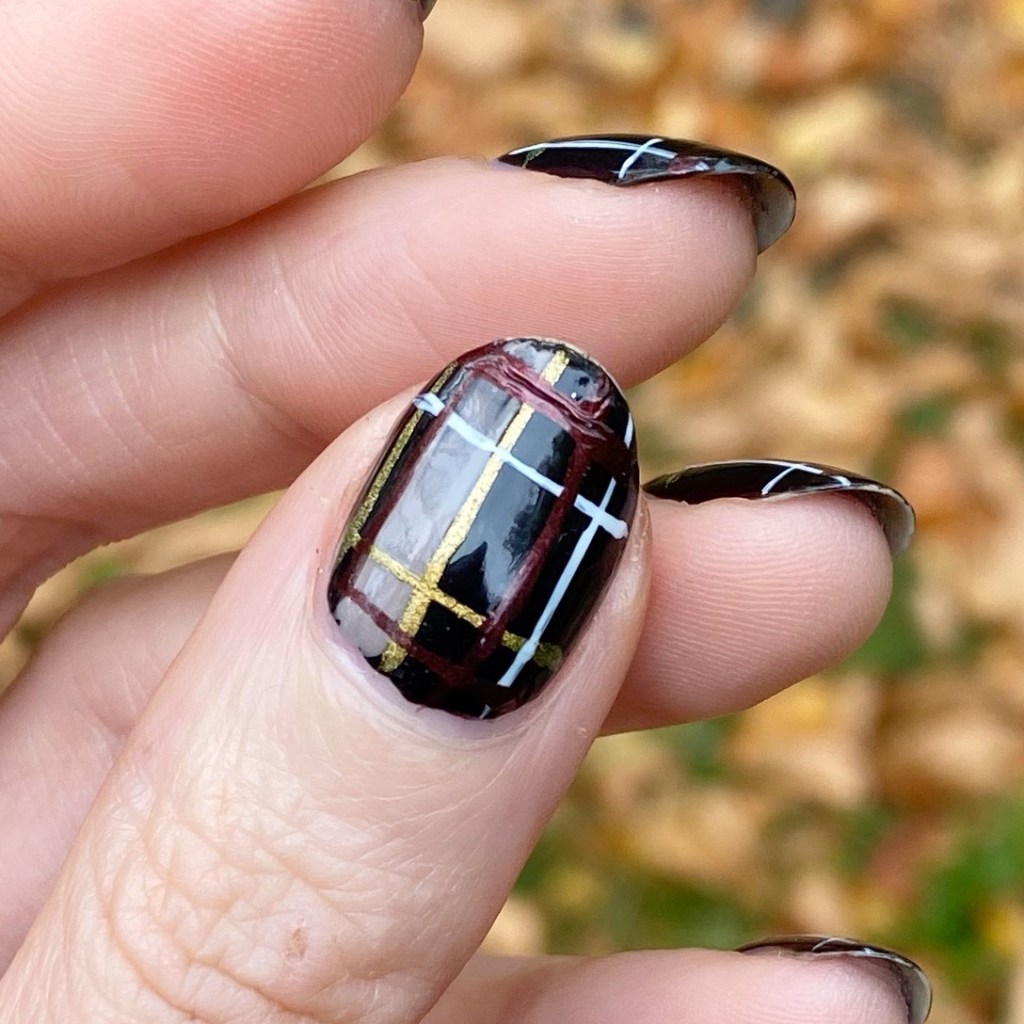
Cosy Autumn Plaid🧣

Hello lovelies & happy Friday! & happy Thanksgiving Weekend to my fellow Canadians celebrating this weekend. It’s officially shifted into Fall weather (almost in overdrive) & the days are feeling cool, & the leaves are feeling crunchy!

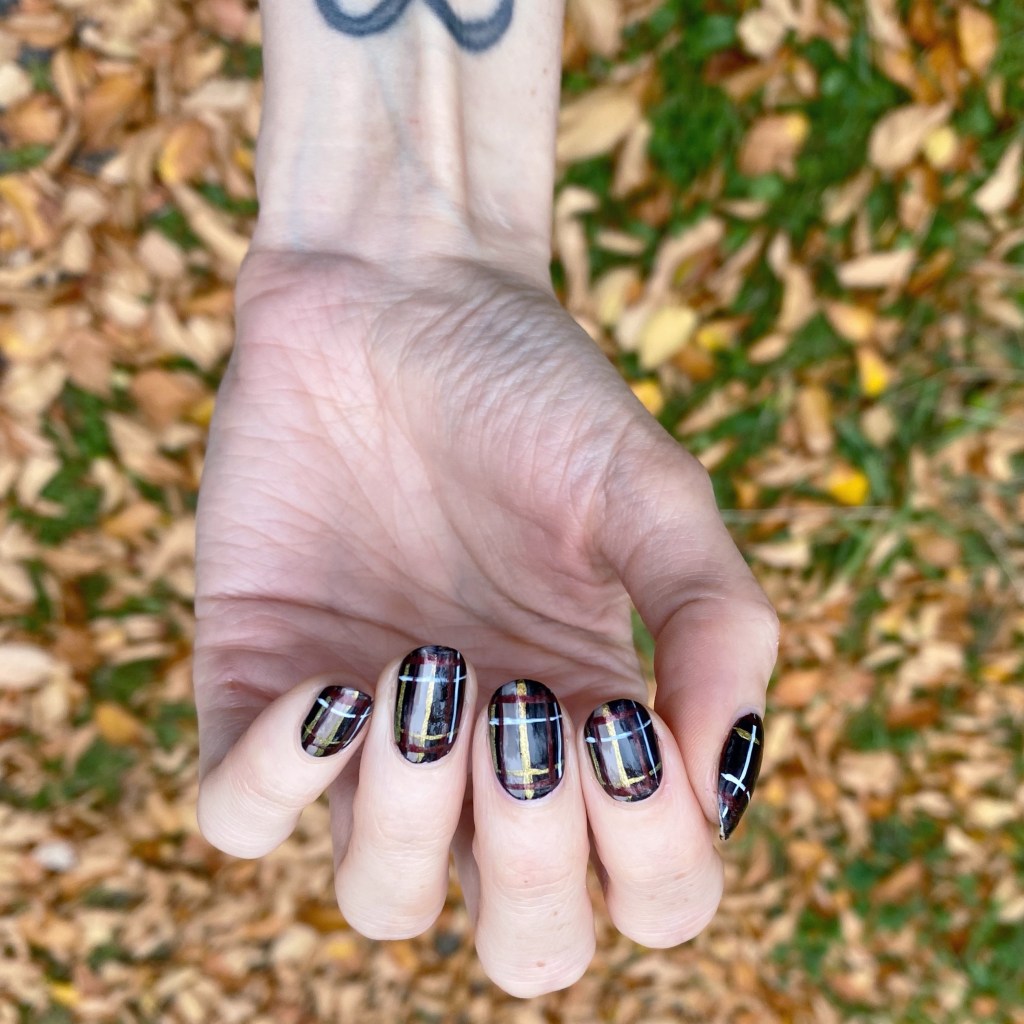
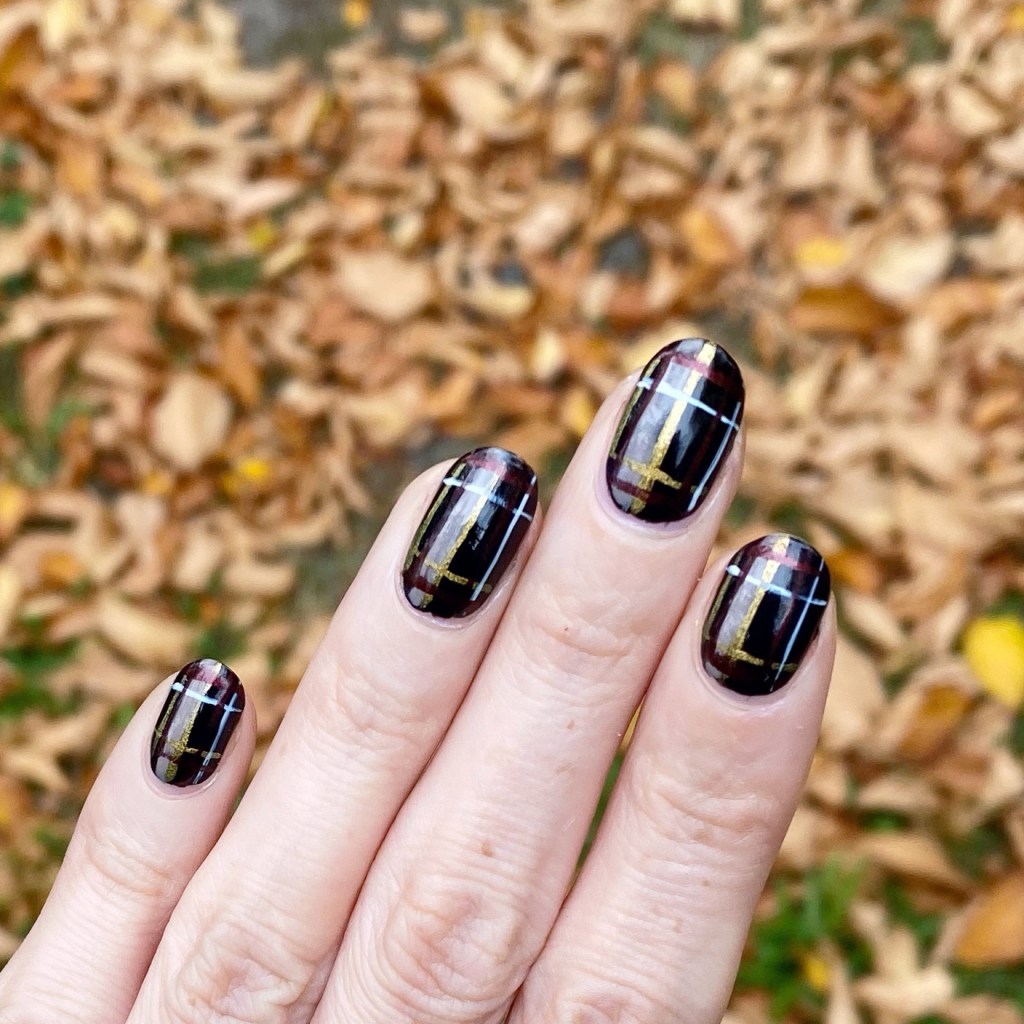
Today’s look is one I’ve done a million (plus) times, but still remains a favourite. Nothing screams Autumn to me more than a plaid nail art look.

The polishes I used for this manicure are: 

  • Top Coat: Sally Hansen InstaDri Top Coat (red bottle) 
  • Base Coat: Essie Hard to Resist (purple)
  • NailStuff.ca Essentials Raven *pr
  • OPI Icelanded A Bottle of OPI
  • Color Club What’s The Matte-r
  • OPI I Cannoli Wear OPI
  • Revlon Devine
  • NailStuff.ca 16mm Striper Brush

I wanted to start off with a super dark base, so I went with my bottle of NailStuff Essentials Raven. Such a good black! (& I’ve been loving black lately.) Then using my other colours, I layered on lines to create the woven plaid look. Super easy, & comes out beautifully.

What do you think of my cosy Autumn plaid? Do you like these seasonal designs that aren’t necessarily Halloween centric designs? Let me know all your thoughts in the comments below!

🖤

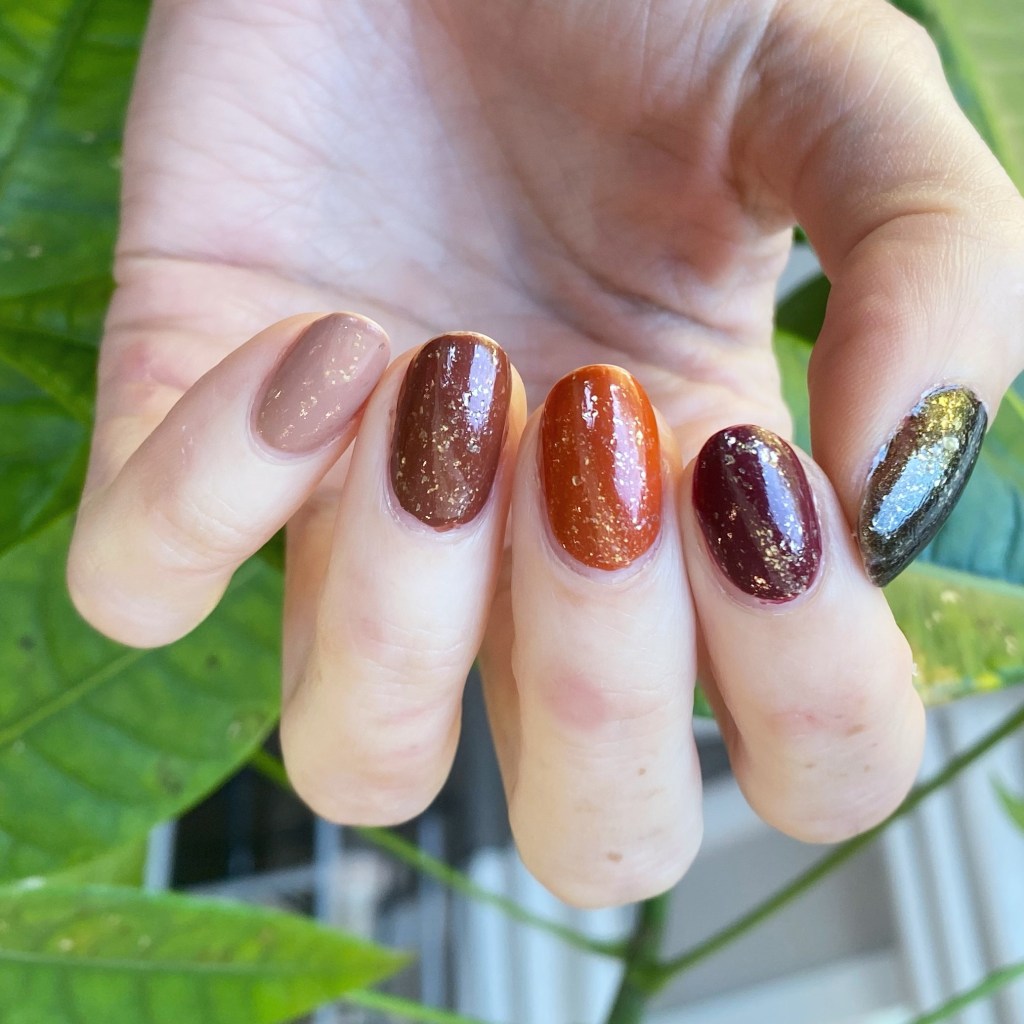
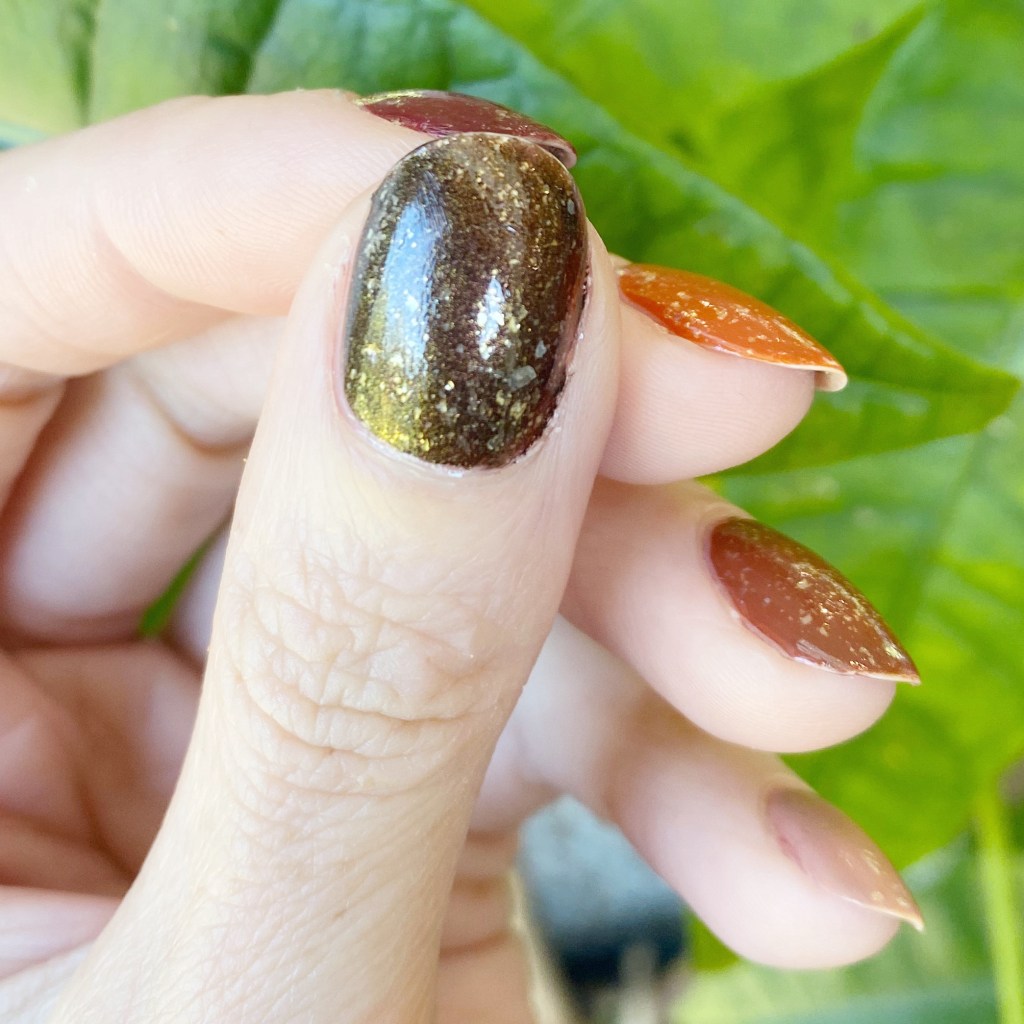
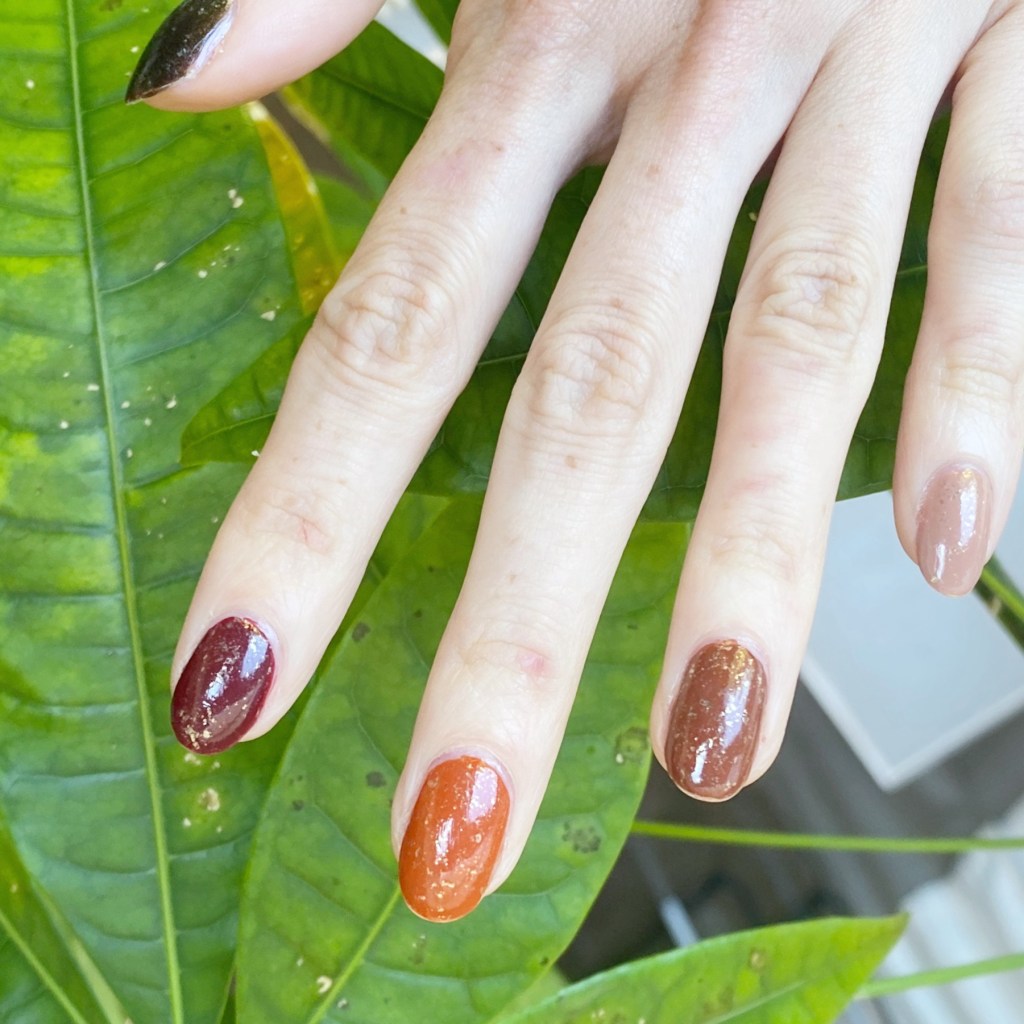
Autumn Tonal Skittle 🍁🍂🌻

Good morning loves & happy Wednesday. We’re mid-week through the first week of September! & tomorrow marks the first day of school around here. So it’s a very exciting week all around!

It’s also feeling very Autumn-y, so I’m excited to share some skittle nails which match the mood. (& would be perfect to wear while sipping some apple cider or a pumpkin spice latte!) 🍁🍂

The polishes I used for this manicure are: 

  • Top Coat: Essie Good To Go Top Coat
  • Base Coat: Essie Hard to Resist (purple)
  • China Glaze Buffalo Bills Bills Bills (thumb)
  • China Glaze Modern Auburn (index)
  • China Glaze Spice to Meet You (middle)
  • China Glaze Loves You A Latte (ring)
  • China Glaze The Snuggle is Real (pinky)
  • Essie Separated Starlight *pr

I think China Glaze is one of my favourite brands for Autumn nail polish releases. The colours, the formulas — just perfection.

I love a good Fall tonal skittle. It’s so much fun combining some of my favourite Autumn shades for a quick & easy look — & the use of the glitter brings everything together even more!

What do you think about this Fall skittle look? Do you love this combination of colours as much as I do? Let me know all your thoughts down in the comments below.

🖤

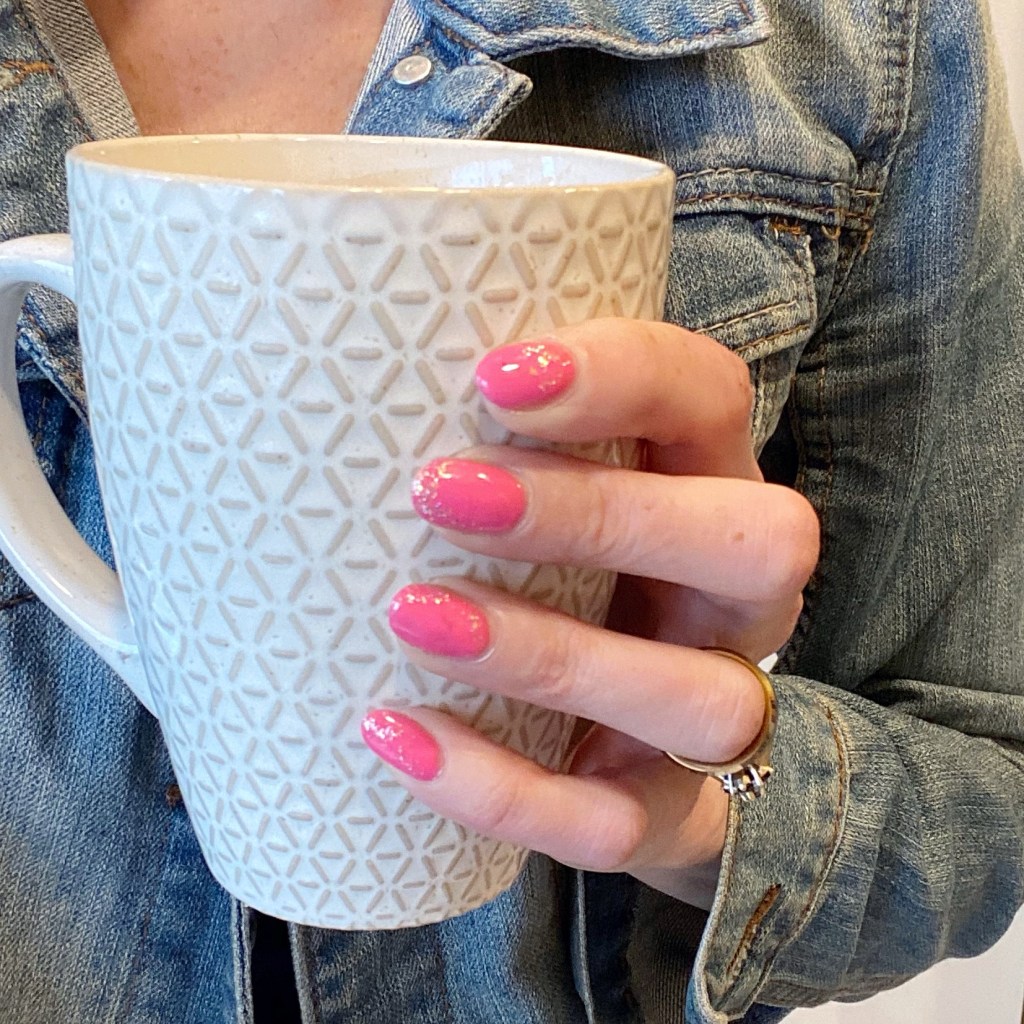
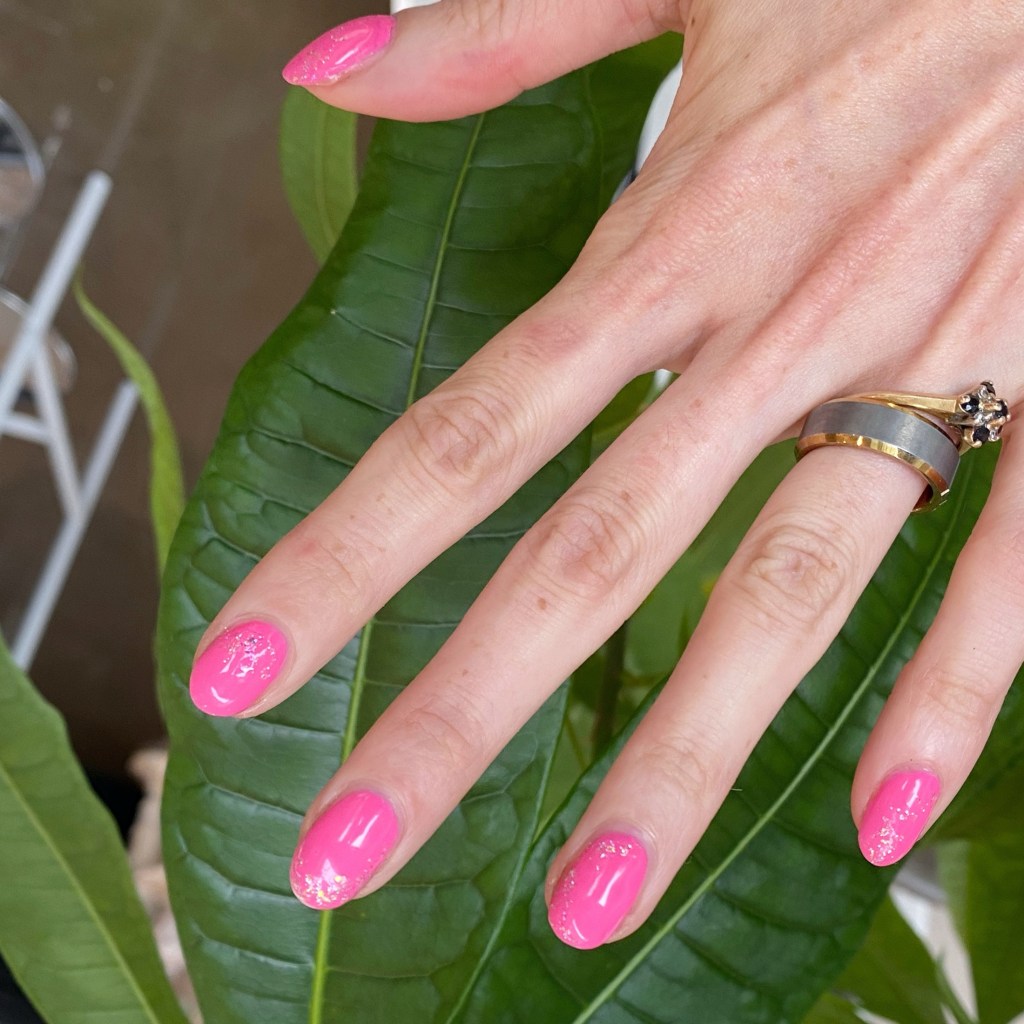
Pink Glitter Placement 🩷✨

Hello lovelies & happy Wednesday! How is everyone’s week going so far? Enjoying the balmy weather? Our days have been hot hot hot which means the grass is crunchy & the fire risk is extremely high. I don’t usually wish for rain, but we could definitely use some.

Today, though, let’s share some pretty nails.

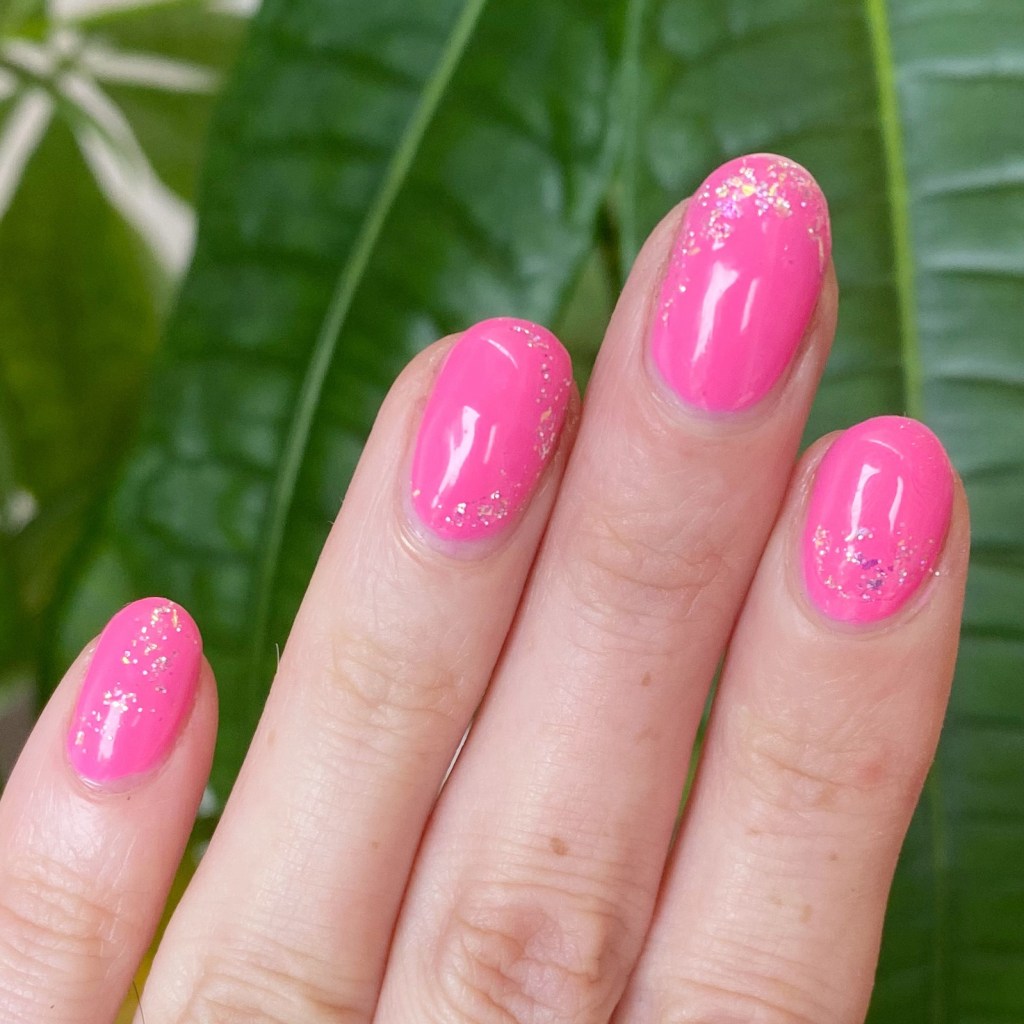
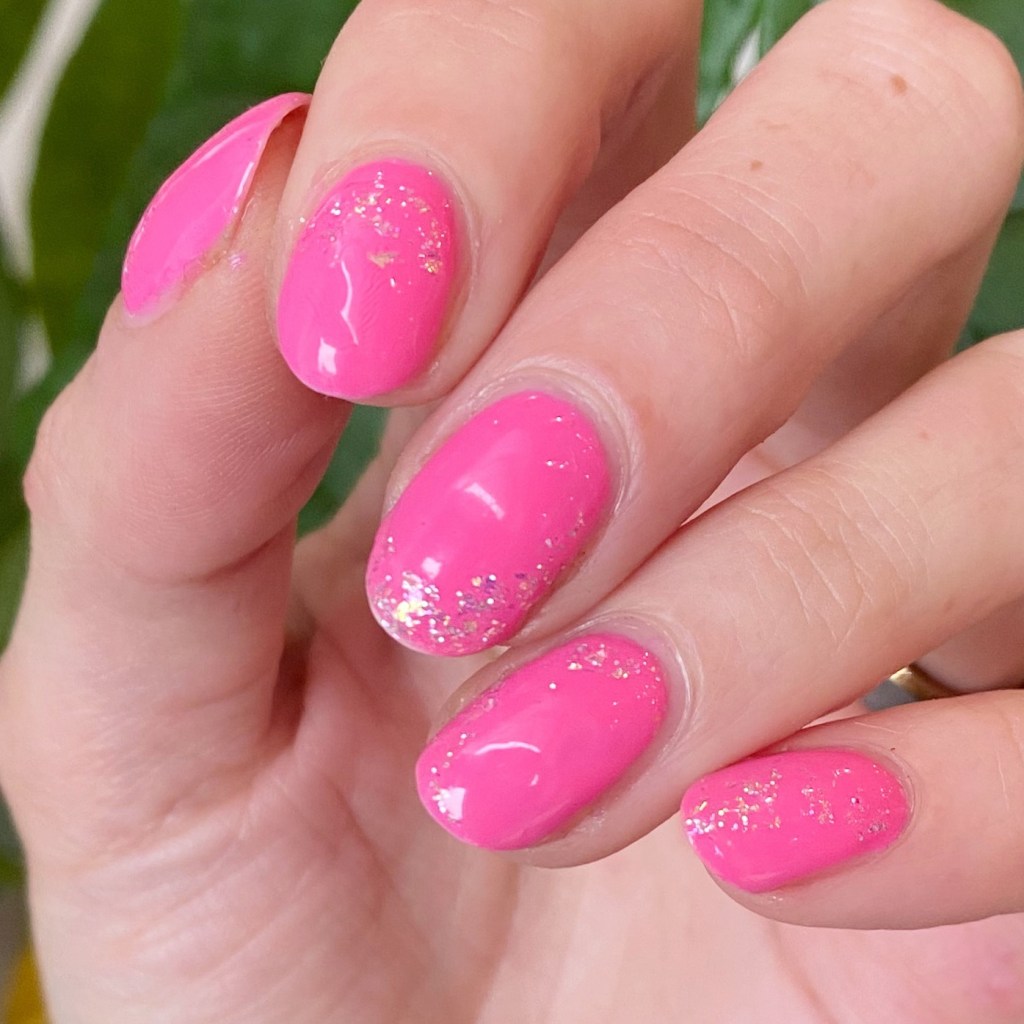
& you know what’s pretty — a flakie glitter placement. Especially when it is as easy as this one was to do!

The polishes I used for this manicure are: 

  • Top Coat: Essie Good To Go Top Coat
  • Base Coat: China Glaze Calcium Gel Fortifier
  • China Glaze Glow With The Flow
  • ‘Ard As Nails Fairy Flakes

Look at those pretty sparkles! They’re just so pretty, & girlie & sparkly. I love it. This was also a super simple design to do, with no tools needed. & it’s just the right amount of sparkle — especially over a vibrant base like Glow With The Flow.

What do you think about my pretty pink glitter placement? Do you like this glittery combination? I’m still on the hunt to add more glitters to my collection for glitter placement looks — especially come to Autumn months. So please let me know your favourites!

Happy Wednesday.

♥︎