Throwback Floral (Using Just a Dotting Tool)

Hello lovelies & happy Friday! I hope it’s a beautiful day wherever you are. It’s supposed to be sunny, & slightly warm today, so I’ll take it.

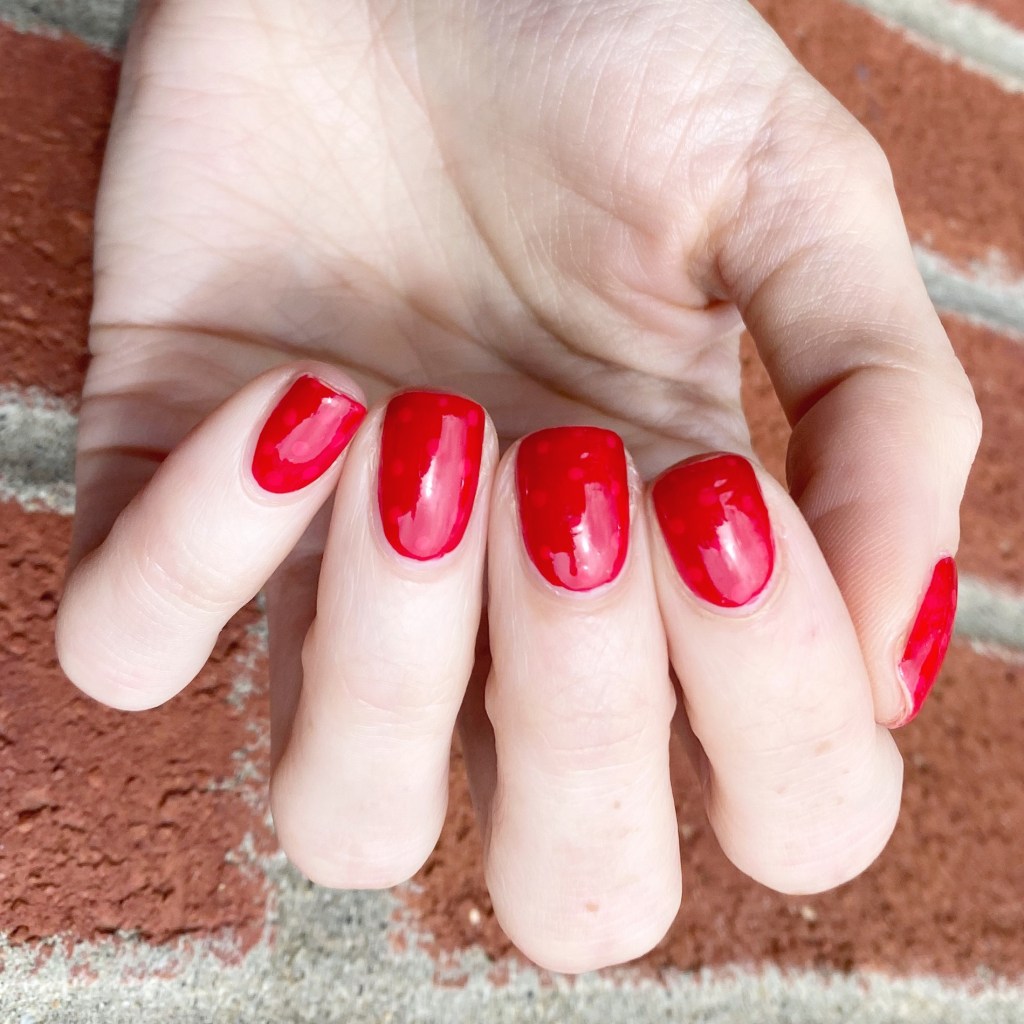
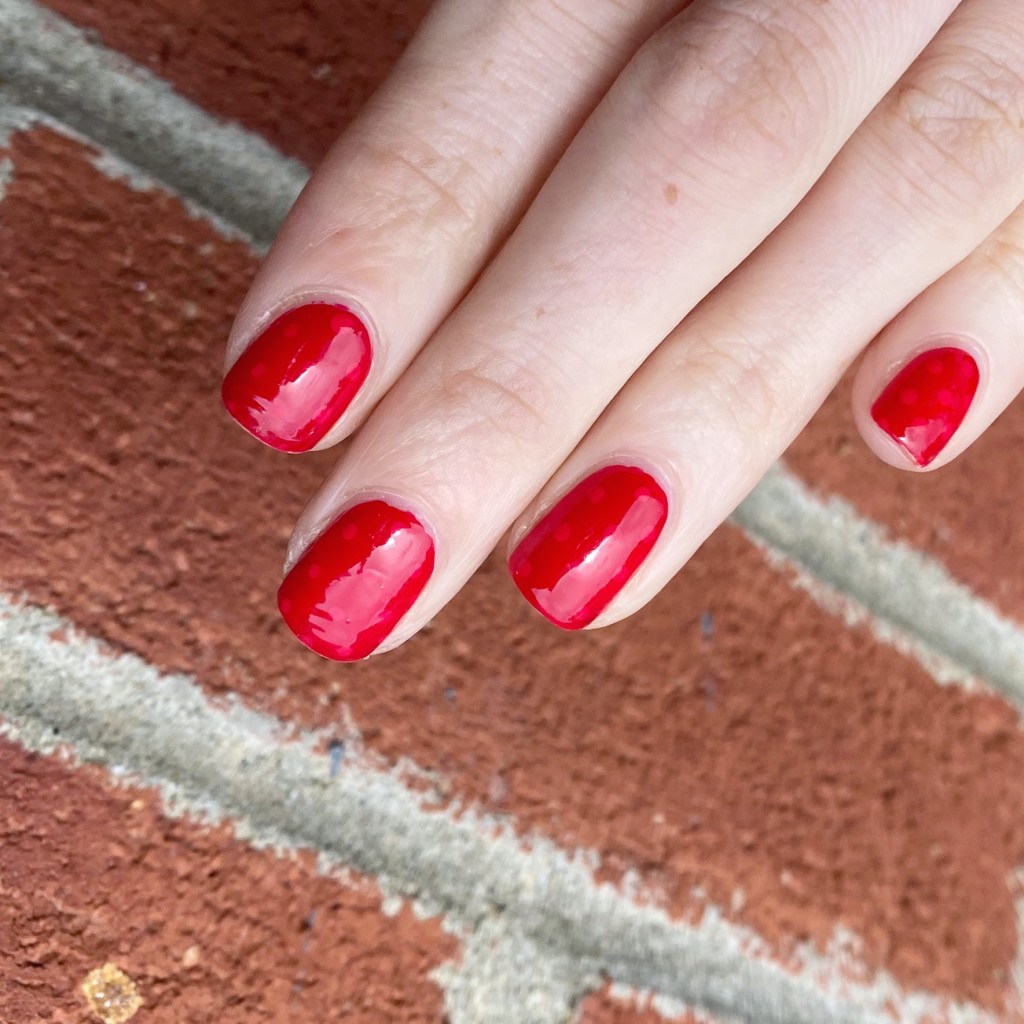
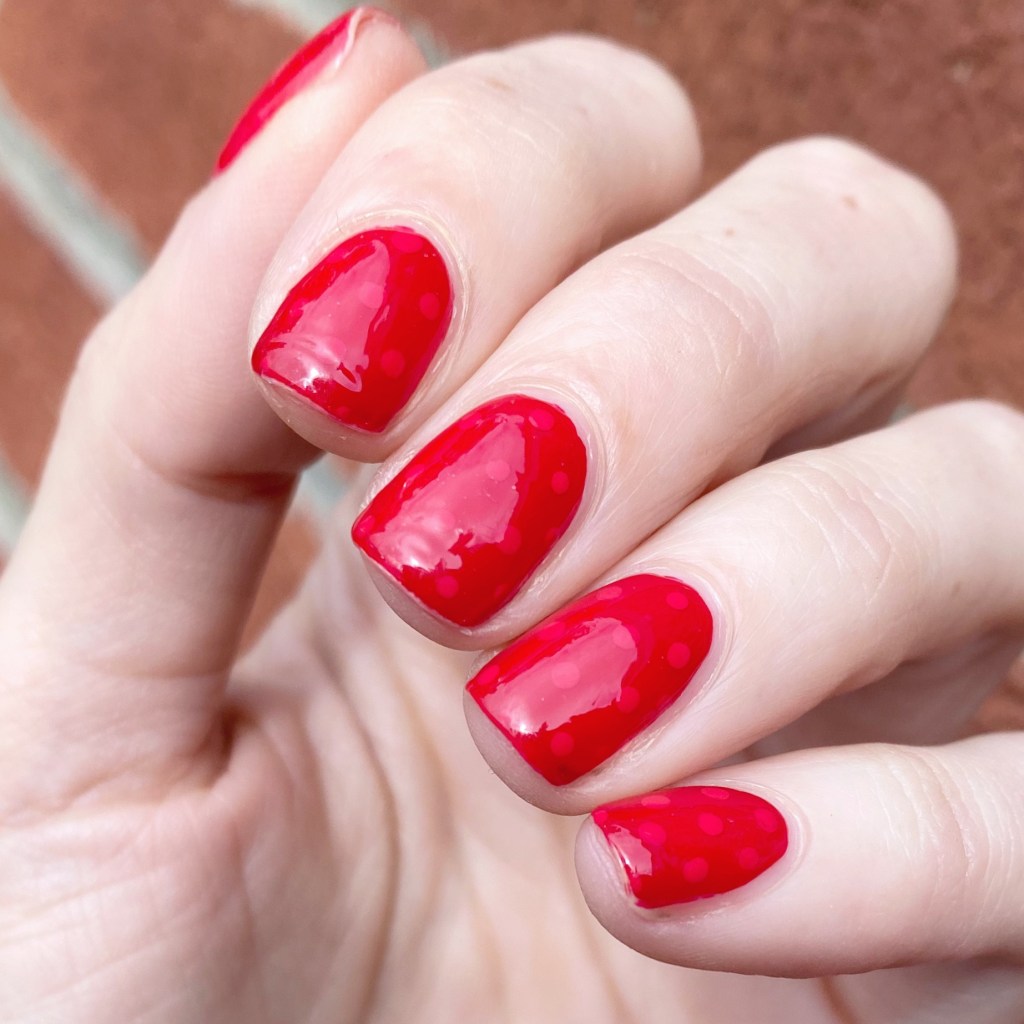
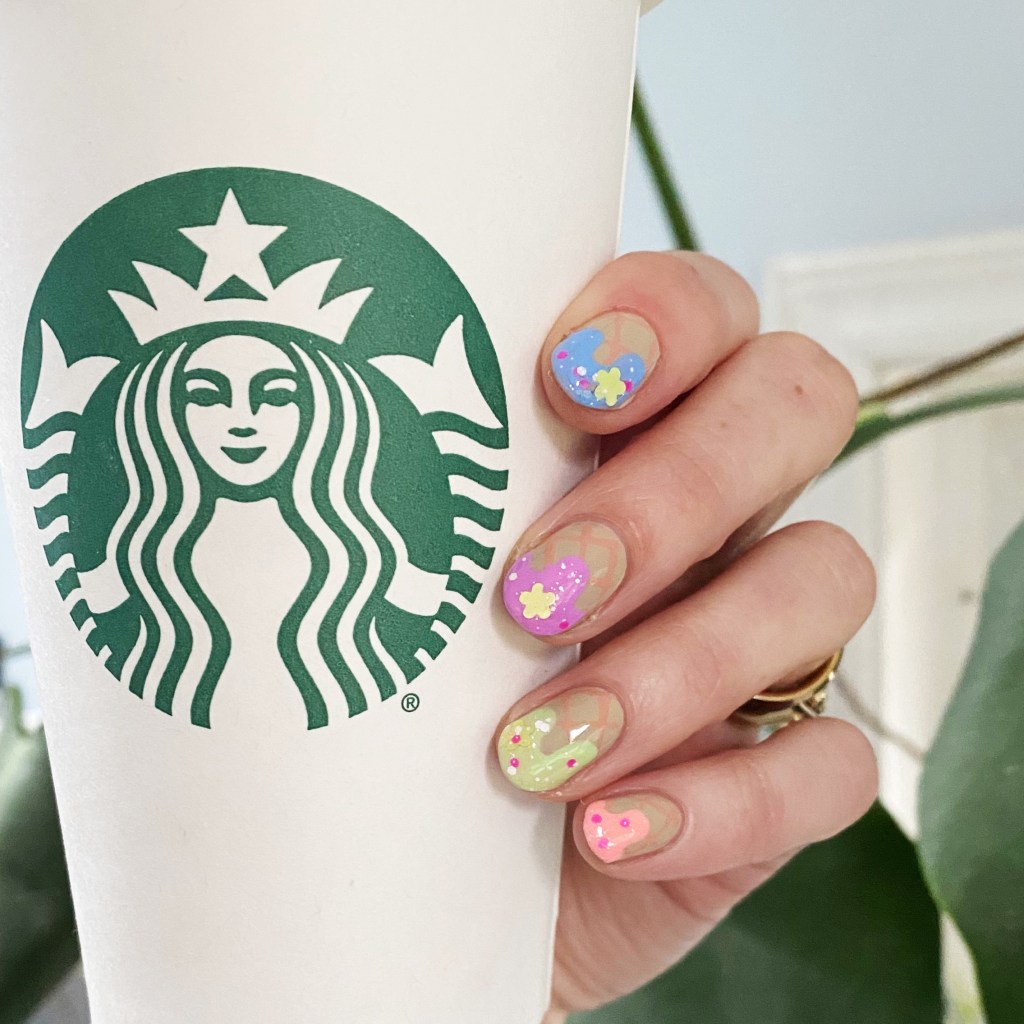
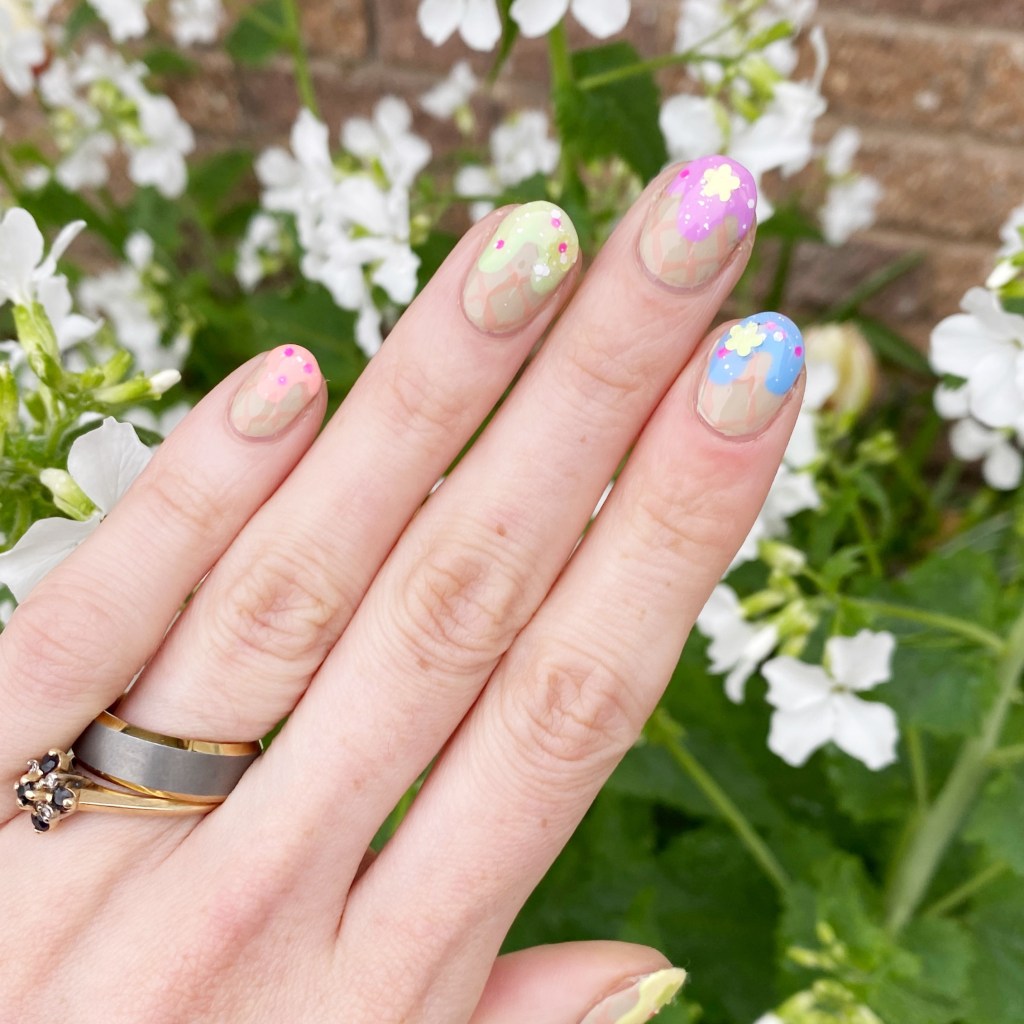
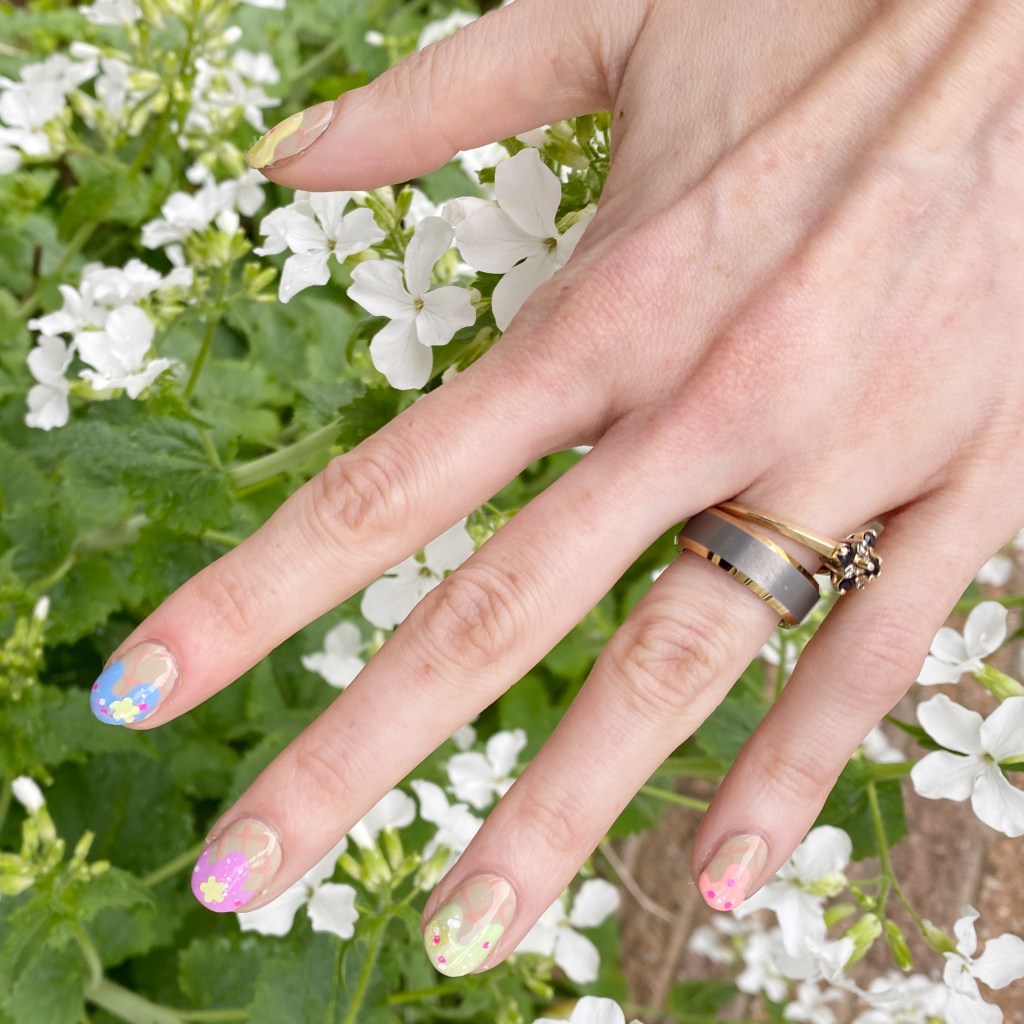
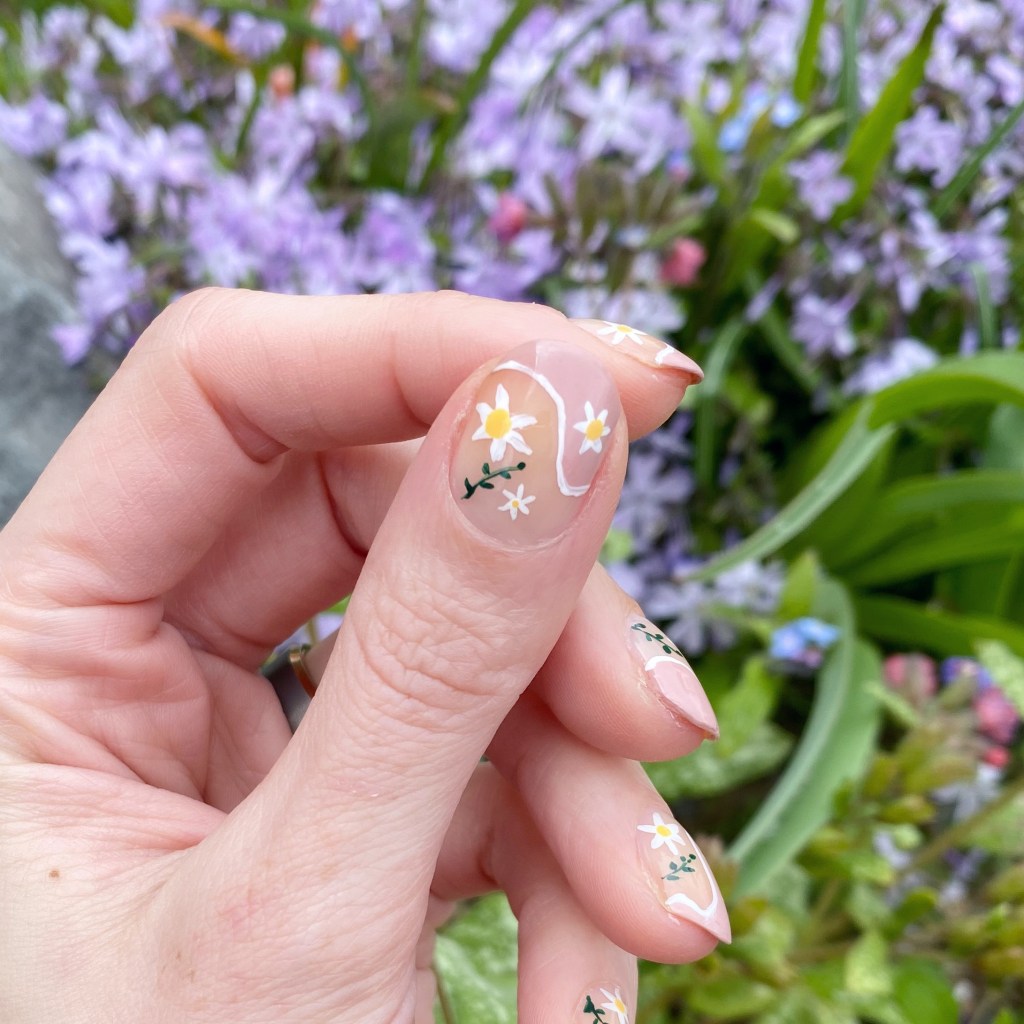
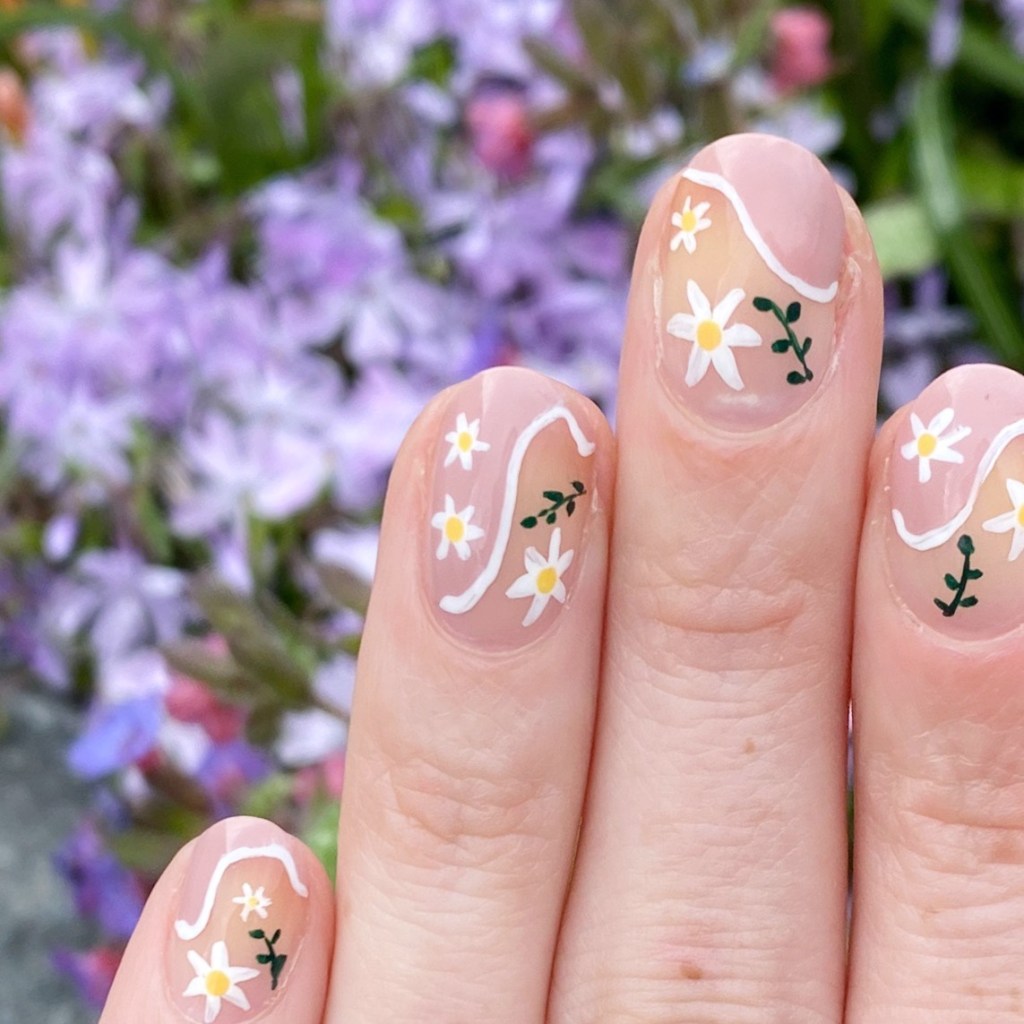
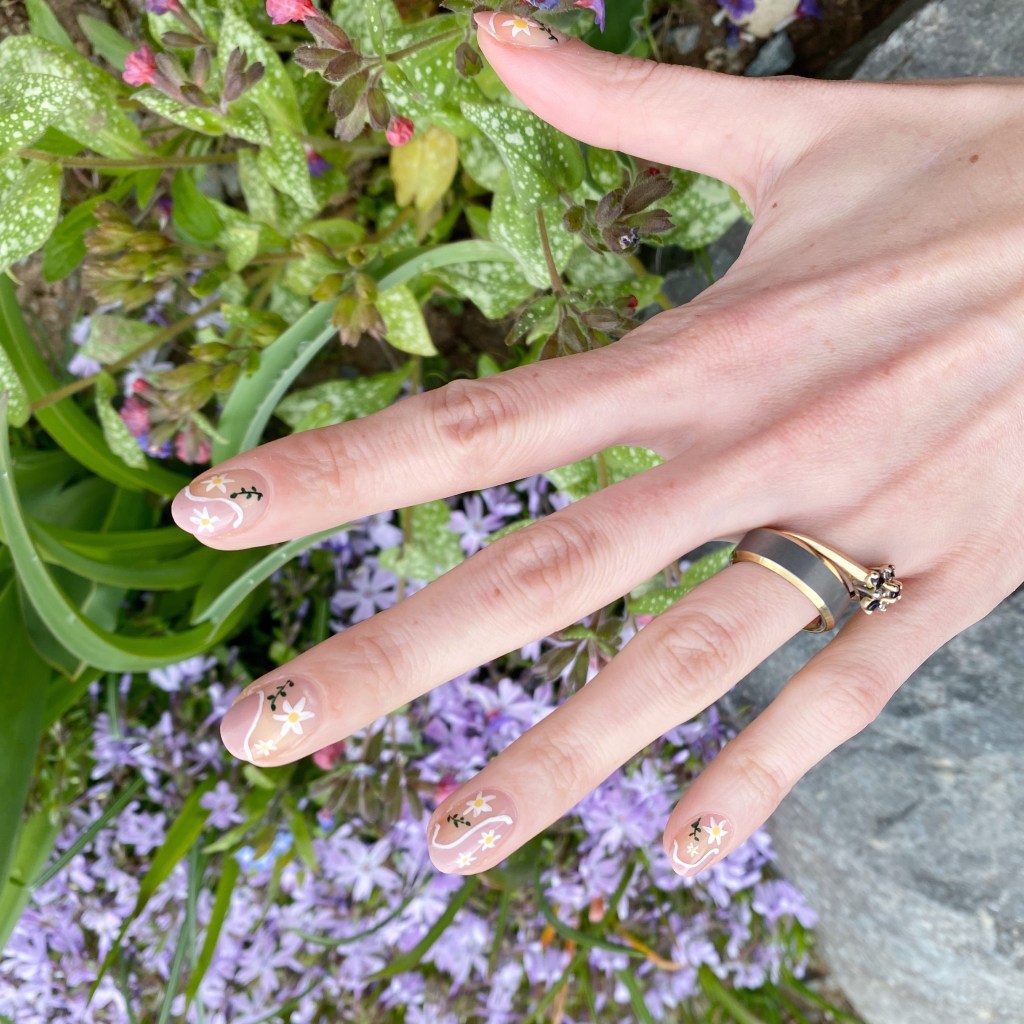
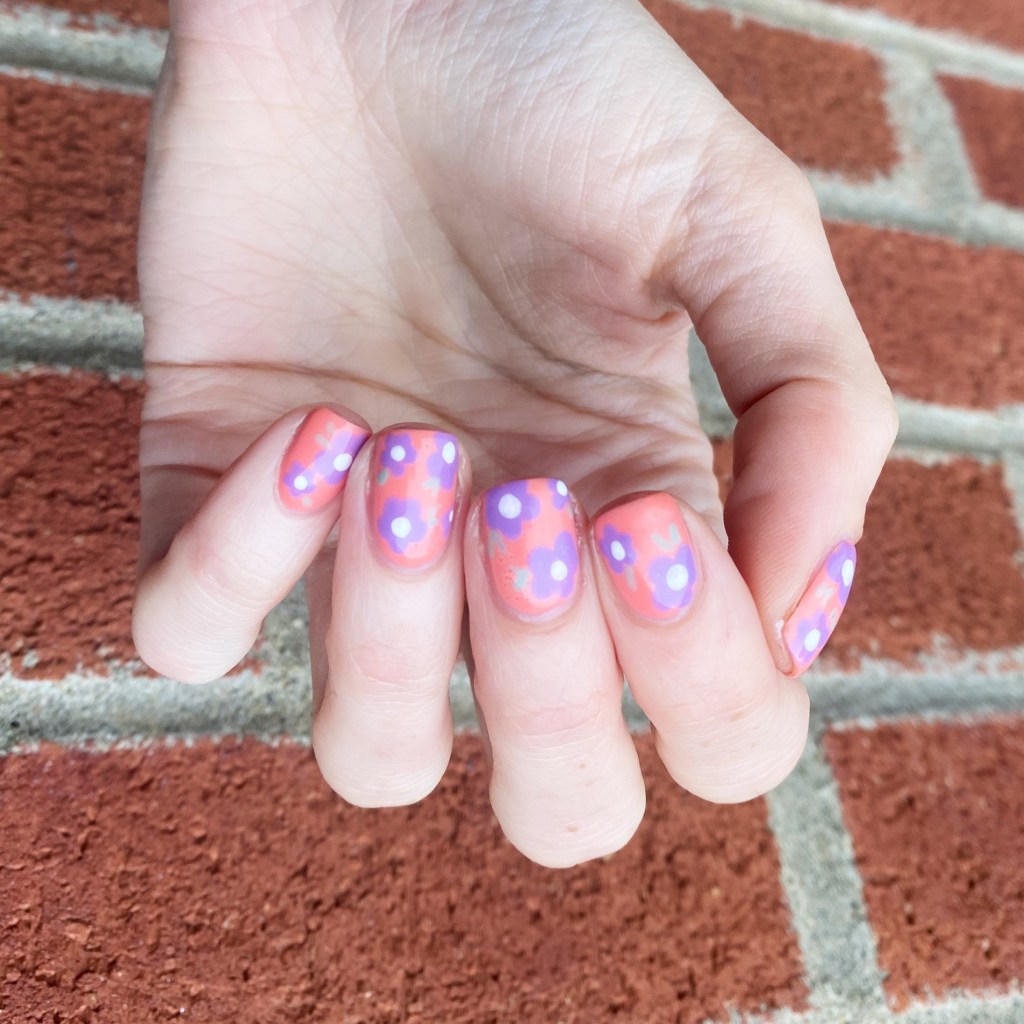
Today I’m sharing a design which is a recreation of a design I did many moons ago—like… 2013 at the beginning of my nail art journey & before this blog. I just always love revisiting old designs, & when this one popped up on my Facebook memories, I knew I needed to do an updated version!

2013 version
2023 version

The polishes I used for this manicure are: 

  • Base Coat: Londontown KUR Nail Hardener & Base Coat 
  • Top Coat: Seche Vive Fast Dry Top
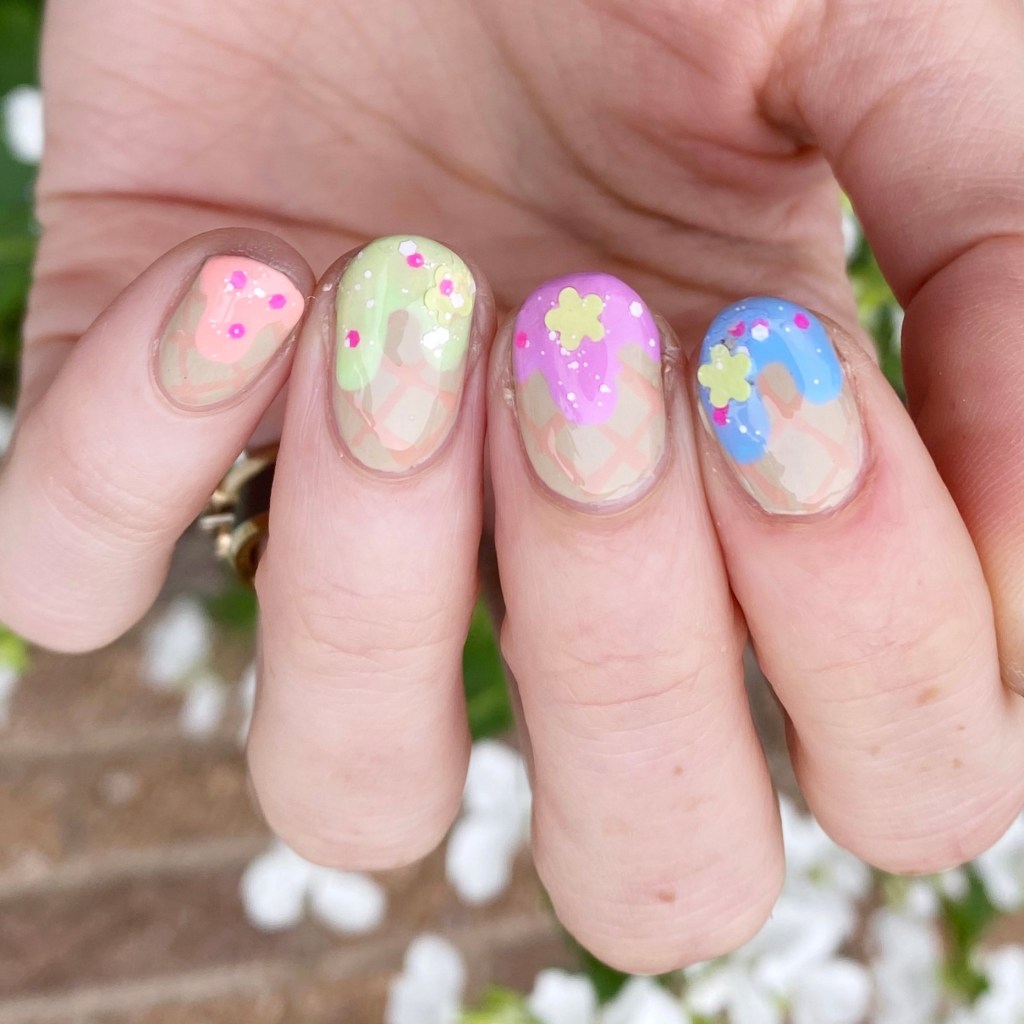
  • Essie Peach Side Babe
  • Essie Worth the Tassel
  • Essie Blanc
  • Essie Turquoise & Caicos
  • Small & Large Dotting Tool (NailStuff.ca Dotting Tool Trio)

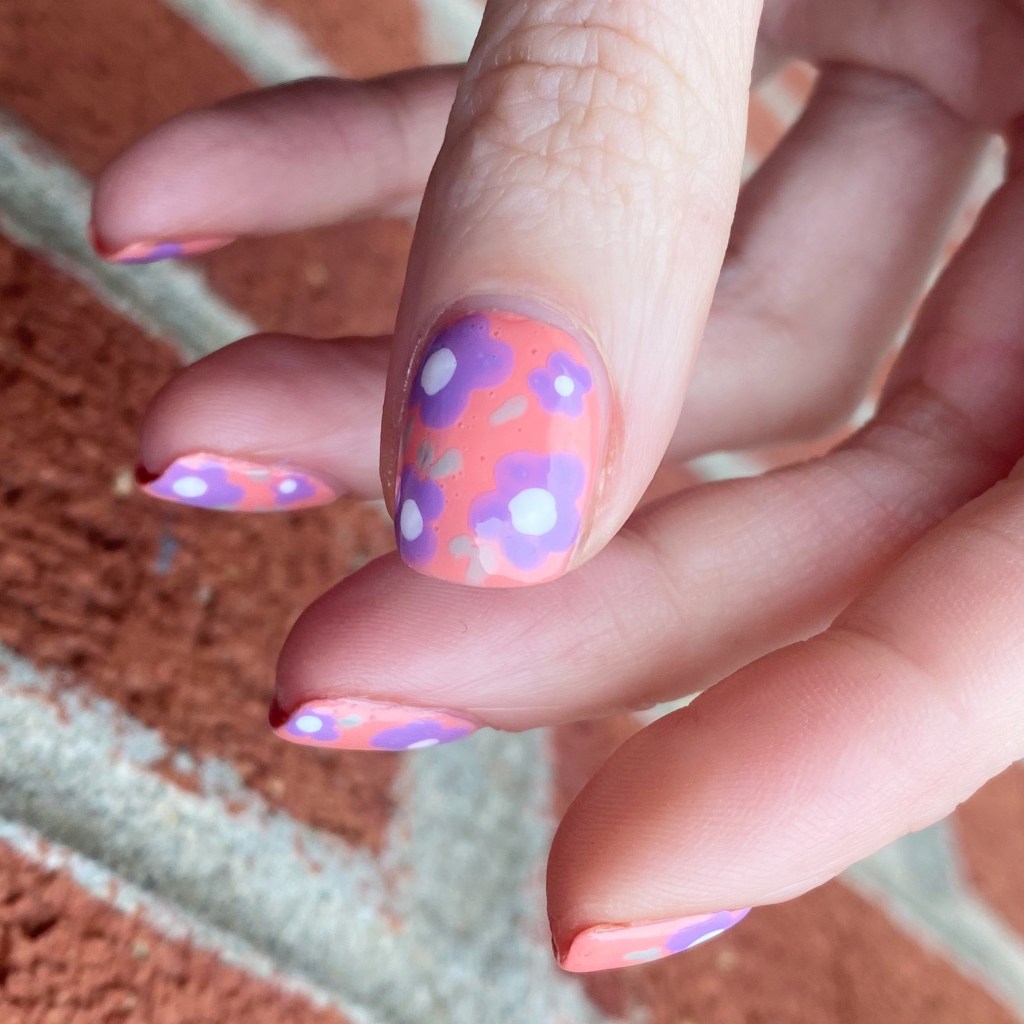
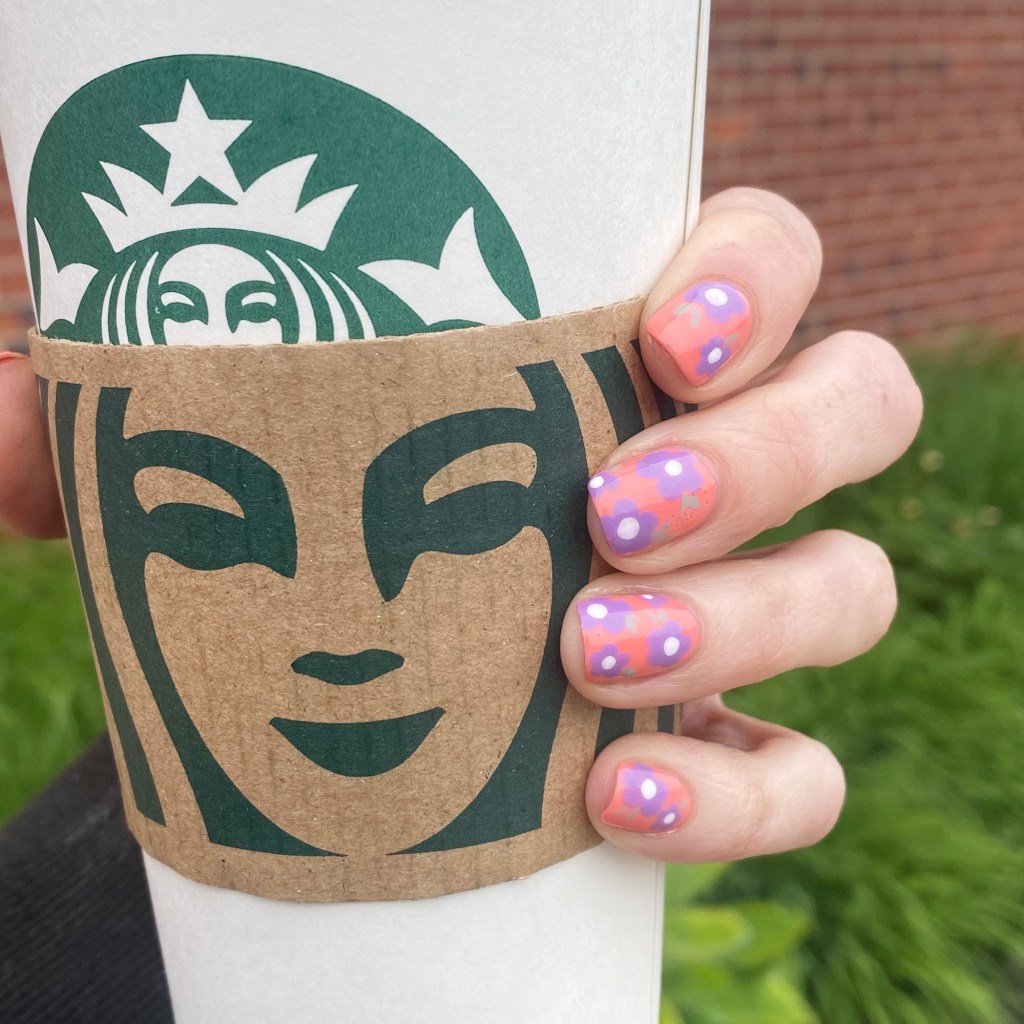
I didn’t have a list of the original polishes I used for my design, so I tried to go with what looked the closest to the colours — which was hard because my original photo is pretty poor quality. I think, though, I did a pretty good job on recreating the original look!

I know that was my first jump into “real” nail art after getting my first dotting tool. It was an Essence brand one that I found at Shoppers Drug Mart, & I got very excited to find something to do legit nail art.

What do you think of this floral nail art recreation? Do you remember what nail designs first got you into nail art? Let me know down in the comments below!

Have a fantastic Friday!

Subtle Red Dotticure

Hello lovelies & happy Wednesday! We’re half way through the week, & half way to the weekend. I hope everyone’s week is going well so far. We’ve had a pretty week & chilly week so far, but after all those wildfires swept across the province, I’ll take a little rain.

Today, though, I have a super easy & chic nail art look. I did another subtle red nail art look last Summer, & I really liked it, but I really wanted to do something with polka dots. We all know red & polka dots are my two favourite things!

The polishes I used for this manicure are: 

  • Base Coat: Londontown KUR Nail Hardener & Base Coat 
  • Top Coat: Seche Vive Fast Dry Top
  • Sally Hansen Complete Salon Manicure Cherry Delightful
  • Sally Hansen CSM Killer Heels
  • Small Dotting Tool  (NailStuff.ca Dotting Tool Trio)

I really, really love how these turned out. Obviously, you don’t really notice the red unless you’re searching for it, but to me it takes it just a step above the usual plain red manicure. It also kind of reminds me a bit of a pond manicure, without having to worry about all the coats of polish.

Also I’m really loving this Sally Hansen red Cherry Delightful. It’s been in my stash for ages (5 years at least) but I don’t think I’ve worn it that frequently because I totally didn’t realize that it’s a one coater! I feel like a good one coat red polish is urban legend at this point, because trust me I’ve been looking. It also has this beautiful squishy finish which just makes me so happy.

Over all, I’m obsessed.

What do you think of this subtle red dotticure? Are you a fan of polka dots on your nail? Let me know all your thoughts down in the comments below.

Have a happy Wednesday loves! ♥︎

Instagram Summer Treats Nail Art Collab 🍦

Hello lovelies — happy Friday. We have a weekend of rain in the forecast, which I’m so happy for because my entire province has basically been on fire this week, & we’re in desperate need of a reprieve from the heat. So everyone send rain vibes. 🌧️

Today, though, I’m sharing a look I did a week or so back for a nail art collab I joined! You might remember I did another one last month, & it was so much fun I thought I’d do it again! This time the theme was Summer Treats. & my favourite treat of the Summer: ICE CREAM!

The polishes I used for this manicure are: 

  • Base Coat: Londontown KUR Nail Hardener & Base Coat 
  • Top Coat: Seche Vive Fast Dry Top
  • Sally Hansen Good. Kind. Pure. Almond Tan
  • Sally Hansen G.K.P. Rock Steady
  • Sally Hansen Miracle Gel Neons Peach Please
  • Sally Hansen MG Neons Electri-Lime
  • Sally Hansen MG Neons Violet Voltage
  • Sally Hansen MG Neons Lemon Chillo
  • Sally Hansen MG Sugar Fix
  • Claire’s Melon Mania
  • NailStuff.ca 16mm Striper Brush
  • Large Dotting Tool (NailStuff.ca Dotting Tool Trio)

This is actually a recreation of a design I did all the way back in June 2016. I loved it so much the first time, I thought it would be perfect for this nail art collar — with some updates! I love the neon ice cream, I love my glitter “sprinkles”. I just think this whole look turned out too, too cute!

Don’t forget to check out all the beautiful designs on Instagram by checking out the hashtag #summertreatsnailartmanicollab2023 & see all the other beautiful designs that my fellow nail artist created! There are so many cute one!

Have a fantastic Friday! ♥︎

Floral Shorties

Hello loves & happy Wednesday!

& Happy last day of May!

I swear, you’re in the right place. I just decided to switch things up a bit. I’ve been humming & hawing on Instagram for a while about going to square nails, & I finally decided to take the plunge–just in time for a new month! I know, crazy. But it’s been about 2 years since the last time I rocked some squares, so I thought why not try them out again for a while.

They’re pretty short right now, but that’s okay. I’m excited to grow them out to a nice square shape. & in the meantime, we’ll rock some fun shortie nail art. Naturally, the first manicure I did on my new short squares is floral! I mean, were you expecting anything else.

The polishes I used for this manicure are: 

  • Base Coat: Londontown KUR Nail Hardener & Base Coat 
  • Top Coat: Seche Vive Fast Dry Top
  • Franken white shade (I mixed a few whites I own with a little black to grey it)
  • OPI Is That A Spear in Your Pocket
  • OPI Living On The Bula-vard 
  • OPI Two Timing The Zones 
  • OPI Do You Have This Color in Stock-holm? 
  • OPI Getting Nadi on My Honeymoon 
  • OPI Koala Berry
  • OPI Who You CallinBossy?
  • OPI Gelato On My Mind
  • OPI Check Out The Old Geysirs
  • NailStuff.ca Dotting Tool Trio
  • NailStuff.ca 4mm Micro Detail Brush

Obviously, I had to use my garden for a backdrop as it’s been thriving with these Summer-y temperatures. This floral is pretty simple — although it used a ton of different polishes — but I think it turned out beautiful & I’m really in love with the final look. I went with a white base, even though I’ve been iffy on wearing white lately thanks to the VPR drama & Scandoval, but I think this white base looks so pretty with the floral over top.

What do you think about this floral look & my return to square nails? This was the nail shape I had when I first started my blog, so I always return to it, even though I do love round nails as well. Sometimes, you just need a change, you know?

Let me know what you think & what nail art you’d like to see next! I have one manicure coming on Friday that I did earlier in the month for a nail art collab, but I’m excited to start Summer off with these new square shorties.


Happy Wednesday ♥︎

Dainty Negative Space Floral 🌿🌸

Hello lovelies & happy Monday!

Today I’m starting off this week with another floral look. At this point, you can pretty much expect that I’ll be posting a floral design at least once a week for the foreseeable future. I’m kind of obsessed. Today’s look was another one of those random designs I kind of came up with in my head, & was beyond happy to bring to life on the nail. I really just wanted something dainty, & I think was successful in creating that.

The polishes I used for this manicure are: 

  • Base Coat: Londontown KUR Nail Hardener & Base Coat 
  • Top Coat: Seche Vive Fast Dry Top
  • Essie Gel Couture Princess Charming
  • Essie Blanc
  • Essie Check Your Baggage
  • Essie Off Tropic
  • NailStuff.ca Mermaid Tail Brush Trio
  • NailStuff.ca Dotting Tool Trio

I’m kind of obsessed with how this turned out. I decided to go minimal on my floral — I usually use multiple polishes for each flower & my leaves — & I love how it looks. It’s clean & simple, which is exactly the look I was craving. A nice palate cleanser for the nail. I also really like that Princess Charming is quite neutral, so it doesn’t stand out too much on the nail & keeps that naked look I was going for.

What do you think about this dainty negative space floral design? Do you like simpler cleaner looks like this, or more bright & colourful nail art designs? Let me know all your thoughts in the comments below!

You know you can count on me to do a nice mix of both.

Have a super amazing Monday. ♥︎