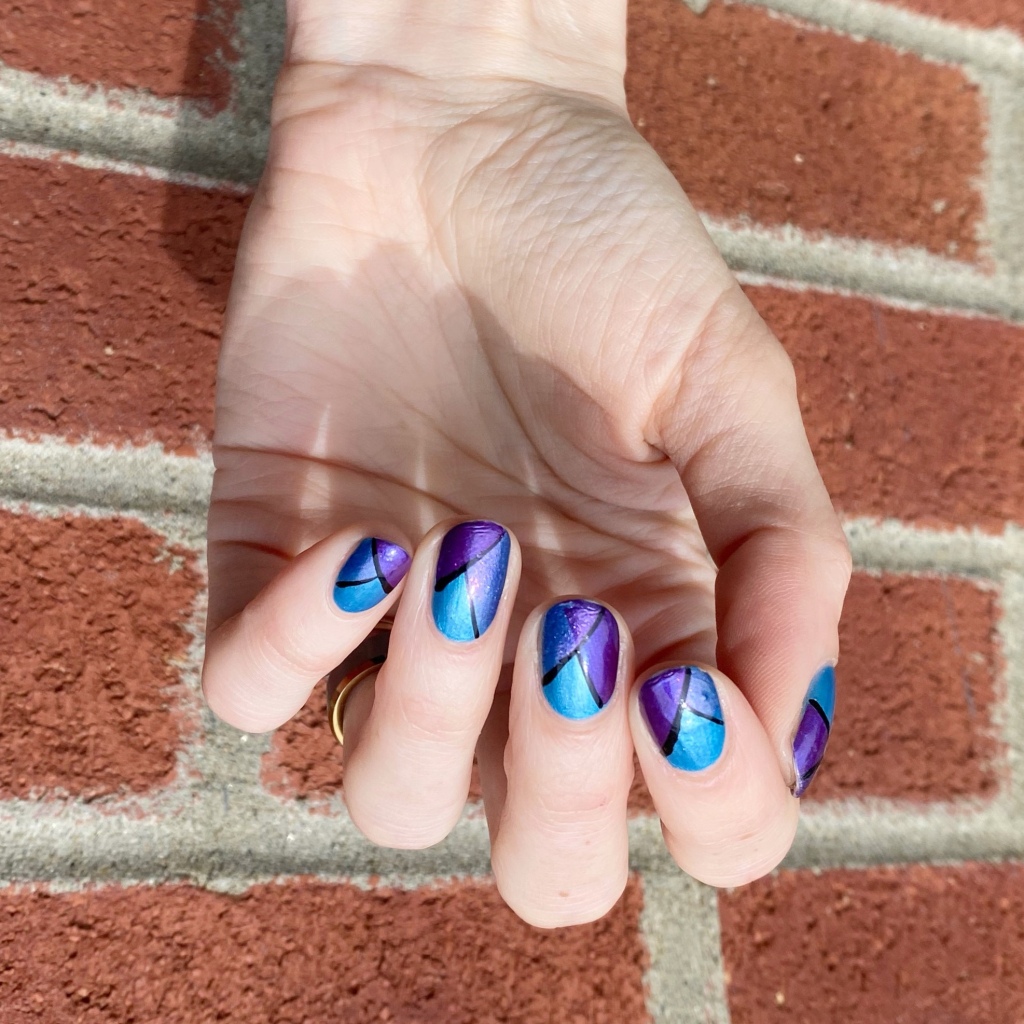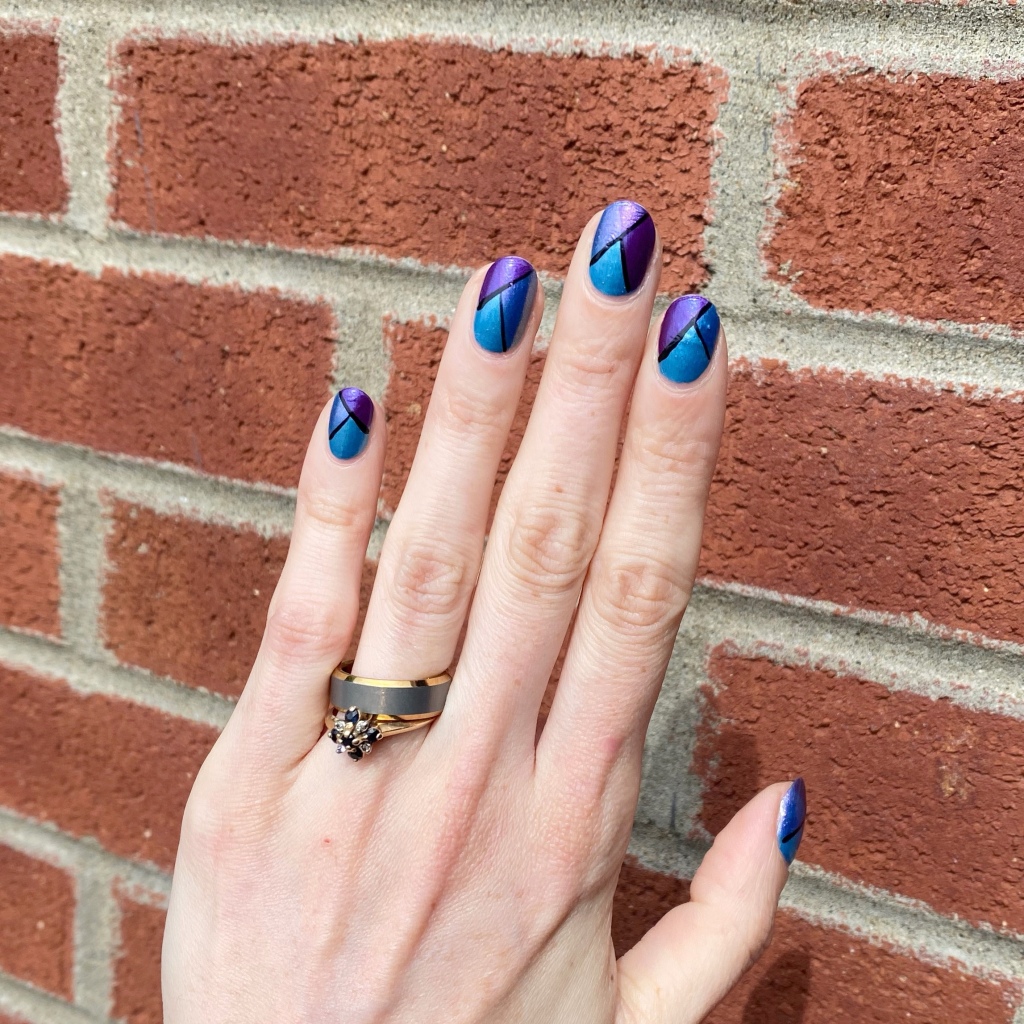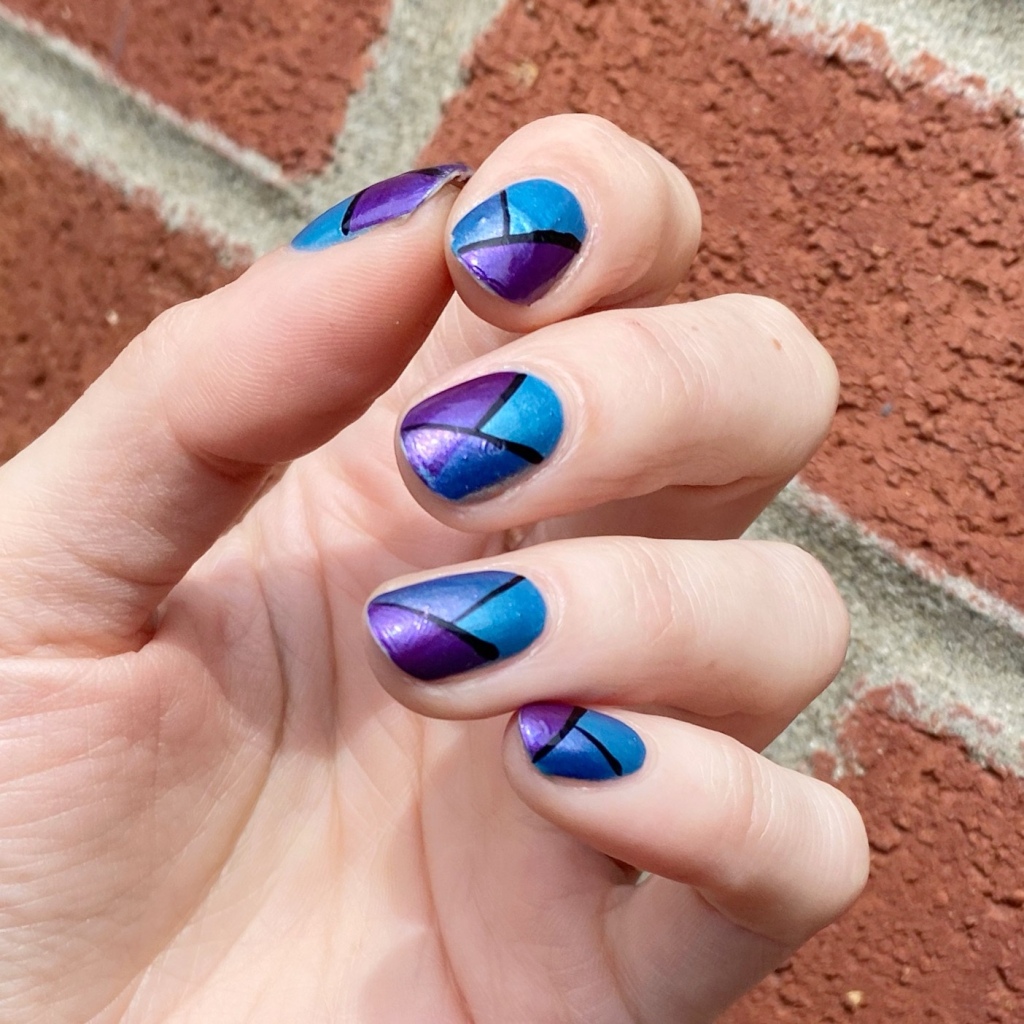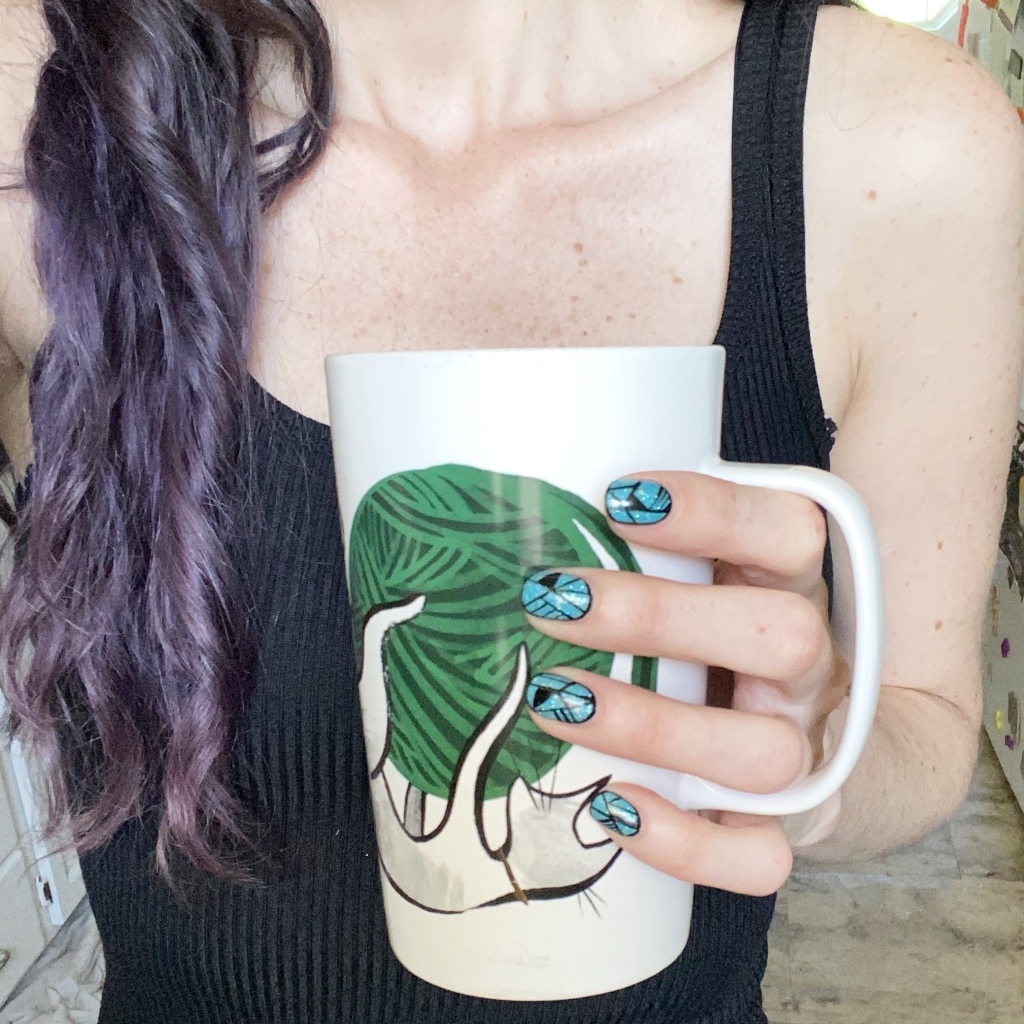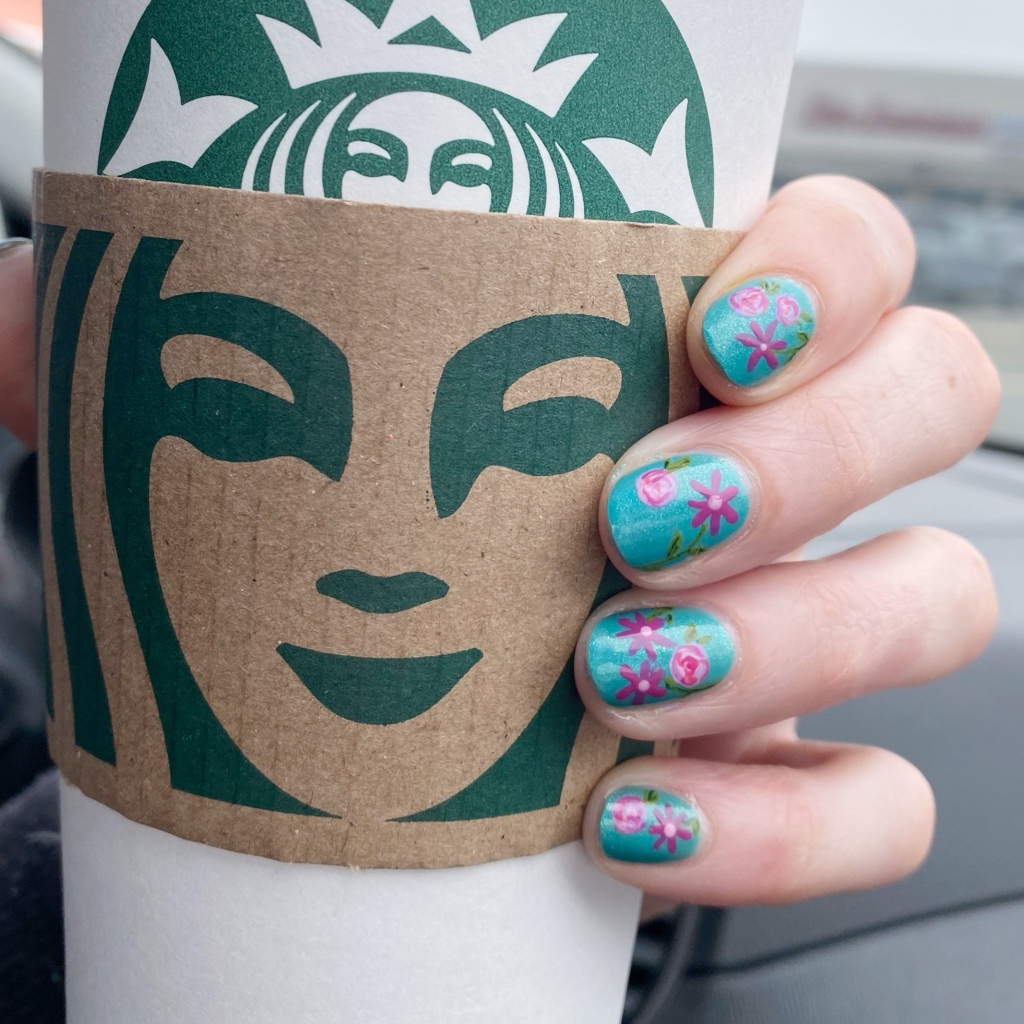
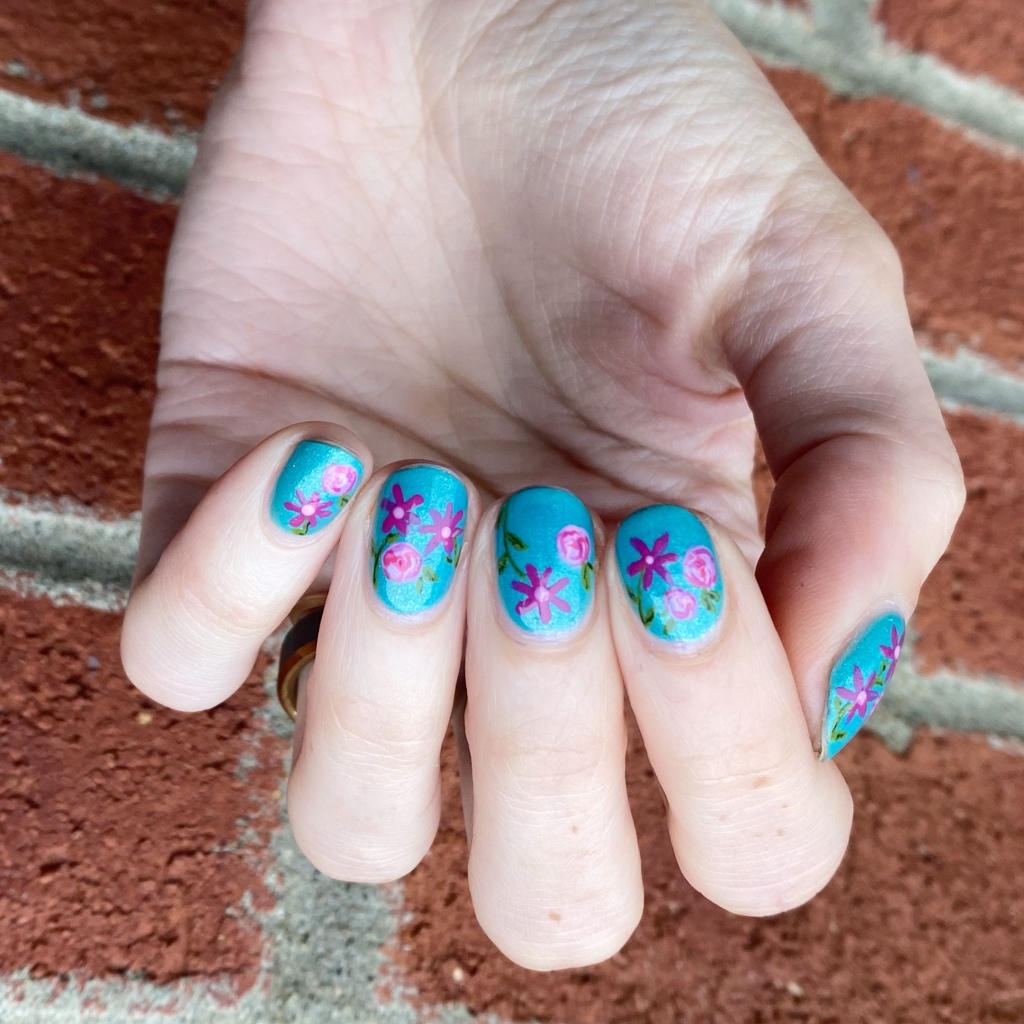
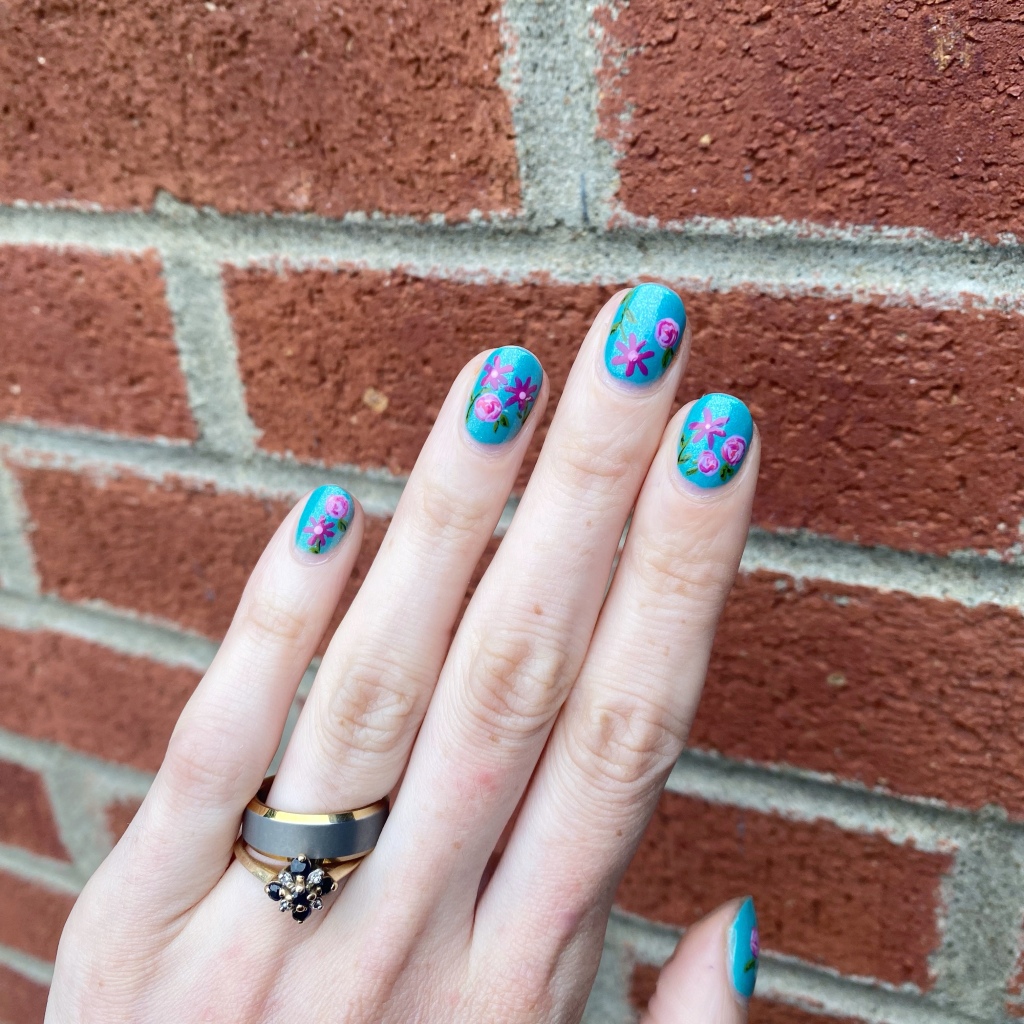
Hello lovelies & happy Thursday! We have another rainy one today, which is quite disappointing. But you know what can turn a lame, rainy day around? Cute floral nails!
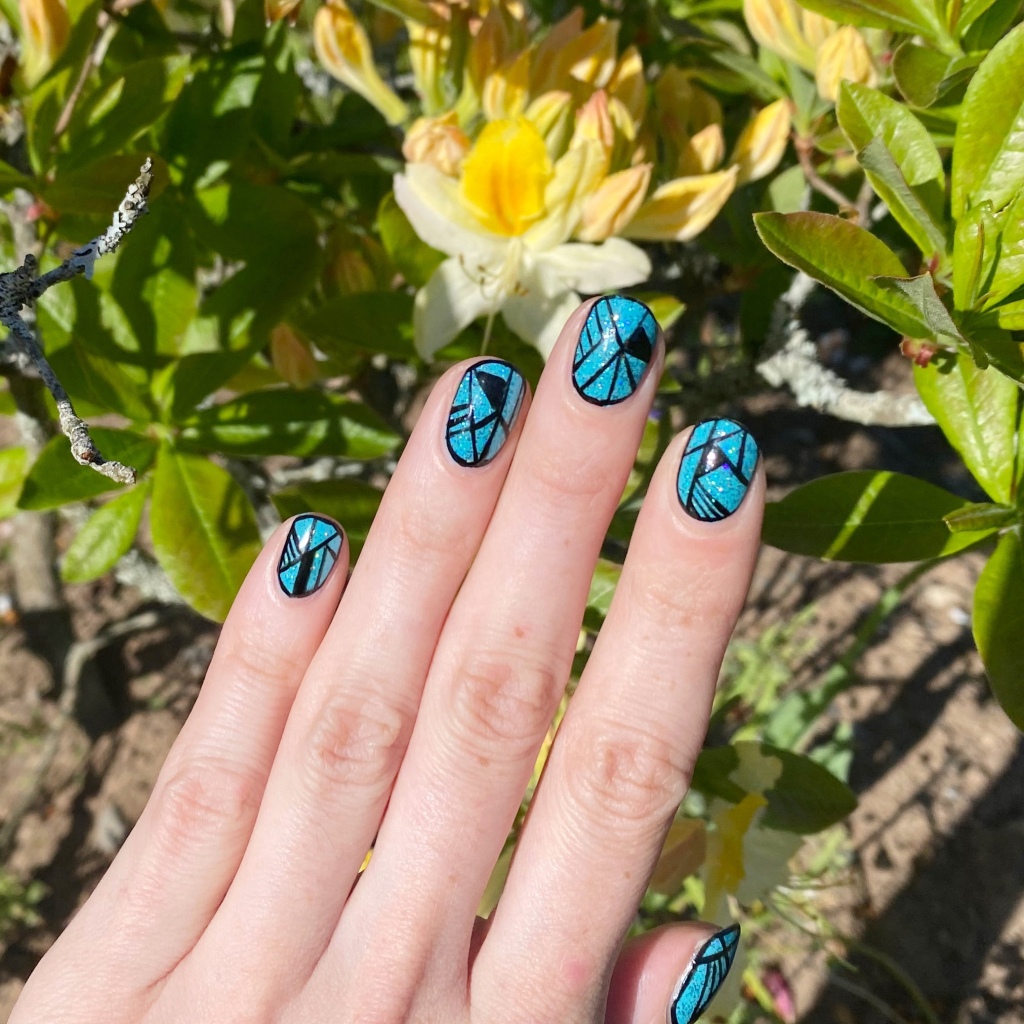
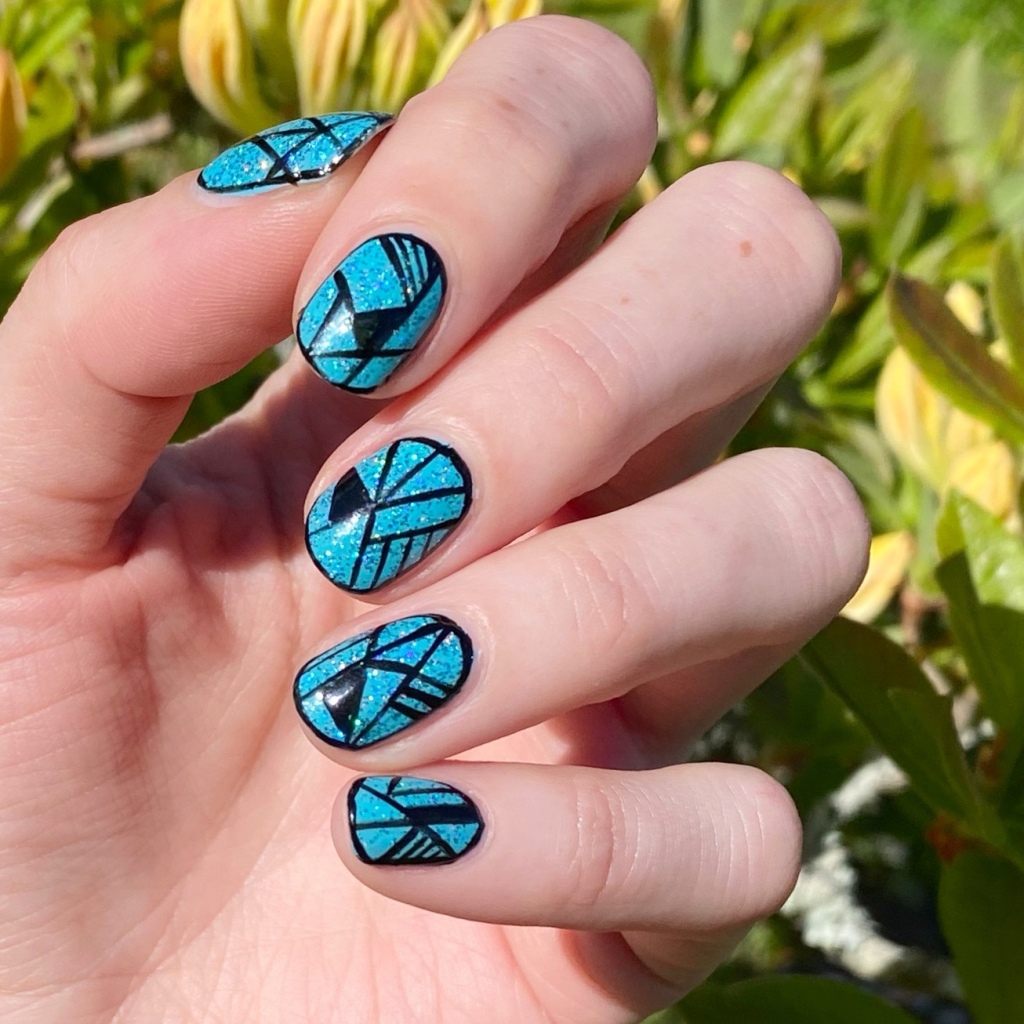
The polishes I used for this manicure are:
- Base Coat: Essie Here to Stay
- Top Coat: Essie Gel Setter
- Essie Viva Antigua!
- Essie Swoon in the Lagoon
- Essie Muchi Muchi *gifted
- Essie Play Date
- Essie Willow in the Wind *gifted
- Essie Off Tropic
- Nailstuff.ca Mermaid Tail 7mm liner brush *gifted
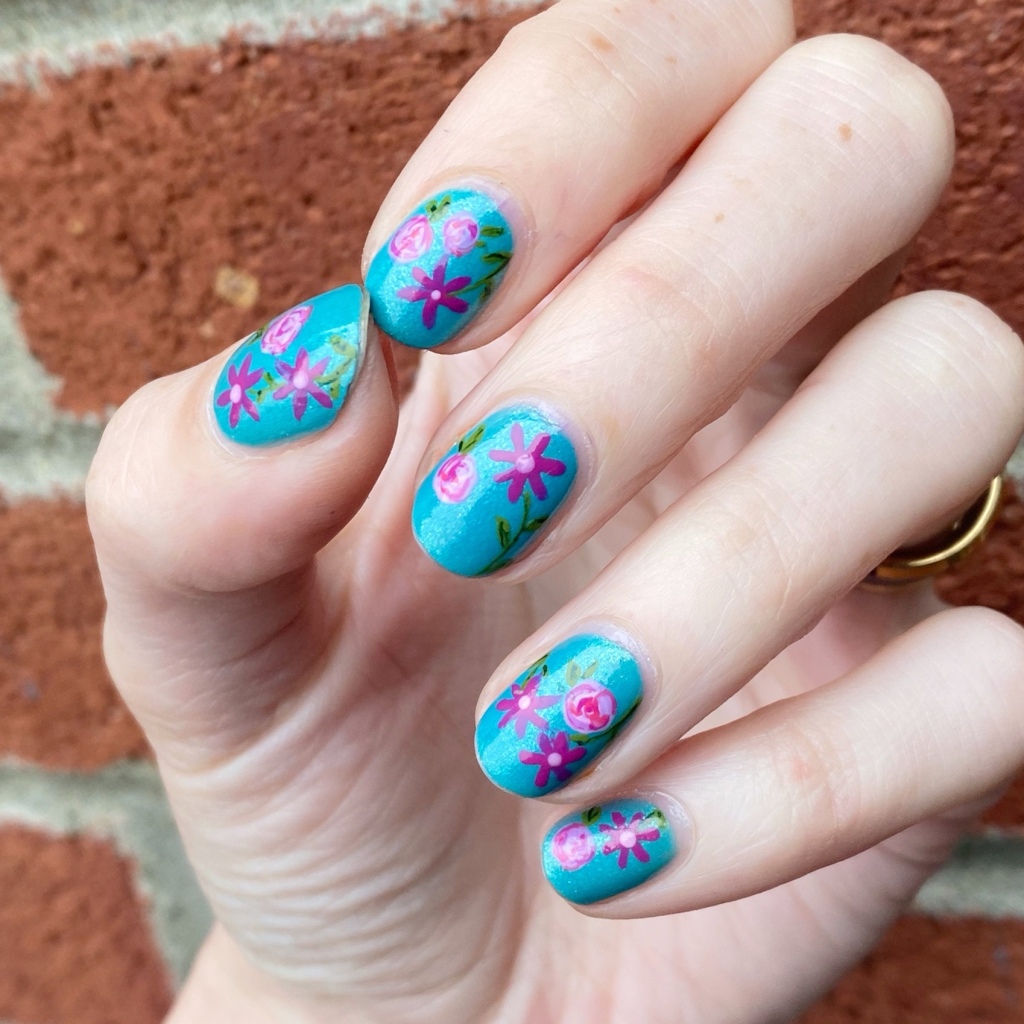
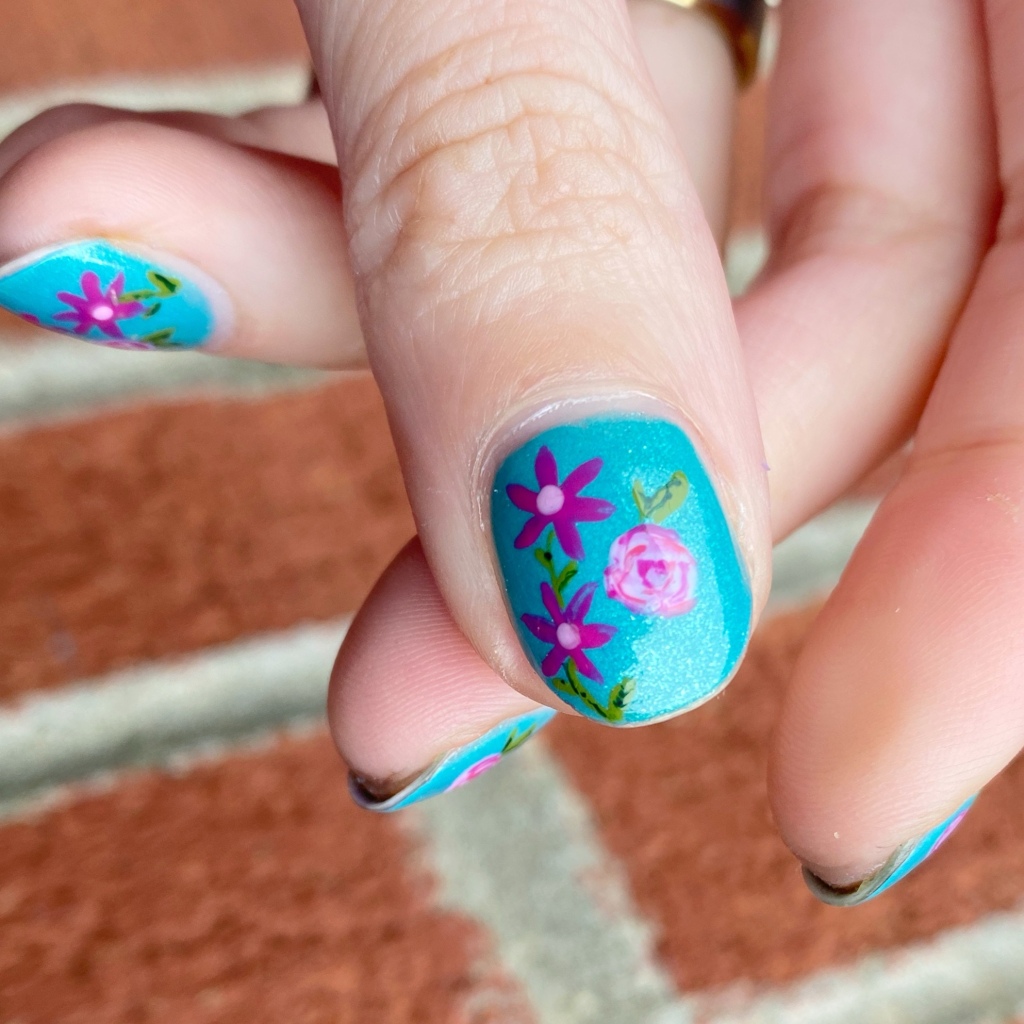
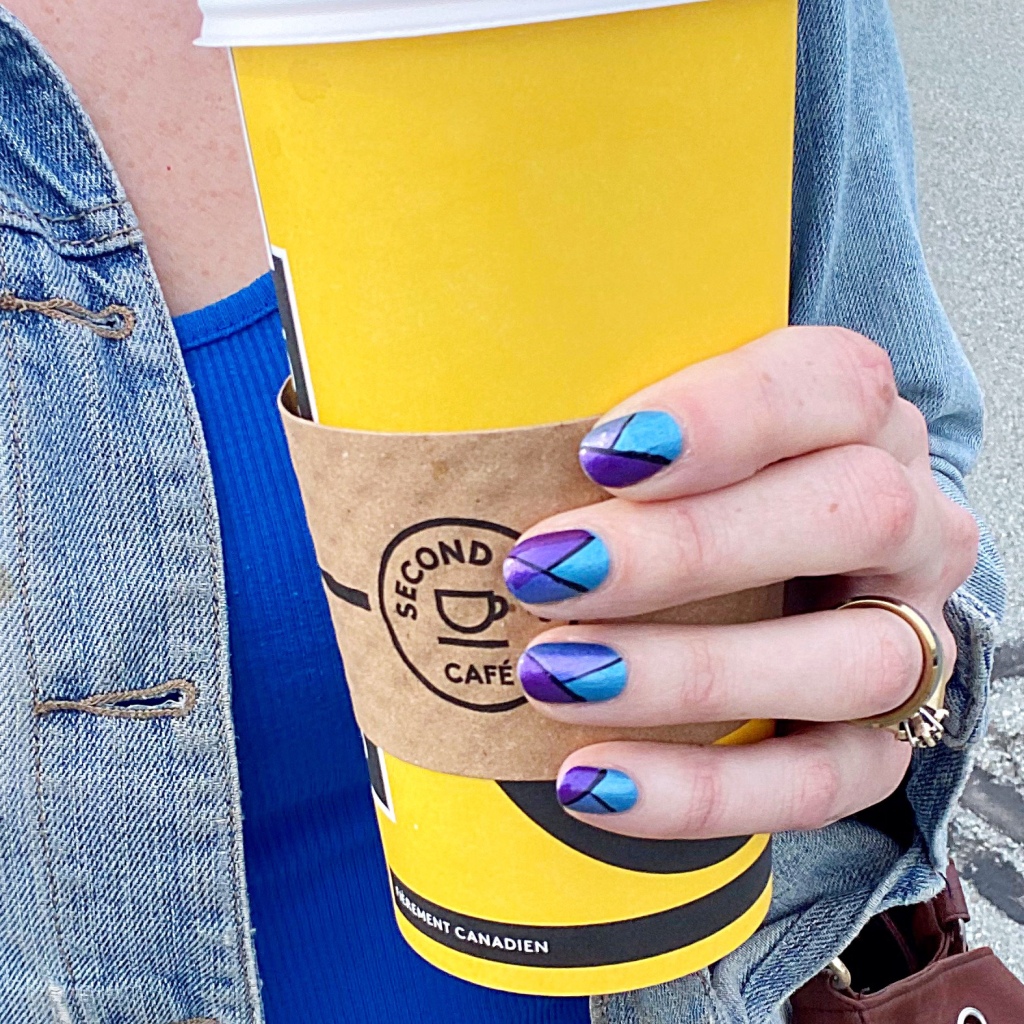
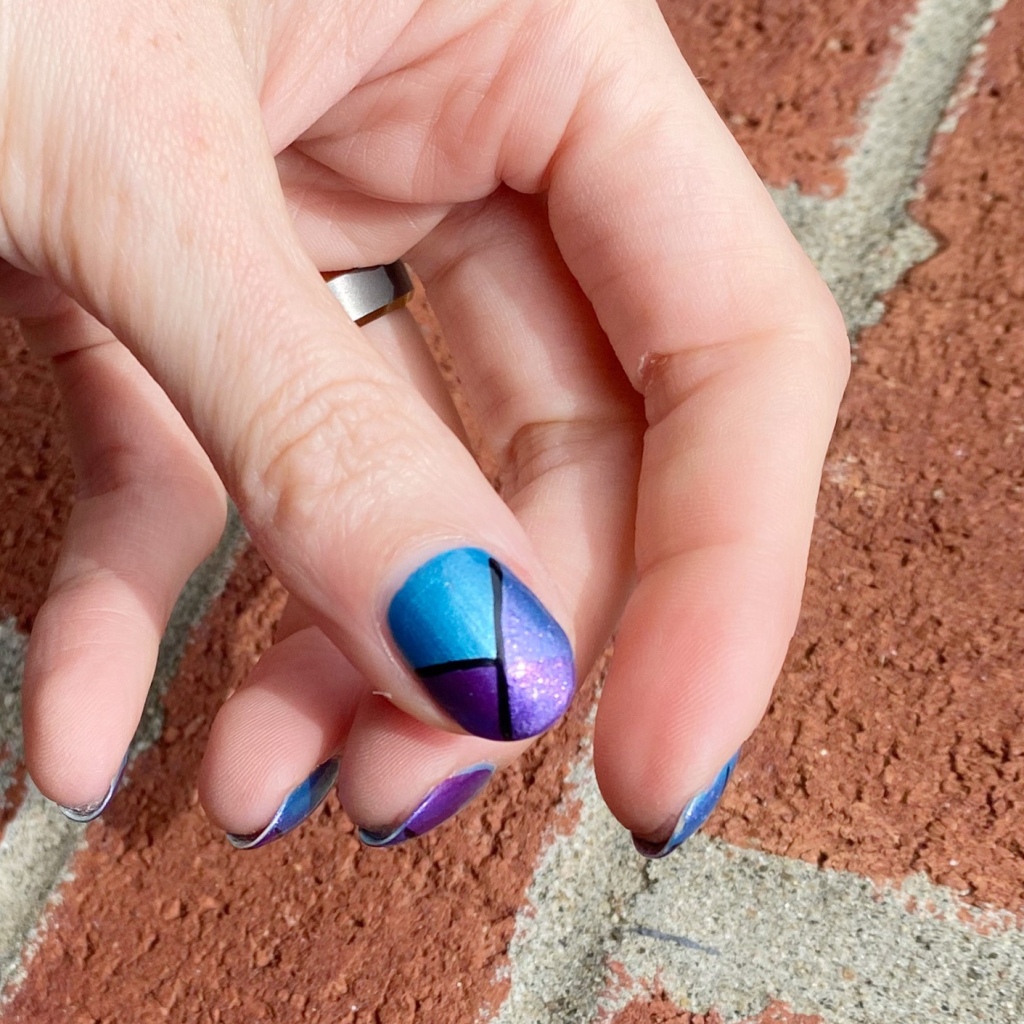
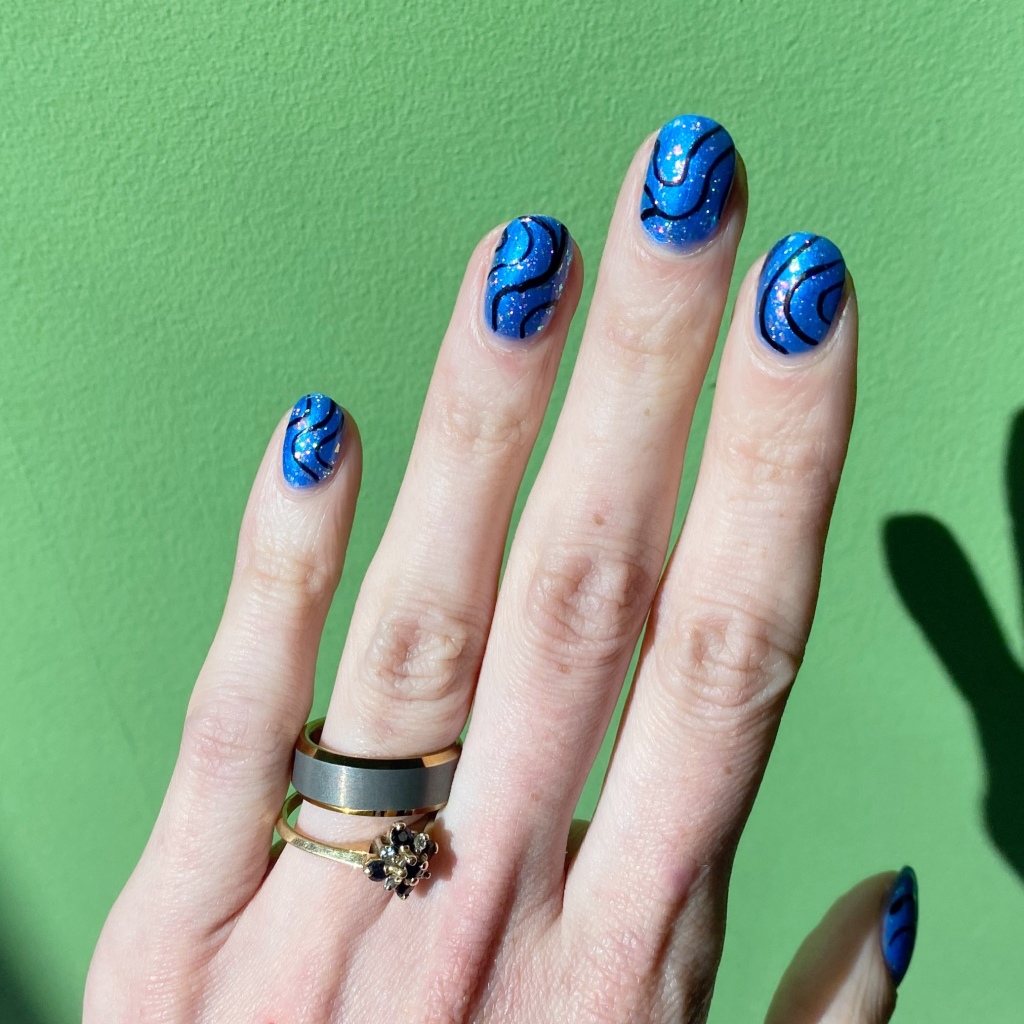
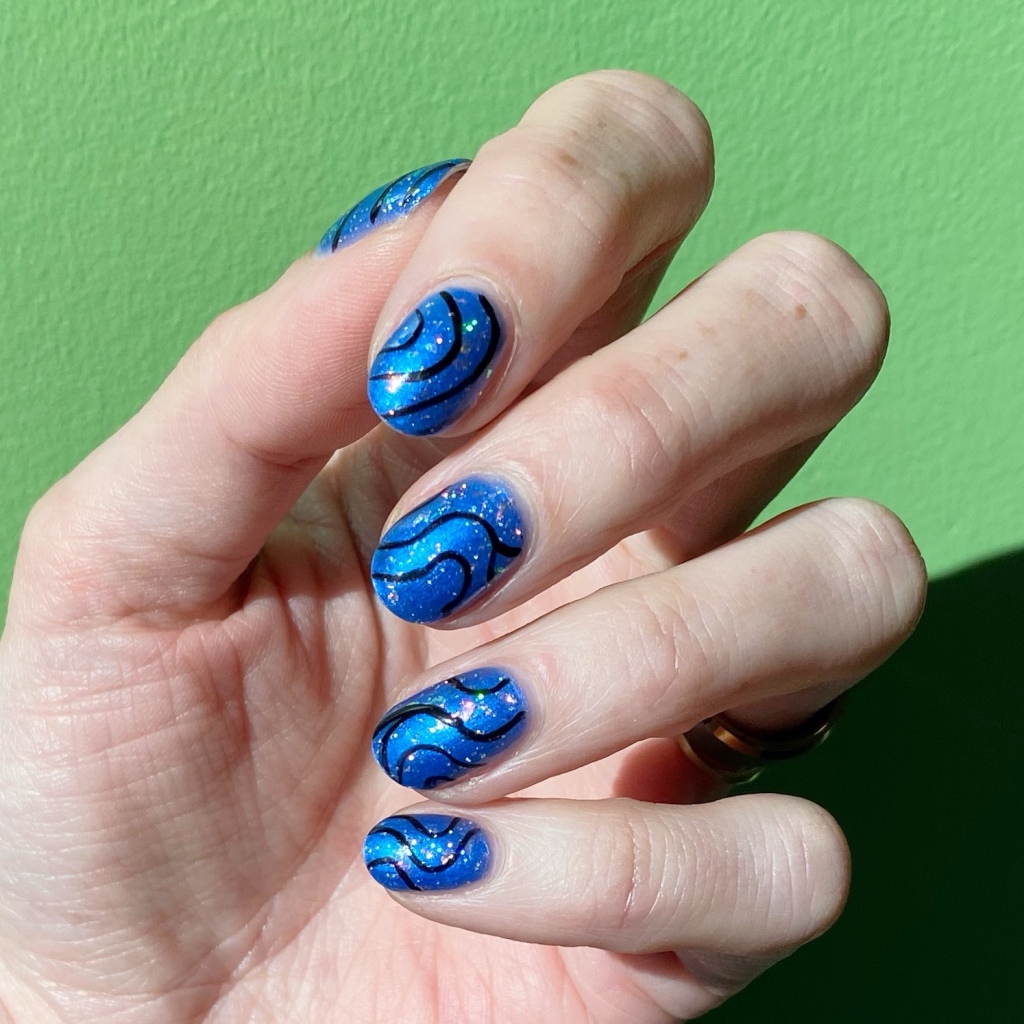
Yep! We’re back to some shorties again. At this point, it’s inevitable! I work in retail, & retail is rough on your nails! But I do kind of like these rounded shorties. & you know I am always going to love when I paint floral on my nails.
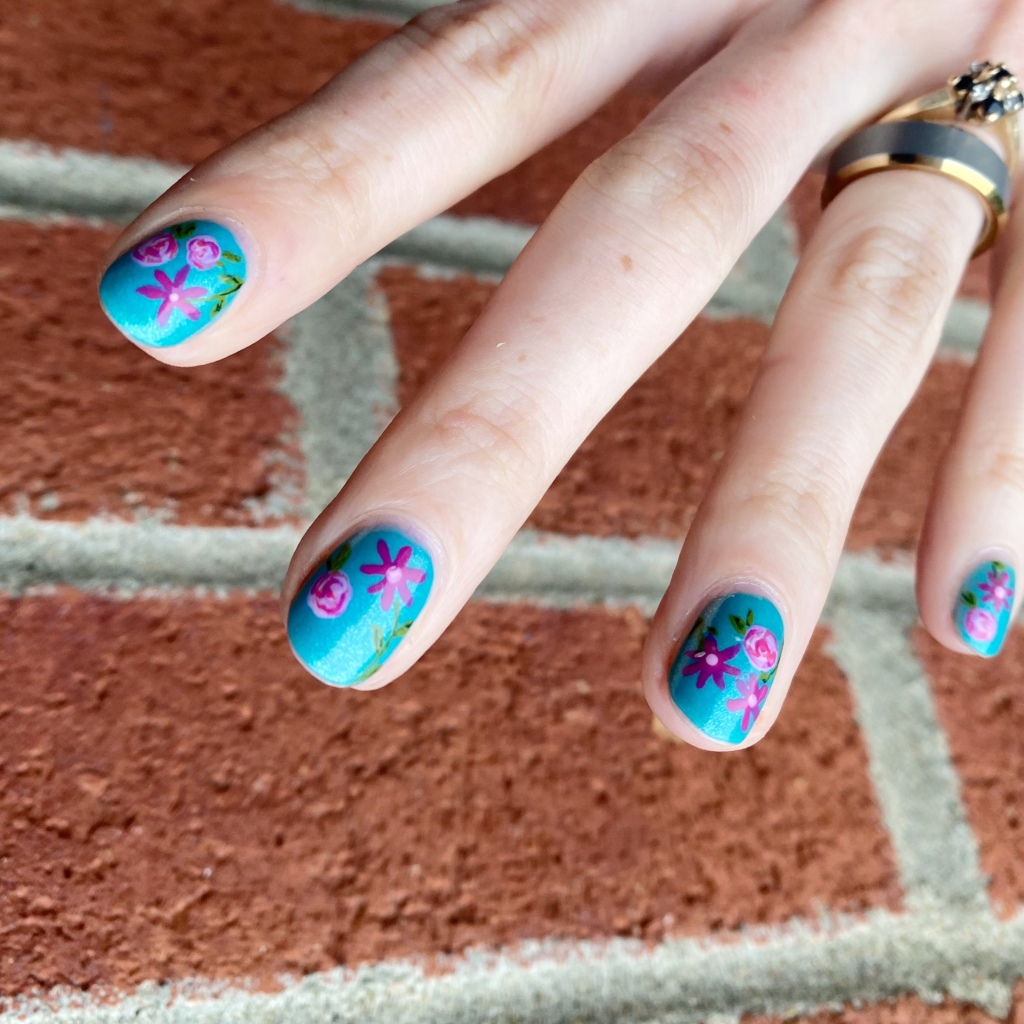
What do you think about this pretty floral? Let me know all your thoughts down in the comments below.
Happy Thursday 🖤