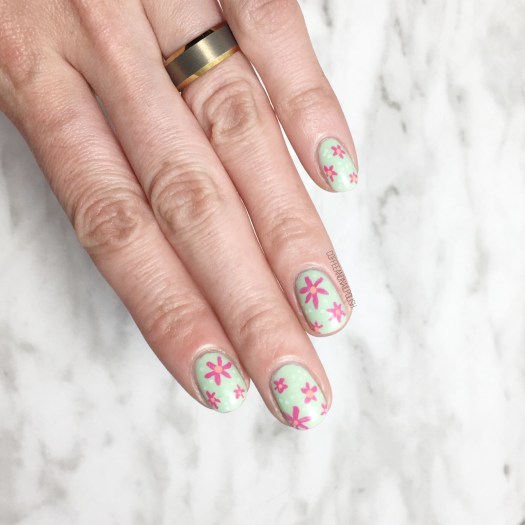
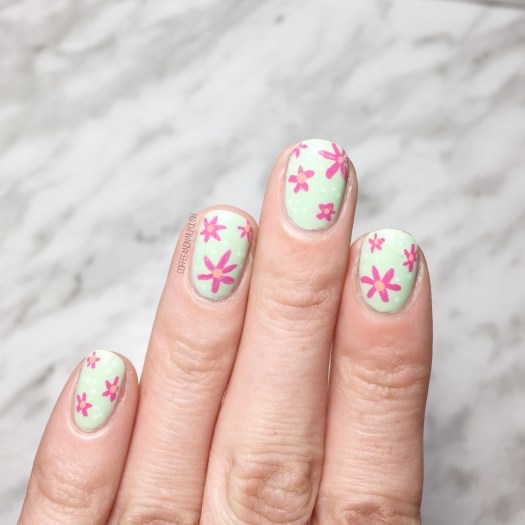
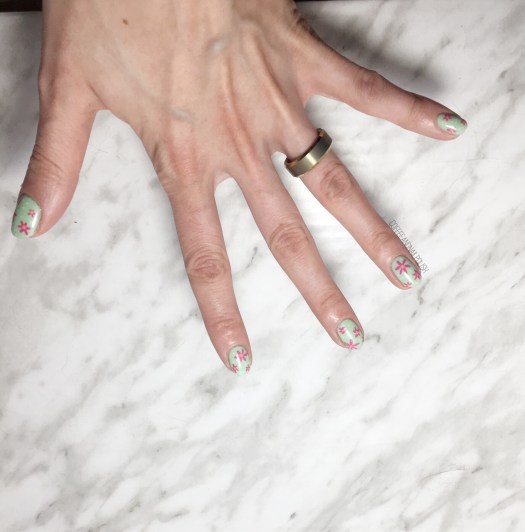
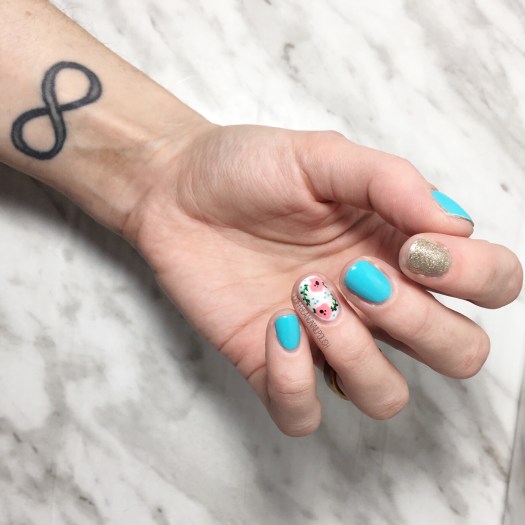
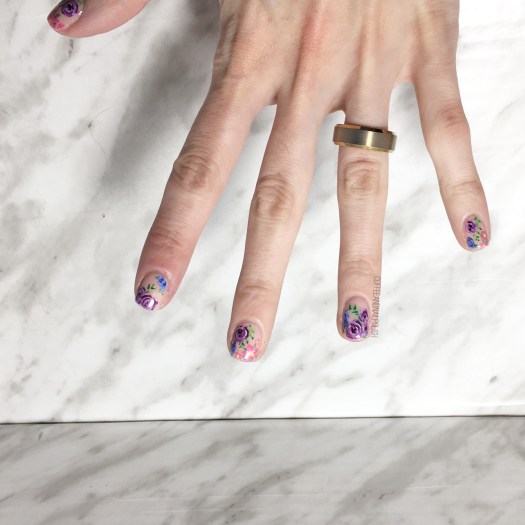
Holy how is it July already? Seriously, it feels like just yesterday I was posting Christmas designs & now it’s hot & humid & I’m so excited I can finally pull out all my fun Summer dresses to wear without needing leggings underneath. I’ve been rocking a lot of floral lately… especially on the nails.
I know that it doesn’t matter what time of year it is, I’m pretty much always going to rock floral. But when the sun is shining & the temps are climbing, wearing floral just feels right!
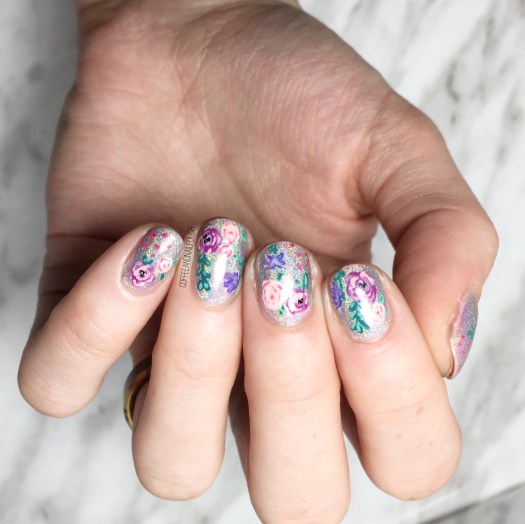

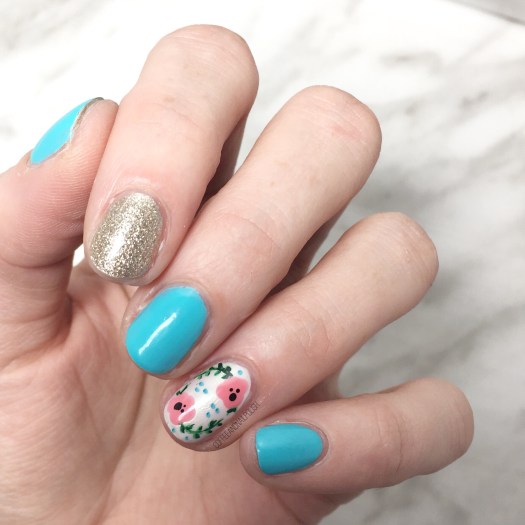
For this manicure, the polishes I used were:
- Base Coat: OPI Nail Envy
- Top Coat: Essie Gel Setter
- NailStuff.ca holo powder (applied over Sally Hansen Complete Salon Manicure Rose to the Occasion)
- Essie Playdate
- Color Club Pucci-licious
- Sally Hansen CSM Killer Heels
- Sally Hansen CSM Red It Online
- Sally Hansen CSM Rose To the Occasion
- Sally Hansen CSM Blush Against The World
- Sally Hansen I ♥️ Nail Art pen in green
- Quo by ORLY Second Hand Jade
- Bundle Monster small detail brush
- Bundle Monster small & large dotting tool


Oh man, this holo powder from NailStuff.ca is one of my all time favourites. Easy to apply & such a strong holo look. I never thought of using it as a base for nail art, but it was the perfect base for this floral. Plus in the sunlight…. oh, in the sunlight. I’ve been obsessing over wearing holo nails on good days because it’s so distracting! I would be lying if I said I didn’t get caught staring at my nails once or twice (or five times) while wearing this mani!
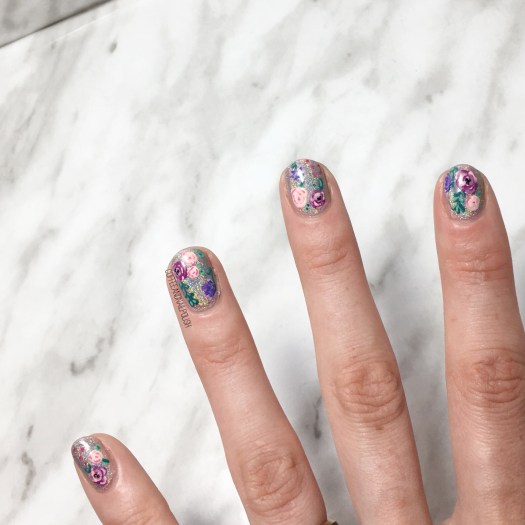
what do you think of this design? Are you a fan of a holo base for nail art? Share your thoughts in the comments below & let me know what you think. ♥️