Good morning lovelies & happy Friday! & happy The Life of a Showgirl release day to my fellow swifties! I’m going to one of the showings tonight with a friend for the album, after I get off work, & we decided to go in blind without pre-listening, so today is going to be a serious test of my willpower!
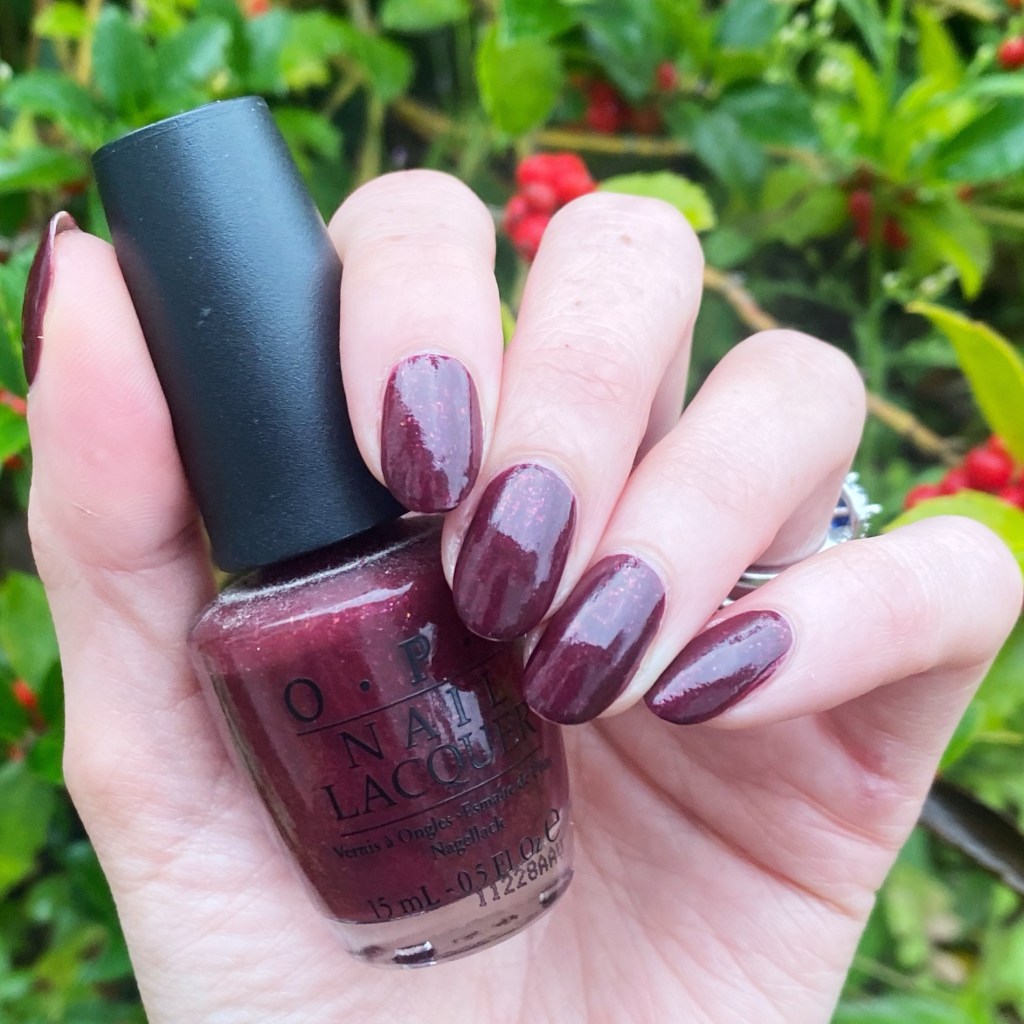
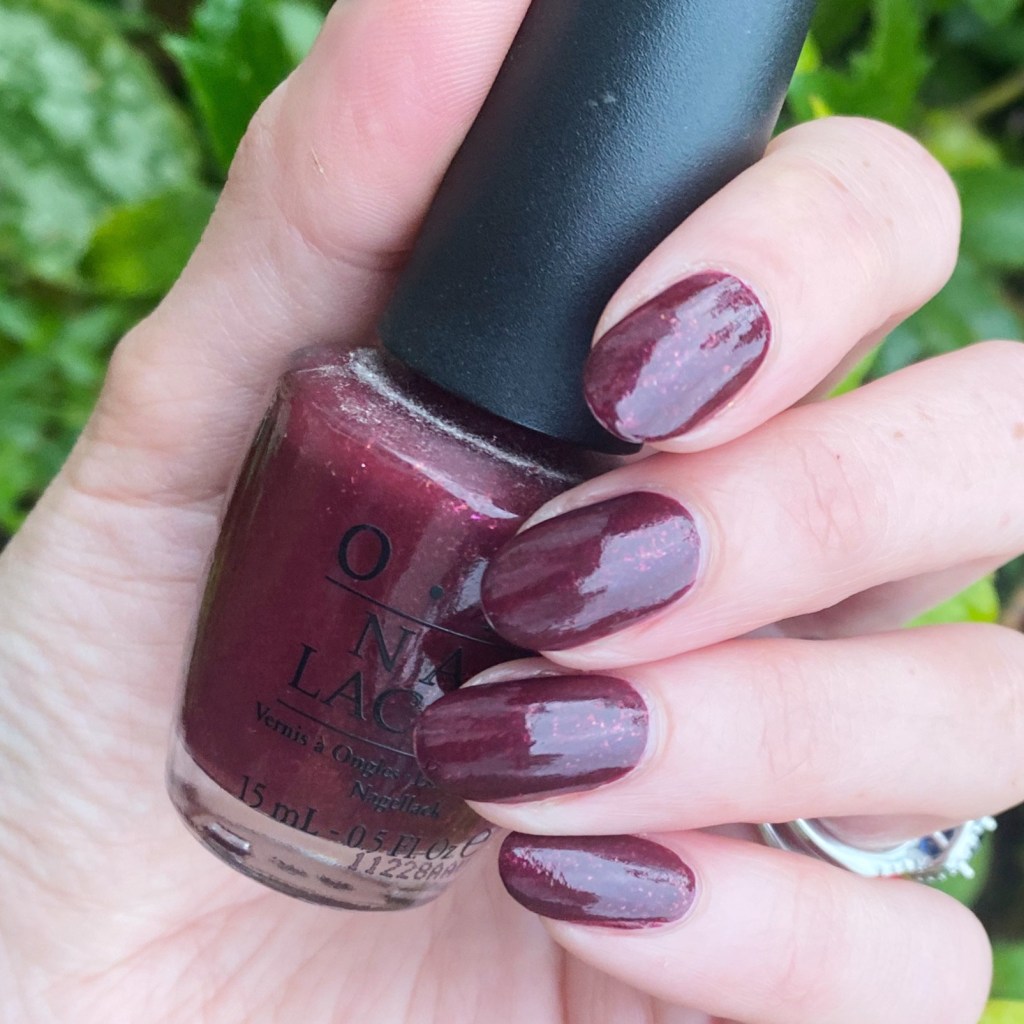
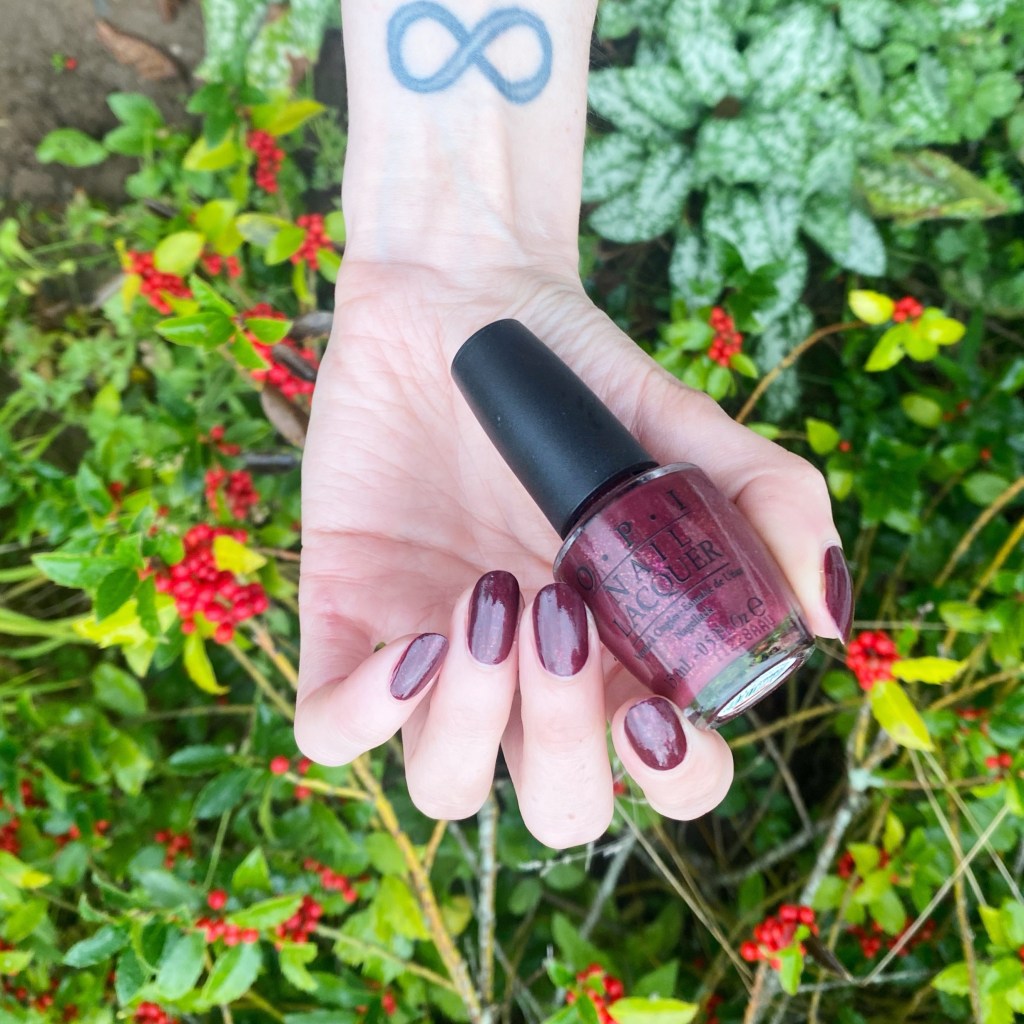
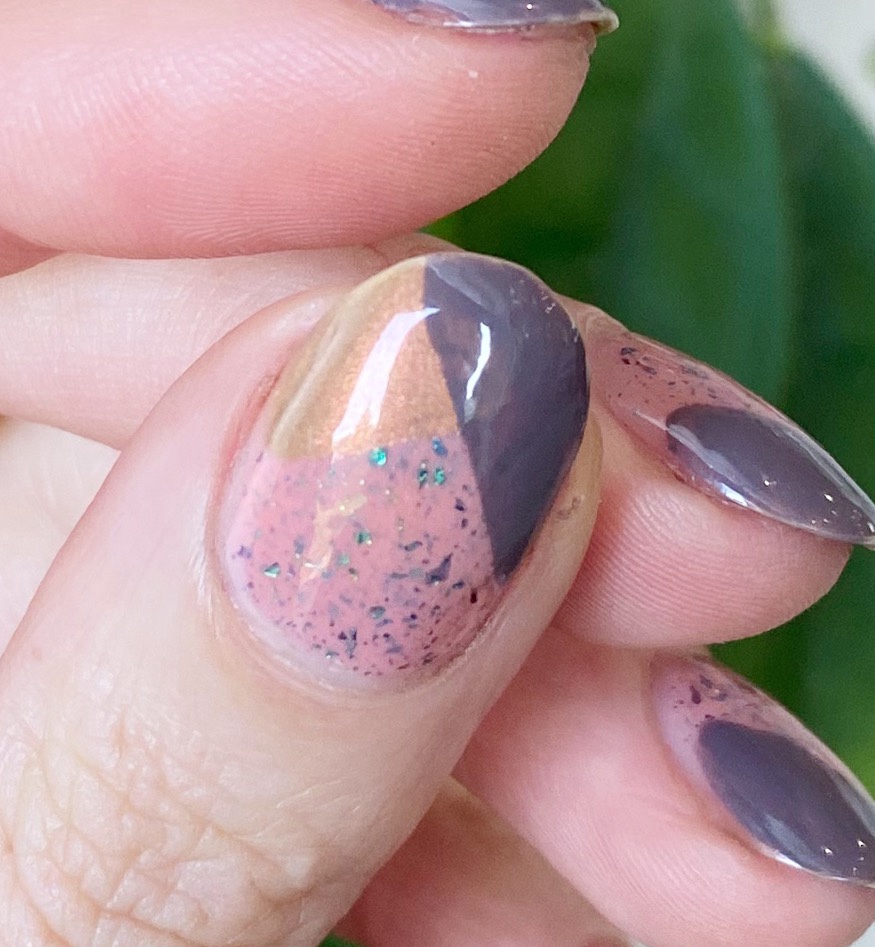
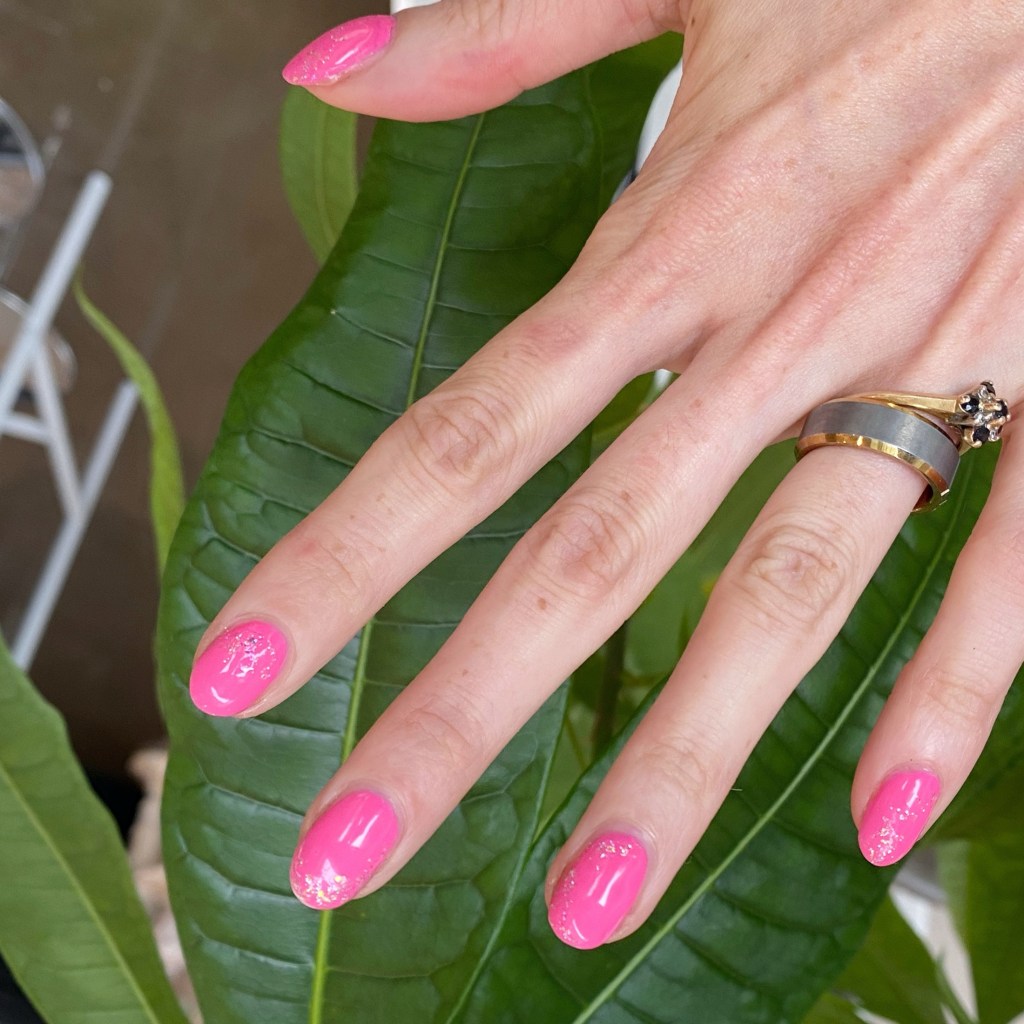
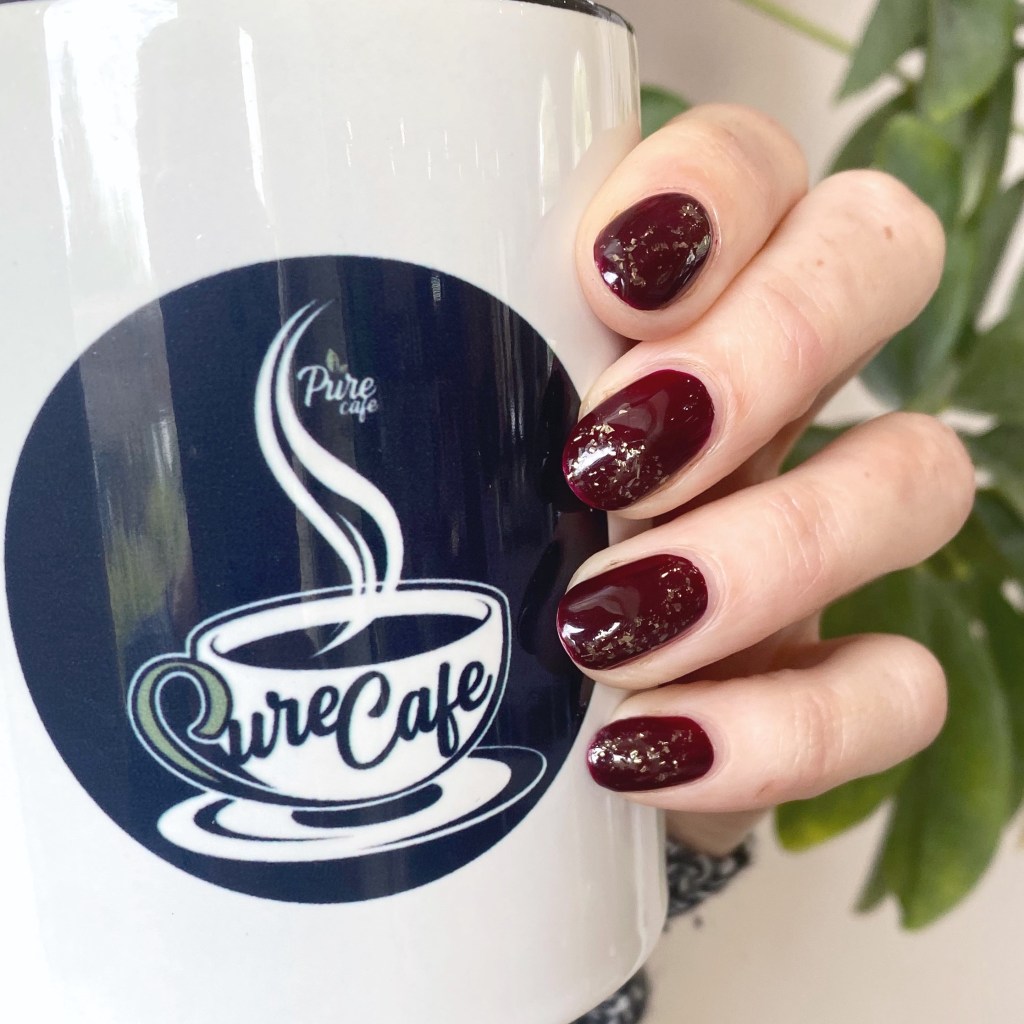
But in the meantime, how about a little sparkle. We are in full October vibes now, & while I am having so much fun doing Halloween designs for the Glam Nails Challenge, I thought I would switch it up a bit with just a little dark glitter placement.

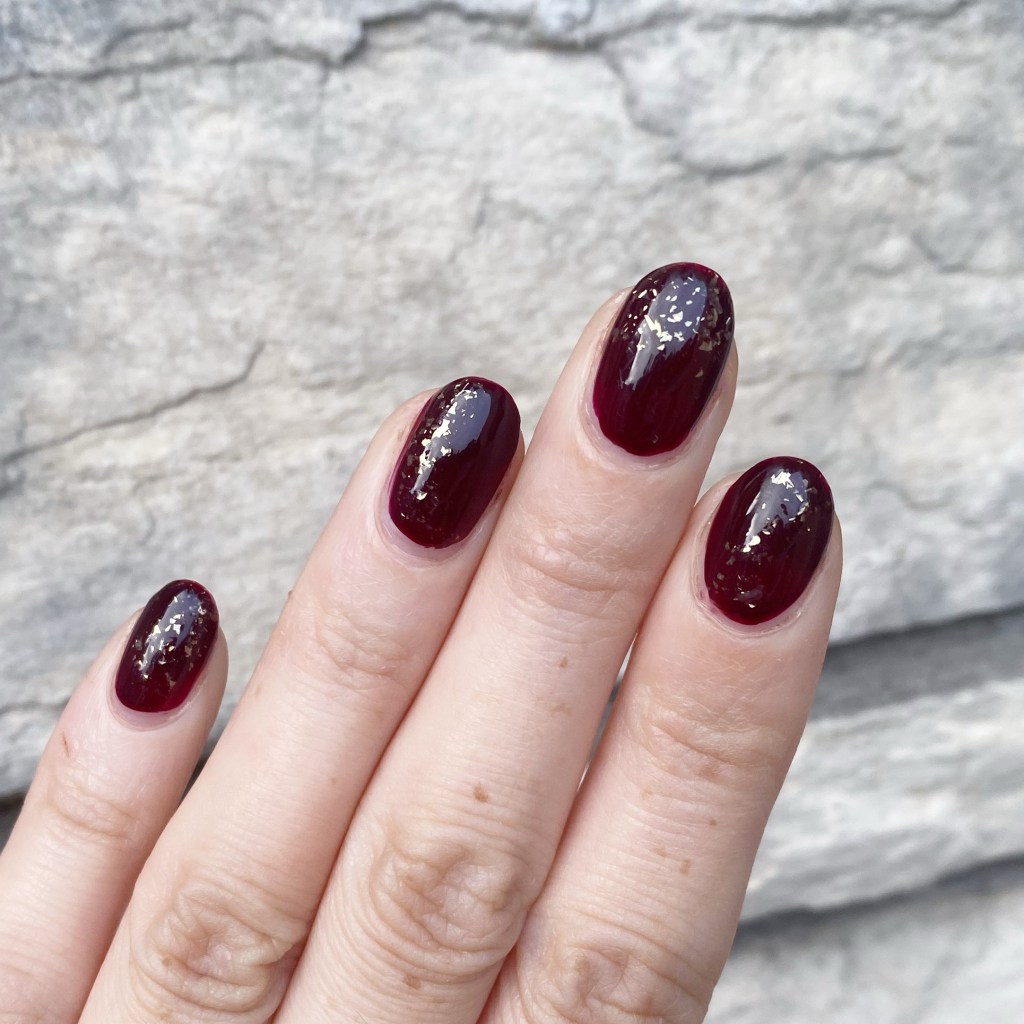
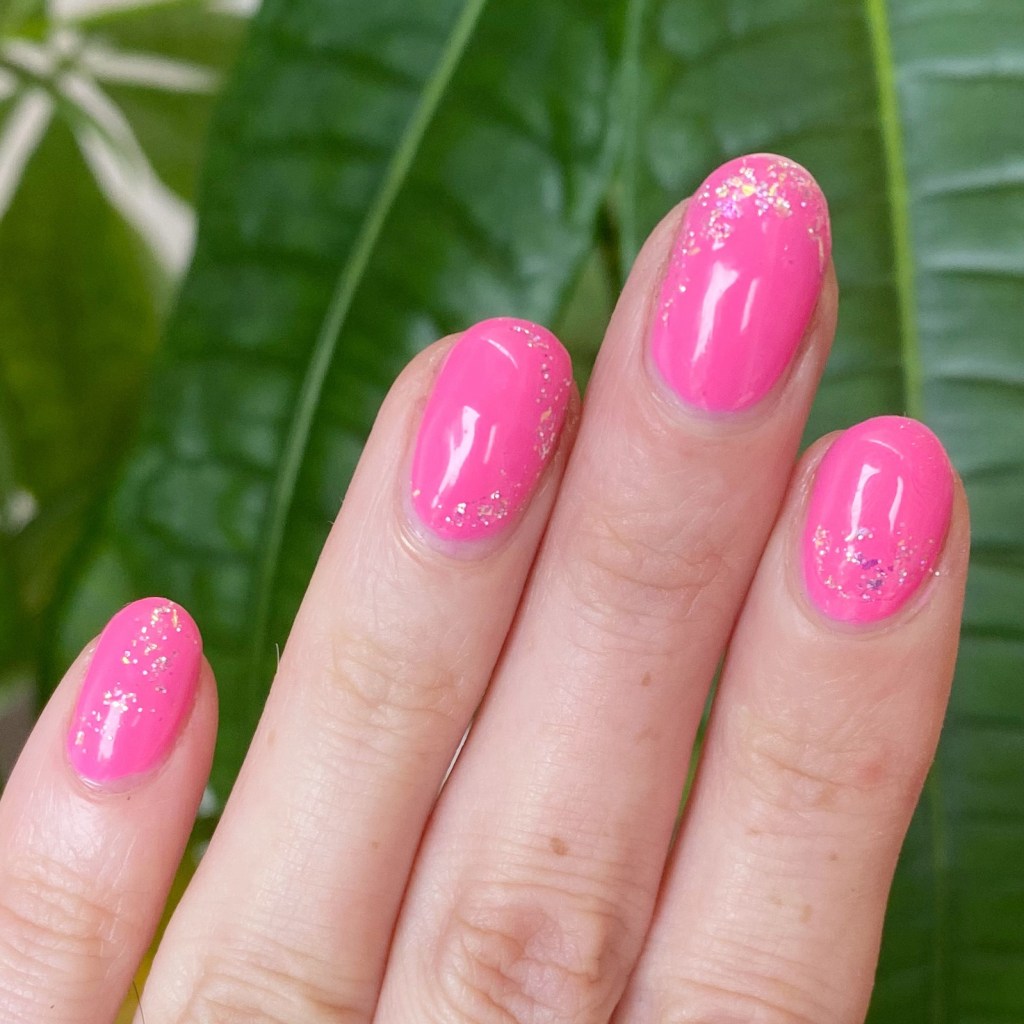
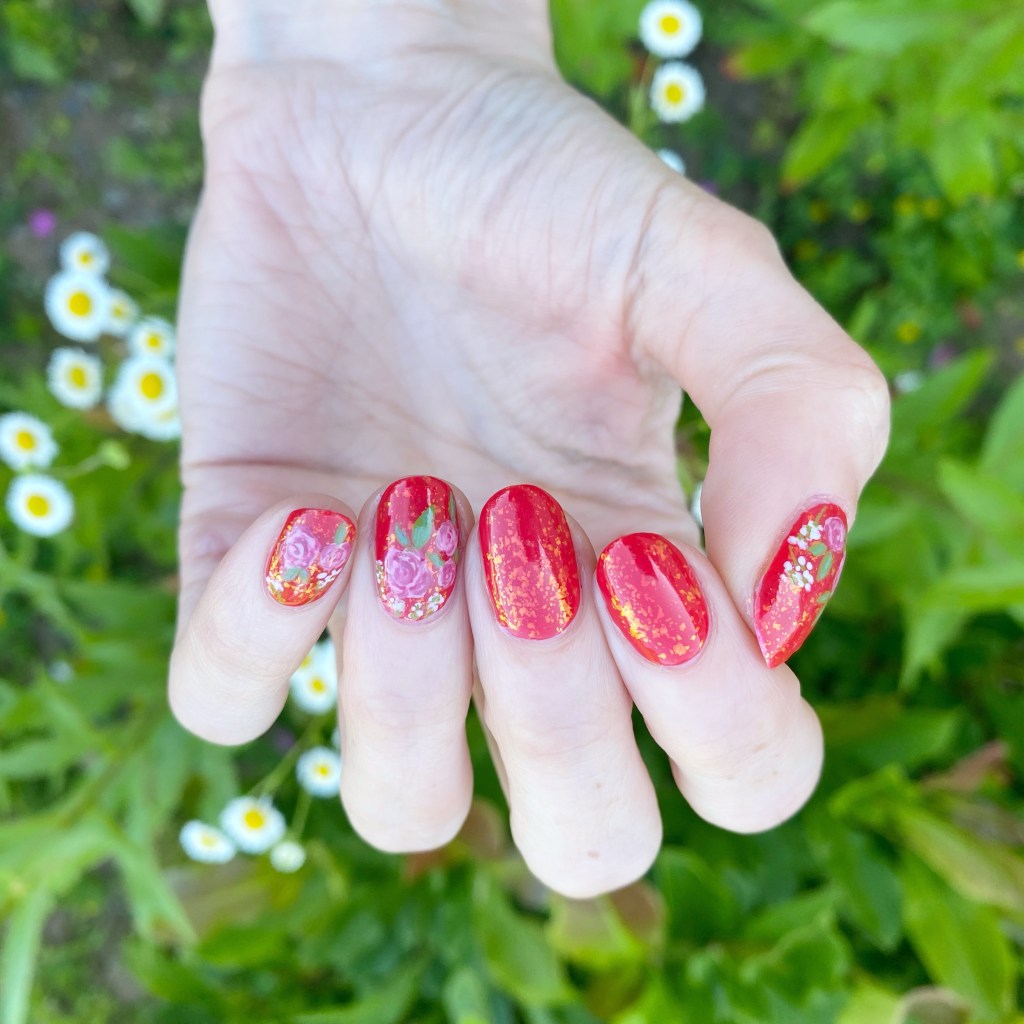
The polishes I used for this manicure are:
- Top Coat: Sally Hansen InstaDri Top Coat (red bottle)
- Base Coat: Essie Hard to Resist (purple)
- Revlon Color Stay Gel Envy Heartbreaker
- Essie Nail Art Studio Glitter Separated Starlight

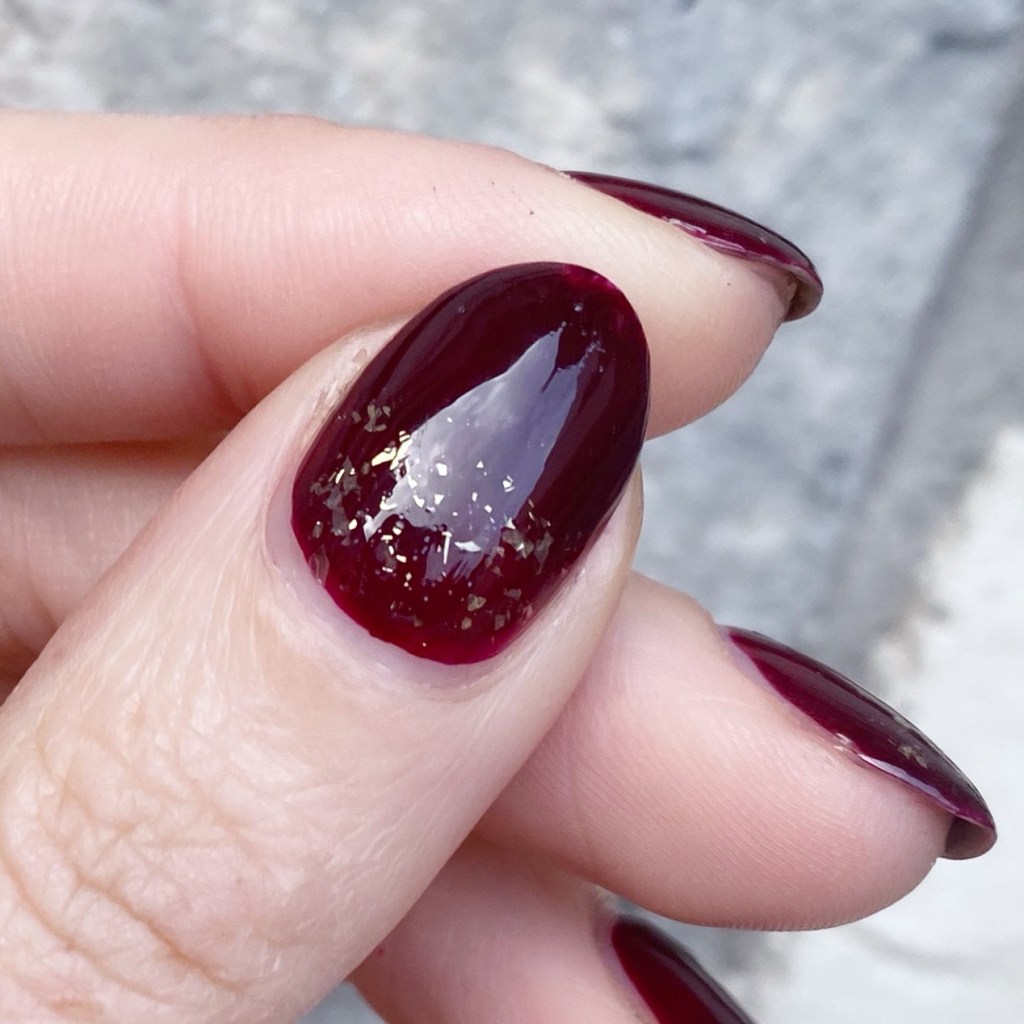
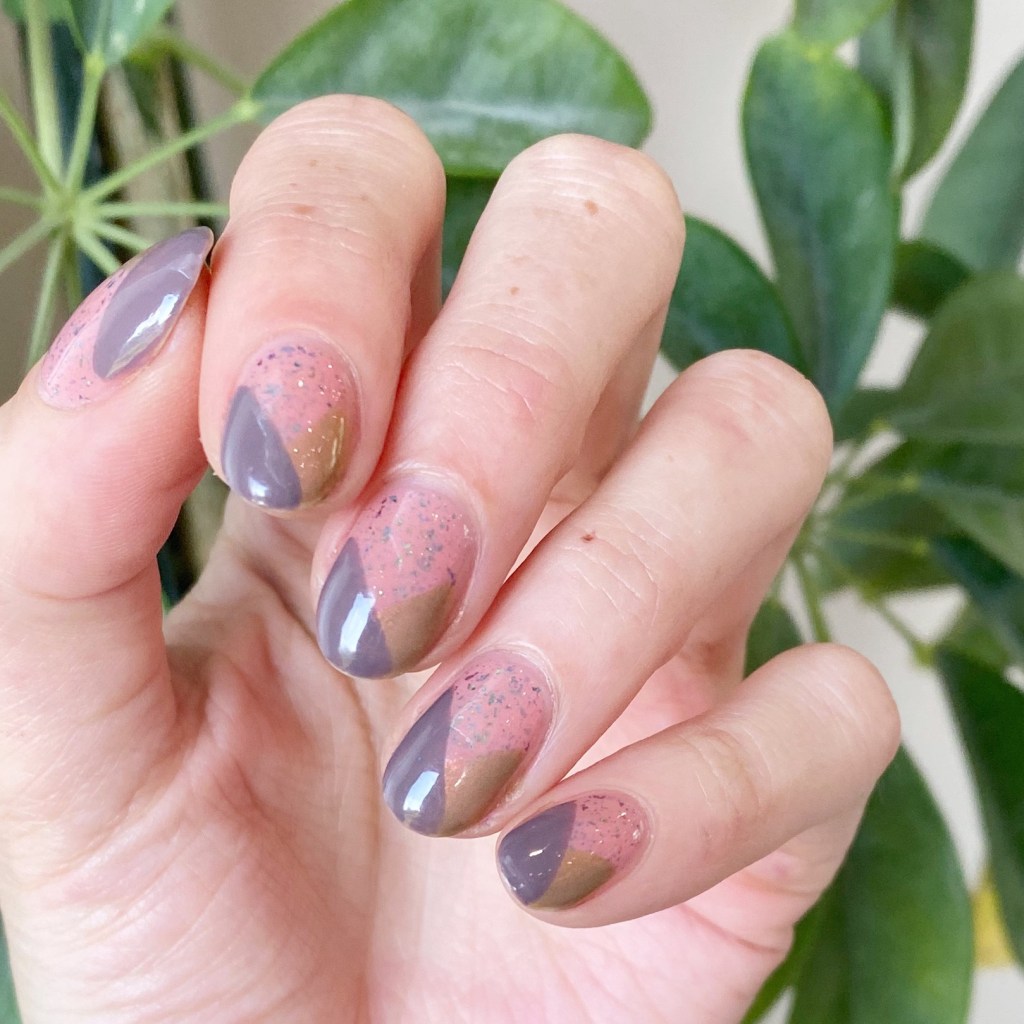
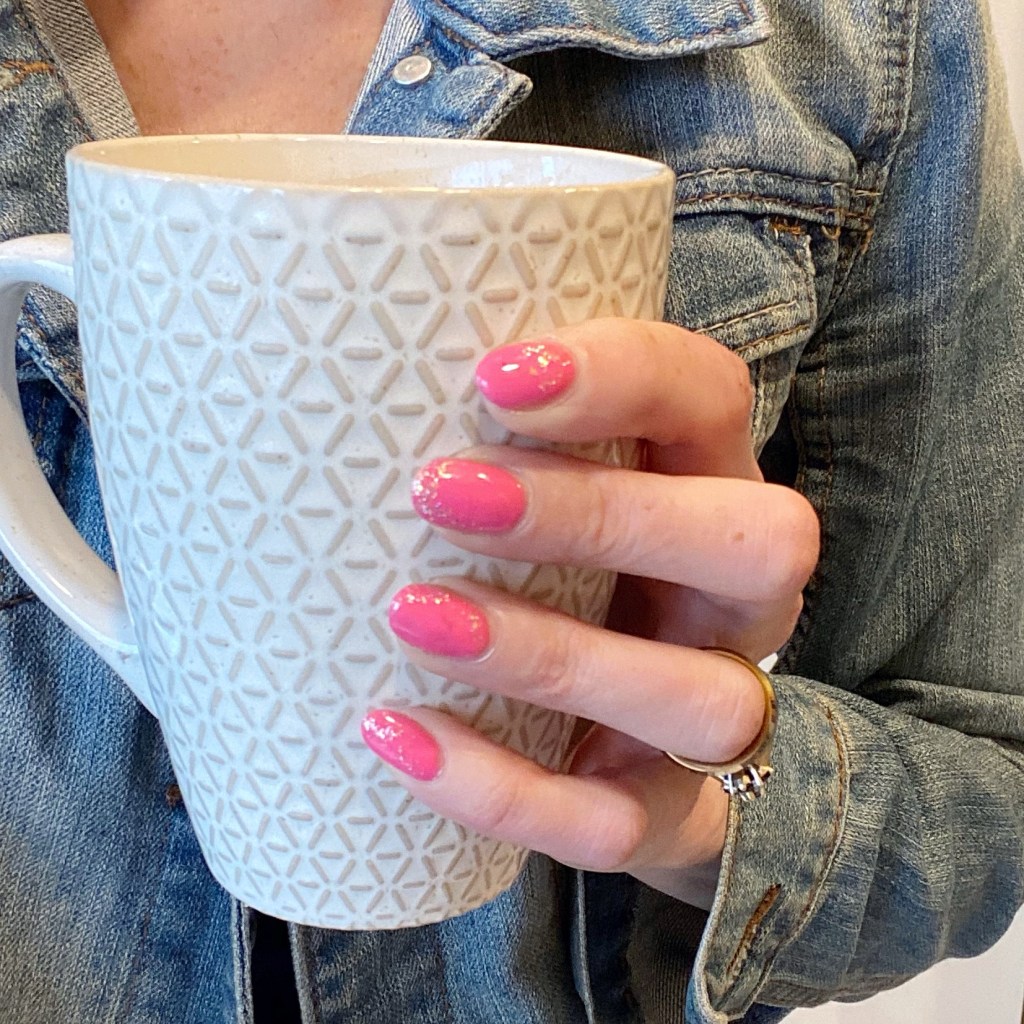
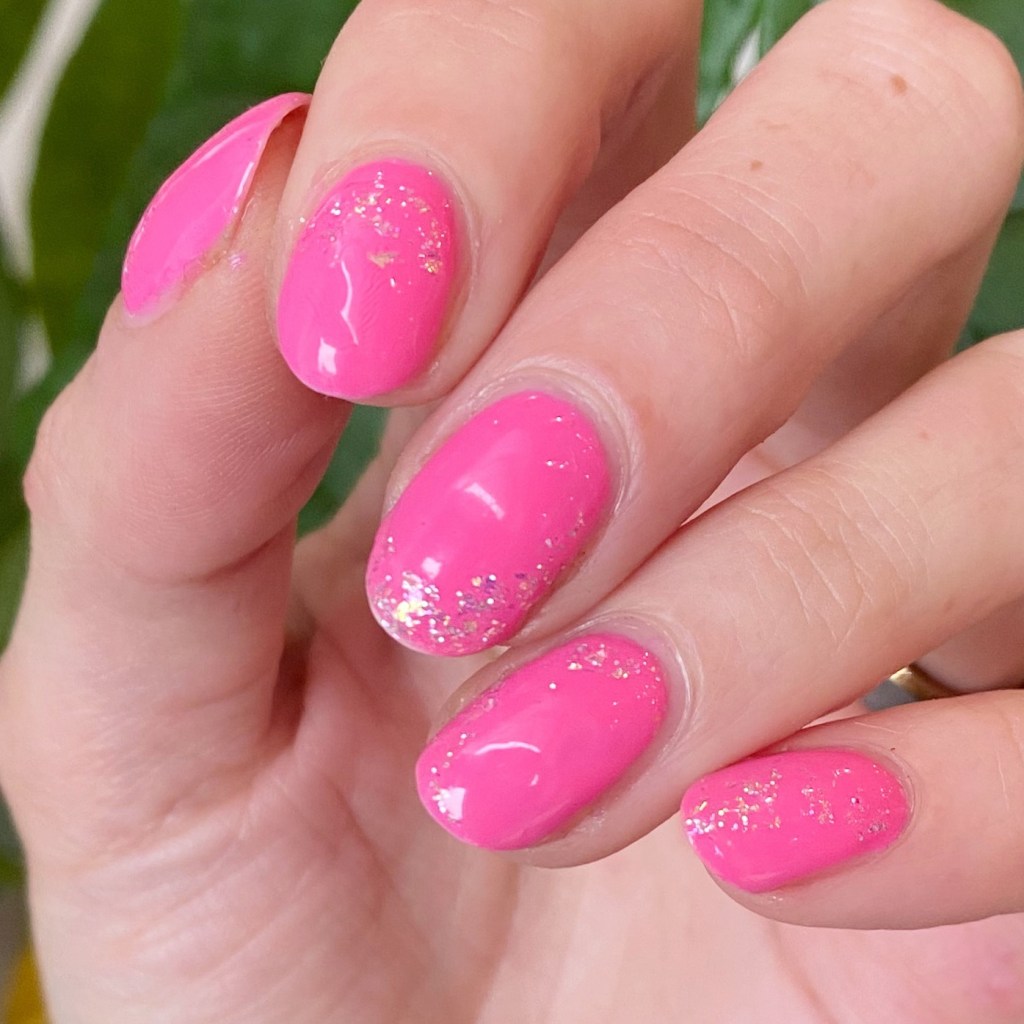
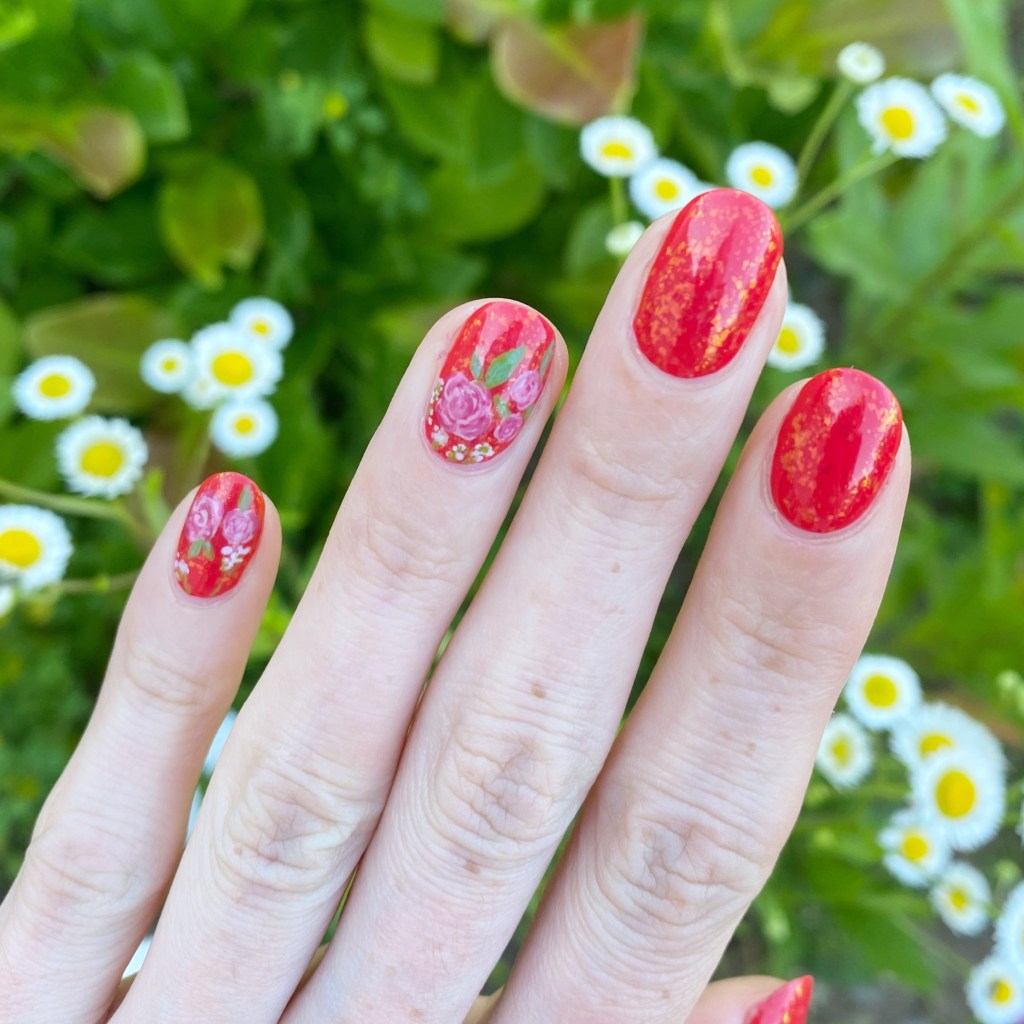
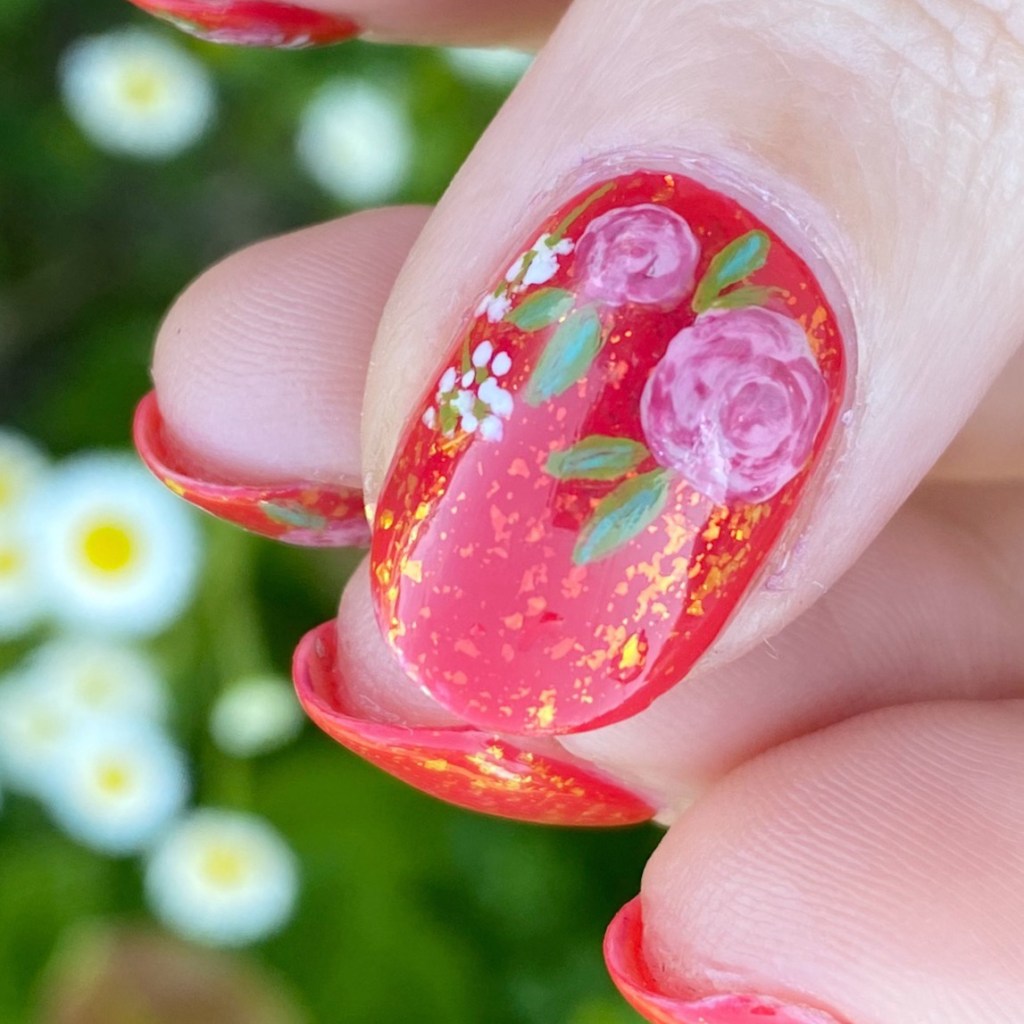
Okay I don’t want to sound too conceited, but like how freaking glamorous do these nails look? I absolutely adore how they turned out. The sparkle is kind of subtle, but not subtle. It’s definitely an everyday kind of glamour, & perfect for these Autumn October days! Also, no tools required which I always love because sometimes I’m just too tired to spend an hour on something more complex (especially when I have to be up at 5:30am to get ready for work!)
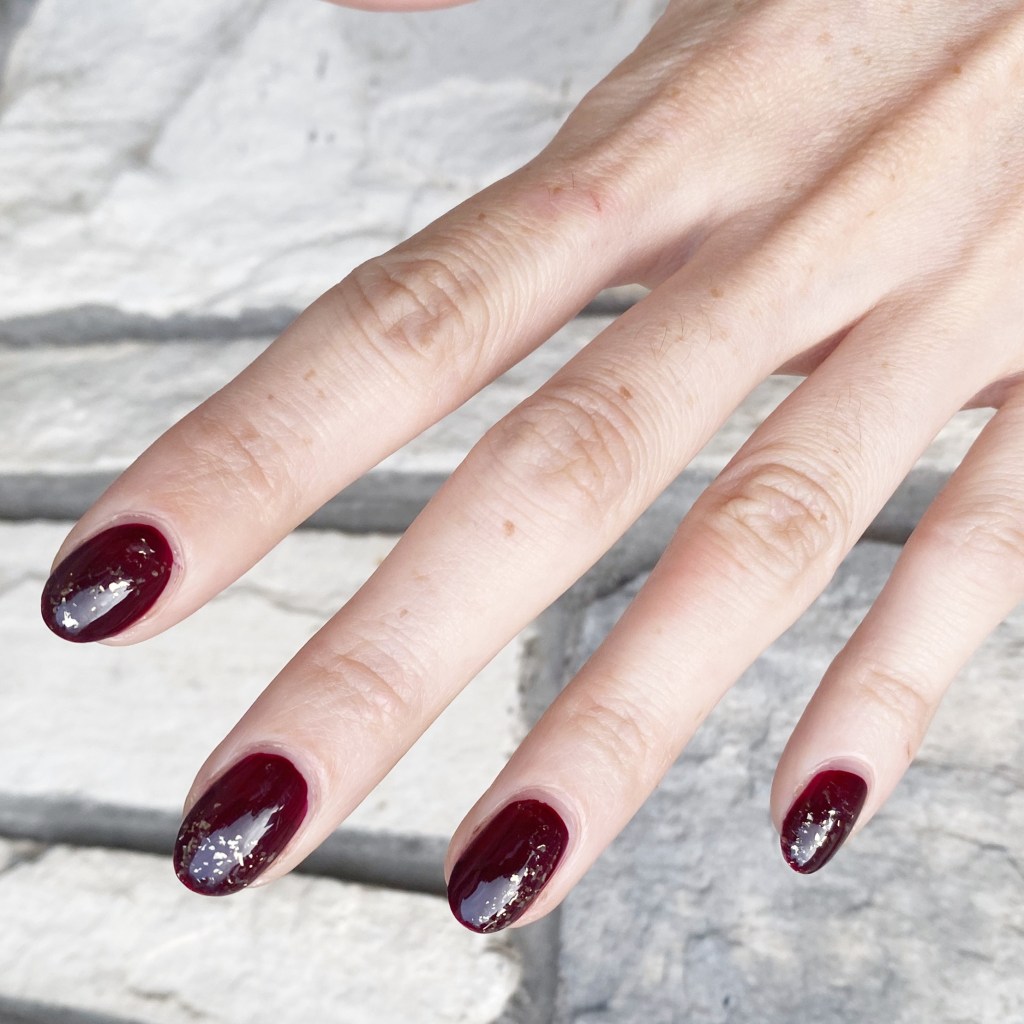
So what do you think of this design? I know it’s not a groundbreaking nail art look, but I think it just looks so pretty. Definitely my go to when I want something chic, but not complex. & just a little bit subtle.
Happy Friday!
🖤