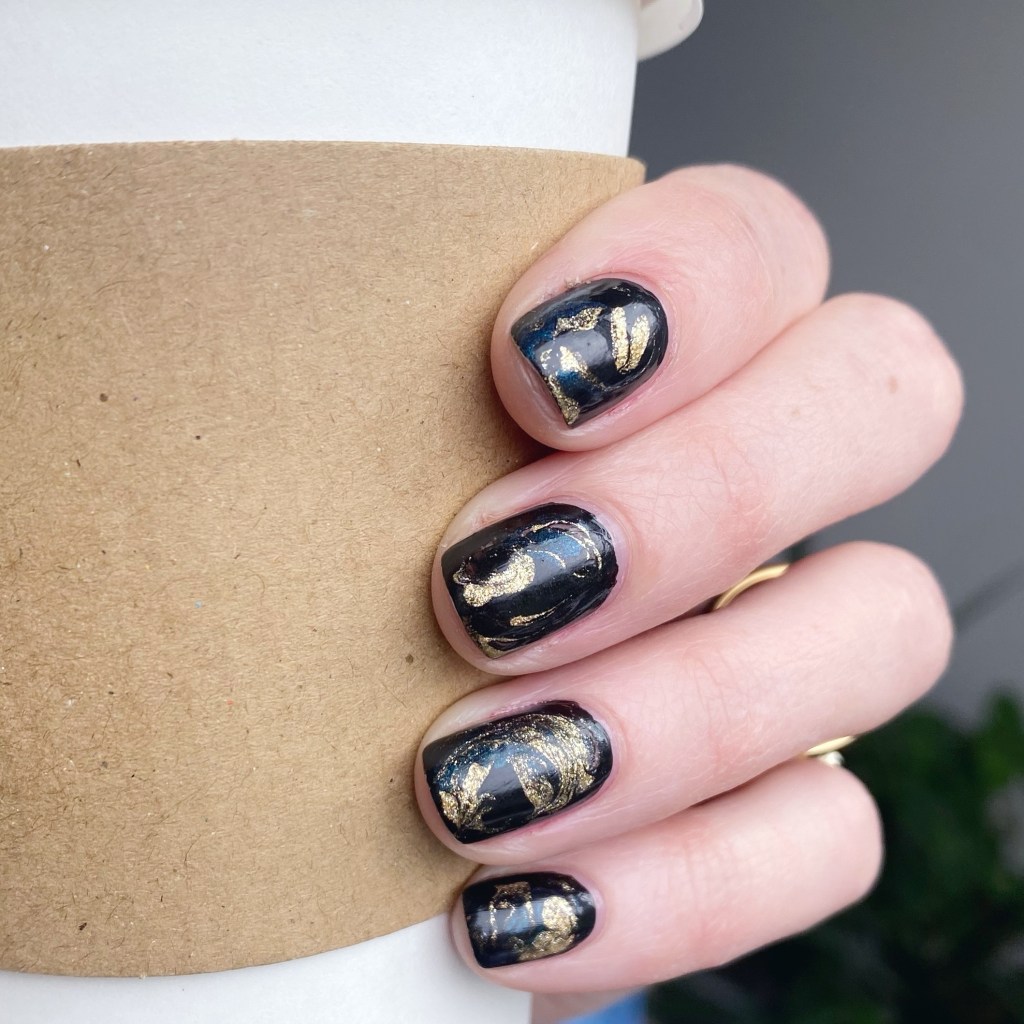
Onyx Drag Marble Gemstone Nails

Hello loves & happy Wednesday! I hope everyone is having a lovely start to their week so far. Somehow I blinked, & we’re already half way through the week… & through September. It’s crazy how quickly time is passing.

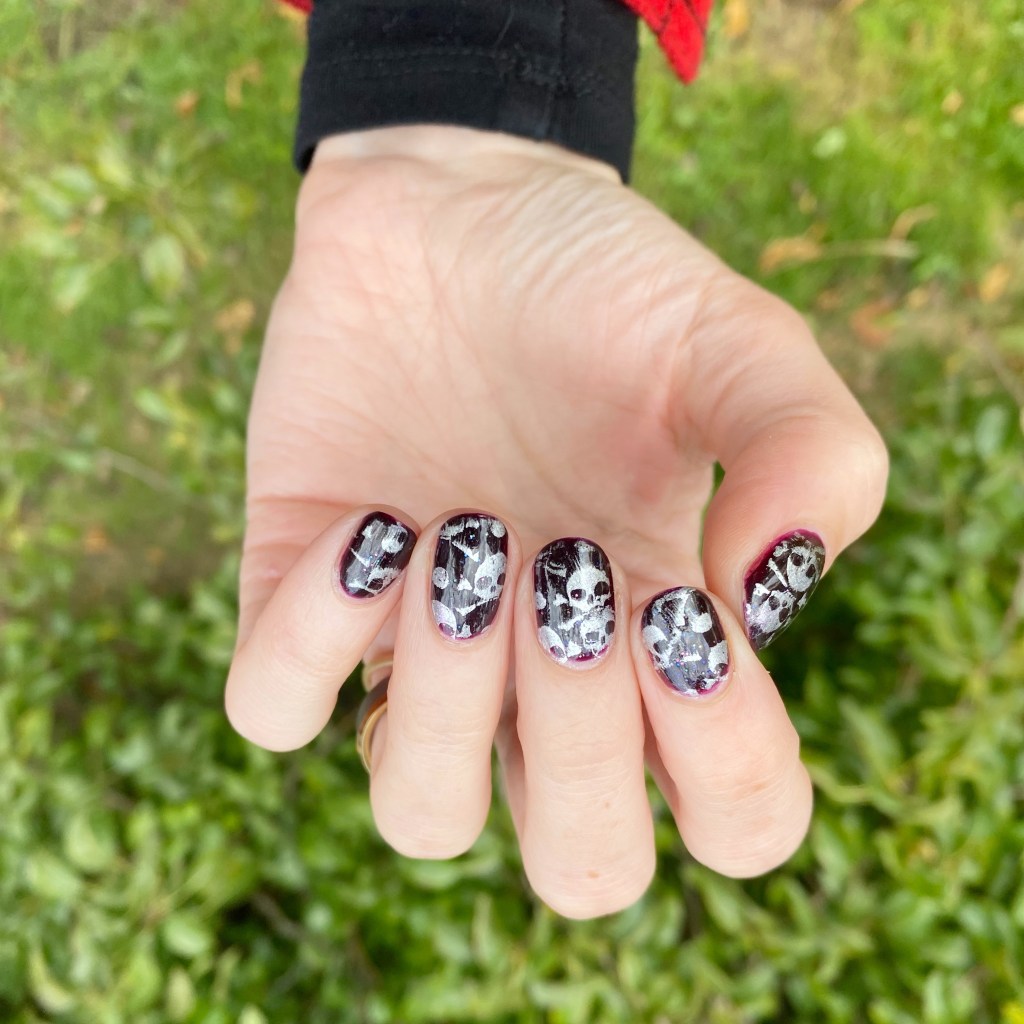
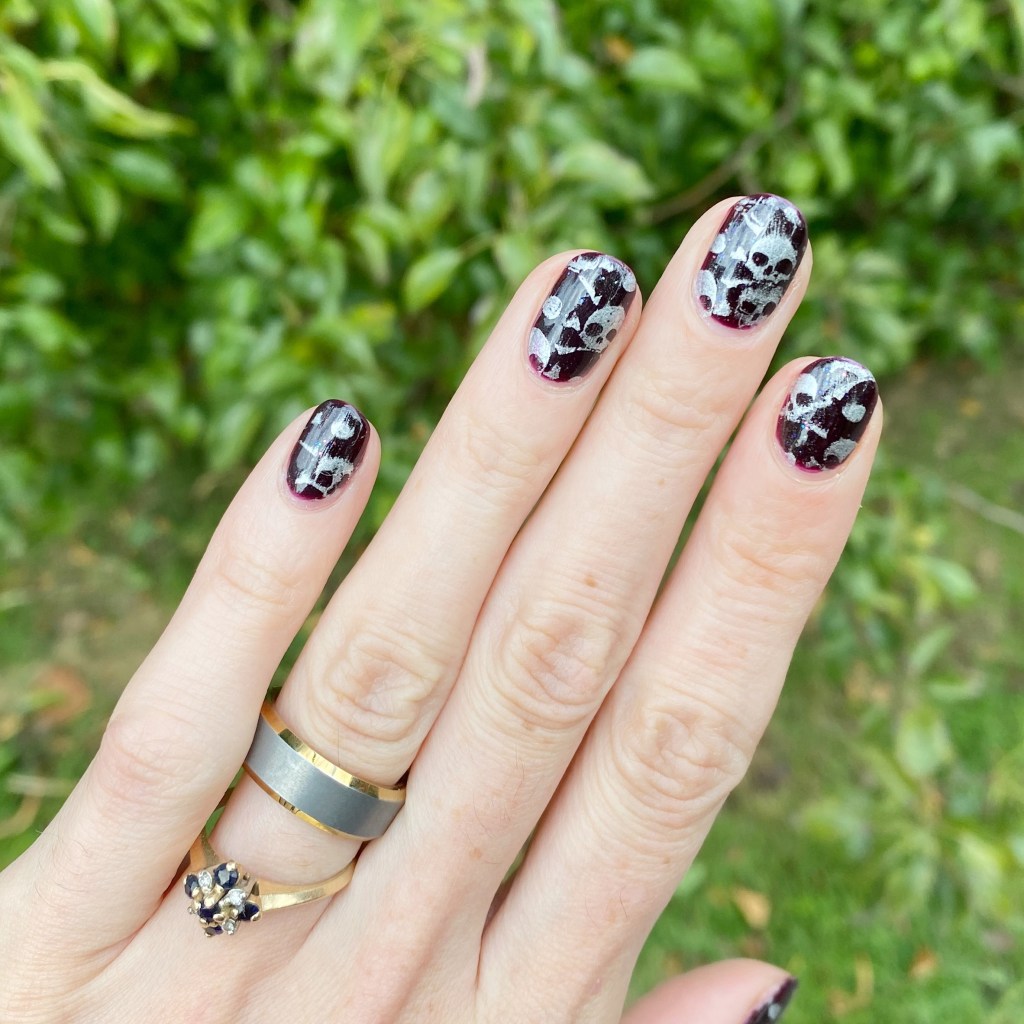
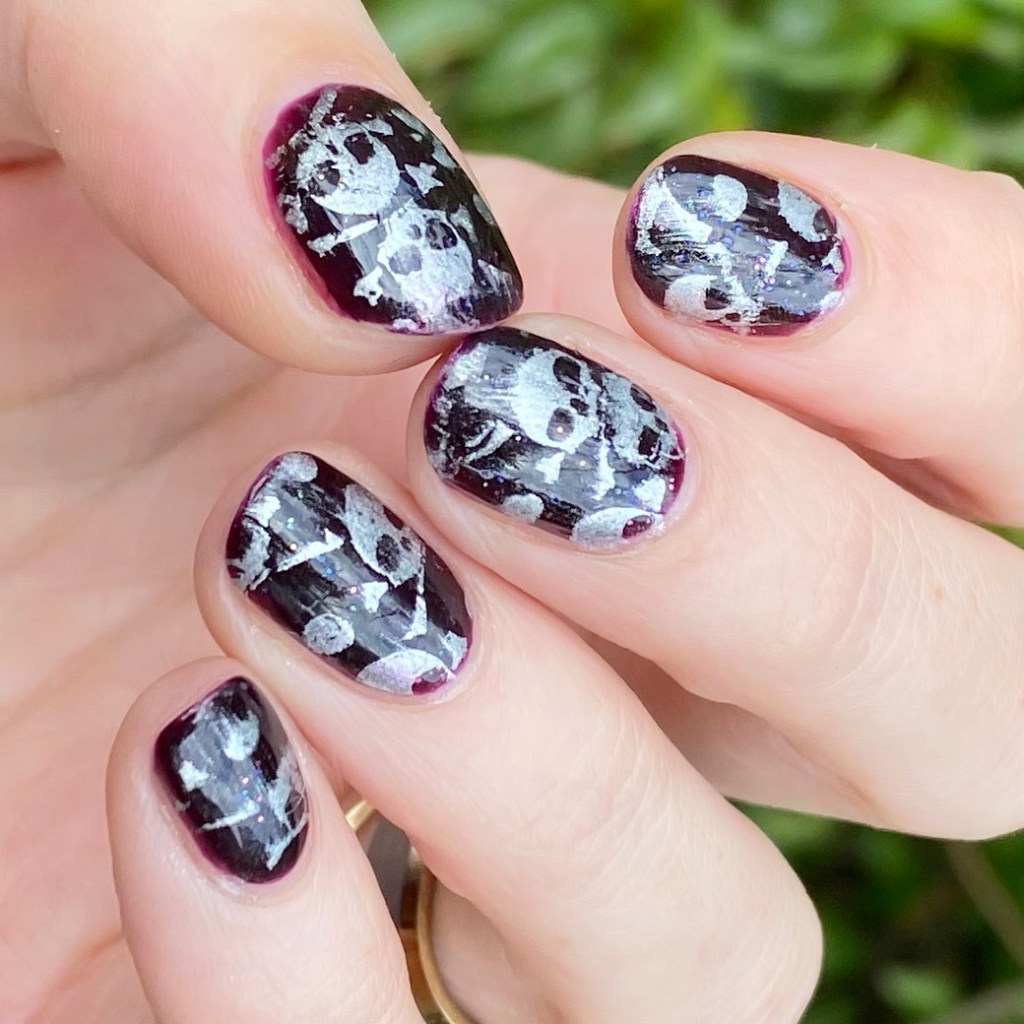
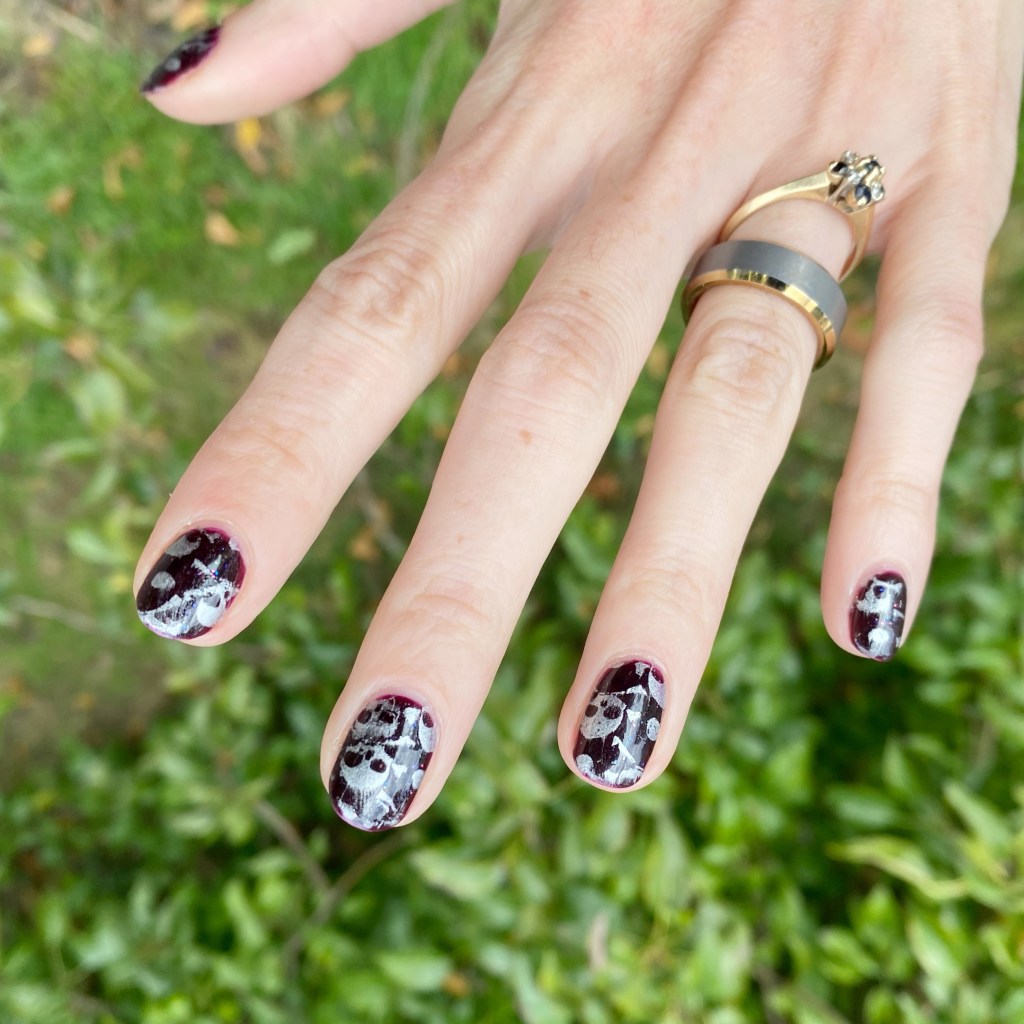
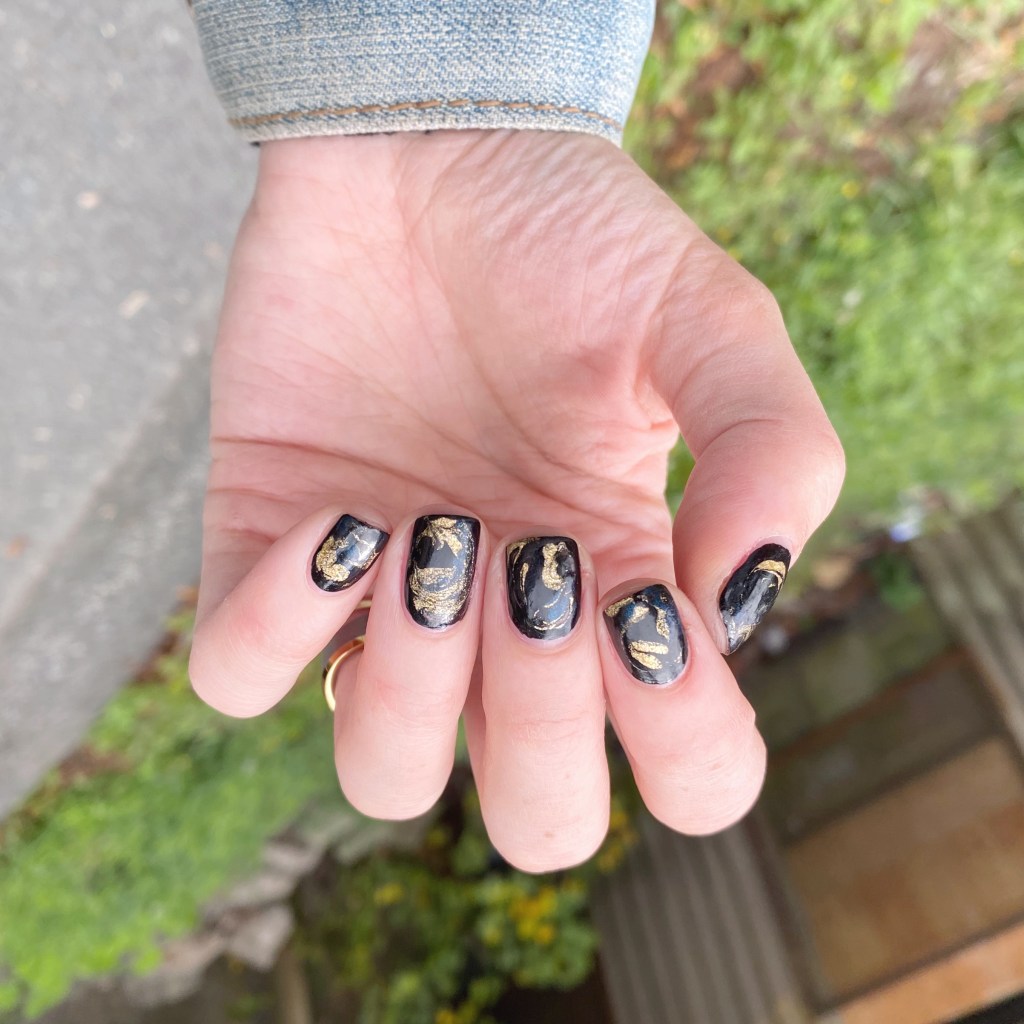
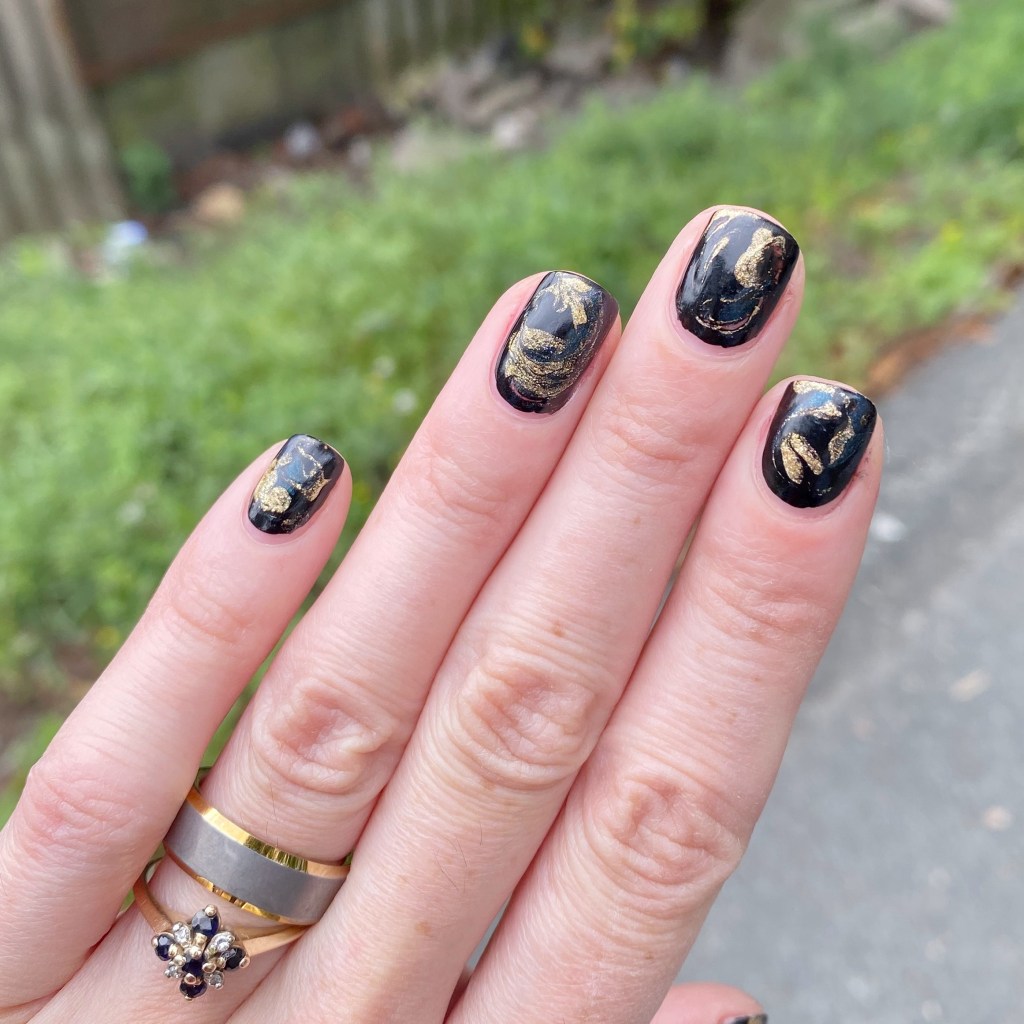
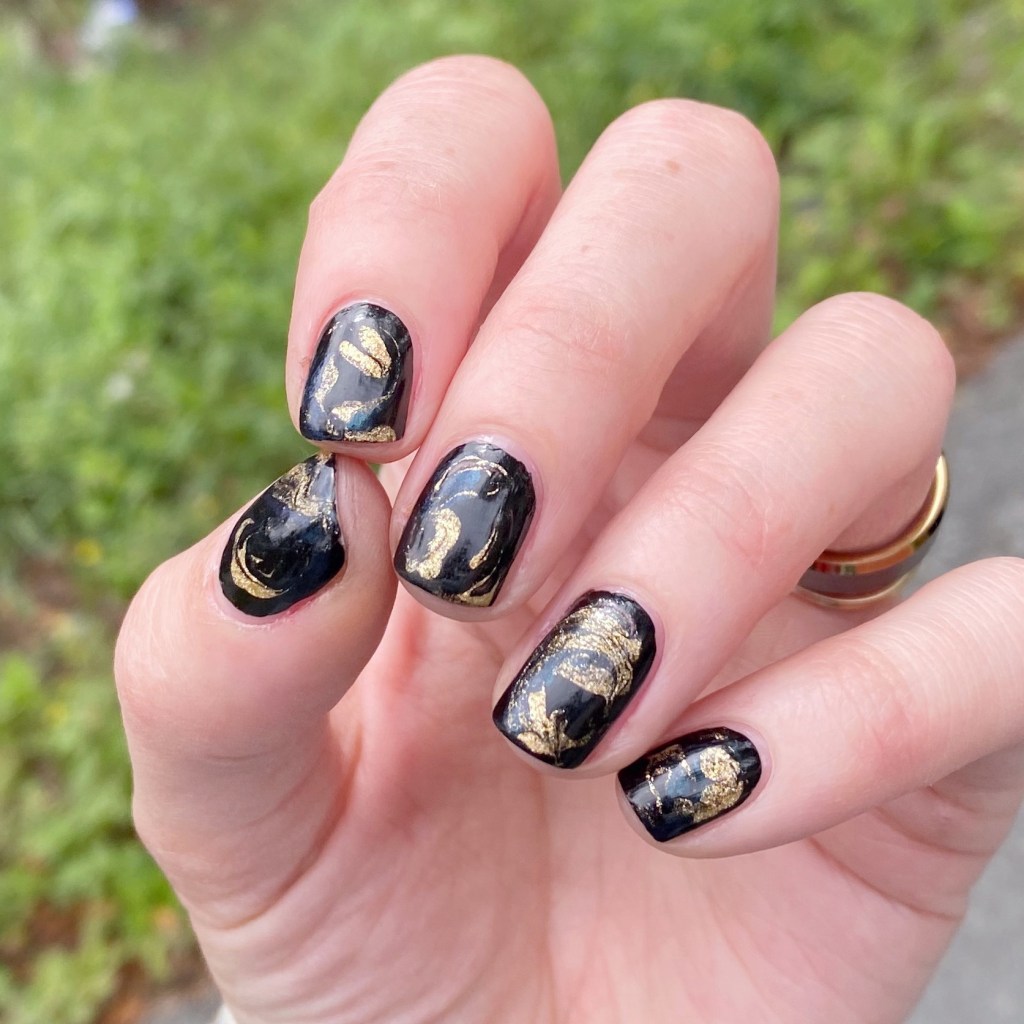
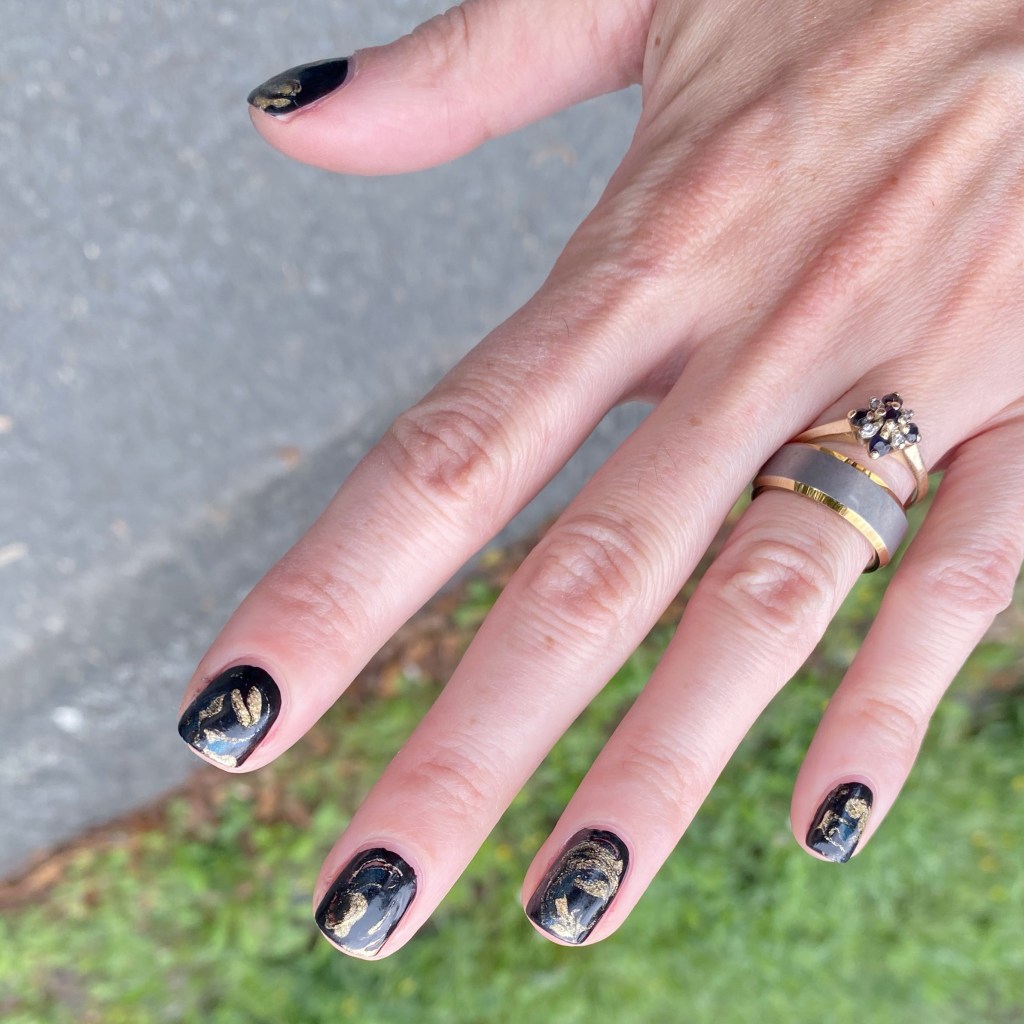
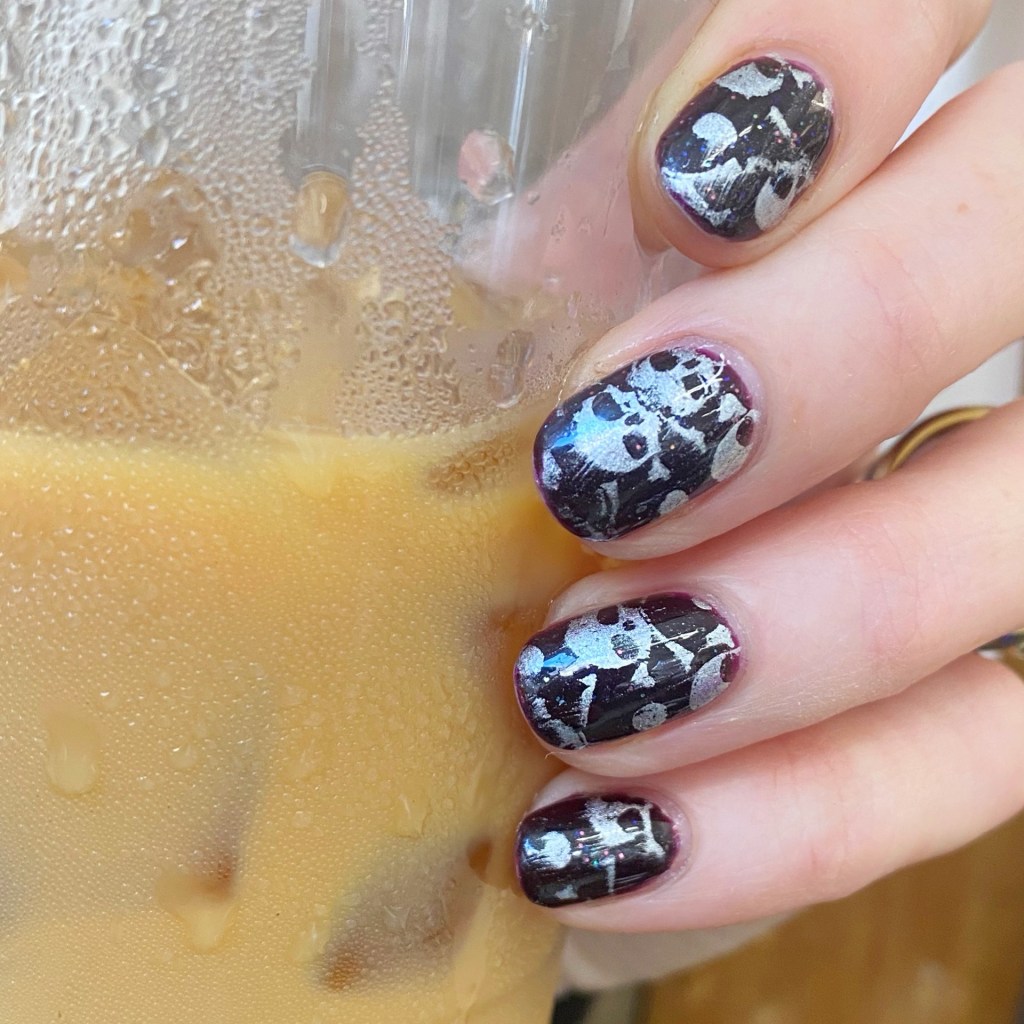
Today I’ve got a great dry marble look to share with you! I’ll never be able to perfect water marbling…. but a dry/drag marble I can do! & I really like how these turned out because I really have been leaning into the darker nail pallet lately.

The polishes I used for this manicure are: 

  • Base Coat: Essie Hard To Resist Strengthner
  • Top Coat: Sinful Colors Power Paint Top Coat + Essie Speed Setter
  • NailStuff Essentials Raven
  • Essie Get Your Groove On
  • Essie Dive Bar
  • Small dotting tool (also from NailStuff)

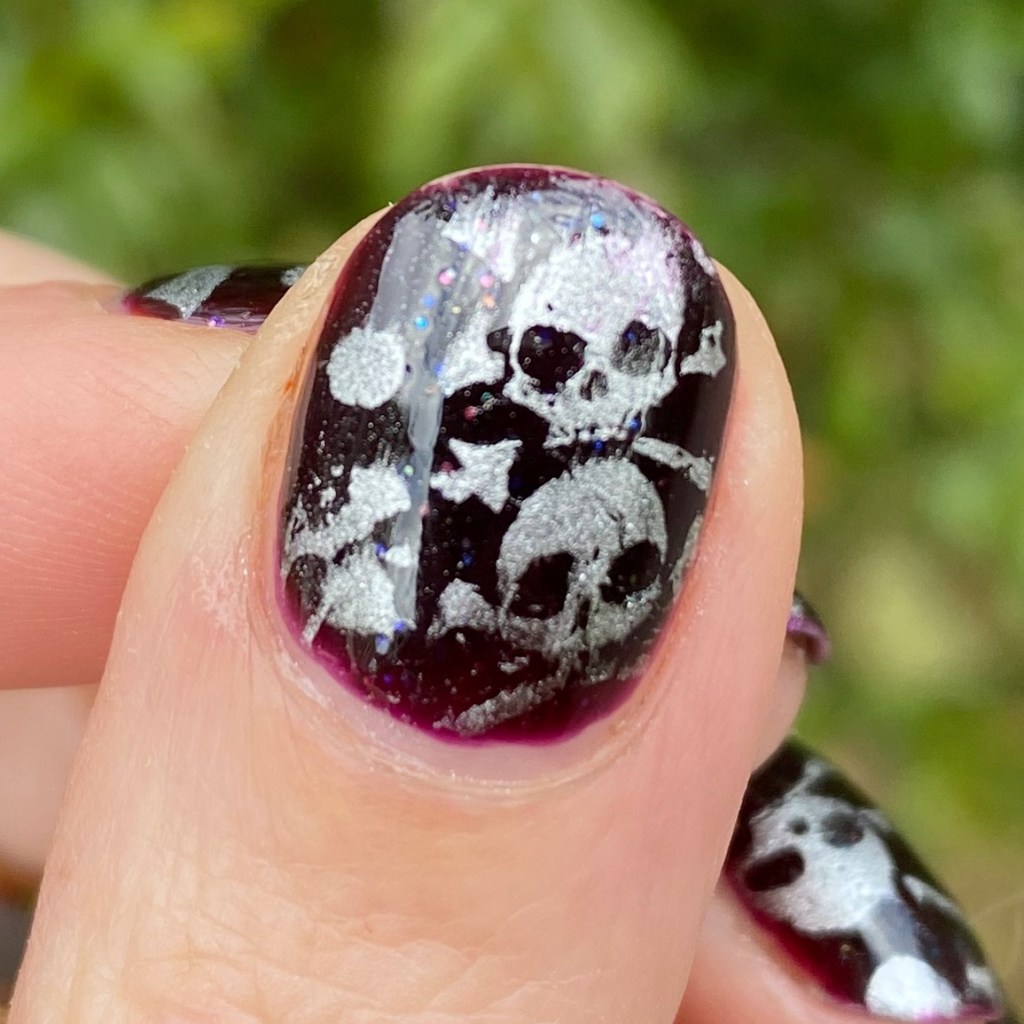
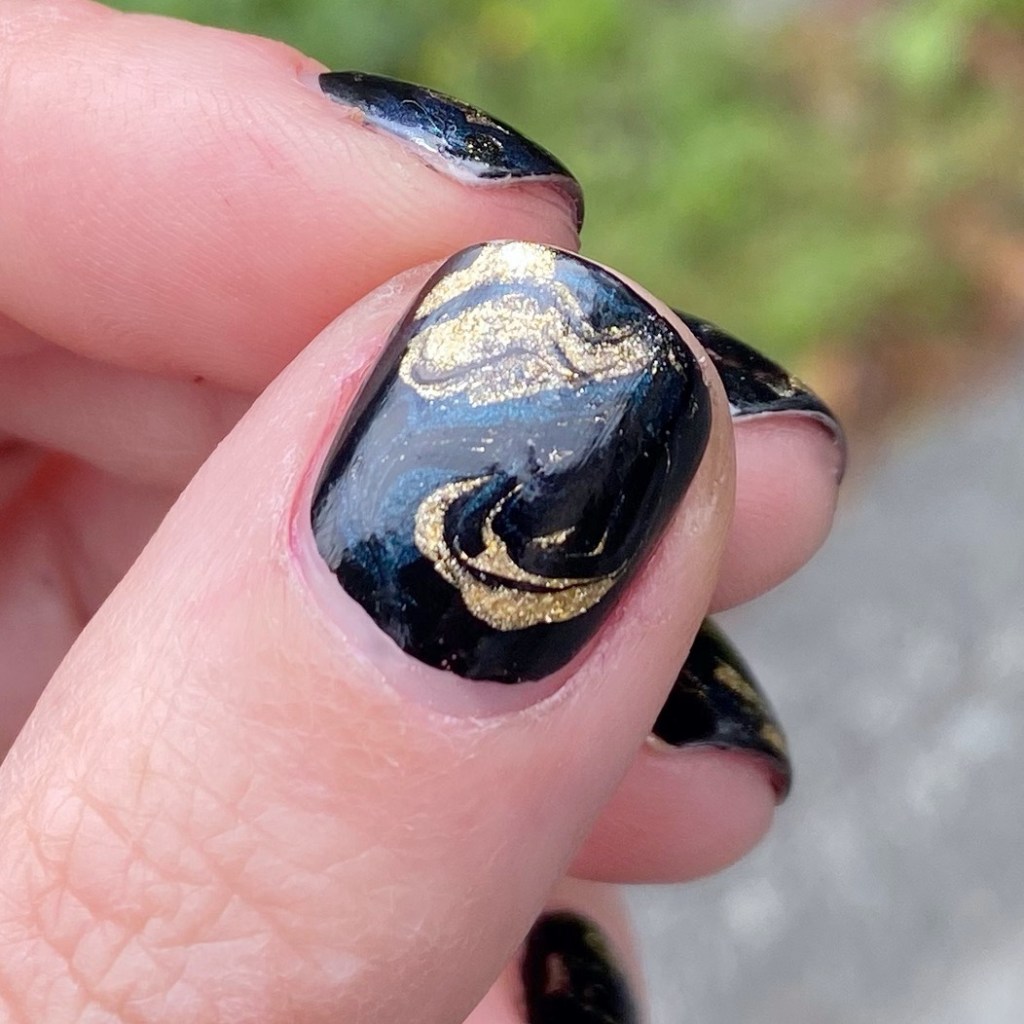
Close up really shows off the three distinct colour I used for this look. It looks like a dark & beautiful gemstone, & I really love it. Super easy to do (at least for me) & I love how unique every design like this turns out. & personally, I feel like the clean up with this kind of look is always super minimal, as opposed to trying to water marble.

You maybe not know this… but I hate messy manicures which require any kind of clean up. It’s probably why I haven’t attempted a gradient in years. I just can’t be bothered to sit there & clean up the mess I made, & all my cuticle barriers have definitely dried up. So give me a fun, & somewhat complicated design, without needing to spend an hour cleaning up around my cuticles.

What do you think of this drag marble look? Would you wear this design? What are your thoughts on drag marbles? Let me know all your thoughts in the comments below… I would love to know what you think!

Enjoy your day lovelies!

♥︎

Recreating my Wedding Nails (on my shorties) 11 years later! ✨👰🏻‍♀️💅💍

Hello lovelies & Happy Saturday! I know I don’t often post on Saturday, but today was a special exception with a special nail design!

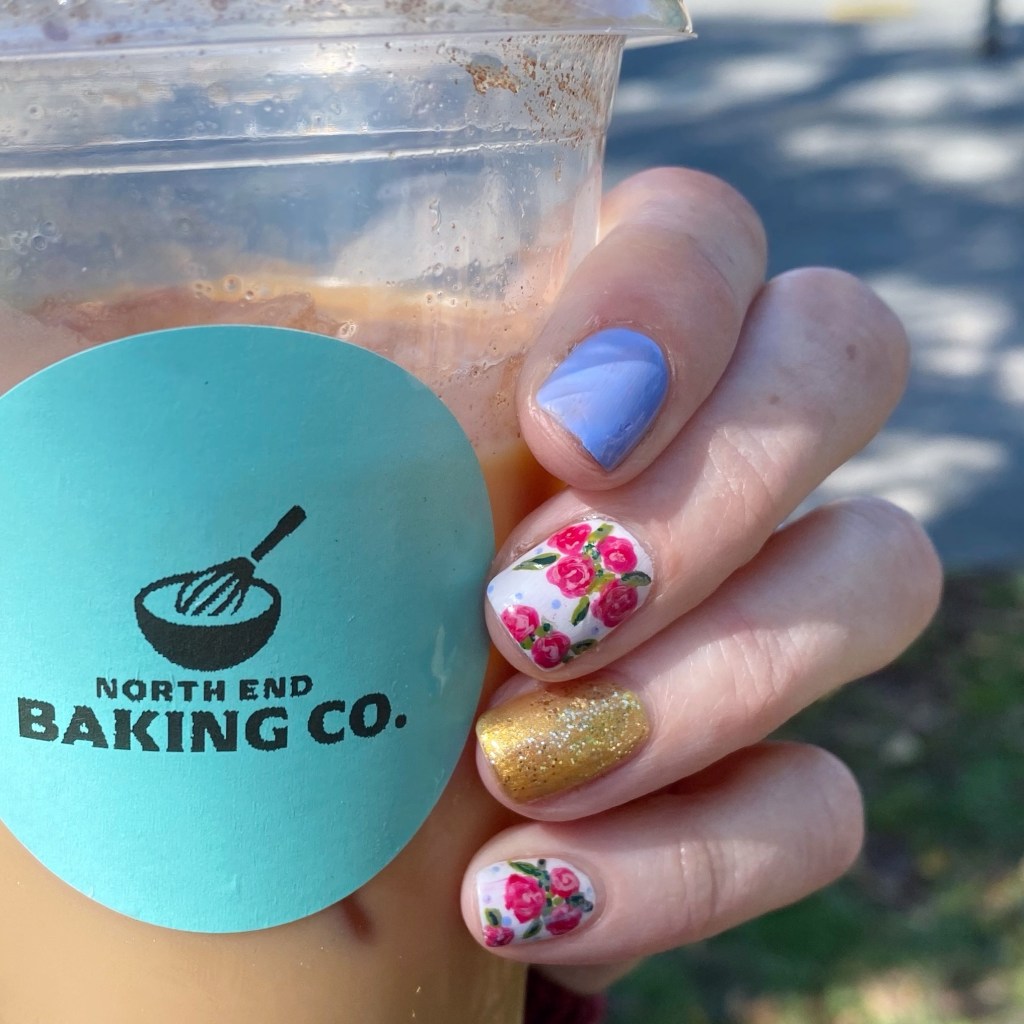
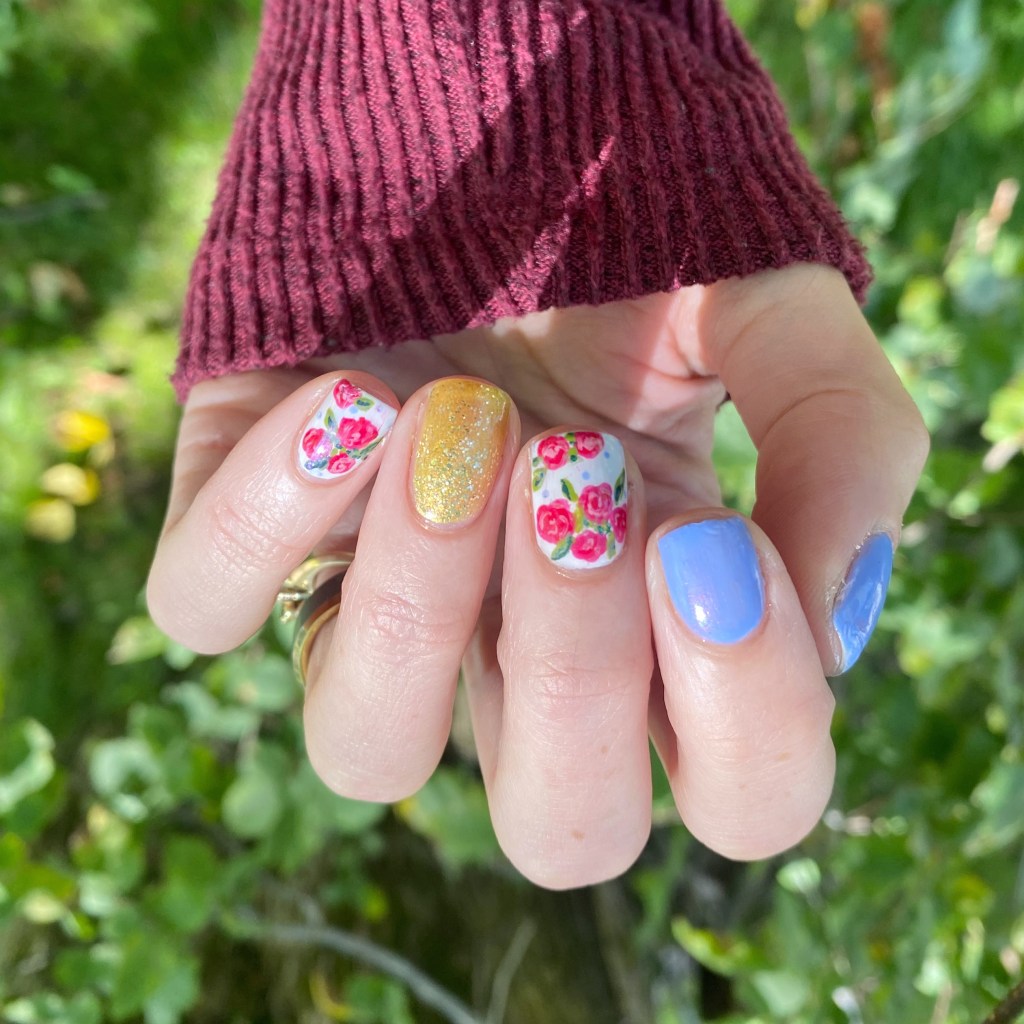
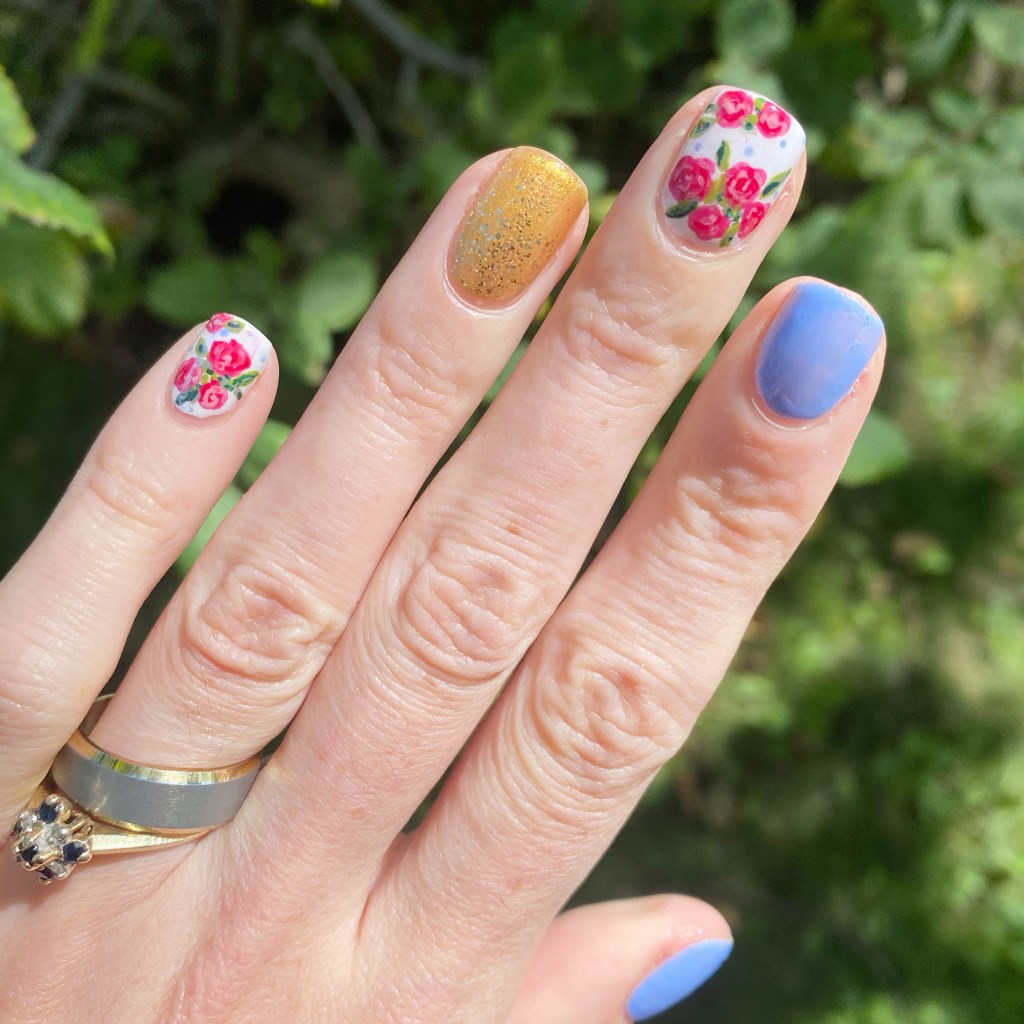
I really wanted to recreate my wedding nails in honour of my wedding anniversary, especially as I’m rocking some serious shorties right now. So in honour of the occasion, here’s a brand new version of a very special design.

The polishes I used for this manicure are: 

  • Base Coat: Essie Hard To Resist Strengthner
  • Top Coat: Sinful Colors Power Paint Top Coat + Essie Speed Setter
  • Essie You Do Blue!
  • OPI I Cannoli Wear OPI
  • China Glaze Champagne Bubbles
  • Sally Hansen Miracle Gel Good As Gold
  • Essie Brides No Grooms
  • Essie She’s Pampered
  • Essie Into the A-Bliss
  • Essie Willow in the Wind
  • Essie Sew Psyched
  • Essie Off Tropic
  • NailStuff dotting tool
  • NailStuff 7mm Liner Brush

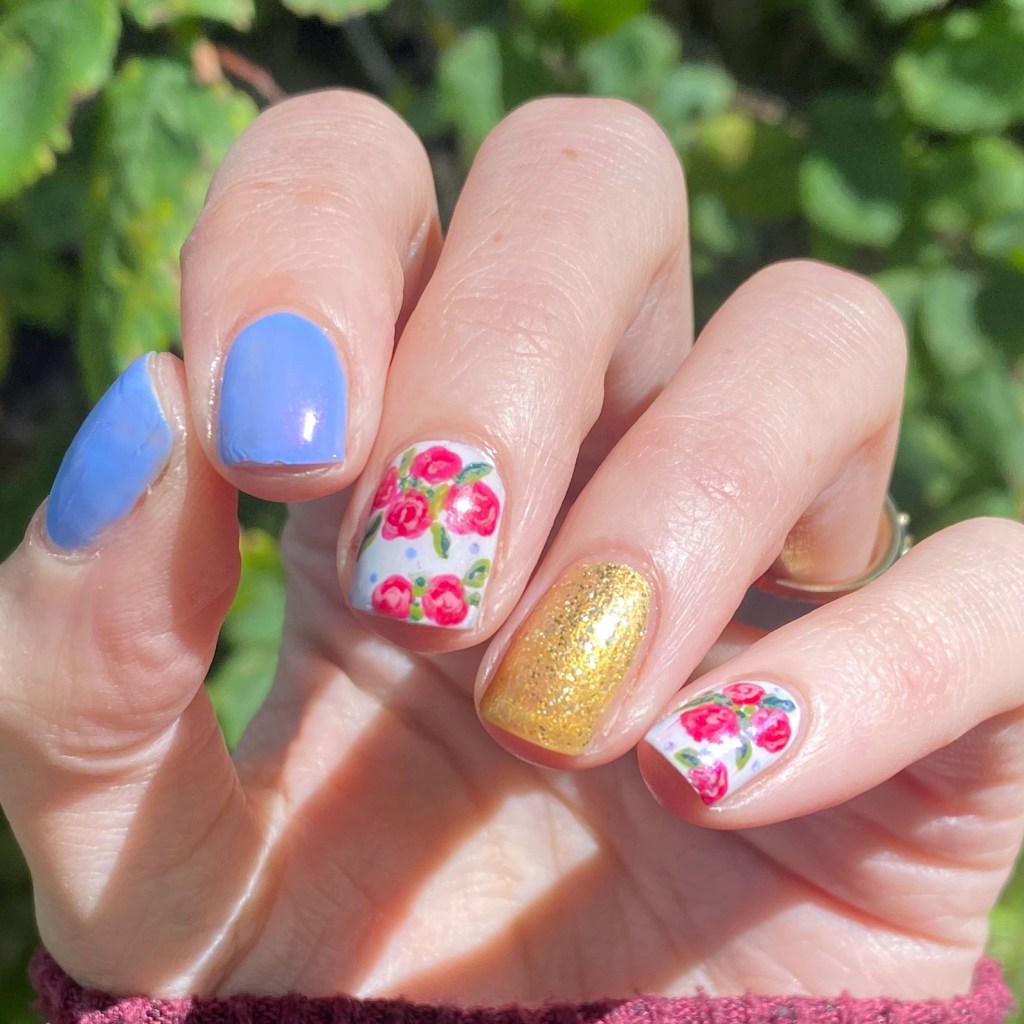
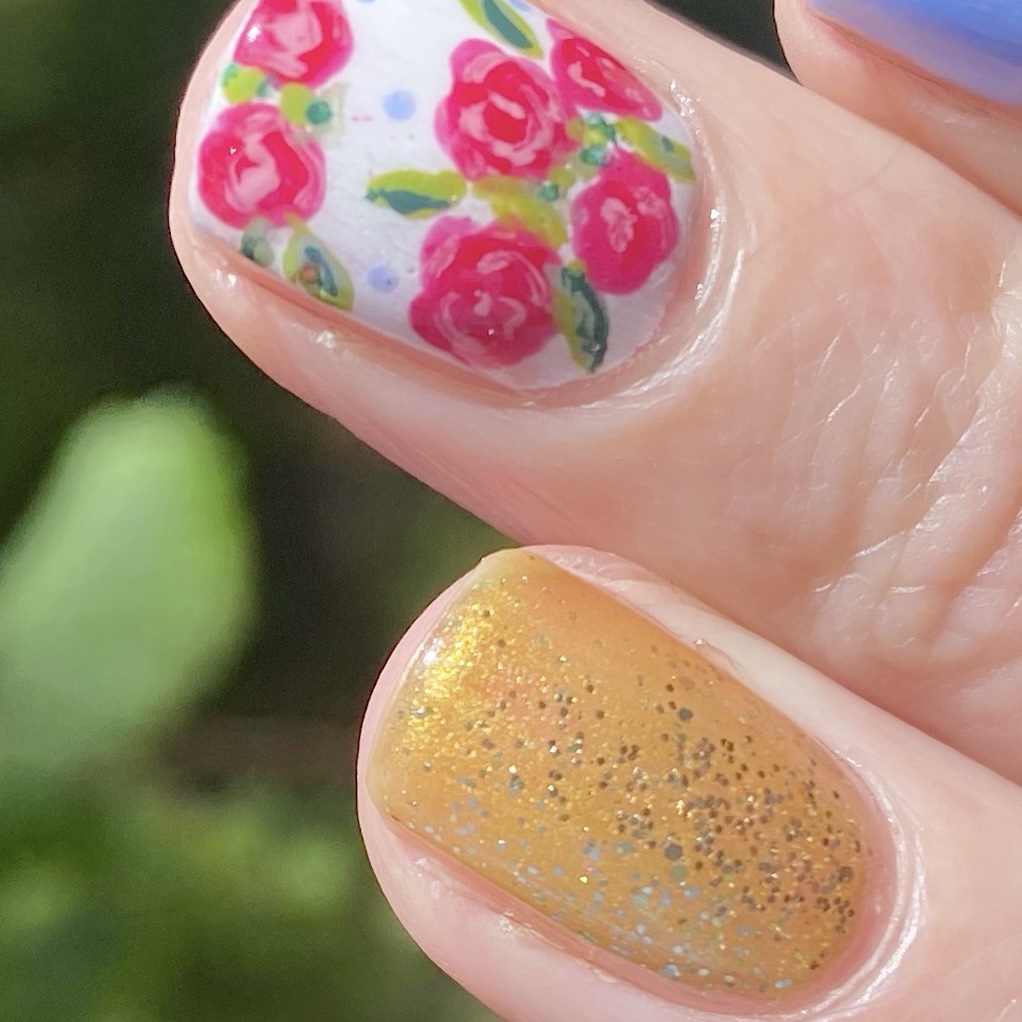
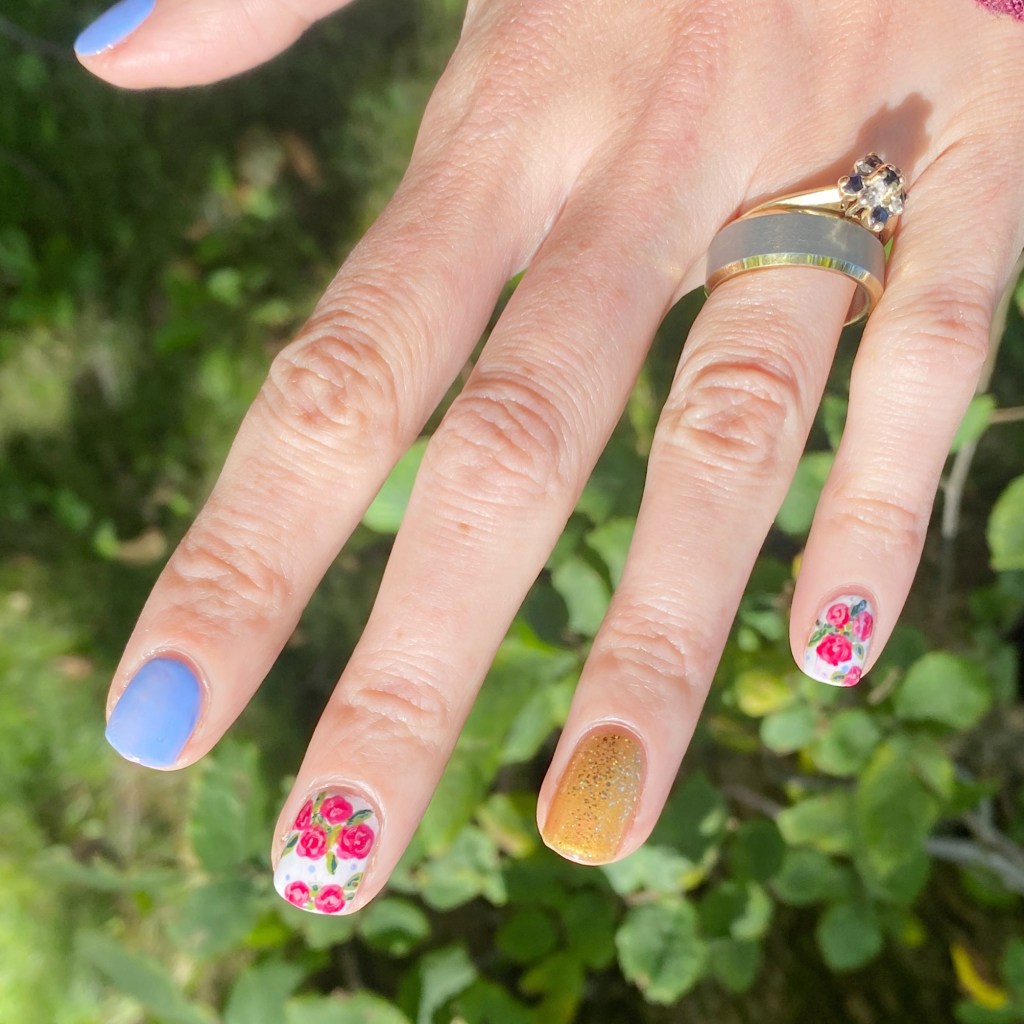
For those curious, here are my original nails I painted for my wedding day, & my recreation I did in 2018.

I was absolutely obsessed with my original nails that I painted back in 2015 for my wedding day — it was really important to me to create a beautiful design I would love for years, & years to come. & again, when I recreated them I equally loved the design!

But you know what? I think I love them the most on short nails! Long nails look beautiful no matter what, but trying to recreate the exact same look on nails 1/2 the size really makes them pop! The only thing from my recreation I’m not 100% sold on is the much more yellow gold, but it definitely gives it a more colourful vibe. (& the right amount of sparkle! ✨)

What do you think about this anniversary look? Do you love a floral look as much as I do? I’d love to know if this design holds up all these years later. I certainly adore them as much as I did all those years ago & wouldn’t change a thing about the nails I had on my wedding day.

Let me know all your thoughts down in the comments below!

🖤

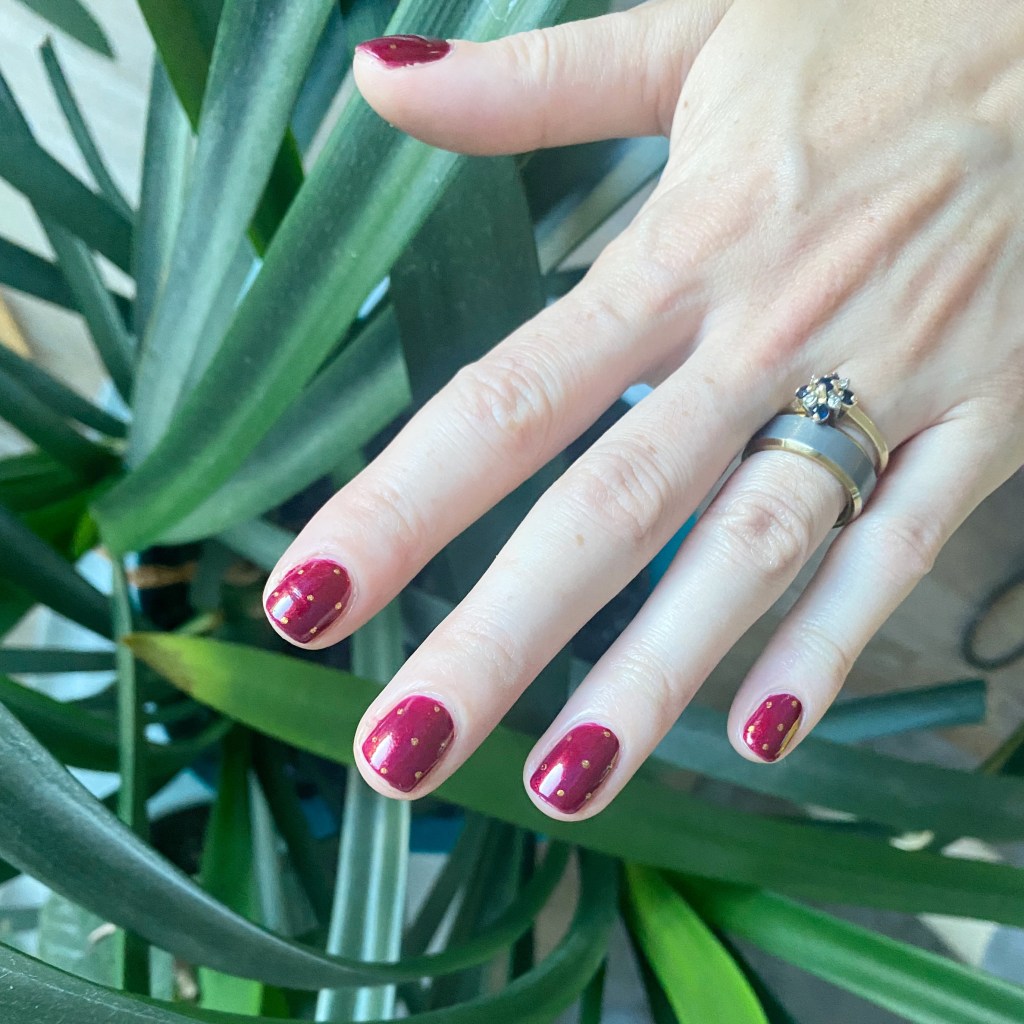
Chic Red & Gold Fall Dotticure

Hello loves & happy Wednesday. I hope everyone’s had a fantastic start to their week so far. To say I’ve been enjoying the Fall weather & chill in the air would be an understatement.

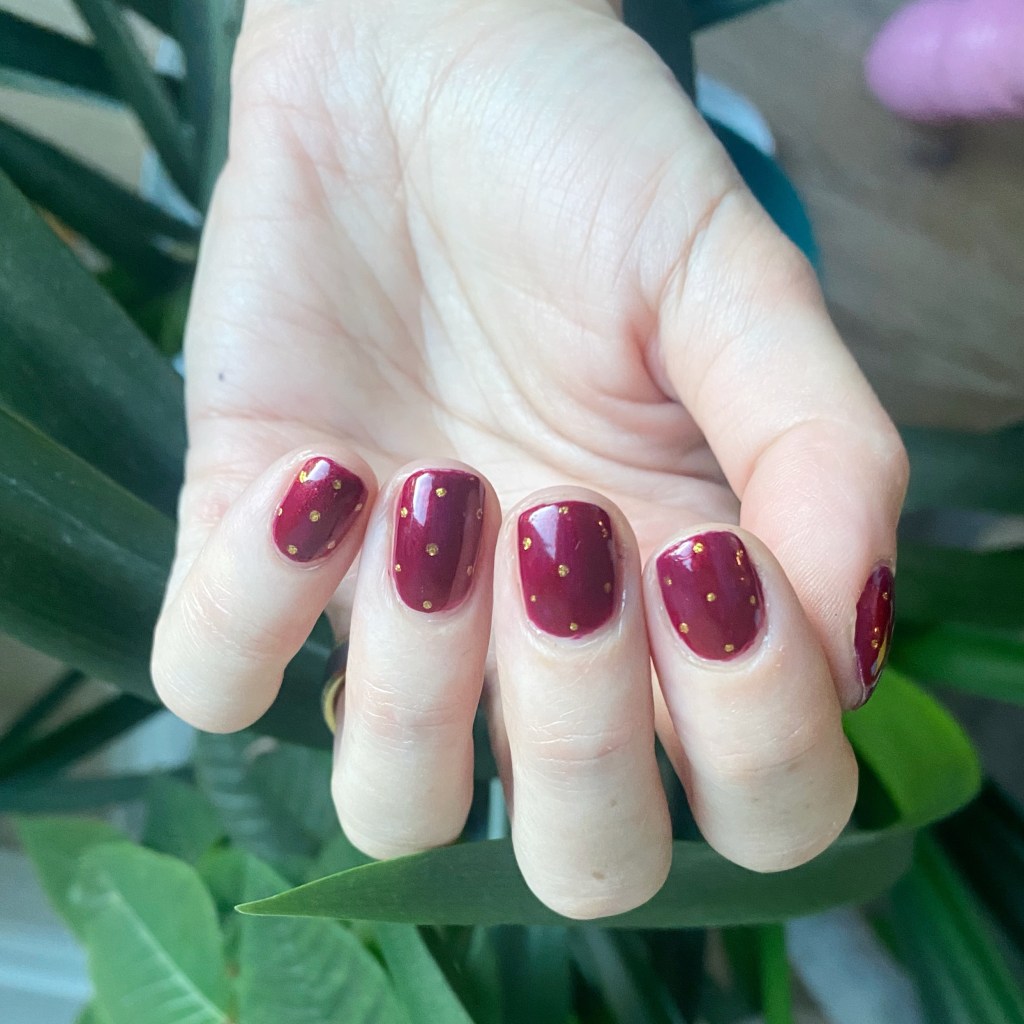
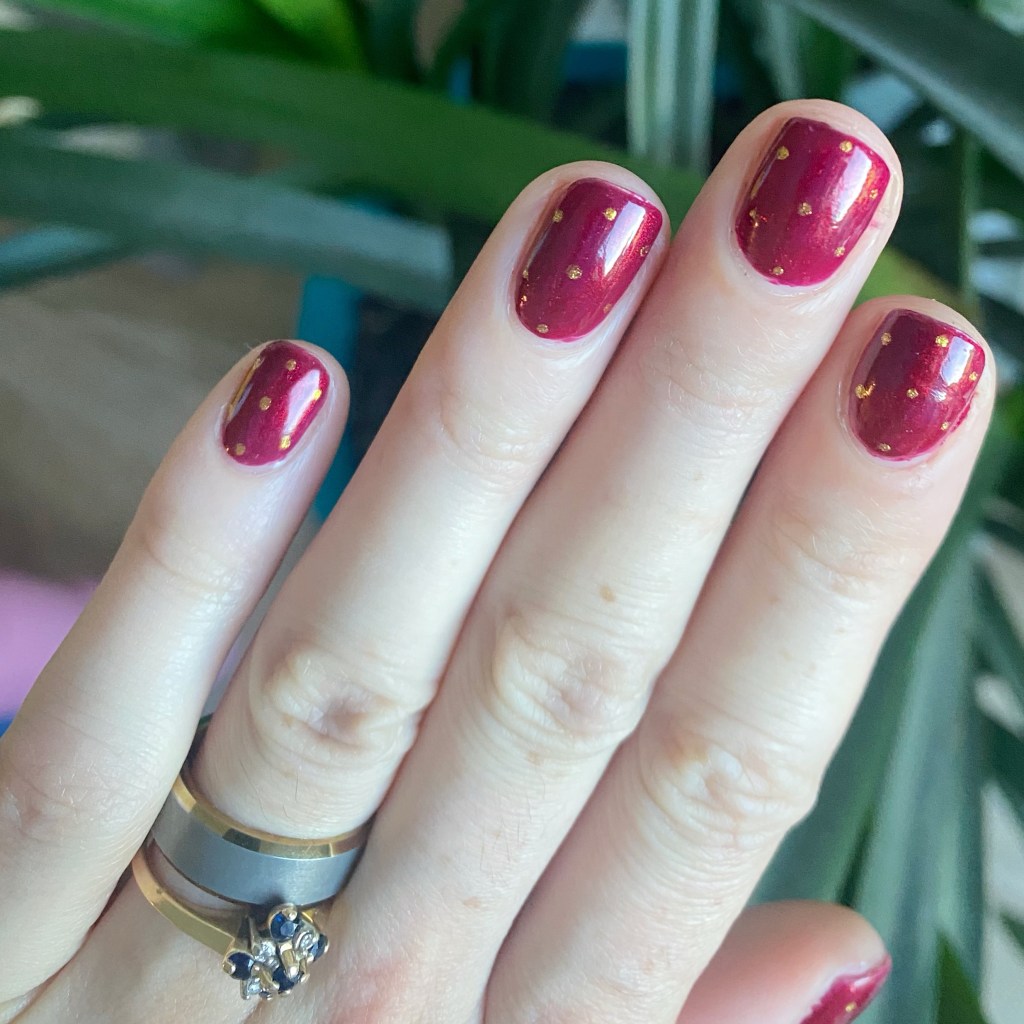
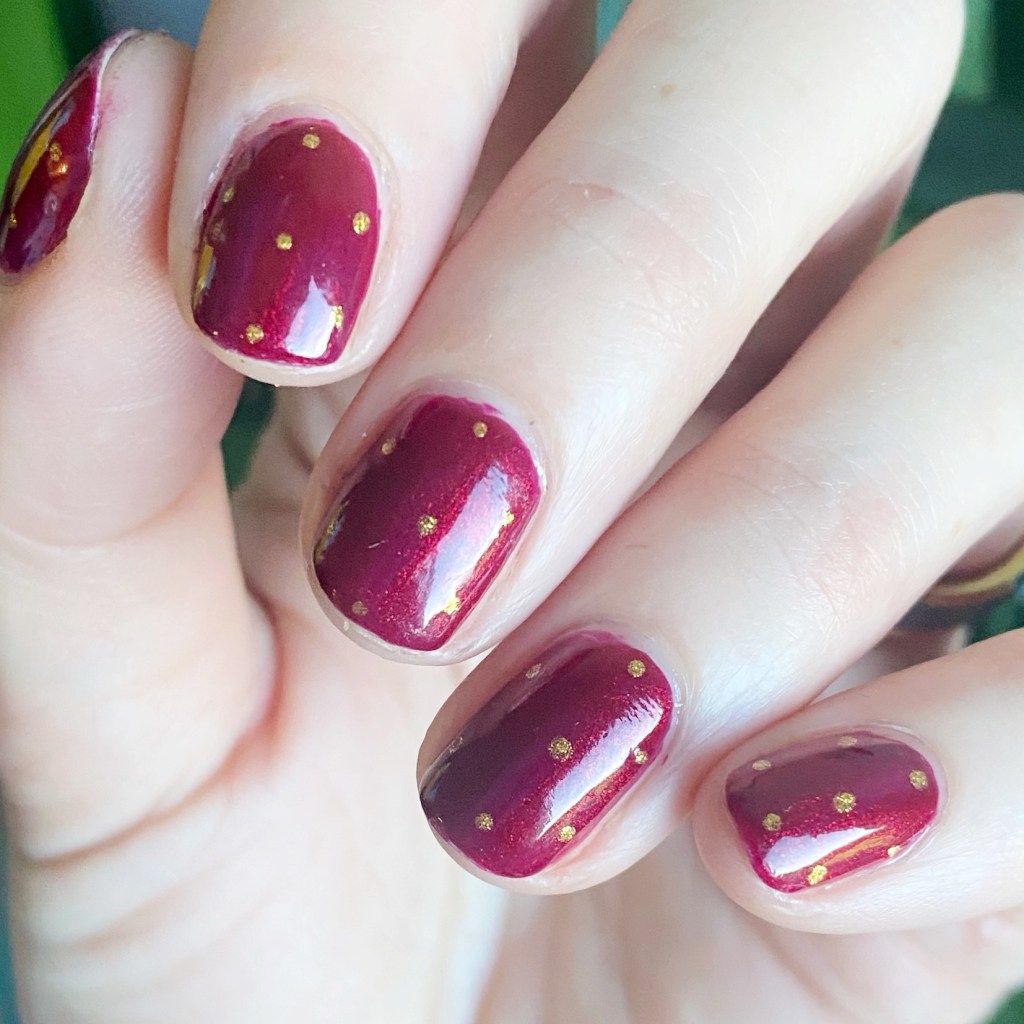
I’m also enjoying all the deep, dark Autumn polishes. This is the time of year where my nail art creativity thrives. I want to do all the designs! Today’s one is a simple look, but chic & classic.

The polishes I used for this manicure are: 

  • Base Coat: Essie Hard To Resist Strengthner
  • Top Coat: Sinful Colors Power Paint Top Coat + Essie Speed Setter
  • Quo by Orly Trust Fund over Berry Cobbler
  • Morgan Taylor Just Tutu Much
  • NailStuff.ca dotting tool

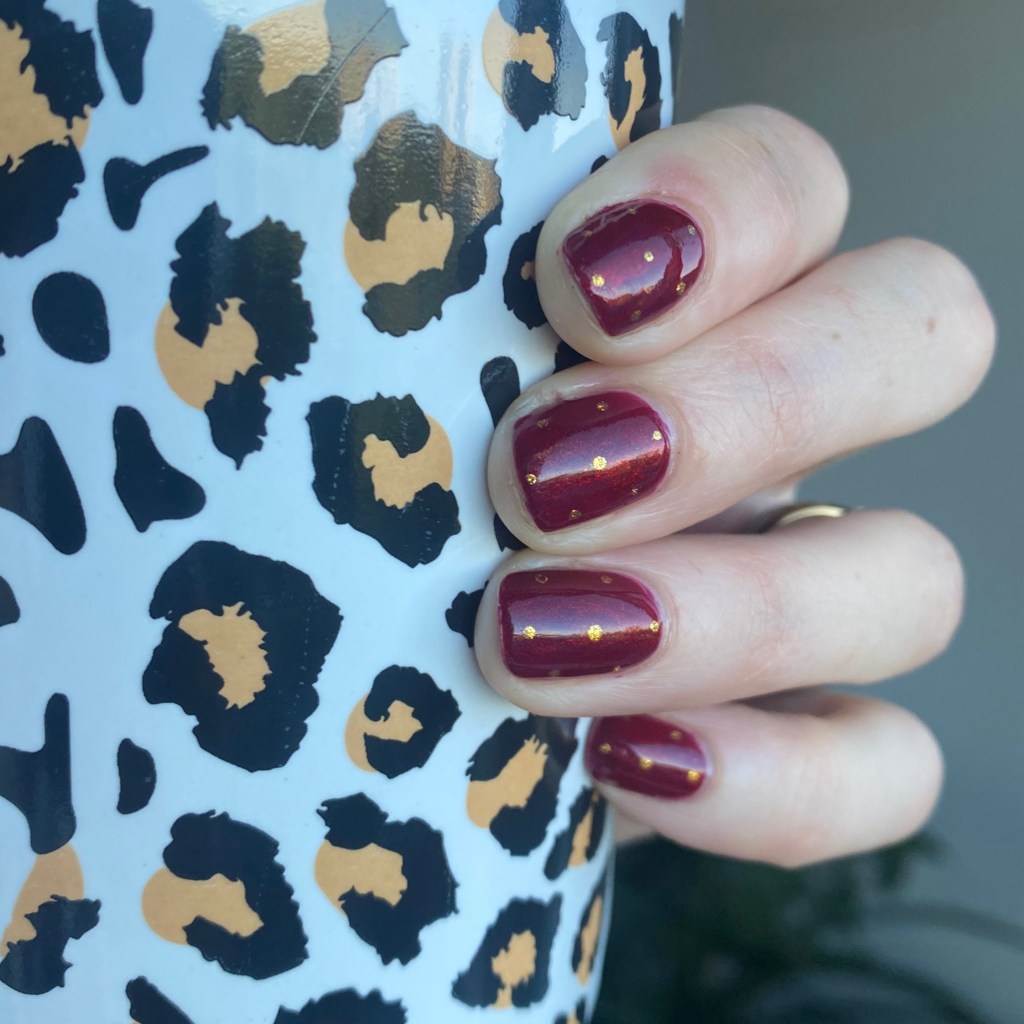
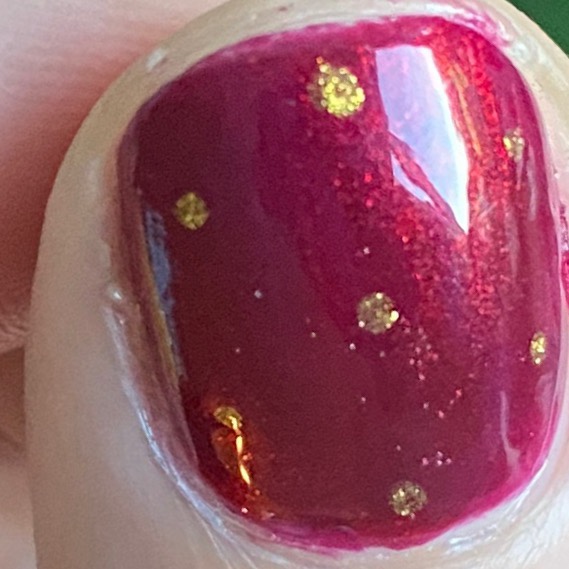
Oh I love a good dotticure. They’re just so classic. & I’ve been in a real red polish era lately.

Red nail polish will always be my favourite.

What do you think about this classic red dotticure? Do you love the simplicity & chicness of this design? Let me know what you think, & if you’d also wear this design!

🖤

Autumn Floral (Inspired by Christabell Nails)

Hello loves & happy Wednesday! I hope everyone is having a good start to their week (& this brand new month!) Today I’m super excited to share a manicure I recently did inspired by one of my OG Nail inspirations circa 2013-2016: Christabell Nails.

I was browsing Pinterest while trying to figure out what I wanted to paint on my nails, when I clicked over to Youtube & saw my Subscriptions & remembered Christabell! After a little scrolling, I stumbled upon her Autumn Floral Nails Tutorial , & knew I needed to recreate it on my nails immediately! It is such a pretty, but unique, design & I thought it would be a perfect September design.

The polishes I used for this manicure are: 

  • Base Coat: Essie Hard To Resist Strengthner
  • Top Coat: Sinful Colors Power Paint Top Coat + Essie Speed Setter
  • Essie Silk Water Colours No Shrinking Violet
  • Essie The A-Bliss
  • Essie Blank Page
  • NailStuff 7mm Liner Brush
  • NailStuff Dotting Tool Trio (larger size)

Aren’t these fun? It definitely was a time consuming manicure to do, especially where I painted all 10 of my fingers. But I think it turned out so unique & fun. My strokes were a little messy, but I think that adds to the whole look.

Definitely a striking manicure that came together perfectly, & was absolutely worth the time it took to do!

What do you think of this design? Do you like to go back to old nail inspo, & reinsure yourself again? I feel like I might started doing it again — nail artists like pshiit_polish (her instagram is now private, but a lot of old manicures are on Pinterest!), The Nailasaurus & Lucys Stash. Maybe I’m feeling nostalgic to the olden nails of nail blogging, but it’s fun to take a trip down nail polish lane, & be inspired by what could be considered retro nail trends.

Let me know your thoughts, & where you get your nail inspo from!

❤︎

Glittery Blood Drip Nails 🩸✨

Hello lovelies & HAPPY HALLOWEEN! 🎃 My most favourite day of the year has arrived, & obviously I couldn’t let it pass by without one more design on my nails! & this one is fun because it kind of fits the vibe of my costume for work.

I always love a blood drip design on my nails, but this year I wanted to make it more fun by using a glittery red. Because who doesn’t want to bleed sparkle.

The polishes I used for this manicure are: 

  • Top Coat: Sally Hansen InstaDri Top Coat (red bottle) 
  • Base Coat: Essie Hard to Resist (purple)
  • Sally Hansen InstaDri Midnight Drive
  • Sally Hansen Miracle Gel Red It Twice
  • NailStuff dotting tool trio
  • NailStuff 7mm Mermaid Tail liner brush

Check out that beautiful drip! This is not the first time I’ve attempted a go at this design, but I will say I think it’s the most proud of the freehanding of my drips! They actually look like they could be blood dripping down my nails!

I also think it shows that even if you’re rocking shorter nails (like I am right now), you can see have fun & awesome nail art on them!

What do you think of my final Halloween look of 2025? This has been such a fun month of nail art, & I’m super proud of every design I crafted this month!

Happy Halloween! I hope everyone has a safe & fun evening— with a ton of your favourite candies!