Freehand Tribal Print Accent Nails

Hello lovelies! & happy Saturday!

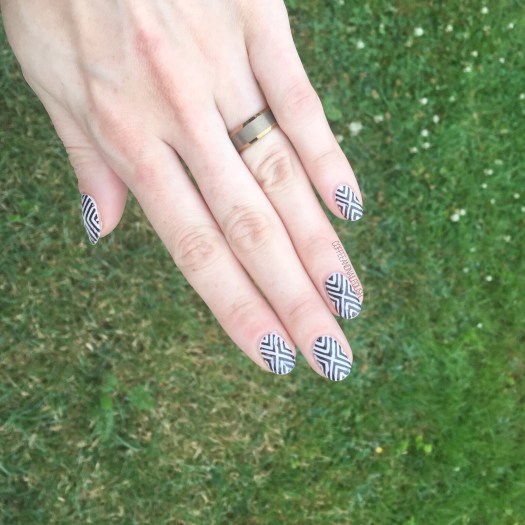
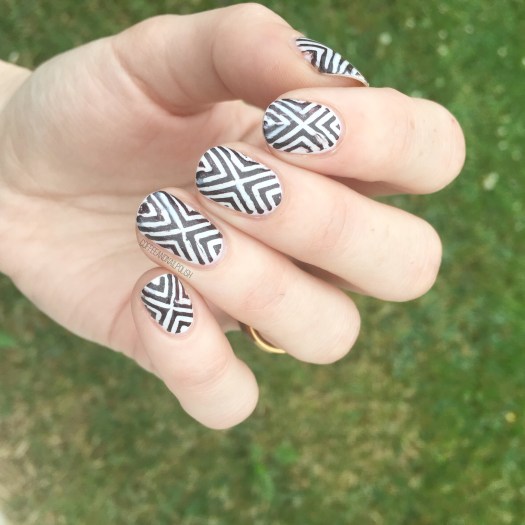
Today I’m sharing the most amazing design with you. It feels like absolute ages since I created any kind of tribal design. (I went back & checked–it was December!) So it felt like the perfect time for a new tribal design.

I’ve done tribal a lot in the past, but sometimes I struggle creating the line work. I love my prepolished stripers, but they end up junky & chunky so quickly. Thankfully I received some new nail art brushes from NailStuff.ca & couldn’t wait to see how they would work for freehanding!

For this design, the polishes I used were:

  • Base Coat: OPI Nail Envy
  • Top Coat: Essie Speed Setter
  • Essence Let’s Get Lost
  • Sally Hansen CSM Let’s Snow!
  • Sally Hansen CSM Ruby Do
  • Essie Mint Candy Apple
  • Essence Black is Back
  • Nailart.ca Mermaid Tail nail art brush trio
  • Born Pretty Store Aurora Rainbow Nail Striping Tape in purple (item #40423)

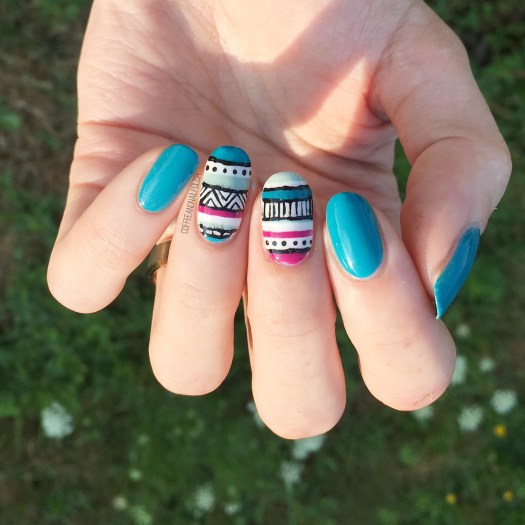
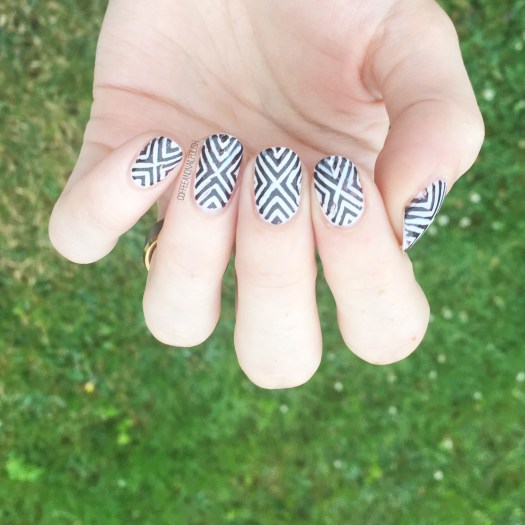
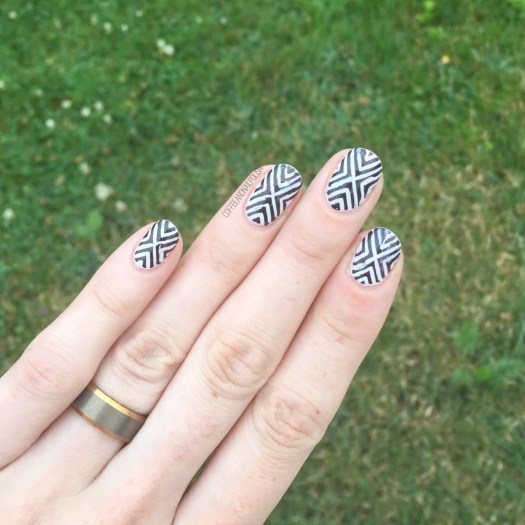
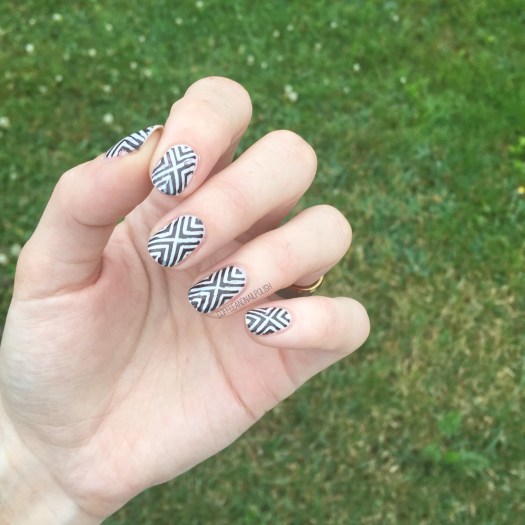
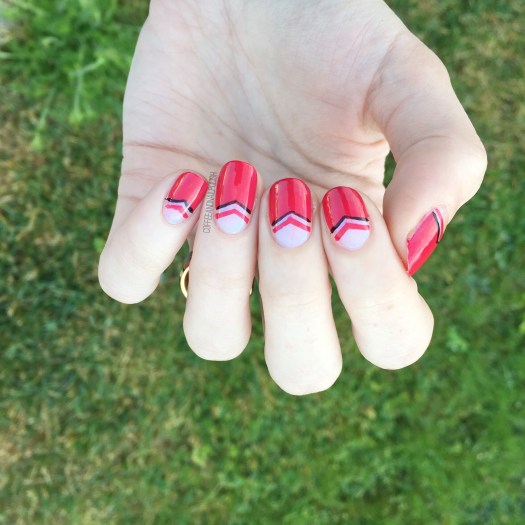
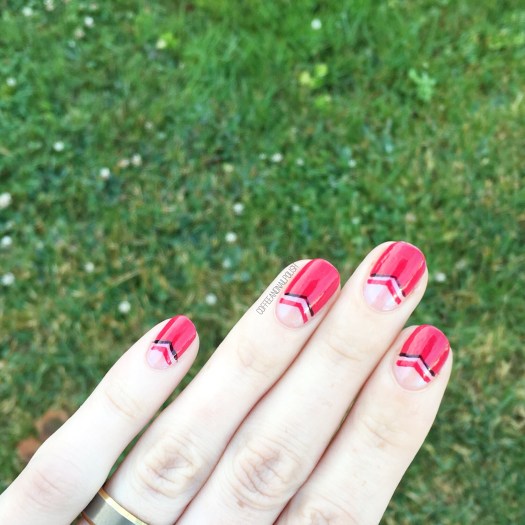
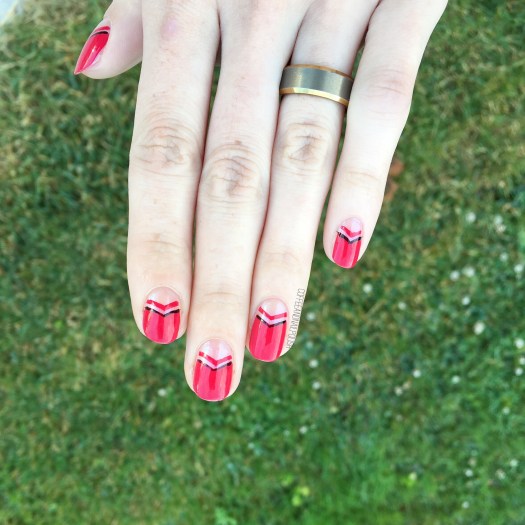
I cheated a little bit & used striping tape to create my thicker lines of colour & then use my smallest detail brush from Nailstuff.ca to go in & create my print details with black polish. & I’d be lying if I said I wasn’t incredibly proud of myself for how this design turned out! Especially the chevron/zigzag line work on my ring finger. This design just ended up looking exactly how I hoped & I feel so accomplished. My new nail art brushes were definitely the main reason this look turned out so well–not only were they so easy to use, but how find the brush was meant my line work didn’t end up looking like a blobby mess!

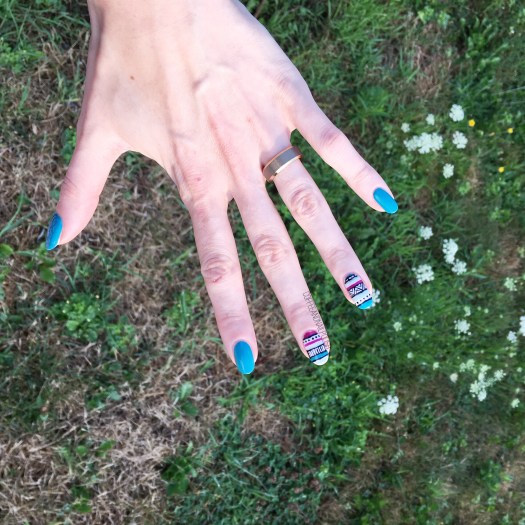
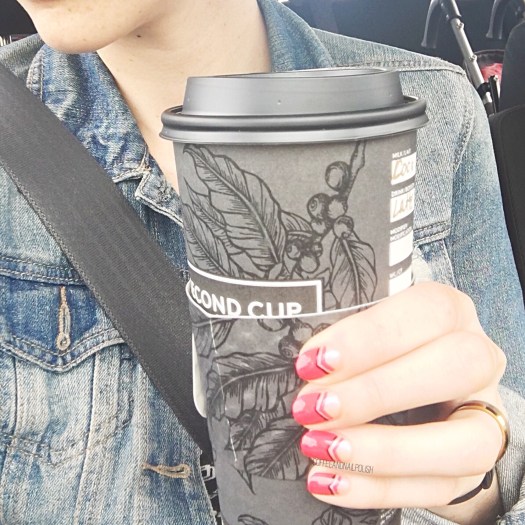
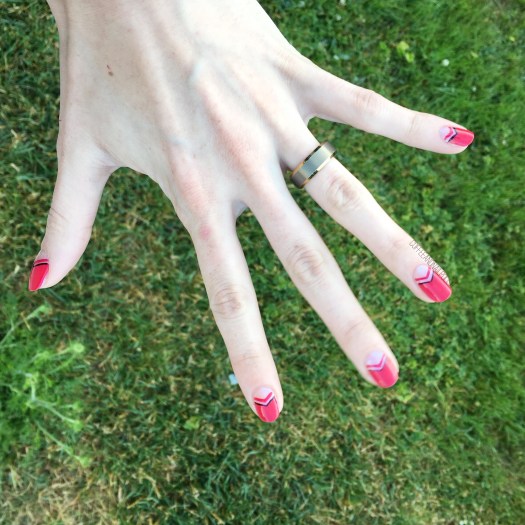
This look turned out so lovely, & I like the hint of Fall it’s giving off. These colours are such good jewel tones & just what I need in the inbetween time before Fall really hits!

So what do you think of this design? Shade your thoughts down in the comments below. ♥️

Cactus Accent Nails 🌵💅🏻

Happy Thursday! It’s been a while since I rocked any cactus nails, & I was craving some vibrancy. I don’t often reach for green polish when painting my nails, but I’ve been trying to get out of my comfort zone. Keeping with that, I decided to pull a green (textured) polish from deep in my stash that I haven’t worn in too many years to count, & paired it with some cute cacti on my accent nails!

Polishes I used for this design were:

  • Base Coat: OPI Nail Envy
  • Top Coat: Essie Speed Setter
  • LA Girl Sand Blast Nail Polish in Green Island
  • China Glaze What’s She Dune?
  • Essie First Timer
  • Essie Off Tropic
  • Deborah Lippmann She Drives Me Crazy
  • Essie A-List
  • OPI I Eat Maine-ly Lobster
  • Small detail brush (from Bundle Monster)
  • Small dotting tool (from Bundle Monster)

Sadly I kind of hid the texture of LA Girl Green Island with my top coat, but it came through a bit. This was my very first textured polish, back in the very early days of my nail art. It was also the beginning of my obsession with finding nail polish deals at Lawton’s—I remember scoring it & a blue Sand Blast Polish for only a dollar. & so began my obsession with finding old polishes at awesome deals. & I still hate spending full price for polish to this day!

Also I love creating these little freehand cactus. Still on the search for some cactus nail vinyls, because I’m a little cactus obsessed, but in the meantime I don’t mind freehanding my cacti. I also just picked up a new stamping plate from Essence with a cactus on it, so stay tuned as I plan on trying it out soon (hopefully this weekend!)

What do we think of this design? Do you still have any textured polishes in your stash? Let me know down in the comment below!

Pink & Grey Leopard Print

Good morning lovelies & happy Tuesday. Starting off my Tuesday morning with a little 90210 & cold brew & a brand new mani to share with you guys! It had occurred to me that I hadn’t done a leopard print design in a really long time, so I was itching to do one!

Originally I had been planning on doing a more neutral themed colour scheme, but I’ve been obsessed with all things pink lately (planning on even adding pink to my hair soon!) so a pink base shade seemed like perfection.

For this manicure, the polishes I used were:

  • Base Coat: OPI Nail Envy
  • Top Coat: Essie Speed Setter
  • Sally Hansen Complete Salon Manicure Rose to the Occasion
  • Essence Rock My World!
  • Essence Back in Black
  • Small dotting tool
  • Small detail brush — currently obsessed with this brush set from Nailstuff.ca

How cute is this look? I forgot how much fun it is to wear leopard print. One of my all time favourite dresses (& the birthday dress from my 23rd birthday) was leopard print! & although my crazy leopard print dress days are (probably) behind me, it makes me excited to be able to still rock it on my nails! Plus I absolutely love the colour combination of grey & pink—I can definitely see myself rocking this combo a lot with Fall on its way.

What do you think of this pink leopard print? Do you have a favourite leopard print colour combo? Share down below! 🐆💗

Black & White X-pattern Nails ✖️

Happy Tuesday lovelies! Anyone else currently attempting to survive the heat? Thank goodness for air conditioning because I haven’t really had to deal with the humidity much. Never thought I would be happy to spend 95% of my day at work, but if it keeps me from being sweaty I’m all for it!

Today I’ve got the day off though, & I’m showing off a fun design I wore for 3 days last week. You know I’m in love with a design when I wear it for more than a day, & I really loved this look! Seriously, I probably would have worn it longer, but my nails started chipping at work & I couldn’t deal.

For this manicure, the polishes I used were:

  • Base Coat: OPI Nail Envy
  • Top Coat: Essie Speed Setter
  • Sally Hansen CSM Let’s Snow
  • Essie Frock ‘N Roll
  • Xroma Polish & Vinyls X-Pattern Nail Stencils
  • Make Up Sponge

How cute is this look?! This was the last of my x-pattern vinyls, so I’m definitely going to need to pick up some more ASAP. I’ve tried to freehand this look before but it looks way better when it’s done with vinyls (oh, & takes WAY less time too!) Also even though Essie Frock ‘N Roll isn’t technically a black polish, it looks close enough & works so perfectly over my white base. I love wearing black & white nail designs & pairing them with a bright & colourful outfit.

So what do you think about this black & white design? What are you wearing on your nails this week? Share down below! ♥️

Negative Space Red Chevron Moons

Good Morning & Happy Wednesday! We’re already half way through our week–how crazy is that. We’re also one week away from August… even crazier. This Summer is certainly rocketing by! I’m already feeling that familiar draw towards dark polish, pumpkin spice & cosy knits that starts happening around this time of year.

But not yet… we still have a bit of Summer left so bring on the bright polishes!

Today’s design was brought on by wanting to wear red nails, but more than just a solid colour. It wasn’t intentional, but these totally ended up reminding me of Bring It On! Does anyone else remember that movie. I was so obsessed with it when it first came out… & now I totally need to rewatch it again.

For this manicure, the polishes I used were:

  • Base Coat: OPI Nail Envy
  • Top Coat: Essie Speed Setter
  • L’Oréal Magic Top Coats —The Shift Me
  • Essie 5th Avenue
  • Kiss Products Nail Art Striper in Black
  • Snail Vinyls small single chevrons (so sad the shop is closing!)

I love red nail polish, but I find it the hardest colour to do nail art over simply because it seems to be a colour I turn to during holidays (Christmas, Canada Day, ect) but it is by far one of my all time favourite polish colours. I seriously love how these turned out, even if they totally remind me of cheerleader uniforms. Also I’m pretty sure this red is my new favourite red polish — I’ve been wearing it a lot lately, especially as a pedicure.

What do you think of this design? Let me know in the comments below! & let me know what your favourite 2000s teen movie is!