The weather here in Halifax is feeling much more seasonal, & I can’t lie–I’m digging it. A lot. I’ve just been waiting for the moment when I could finally wear tights & dresses, & it’s here. If it could stay this perfect seasonal weather until, oh I don’t know… November, that would be just fantastic.
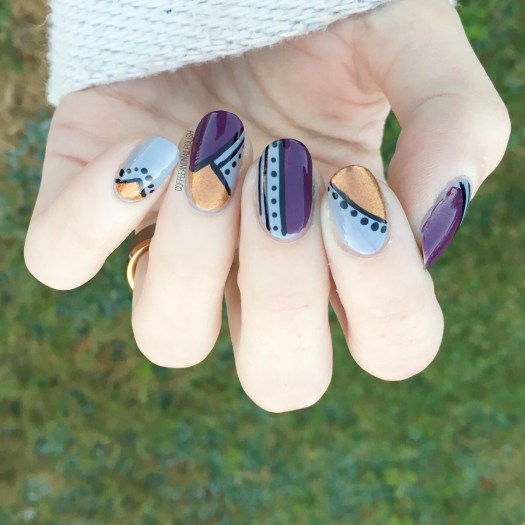
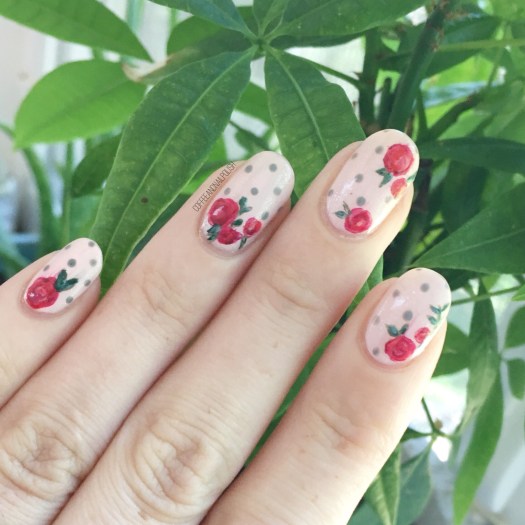
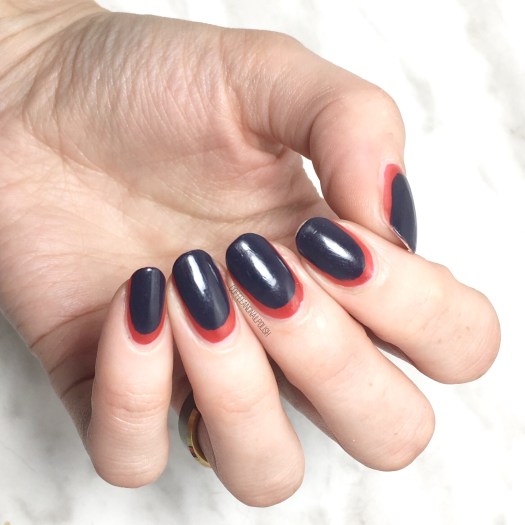
Today’s look is a super easy design that requires no tools at all–just a tiny bit of patience. I love the simplicity of this design & how well the two colours paired together.
For this design, the polishes I used were:
- Base Coat: OPI Nail Envy
- Top Coat: Essie Speed Setter
- OPI My Chihuahua Bites!
- Essie After School Boy Blazer
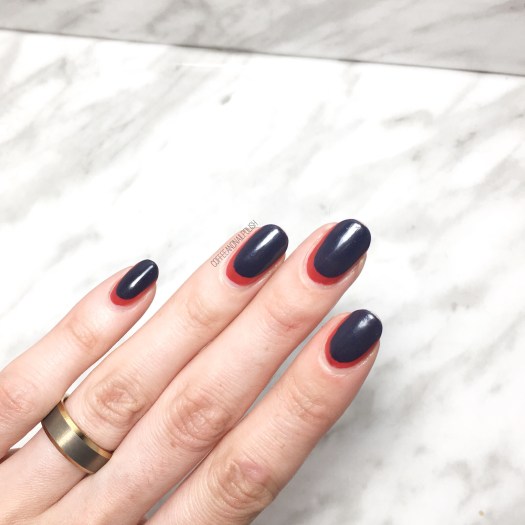
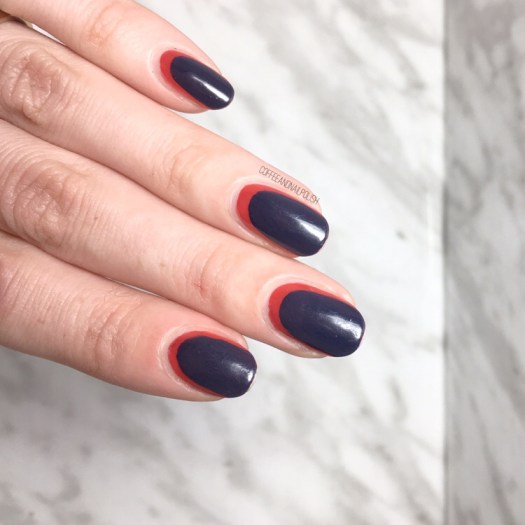
I’m just absolutely love the dark over the bright. It pops so well. Essie After School Boy Blazer is one of my all time favourite blues & I’m still so in love with it all these years later. One of the most perfect navy’s I own.
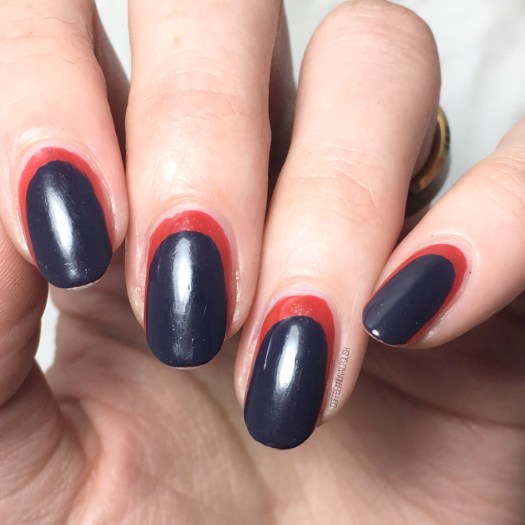
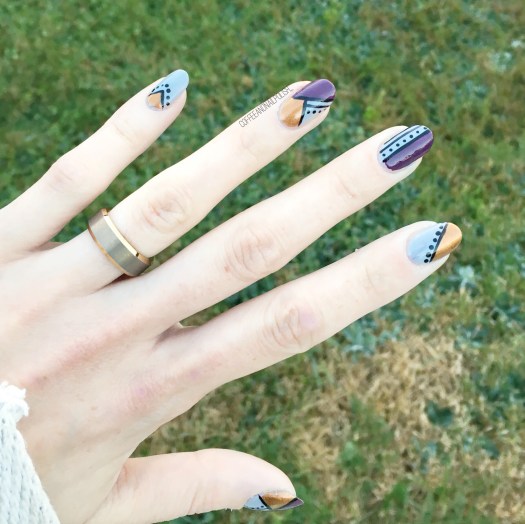
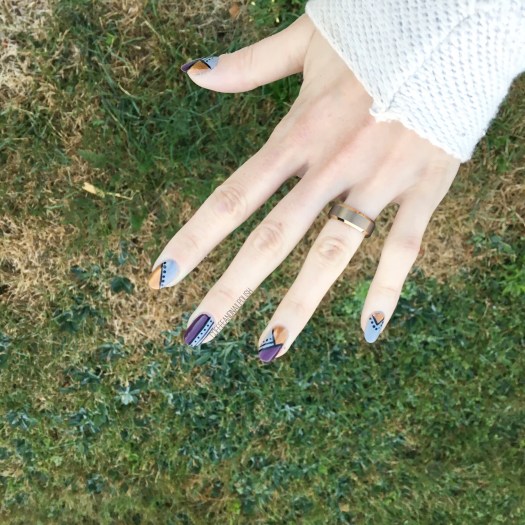
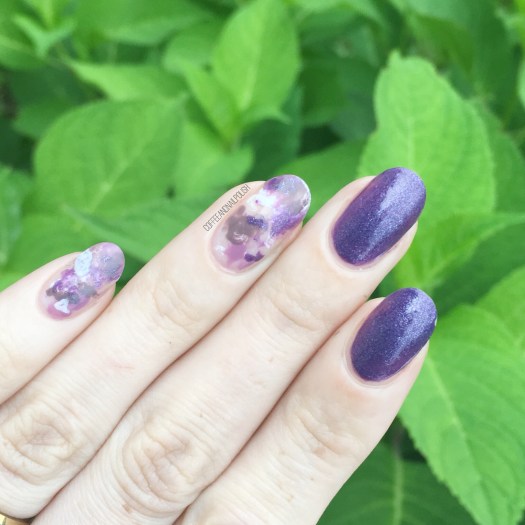
Gosh, I just love love love the look of a ruffian design–it’s a great alternative to a simple french manicure or half moon design. Also I apologize about the tip wear–I wore this design all day at work before getting a chance to take pictures, but thankfully they weren’t too worse for wear!

what do you think of this ruffian design? What colour combo would you pick for a ruffian look? Let me know down in the comments below.