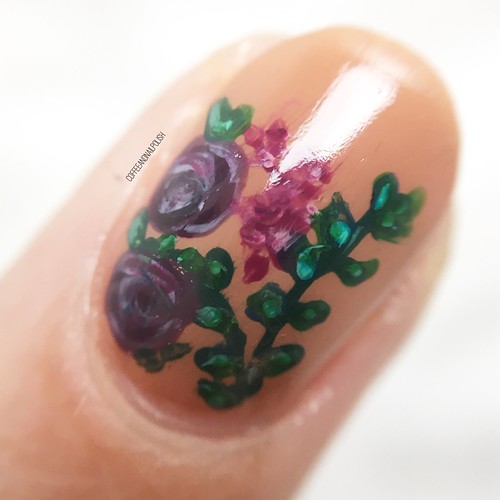
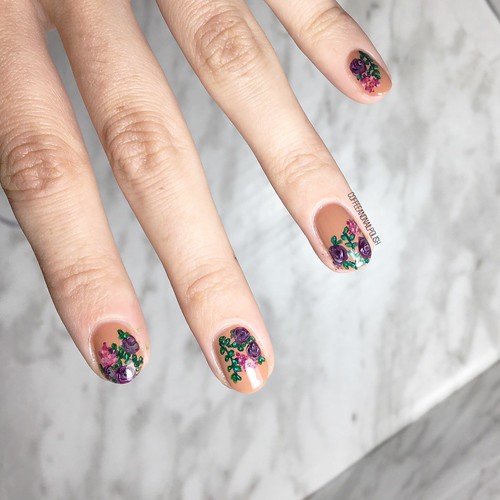
Hello lovelies! We’ve got another prompt for #GlamNailsChallengeDec to share today! & yep… I’m aware that I’m a day behind, but that’s life sometime.
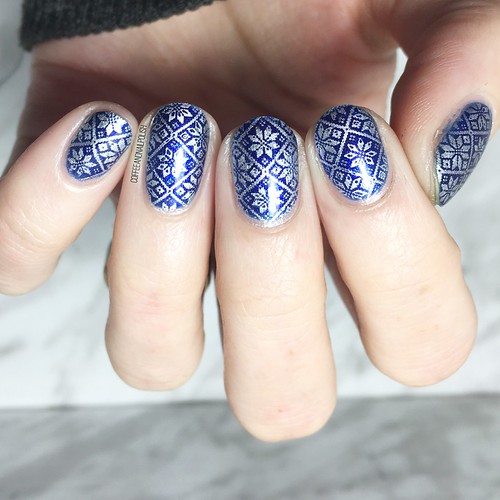
Our second prompt of the challenge is Santa! So in honour of that I decided to do Santa hats over my previous manicure of Icing Stores Santa Baby just to maximize the full Santa effect!


For this manicure, the polishes I used were:
- Base Coat: Sally Hansen Green Tea Bamboo Strengthener
- Top Coat: Essie Speed Setter
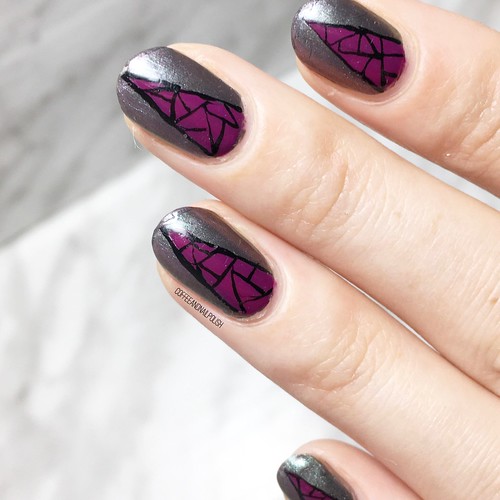
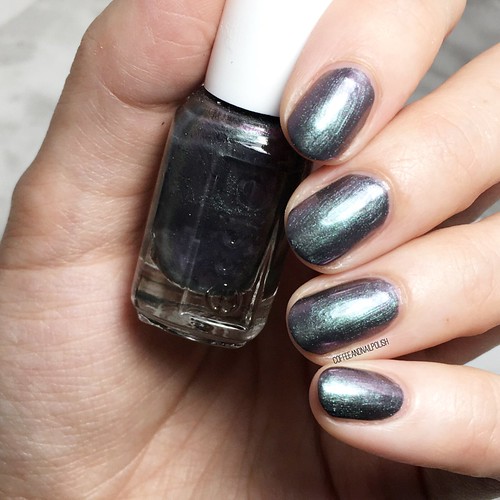
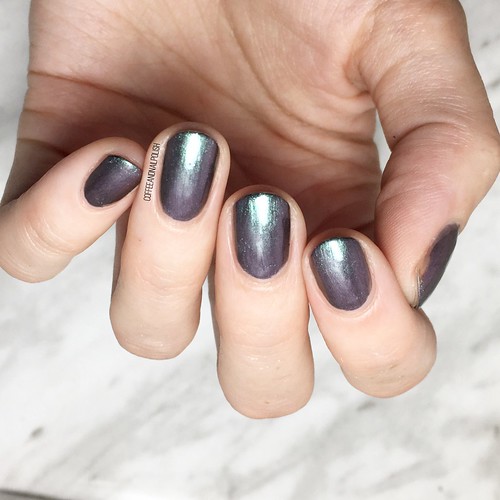
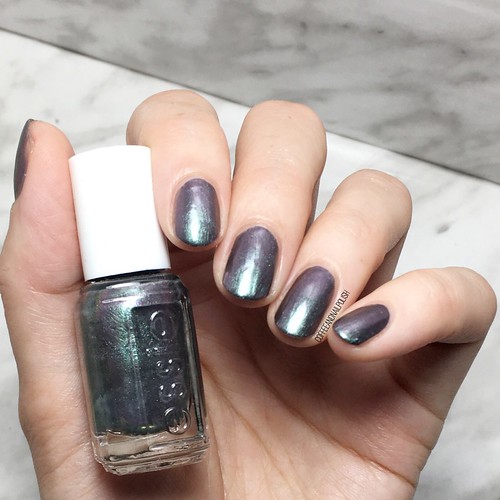
- Essie Wrap Me Up
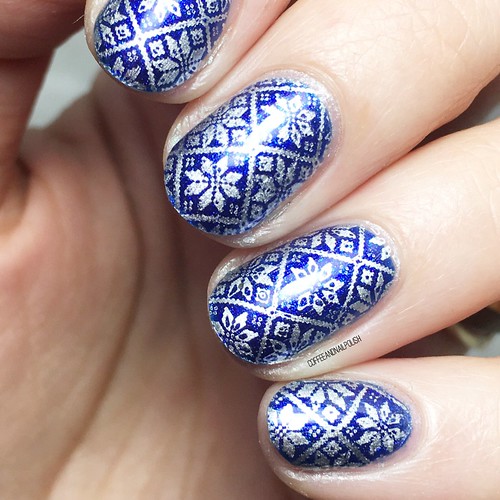
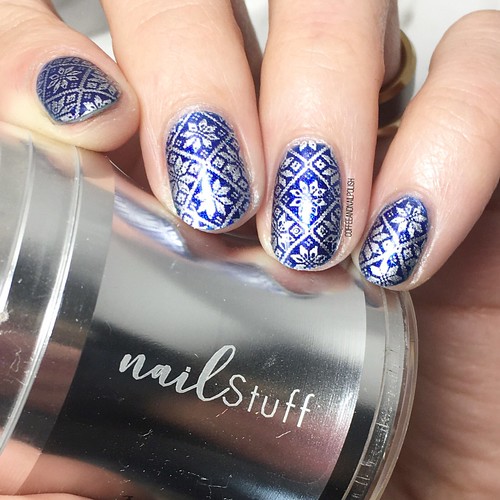
- Icing Stores Santa Baby
- Quo by ORLY Stilettos on the Run
- Sally Hansen Miracle Gel Pat on the Black
- Sally Hansen Miracle Gel Get Mod
- Nailstuff.ca 4mm micro detail brush (COFFEE10 saves 10% off your purchase!)
- Nailstuff.ca Dotting Tool Trio

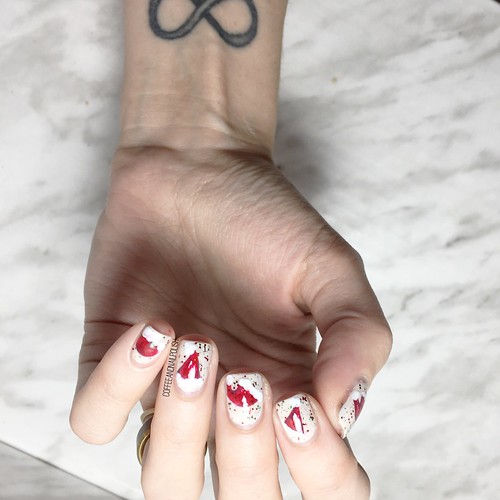
I remember the first time I ever attempted a Santa hat manicure… & I won’t lie, it wasn’t pretty. I’m pretty sure I used a dotting tool to try & draw my lines, which did not turn out very good at all. (Literally just went & found the picture on Facebook so if you’re curious, click here to see my masterpiece.)
I’ve come along way after a lot of practice, & these little hats turned out too cute. The jelly-like finish of Stilettos on the Run show off the glitters underneath, which is really quite cool. I’m digging it a lot.
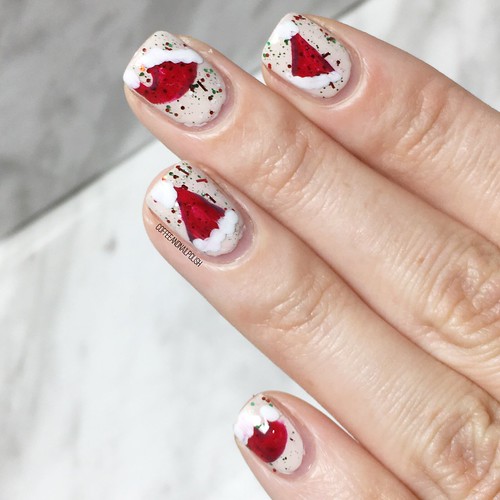
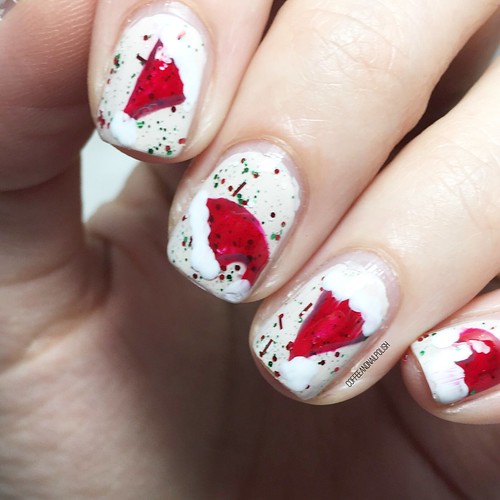
These feel very, very Christmas-y to me for sure. The colours, the design… there is no denying these are for Christmas! So much fun!

What do you think about this Santa inspired design? Have you popped over to Instagram yet go check out the other looks for #glamnailschallengeDec yet? Stay tuned for more fun, hopefully on time, nail art looks to come!