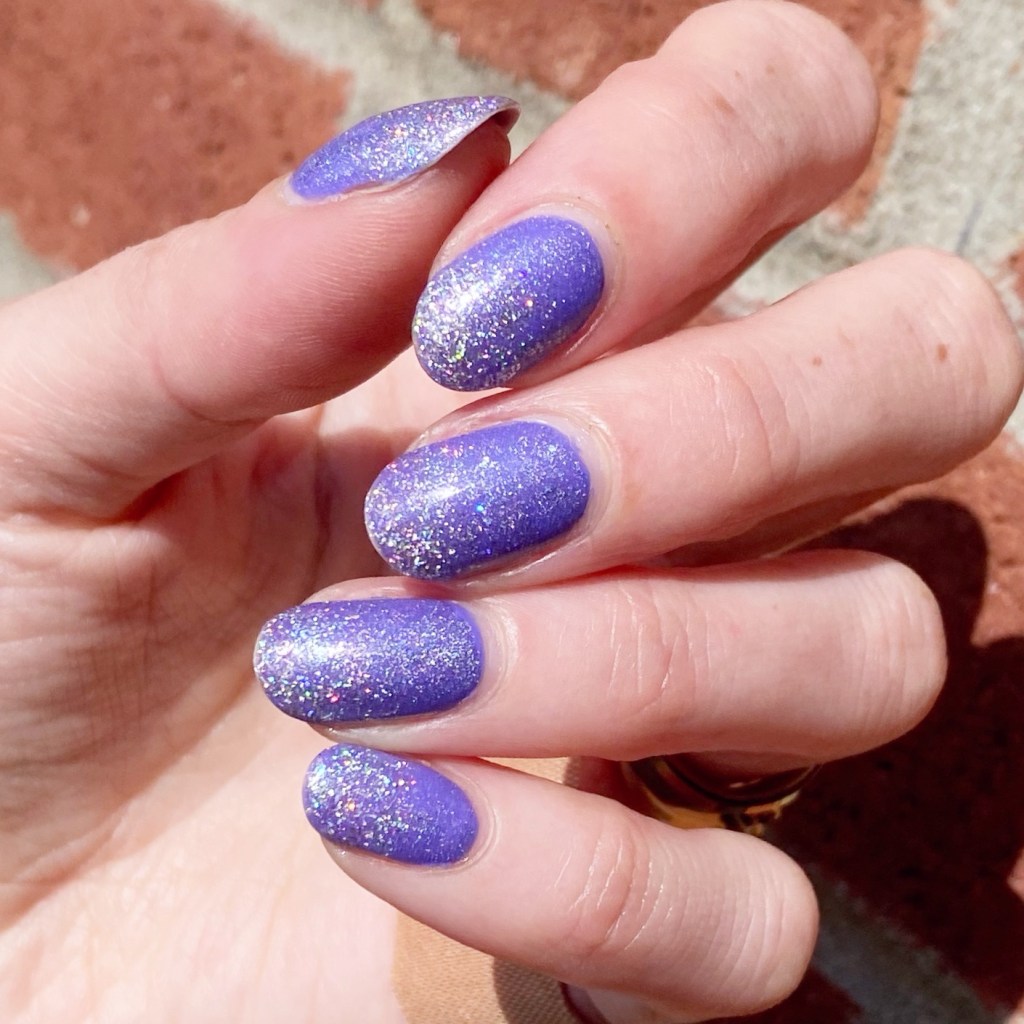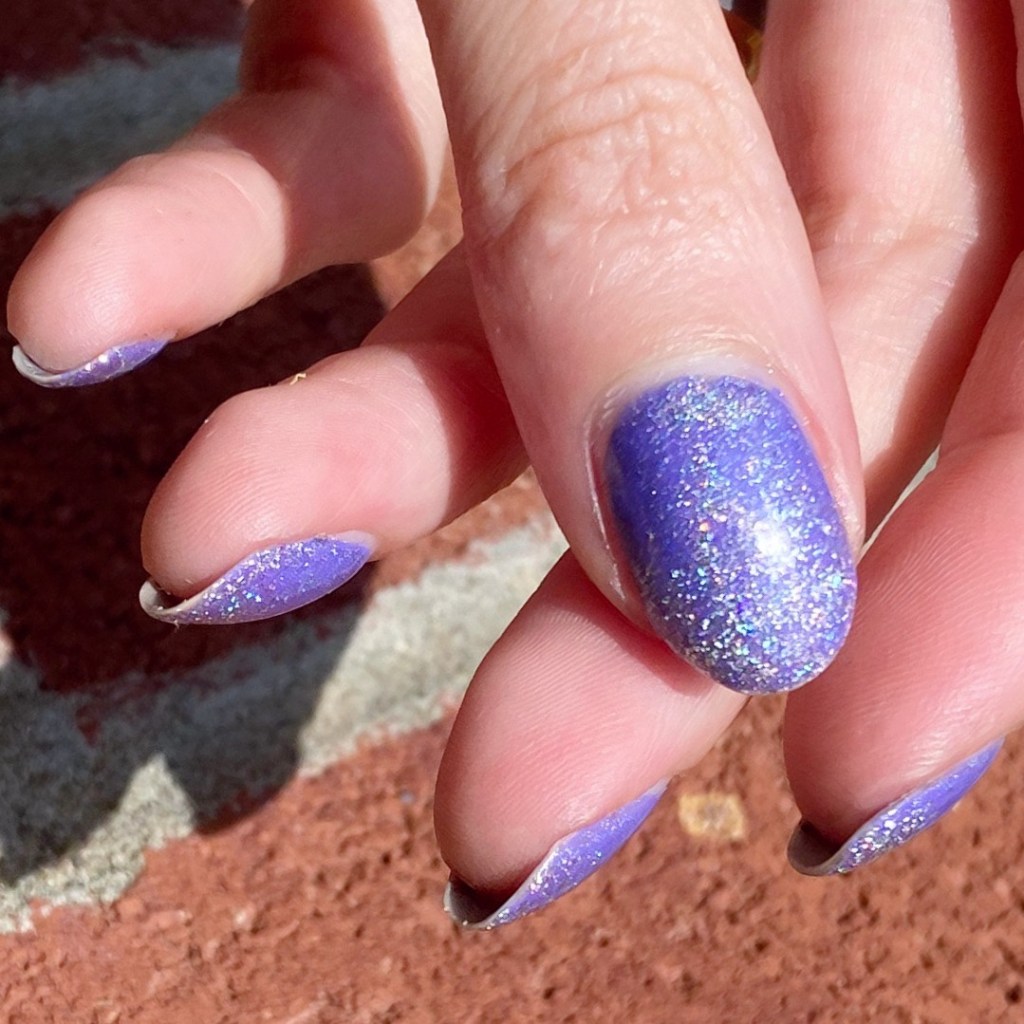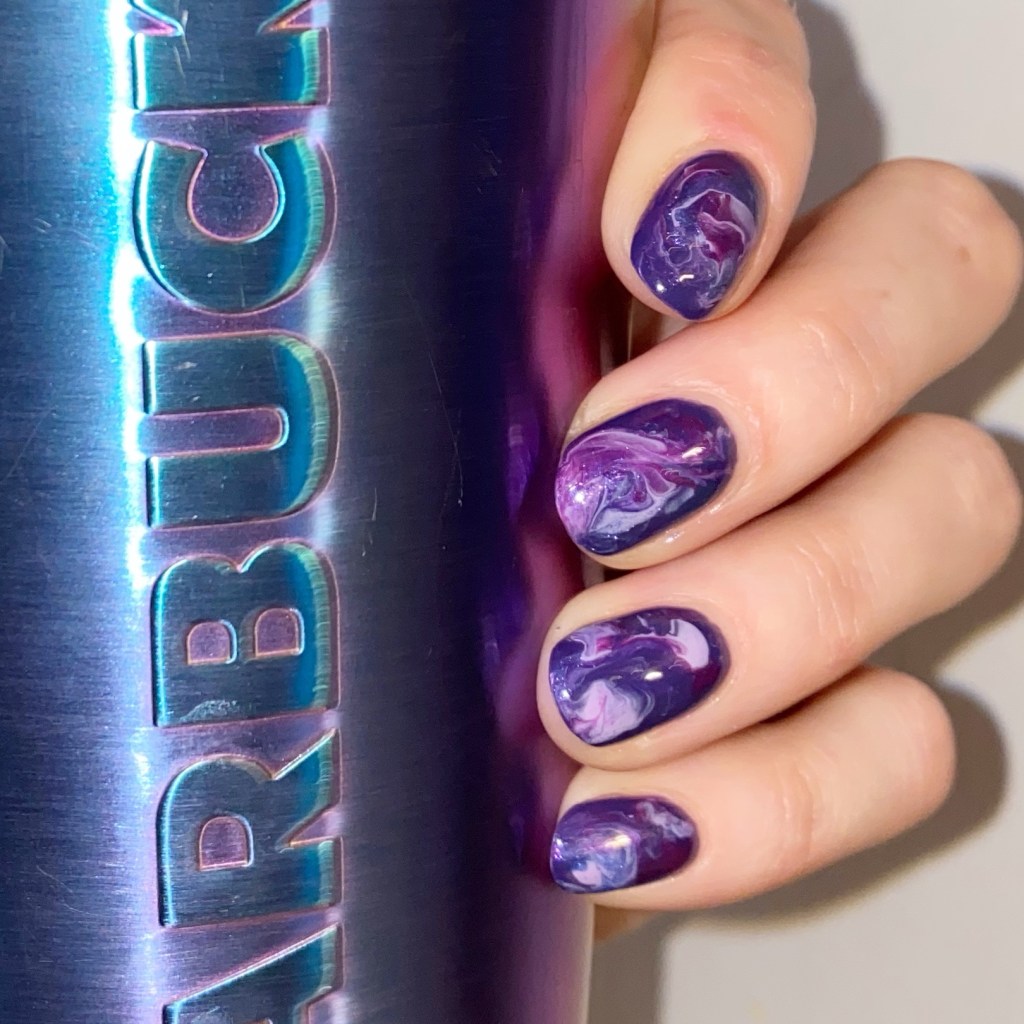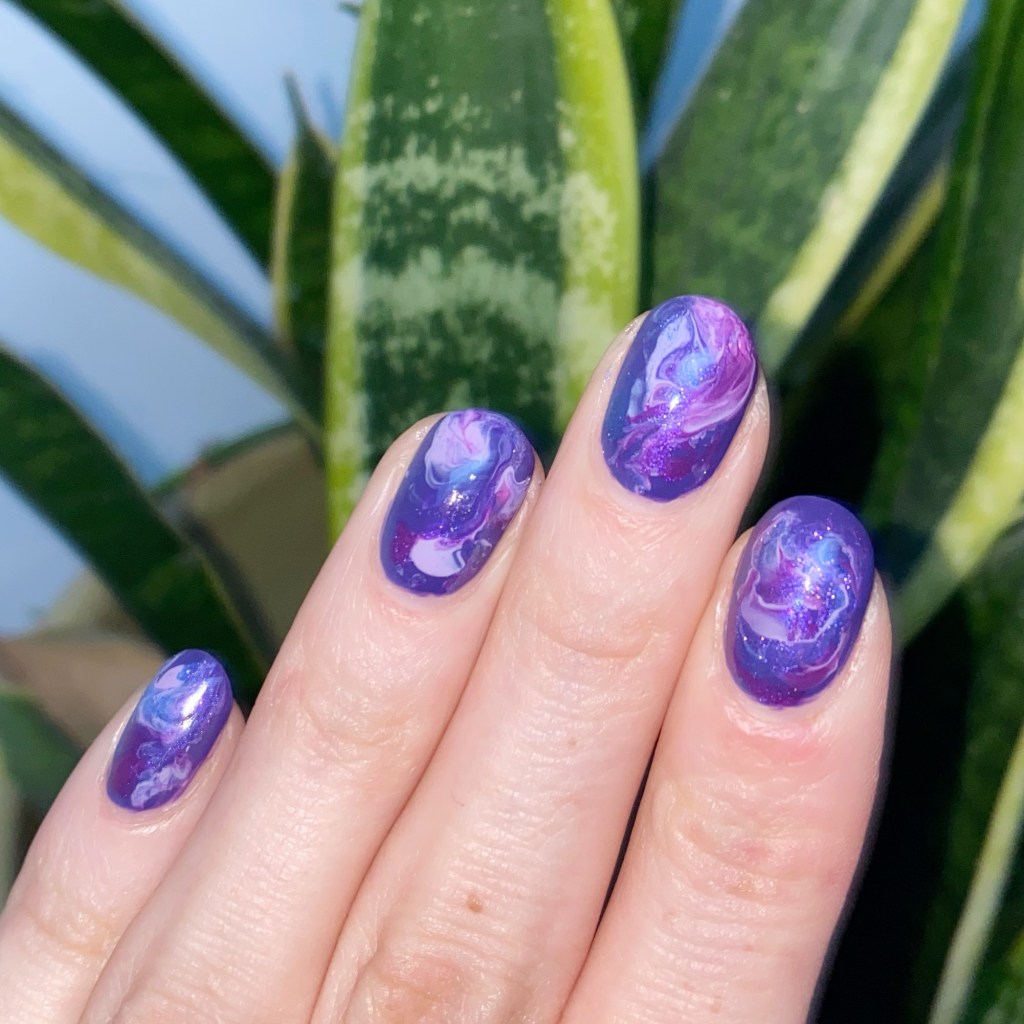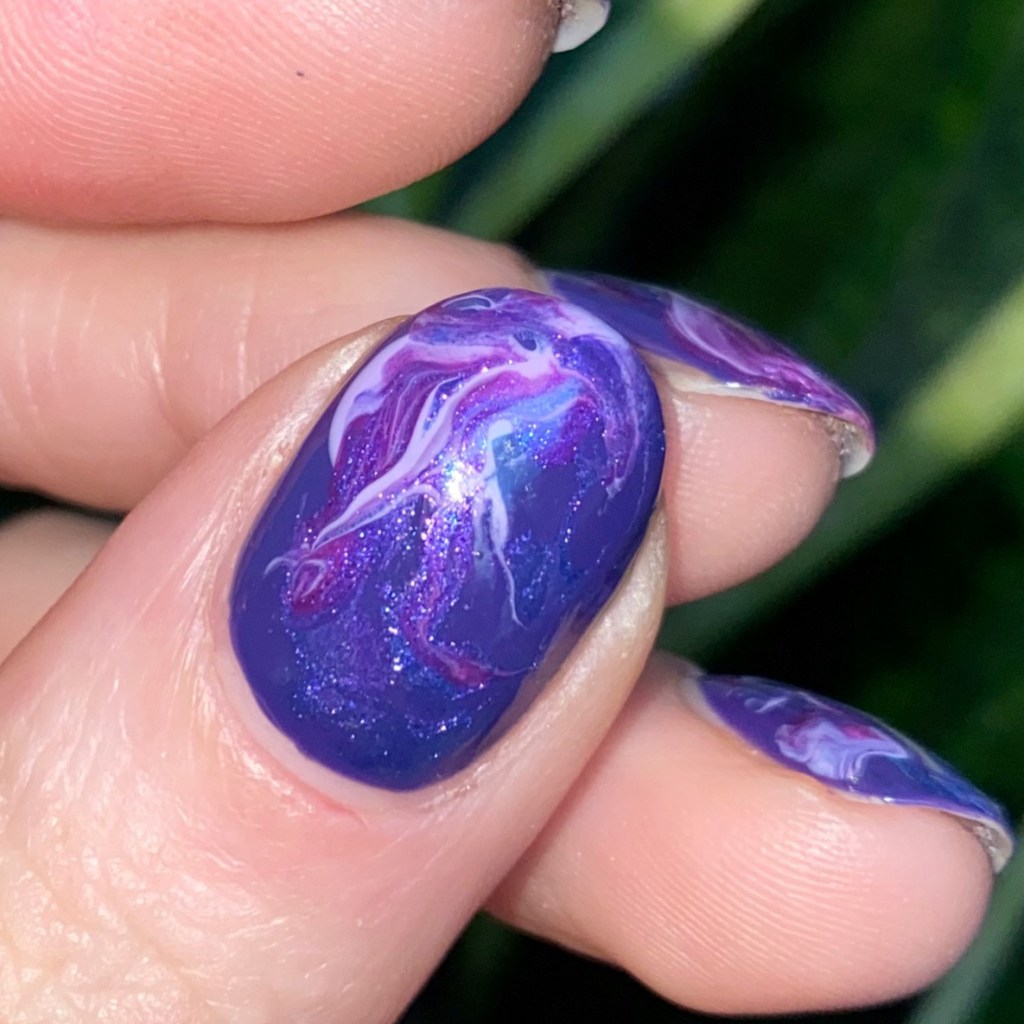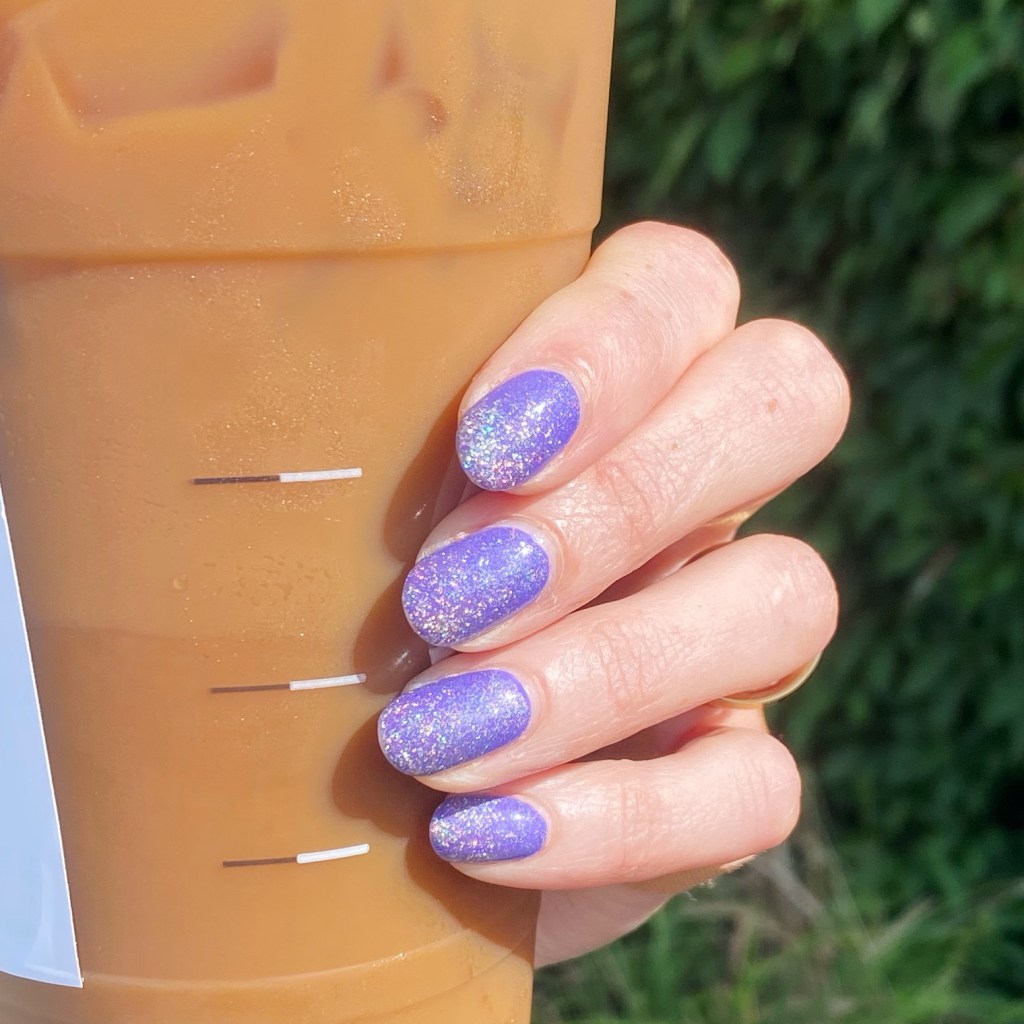
Purple Holographic Glitter Gradient 💜✨

Happy Wednesday lovelies.

The sun is shining, & that is more than enough reason for some holographic nails! I was feeling some serious glitter, & I think this manicure achieved that.

The polishes I used for this manicure are: 

  • Base Coat: Essie Here to Stay
  • Top Coat: Essie Gel Setter
  • Color Club Pucci-Licios
  • Nubar Treasure
  • Color Club Top Shelf
  • Starrily Space Debris

Look at that sparkle! ✨ yes, I have quite a few polishes layered to achieve this look, but it’s totally worth it. It’s been a rough week & a half, so a little extra sparkle is totally what the universe ordered. It makes me smile, & feel extra pretty.

What I love is I didn’t even need any tools to achieve this — just a little patience to apply the glitter to my tips! Definitely obsessed with the over all sparkle, especially when I’m in the sunshine.
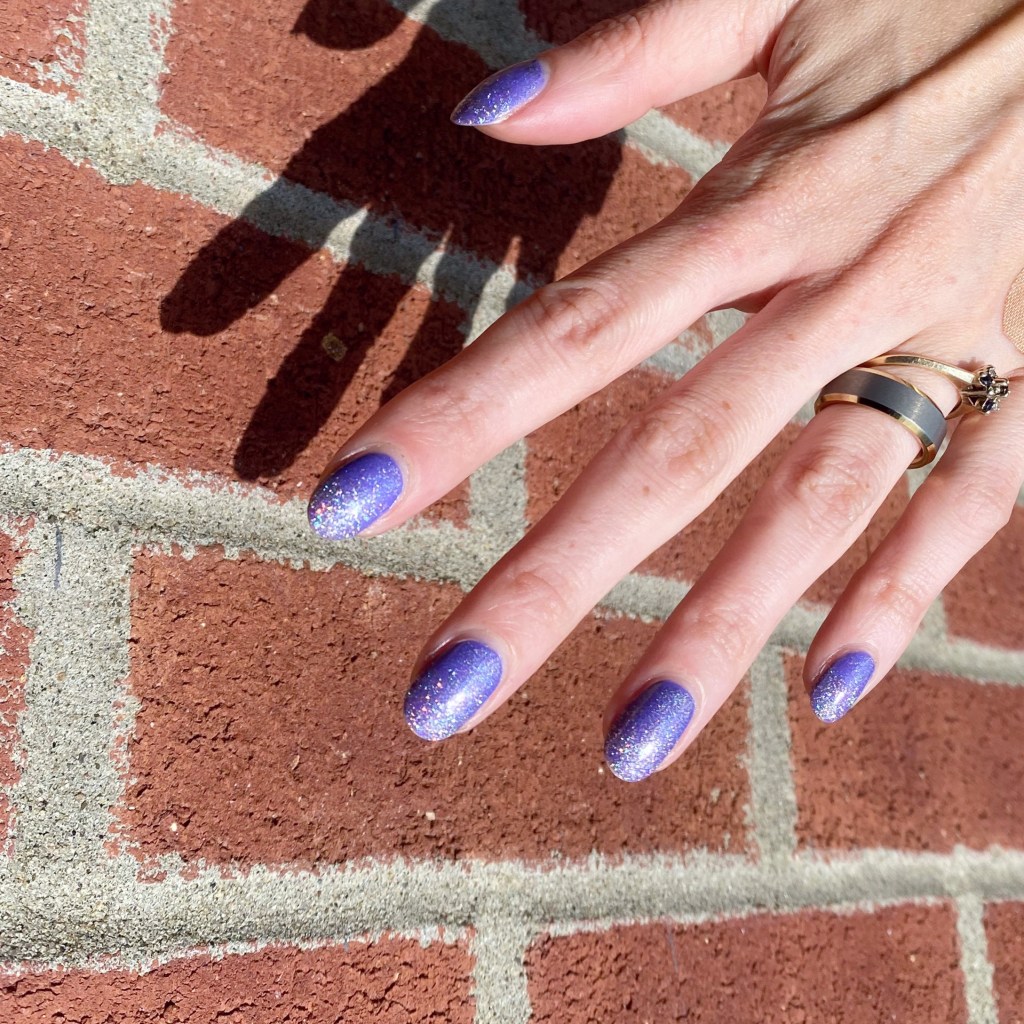
How do we feel about these extra sparkly gradient nails? Are we a fan? Let me know all your thoughts down in the comments below!

Have a lovely day!

💜
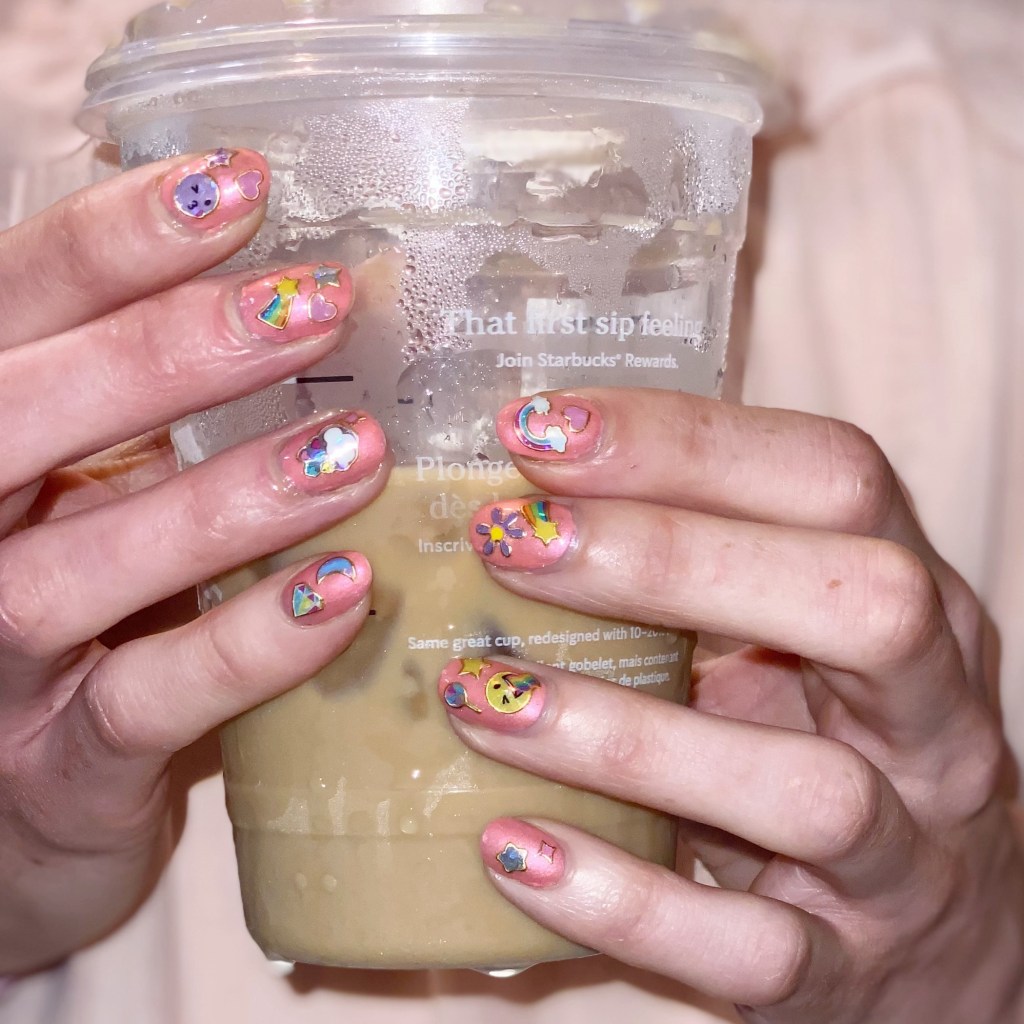
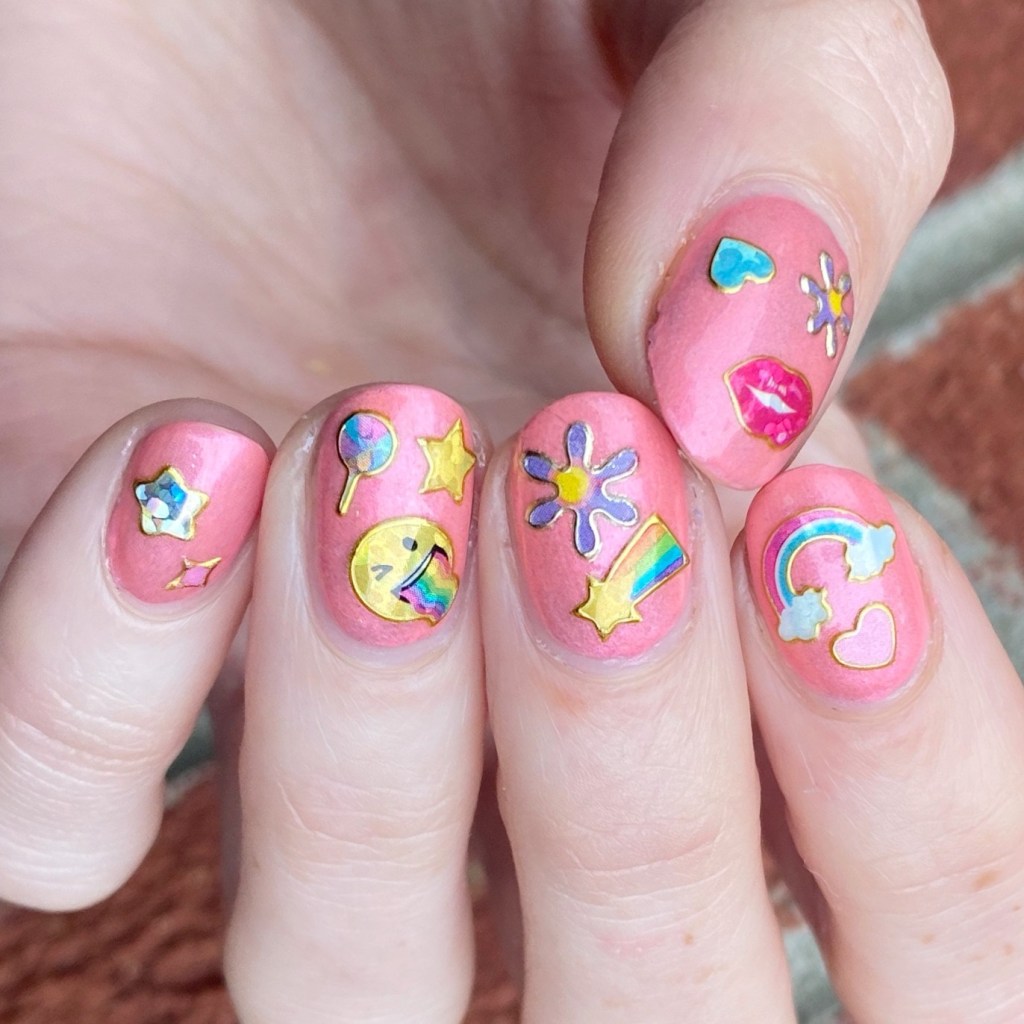
Emoji Inspired Nails 💋💗🌈🌸 (Easy Nail Art)

Hello lovelies & happy Thursday! It’s hot, sunny & beautiful lately & feels just like the kind of Summer days I like.

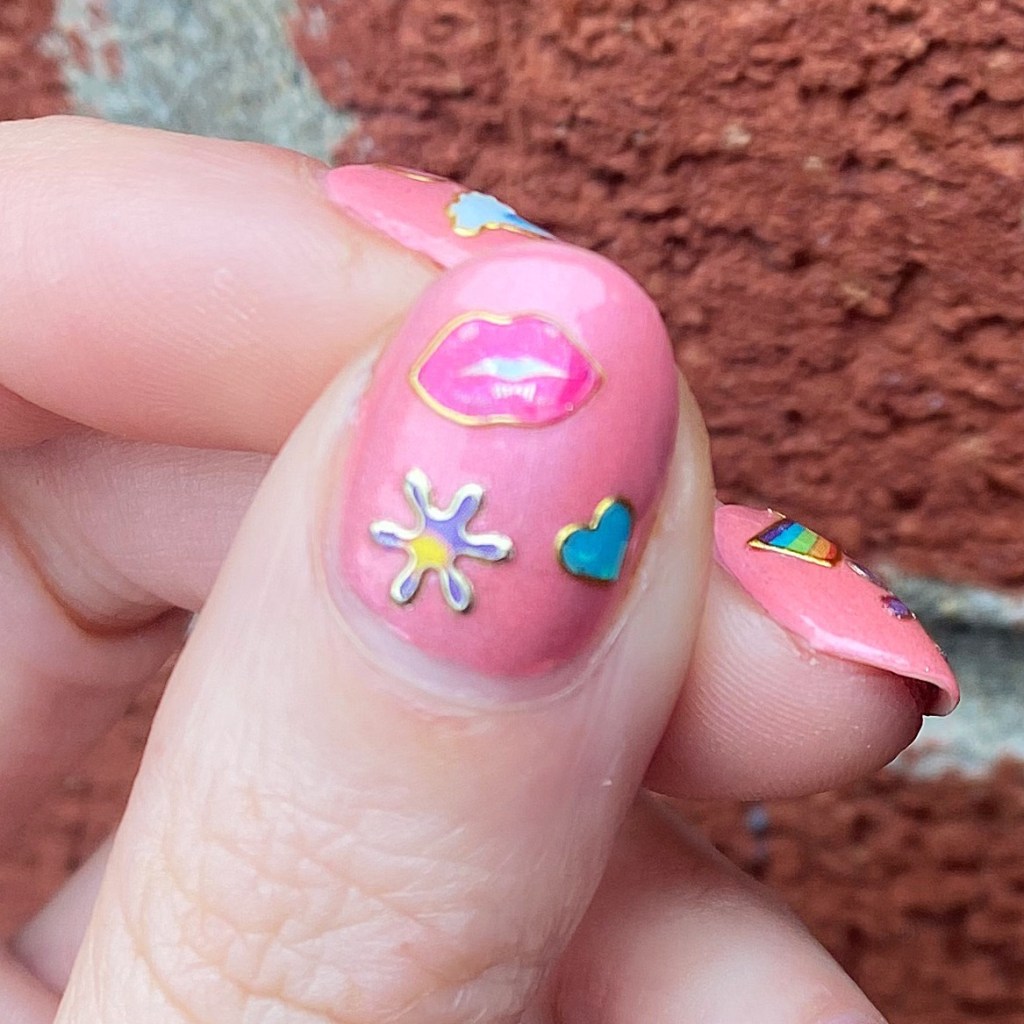
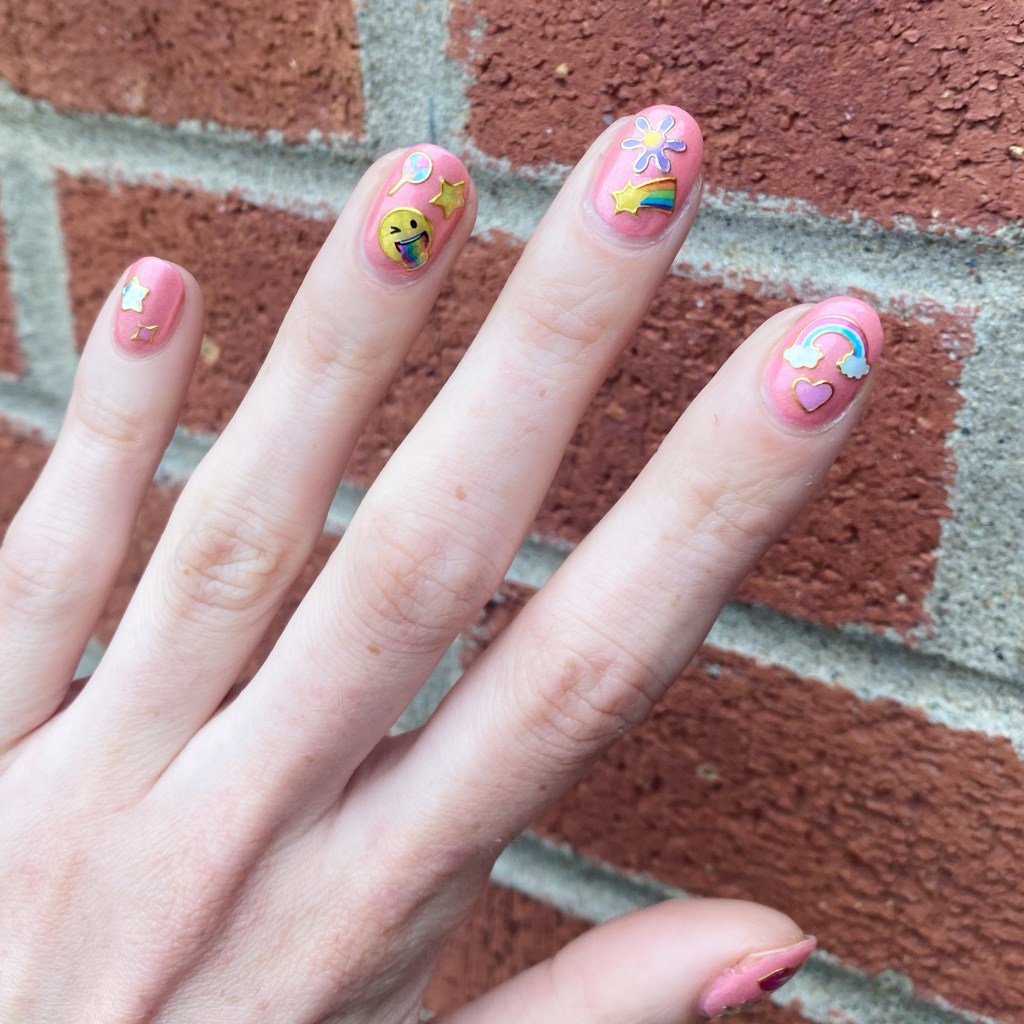
Today I’m sharing a new manicure & a bit of a nail art hack. I’ve posted before about my absolute love of nail art stickers.

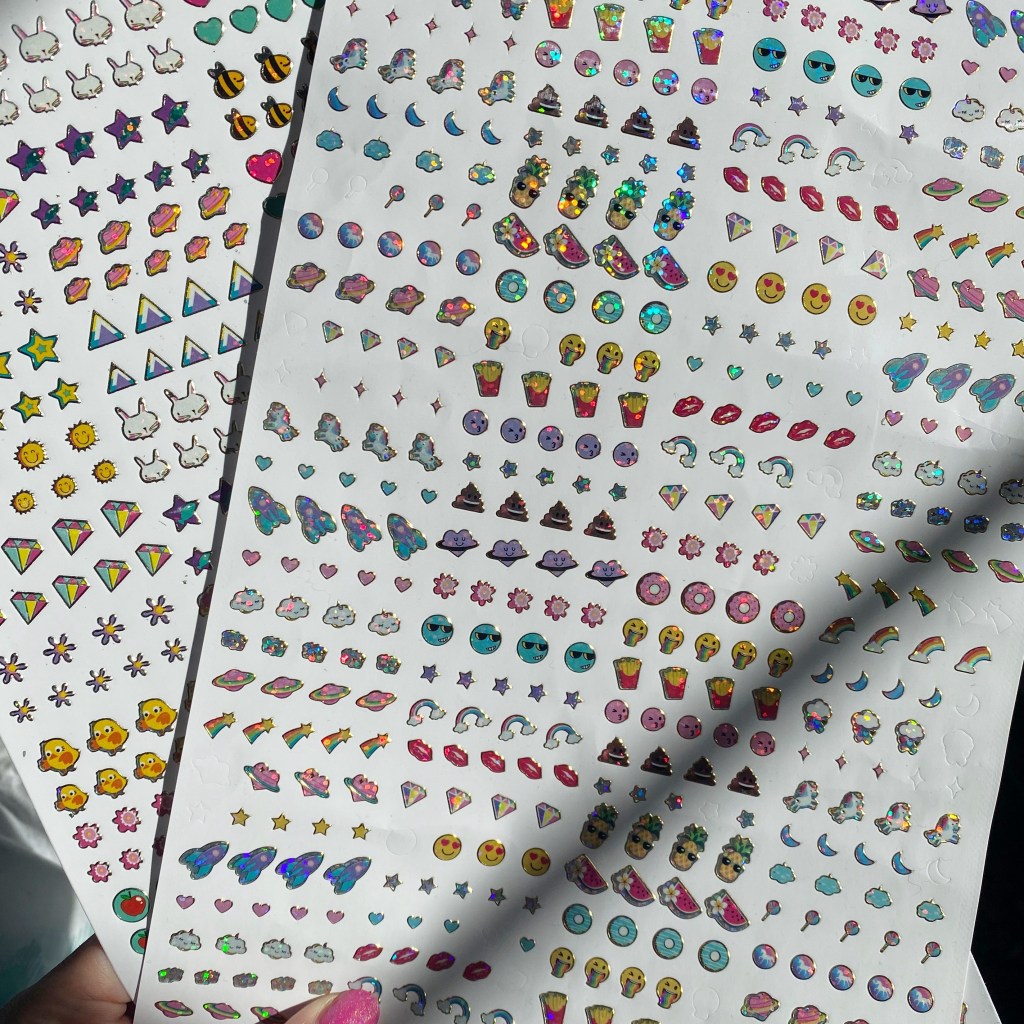
Recently I was in my local Dollarama & found these massive sheets of small foil emoji inspired stickers for $1.25 & thought they would be perfect for stick on earrings for my daughter. But then I realized they were the perfect size to potentially work for nail art stickers & so naturally I bought 2.

The polishes I used for this manicure are: 

  • Base Coat: Essie Here to Stay
  • Top Coat: Essie Gel Setter
  • China Glaze Thistle Do Nicely
  • China Glaze Everglaze Optimal Opal
  • Dollarama Small Foil Emoji Stickers

Okay I’m really really impressed with how easily these stuck to my nails, & adhered to my already dry base. They were fairly flexible & easy to stick on the nail, or adjust slightly if needed. I used tweezers to pull them from my sheet, & attach them to my nails, & most of the stickers I picked were easy to apply.

For removal, it was just as easy to take off. I did have a few stickers which were lifting by the end of the day, but that could be avoided with a thicker top coat.

Over all, I think these stickers were perfect for easy nail art at a great low price. Obviously, I want to support small businesses that sell nail art stickers, but times are tough right now, & I think everyone deserves to have beautiful nails so if you can find cute stickers to use on your nails at an affordable price — you should totally take advantage of it!

Would you want me to do a post featuring other Dollar Store items I’ve found for doing your nails? Let me know down in the comments below!

Happy Thursday!

Pretty Floral Shorties 🌿🌸

Hello darlings, happy Friday!

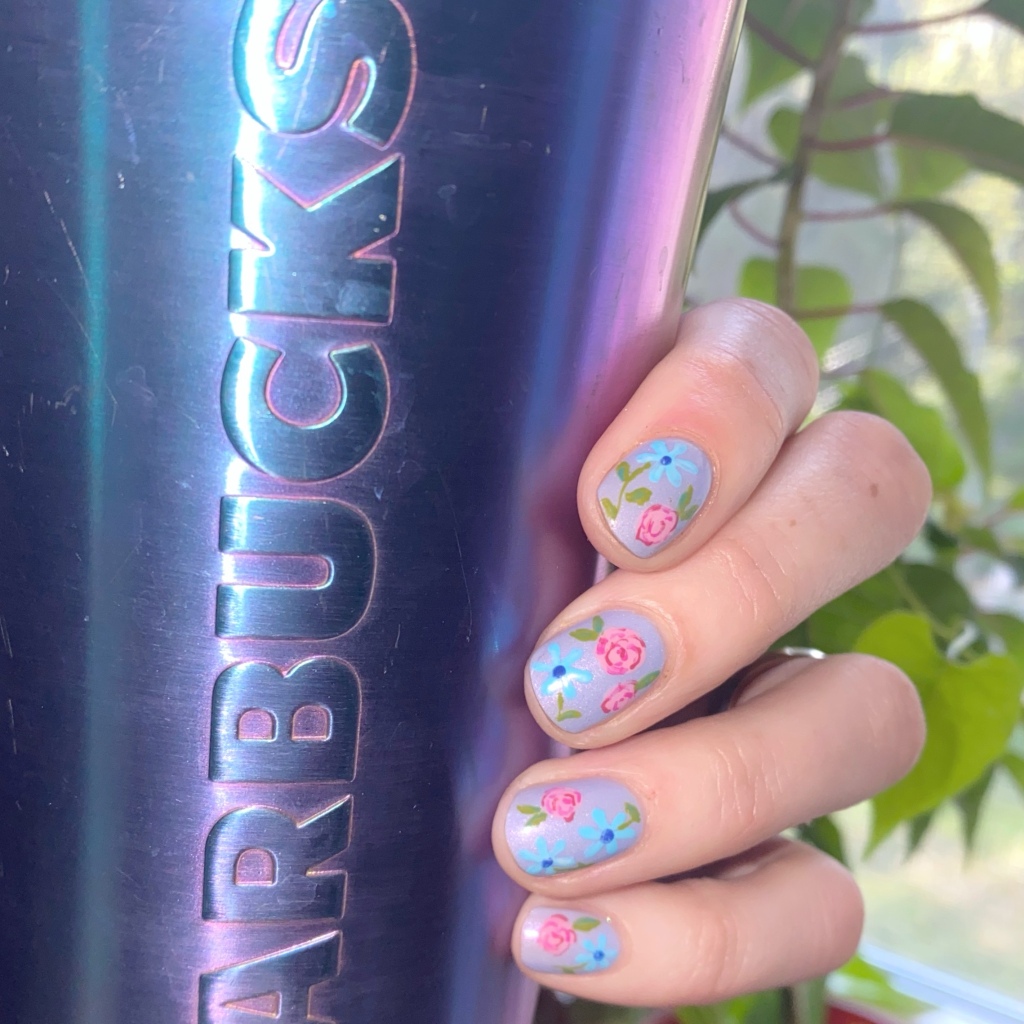
I know what you’re thinking — two blog posts in a row? You girl was feeling productive after feeling not so productive in the beginning of the week, so we’re going to roll with it. Today I have another short nail design to share with you, & yes — it’s more floral. Let’s be honest, I’m (most likely) going to be sharing something floral related at least once a week going forward as it’s a nail art comfort zone for me. So I hope you won’t get tired of them too quickly!

The polishes I used for this manicure are: 

  • Base Coat: China Glaze Calcium Gel Fortifer
  • Top Coat: Seche Vive
  • Sally Hansen InstaDri Luxe Finish Lavish Lilac
  • Sally Hansen InstaDri Cotton Candy
  • OPI Nature Strong Emflowered
  • Sally Hansen Good. Kind. Pure. Peony Origins
  • Sally Hansen Good. Kind. Pure Eco-Rose
  • Sally Hansen Good Kind Pure Blue Moonstone
  • Essie In the Cab-Ana
  • Sally Hansen Miracle Gel How You Bluein’
  • Essie Willow in the Wind
  • Nailtural Keep Palm, Swim On
  • NailStuff.ca Dotting Tool Trio
    Nailstuff.ca Mermaid Tail 7mm liner brush

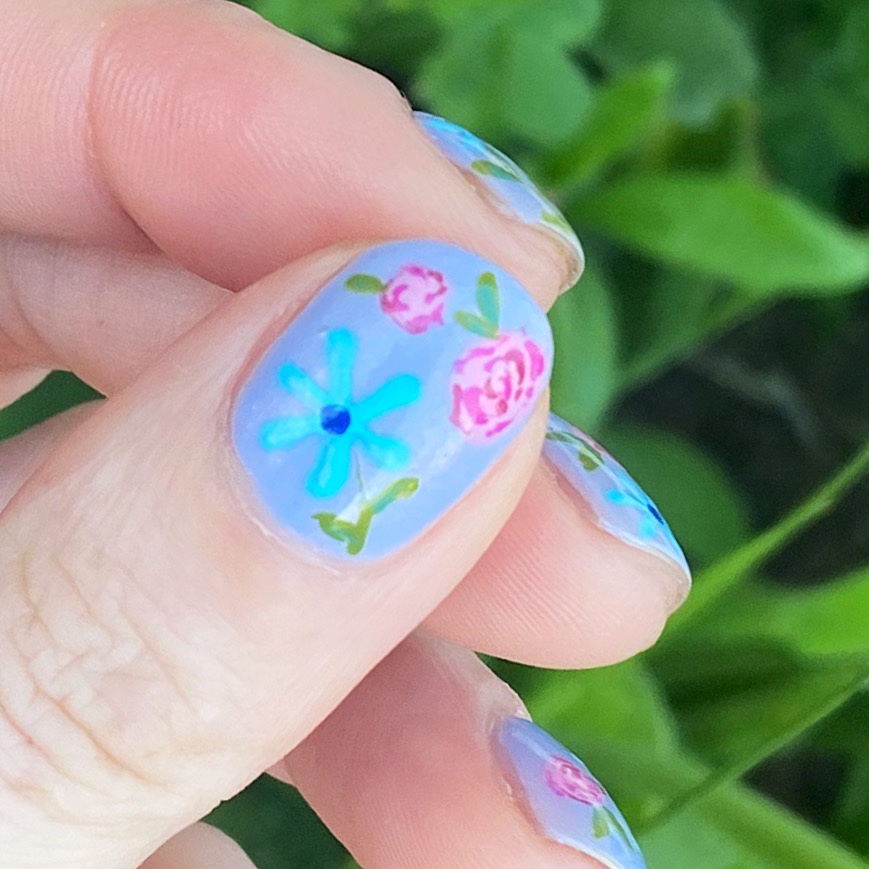
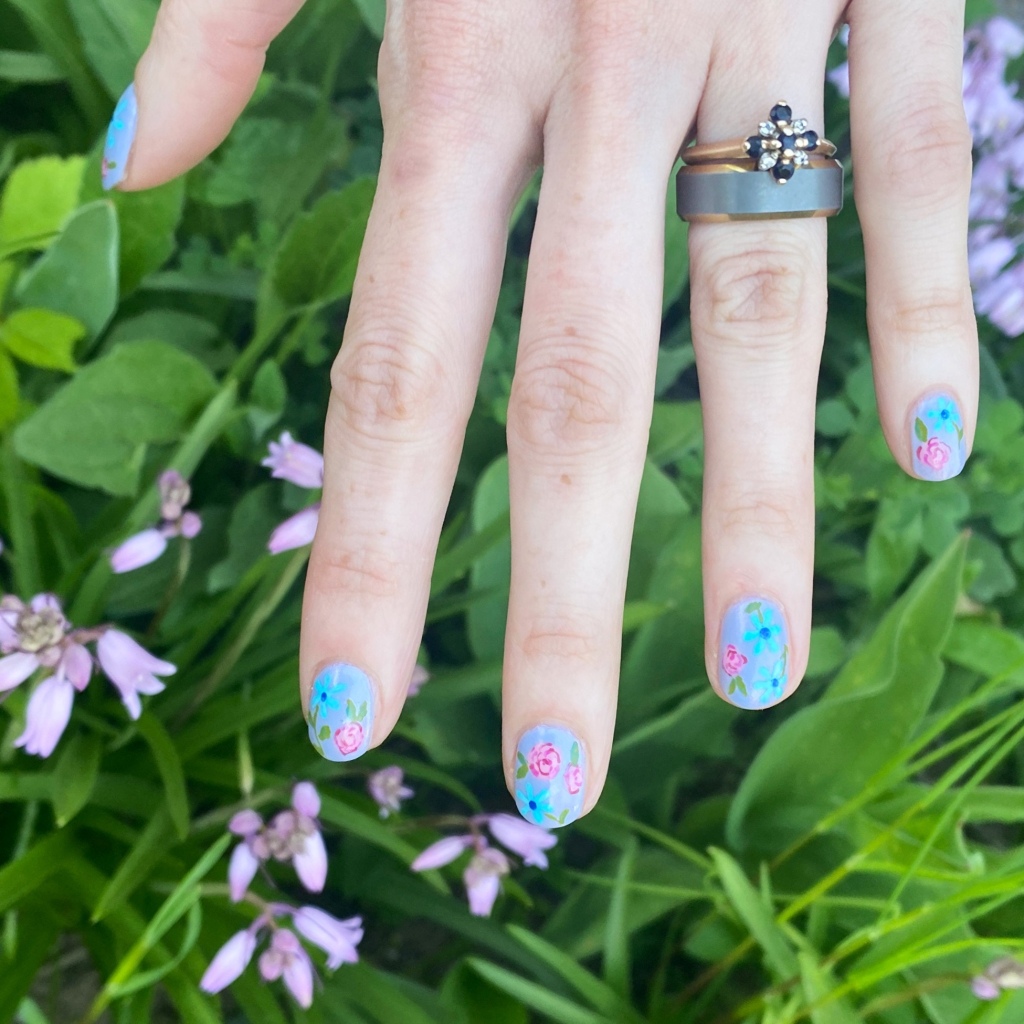
Okay, seriously, how pretty did this floral turn out?

I know, I know — I say that every single time I create a floral design, but that’s because I’m still amazed after all this time when my nails turn out so pretty! I mean, sometimes when I’m going into them I’m not entirely sure they’re going to work out — & there have definitely been times when they didn’t!–so I get so happy when I end up with a beautiful design that I’m happy with.

What do you think of this floral design? Do you like pretty floral looks like this? As I mentioned, I foresee this being a design I repeat at least weekly going forward for the next little while. Even when I’m not inspired to necessarily do my nails, I’m always inspired to create a pretty floral!

Pretty & Pink Glittery Abstract Stripes

Good morning lovelies & happy Thursday!

I hope everyone’s week has been beautiful so far. Today I’m excited because I have a pretty, sparkly manicure to show off. & with everything not beautiful happening in the world right now, sometimes you just need to be distracted with something beautiful.

I recently broke my middle finger nail, badly, so that meant it was time for a big chop. Suddenly short nails always make it a bit hard for me to focus on creating beautiful nail art, but I think these pink sparkly abstract stripes were a nice start to another short nail era.

The polishes I used for this manicure are: 

  • Base Coat: China Glaze Calcium Gel Fortifer
  • Top Coat: Seche Vive
  • China Glaze Don’t Desert Me
  • Quo by Orly Mini Pink Glitter (no name on the bottle)
  • China Glaze Fairy Dust
  • Sally Hansen Insta Dri Luxe Finish Lavish Lilac
  • Art Club Striper Passion Flower
  • Art Club Striper Pink Pastel
  • Quo by Orly Striper Black

Oh man, I love this sparkly base so much. If you follow me on Instagram, you’ve probably noticed me sharing stories of a lot of glittery nails. With all the sunshine we’ve been having, I just can’t get enough of the glitter. It makes me very happy. In fact, this was the base I was wearing when I had my horrible break, so I kept it on & added the nail art over top to wear for a few more days. & I’m glad I did because I really really like how this design turned out. It’s just so pretty!

What do you think of this glittery pink abstract stripe design? Do you like glitter on sunshine-y days as much as I do? Let me know all your thoughts down in the comments below. & let me know if there is any specific nail art you would like to see me attempt on these new shorties of mine.

Happy Thursday!

♥︎

Purple Drag Marble 💜✨

Hello beauties & happy Monday! I hope you’re having the most wonderful start to your week. It’s a beautiful sunny Monday here, with potential to get warm-ish, which has me feeling quite happy.

Today I’m showing off a pretty purple drag marble I did recently. I’ve been really into my purple polishes lately, so I’ve found myself reaching for them quite frequently. All the shades in today look are also OPI purples from my stash.

The polishes I used for this manicure are: 

  • Base Coat: China Glaze Calcium Gel Fortifer
  • Top Coat: Seche Vive
  • OPI Infinite Shine Mariachi Makes My Day
  • OPI Infinite Shine Sickeningly Sweet
  • OPI Infinite Shine Sound of Vibrance
  • Small dotting tool — NailStuff.ca Dotting Tool Trio

Oh man, the thing I love most about a drag marble design is that not only is every manicure unique, every nail ends up being unique! & I always have a favourite. For this design, I think my ring finger & thumb turned out my most favourite on this hand. But I just really love the combination of these 3 colours — it turned out so beautiful.

What do you think about this pretty purple drag marble? Have you ever dried a drag marble before? I definitely find using a quick dry top coat helps make it easier to do, because sometimes I can end up with pretty thick polish.

Happy Monday 🖤