Kiss Products Voguish Fantasy Press On Nails — Christmas Party Ready Nails

•contains pr/gifted items

Good morning lovelies & happy Tuesday!

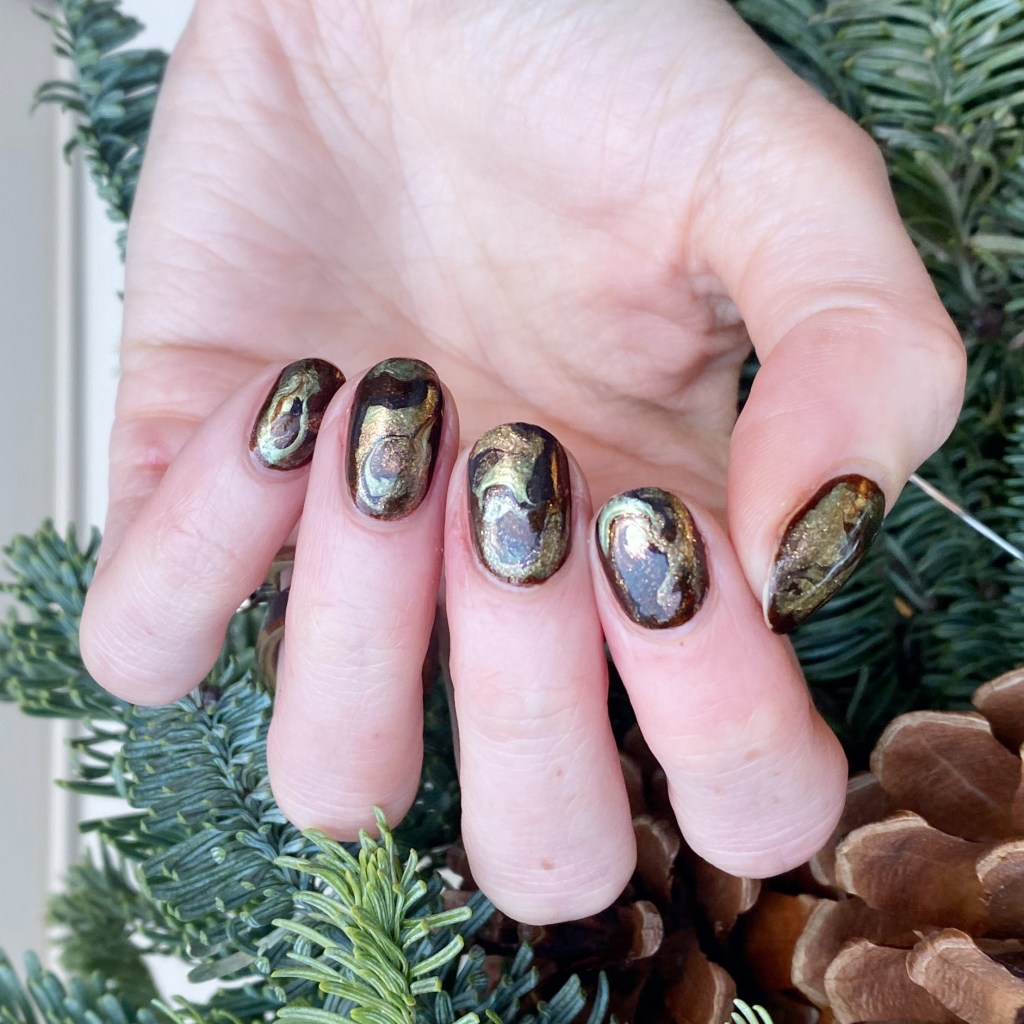
Kiss once again spoiled me, & recently sent me a box of Christmas cheer in the shape of their Press On Nails & False lashes! The perfect thing to help me get Holiday ready quickly.

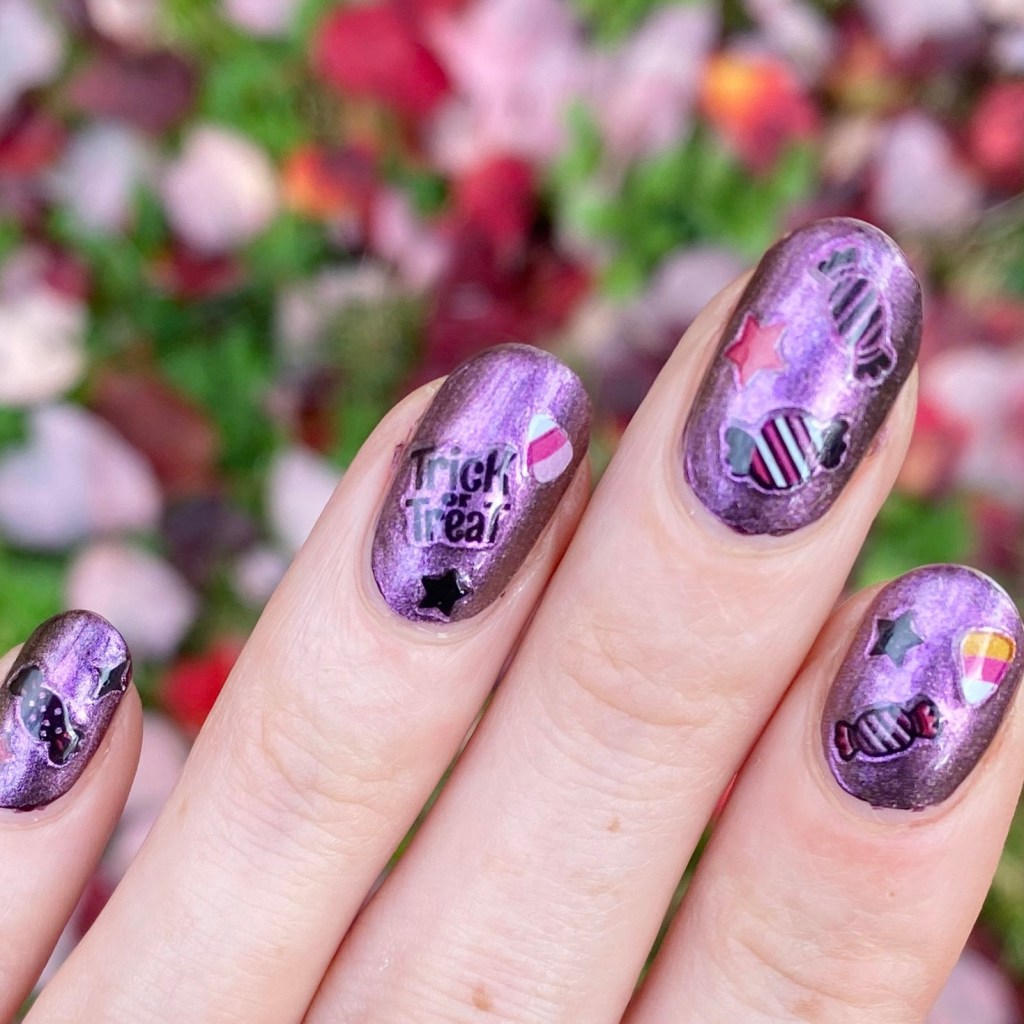
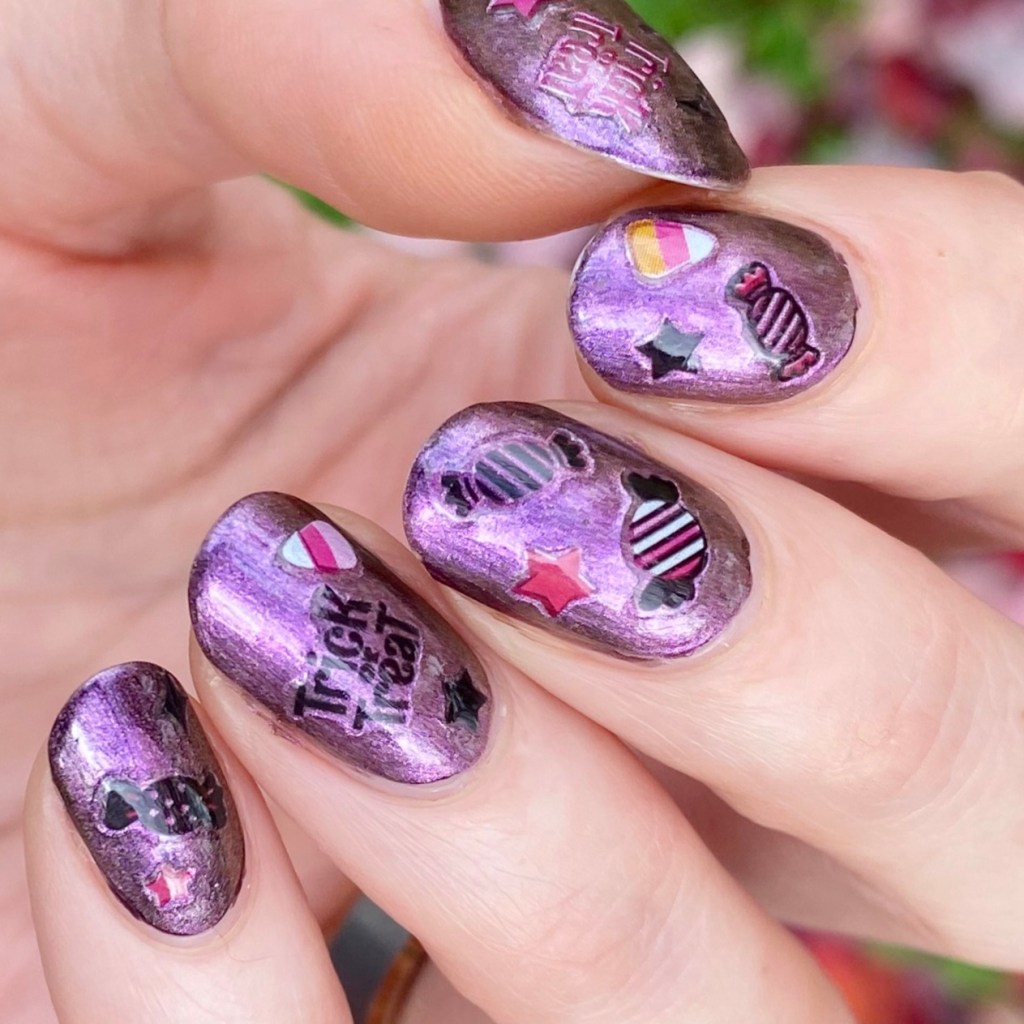
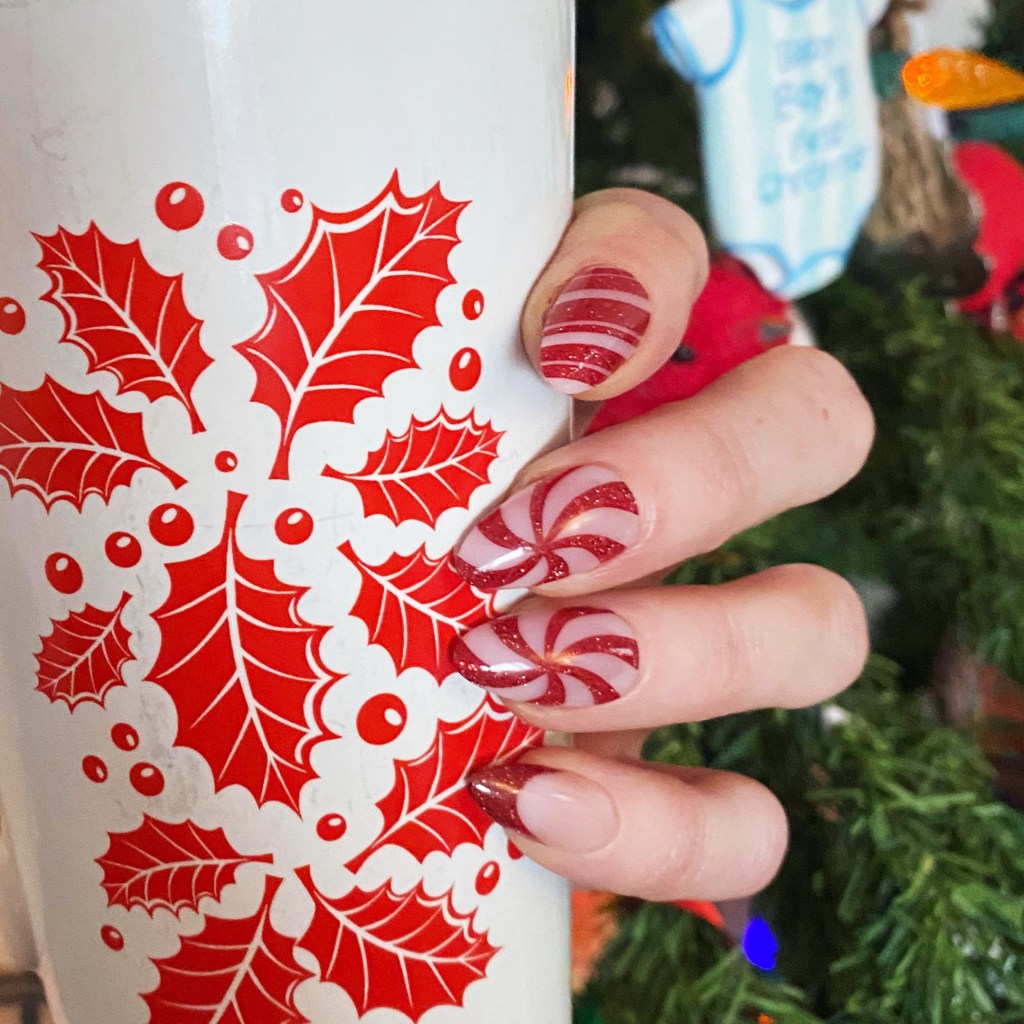
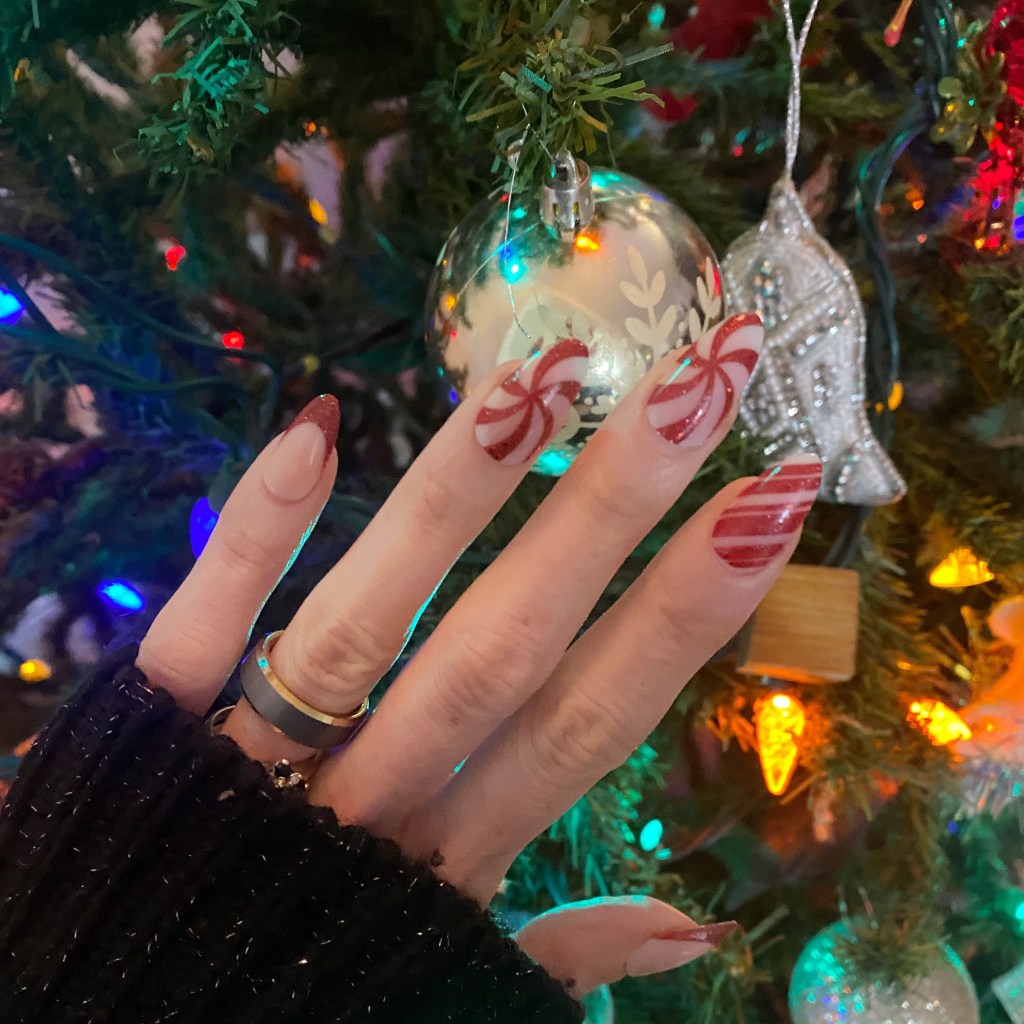
Sunday night I had a get-together with my former Candy Store coworkers, so I thought a set of nails would be perfect for the occasion — & who can say no to candy cane inspired nails!

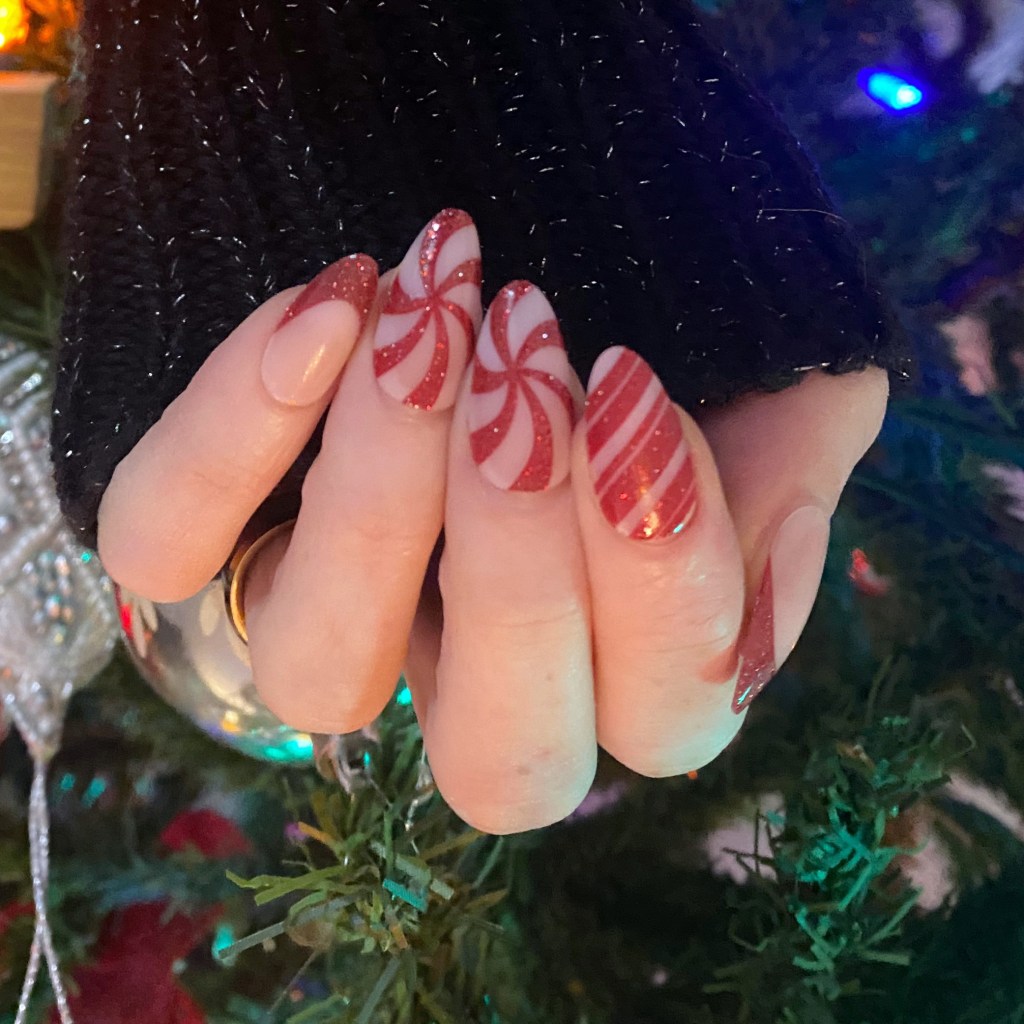
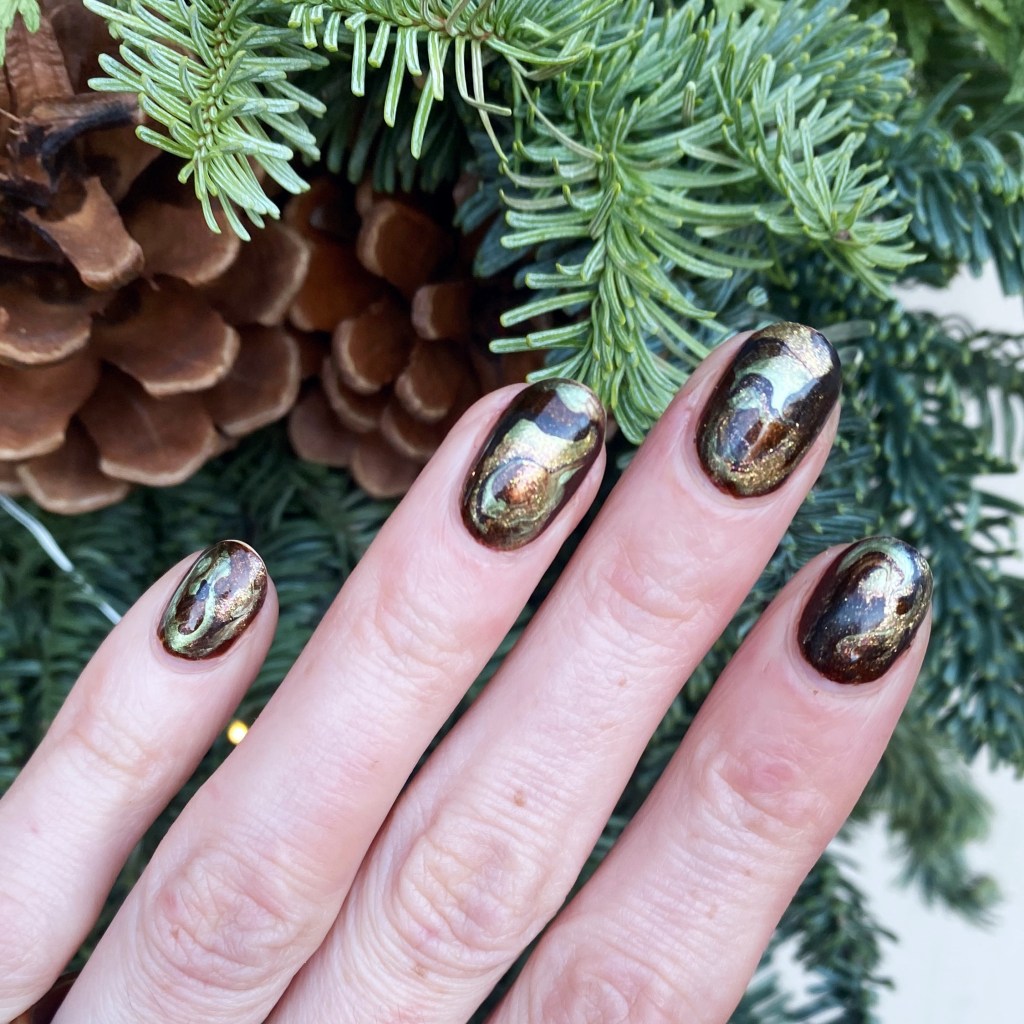
These nails were fairly easy to apply. The trick is to make sure you pick out the size/style you need for each nail prior to starting your application, & laying them out in order. Then, start from your pinky nails & work your way to your thumb. I find this especially important to do when you’re doing nails with any significant length — like these ones!

Now for these nails I was only planing on wearing them for the night, so instead of using the included glue, I chose to use sticky tabs to apply them which I find a better option for shorter term wear. Each pack does come with the Kiss Nail Glue, which from my previous experience does last really well & holds up against every day use.

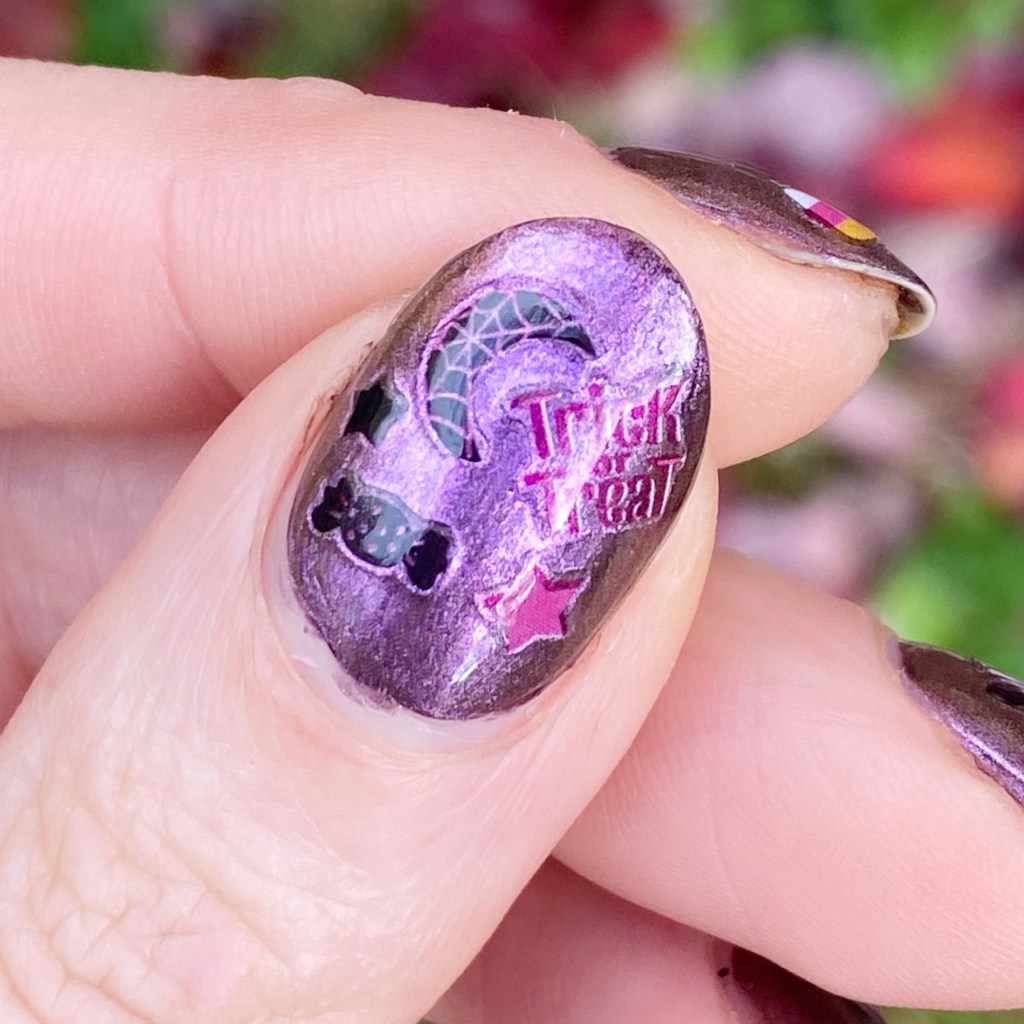
What do you think about these Kiss Voguish Fantasy nails? Would you rock press on nails like this for a super quick & easy party look? Let me know all your thoughts in the comments below!

🖤

Golden Drag Marble

Hello lovelies & happy Monday. Well, as happy as a Monday can be in November. They’re calling for snow today on my side of the country, but not sure if it’s going to amount of anything. But… can it be Summer again? I miss Summer.

Today I have a really pretty nail art look to share with you, leaning into these late Autumn vibes. 🍁🍂 The colour scheme is pure Fall, & I really enjoy how it turned out!

The polishes I used for this manicure are: 

  • Base Coat: Sally Hansen Miracle Cure
  • Top Coat: Sally Hansen InstaDri Top Coat (red bottle) 
  • ORLY Buried Alive
  • Sally Hansen Miracle Gel Terra Coppa
  • Essie Frock ‘n Roll
  • Essie Nail Art Studio Cosmic Chrome
  • Wide Nail Art Brush

So I tried a bit of a different technique for this marbling, with a wider nail art brush (like the side of a clean up brush) versus the skinny dotting tool I usually use, & I like the effect it gave me. Kind of reminds me more of a real stone. Sometimes I find with a dotting tool I end up muddling my marble a bit, but this way didn’t do that which I really like!

& the colours compliment each other so well. I love the bronze-y golden look of it all together. It’s definitely giving Autumn vibes.

What do you think of this golden drag marble design? Do you like the kind of wider marble effect versus my usual drag marble designs?

Let me know all your thoughts in the comments below!

Happy Monday 🖤

GLAM NAILS CHALLENGE OCTOBER 2025 — Trick or Treat 👻 🍬

Hello lovelies & happy Wednesday! Can you believe we are only 9 days away from Halloween? Where the heck has this month gone?! It also means we only have 3 prompts of Glam Nails Challenge October to go before the end of the month. I’ve absolutely enjoyed jumping back into these month challenges, & I’m excited to finish up this month & start planning for my nail art for the rest of the year!

Today’s prompt is Trick or Treat, which is such an ambiguous prompt. But, I did pick up those Wet n Wild Fantasy Makers nail art stickers & there was some fun candy stickers, plus a few that say Trick or Treat. So I instantly knew that they would be perfect for this particular prompt, & I couldn’t wait to use them again!

The polishes I used for this manicure are: 

  • Top Coat: Sally Hansen InstaDri Top Coat (red bottle) 
  • Base Coat: Essie Hard to Resist (purple)
  • Colour Club Purple Haze layered over OPI Lincoln Park After Dark
  • Wet n Wild Fantasy Makers Nail Art Stickers Trick Me, Treat Me style

How fun are these stickers? I know I said it in my previous post featuring them (my birthday nails), but I just love these stickers. I will definitely say though — you want to apply these stickers after your base is fully dry. I had a much better application this time with a manicure that was done the night previously, as opposed to a base that was still tacky & wet. They sit much flatter on the nail, & I think look much smoother as well.

What do you think about my fun Trick or Treat design for this prompt of Glam Nails Challenge October? Do you love these cute Halloween nail art stickers? I purchased my sheet at Shoppers Drug Mart for $7.99 CAD, but I have also seen them available at Walmart in previous years. I kind of wish I had also purchased the other style of stickers (with cute little Ghost Face stickers) but when I went back to find them, they were already sold out at my local store.

Happy Wednesday loves!

♥︎

Teal Ombré Nails

Hello lovelies & happy Wednesday. I hope everyone is having a beautiful Summer day on this last week of July. Truly crazy how quickly this Summer is slipping by, but I’m trying my best to enjoy it. However — only 27 days until Starbucks releases their PSL, which we all know is the official start of Autumn haha.

Today though I have a cute simple nail art look to share. It’s been absolute ages since I last shared an ombre skittle look. so I thought it was time to pull it out again. The colour scheme was inspired by my 8 year old who told me I should wear teal nails. What do you think — did I nail it?

The polishes I used for this manicure are: 

  • Top Coat: Essie Gel Setter Top Coat 
  • Base Coat: China Glaze Calcium Gel Fortifier
  • Essie Mint Candy Apple (pinky)
  • Essie In The Cab-Ana
  • Essie Off Beat Chic *pr
  • Essie Revenge’s A Beach
  • Essie Garden Variety

I’ve always loved these ombre tone skittles because they’re just to easy. The hardest part is just pairing the colours together, & making sure you have that light to dark effect on your nails. Surprisingly — okay, maybe not so surprising — I had enough Essie’s to easy accomplish this look.

What do you think of this simple teal ombre skittle look? Are you a fan of these Muti shade designs? Let me know all your thoughts in the comments below, & which colour you would rock an ombre look like this using!

Happy Wednesday.

♥︎