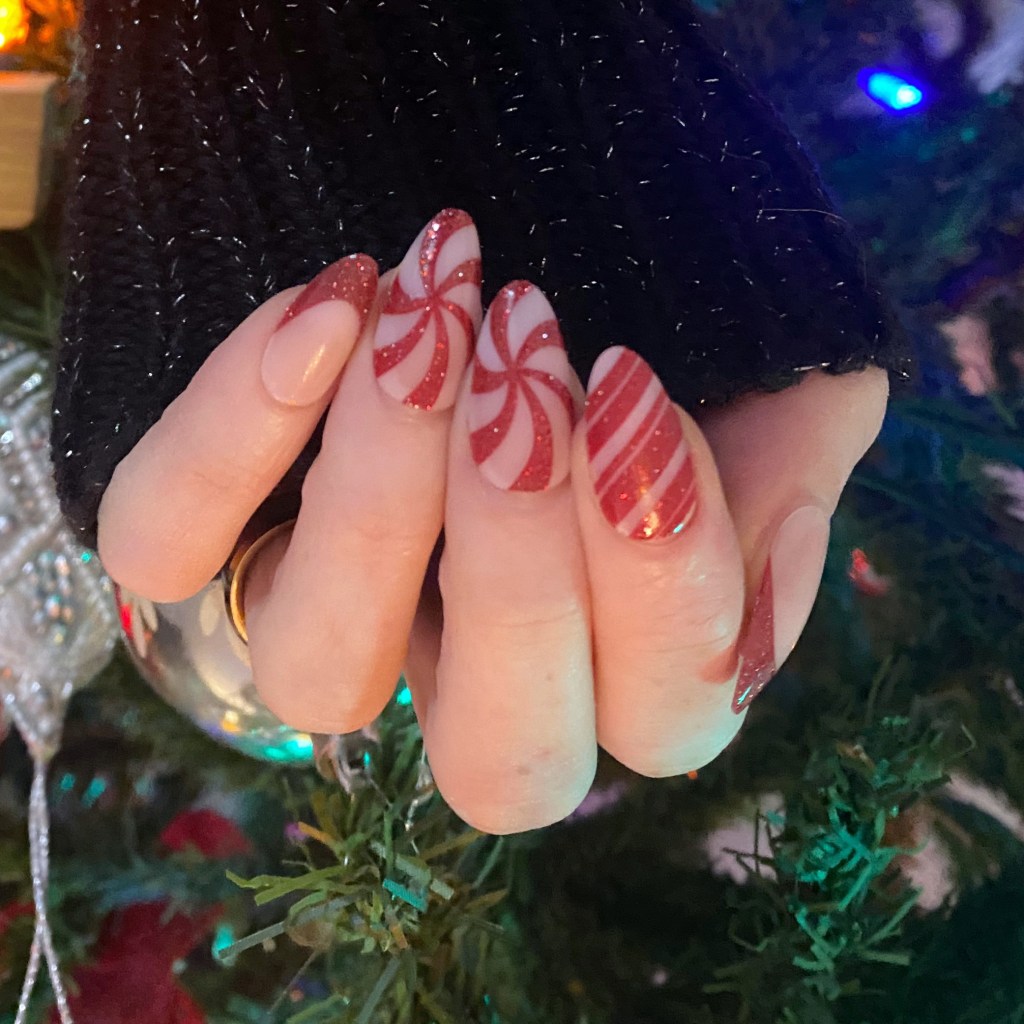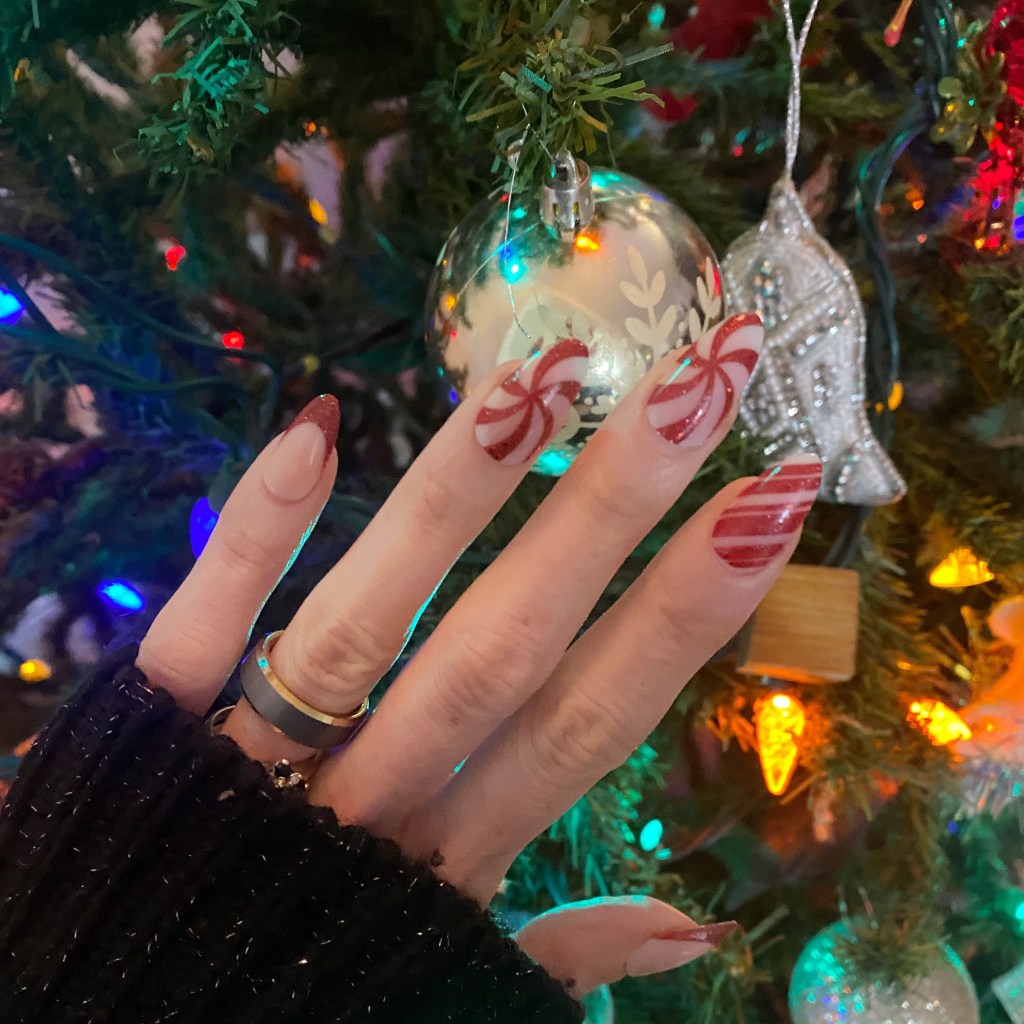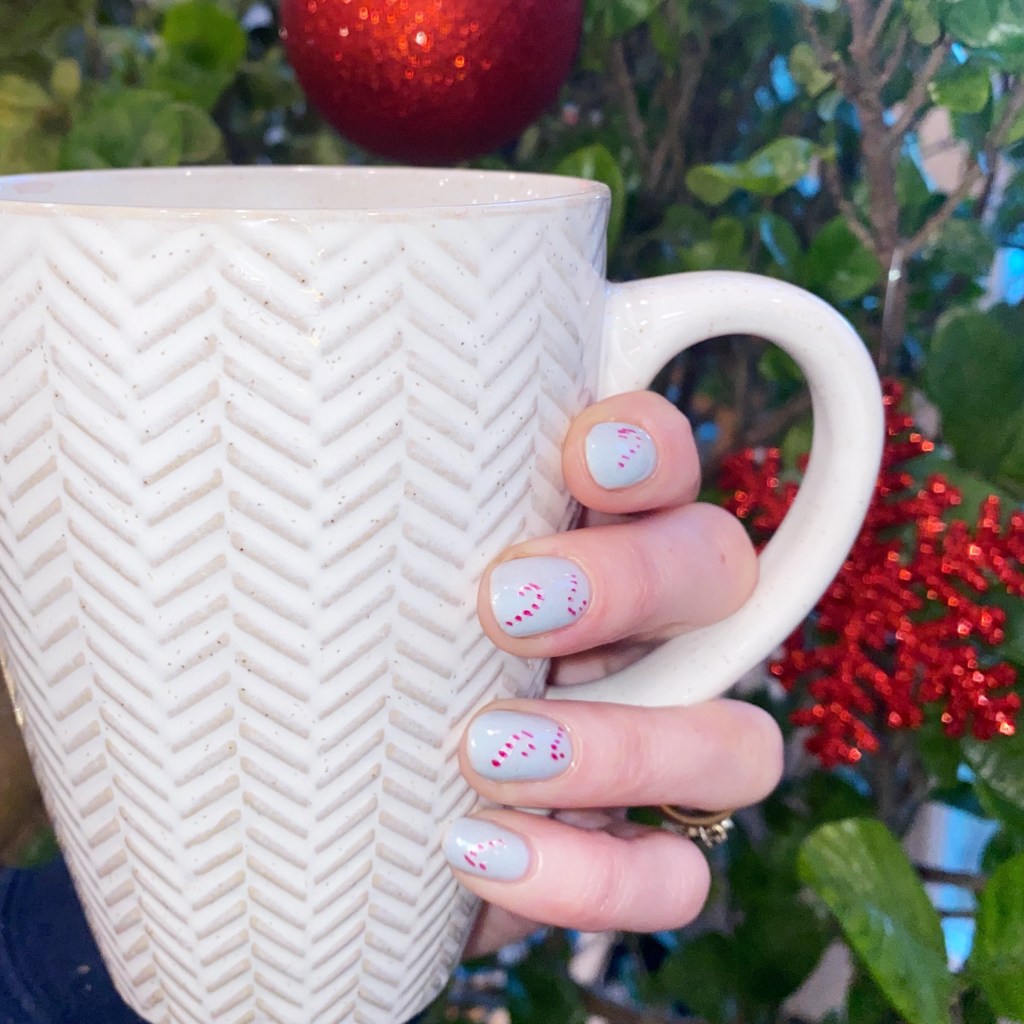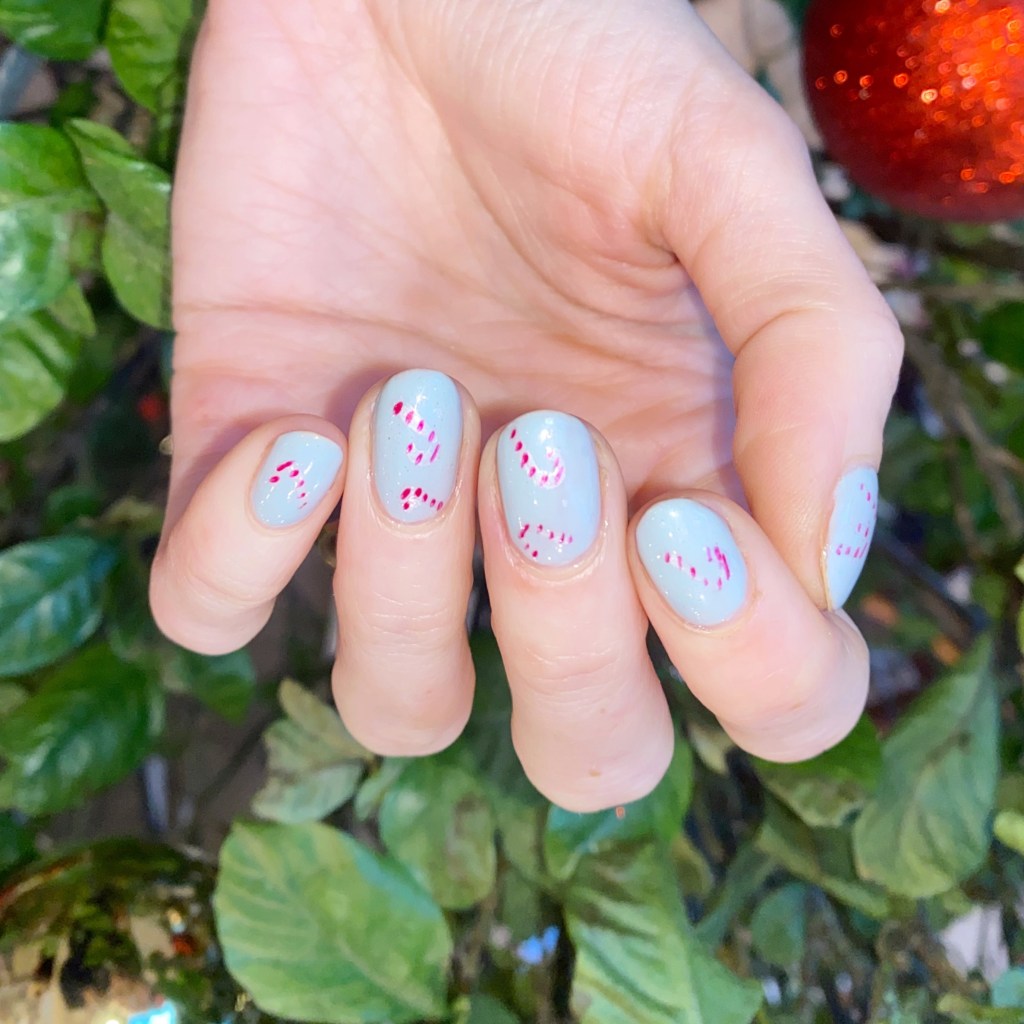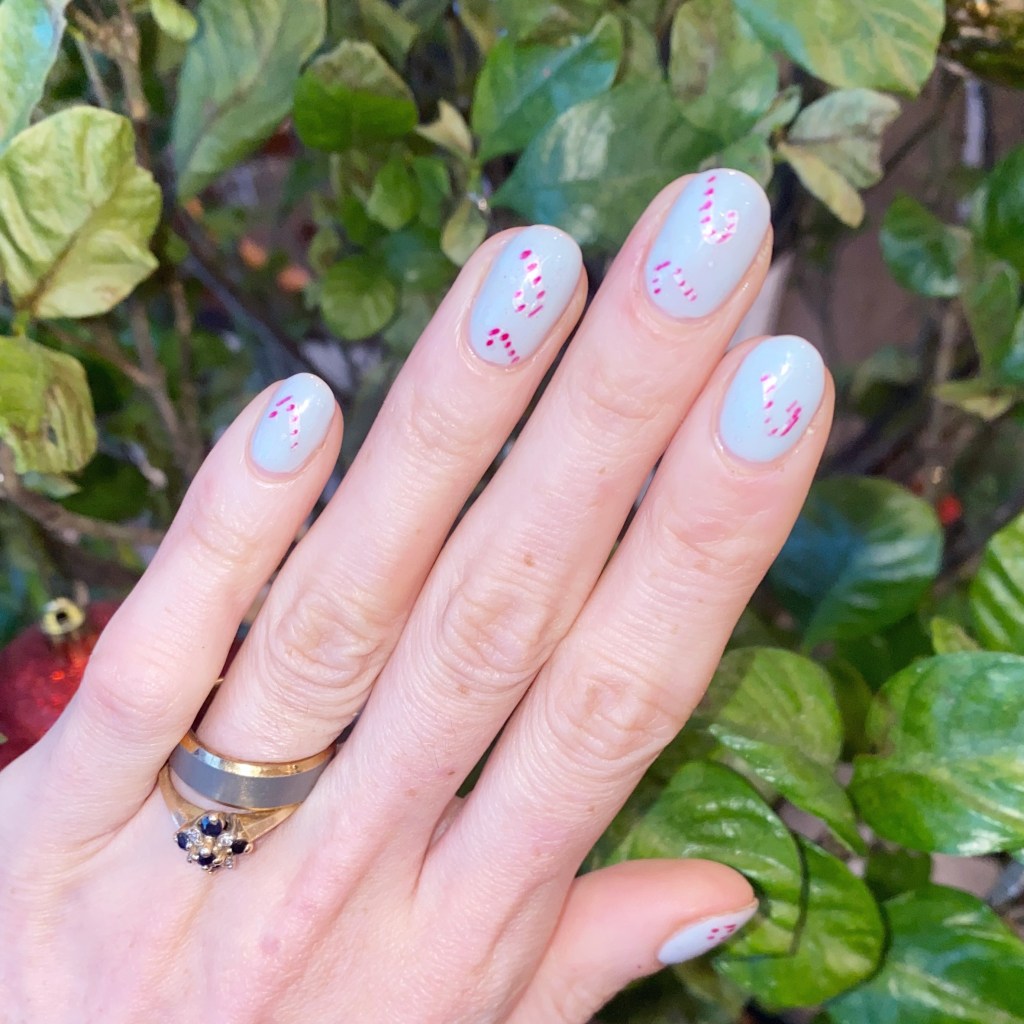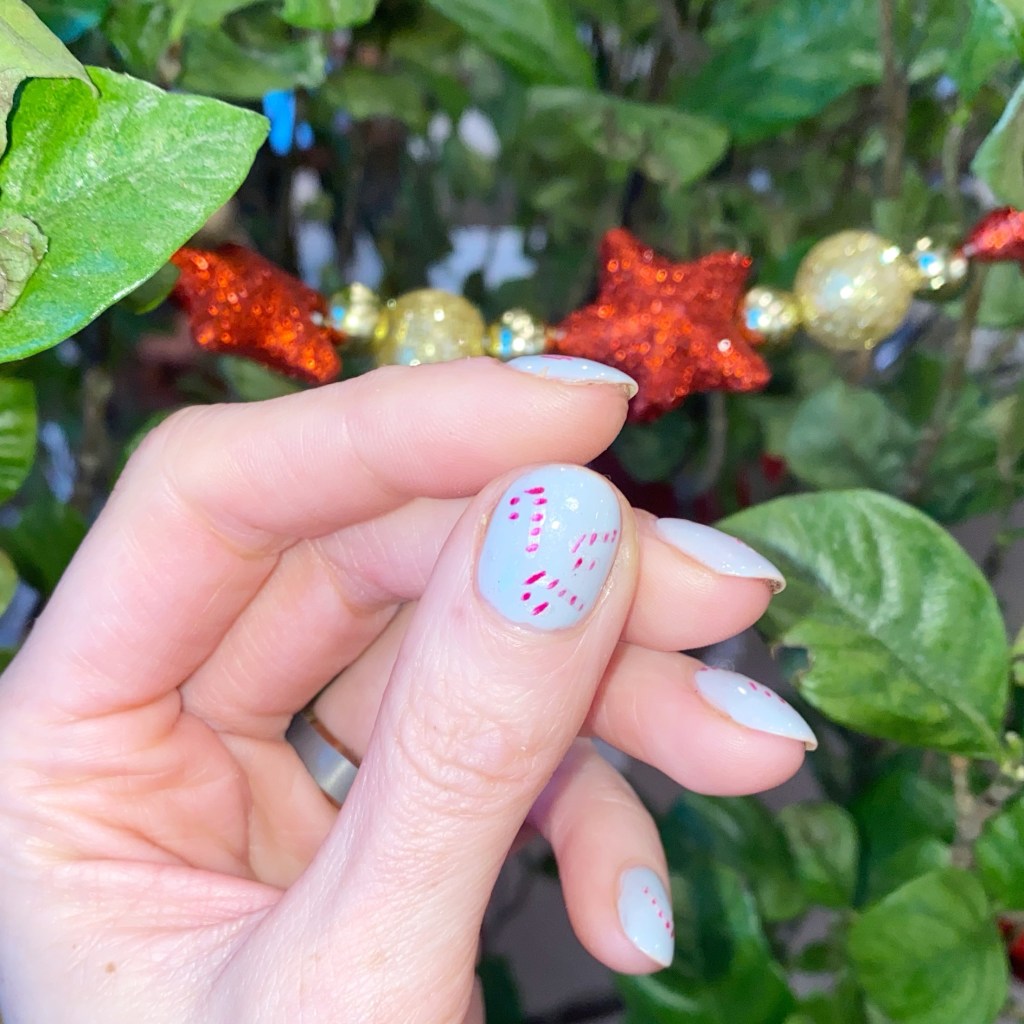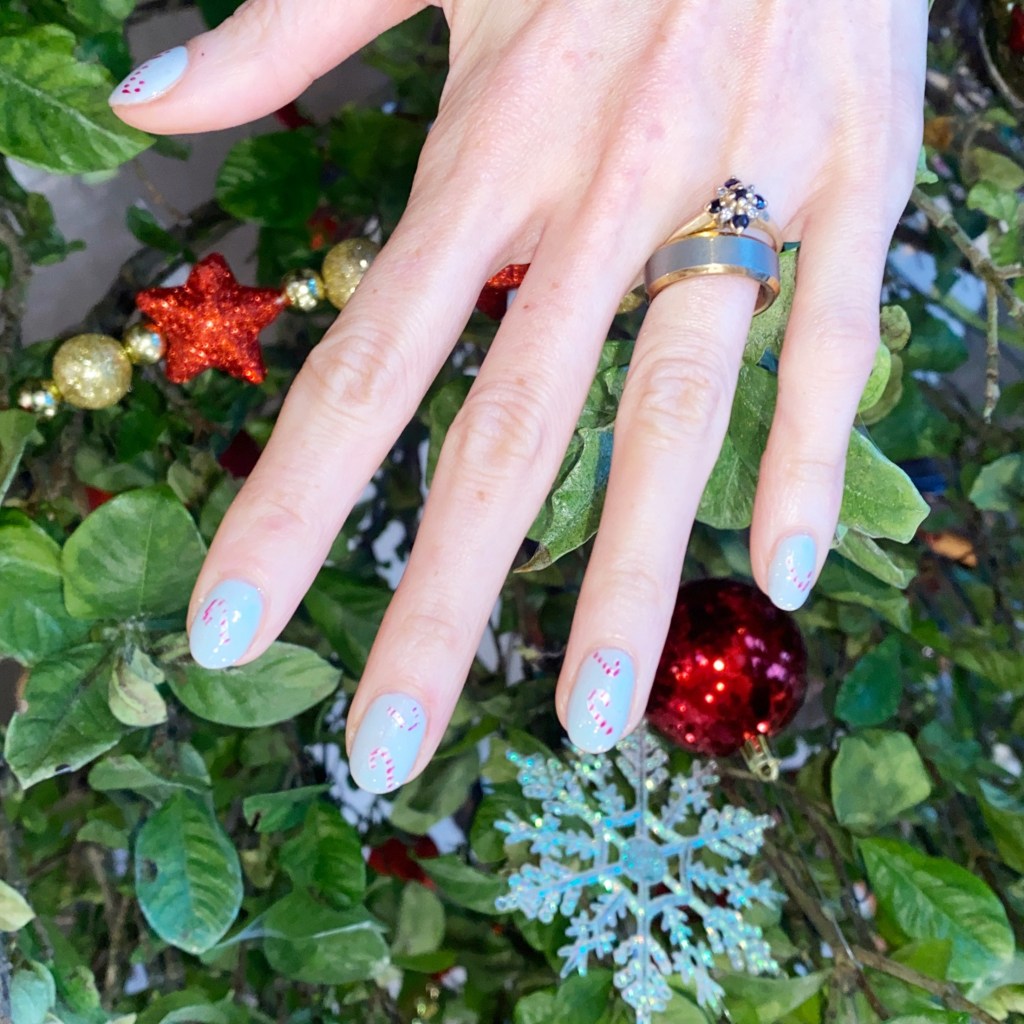
Cute Candy Cane Nails (featuring Butter London Winter 2025 shades) ❄️

Contains PR

Hello lovelies & happy Monday! It’s a very, very snowy Monday here… & I won’t lie, it’s kind of nice. Giving me a few Christmas vibes, I won’t lie.

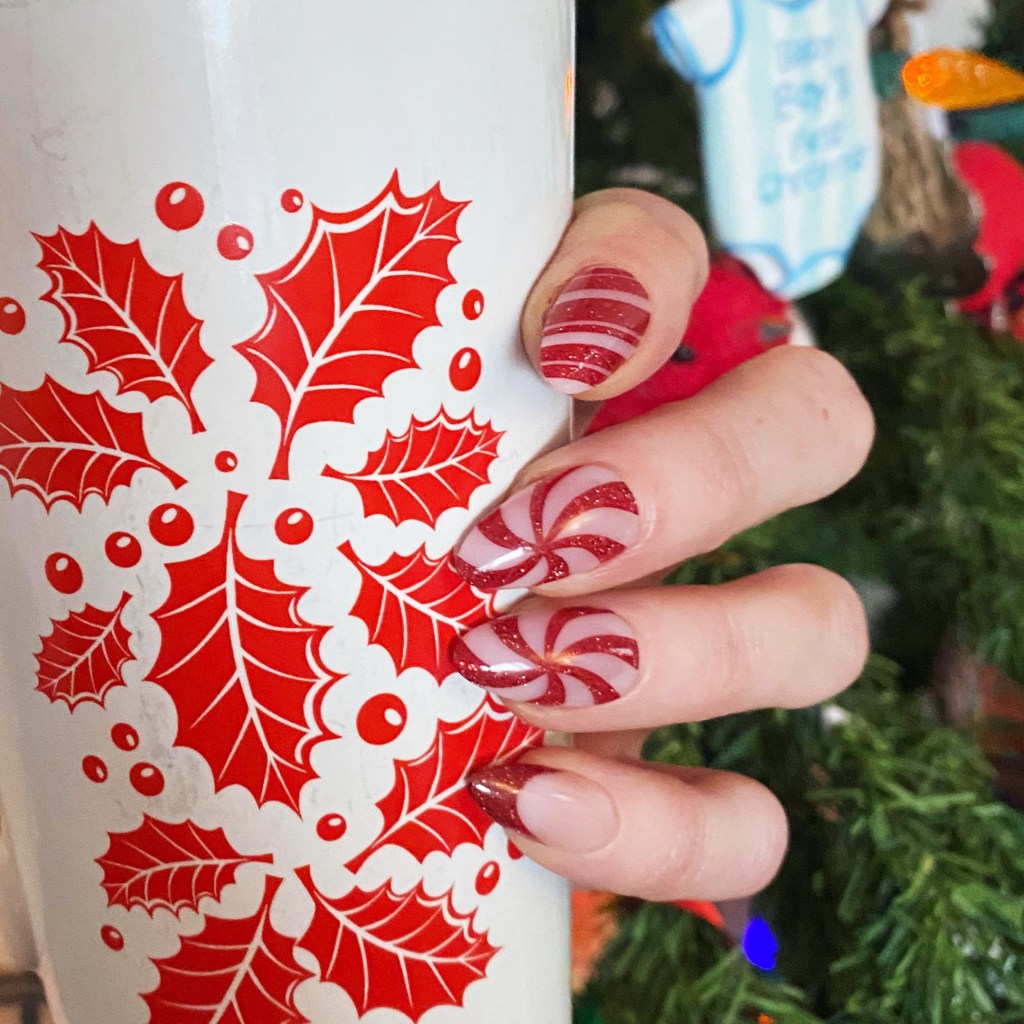
So naturally that means let’s share some more holiday inspired nails. & I couldn’t not use my two new Butter London shades I featured yesterday — with the help of another Butter London shades in my stash.

The polishes I used for this manicure are: 

  • Base Coat: Sally Hansen Miracle Cure
  • Top Coat: Essie Speed Setter
  • Butter London Frozen Loch *pr
  • Butter London Branwen’s Pearls *pr
  • Butter London Saucy Jack
  • NailStuff.ca 4mm Micro Detail Brush

I just love a dainty candy cane look, & this one turned out just how I imagined it in my head. The pearlescent finish of Branwen’s Pearls was the perfect base for my tiny little candy canes, & the blue base of Frozen Loch helped them pop on the nail!

I got so many compliments on these at work, which always makes me happy! It always makes my day when someone else notices — & loves — a design I’ve created.

So what do we think of these cutie candy cane nails? Do you think they’re fun & dainty? I’m really trying to come up with some fun holiday nail art looks — maybe even some I’ve never tried before — to end off this year with a bang, so please let me know what nail art designs you’d like to see!

Enjoy your Monday

🖤

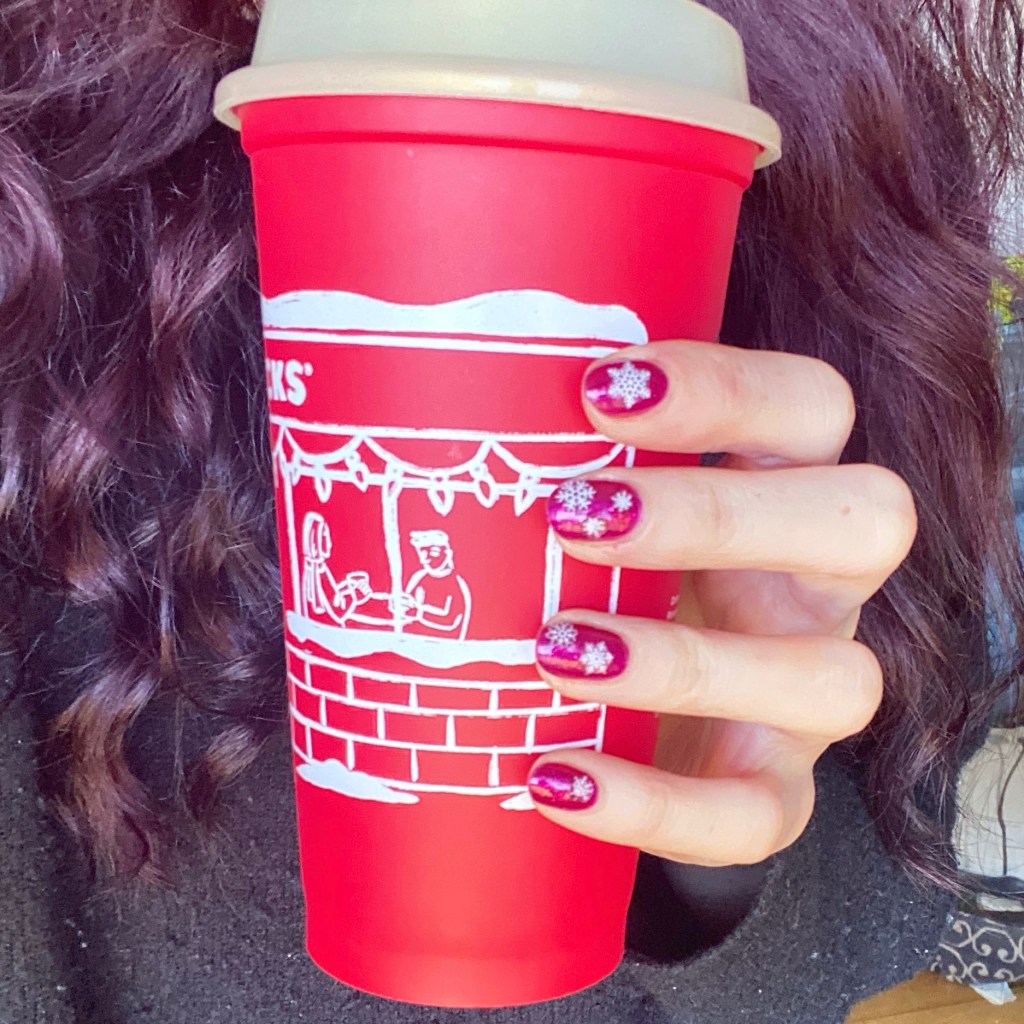
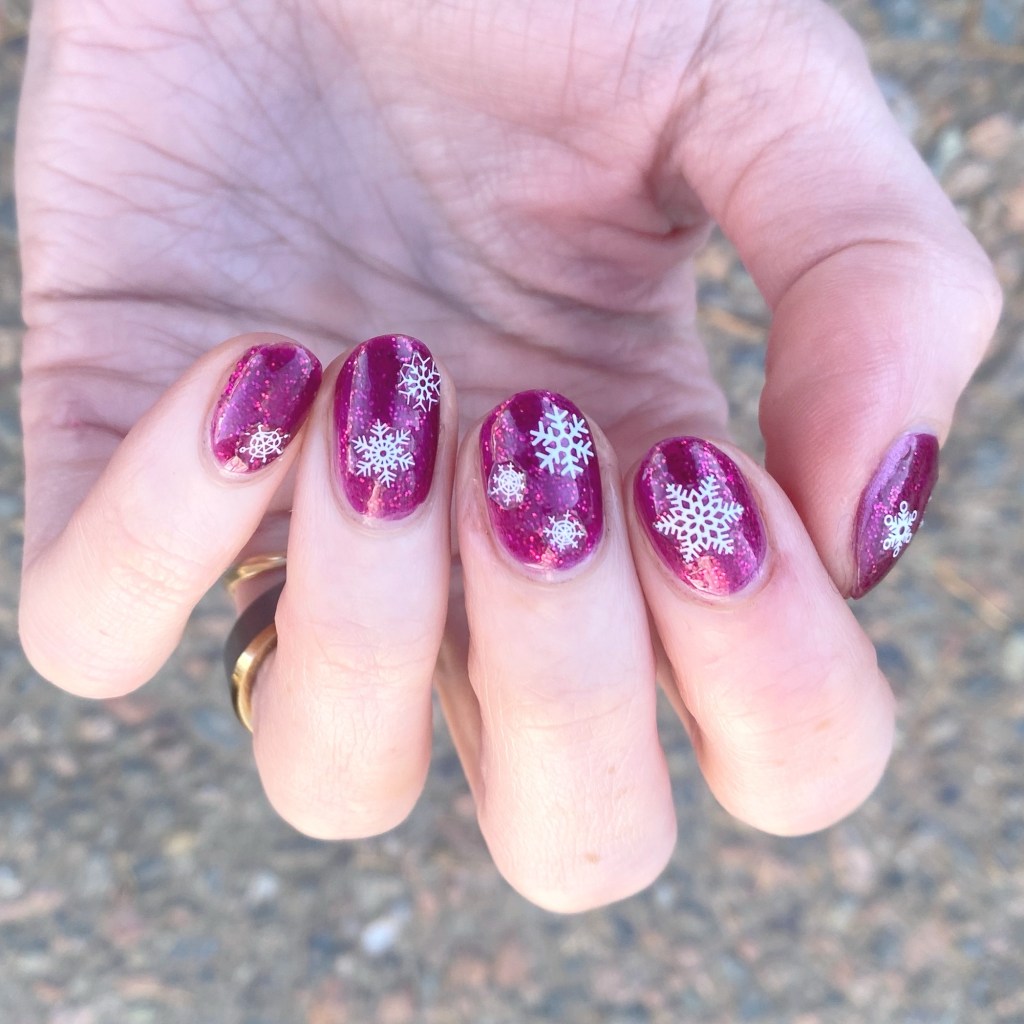
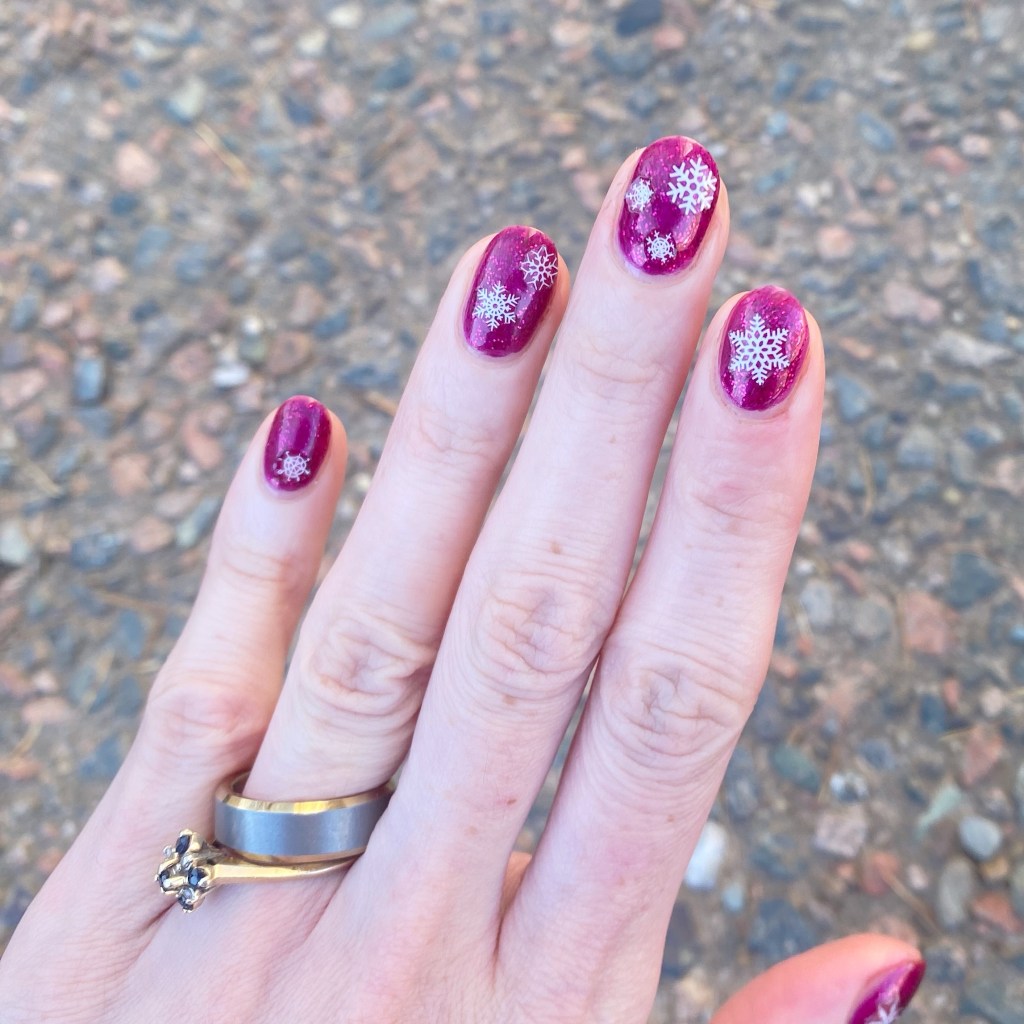
Pink Glitter Snowflakes

Hello lovelies!

Happy day after (American) Thanksgiving to my American readers, & happy Black Friday! This is my first year in a while I’m not working in retail for Black Friday sales, so I’m kind of enjoying the breather.

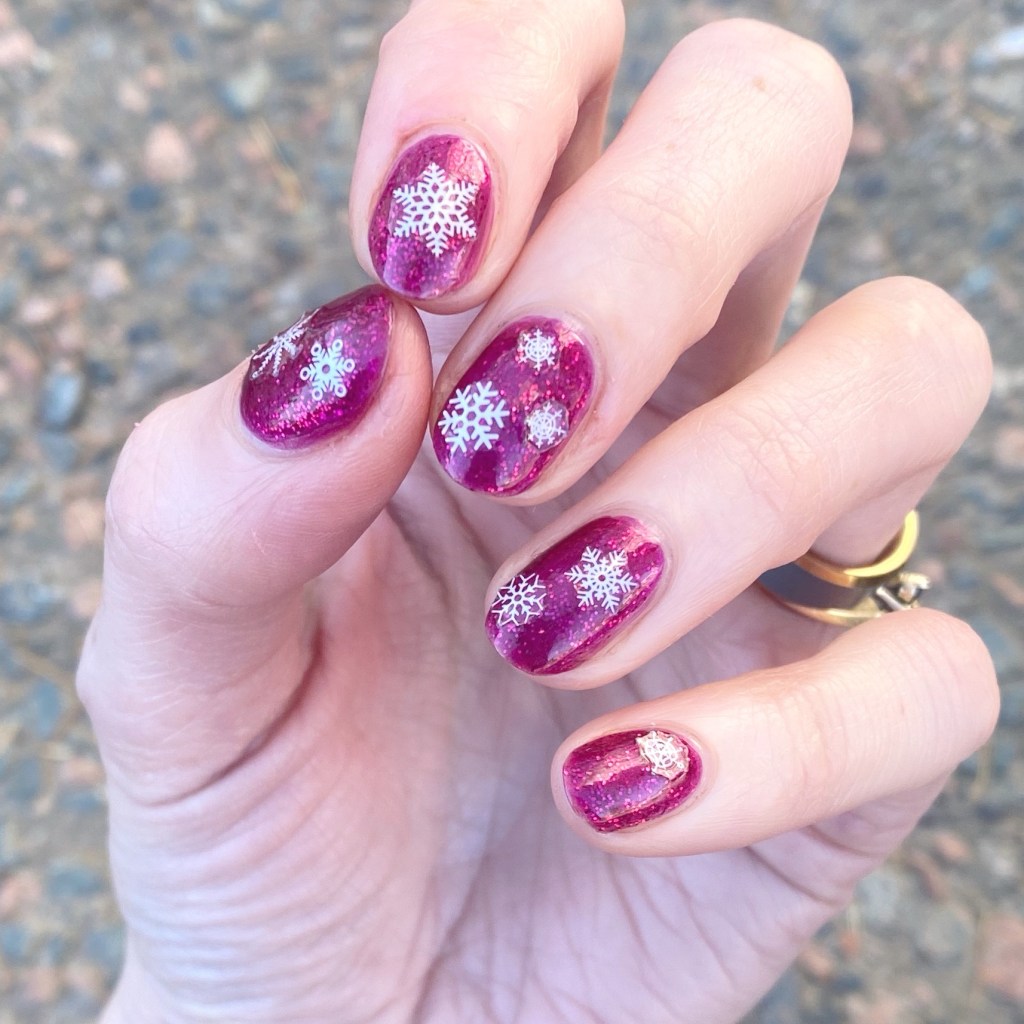
But we can’t deny — Christmas is coming. & even though I’m feeling less than zero Christmas spirit this year, I figured it was time I at least tried to summon some Holiday/Winter spirit. So naturally I thought we’d dip our toes in with some snowflake nail art stickers.

The polishes I used for this manicure are: 

  • Base Coat: Sally Hansen Miracle Cure
  • Top Coat: Sally Hansen InstaDri Top Coat (red bottle) 
  • Sally Hansen Miracle Gel Wrapped in Love
  • Ardene Dancing Queen
  • NailStuff.ca Snowflake Nail Art Stickers

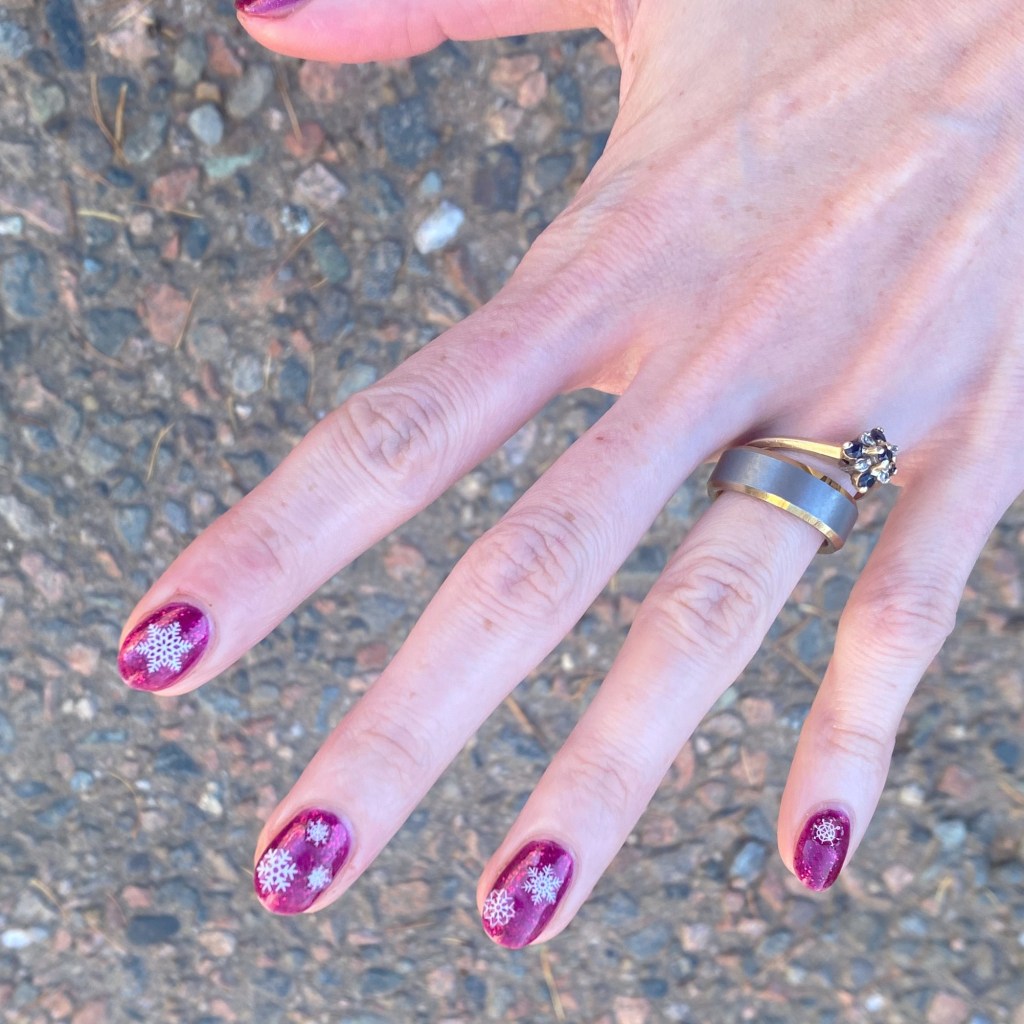
First off, I’m officially petitioning for glitter pink to become an official Christmas colour. Secondly, I love how cute these are! I’ve had these nail art stickers in my collection forever, & I love that they’re still being used for cute nail art looks.

& it was way simpler than me trying to hand paint snowflakes on my nails! The white of the stickers just pop so well against that pretty pink. Definitely giving Christmas vibes — at least for me.

What do you think about these pink glittery snowflakes? Are they giving holiday vibes? Let me know all your thoughts in the comments below! & how you’re getting your nails into the festive spirit.

Happy Friday

🖤

Golden Drag Marble

Hello lovelies & happy Monday. Well, as happy as a Monday can be in November. They’re calling for snow today on my side of the country, but not sure if it’s going to amount of anything. But… can it be Summer again? I miss Summer.

Today I have a really pretty nail art look to share with you, leaning into these late Autumn vibes. 🍁🍂 The colour scheme is pure Fall, & I really enjoy how it turned out!

The polishes I used for this manicure are: 

  • Base Coat: Sally Hansen Miracle Cure
  • Top Coat: Sally Hansen InstaDri Top Coat (red bottle) 
  • ORLY Buried Alive
  • Sally Hansen Miracle Gel Terra Coppa
  • Essie Frock ‘n Roll
  • Essie Nail Art Studio Cosmic Chrome
  • Wide Nail Art Brush

So I tried a bit of a different technique for this marbling, with a wider nail art brush (like the side of a clean up brush) versus the skinny dotting tool I usually use, & I like the effect it gave me. Kind of reminds me more of a real stone. Sometimes I find with a dotting tool I end up muddling my marble a bit, but this way didn’t do that which I really like!

& the colours compliment each other so well. I love the bronze-y golden look of it all together. It’s definitely giving Autumn vibes.

What do you think of this golden drag marble design? Do you like the kind of wider marble effect versus my usual drag marble designs?

Let me know all your thoughts in the comments below!

Happy Monday 🖤

SWATCH SUNDAY — Impress Mini X Wicked For Good Press On Nails Reviews

•gifted/PR

Hello loves & happy Sunday! Today I have a bit of a different Swatch Sunday post, & a special guest star! I was recently gifted a box of goodies from Kiss for the new Wicked: For Good movie, including a ton of press on nails. Even more special though, is they included 2 sets of the Impress Mini nails — perfect for my little girl!

To say she was excited was an understatement. So naturally, she wanted to put them on as soon as possible.

In the style Good News!

So coming from a Mom perspective, these nails were super easy to apply to my six year old. The part that took the longest was sizing each finger for the best fitting nail. Some aren’t perfect — & to be fair, I could have went through & filed them down to fit better — but we did a pretty good job matching up each nail with an appropriately sized fit.

Application itself was simple. Each press on nails were is already pre glued for application, so you just have to remove the protective plastic film, & press onto the coordinating nail.& make sure you pretty down hard, so it sticks well. Then you pop off the little tabs & give them a quick file with the provided file. Next time, I would probably use my own glass file for a smoother edge, but my little girl wasn’t bothered by the less than smooth finish — which also could have just been my own user error.

Each package comes with 18 nails, so it’s pretty easy to find ones to match up. They are also nice & sticky, but not so sticky you can’t also remove them easily. The little glittery patterns were also super cute, fun & girly, & my little girl loved that she got to “be” Glinda.

Over all these were super simple & quick to apply. Doing my little girl’s nails can sometimes not be the easiest, as she is six & doesn’t always want to sit still, but these made for a way less stressful application. Honestly, I can see buying these for her frequently just to keep things simple & easy. & even though she only decided to wear them a short time, she enjoyed them too! Plus we saved the nails for future use (also I would imagine I might need to get some sticky tabs for next time.)

Impress Mini Nails sell for around $7.97 CAD at my local Walmart, which I think is a fantastic price for a quick kids manicure. Like I said, the ease alone — & lack of stress — make these an immediate winner for me!

What do you think of these cute Impress Mini x Wicked: For Good nails? Are you a fan of press on nails? Let me know all your thoughts down in the comments below!

Pink Flakie Glitter Placement

Hello lovelies & happy Wednesday! Is it chilly where you are — because it’s definitely chilly here.

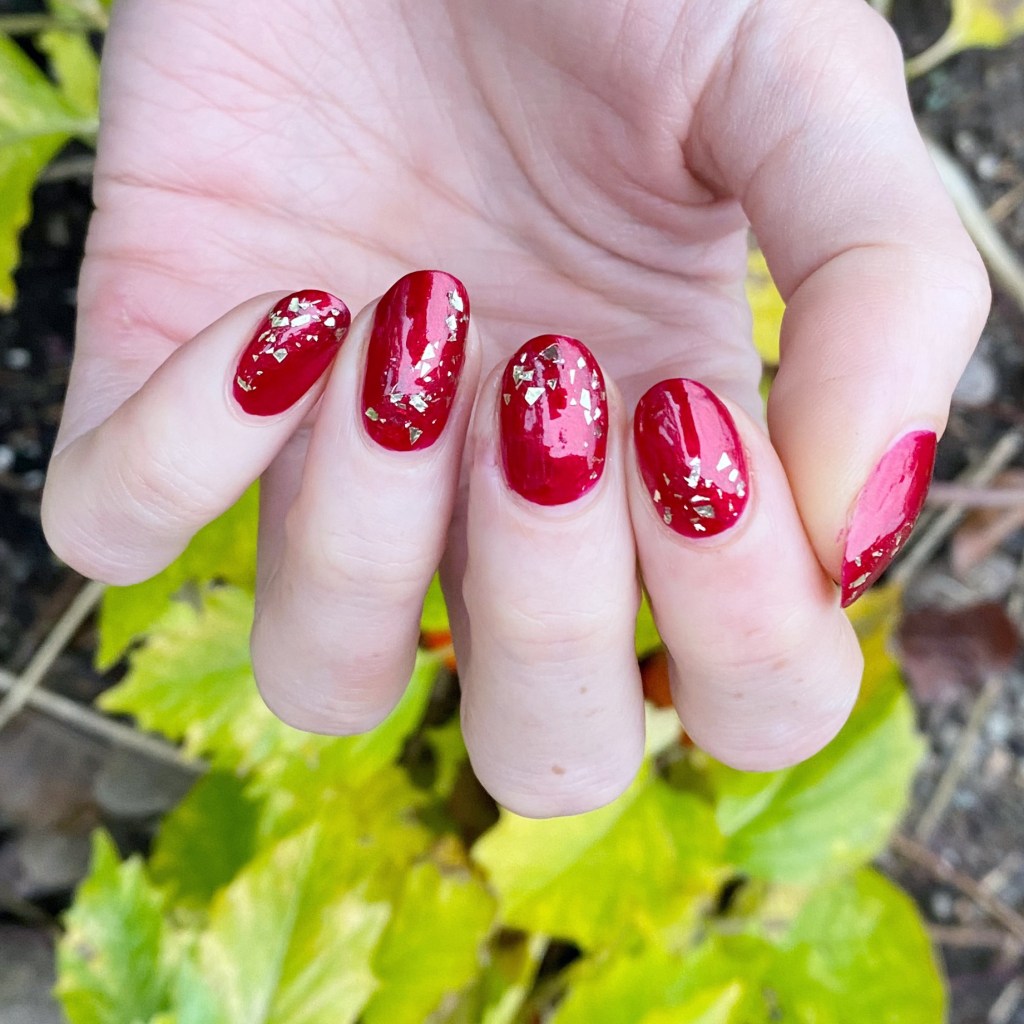
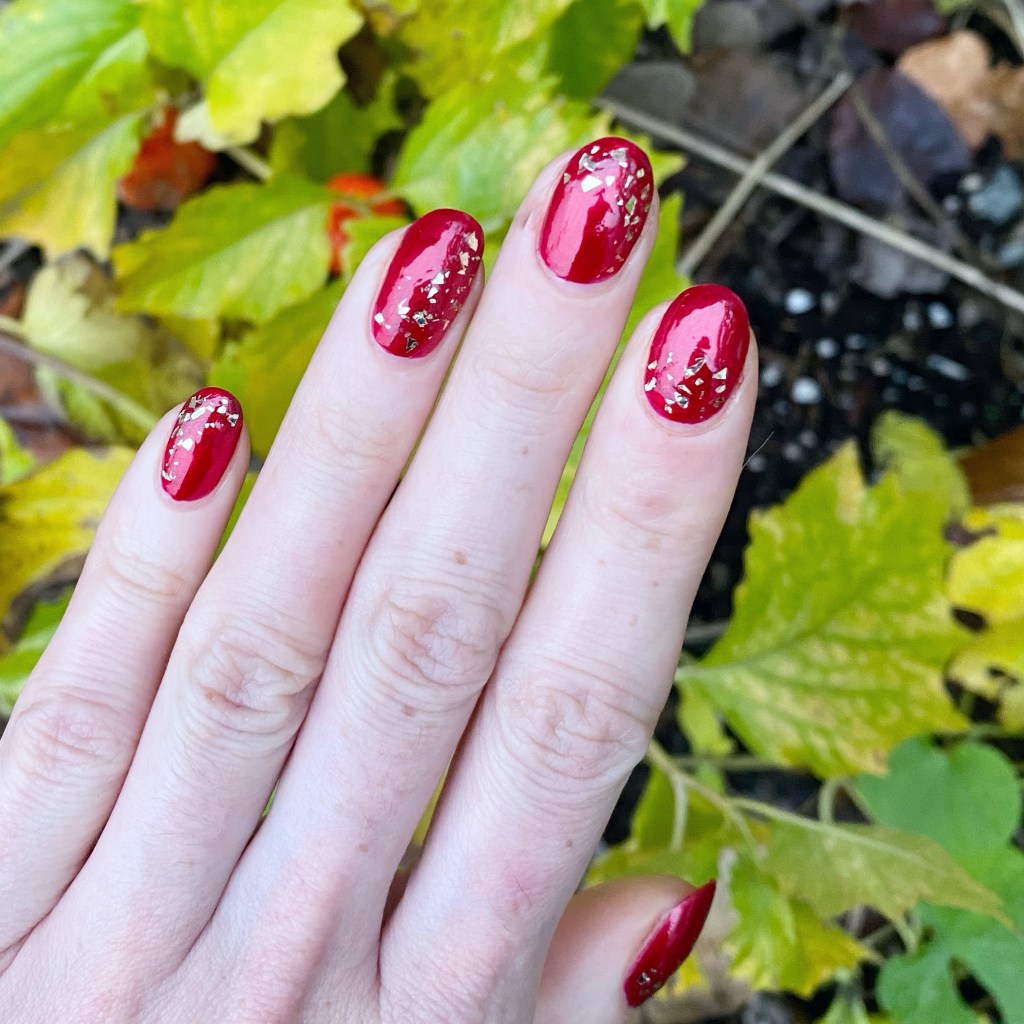
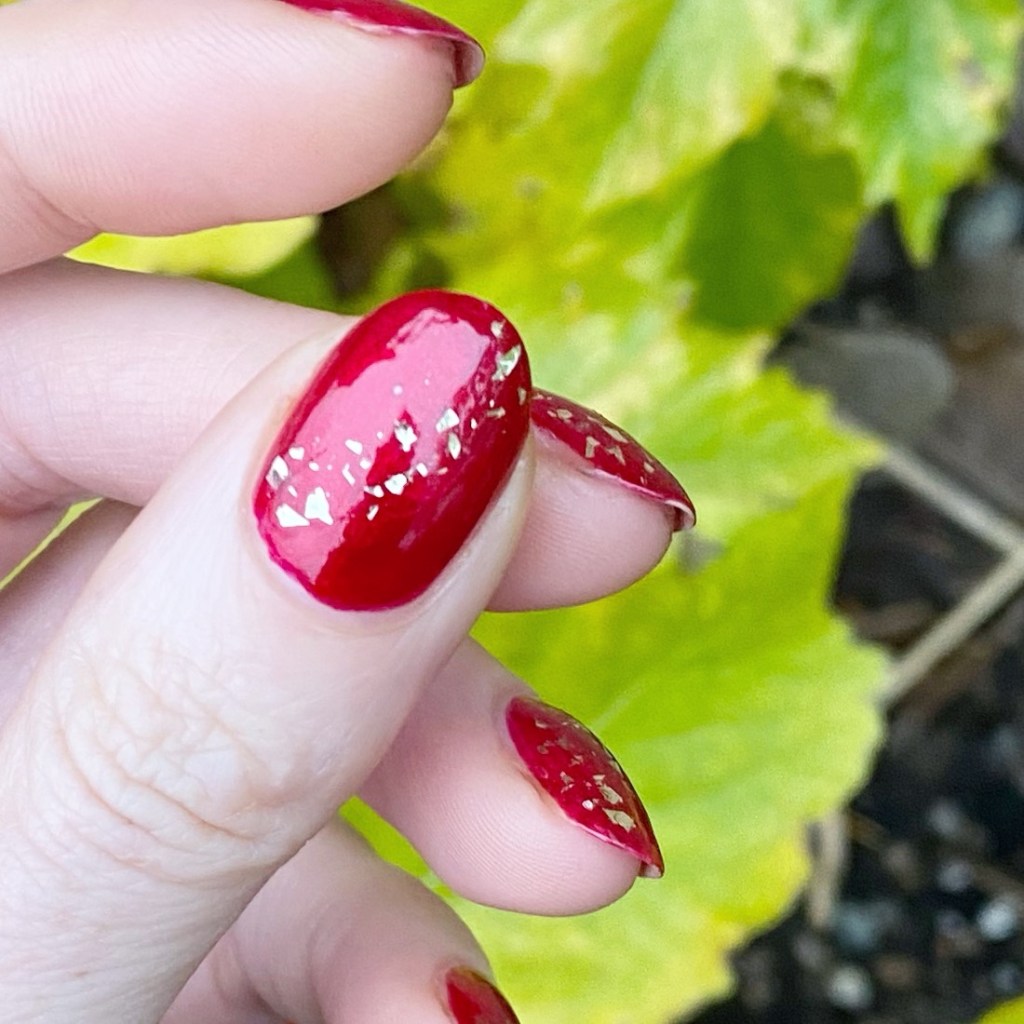
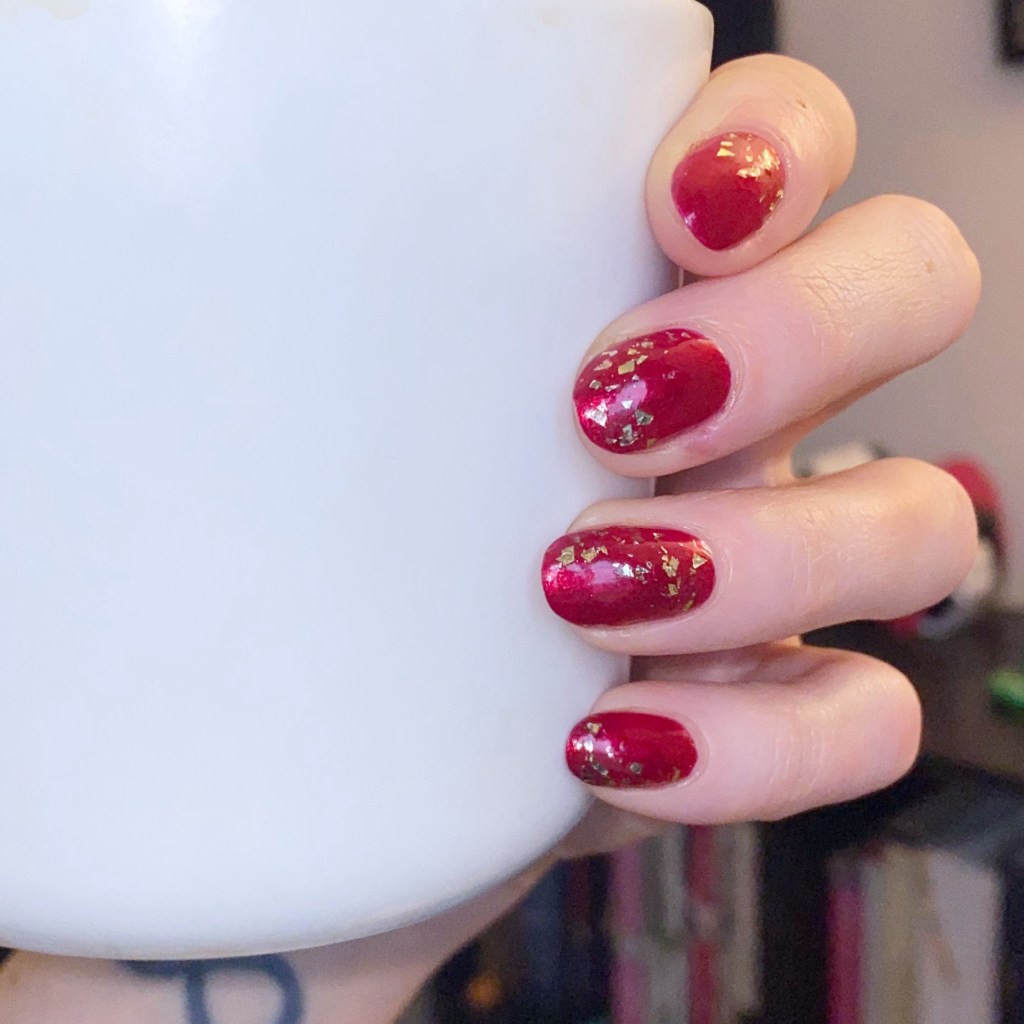
Today I have another simple but beautiful design to share with you. I was already wearing this beautiful berry polish, & decided what it really needed was some glitter placement. My original plan was to do gold, but when I was browsing through my box of glitters I saw this beautiful pink flakie glitter I was gifted c/o: NailStuff & decided it would look just stunning over this base!

& I was right!

The polishes I used for this manicure are: 

  • Top Coat: Sally Hansen InstaDri Top Coat (red bottle) 
  • Base Coat: Sally Hansen Miracle Cure
  • Sally Hansen Miracle Gel Frosted Berries
  • NailStuff Pink Foil Glitter (no longer available)
  • Sally Hansen Salon Chrome Top Coat (no longer available — but works so good for applying these kinds of glitters!)
  • Small Nail Art Brush

How pretty is this combination? I’m so glad I went with these pink foil flakies rather than gold. Obviously gold would have looked beautiful as well, but there is just something extra special about the pink on pink. I can’t believe this is my first time using it!

Also this is a beautiful not-holiday look that could definitely be used for a manicure for an upcoming Holiday party because it has that touch of something a little extra special. Obviously I don’t need an excuse to wear glitter, but if you did — I definitely recommend pulling out some glitter to add to an otherwise simple manicure!

What do you think of this pink flakie glitter placement look? Do you like the contrast of lighter pink on darker pink? Are you also in shock that it took me this long to use this beautiful pink glitter? Let me know all your thoughts down in the comments below!

Happy Wednesday!

♥︎