Cosy Matte Knit Nails

*contains PR

Good morning lovelies & happy Friday. & happy (almost) weekend! Can you believe we’re halfway through November? I know I say this every month, but it’s truly astonishing how quickly this year is coming to a close.

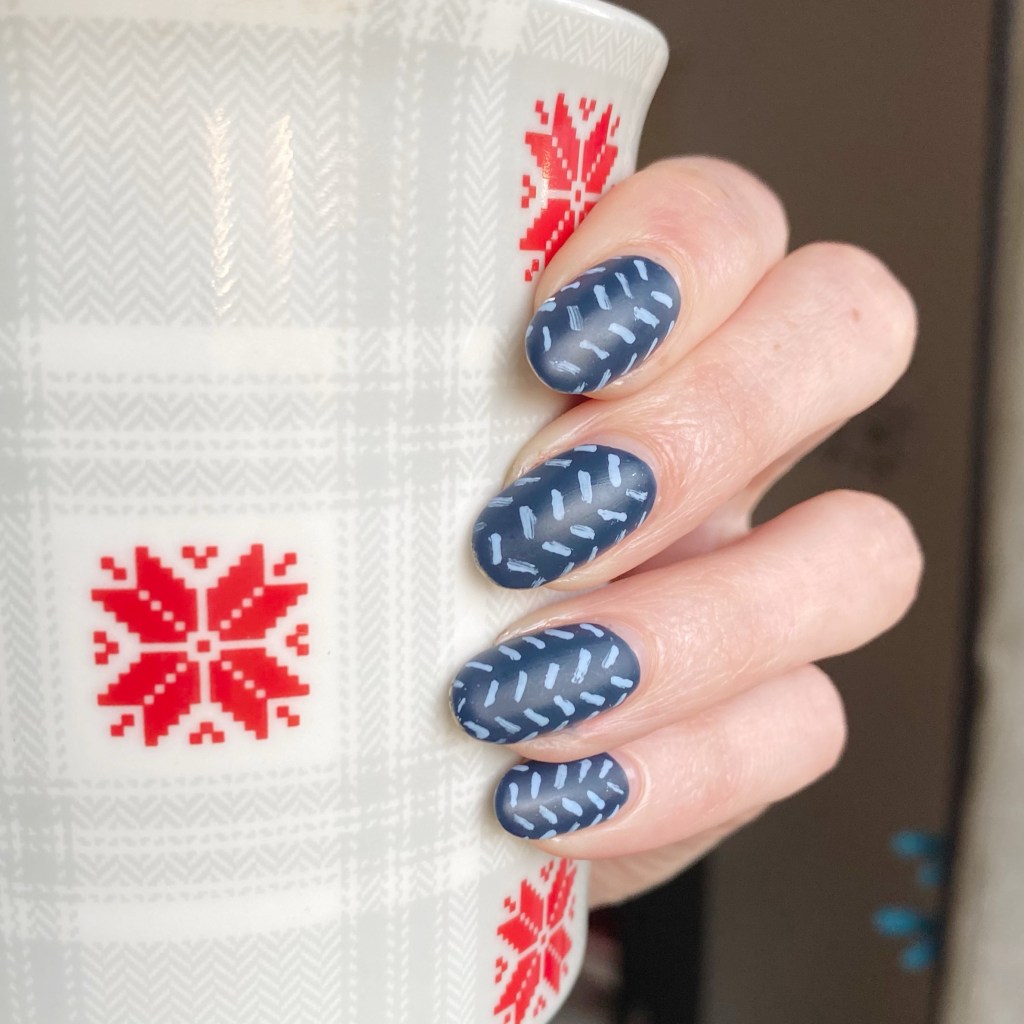
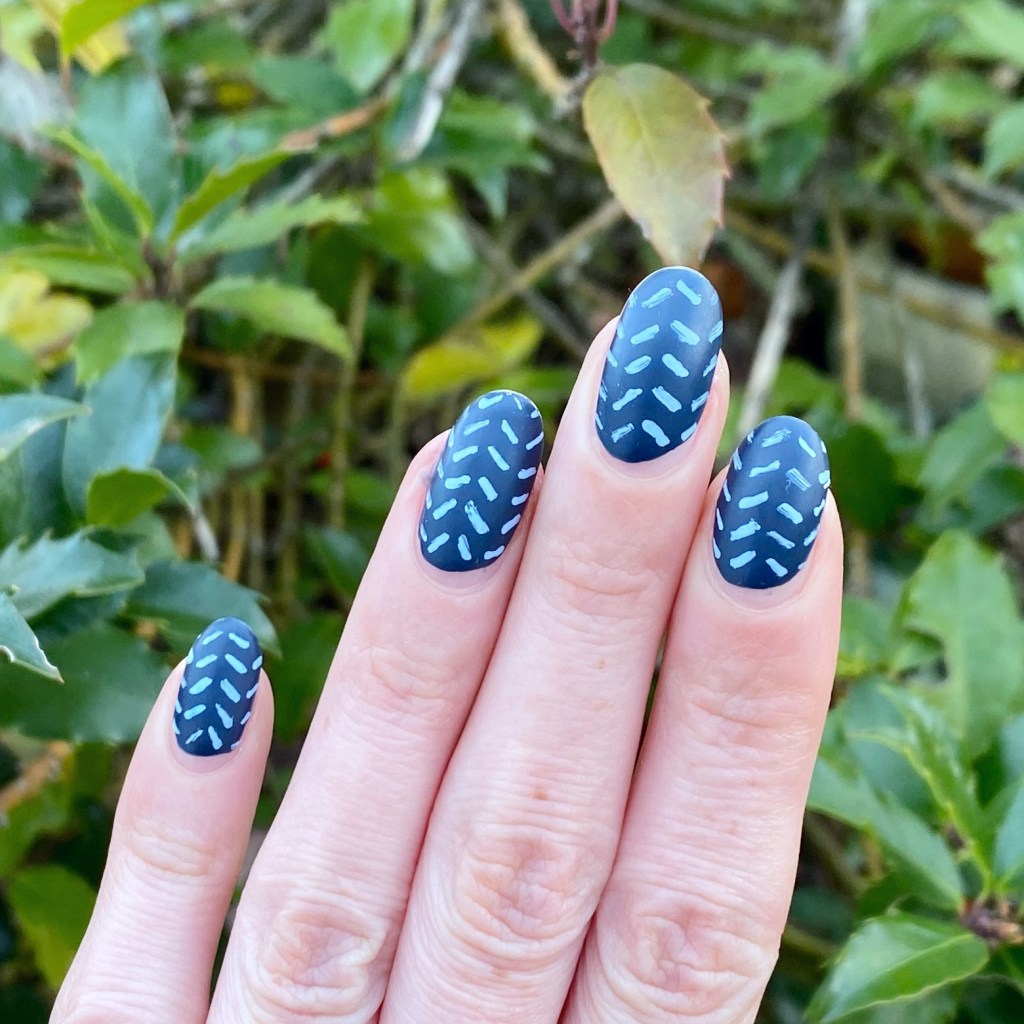
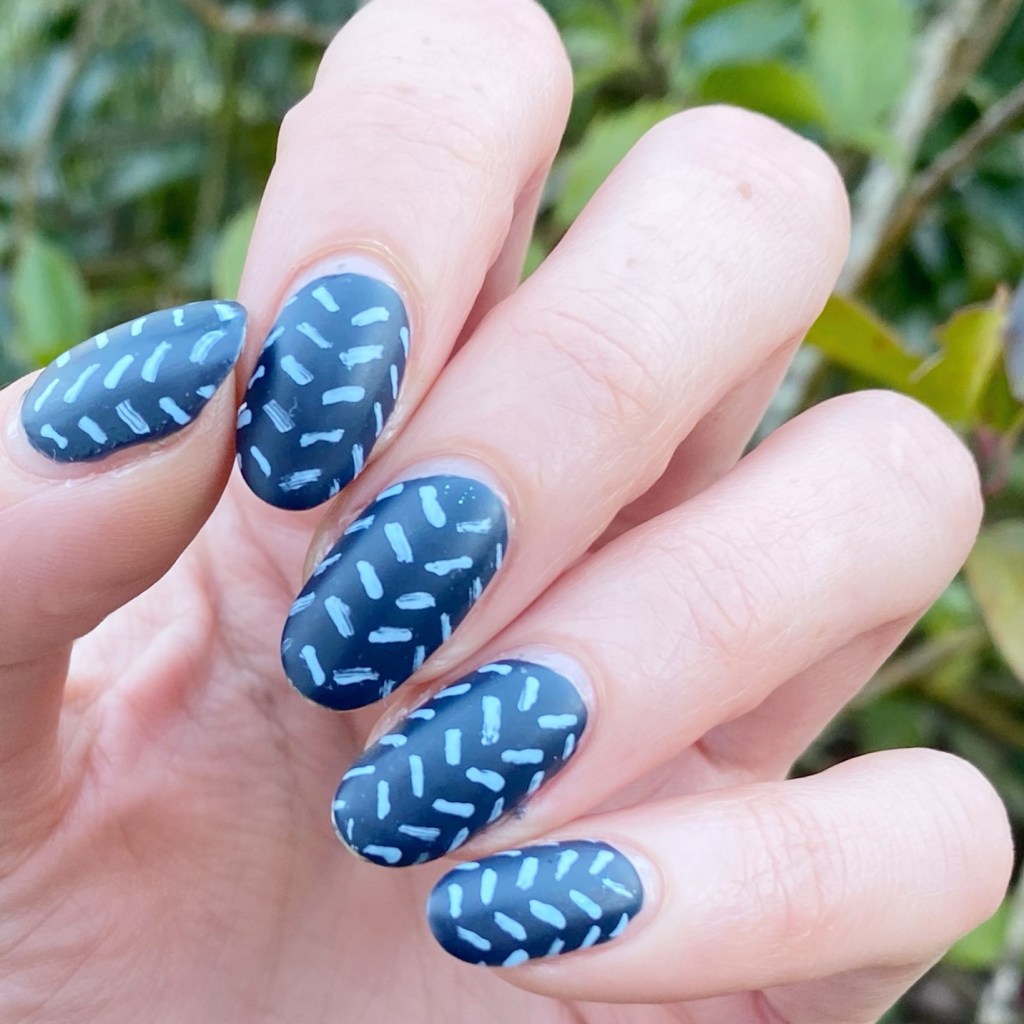
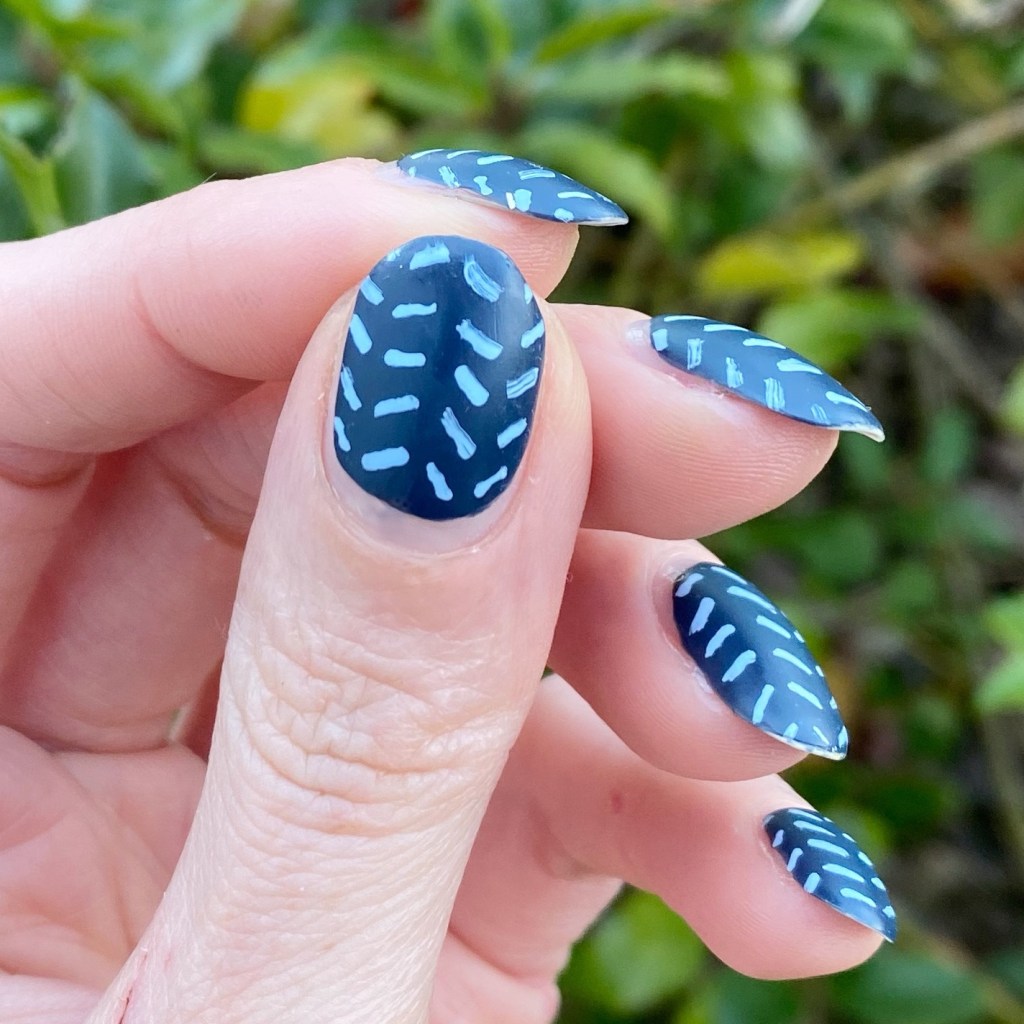
But I do appreciate all the nail art ideas this time of year! Because there are so many you can do! Today I was feeling some knit inspired nails. This is a design I’ve done before, & it’s perfect for a pre-holiday, late Autumn look.

The polishes I used for this manicure are: 

  • Base Coat: NailStuff Essentials Base Coat *
  • Top Coat: Nail Stuff Essentials Quick Dry Top Coat *
  • Matte Top Coat: Nail Stuff Essentials Matte Top Coat *
  • Essie Expressie Feel The Hype*
  • Essie Bikini So Teeny*
  • Nailstuff.ca Mermaid Tail 7mm liner brush

How cute is this knit effect? It reminds me of the sweaters & scarves I’ve been layering on because it’s been freezing lately — & I get cold easily anyways. This is such an easy look to do, too, & you can use any colour. In fact, I’m already brainstorming a fun Red scarf inspired look in my head.

It’s also the perfect nail art look for any nail length—short of long, it will look great on your nails!

What do you think about this knit inspired nail art look? Do you like the colours & pattern? What nail art are you loving right now? Let me know all your thoughts down in the comments below!

Happy Friday.

🖤

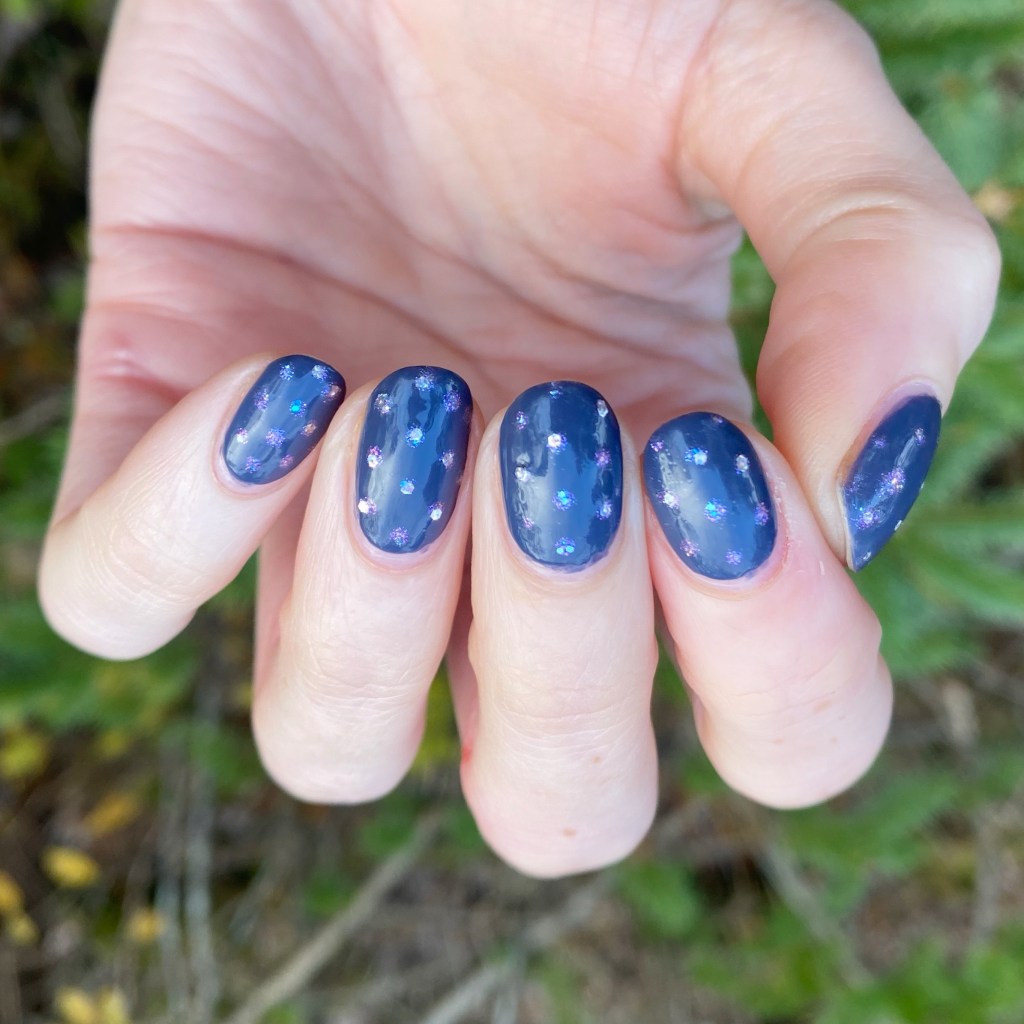
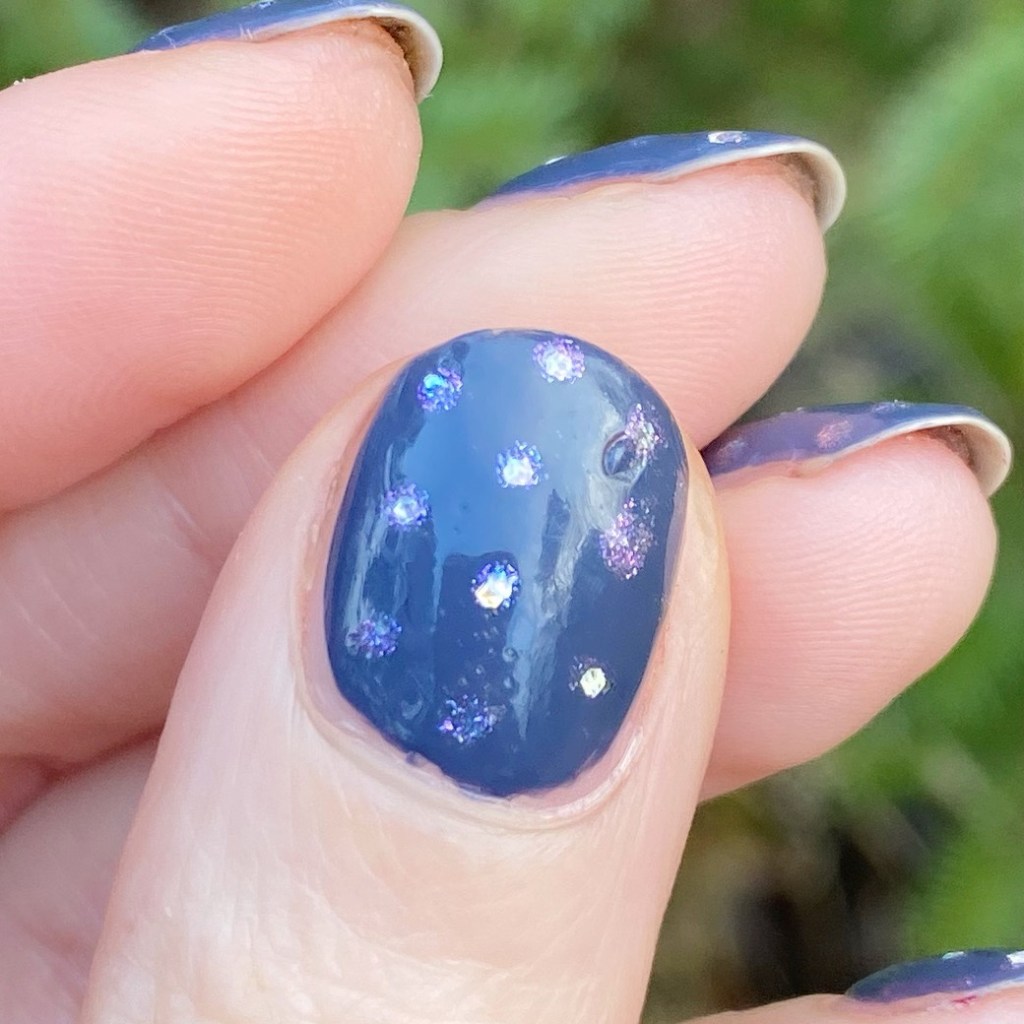
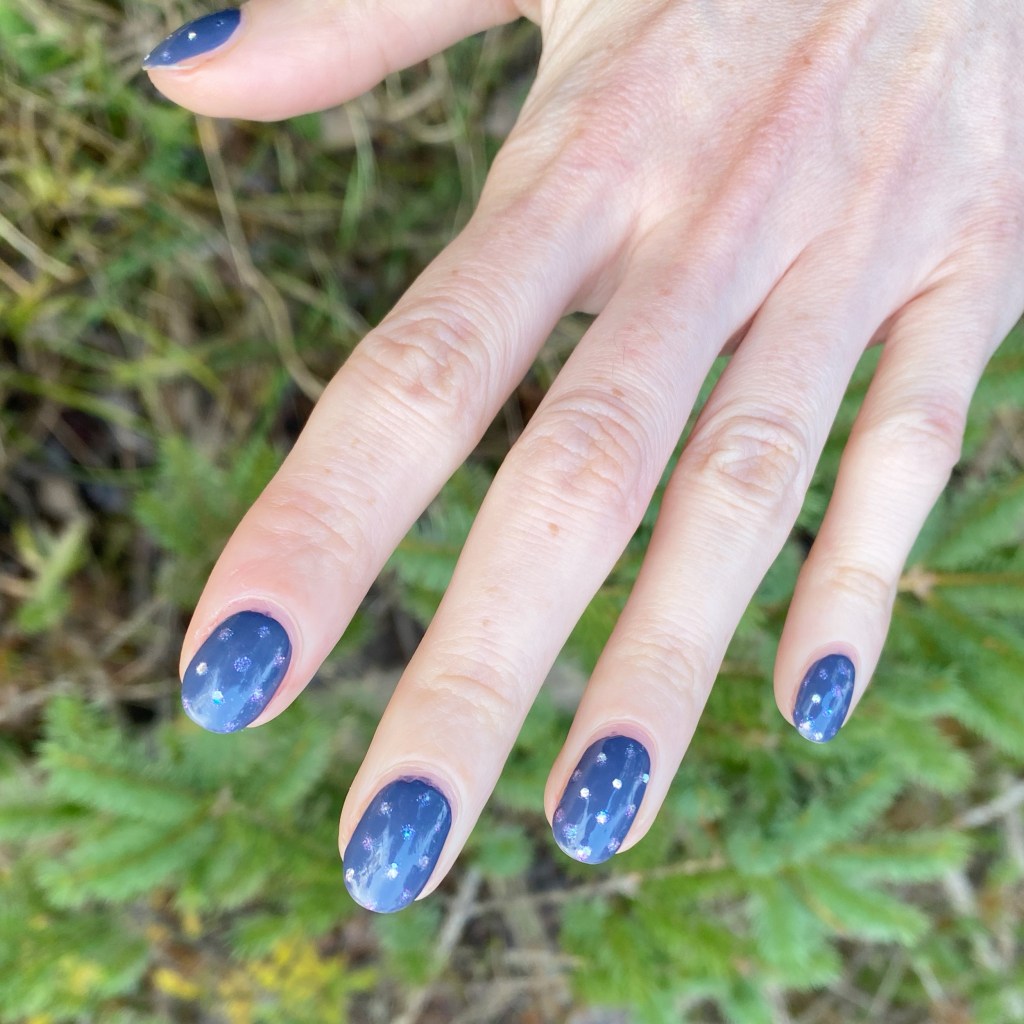
Iridescent Flakie Gradient Nails

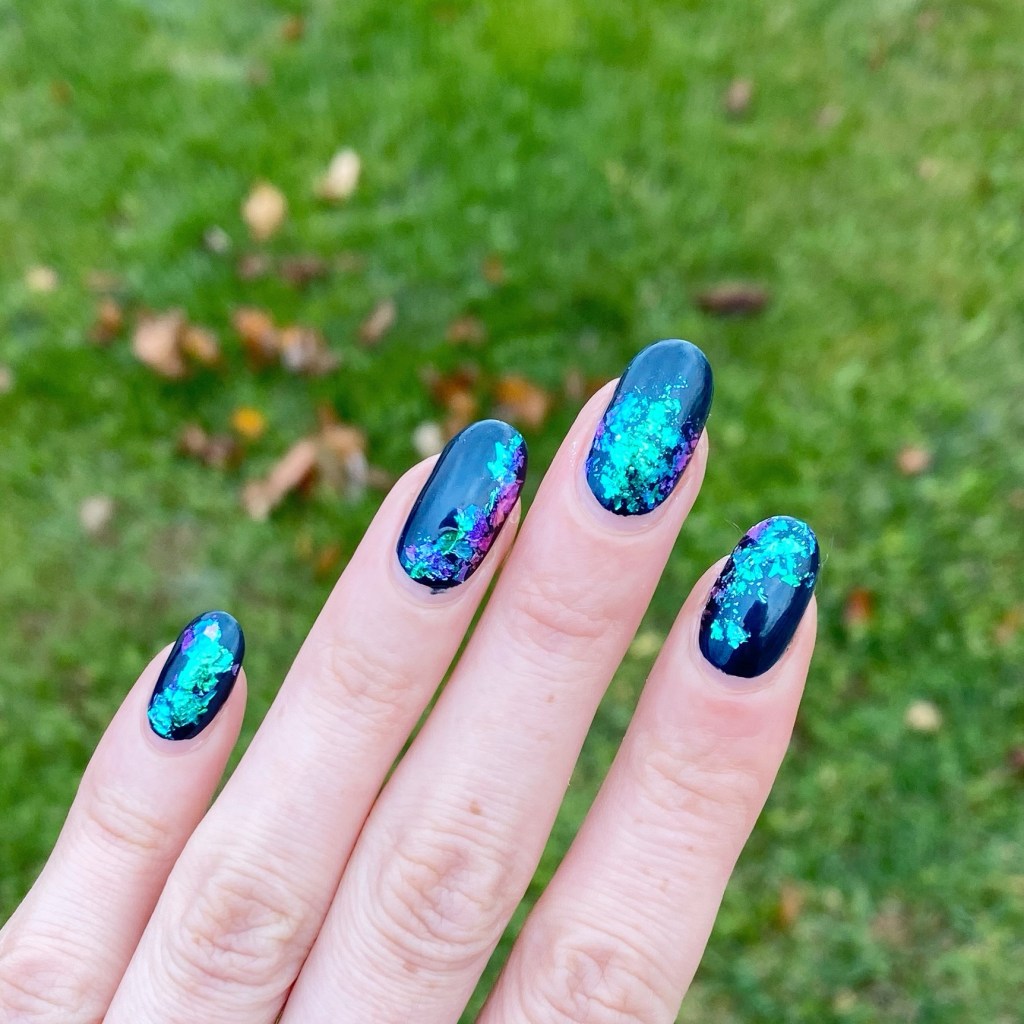
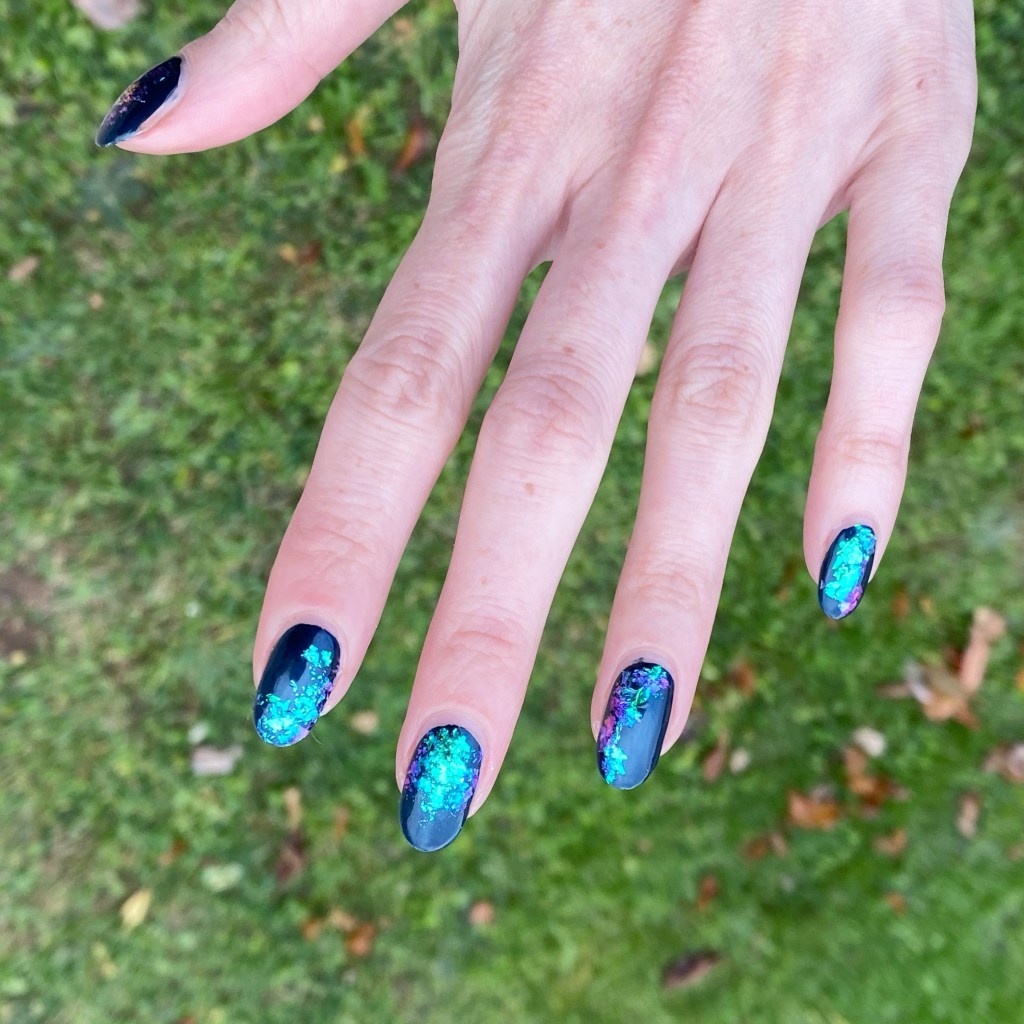
Good morning lovelies & happy Tuesday! It’s a rainy & chilly Tuesday — very much November weather. So I thought I would break up some of the gloom with a pretty flakie look, because flakies make everything better.

I realized the other day I hadn’t played with any of my flakies or Chrome powders in my collection, & got this idea to do a look using them in a similar look to my favourite stained glass technique. & I think they turned out so pretty!

The polishes I used for this manicure are: 

  • Base Coat: NailStuff Essentials Base Coat *
  • Top Coat: Nail Stuff Essentials Quick Dry Top Coat *
  • Sally Hansen Special Effects Salon Chrome Top Coat (used as a base to help my flakies stick!)
  • Dimension Nails Kronosaurus
  • NailStuff.ca Mermaid Flakies
  • NailStuff.ca Flat nail brush

Look at that beautiful shift! I can’t believe I’ve taken so long to use these again. I definitely go through fazes where I use nail art stuff less than others, but I’m going to make a conscious effort to go through more stash more frequently to use these items! Because they really do give such a beautiful look on the nail!

What do you think of these flakie glitter gradient nails? Can you believe the shift on these flakies? I can’t believe I’ve been sleeping on using them! Definitely will be glkng through my stash & seeing what nail art looks I can create with my little pots of glitter.

Happy Tuesday

🖤

Easy Halloween Skittle with Ella + Mila

*contains PR

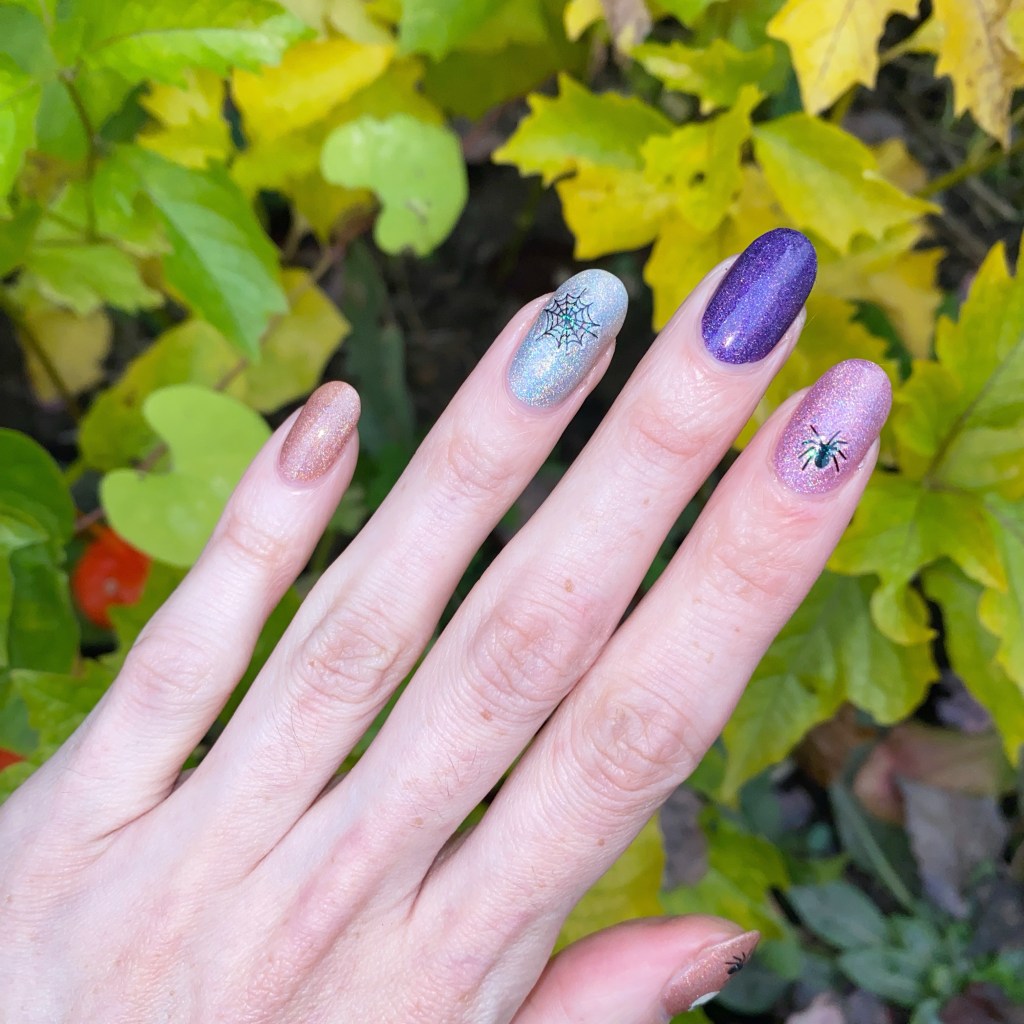
Hello lovelies & happy Thursday! The countdown is officially on — we have one week until Halloween! Guess it is time to sneak in as many Halloween manicures as I can!

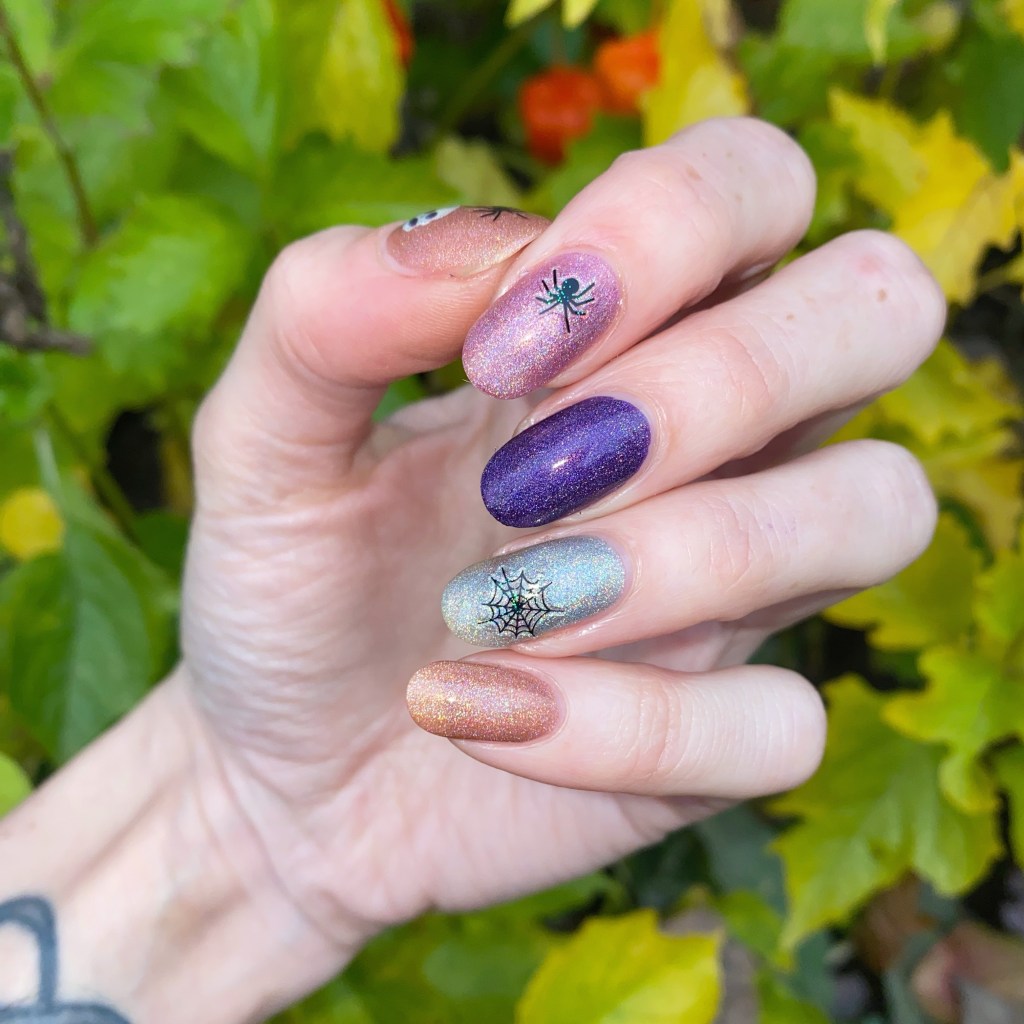
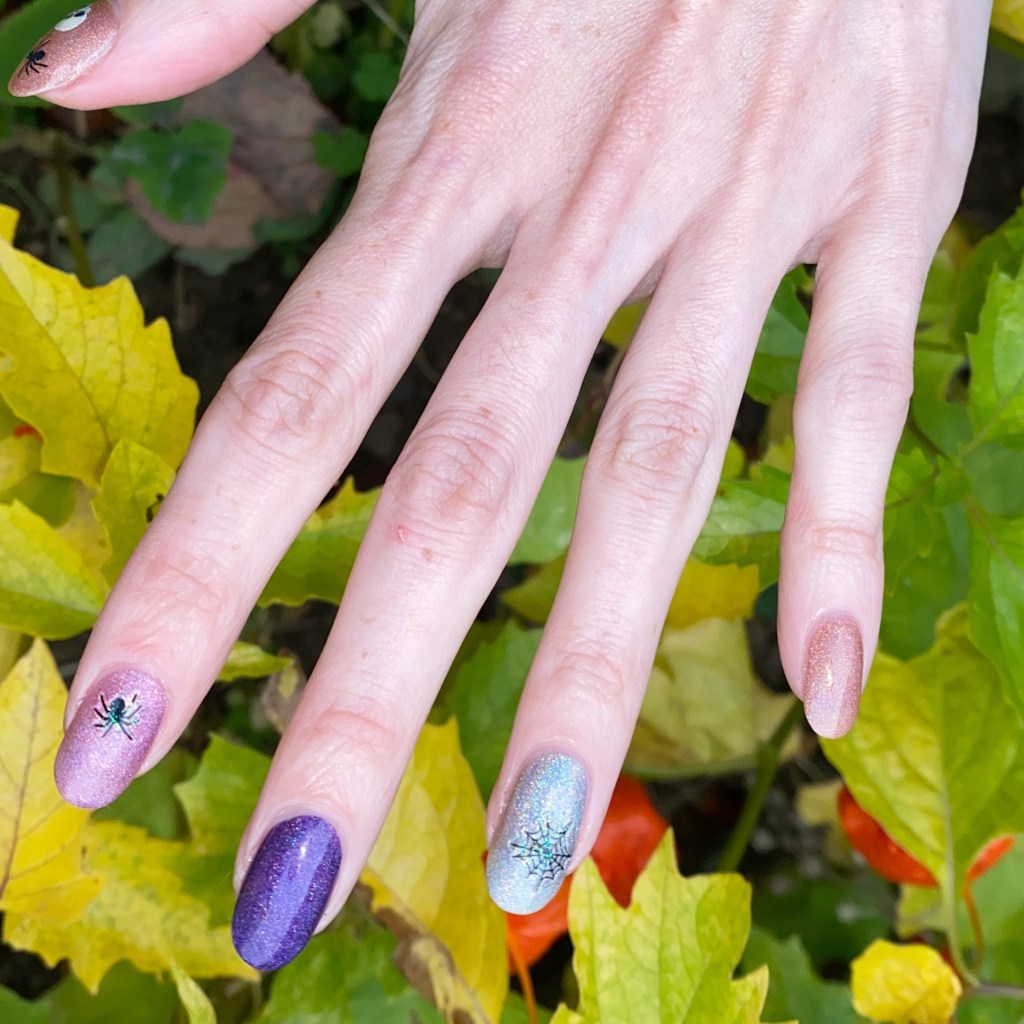
Today we’re starting off easy with some Halloween nail art stickers on a skittle. I was recently gifted some beautiful polishes from Ella + Mila, & I thought they would be a fun base for some new Dollarama nail art stickers! So I paired the colours together with a few simple stickers & I think it turned out so fun. Chic & simple.

The polishes I used for this manicure are: 

  • Base Coat: Ella + Mila All About The Base (Base Coat) *
  • Top Coat: Ella + Mila In A Rush (Top Coat) *
  • Ella + Mila Oasis *
  • Ella + Mila Dragonfly *
  • Ella + Mila Violet Skies
  • Ella + Mila Zephyr *
  • Dollarama Halloween Nail Art Stickers

*gifted

How beautiful are these shades from Ella + Mila? I feel like these colours are perfect for Halloween nail art that’s not typical colours. I mean, I feel like purple & orange are classic Halloween colours, but the dark purple & pink do work as well too. I will have full Swatches of the whole collection I was send coming hopefully this weekend, or the next. But I couldn’t wait to put on a few of the shades as soon as I received them! They’re just so beautiful.

(You can use THIS LINK to check out their site — it is an affiliate link so thank you if you use it!)

& I recently found more fun new Halloween nail art stickers at my local Dollarama store, so naturally I needed to use them immediately. For $1.25 they’re such a steal!

What do you think about this manicure? Do you like this Halloween skittle? Would you wear this design? Let me know all your thoughts down in the comments below!

Happy Thursday.

♥︎

Sparkly Holographic Swirls

*contains PR

Hello my lovelies & happy Tuesday!

I know, I’ve kind of switched up my usual posting schedule but only because the last little while has been a bit crazy! But I’ve got another fun manicure to share with you, featuring another favourite October polish. & I’m really happy with how the design turned out.

The polishes I used for this manicure are: 

  • Base Coat: NailStuff Essentials Base Coat *
  • Top Coat: Nail Stuff Essentials Quick Dry Top Coat *
  • OPI DS Extravagance
  • NailStuff Essentials Holographic Top Coat *
  • Essie Home By 8 *
  • Nailstuff.ca Mermaid Tail 7mm liner brush

*gifted

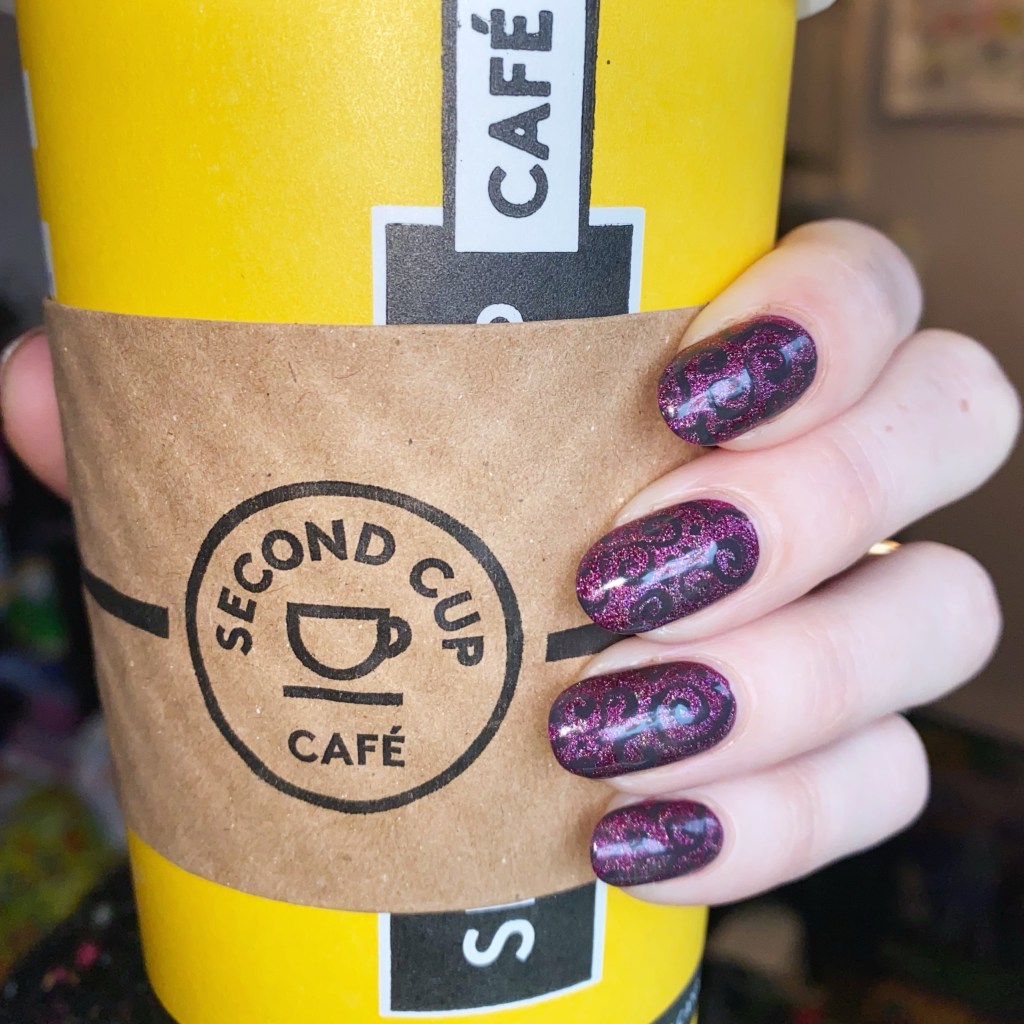
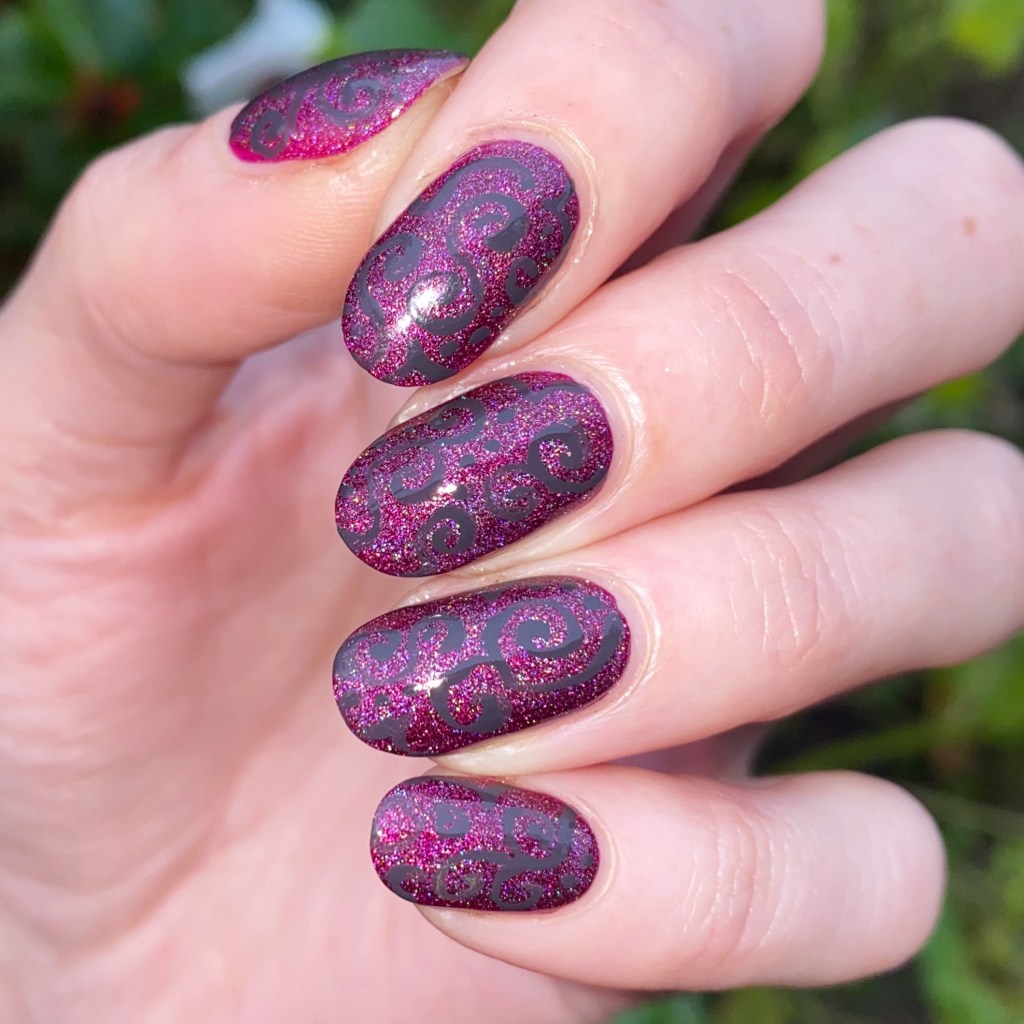
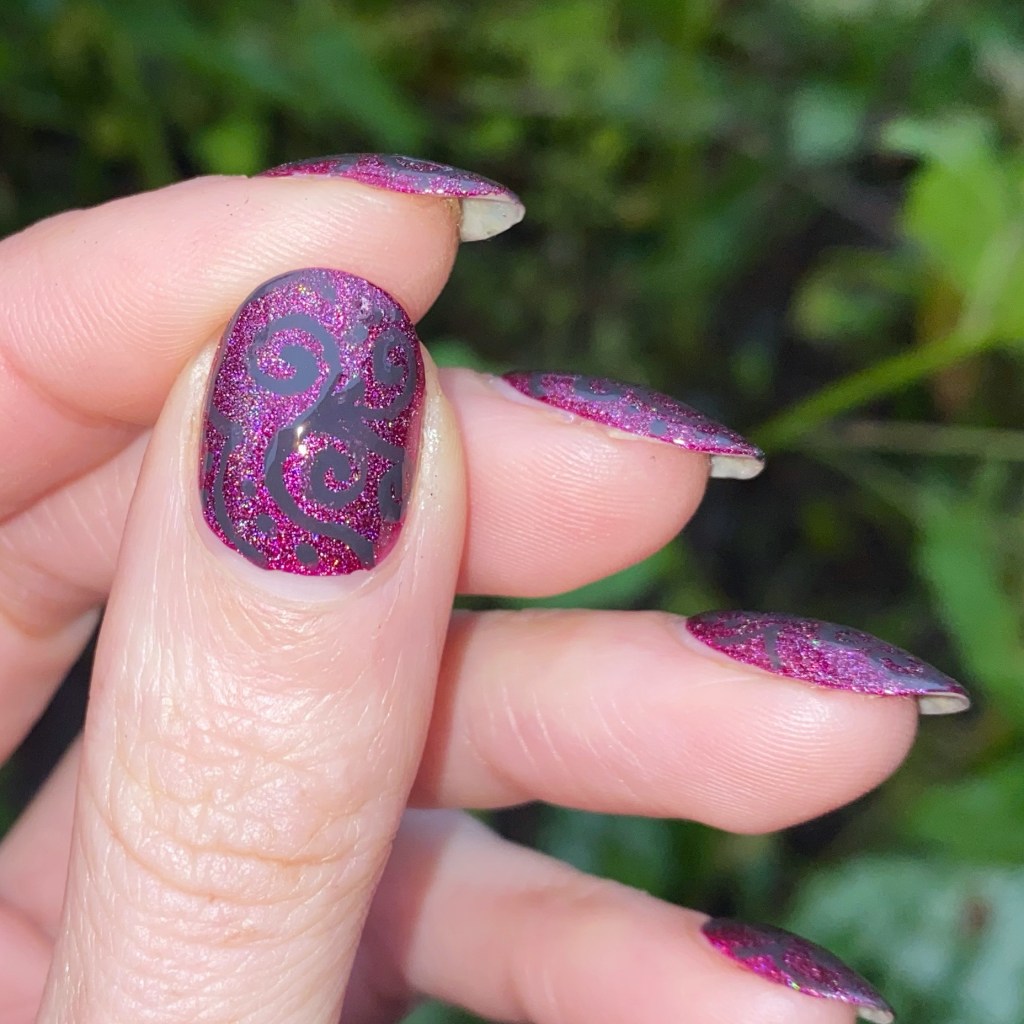
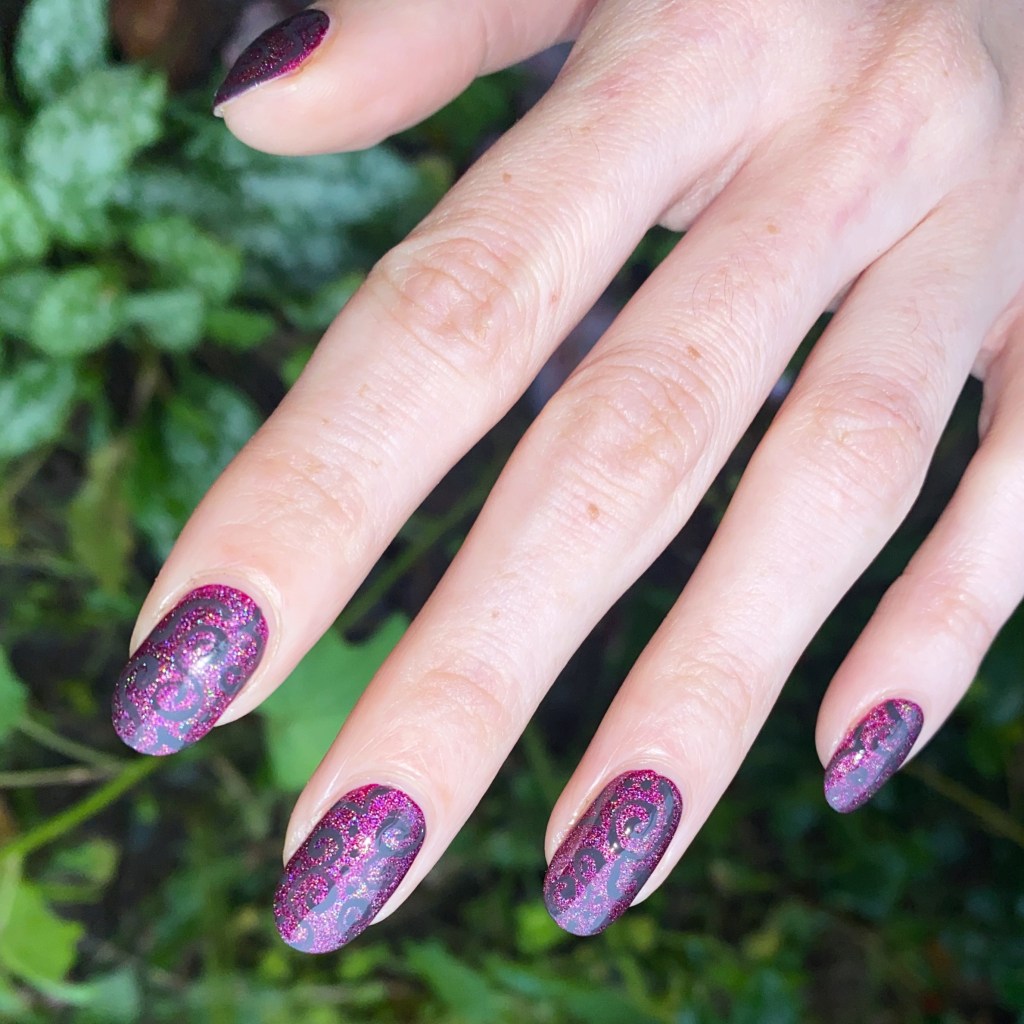
I used to do hand painted swirl designs like this all the time when I first got into nail blogging, but it’s been a while since I did one so it felt like the right time. It’s a cross between like a paisley & a kind of lace design, I guess? I decided to add another layer of holo over my base of OPI DS Extravagance which gave it even more of a POW! effect & I love it.

Just give me all the sparkle. I really, really am craving sparkle, especially with these much shorter days we’ve been having.

What do you think of this holo swirl design? Do you like this hand painted design? Let me know all your thoughts in the comments below, & tell me what your favourite holographic polish is!

Happy Tuesday

🖤✨

Frankenstein’s Monster French Manicure 🧟‍♀️

*contains PR

Hello lovelies & happy Thursday! I hope everyone’s week is going well so far. Today I’m sharing another perfect Halloween manicure to get us ready! This look was partially inspired by @polished_yogi & a recent post featuring Halloween designs — but I decided to take my own spin on it.

The polishes I used for this manicure are: 

  • Base Coat: NailStuff Essentials Base Coat *
  • Top Coat: Nail Stuff Essentials Quick Dry Top Coat *
  • Matte Top Coat: NailStuff Essentials Matte Top Coat *
  • Essie Expressie Main Character Moment *
  • Quo By Orly Black Striper

*gifted

I love the look of French manicures on other people, but I’ve never been able to make them look good on me. If someone knows the trick to making them look so good, I would love to know. However, I do think these are probably the best looking French nails I’ve ever attempted, & they’re fun too!

I do a version of Frankenstein’s monster nails every year, so it’s fun to try & keep it fresh. I only wish I had thought to add some glow in the dark nail polish over my tips because I did the black stitching because it would have looked really cool. Oh well, always next time!

What do you think of these Halloween-y nails? Do you like this stitched up French manicure look? Let me know what you think down in the comments below!

Happy Thursday!

🖤