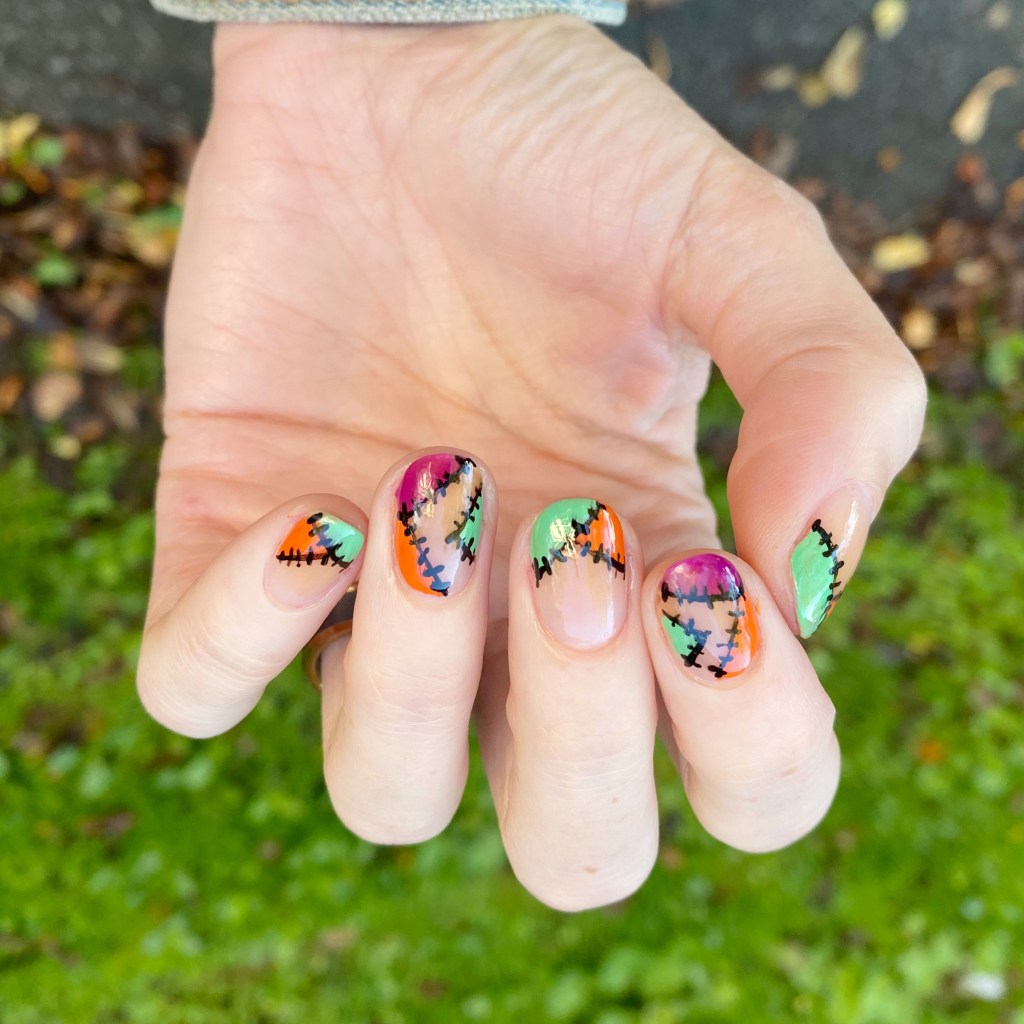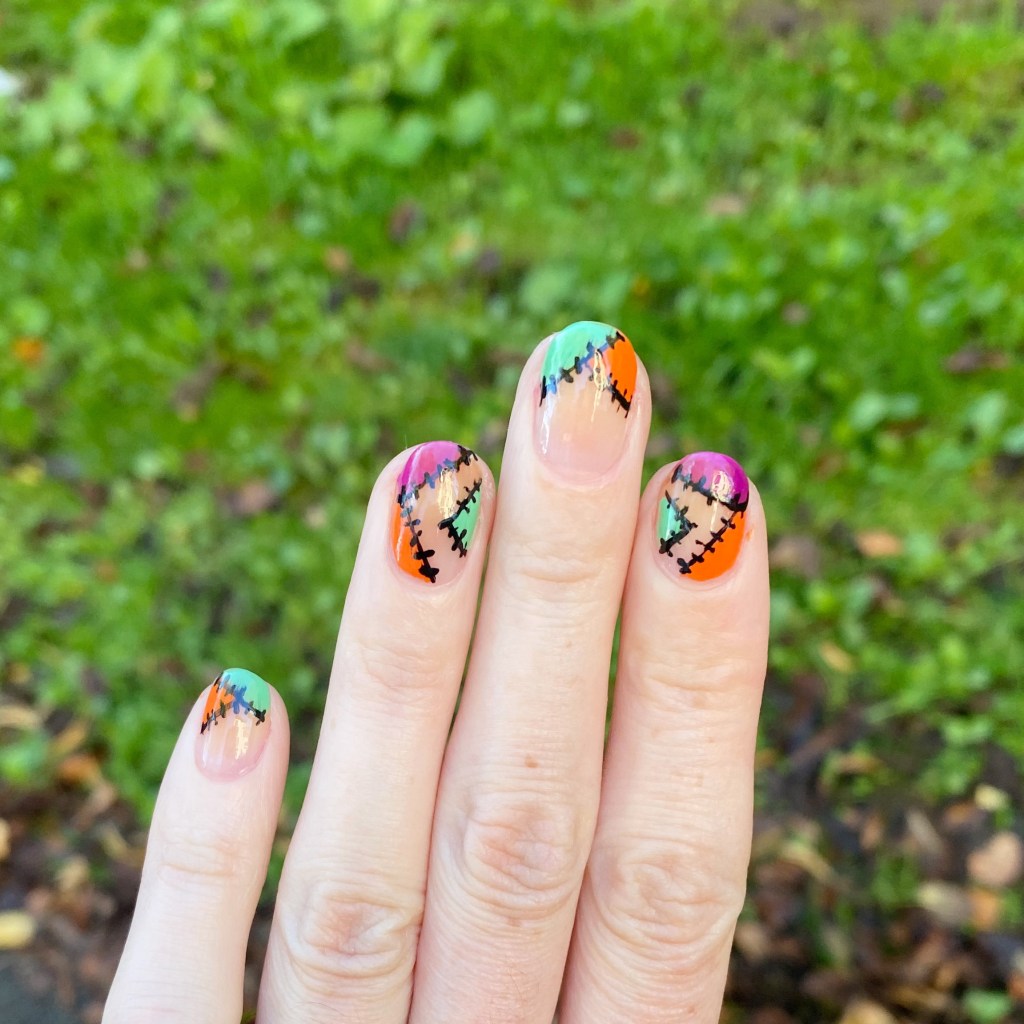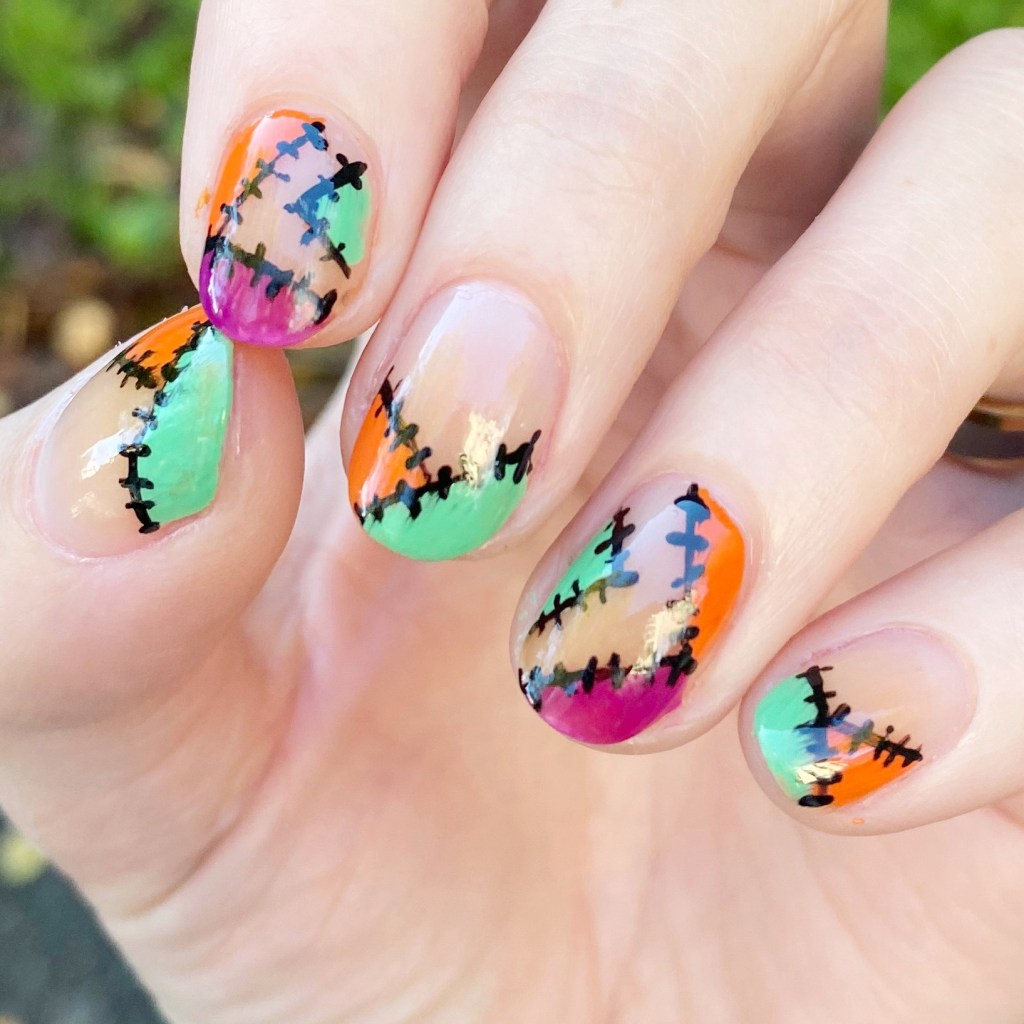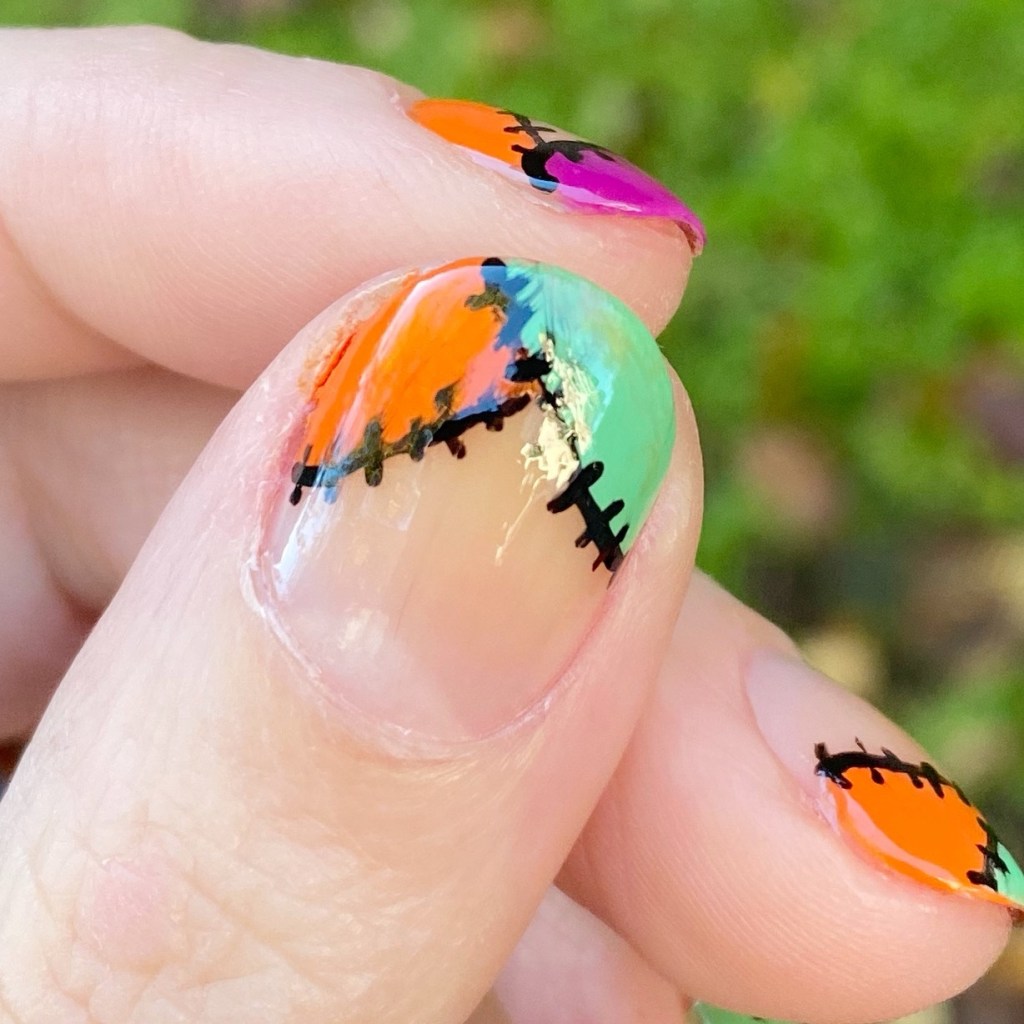
Vivid Stained Glass Accent Nails 💎

Hello lovelies & happy Thursday! I hope everyone has had a peaceful week so far. I know we’ve had some super sad celebrity deaths this week (RIP Dolly & Tim Curry). This year has just been brutal when it comes to icons of my childhood.

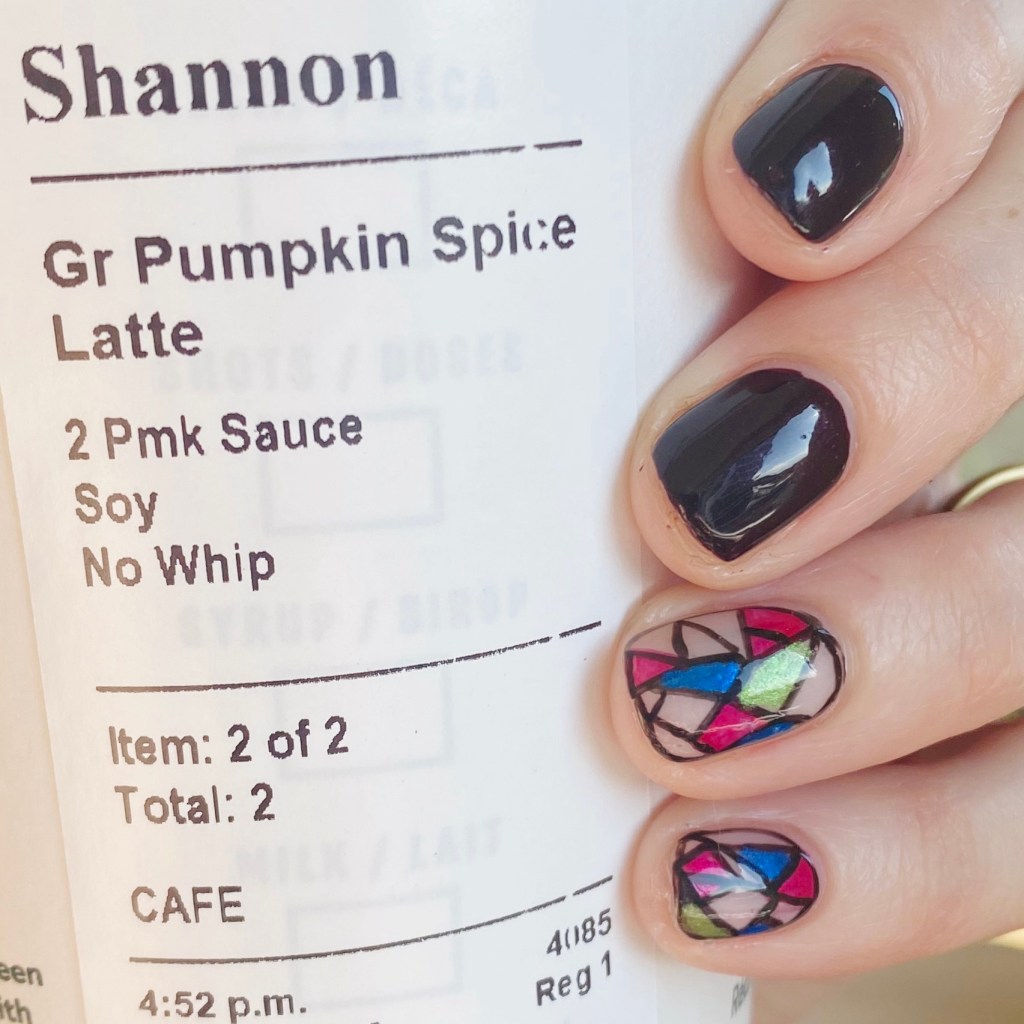
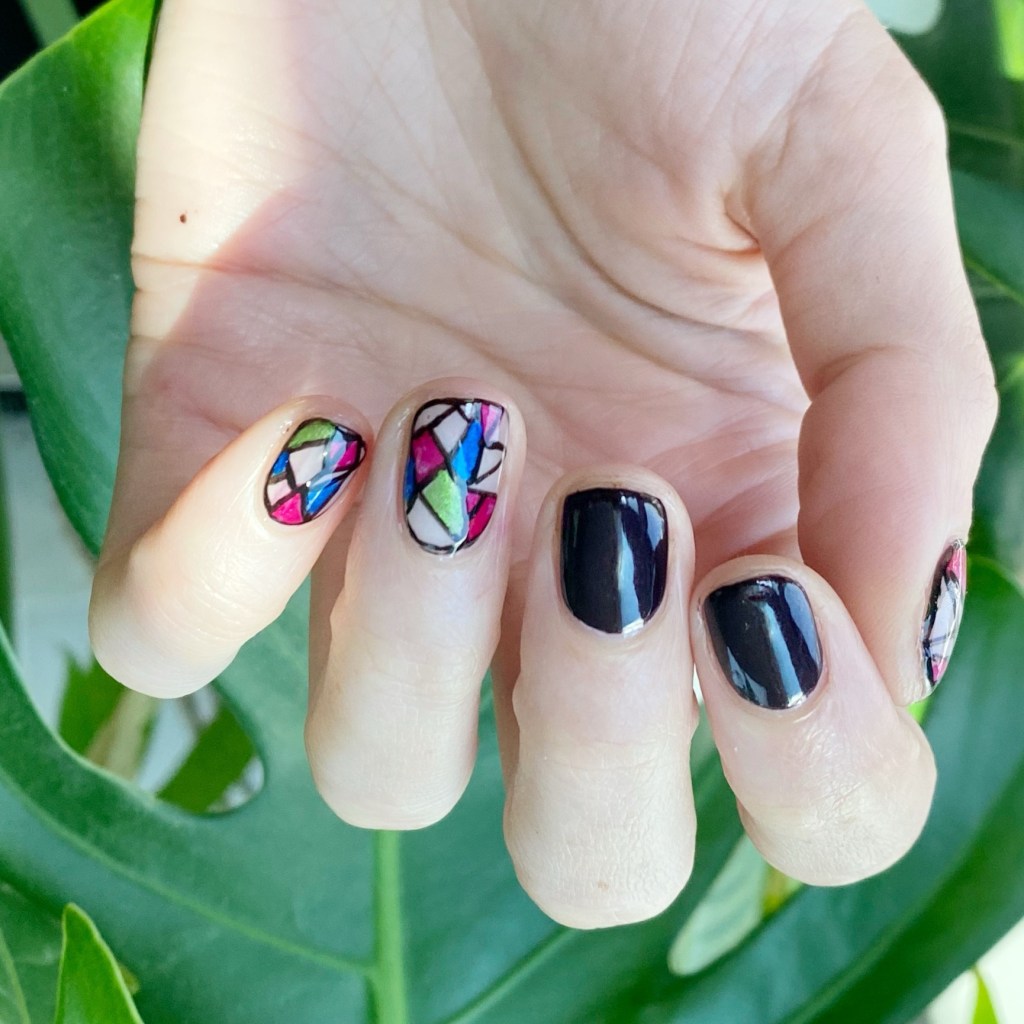
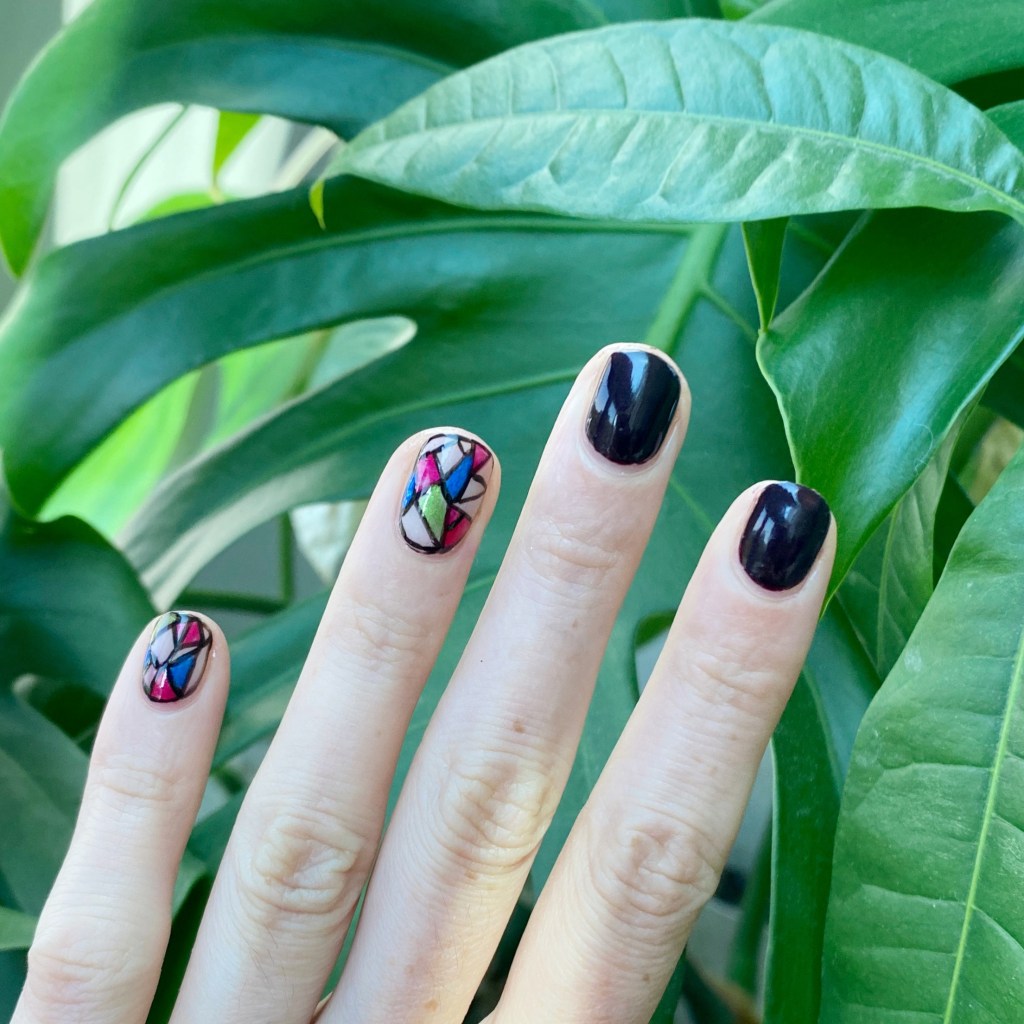
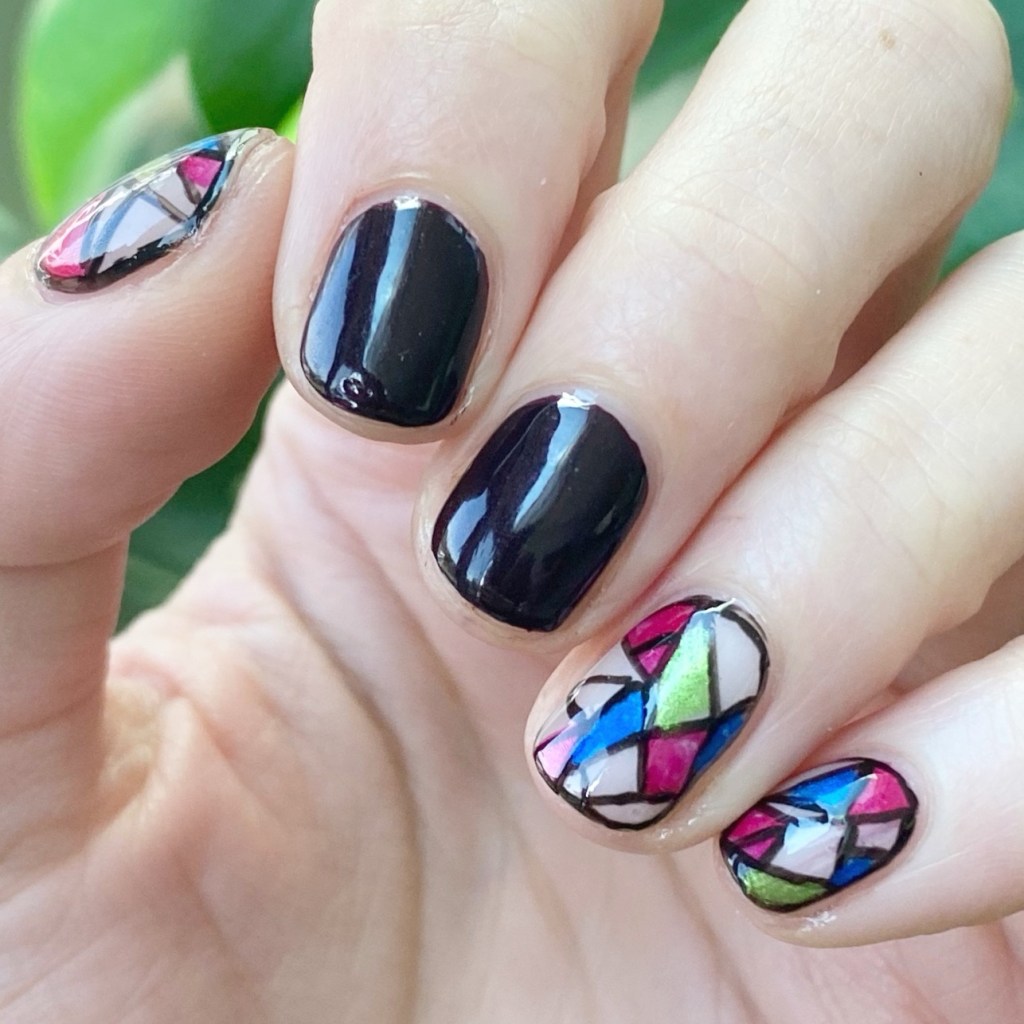
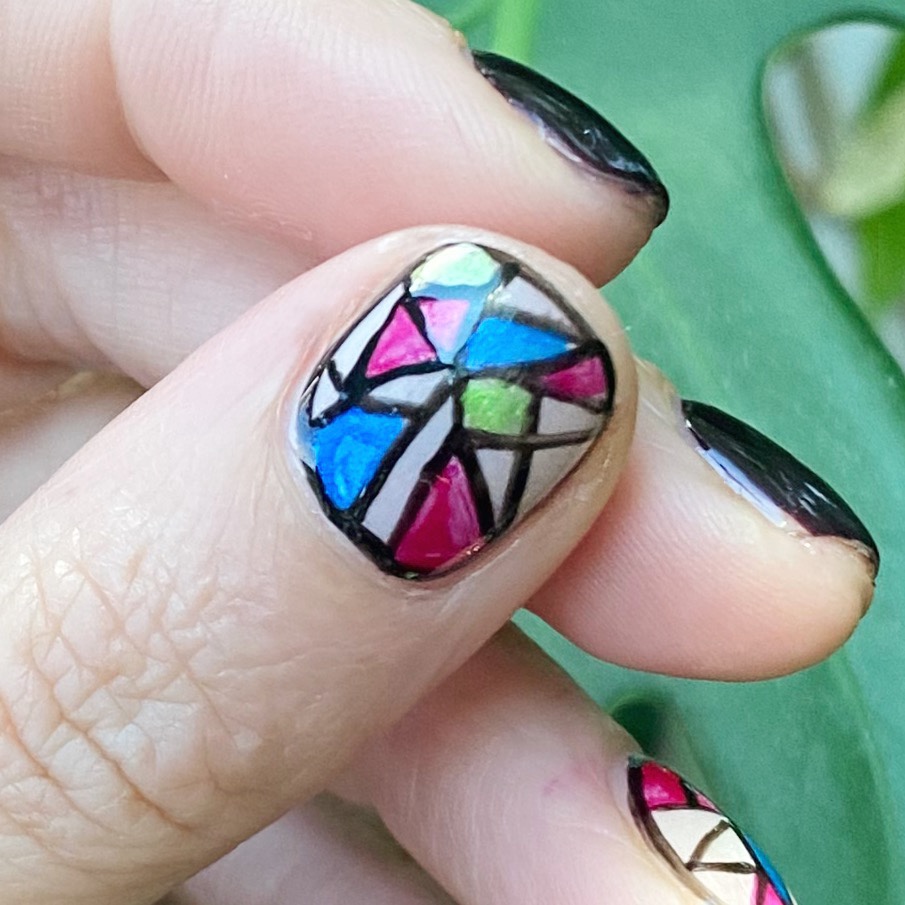
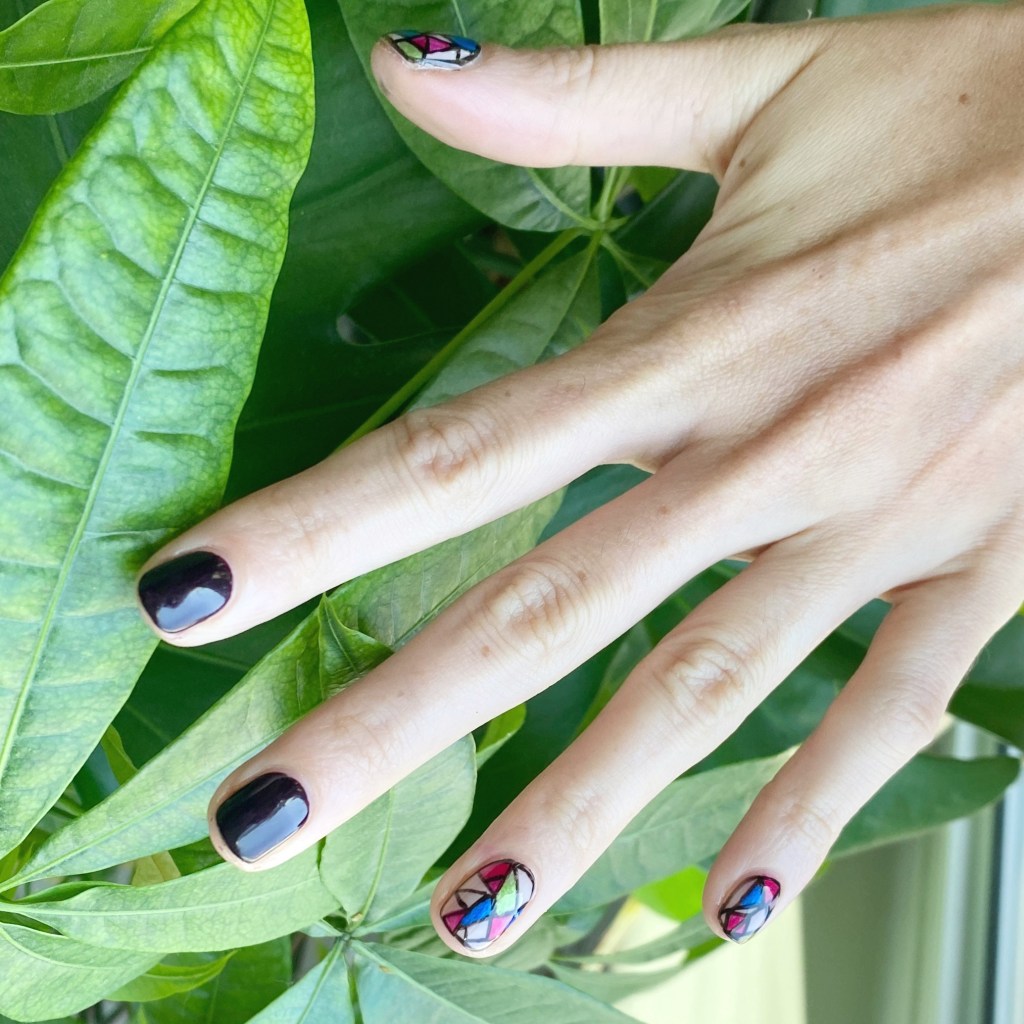
But I’m not here for sad vibes, & I’m always hoping to perk up someone’s day with some pretty nails so let’s get into it! I’ve really been trying to do some new things lately… or old things I haven’t done in a hot minute. Stained glass nails are definitely in the latter category, & I’m excited to share my latest version because I feel like these are the closest to real, true stained glass.

The polishes I used for this manicure are: 

  • Base Coat: Essie Hard To Resist Strengthner
  • Top Coat: Sinful Colors Power Paint Top Coat + Essie Speed Setter
  • OPI Black Cherry Chutney
  • OPI Cyber Cherry On Top
  • OPI Y2Slay
  • OPI My Gecko Does Tricks
  • Essie Ballet Slippers
  • Sally Hansen InstaDri Ghouls Night Out
  • NailStuff.ca 11mm Mermaid Tail Liner Brush

I really love these metallic shimmer nail polishes give the effect of glass, like in a stained glass window. After I started, I realized I should have tried to do some kind of design like a heart, or a flower, but I guess I’ll have to say that for next time.

But these colours look so, so beautiful together. They’re bright & colourful, which plays off well with the darkness of OPI Black Cherry Chutney. A fun look to wear at this end of Summer season. Also staring at these made me excited for more nail art looks to come — especially as we enter my favourite time of the year — the ‘Ber months! It’s the best time of year for fun nail art looks, so I’m already saving a million ideas to give a try.

What do you think about my stained glass nails? Would you look at these & know exactly what the inspiration was? Let me know all your thoughts in the comments below, & what nail art trend or design you’re excited to try for Fall (I’m definitely pumped to do anything pumpkin themed. They’re one of my favourite things to paint!)

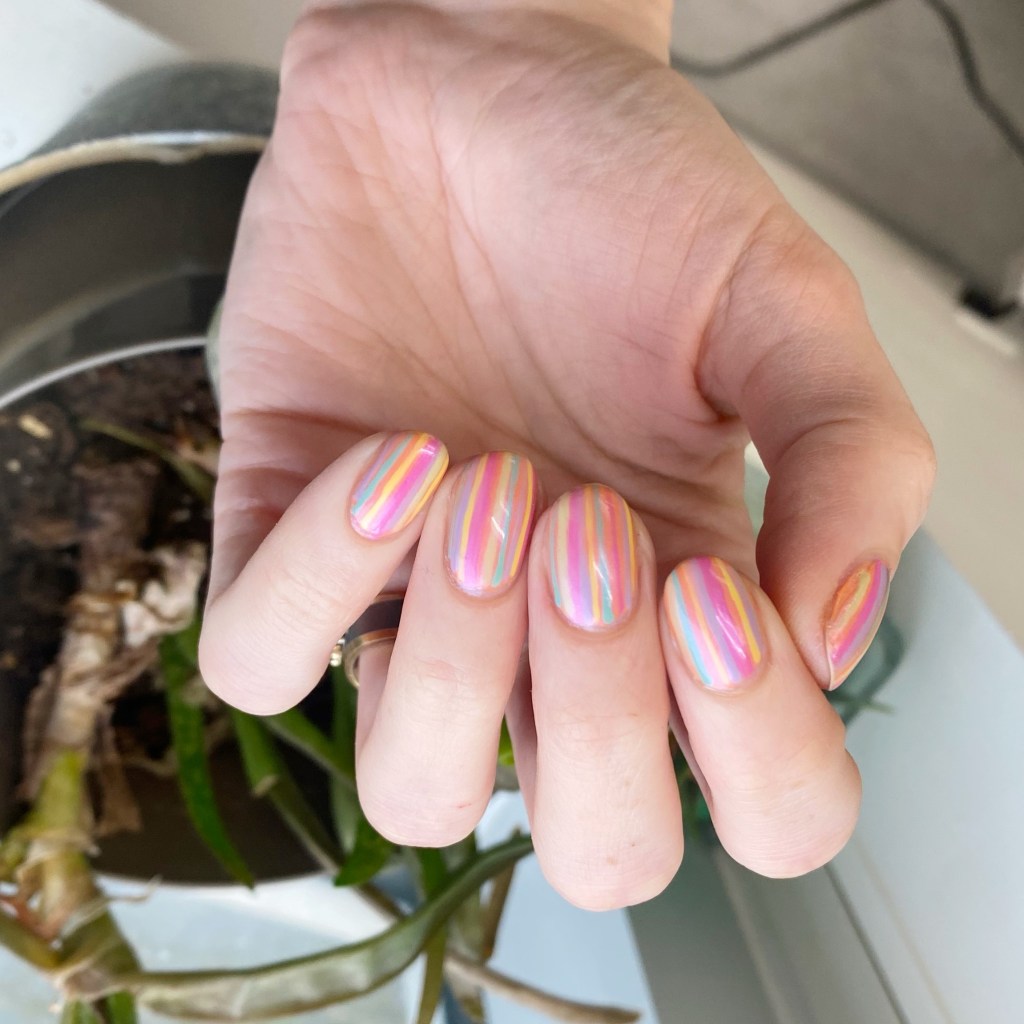
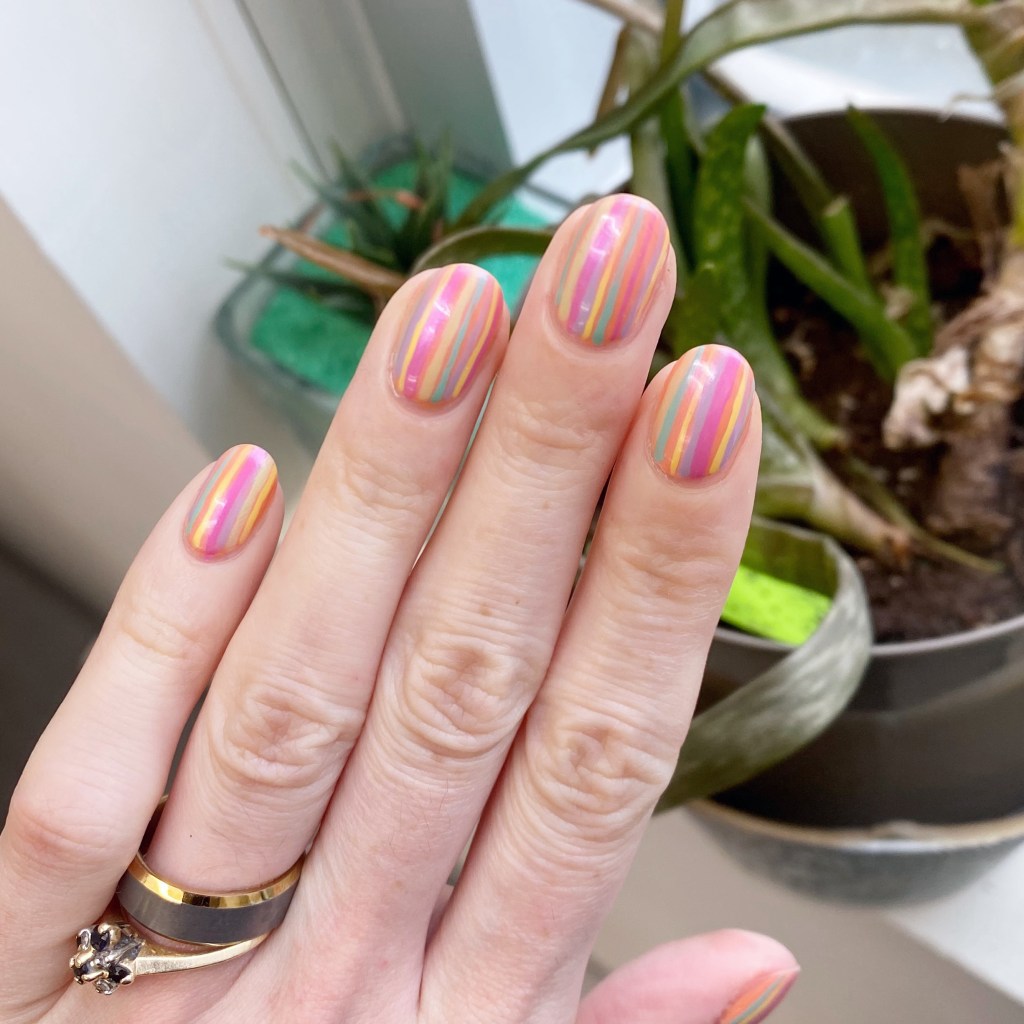
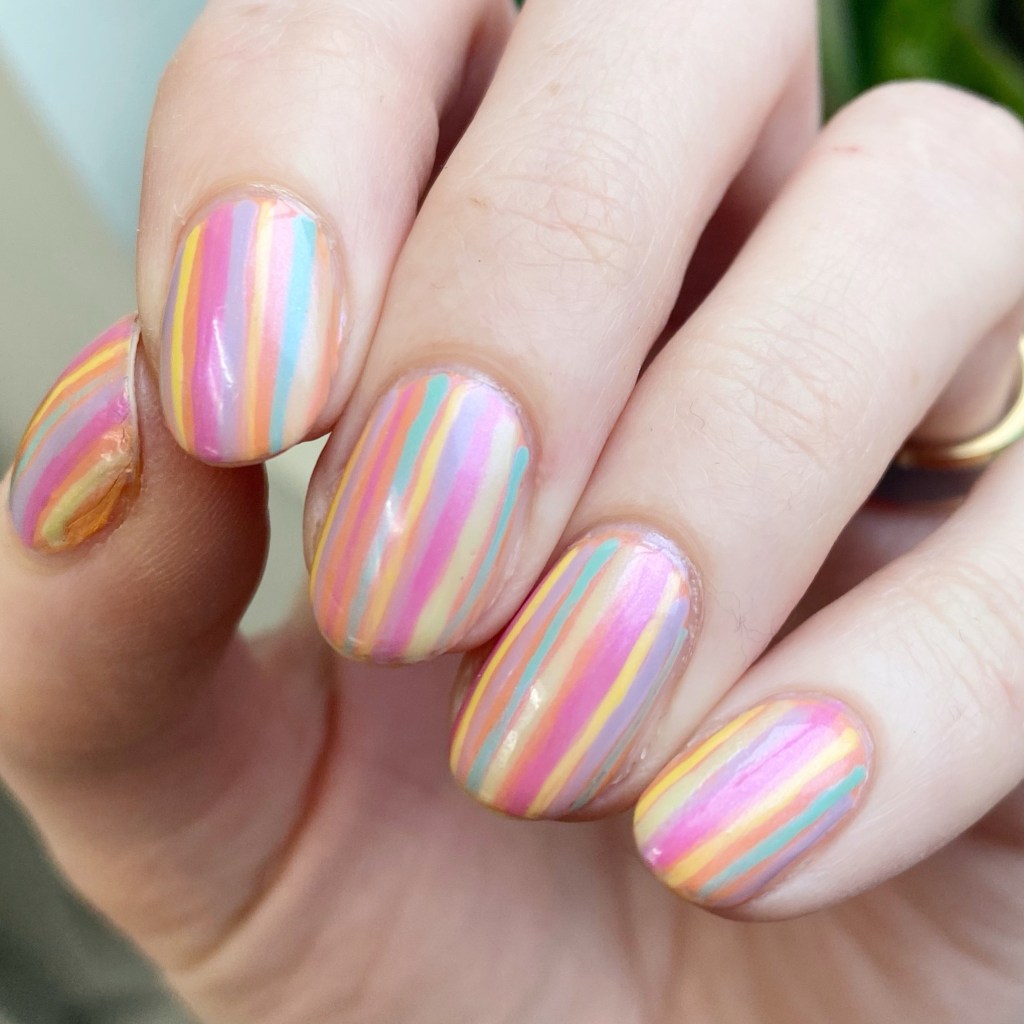
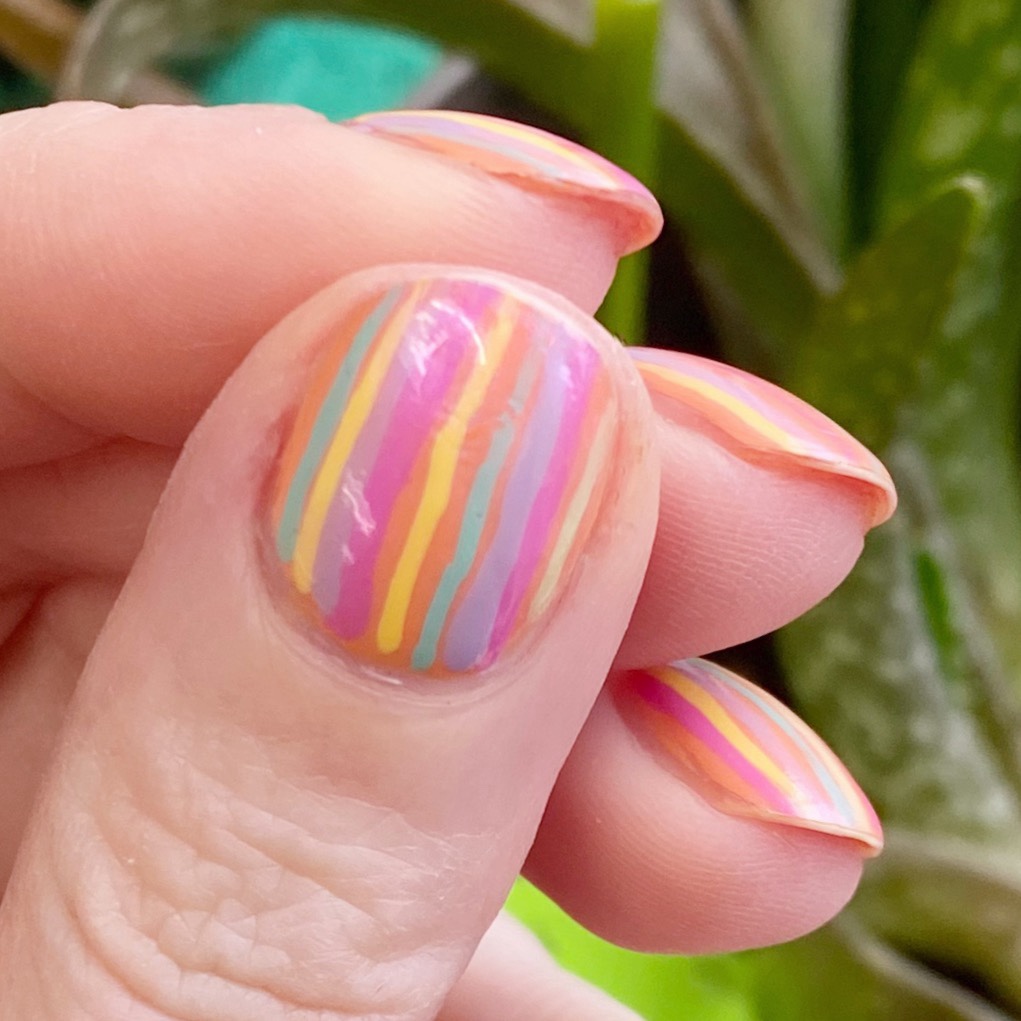
Spring Perfect Pastel Stripes 🌸🌼

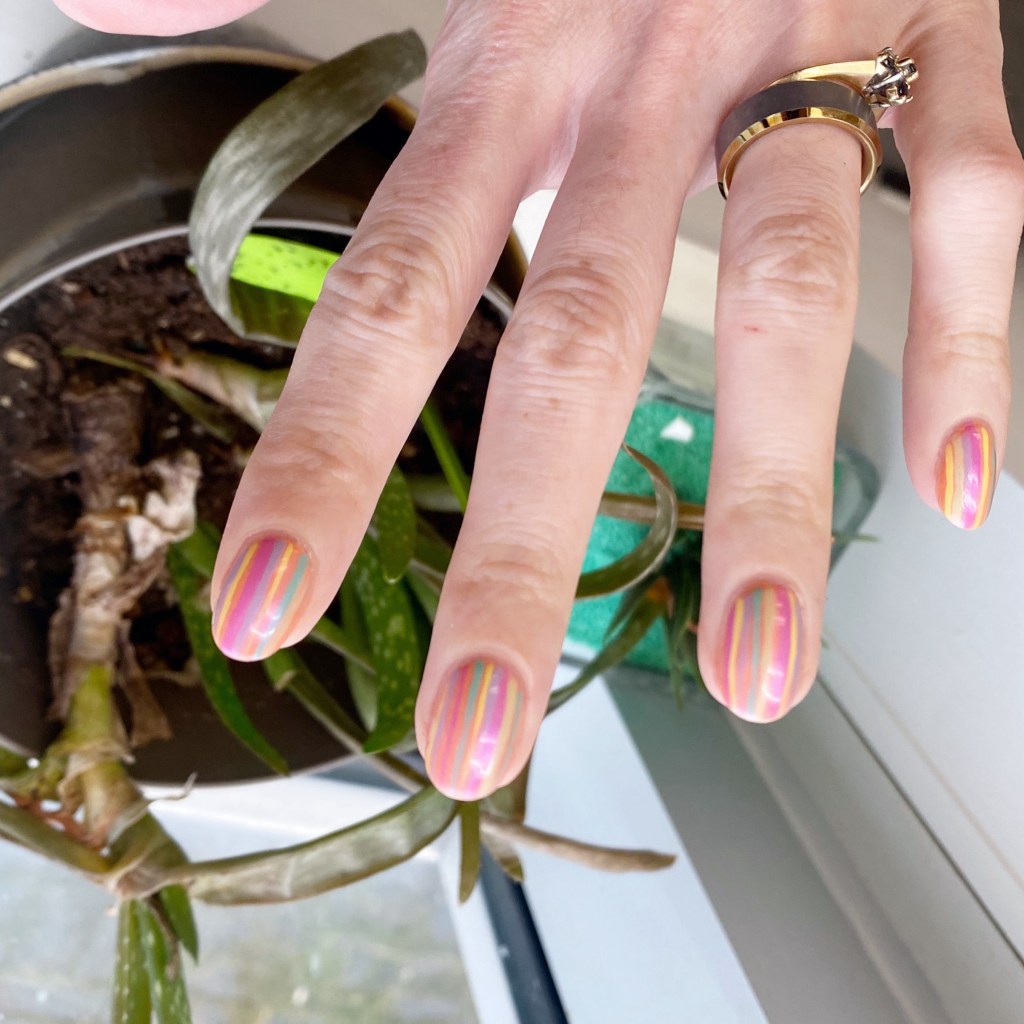
Hello lovelies & happy Easter Monday (to those who celebrate!) It’s a brand new week, & the first full week of April. Maybe we’ll finally feel some more Spring-like temperatures, or — then again — maybe we won’t. But what I can definitely confirm is that I’m going to have some Spring-y nail art designs to share!

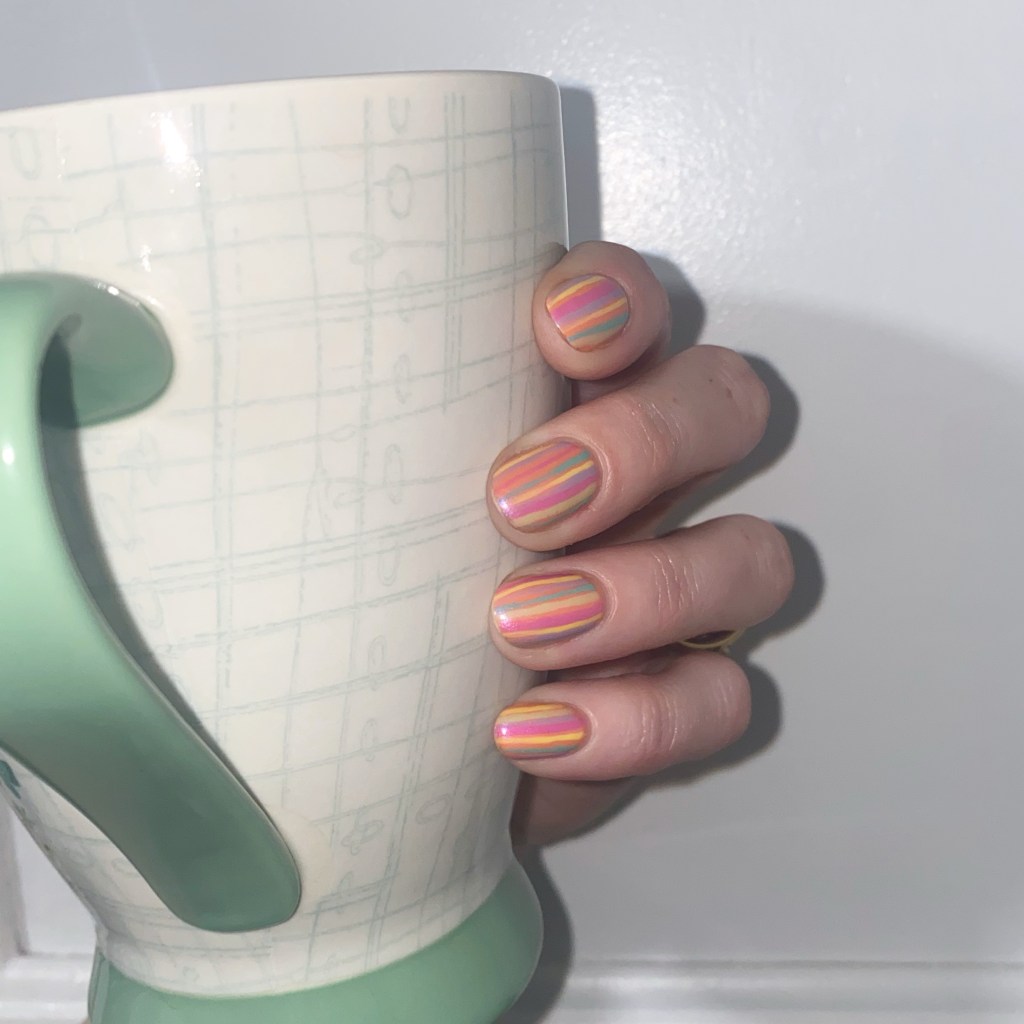
Starting with some fun Easter-esque Spring stripes. These kind of feel Easter egg adjacent, but I think the colours themselves are the just right amount of brightness for this time of year.

The polishes I used for this manicure are: 

  • Base Coat: Sally Hansen Maximum Growth
  • Top Coat: Seche Vive Gel Like Top Coat
  • OPI Where’s Suzi’s Man-go
  • OPI Gargantuan Green Grape
  • OPI Nature Strong Emflowered
  • OPI Nature Strong Cactus What You Preach
  • OPI Nature Strong  Make My Daisy
  • OPI Sickeningly Sweet
  • OPI Altar Ego
  • NailStuff.ca 16mm Striper Brush

So many pretty colours paired together. I ended up adding a swipe of OPI Altar Ego over my stripes to give it a bit of a muted, subdued look which I think added to the over all look of everything & gave it that more subtle Spring colour effect (if you know what I mean.)

Do you think these stripes are giving Spring/Easter? Do you like the muted effect I created using Altar Ego over top? Would you wear this look? Let me know all your thoughts down in the comments below!

Enjoy your Monday!

♥︎

Valentine’s Day Heart Glitter Placement 🤍💜🩷💙

Hello beauties & happy Tuesday. What a Tuesday it is… it’s getting so chilly here. Ugh. Have I mentioned I’m really, really not a winter person? So why not brighten things up a little bit, & maybe start early on the Valentine’s Day looks!

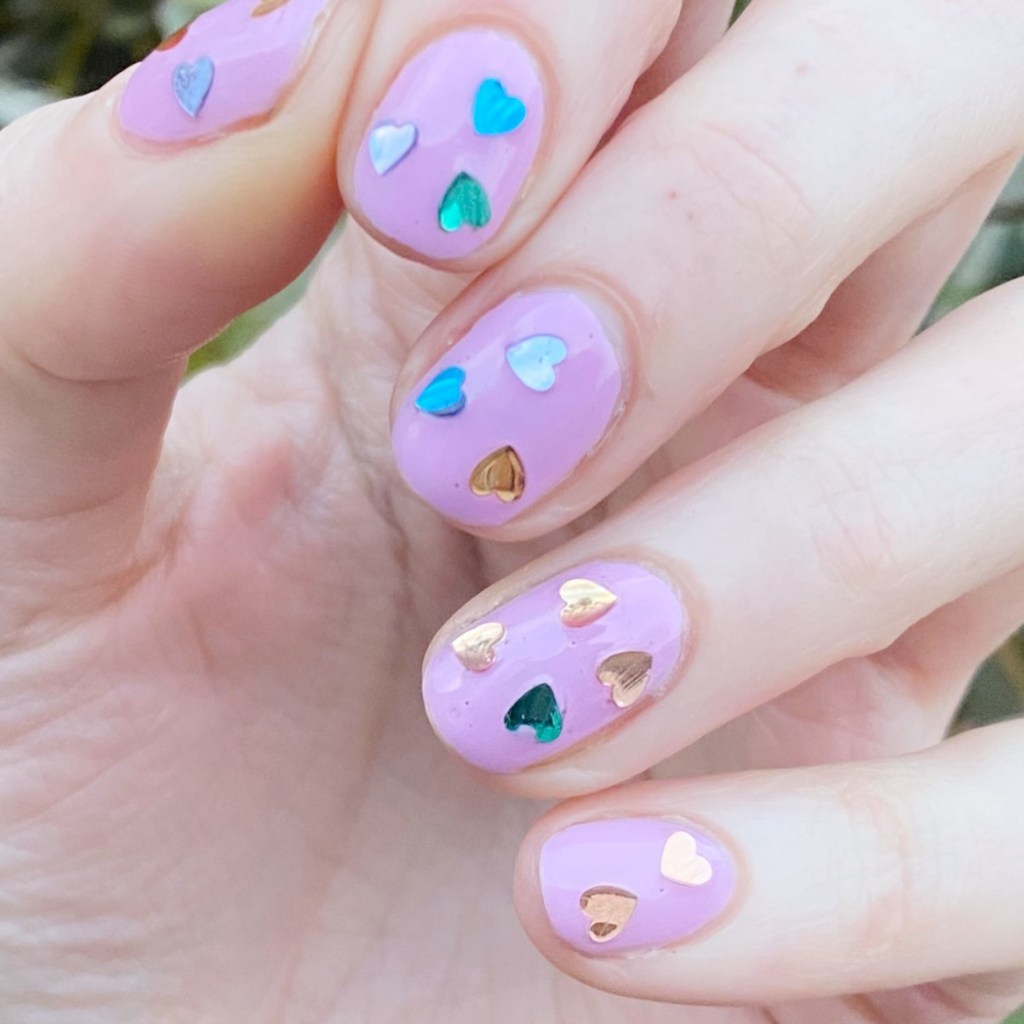
I picked up a Nails INC gift pack at my local Shoppers Drug Mart on clearance for $10 recently, that I thought would be perfect for Valentine’s Day! While the gift pack was meant for Christmas, the colours just scream V-Day to me — especially this heart glitter topper.

The polishes I used for this manicure are: 

  • Base Coat: NailStuff Essentials Base Coat *
  • Top Coat: Essence Colour Shield Top Coat (I ran out of my NailStuff one & need to make an order!)
  • Nails INC Nutcracker Nouveau
  • Nails INC Heartfelt Holidays
  • Small dotting tool for glitter placement (I use the NailStuff.ca dotting tool from Dotting Tool Trio)
    **PR/gifted 

Firstly, this light pink shade, Nutcracker Nouveau, is absolutely stunning & a great pre-spring shade. I love a good pastel. Secondly, these heart glitters are too freaking cute.

I will be honest, they were not the easiest to fish from the bottle — there are lots in there, but it took me a few tries to pull some out on my brush. That is part of the reason why I went with placing my glitters individually, rather than brushing them up. The other was wanting to make sure I got a different variety of colours on each nails. & I think the end result is adorable.

I’m such a sucker for glitter toppers, especially in unique shapes like these hearts!

What do you think of these easy & adorable Valentine’s Day nails? These are honestly something so quick easy & fun you can rock for the occasion. & you know I just love a festive manicure with a theme!

Let me know what you think of this design! & Enjoy the rest of your day loves.

🖤

GLAM NAILS CHALLENGE SEPTEMBER (2024) — Owl 🦉

Hello lovelies & happy Wednesday! Can you believe that we only have 2 more Glam Nails Challenge September prompts for this month? We’re very quickly approaching October & full blown spooky season, & I’m very excited. but we still have a few more days of September, & a couple more fun designs to share!

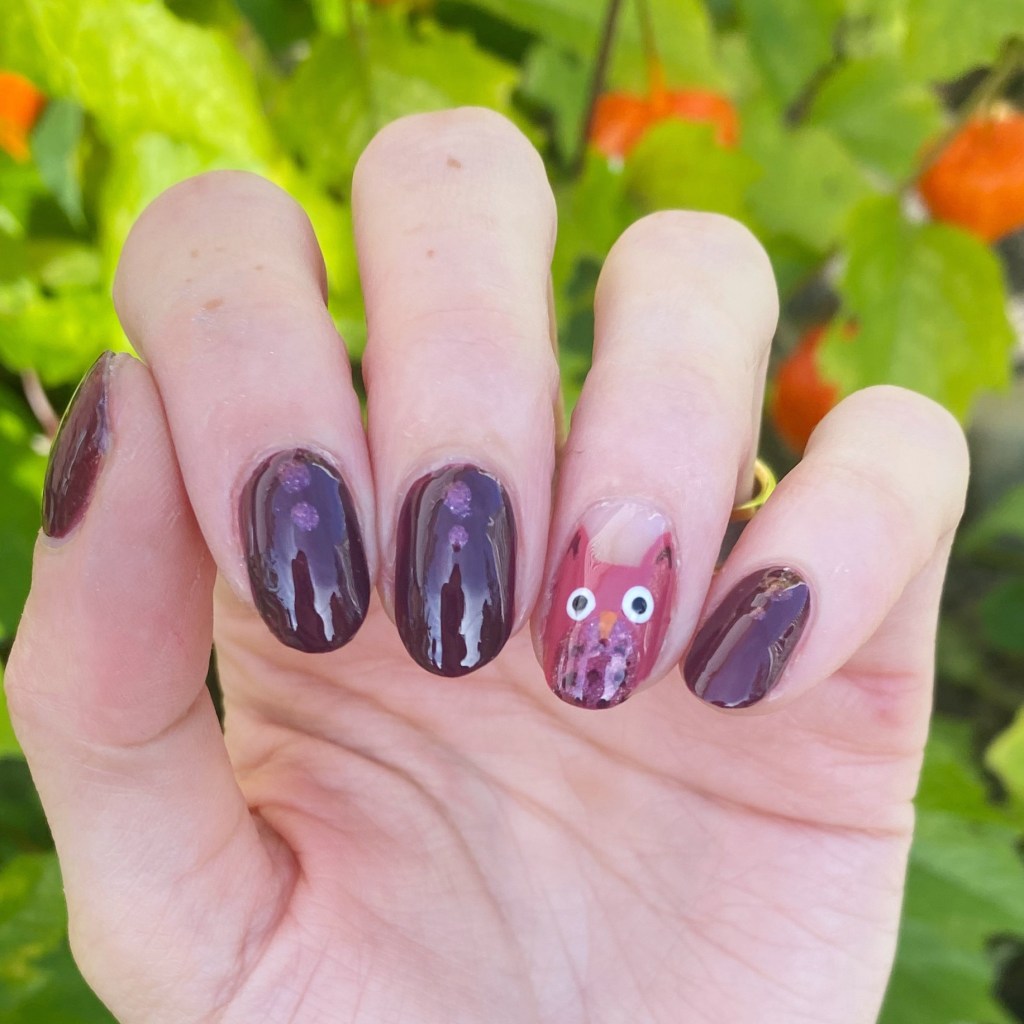
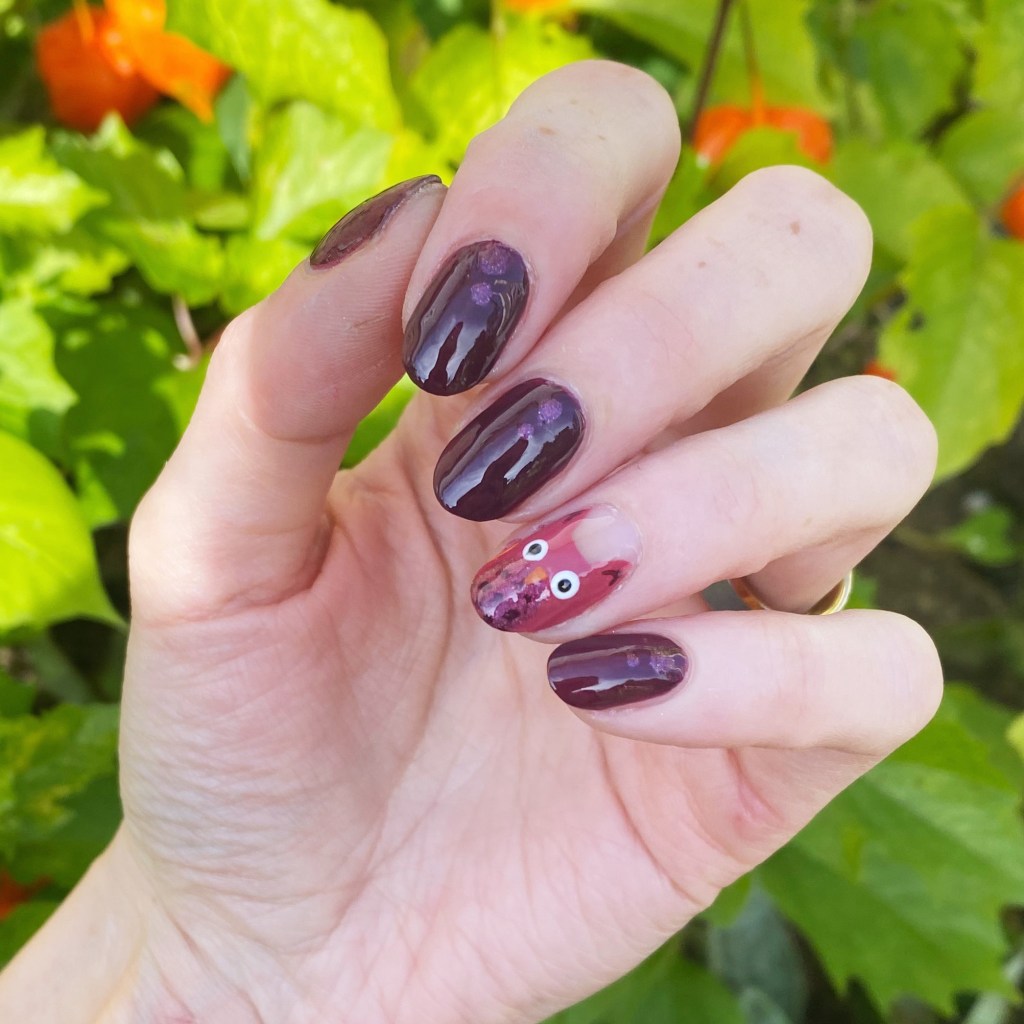
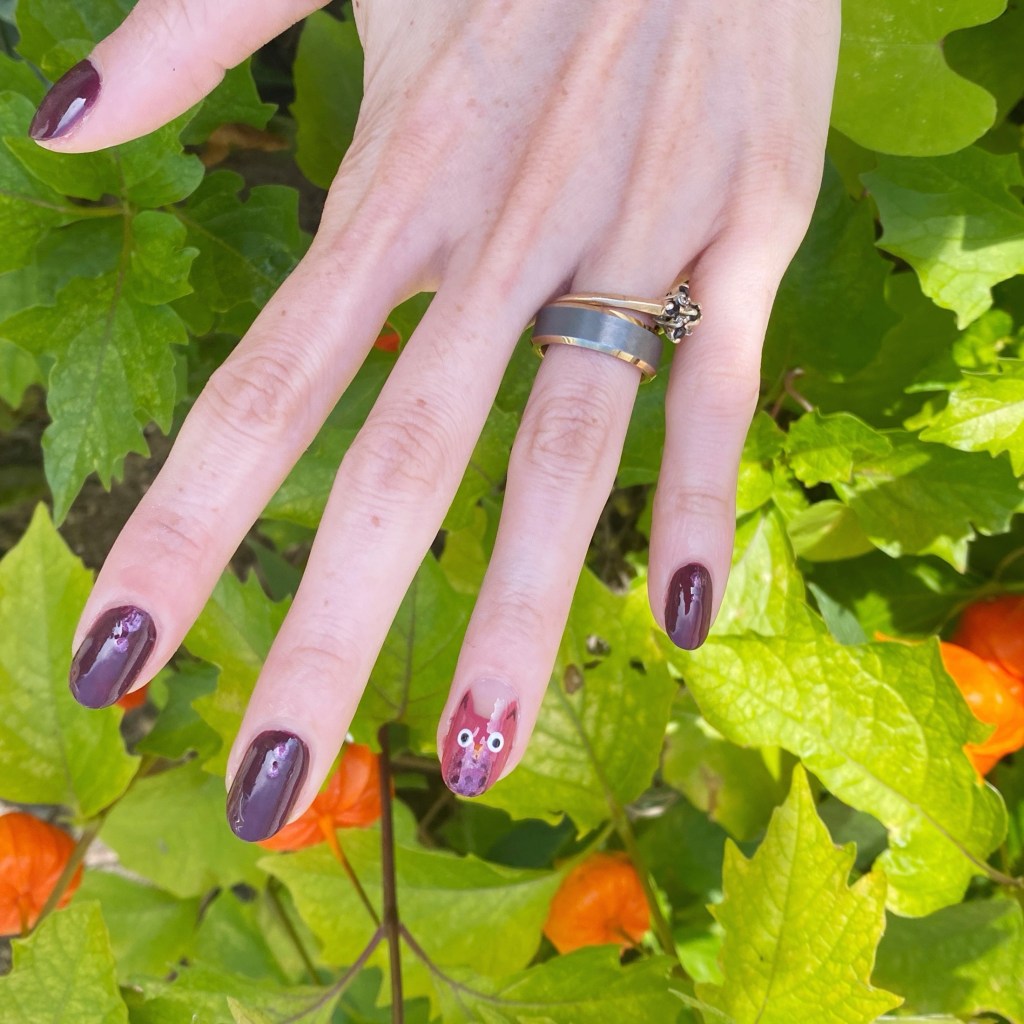
Today’s prompt is Owl & I decided to create this cute little owl accent nail.

The polishes I used for this manicure are: 

  • Base Coat: Essie First Base 
  • Base Coat: LA Colors Mega Grow Treatment 
  • Top Coat: Essie Speed Setter
  • Sally Hansen Good. Kind. Pure. Beet It.
  • Sally Hansen Good. Kind. Pure. Eco Rose.
  • Sally Hansen InstaDri Burnished Wine
  • Sally Hansen Complete Salon Manicure Let’s Snow
  • Sally Hansen InstaDri Up To Snuff
  • Sally Hansen InstaDri Ghouls Night Out
  • Nailstuff.ca Mermaid Tail 7mm liner brush
  • NailStuff.ca dotting tool from Dotting Tool Trio

I’m actually super surprised I’ve never attempted an owl accent nail before, but I think it turned out pretty cute! These colours just scream Autumn vibes too, which I’m here for. Over all, a cute easy little owl that fits the prompt perfectly! & I couldn’t be happier with it.

Sometimes all you need is just a cute little accent nail.

What do you think about my cute owl accent nail? Do you like how he turned out? Would you wear this design? Let me know what you think in the comments!

Are you following along with the other nail art designs for this month’s Glam Nails Challenge September? Don’t forget, you can check out #glamnailschallengesept24 on Instagram, & see all the other beautiful designs being shared!

Happy Wednesday!

♥︎

Negative Space Purple Moons

Hello lovelies & happy freaking Friday! The weekend is upon us, & the end of the month is quickly approaching. I feel like May just started, & now it’s almost June? Crazy!

Today I’m showing off another fun Spring/Summer look that’s actually super easy to do. I’ve kind of been leaning back into my easier nail art, mostly because sometimes (or, a lot of the time) I’m quite tired at the end of the night when I go to do my nails. So I’ve been leaning back on go to easy nail art looks. It’s a combination of easy to do, but also super cute! The best kind of nail art.

The polishes I used for this manicure are: 

  • Base Coat: Londontown KUR Nail Hardener & Base Coat 
  • Top Coat: Seche Vive Fast Dry Top
  • Sally Hansen InstaDri VaVa Violet**
  • Sally Hansen InstaDri Glos-Sea**
  • NailStuff.ca Dotting Tool Trio
  • Paper Hole Reinforcements

**Both purchased at Shoppers Drug Mart & currently in stock

How cute are these two colours together? My original plan had been to use Glos-Sea as the moon, topped with Va Va Violet but it was already pretty late at night, & I was feeling sleepy, so I decided a negative space moon would look great… & I was right! I think I like it even more than if I had used the blue for my moon.

What do you think about these negative space moons? Do you like this colour combination? What is your favourite colour combination together for a look like this? Let me know all your thoughts down in the comments below!

Have a happy Friday ♥︎