Mini Egg inspired Easter Nails (yep… again!)

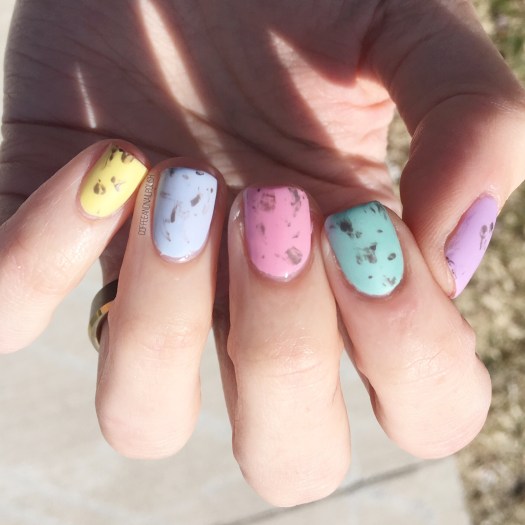
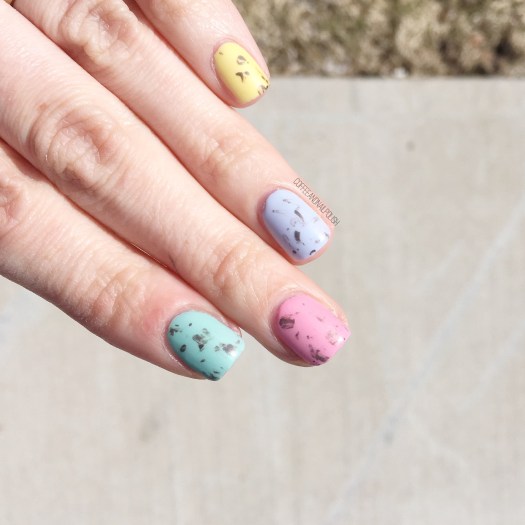
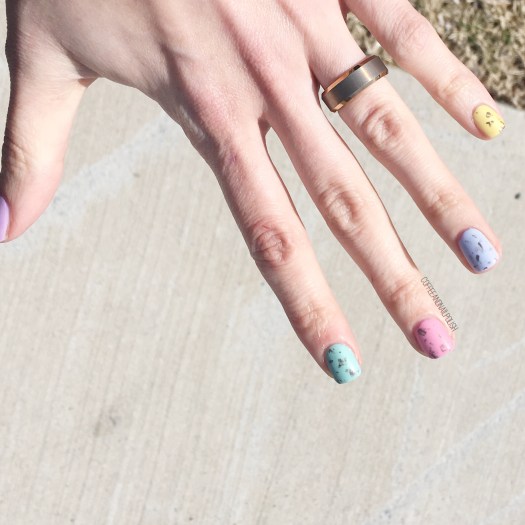
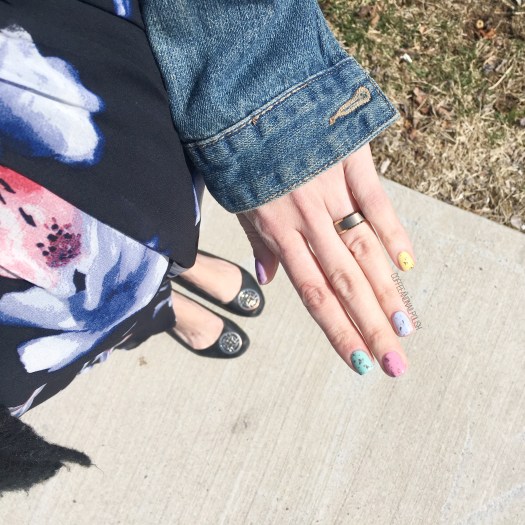
Good morning lovelies, & happy Friday. Today I’m prepping for Easter festivities with a brand new Easter design… & showing off this Mini Egg inspired look. This is definitely not the first time I’ve created this design, & I seem to return to it every couple of years because it’s a fairly easy “design” to create but it gets the point across!

Also who doesn’t love chocolate?

This look is super simple to do–all you need are your egg colours, the spots (I used a brown polish & Saran Wrap–I’ve seen others create this look using a black & white glitter topper which was awesome) & some matte top coat.

Easy Peasy. & awesome nails to rock for your Easter festivities which won’t cut into any family (or chocolate) time.

For this design, the polishes I used were:

  • Base Coat: OPI Nail Envy
  • Top Coat: Seche Vive
  • Matte Top Coat: Sally Hansen Miracle Gel Matte Top Coat -{PR sample}
  • China Glaze Sun Upon My Skin
  • Claire’s Matte Sorbet Blue
  • Claire’s Matte Sorbet Pink
  • Claire’s Matte Sorbet Mint
  • Claire’s Matte Sorbet Purple
  • OPI How Great is Your Dane?

Is the trick for me to get the spots right in the eggs is a light touch & minimal polish on the Saran Wrap. I crinkle it up extra & then don’t apply too much polish to the plastic so when I dab it down, you don’t apply too much polish to the area. You want just a few dots as opposed to a big splat.

Every time I do & redo this look, I think I love it even more. It’s just such an easy way to do festive nails, & the only downside is you have to fight the urge to eat your nails!

So what are you planning on wearing on your nails this weeekend? Share down below!

SWATCH SUNDAY — China Glaze IDK

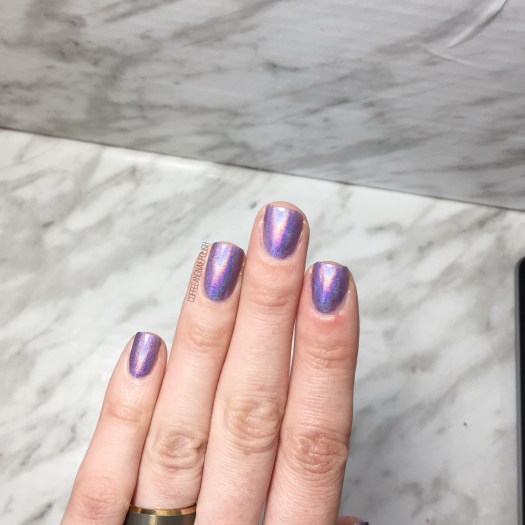
Hello lovelies! Getting in under the wire with a last minute Swatch Sunday post! It was sunny ☀️ today, so you know what that means — HOLO! & for today’s holo pick, I decided to grab a Polish I have yet to wear: China Glaze IDK! This purple holo was released last year as part of the China Glaze OMG Flashback collection & came into my life courtesy of @helloluli_ who sent me a whole slew of gorgeous polishes, including the majority of the OMG collection! & I am sad it took me this long to wear.

For my swatches, I did Base Coat, two coats of polish & finished everything with glossy top coat. In the bottle, the polish is very pretty. It’s not until you put it on your nails that the holo really comes through though! I was actually so impressed with the rainbow shift you get on the nail. I’d be lying if I said I didn’t kept getting distracted by staring at my nails.

Ugh, so pretty! Like just look at those rainbows. & even more exciting is this shade of purple is different than one of my other favourite purple holos Color Club Eternal Beauty.

& because you can’t truly appreciate it until you see it in the sunshine, a shot of my nails on our adventures today! It was so warm today & I got to wear a dress with bare legs. It was a very exciting day & I’m so happy for Spring to be here. Bring on all the holo!

Share what your favourite holo polish is down in the comments below!

SWATCH SUNDAY — China Glaze Turned Up Turquoise

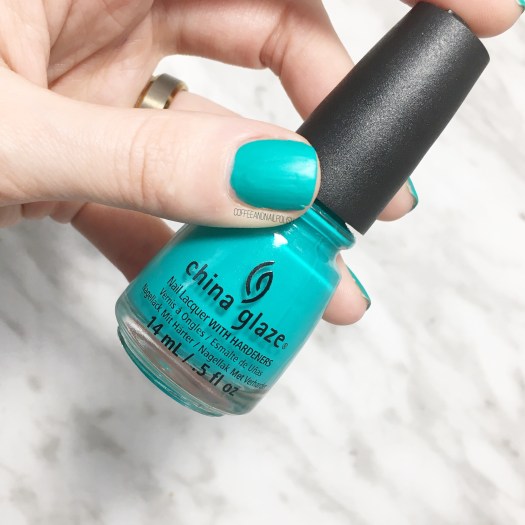
Good morning lovelies & welcome to another rendition of Swatch Sunday. Today’s polish is brought to you by my 2 year old who decides what colour I needed to wear. & his pick? China Glaze Turned Up Turquoise!

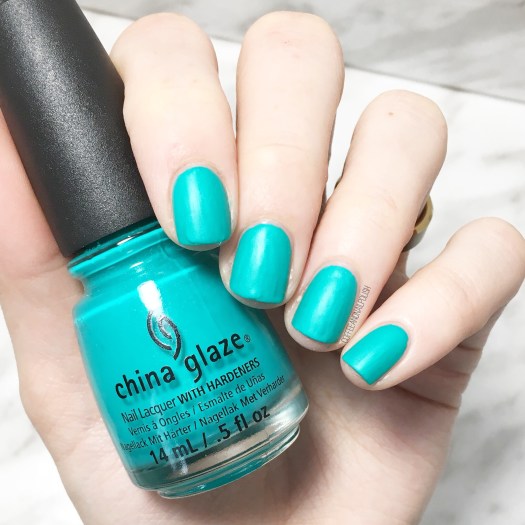
Turned Up Turquoise is a neon shade that dries to a very matte finish. For my swatches, I applied 2 coats over my base. The coverage was perfect but like any matte shade, it gets a little goopy the older it gets because matte polishes do dry faster than regular (in my experience) & my bottle is going on 5 years old.

Usually I apply a glossy top coat to my matte shades & then finish with a coat of matte top coat, but I really wanted to show off the true finish of this shade. As you can see, it dries down pretty well on its own, although it doesn’t hide the rough state of my current nails. If I was wearing this for a while, I would definitely top coat it & then either add my matte top coat or leave it glossy.

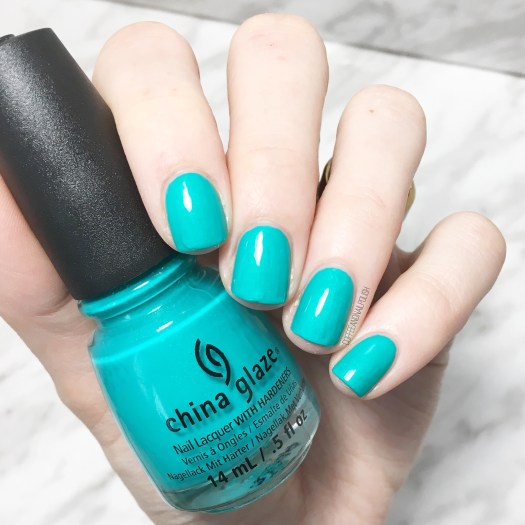
& speaking of glossy, I had to add some top coat to show off how gorgeous Turned Up Turquoise looks with Essie Speed Setter added.

As you can see, glossy top coat really adds to the shine of this shade. It also shows off the shimmer that gets kind of hidden when it’s matte. But honestly–I love this polish either way! It’s so pretty while left matte & it’s gorgeous when glossy.

My only complaint about this shade? It’s just so hard to photograph the true colour! It’s slightly more green-ish than you see in my photos, but from browsing the Internet I don’t think anyone can capture the shade truly. I think that just comes with it being a neon, as neon polishes can be difficult to photograph.

So what do you think of this shade? Do you have it in your polish collection? Which do you prefer — glossy or left matte? Let me know your thoughts down in the comments below!
Purple & Grey Saran Wrap Splatter

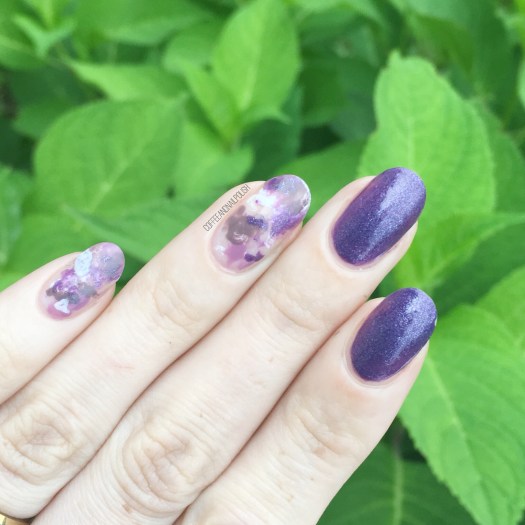
Hello lovelies! Hope everyone is having a good start to their week. Today I have a brand new nail look to share with you featuring one of my favourite easy nail art techniques–a Saran Wrap splatter. This time, I wanted a deeper more jewel toned colour scheme (because those Fall vibes are calling me) so I picked a few of my favourite Fall-ish shades for the occasion!

For those of you who don’t know, this whole look is created easily using crinkled up Saran Wrap/Plastic Bag. You paint you polish onto the crinkles up bag & then dab it into the nail. That’s how you create the “splatter” effect. I really love doing my splatter over a “naked” base, so that some of the natural nail comes through.

For this manicure, the polishes I used were:

  • Base Coat: OPI Nail Envy
  • Top Coat: Essie Speed Setter
  • China Glaze Grape Juice
  • OPI One Heckla Of A Color!
  • OPI Angel With A Lead Foot
  • Essie Merino Cool
  • Saran Wrap
  • Edge Perfection Cutcile Barrier

Can you believe it’s almost the end of August?! I can’t. Where did our Summer go? Pumpkin Spice lattes are officially back, which I think we can all agree means that it’s officially Fall. & that means it’s going to be all about deep dark nails over here! Ooooh & Halloween. I cannot wait to create some Halloween nails too!

What do you think of this splatter look? Which colour combination would you love to see? Share down below!

Cactus Accent Nails 🌵💅🏻

Happy Thursday! It’s been a while since I rocked any cactus nails, & I was craving some vibrancy. I don’t often reach for green polish when painting my nails, but I’ve been trying to get out of my comfort zone. Keeping with that, I decided to pull a green (textured) polish from deep in my stash that I haven’t worn in too many years to count, & paired it with some cute cacti on my accent nails!

Polishes I used for this design were:

  • Base Coat: OPI Nail Envy
  • Top Coat: Essie Speed Setter
  • LA Girl Sand Blast Nail Polish in Green Island
  • China Glaze What’s She Dune?
  • Essie First Timer
  • Essie Off Tropic
  • Deborah Lippmann She Drives Me Crazy
  • Essie A-List
  • OPI I Eat Maine-ly Lobster
  • Small detail brush (from Bundle Monster)
  • Small dotting tool (from Bundle Monster)

Sadly I kind of hid the texture of LA Girl Green Island with my top coat, but it came through a bit. This was my very first textured polish, back in the very early days of my nail art. It was also the beginning of my obsession with finding nail polish deals at Lawton’s—I remember scoring it & a blue Sand Blast Polish for only a dollar. & so began my obsession with finding old polishes at awesome deals. & I still hate spending full price for polish to this day!

Also I love creating these little freehand cactus. Still on the search for some cactus nail vinyls, because I’m a little cactus obsessed, but in the meantime I don’t mind freehanding my cacti. I also just picked up a new stamping plate from Essence with a cactus on it, so stay tuned as I plan on trying it out soon (hopefully this weekend!)

What do we think of this design? Do you still have any textured polishes in your stash? Let me know down in the comment below!