Witchy Thermal Half Moons

Hello lovelies & happy Thursday!

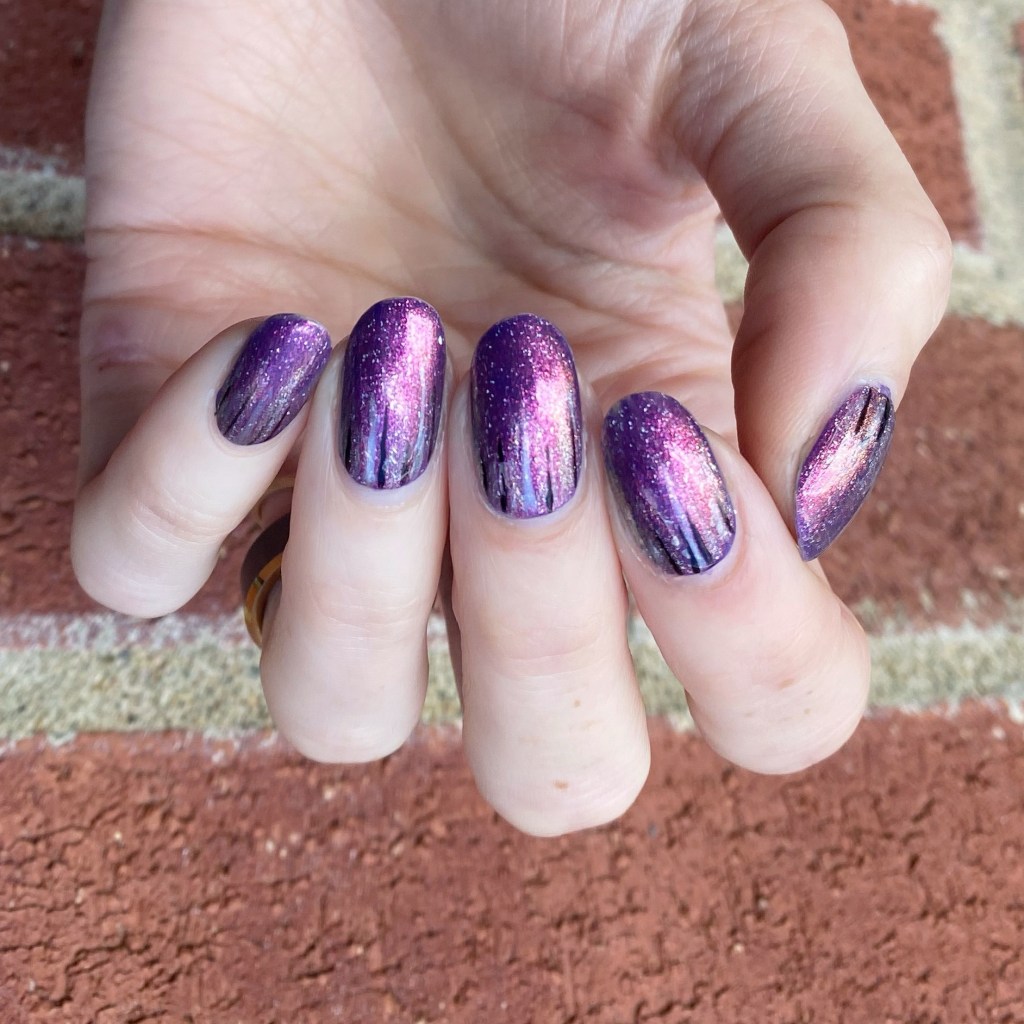
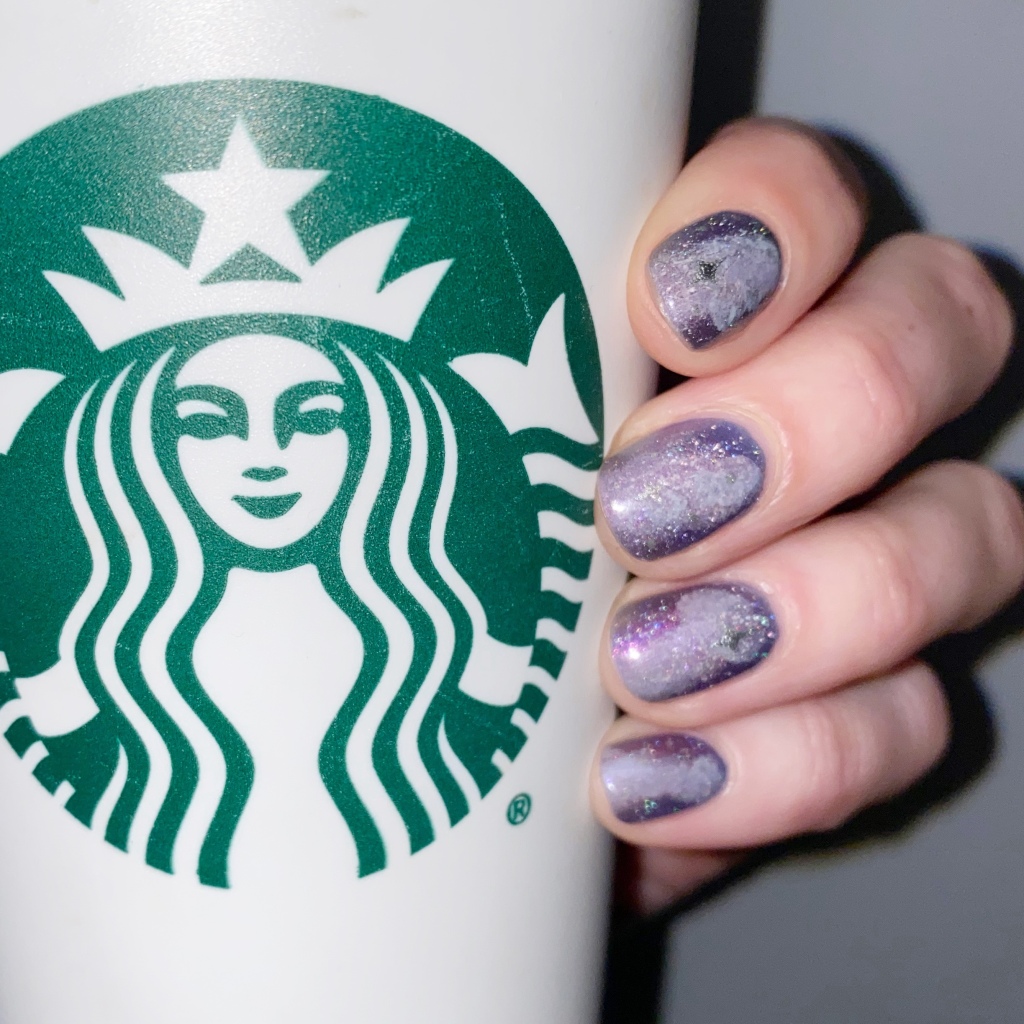
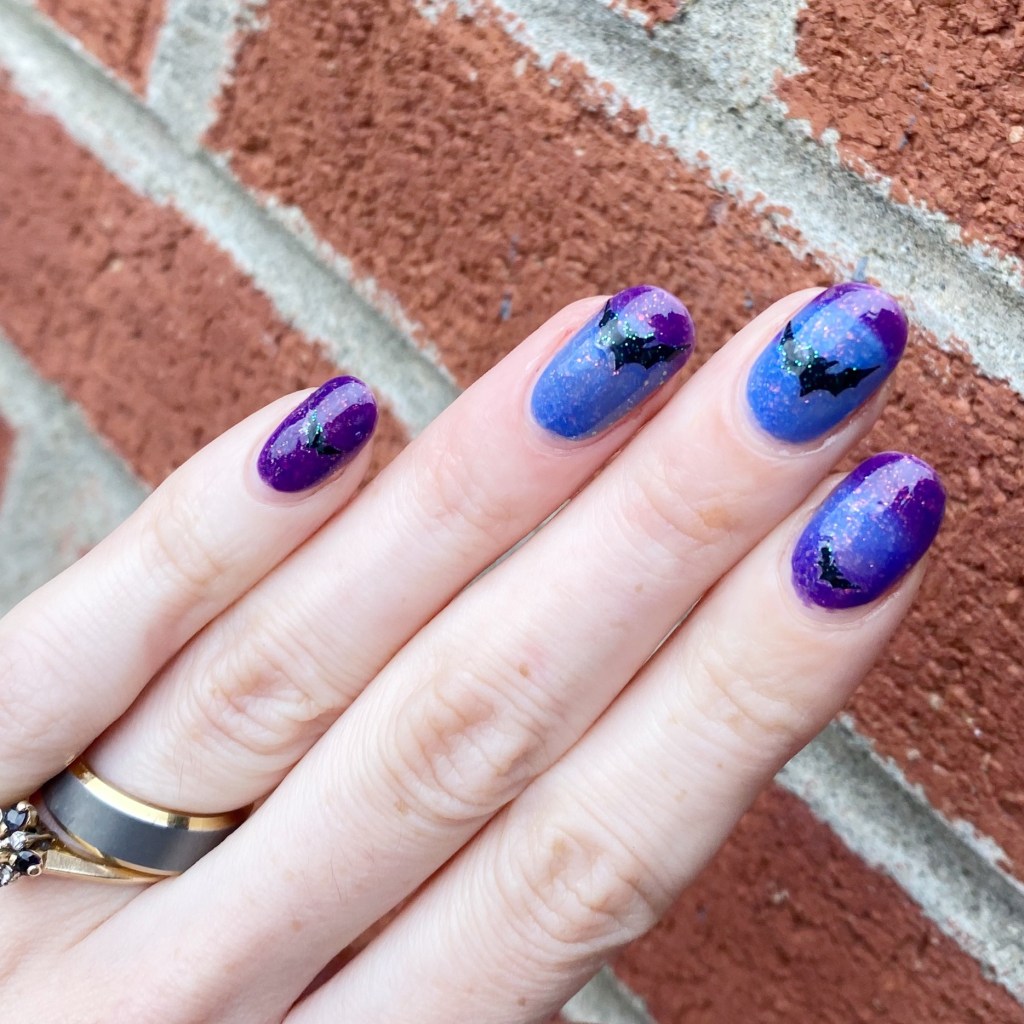
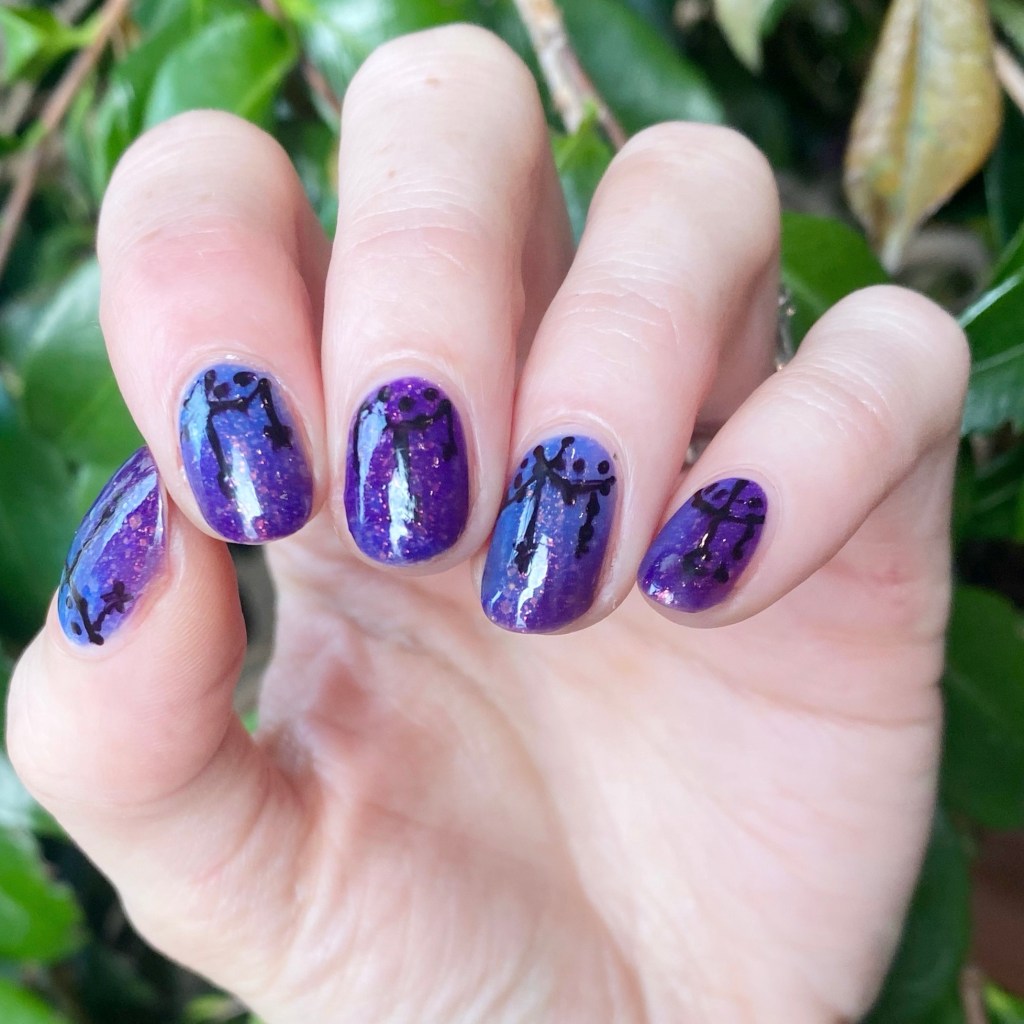
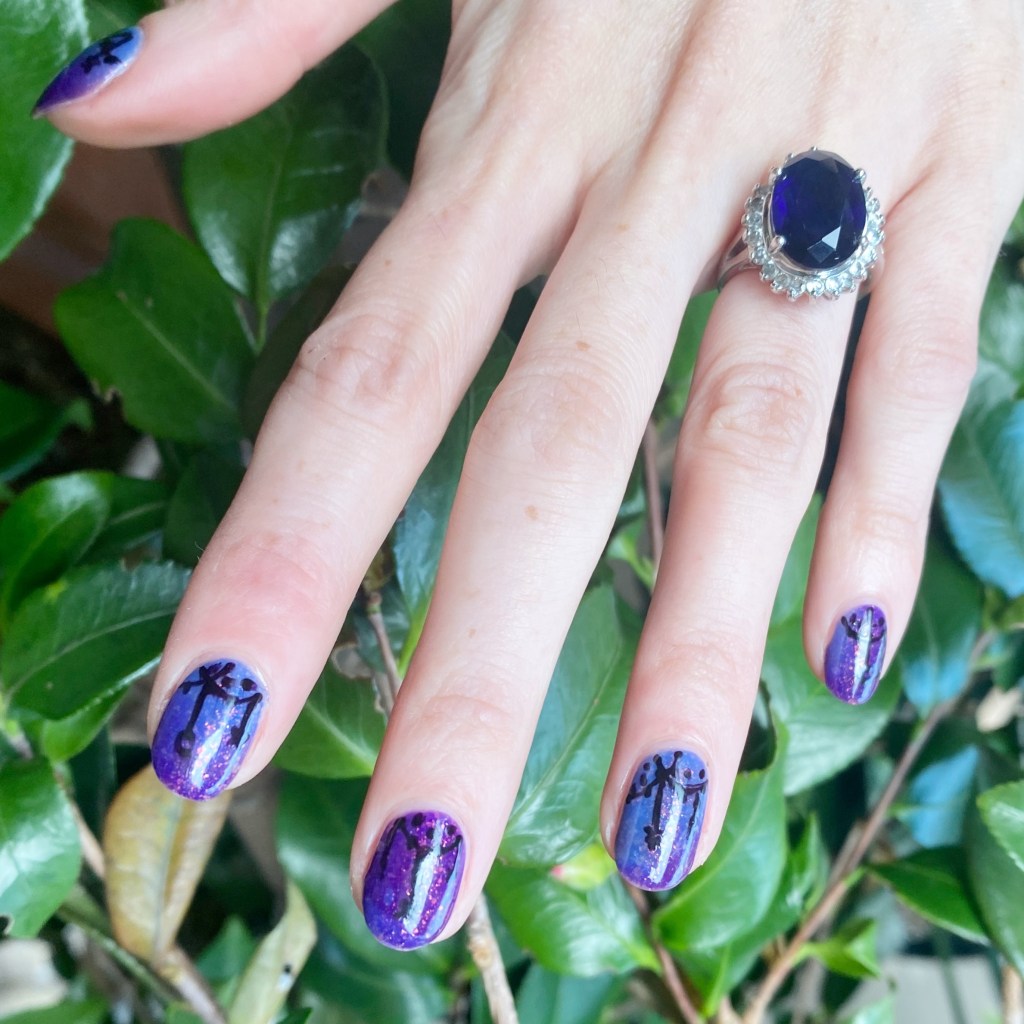
Surprise — another post this week, with some Halloween adjacent nails. These are less spooky, & more aesthetic— with a bit of nail Polish magic. I wanted to create some kind of witchy design over a thermal polish, which would be sort of revealed, & I think I was successful! ✨

The polishes I used for this manicure are: 

  • Top Coat: Sally Hansen InstaDri Top Coat (red bottle) 
  • Base Coat: Essie Hard to Resist (purple)
  • Cadillacquer Nostalgia
  • OPI Lincoln Park After Dark
  • NailStuff 7mm Mermaid Tail Brush

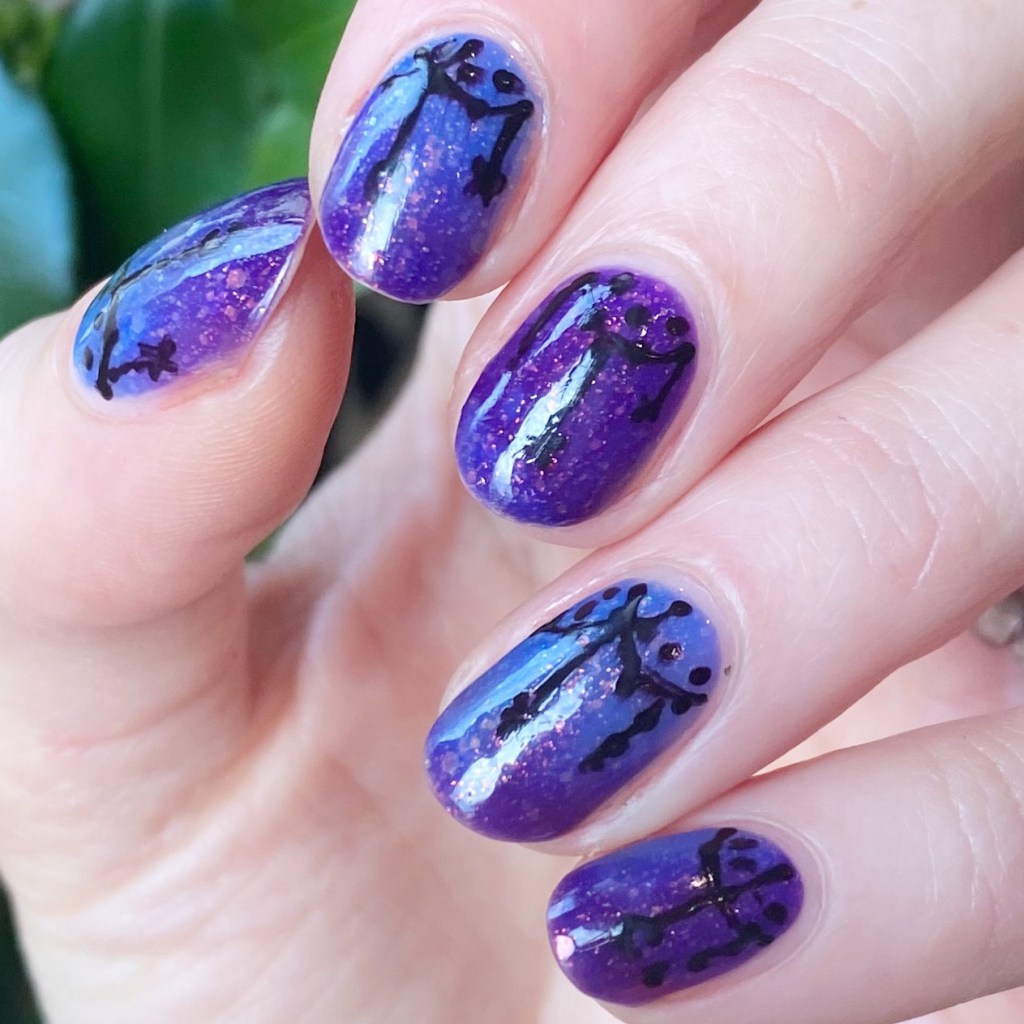
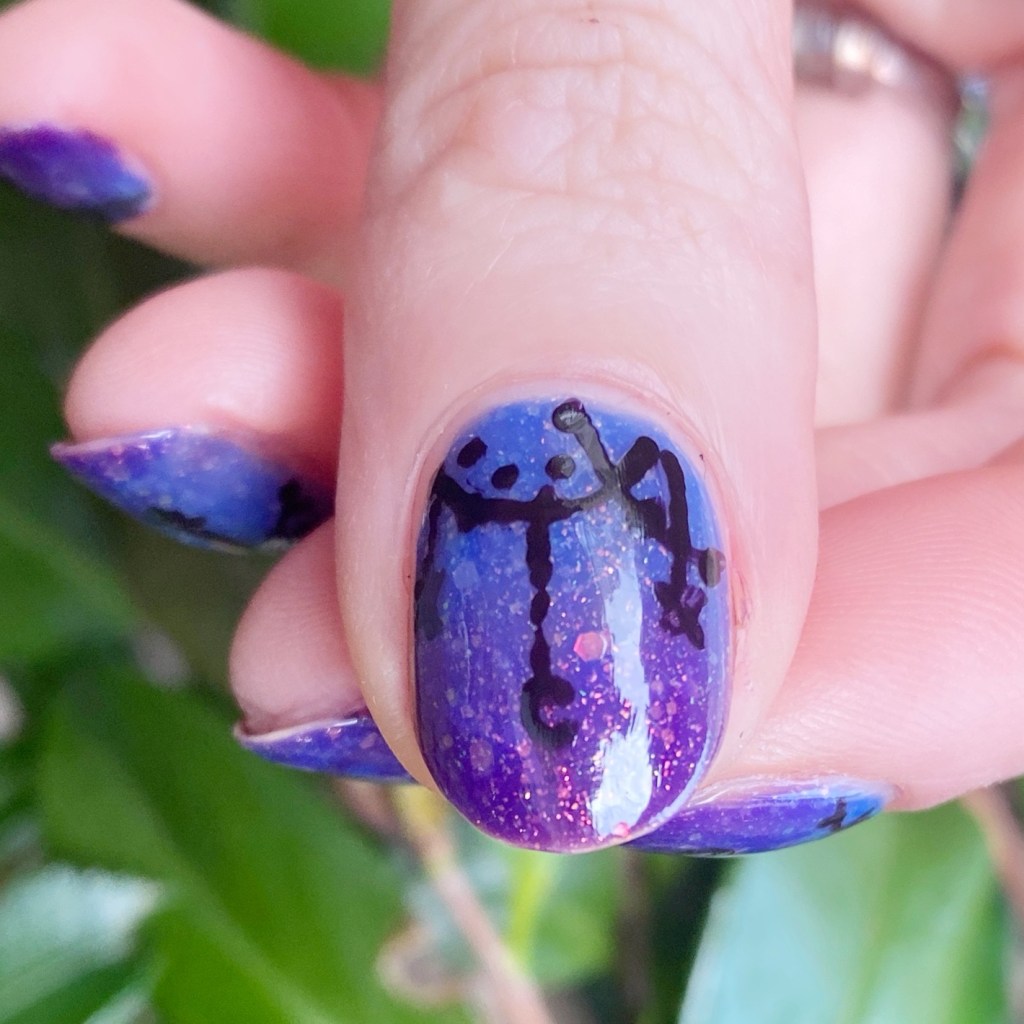
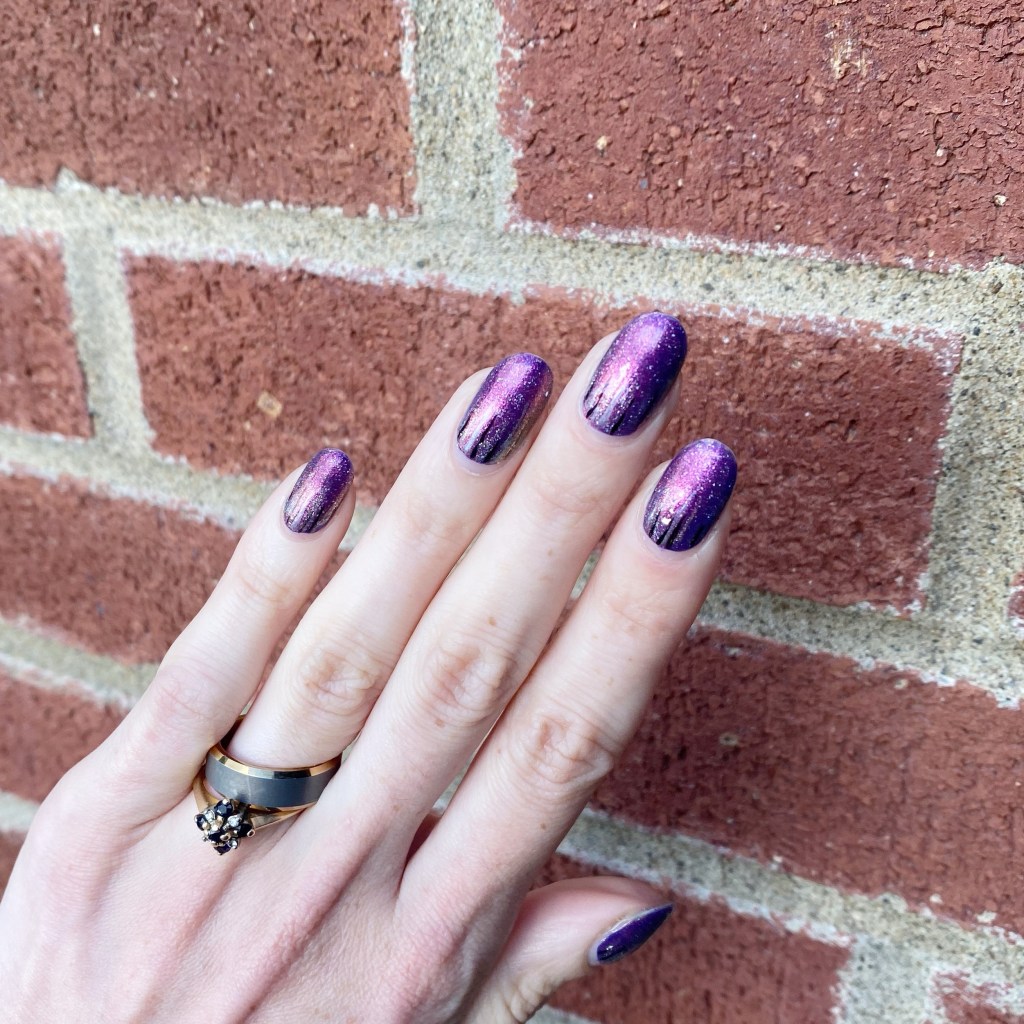
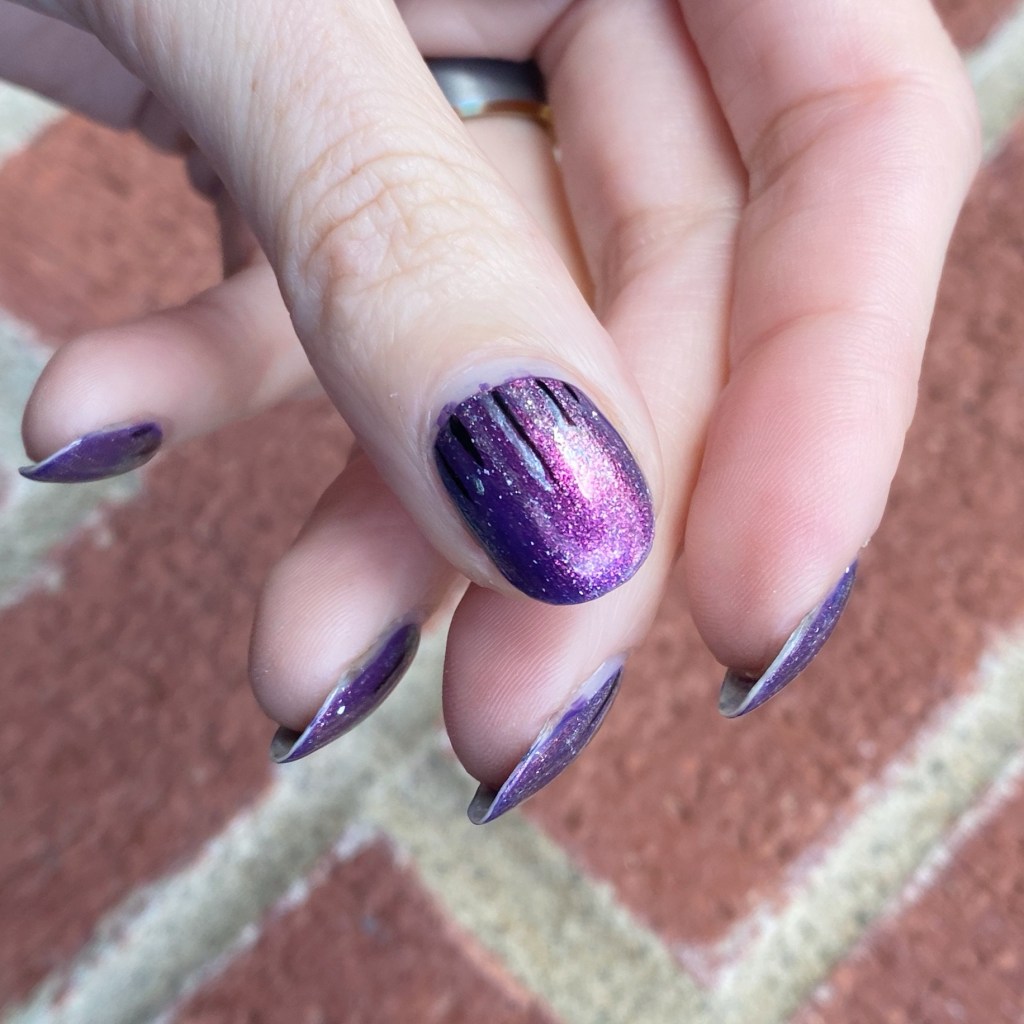
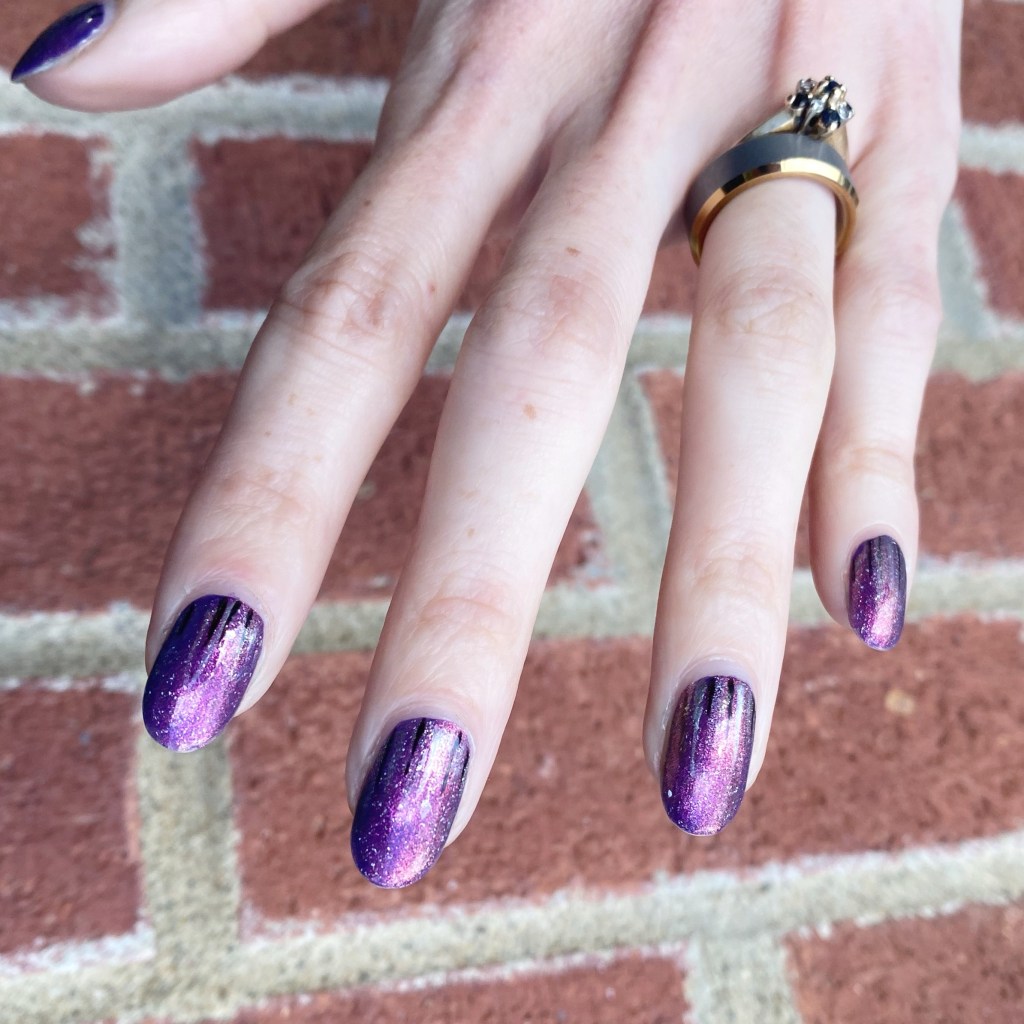
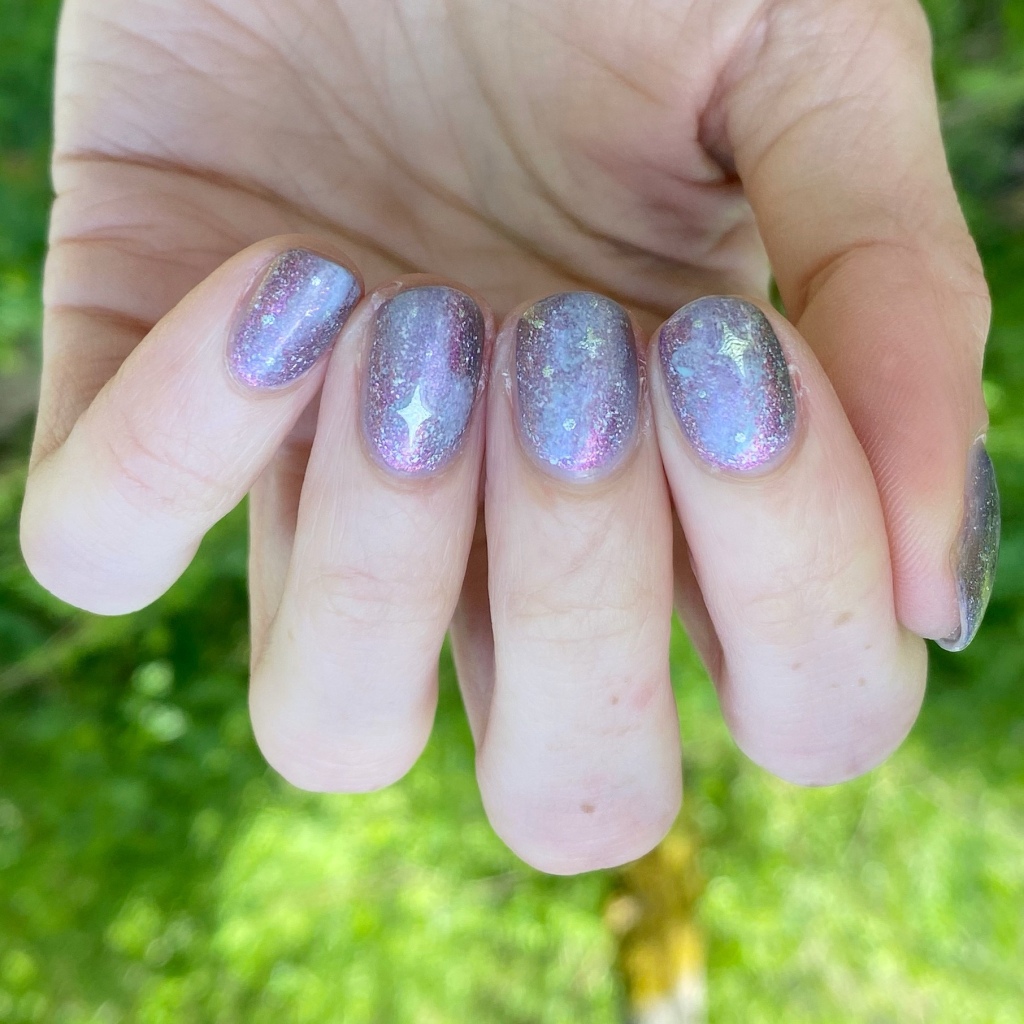
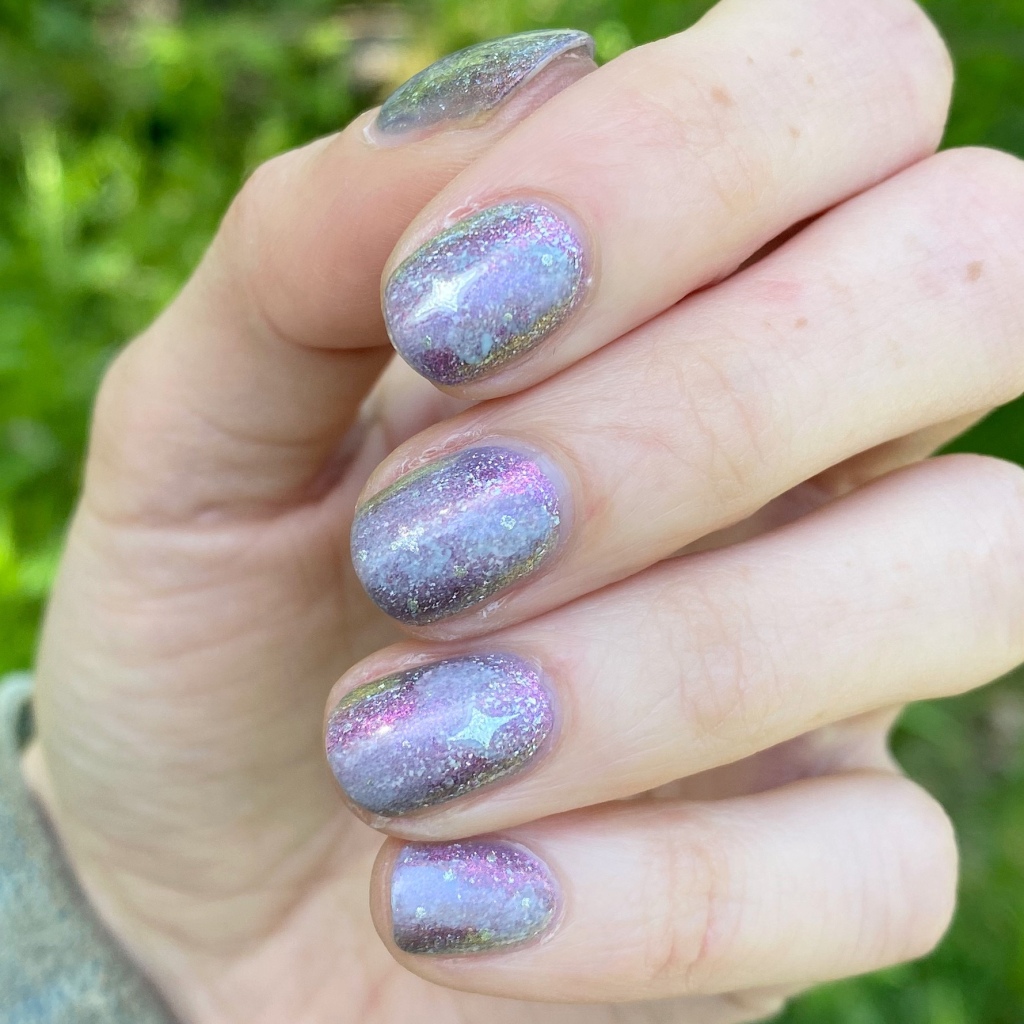
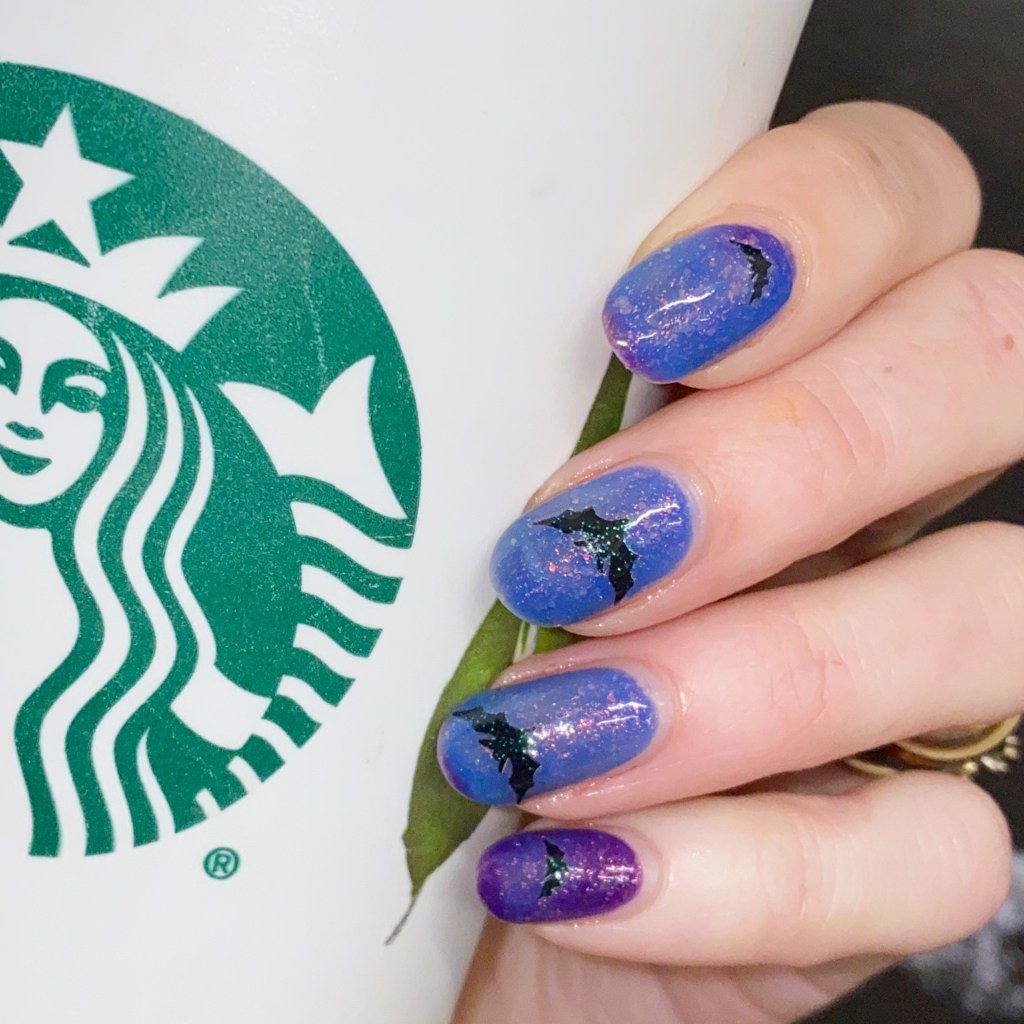
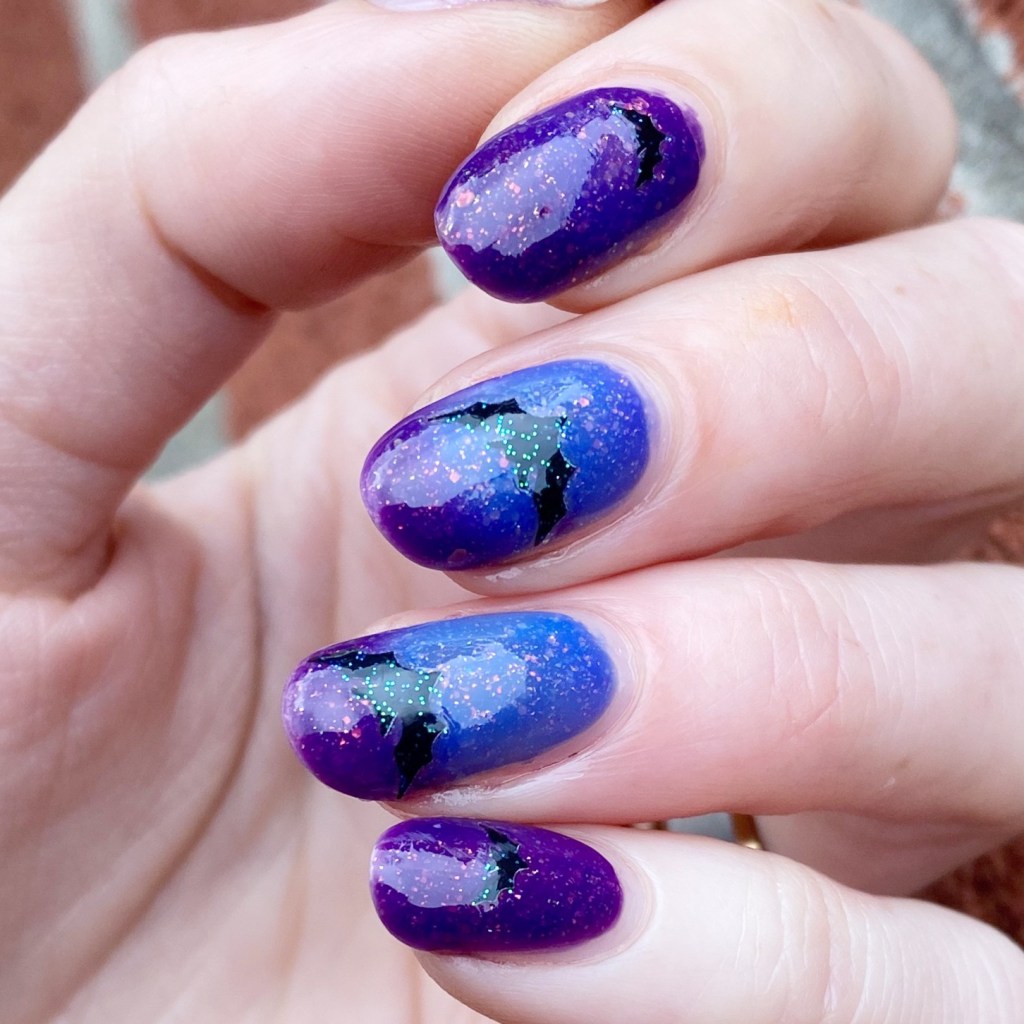
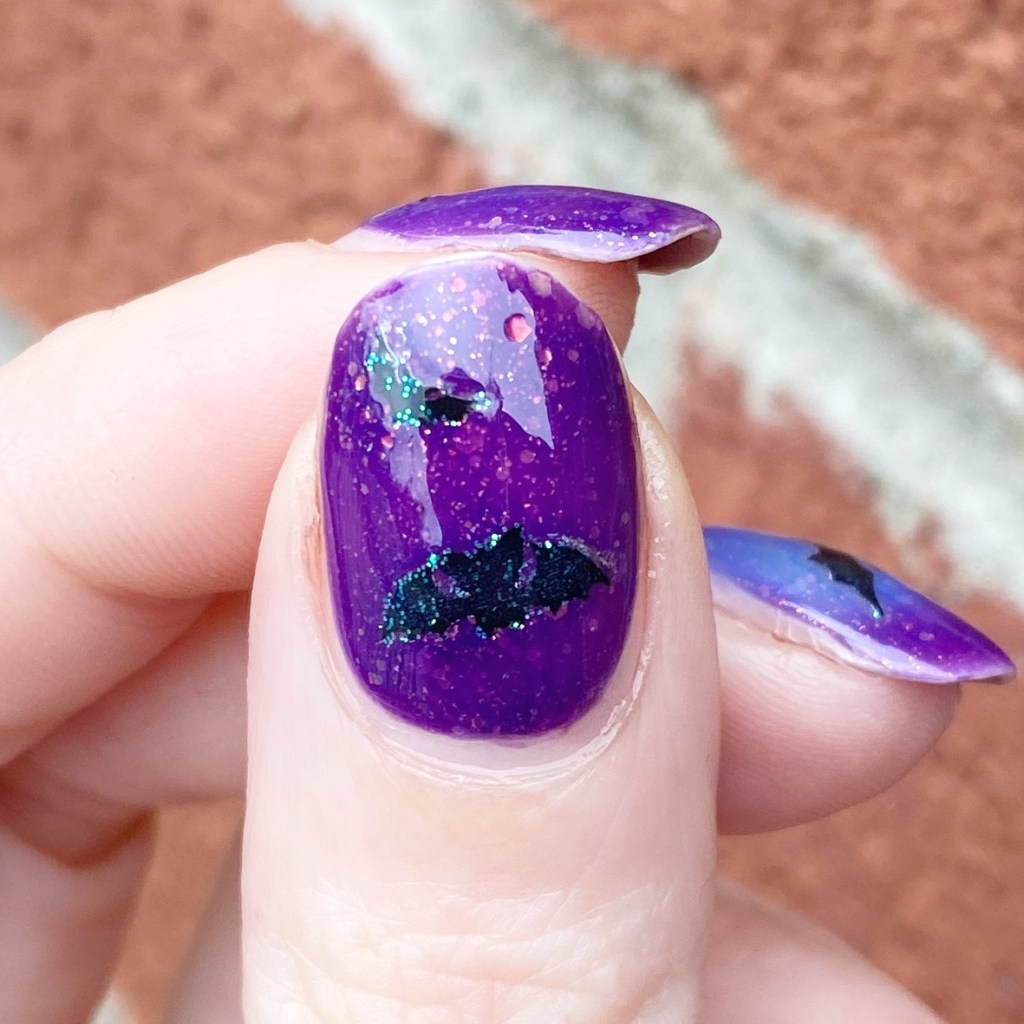
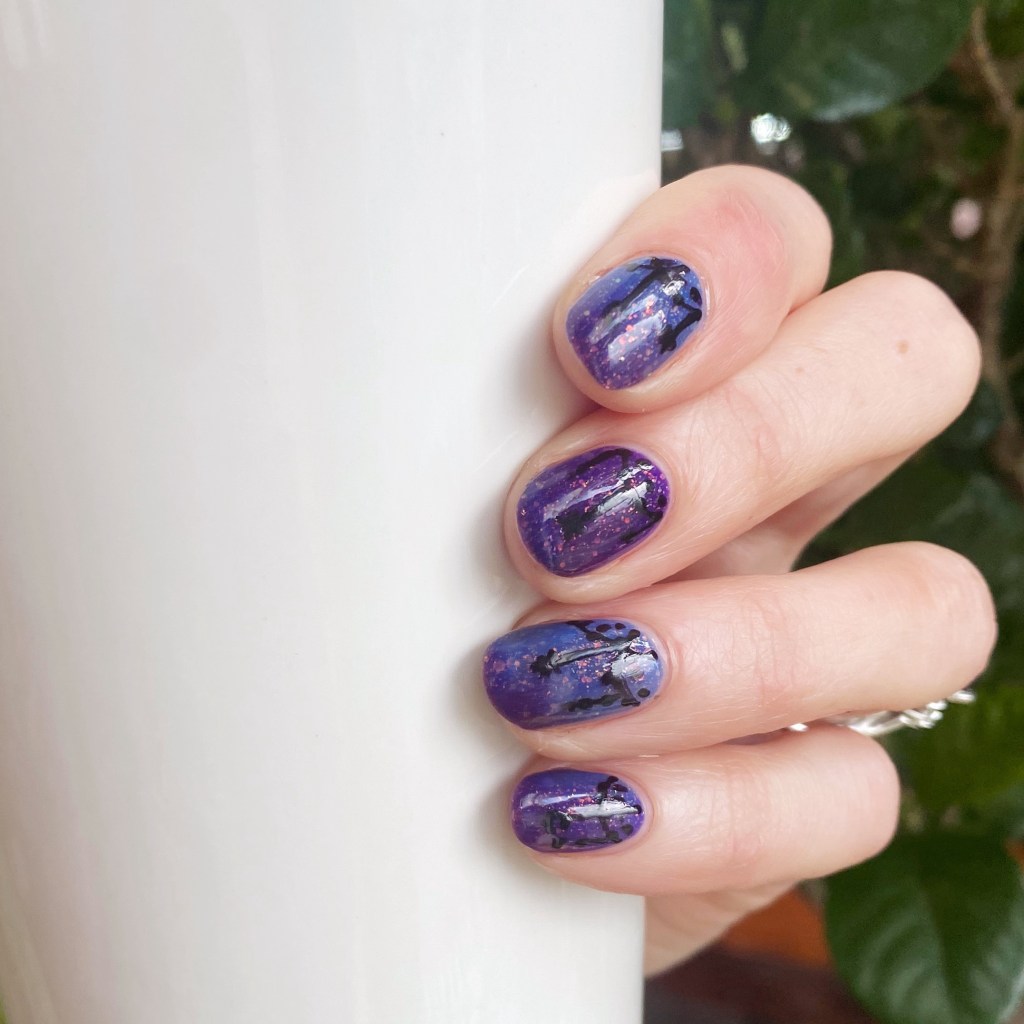
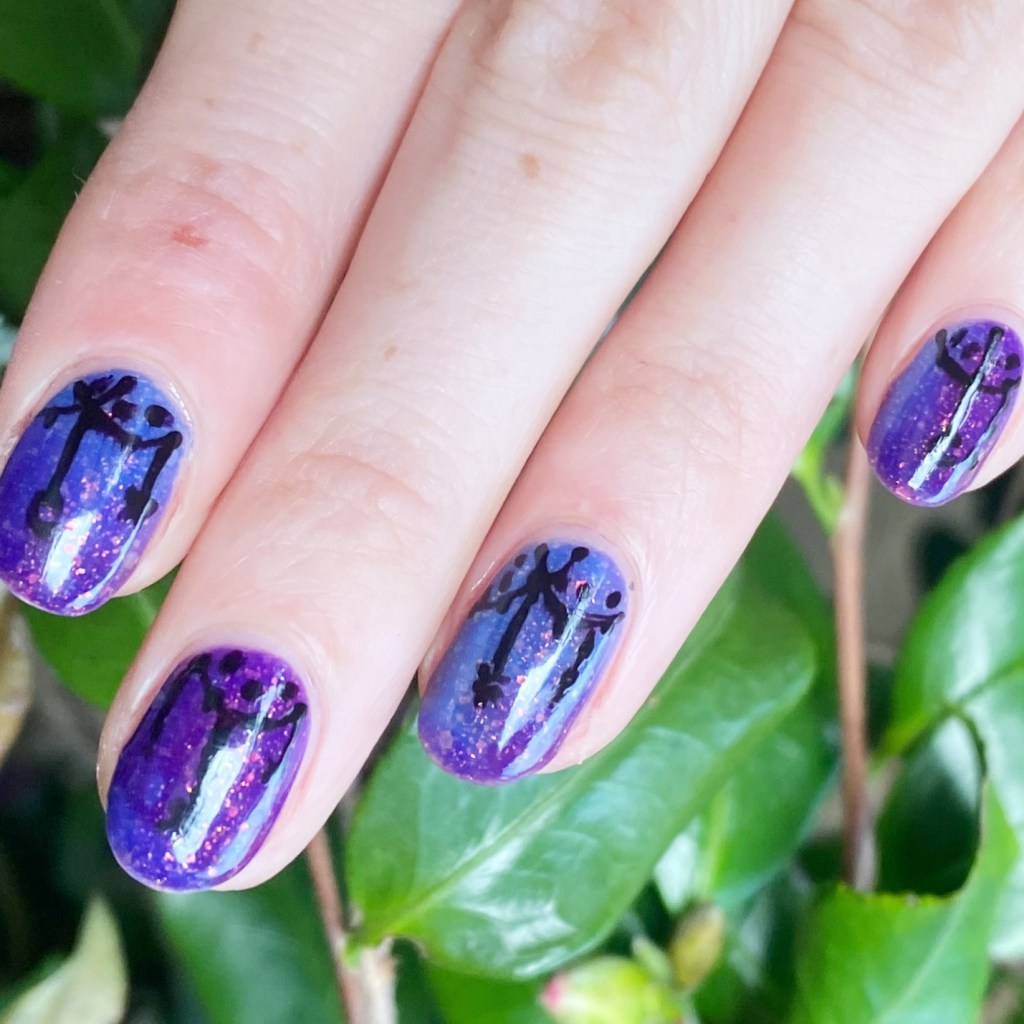
I tried to freehand a kind of witchy design at my cuticles, which I think turned out very cool (although I wish it were a smidge daintier). That way, when my hands heated up & went the lighter blue, it would be kind of “revealed” on my nail. Like magic. ✨

& I love absolutely everything about them. Now if only they could give me the powers to make Halloween last a little bit longer — it feels like it’s just slipped away!

What do you think of these witchy aesthetic half moons? Do you like the thermal polish reveal? Let me know all your thoughts in the comments below & let me know what Halloween manicure you plan on wearing tomorrow!

Happy Halloween Eve! 🎃

Happy Birthday Waterfall Nails 💖🧁💅

*includes PR

Hello lovelies & happy Tuesday. & happy day after Canadian Thanksgiving. I’m sure my fellow Canadians are also feeling the post-holiday food coma.

Today is my birthday, so I wanted to do some special nails for the occasion. & when thinking about what nail polish I wanted to wear, there was only one that came to mind: Cadillacquer Lavender Sunset — the NailStuff exclusive shade released earlier this year. & I finally tried layering it over a darker base, which I’ve been meaning to try for a while & it looks absolutely spectacular!

The polishes I used for this manicure are: 

  • Base Coat: NailStuff Essentials Base Coat
  • Top Coat: Nail Stuff Essentials Quick Dry Top Coat
  • Cadillacquer Lavender Sunset
  • OPI Infinite Shine Mariachi Makes My Day (layered under Lavender Sunset)
  • NailStuff Essentials Holographic Top Coat
  • Essie Nail Art Studio Cosmic Chrome
  • Essie Separated Starlight
  • Essie Birthday Girl
  • Quo by Orly Black Striper
  • Nailstuff Mermaid Tail 7mm liner brush

So, with full disclosure, this was not originally the design I had planned for my birthday nails. I saw a cool manicure online that I loved, but apparently when I went back to find it… I had forgotten to save it. So when I attempted it from memory… things did not turn out the way I planned.

This was actually design attempt #4… maybe #5. I’ll be honest… I lost count.

But you know after all the hassle & frustration, I actually love how these ended up looking! So I guess it was all worth it. When all else fails, pull out some sparkly polishes & create a fun waterfall look!

What do you think of these birthday nails? Would you wear this sparkly waterfall look?

Let me know what you think! & have a beautiful day.

🖤

Glittery Pastel Galaxies 🌌✨

Hello loves & happy Tuesday! I hope everyone’s week is starting off well. &, if not, that it improves from here on out.

Today I’m sharing some new nail art with you on my baby nails, & it’s a nail art design I don’t think I’ve done for a while: galaxies. 🌌 I was wearing a beautiful glittery nail polish base, & wanted to do something fun overtop. After some time browsing on Pinterest & Instagram for ideas, I decided that a pastel galaxy look was the perfect choice!

The polishes I used for this manicure are: 

  • Base Coat: China Glaze Calcium Gel Fortifer
  • Top Coat: Seche Vive
  • Cadillacquer Lavender Sunset (NailStuff.ca exclusive) *gifted
  • Starrily Space Debris
  • Sally Hansen InstaDri Lavish Lavender
  • Sally Hansen Miracle Gel Crying Out Cloud *gifted
  • Sally Hansen Miracle Gel Buffalo Nickel
  • Icing Stores Nail Art Stickers from 2015 (these are similar)
  • Latex Free Make Up Sponge
  • Nailstuff.ca Mermaid Tail 7mm liner brush *gifted

Okay I’m kind of obsessed with these. The base of Lavender Sunset topped with Space Debris is already very eye catching, & then you add this pastel galaxy over top & it’s perfection!

I’ve had these stickers from Icing forever (like 2015-ish) but I haven’t really used them. But they made creating stars for my galaxy so easy, then I just added a few dots of Buffalo Nickel so complete it! Bam — the easiest galaxy nails you can create.

What do you think of these glittery pastel galaxies? Is this a look that you would rock? Let me know all your thoughts in the comments below & share what design you’d like to see next!

Happy Tuesday 🖤

Thermal Floral 🌸🌿

Don’t hate me! I know it’s been quiet around here & I seriously suck. It’s been a busy month, & as a result blogging has been a bit paused lately. But I’m trying my best to come back! & I have a bunch of manicures saved up to share!

Today — floral. Yes, again. 🌿🌸 I’m obsessed, what can I say.

The polishes I used for this manicure are: 

  • Base Coat: China Glaze Calcium Gel Fortifer
  • Top Coat: Seche Vive
  • Cadillacquer Nostalgia (Thermal)
  • Sally Hansen I 💗 Nail Art Pen Pink
  • OPI Nature Strong Emflowered
  • Essie Swoon in the Lagoon
  • OPI Nature Strong Make My Daisy
  • Essie Willow in the Wind
  • Sally Hansen I 💗 Nail Art Pen in green
  • OPI Gelato On My Mind
  • Essie All the Wave
  • Sally Hansen I 💗 Nail Art Pen Purple
  • Nailstuff.ca Mermaid Tail 7mm liner brush
  • NailStuff.ca Dotting Tool Trio

Originally I didn’t plan on painting floral in every finger, but once I started I just kept going & created this cute little garden on my nails. I’m so happy I did, too, because the look is just so Spring-y & fresh. I also love that the base is a thermal, so it changes depending on the temperature of your fingers.

What do you think about this floral design? Is it feel warm & Spring like where you are? Let me know all your thoughts down in the comments below! & tell me what your favourite Spring polish is right now.

🖤

Batty Thermal Halloween Nails 🦇

Hello lovelies & happy Halloween! I couldn’t not try to sneak at least one more quick design in before Halloween was over. After all, Halloween is my most favourite holiday.

This look is a quick & easy one, using those Dollarama nail art stickers I’ve been gushing about all month. I had this idea of doing dark bats over a thermal polish — & I just love how they turned out!

The polishes I used for this manicure are: 

  • Base Coat: Essence Colour Grip Base Coat 
  • Top Coat: Seche Vive
  • Cadillacquer Nostalgia
  • Dollarama Halloween Nail Art Stickers

This is a super simple Halloween look — the thermal effect of Cadillacquer Nostalgia really does all the work. It’s been particularly cold recently, so I had to rest my hands against some hot coffee in order to show off the shift between colours — & you can kind of see how it transitions back to cold in these shots which is cool.

I hope everyone has a happy, happy Halloween! I’m looking forward to trick or treating with my kids tonight, & soaking in every last minute of my favourite holiday. & there will definitely be some sour patch kids enjoyed this evening!

♥︎ Stay safe & have fun!