SWATCH SUNDAY— Starrily Cobalt (Co) {Noble Neons Collection}

Contains PR/gifted product from NailStuff.ca

Hello lovelies & happy Sunday! & happy one week to Christmas Eve! Who else is feeling the last minute crunch of Christmas? Today though, I’m excited because I have a brand new (to me) polish to share with you that was recently gifted to me by my nail polish fairy godmother Victoria at NailStuff.ca.

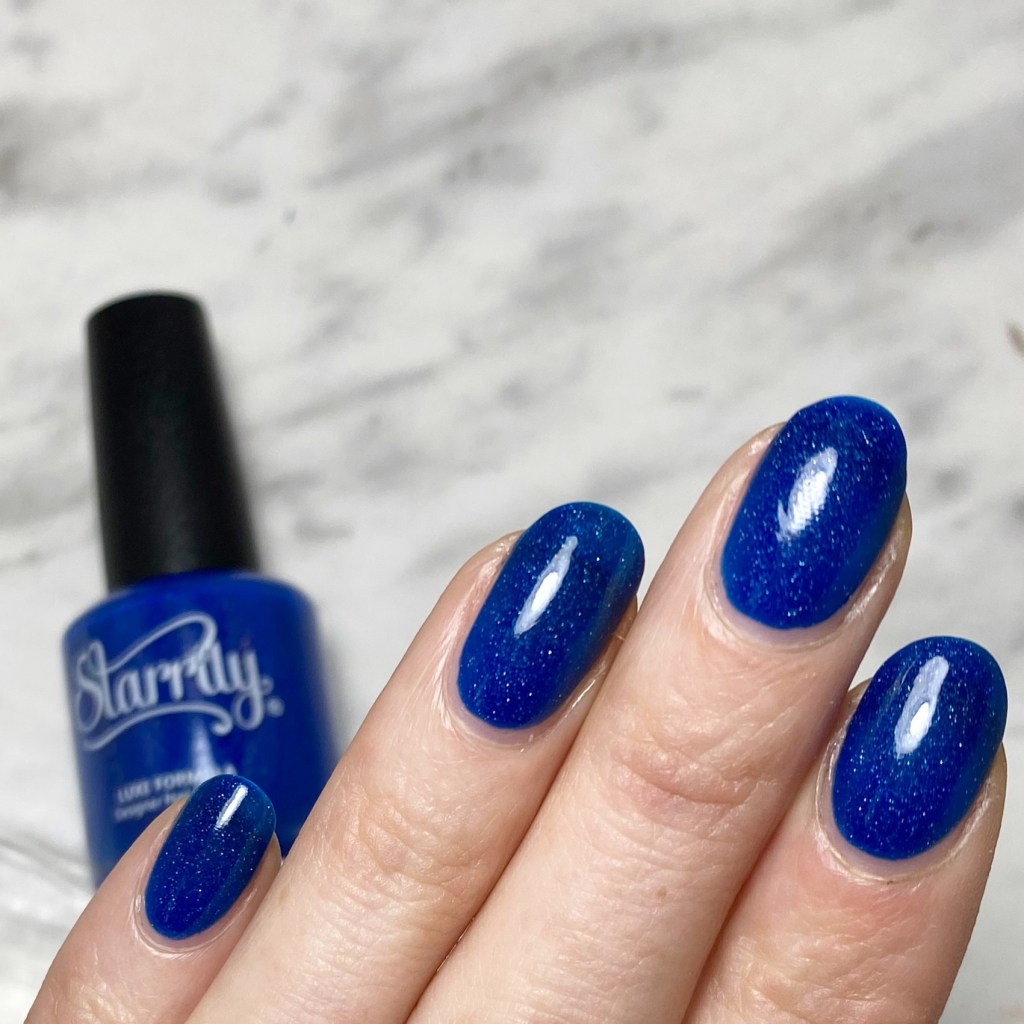
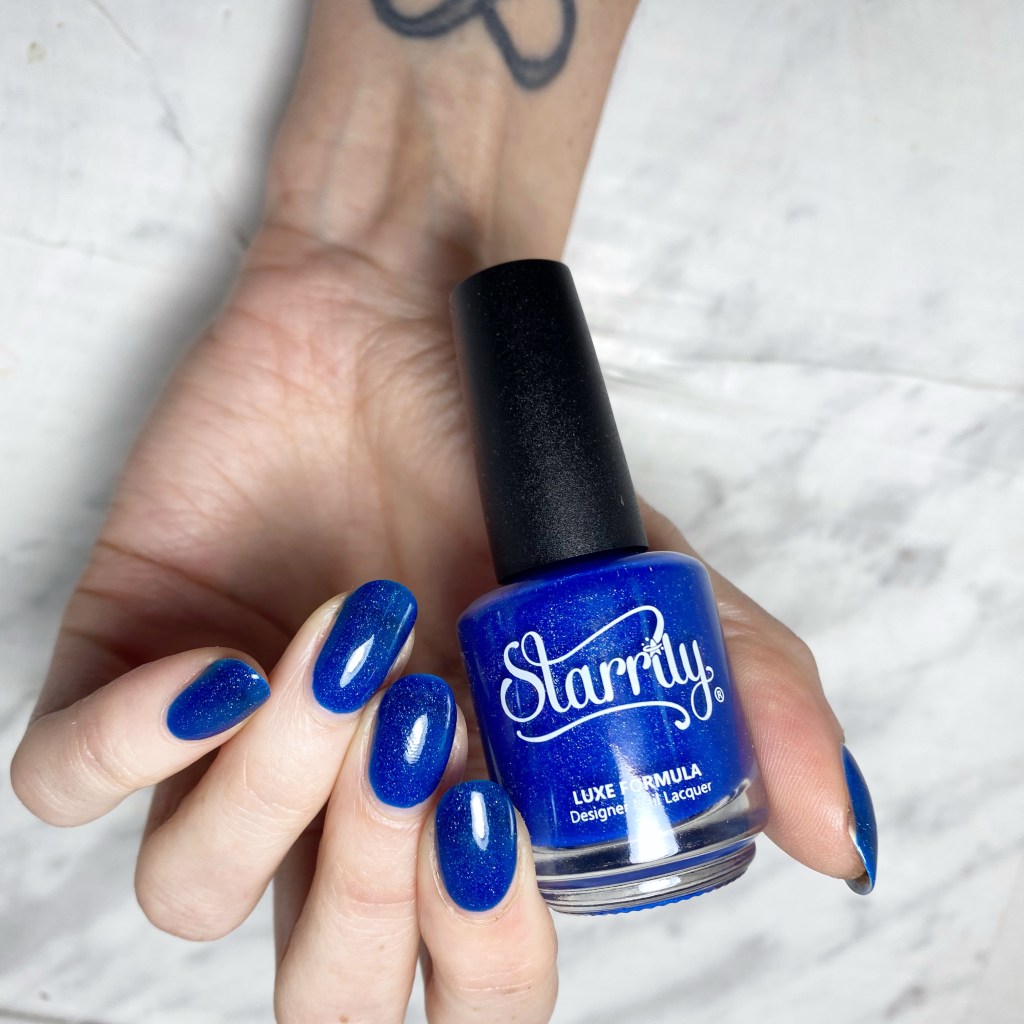
This is Starrily Cobalt (Co) from the Noble Neons collection.
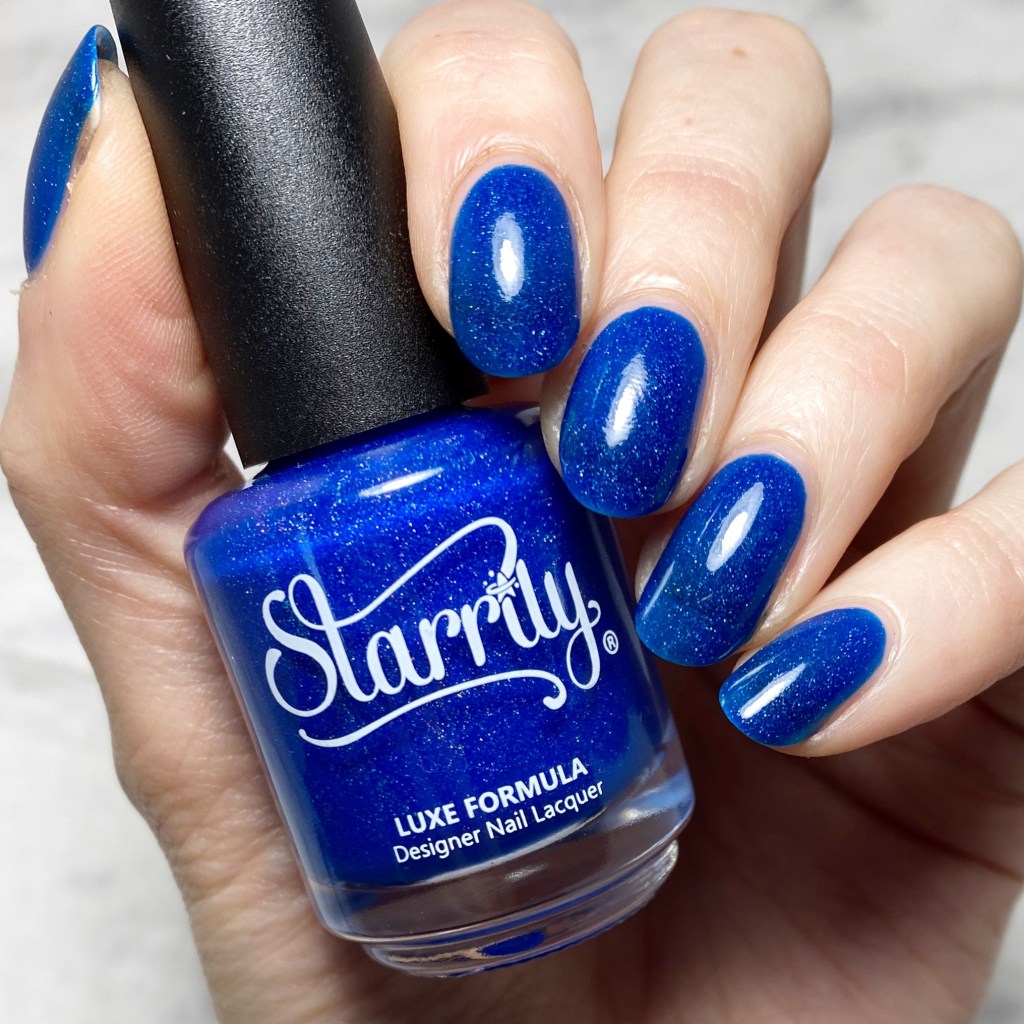
2 coats + top coat

This beautiful & vibrant neon blue has a jelly like base with a scattering of holographic flakes for a sparkling effect. You can build it to opacity, like I did, or wear it over a white base for more of a pop. It does dry to a semi matte finish, like a lot of neons tend to do, so it’s best to finish it off with a glossy top coat.

Formula was smooth, easy to work with, & not too thin so I managed to achieve a good opacity with 2 coats. There is still a touch of visible nail line, but I feel like with a polish like this that’s not a bad thing.

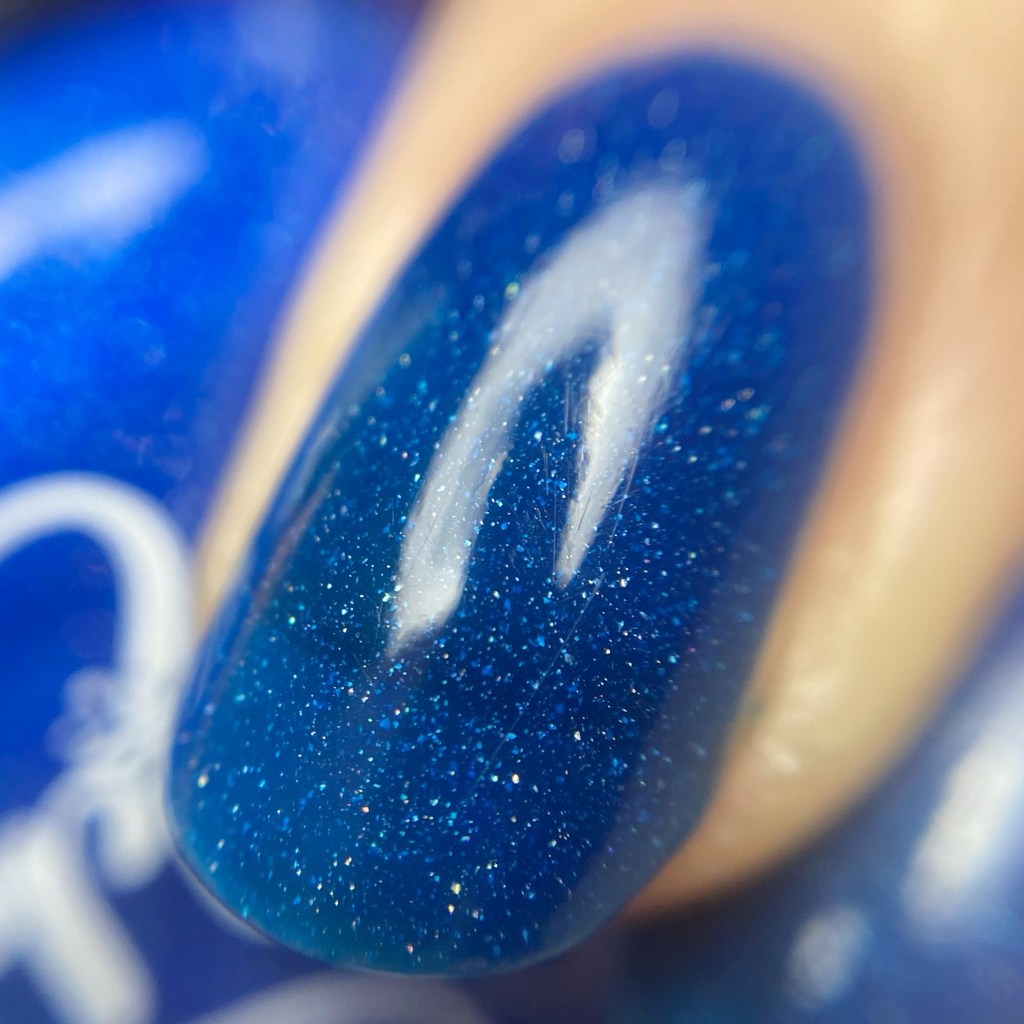
As you can see from the macro shot above, the polish has a good density of holographic glitter. It doesn’t overwhelm it, but you get a good sparkle on the nail.

For those looking to add this colour to their own collection, I know it can be purchased from NailStuff.ca or from Starrily directly.
What do you think of Starrily Cobalt (Co)? Would you wear this holographic neon blue? Does anyone else consider blue nail polish a Christmas colour? Let me know all your thoughts in the comments below!

Happy Sunday! 💙

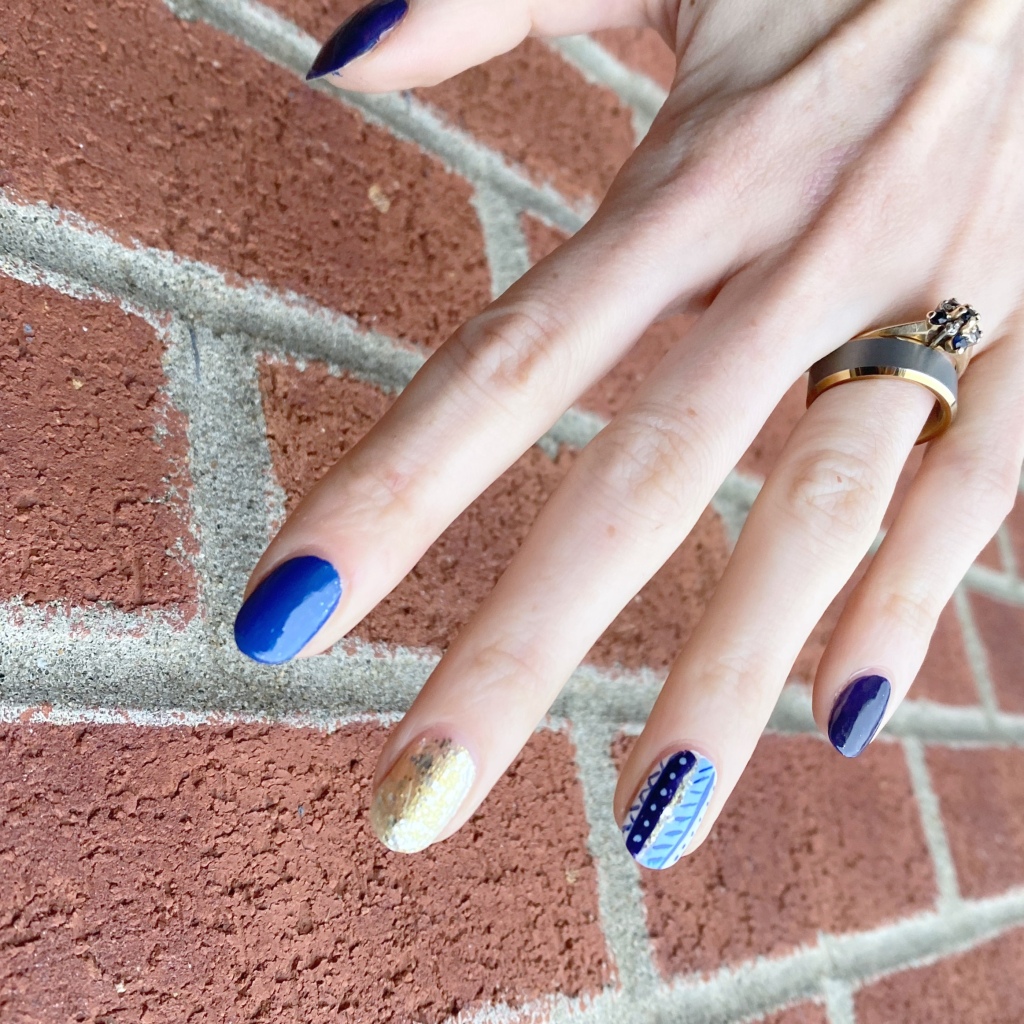
Winter Sweater Accent Nail

Hello lovelies & happy Monday! It’s a brand new week already, & December is looming. While I’m brainstorming all the nail art I’m planning for December, I thought I would throw things back with a simple accent nail that reminds me of my early nail blogging days (circa 2015).

I used to be obsessed with these freehand sweater/aztec inspired accent nails, so I thought it would be fun to do one — especially as I was struggling with nail art inspiration the other night.

The polishes I used for this manicure are: 

  • Base Coat: Sally Hansen Miracle Gel Colour Grip Primer Base Coat 
  • Top Coat: Seche Vive
  • Essie No More Film
  • Essie All The Wave
  • Essie Hors d’Oeuvres
  • Essie Blanc
  • Essie Bikini So Teeny
  • NailStuff.ca Mermaid Tail Nail Brush Trio (11mm liner brush, 7mm liner brush)

I feel like these are giving off fun sweater vibes, & I like the combination of blues together. I was just going to do a simple skittle look with the different blues, but I decided I wanted it to be more exciting than that!

The end result turned out so fun! I haven’t had as much time for freehand nail art lately, so I really need to start playing around more often. I miss my freehand nails, so I’m definitely going to make more of an effort. Maybe I’ll redo this design in December with a Christmas-y colour scheme, & call them Ugly Christmas Sweater nails.

What do you think of today’s nail art look? Are you a fan of these simpler accent nail designs? Let me know all your thoughts down in the comments below!

🖤 Happy Monday!

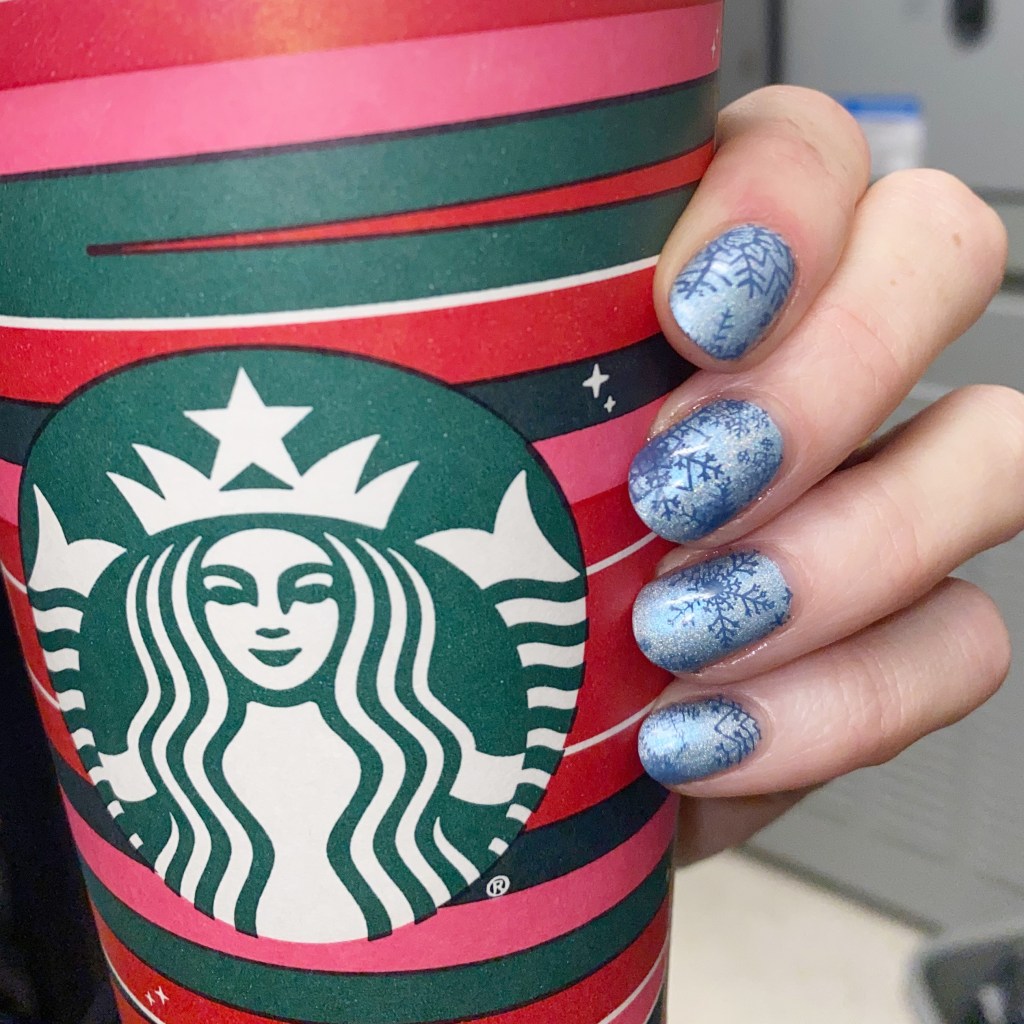
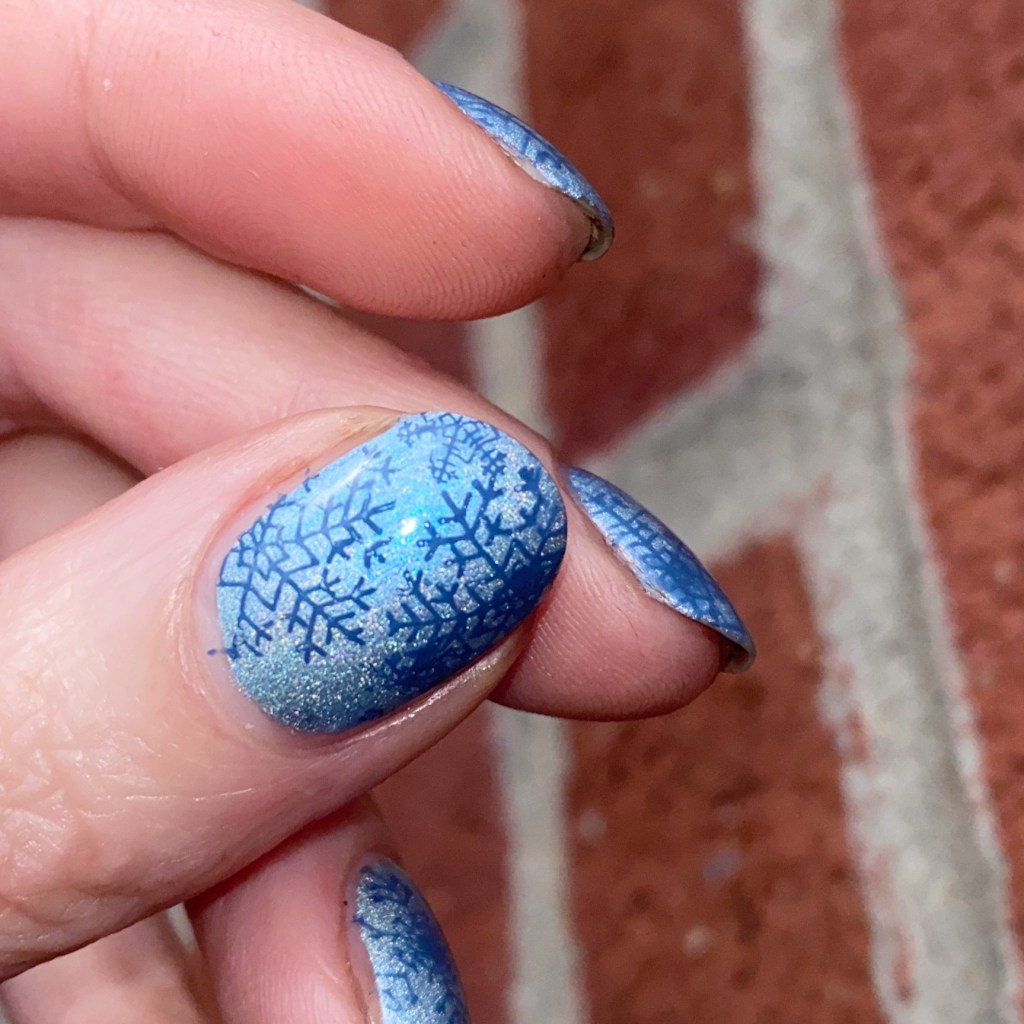
Frosty Stamped Snowflakes ❄️

Hello lovelies & happy Monday! It’s a chilly & snowy start to my day here, which is perfect because I have the manicure to match!

The polishes I used for this manicure are: 

  • Base Coat: Sally Hansen Miracle Gel Colour Grip Primer Base Coat 
  • Top Coat: Seche Vive
  • Dimension Nails Hooded Seal
  • Dimension Nails Great Blue Heron
  • Born Pretty Store Christmas Stamping Plate (discontinued)
  • Nailstuff.ca clear stamper & scraper set

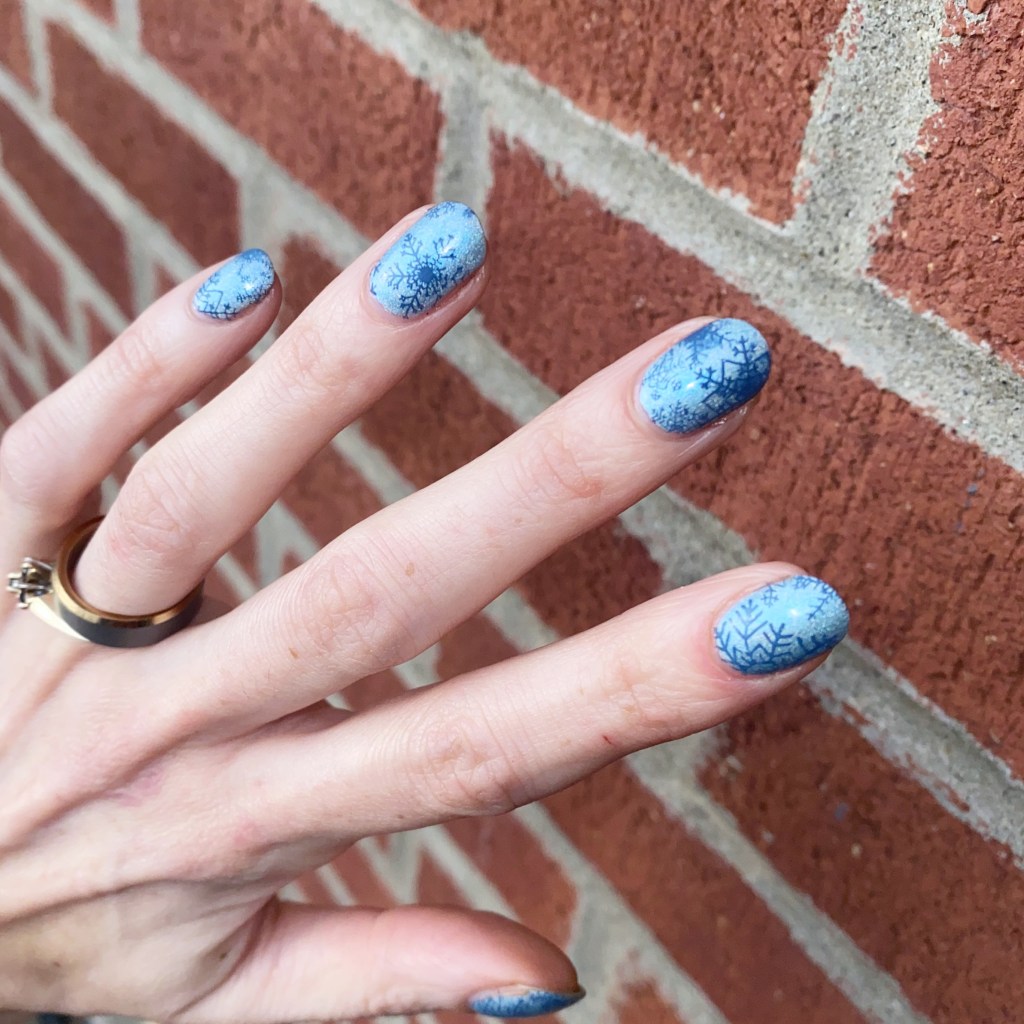
Listen, I don’t think I’m ready for any significant snow just yet, but these snow holo nails are perfect! They have just the right hint of sparkle paired with the snowflake pattern stamped over top. I’m actually over the moon with how these look.

They also feel very Frozen/Elsa inspired, as well, which my 4 year old thought was awesome!

What do you think about these frosty snowflakes? Do you think it’s too soon for snowflake manis? Let me know all your thoughts down in the comments below!

❄️🩵Enjoy your Monday loves!

SWATCH SUNDAY — China Glaze Blue Iguana (& some bonus sparkle ✨)

Hello lovelies & happy Sunday! The first Sunday of November, if you can believe it! Sadly, I’m starting off November with some extra short nails thanks to a bad, bad break at work on Friday.

So I wanted to make my nails feel extra pretty, so I dug through my stash & landed on this sparkly old school China Glaze shade. This is China Glaze Blue Iguana.

2 coats + top coat

Blue Iguana was originally released as part of the 2011 Summer Island Escape collection. It has an electric blue foil finish with a great micro shimmer. The formula was fairly thin, but I had adequate coverage in 2 coats. It also appears lighter on the nail than in the bottle, which was kind of a bummer — but maybe an extra coat or two would have fixed that. I also wish you could see more of the purple duochrome flash on the nail, as much as you can see it in the bottle. But it’s still beautiful regardless.

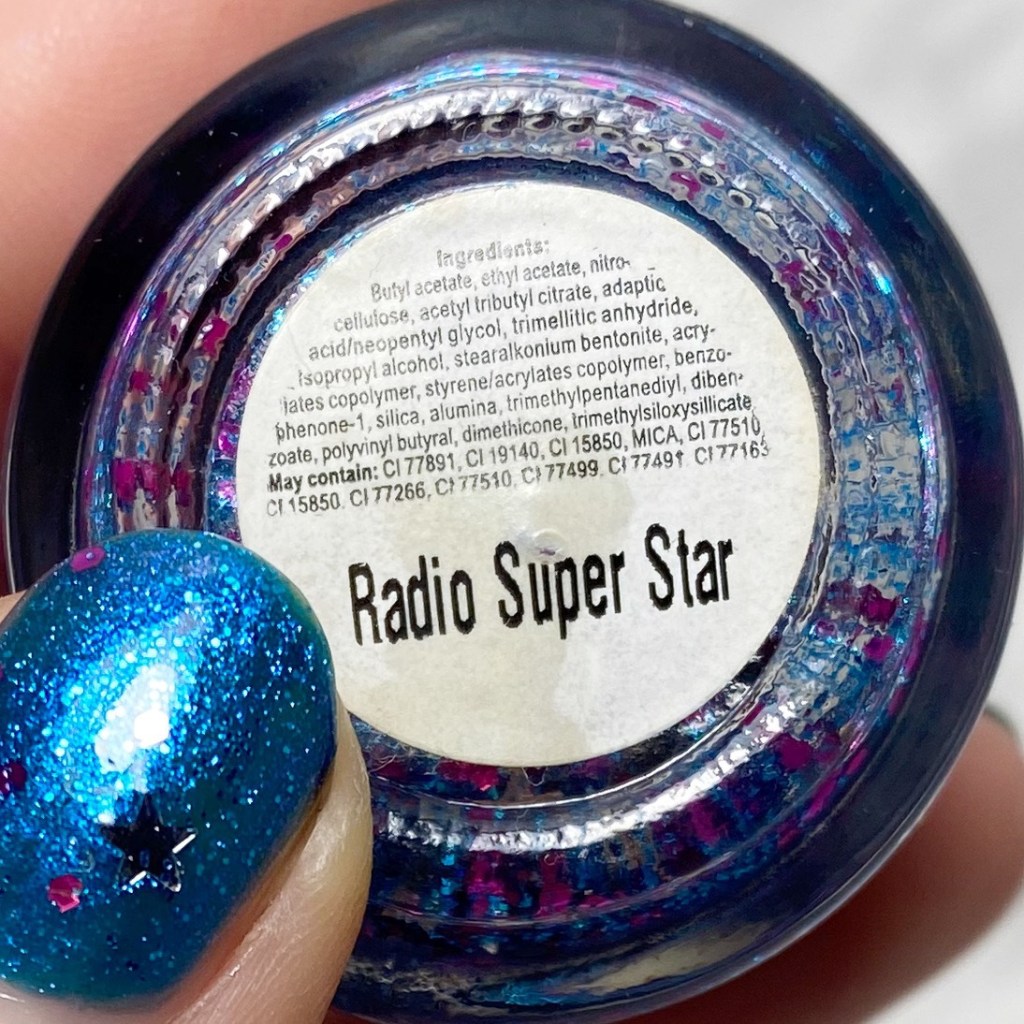
I was feeling like my short, stubby nails needed a bit more sparkle, so I pulled another oldie (released around the same time) from Icing to add a little pizazz: Icing Radio Super Star.

1 coat over Blue Iguana + top coat

I was actually really impressed with how closely the blue glitters in Radio Super Star matched Blue Iguana. It has a clear base with blue micro glitter, fuschia hex glitters & these fun silver star glitter. What you see above is just one coat over my base — & I had great luck with getting the star glitters onto the nail with minimal fishing.

It gave me exactly the sparkle I was craving to cheer myself up!

How are you feeling up these two fun polishes both together & apart? I feel like it’s just a smidge too early for holiday polishes (although I’m keeping my eyes open!) but I may see what glitter shades I can pull out for this month.

Have a happy Sunday!

Halloween Ooze Nails 🧪

Hello lovelies & happy Friday! Only a couple more days until Halloween is here — can you believe it? & only a few more days to squeeze in some Halloween nail art!

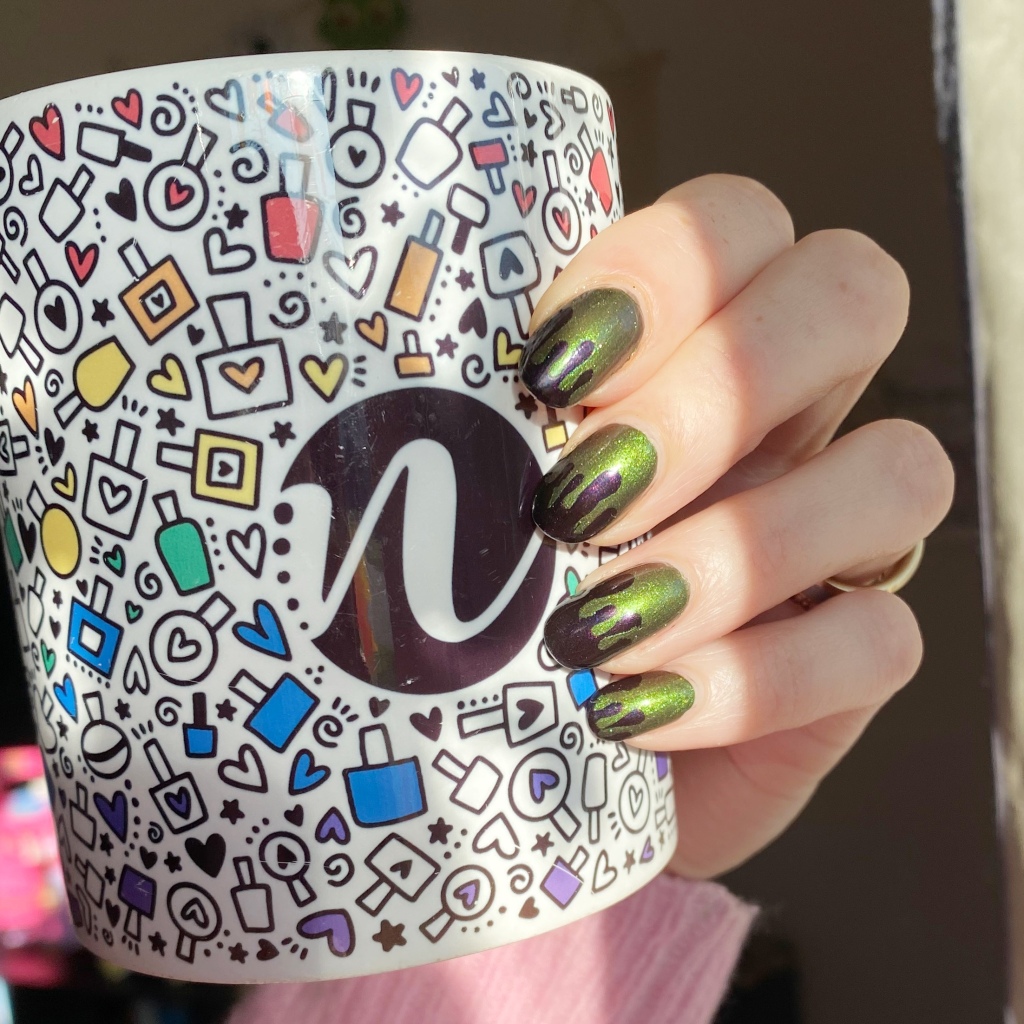
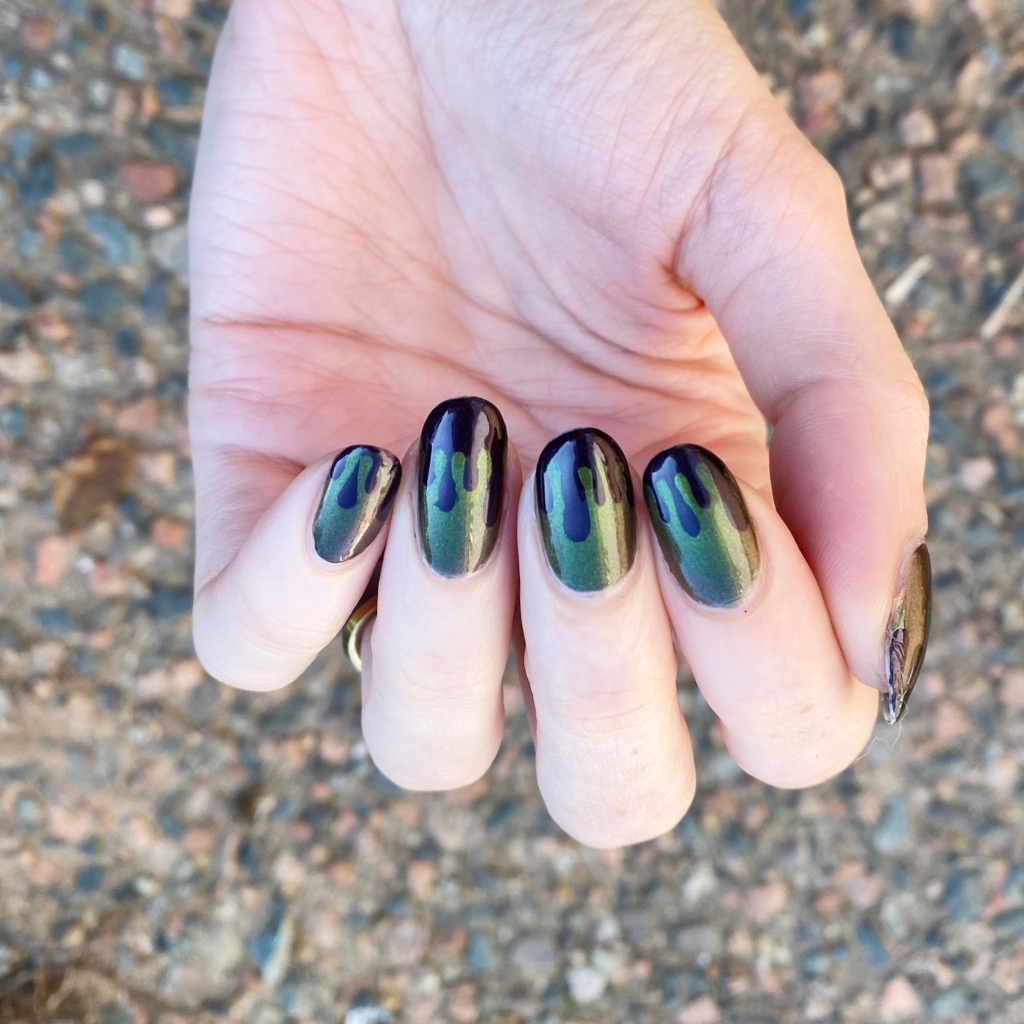
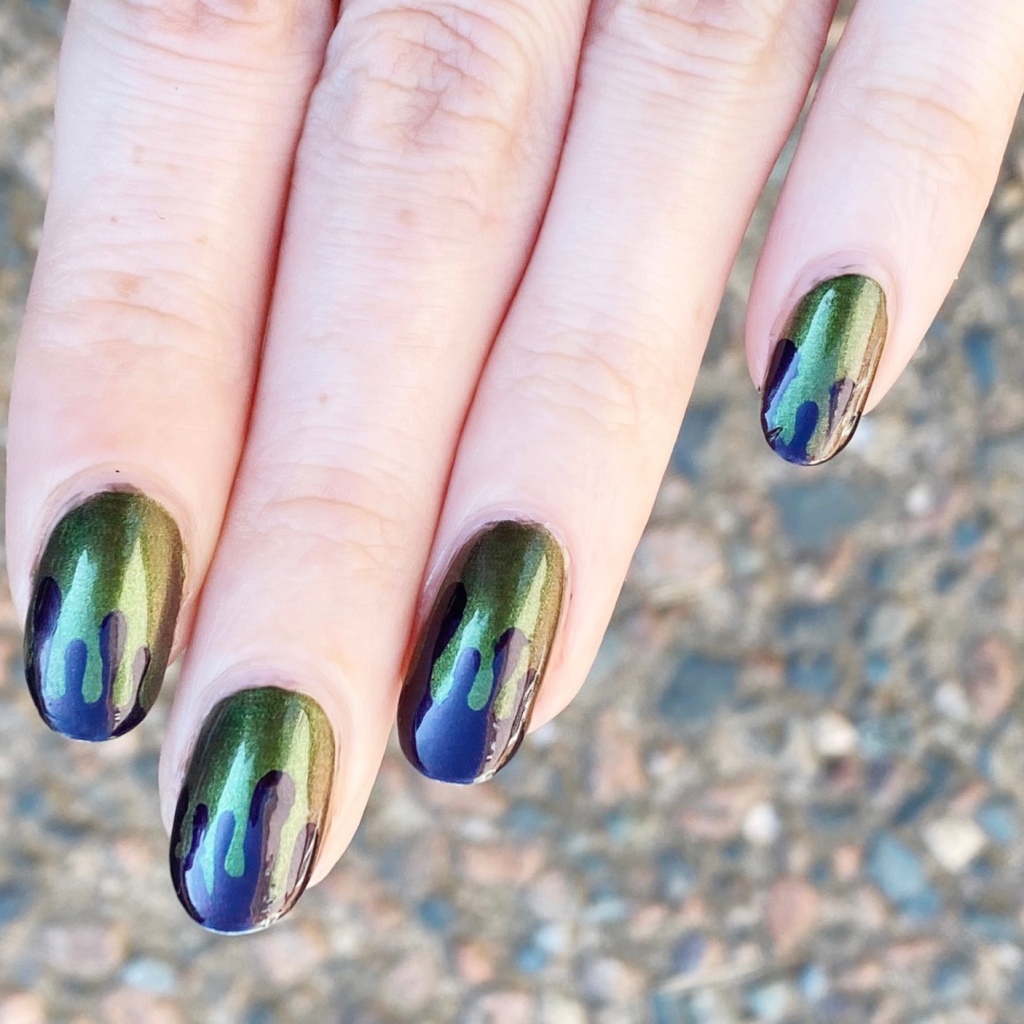
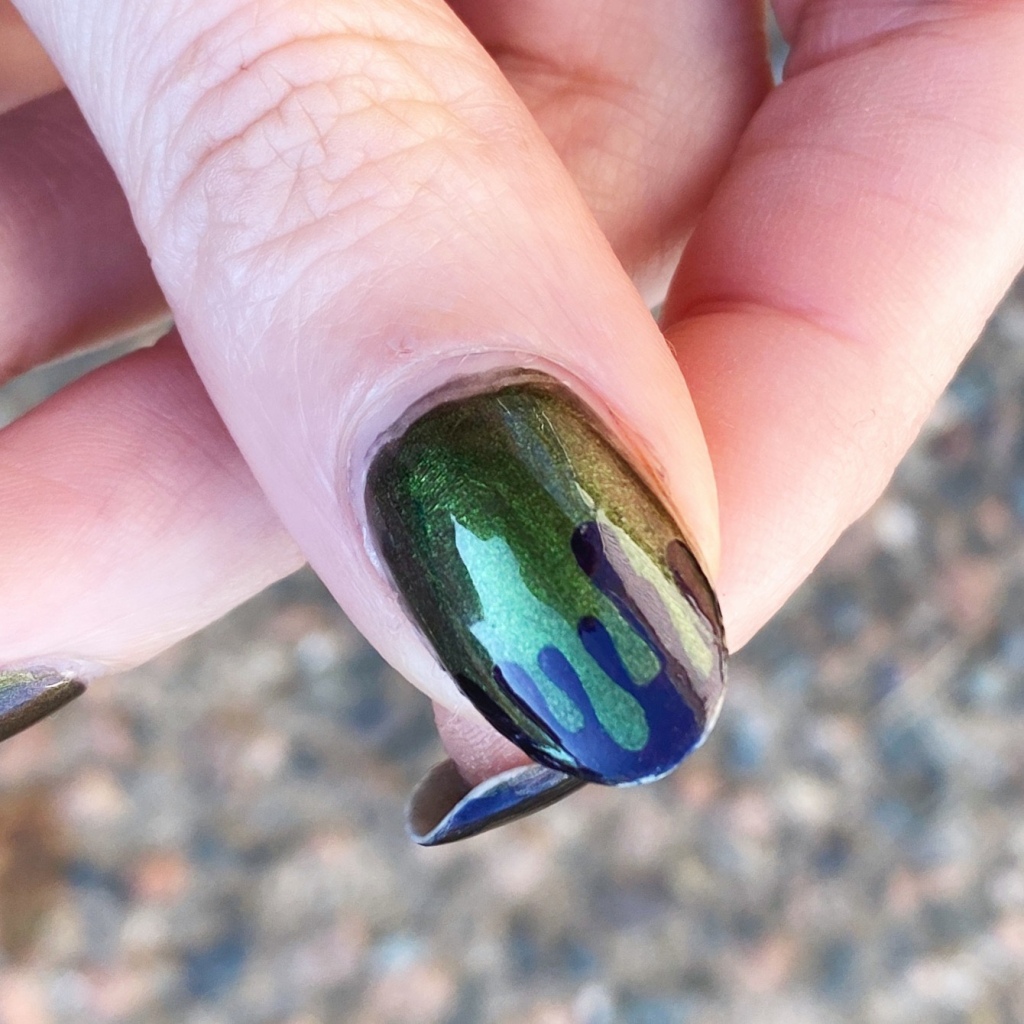
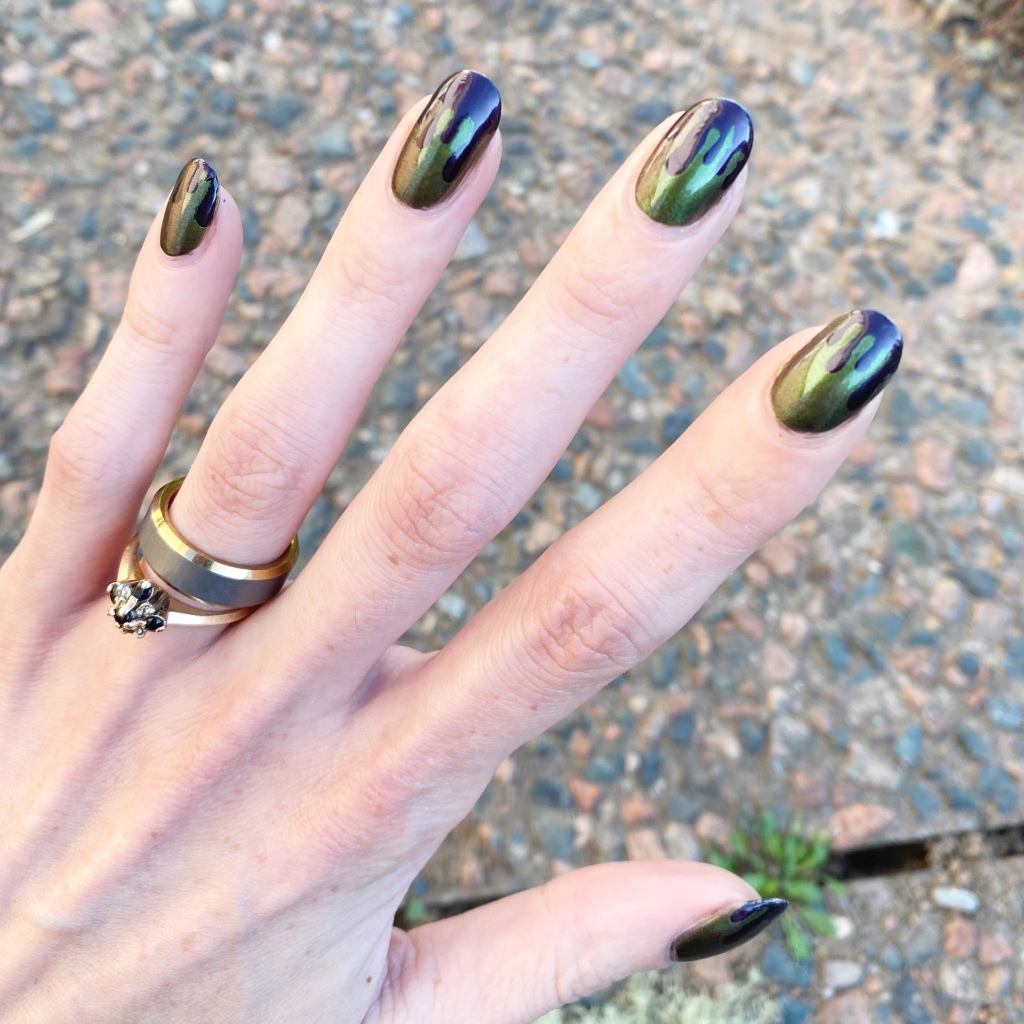
I’m calling today’s look Halloween ooze nails because it’s the best description for them! I didn’t want to do your classic blood dripping design — these look much more spooky!

The polishes I used for this manicure are: 

  • Base Coat: Sally Hansen Miracle Gel Colour Grip Primer Base Coat 
  • Top Coat: Seche Vive
  • OPI Green On The Runway
  • Sally Hansen Complete Salon Manicure Belle of the Ball
  • URSugar dripping nail vinyls

I like these because I feel like the drips work both ways — the dark blurple dripping down, or the green dripping. The perfect Halloween design that’s not too over the top! I’ve literally been wearing these for 3 days now, & I don’t want to take them off. But I do have a few more Halloween designs to squeeze in, so I guess I’ll have to say goodbye to them tonight.

What do you think of these Halloween ooze nails? You could definitely get away with doing these without nail vinyls if you didn’t have any — I was just feeling lazy. Haha.

Happy Friday 🖤