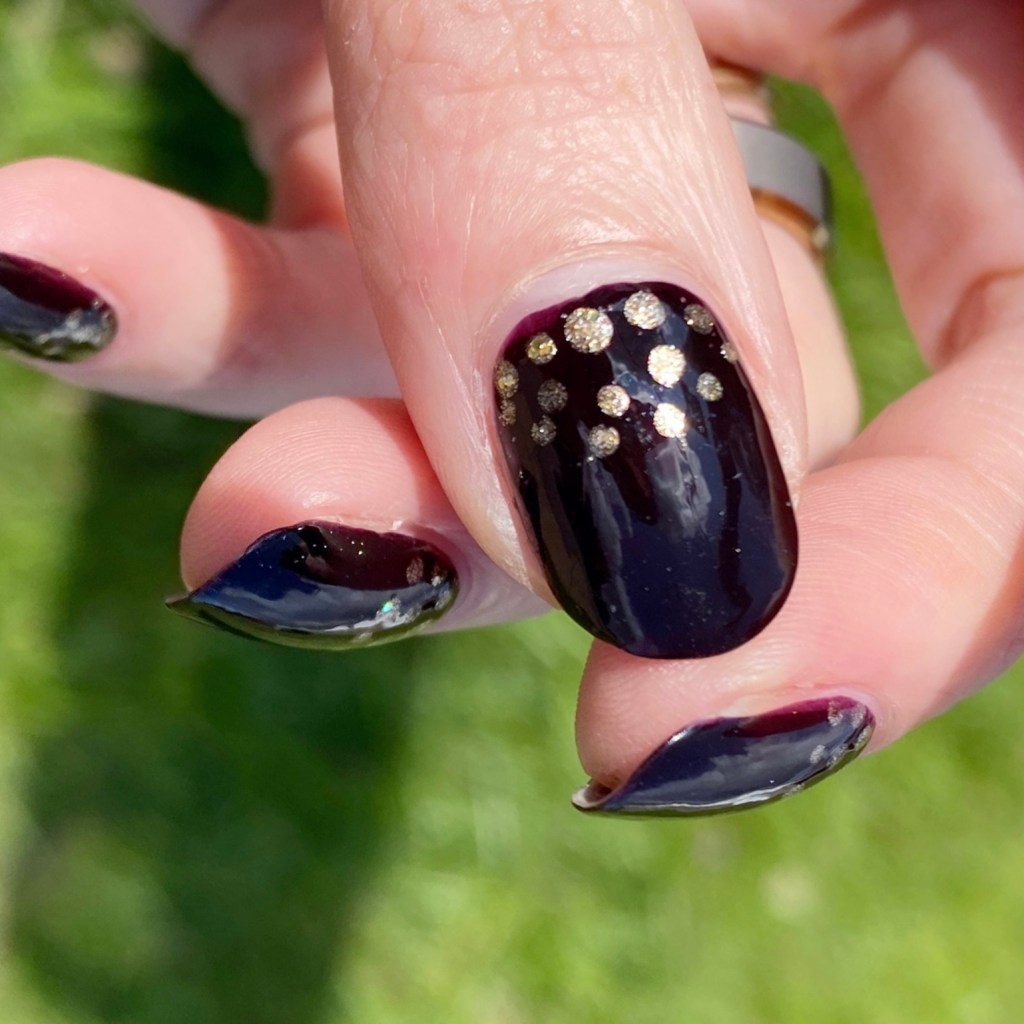
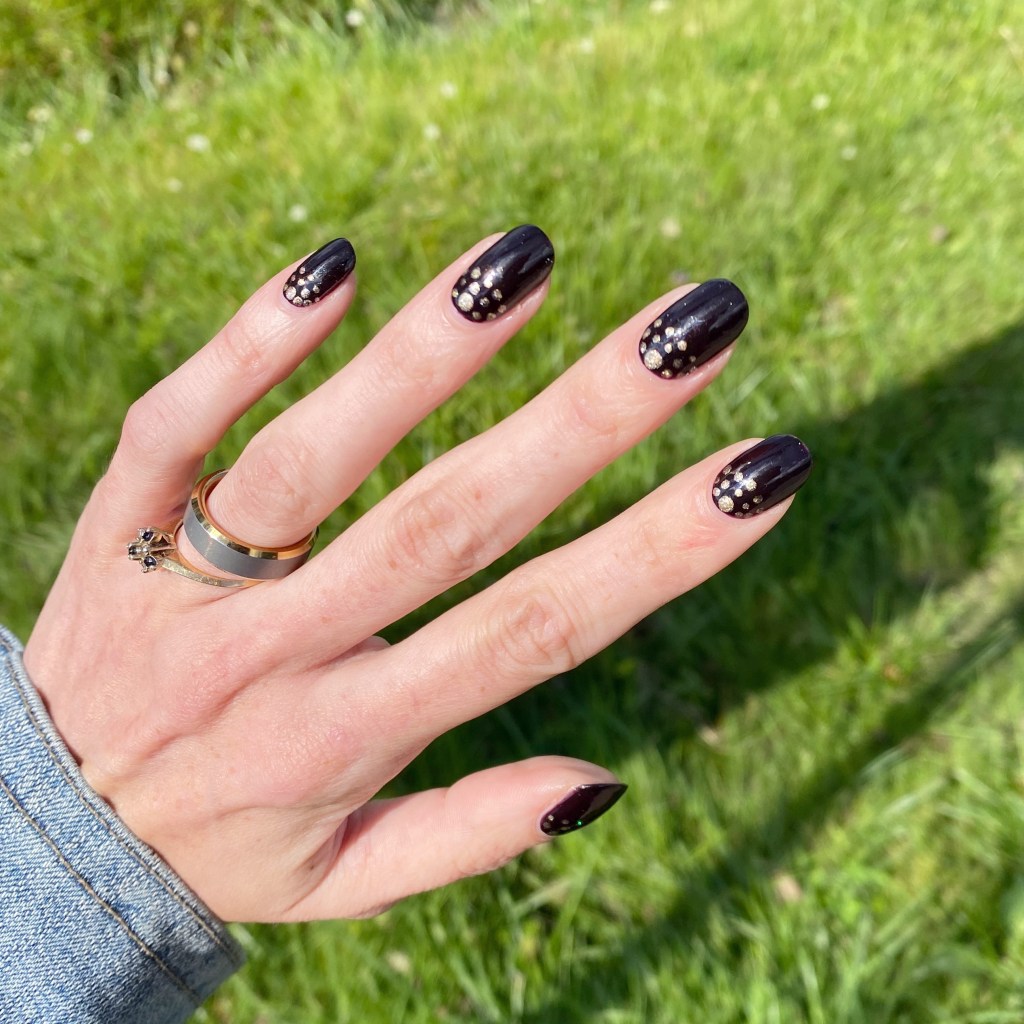
A beautiful Fall morning here on the East Coast. The sun is shining, the leaves are crunching under my boots; the perfect Autumn weather. So naturally, that meant I needed to find another Fall polish favourite for today’s nail art! &
The polishes I used for this manicure are:
Base Coat: Sally Hansen Miracle Gel Colour Grip Primer Base Coat
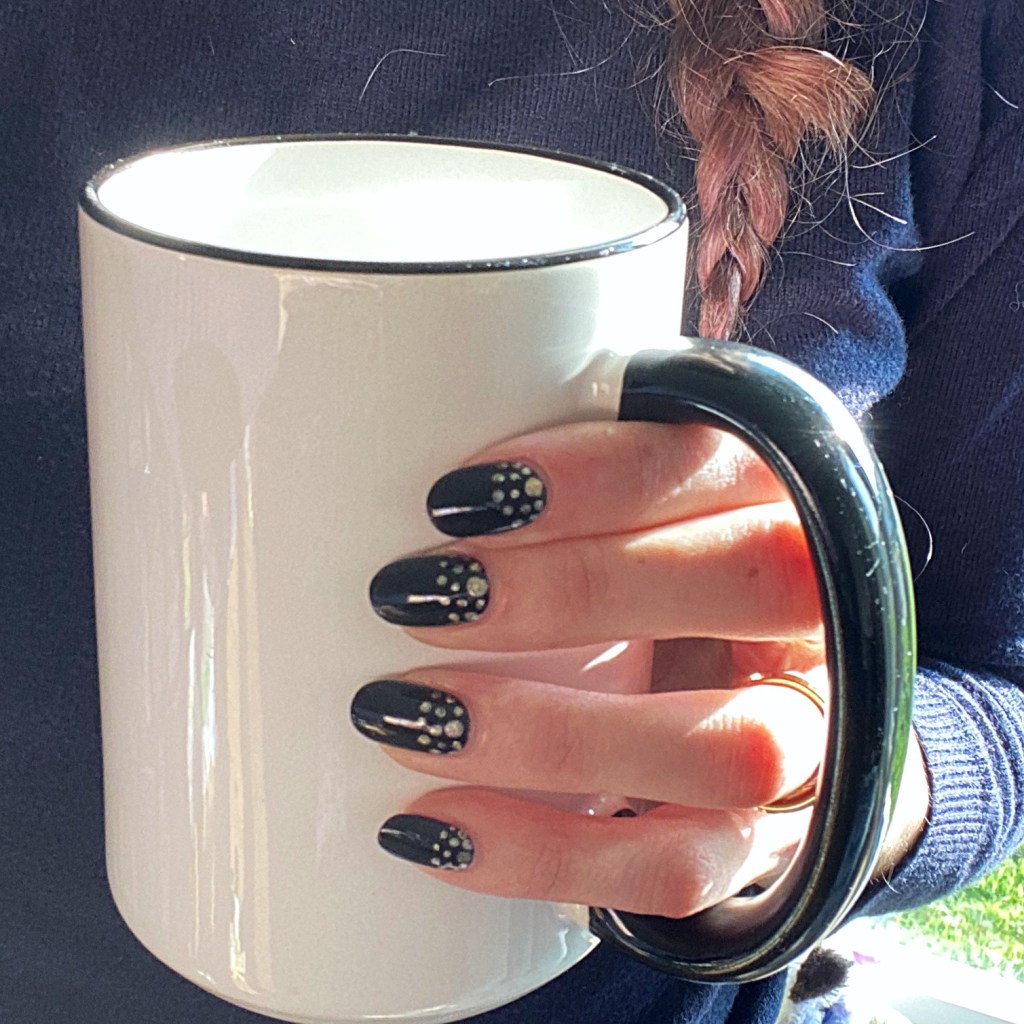
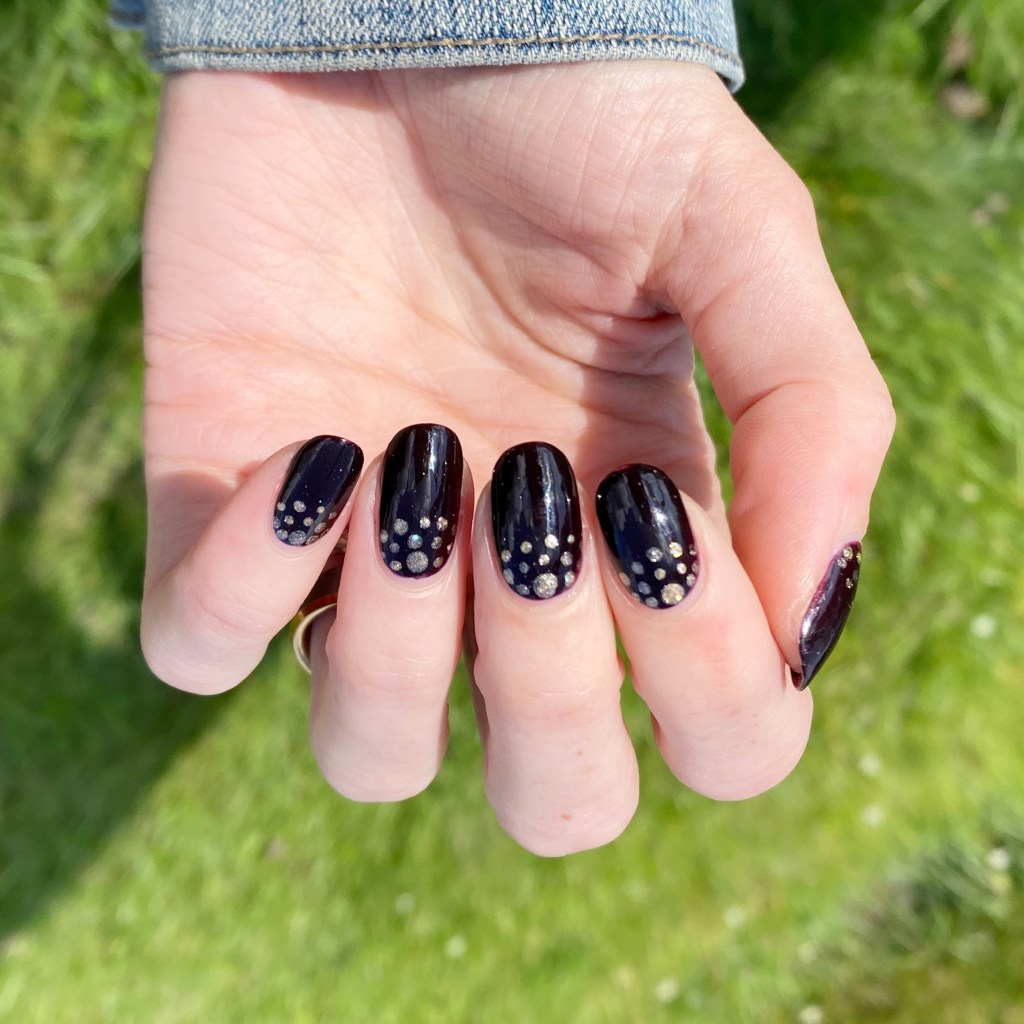
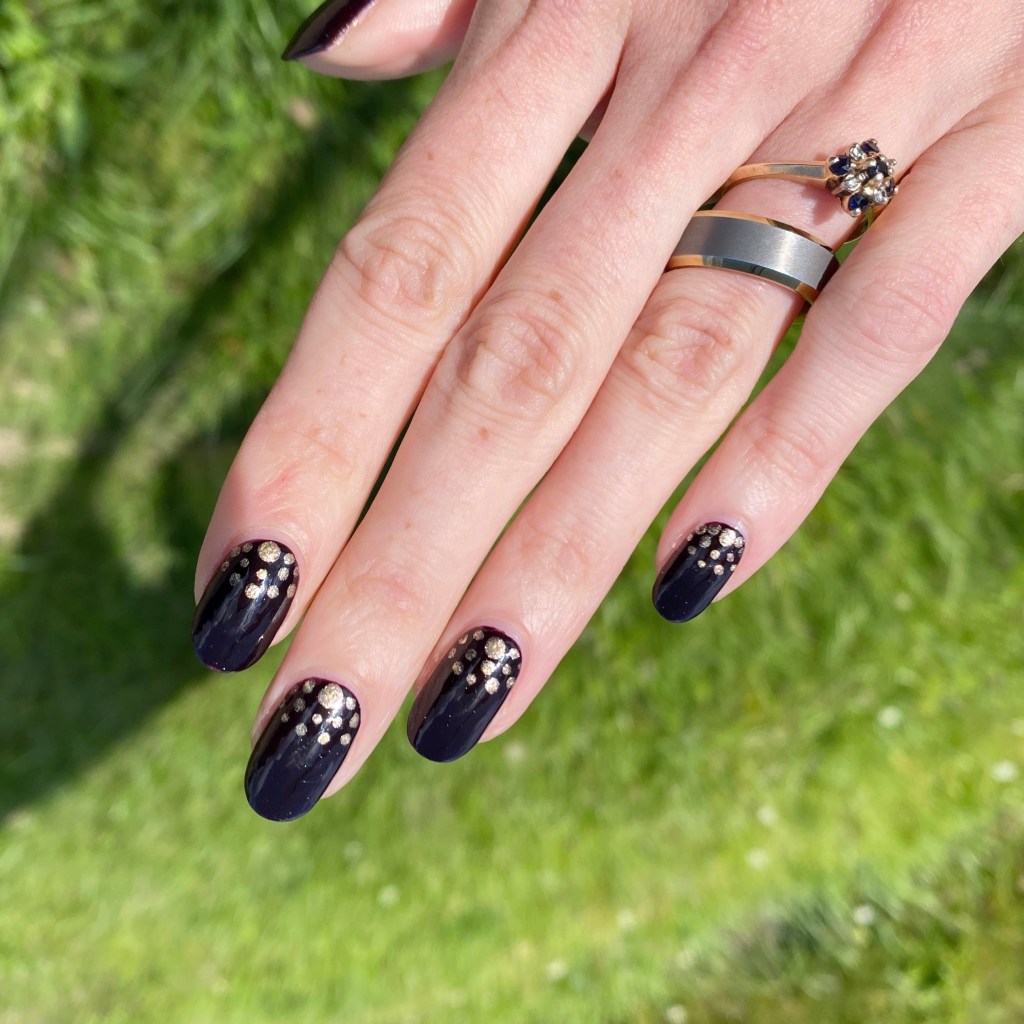
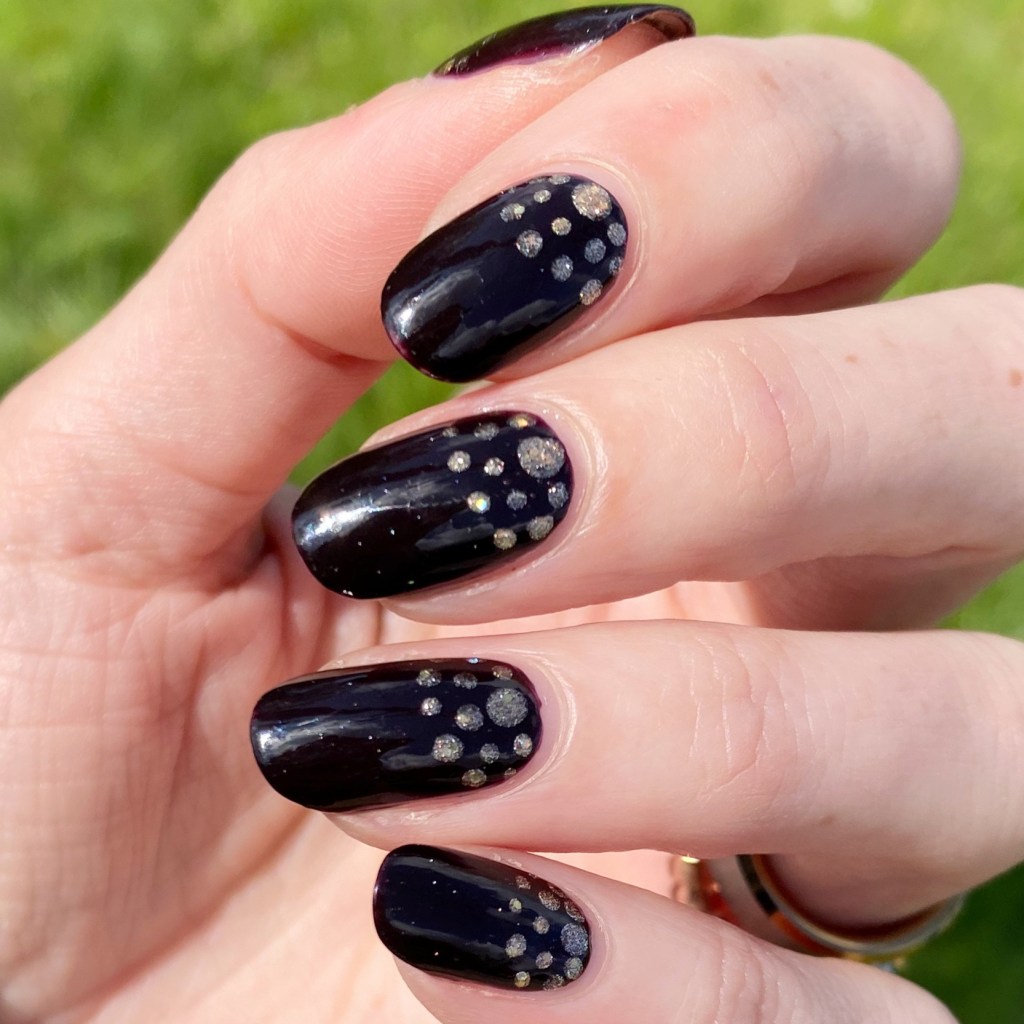
For this look, I wanted to create a kind of moon effect, but using polka dots instead of my usual way of doing them, & I think I was semi-successful. Some of my nails turned out a bit wonky, but over-all I think the intended effect came to fruition. Plus gold just pairs so well withthe darkness of Lincoln Park After Dark. I think it’s a fun effect, & a little bit different than my usual gradient dotticures. Next time, though, I might try for smaller dots.
What do you think of these gold dotted moons? Do these nails give you all the Fall vibes? What is your all time favourite Autumn nail Polish? Let me know in the comments below!
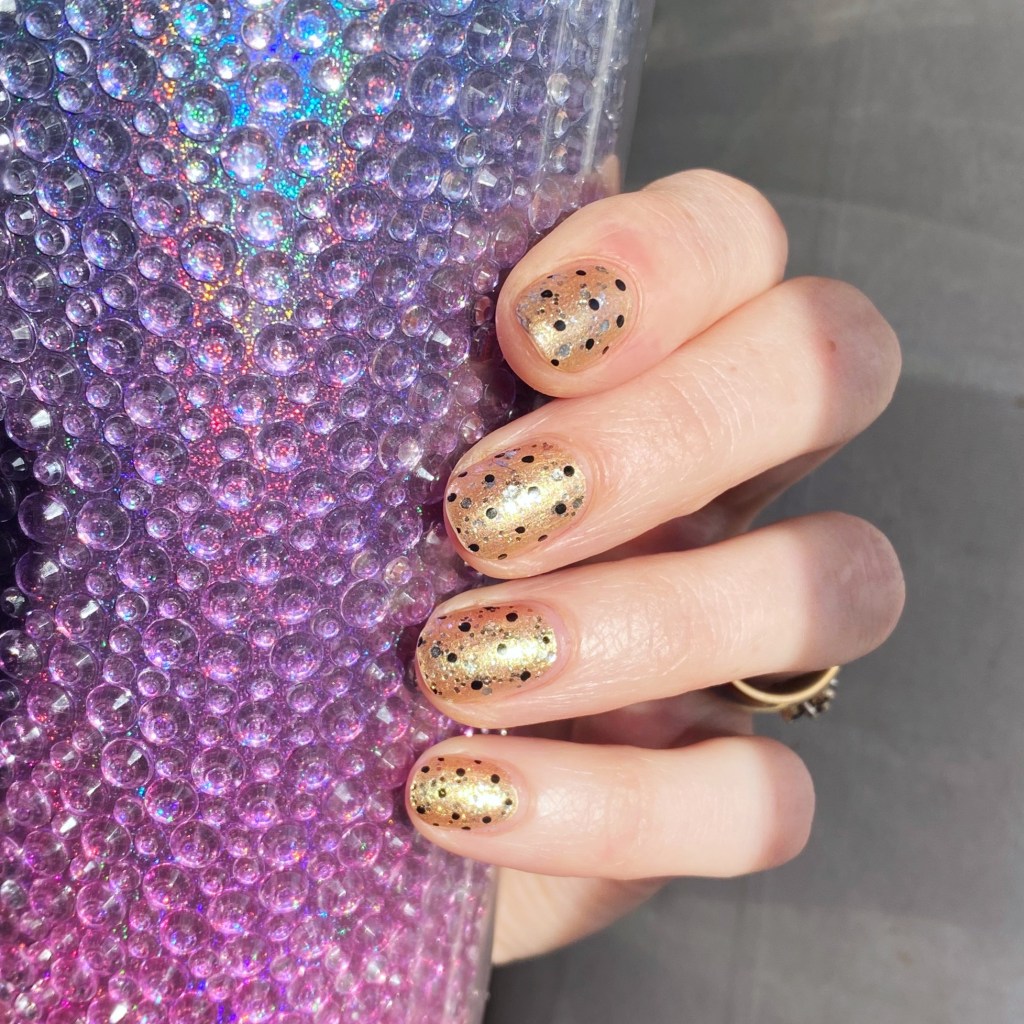
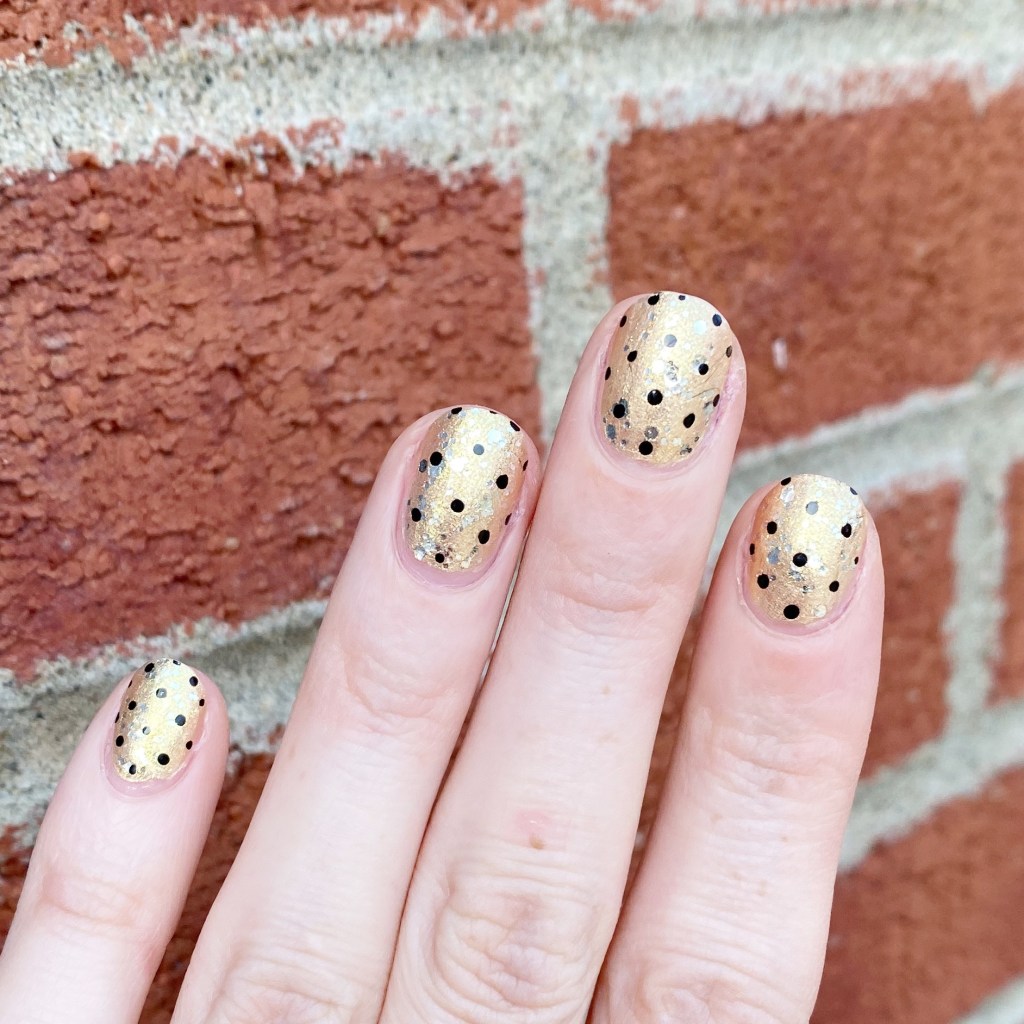
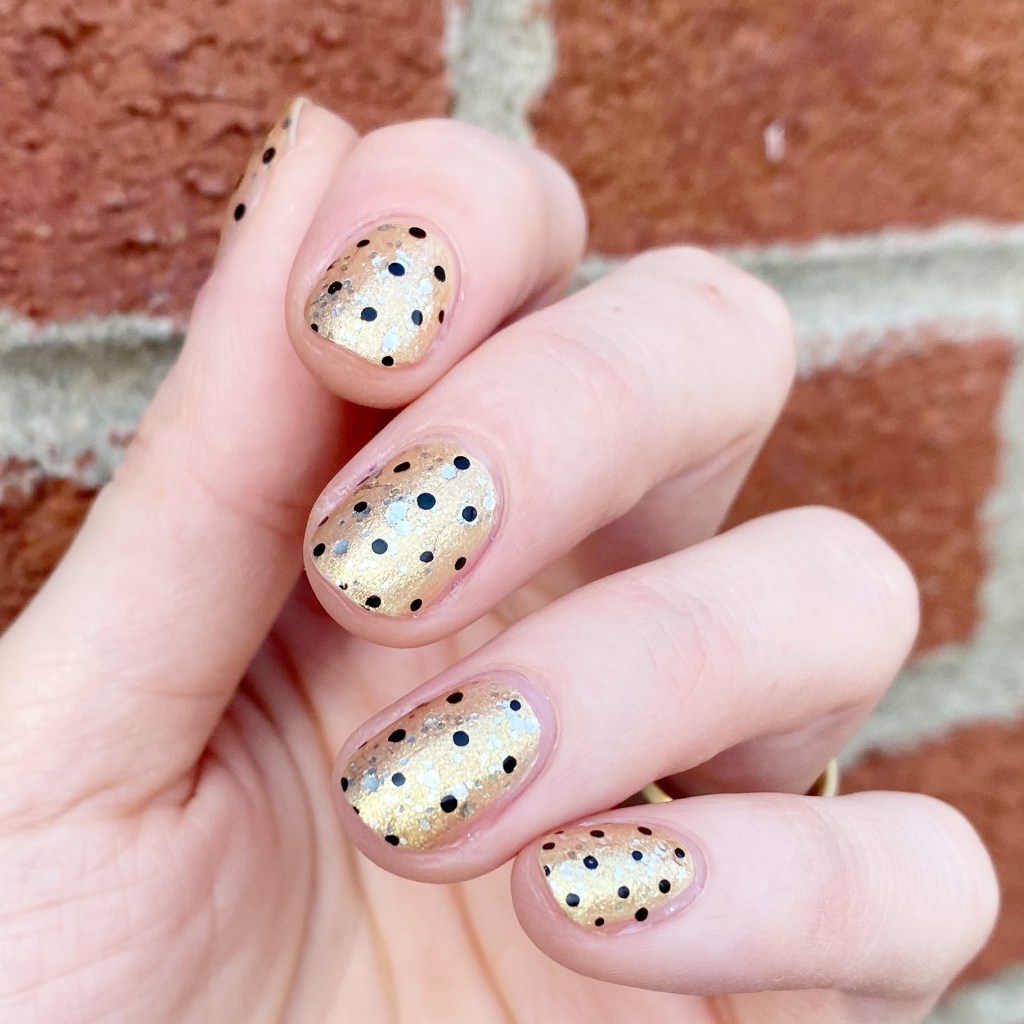
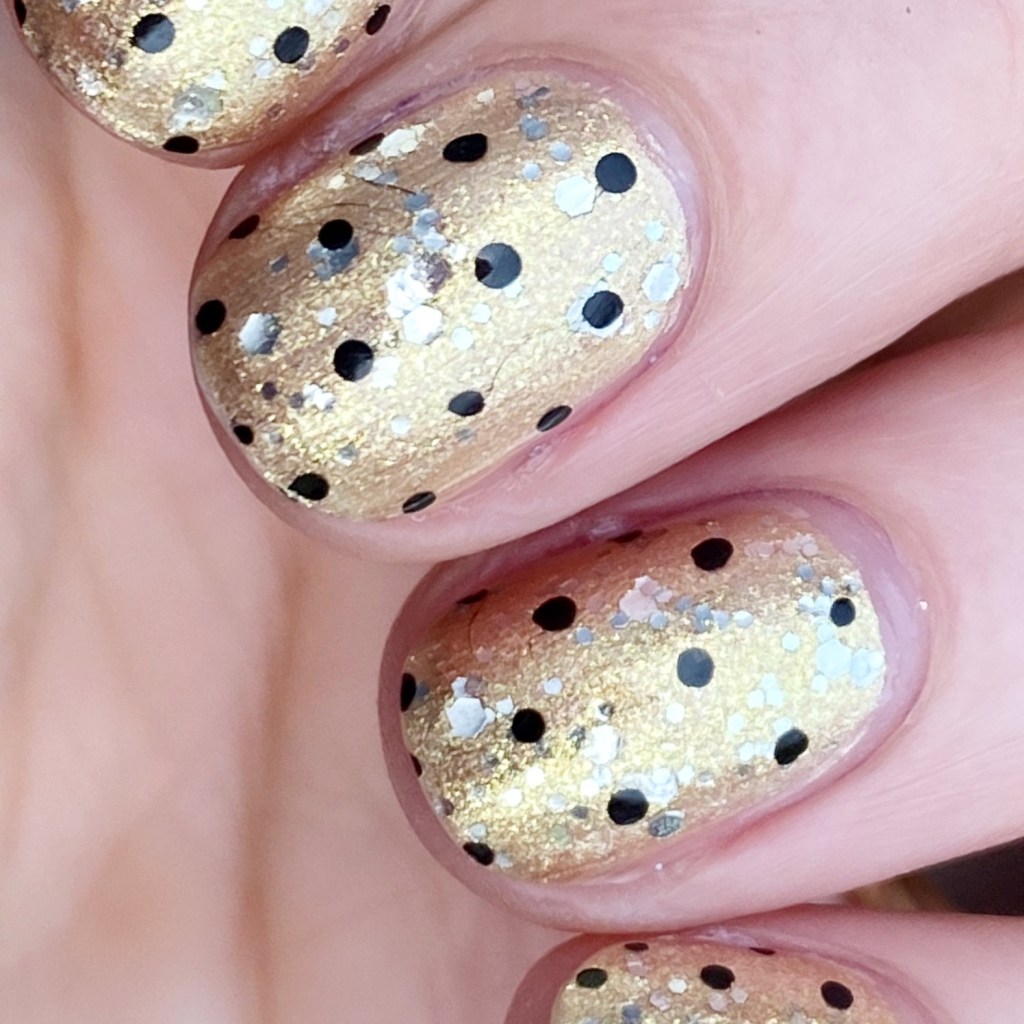
Hello Beauties & happy New Years Eve! I told you I would sneak in one more manicure before the year was over. Obviously, it being New Years Eve, I needed to give it my all, & decided to go with gold, silver & black for the full effect.
I also didn’t want to go too crazy because I am still exhausted from working through Christmas, & honestly by 10pm I’m just wrecked. So I decided to go with a classic dotticure… but with a NYE twist.
The polishes I used for this manicure are:
Base Coat: Essie Hard To Resist Glow & Shine
Top Coat: Seche Vite Fast Dry Top Coat
OPI Rolling in Cashmere
Essie Hors d’Oeuvres
Starrily Vantablack
Dotting tool (I always use mine from NailStuff.ca — Dotting Tool Trio)
I like how I flipped the colours I would usually do. Normally, I would go with black (or another darker colour) as my base, & use the lighter colours as my dots. But I thought I needed more gold & silver, so I decided to use it as my base instead, & use black as my accent… & I love how it turned out! Very glam, with a hint of glitter. Perfect for New Years Eve celebrations, both over the top, & simple.
I just wanted to say THANK YOU to everyone who has visited this blog, liked my designs, & especially commented this last year! You make it worth it to keep posting, & make me excited to keep posting — especially as other social media changes so much! 2022 was a fantastic year for me, albeit challenging & full of change, but this blog was my happy place to come to, & I’m very excited to see what 2023 has in store!
Have a happy New Year Lovelies! Wishing everyone peace, calm, & joy.
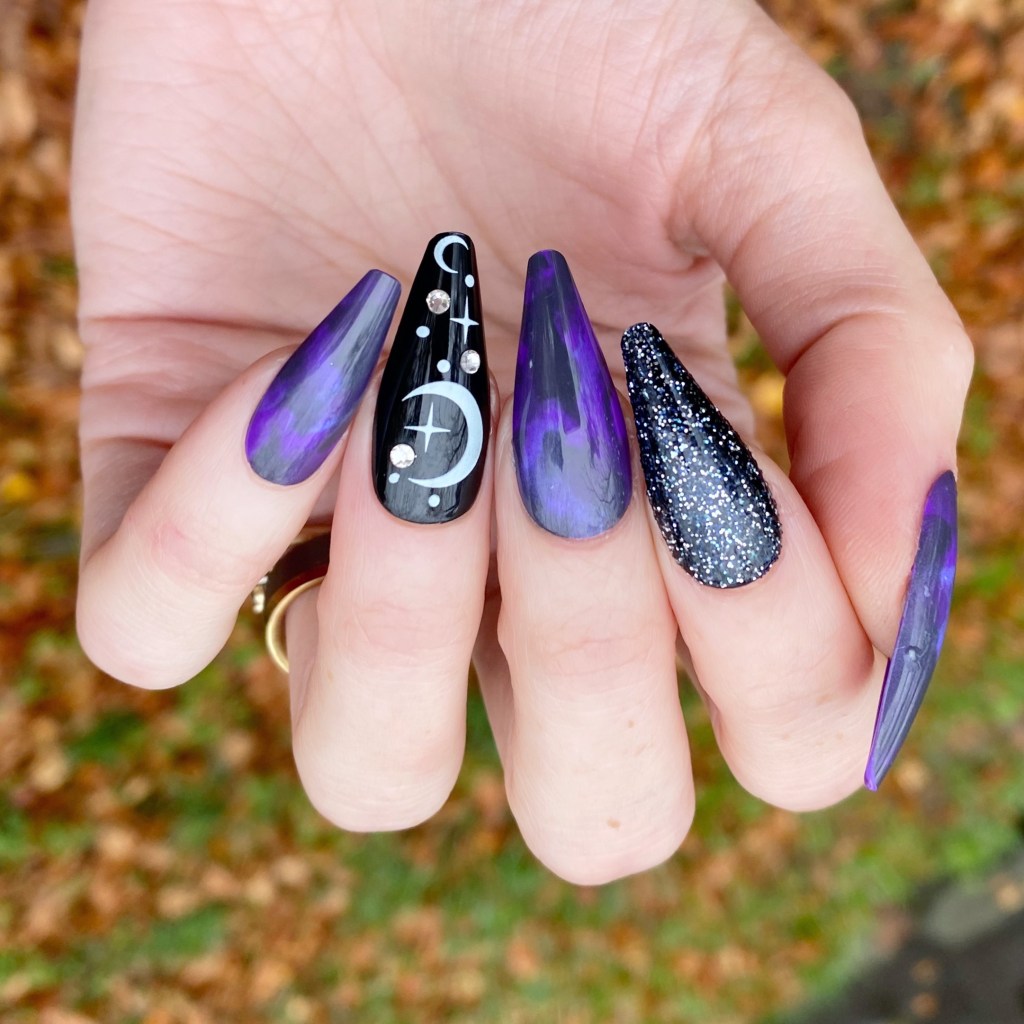
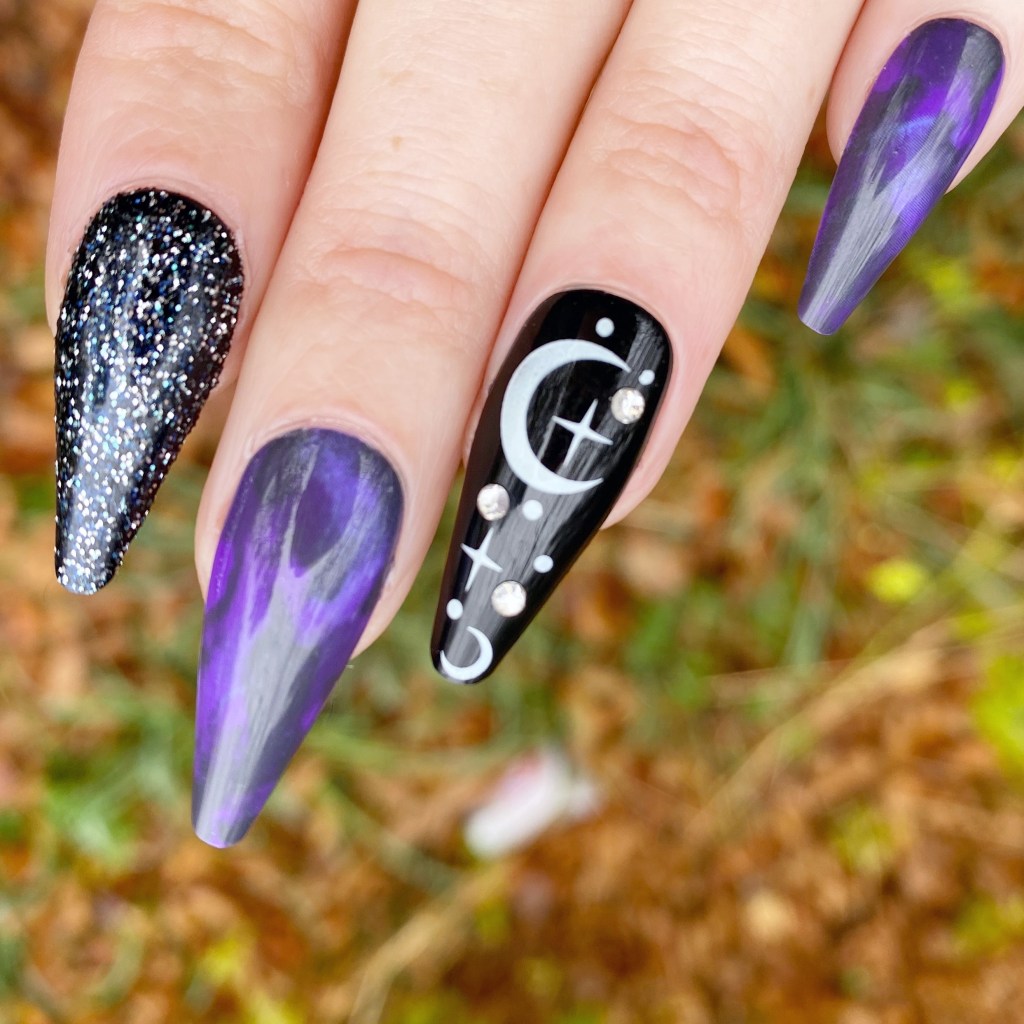
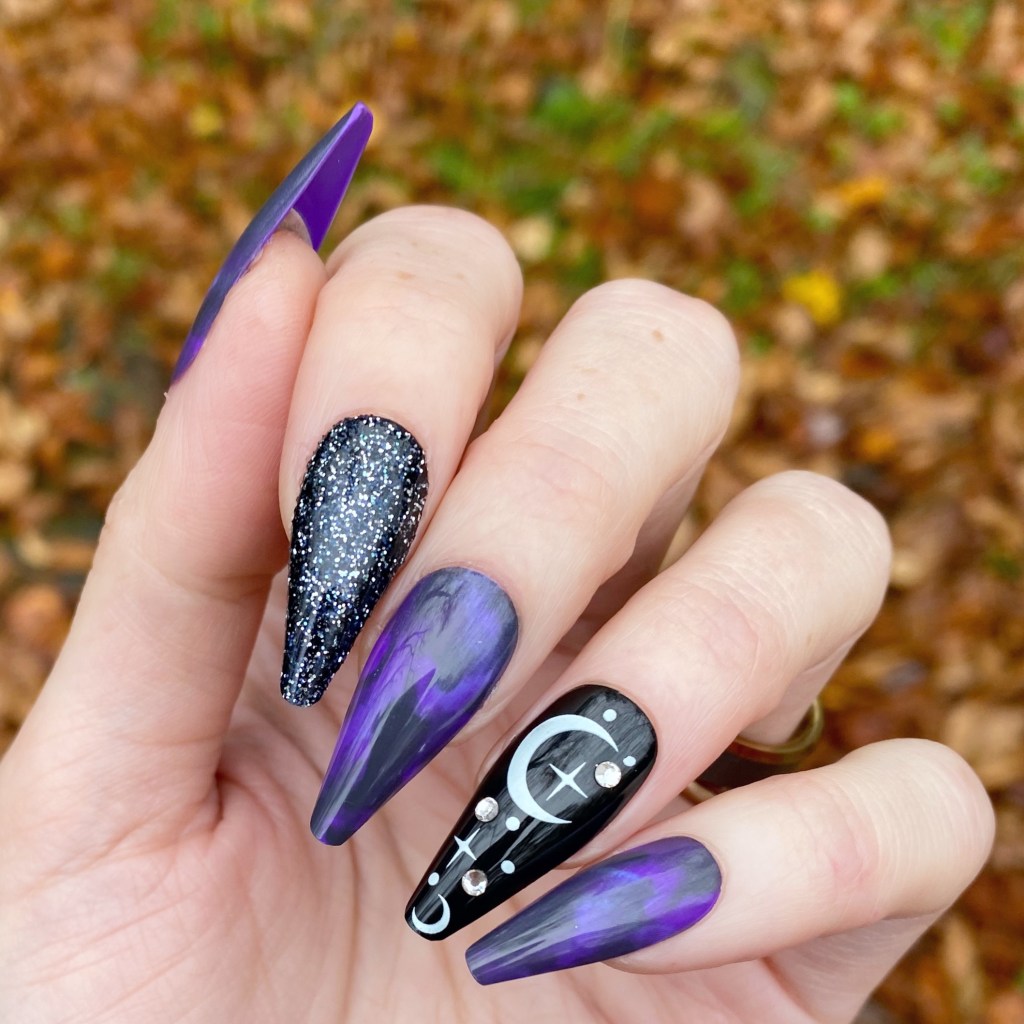
Hello loves & happy Saturday! I know, right — a Saturday post. It’s Halloween weekend, & I’m feeling wild, so I decided to share a fun post. Recently I was sent a fun PR box from Kiss — for the first time ever– which included a slew of fun press on nails, & a couple false lashes, all for Halloween. So naturally, I needed to try some of the goodies out!
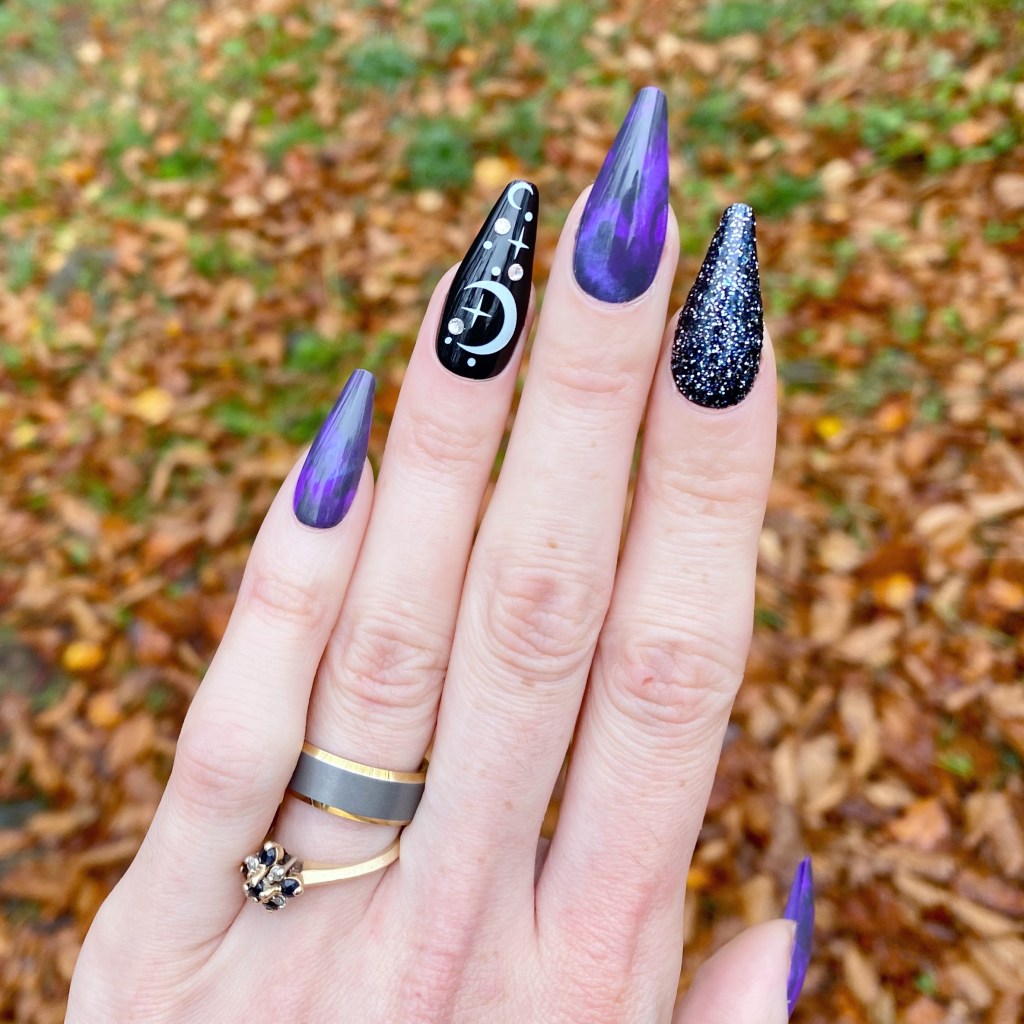
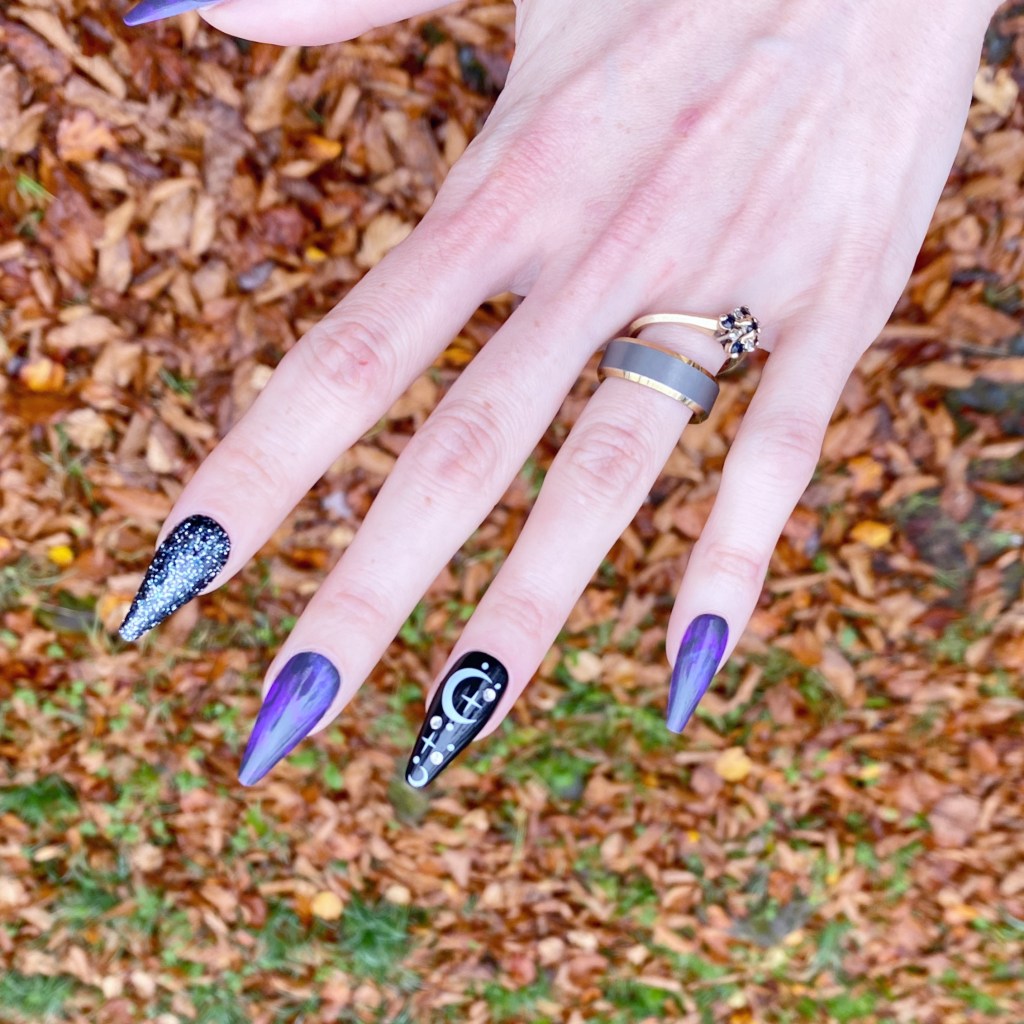
Full disclosure: I don’t think I’ve worn false nails in like… 18 years? I think the last time was my cousins wedding in 2006. So it’s been a while. I started off by going through the box & deciding on what length I wanted, but also took into account while nails had a fit that matched my cuticle line the best. I ended up going with these fun witchy nails, in the XL length. I went through & found nails to fit each nail, & then set them in a line so I could apply one by one, starting from my pinky to my thumb.
It was actually an easier process then I remember — & I didn’t end up with nail glue all over my hands which was nice. It definitely got more tricky the closer I got to my thumbs, especially with this extra long length, but I managed to get all 10 applied easily.
As for wear, I wore these for 3 days of work, & while the length definitely took some adjusting to, I was really impressed with the wear of the nails. I had no lifting, no nails that popped off; they were very secure. & that was during 3 days where I was unpacking boxes, & generally being pretty hard on my nails. If I had decided to, I definitely think could have gotten a week’s wear out of them.
Removal was a little more difficult. I purchased the Kiss Glue Off, which boasts easy removal, but it definitely was a bit of a challenge getting them off, & I did end up needing to trim down my natural nails due to some damage. But I also left my natural nails long, which I think was my own fault. However, if your nails are already short, & you want to add some fun length to them, these are an awesome option for you! & they definitely have great lasting potential, with a fraction of the cost you could pay at a salon!
Overall, I was really impressed with these Kiss Press on Nails, & I had so much fun wearing them — even for a short time.
I don’t think I’m the target audience, simply because I like changing up my nail art a little more frequently, but I couldn’t get over how many compliments I received while wearing these, with a majority of people telling me how they looked like salon done nails! If you’re someone who likes having pretty nails, doesn’t want to change them too frequently, definitely check them out! Kiss Products can be purchased at your local Walmart.
Have a fun Saturday beauties!
Products featured in this post were provided in exchanged for content. All thoughts are honest & my own.



 Coffee & Nail Polish