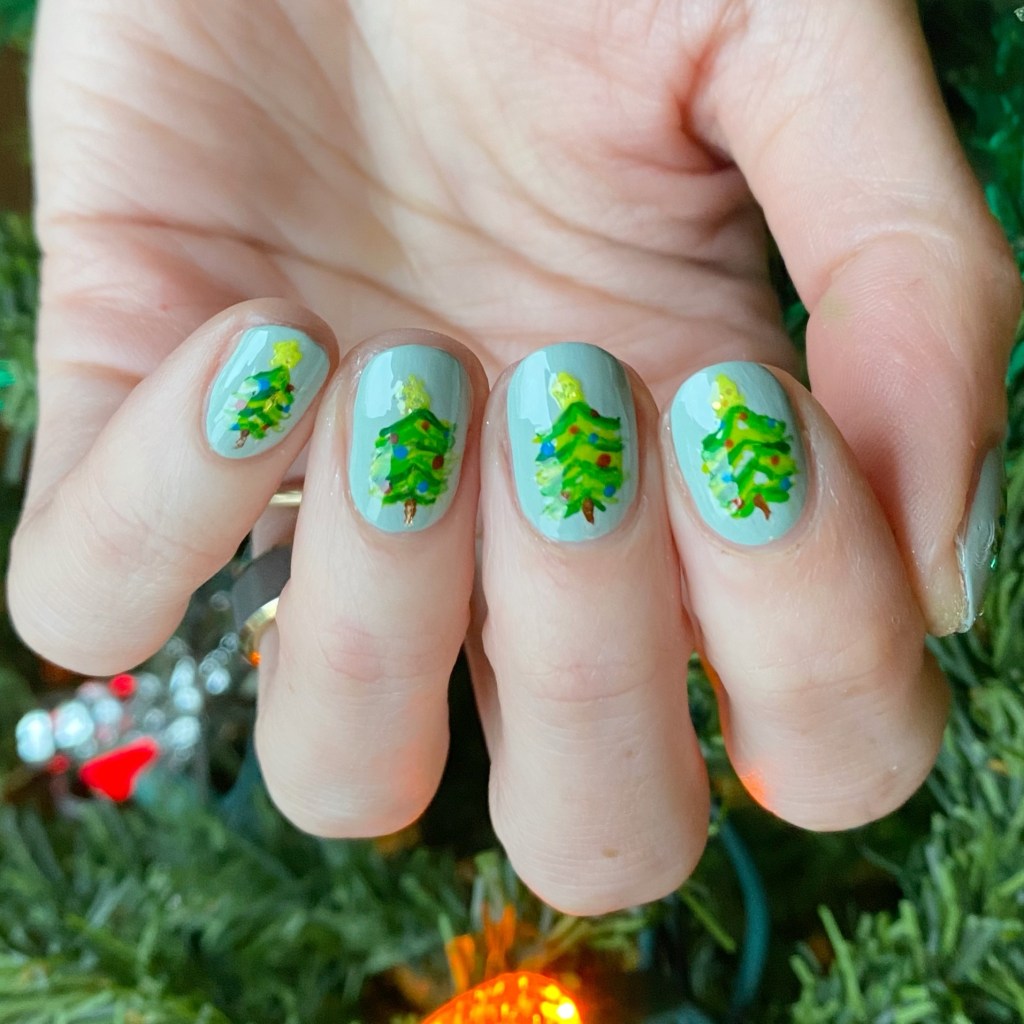
Good morning & Merry Christmas! I hope Santa was kind & found everyone. I’m popping in quick to share the next prompt of Glam Nails Challenge December — Christmas Tree! 🎄

The polishes I used for this manicure are:
- Base Coat: China Glaze Calcium Gel Fortifer
- Top Coat: Essie Speed Setter
- Sally Hansen InstaDri Thyme is Money
- Acrylic Paint
- ACO by Ardene Secret Diary
- NailStuff.ca 4mm detail brush


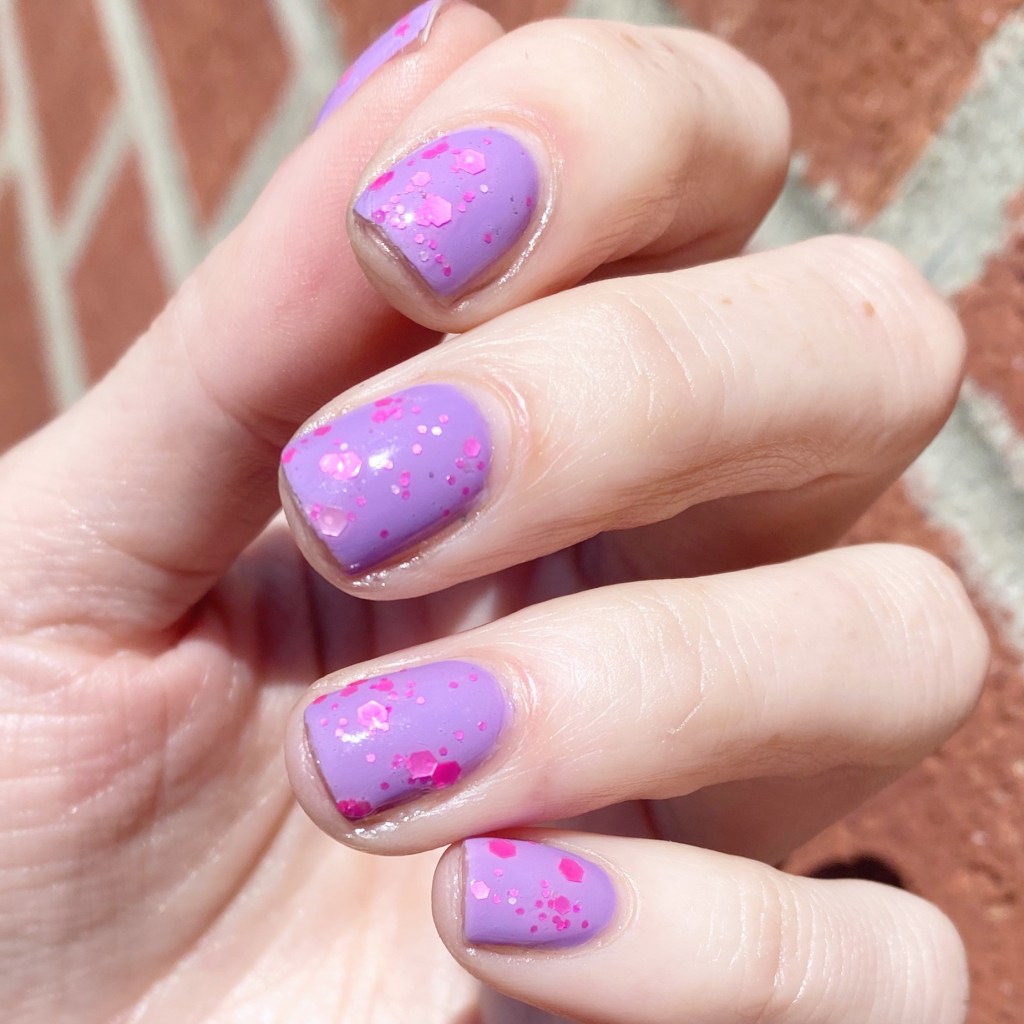
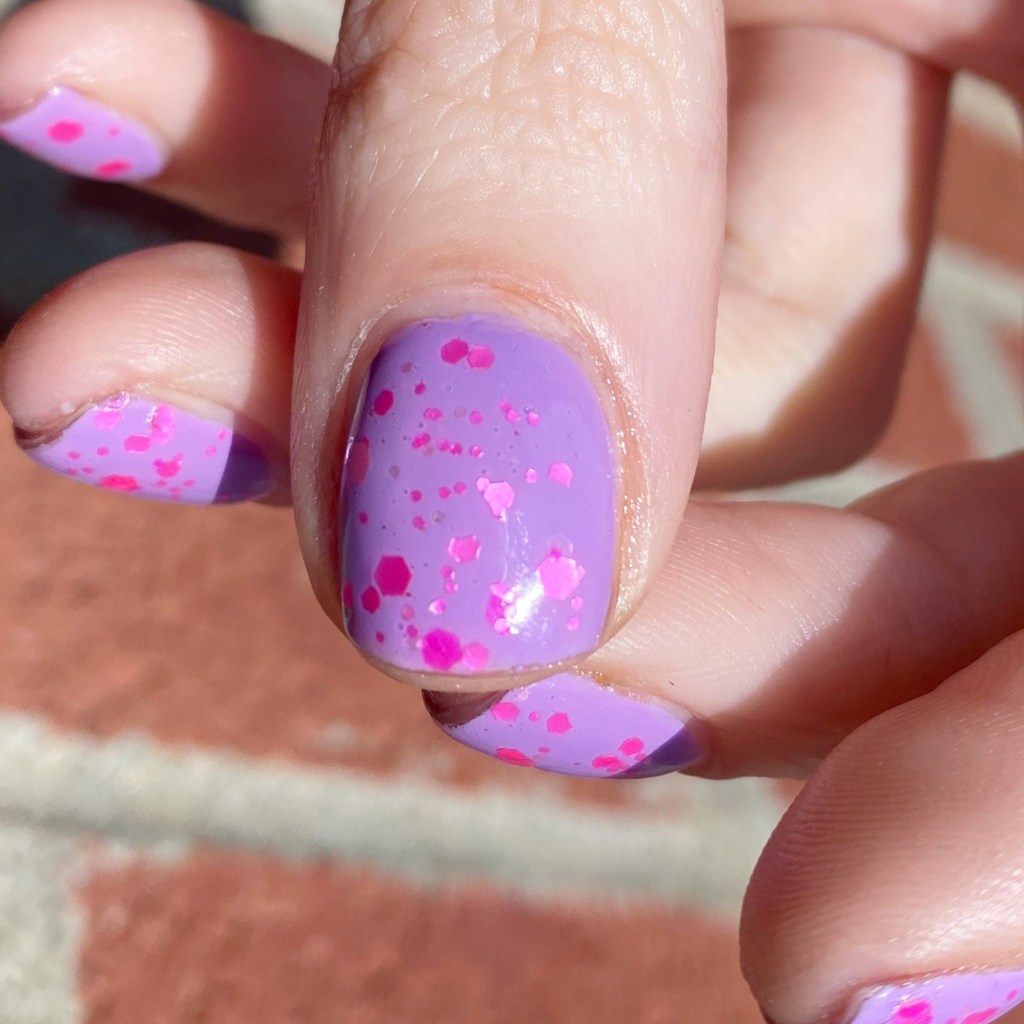
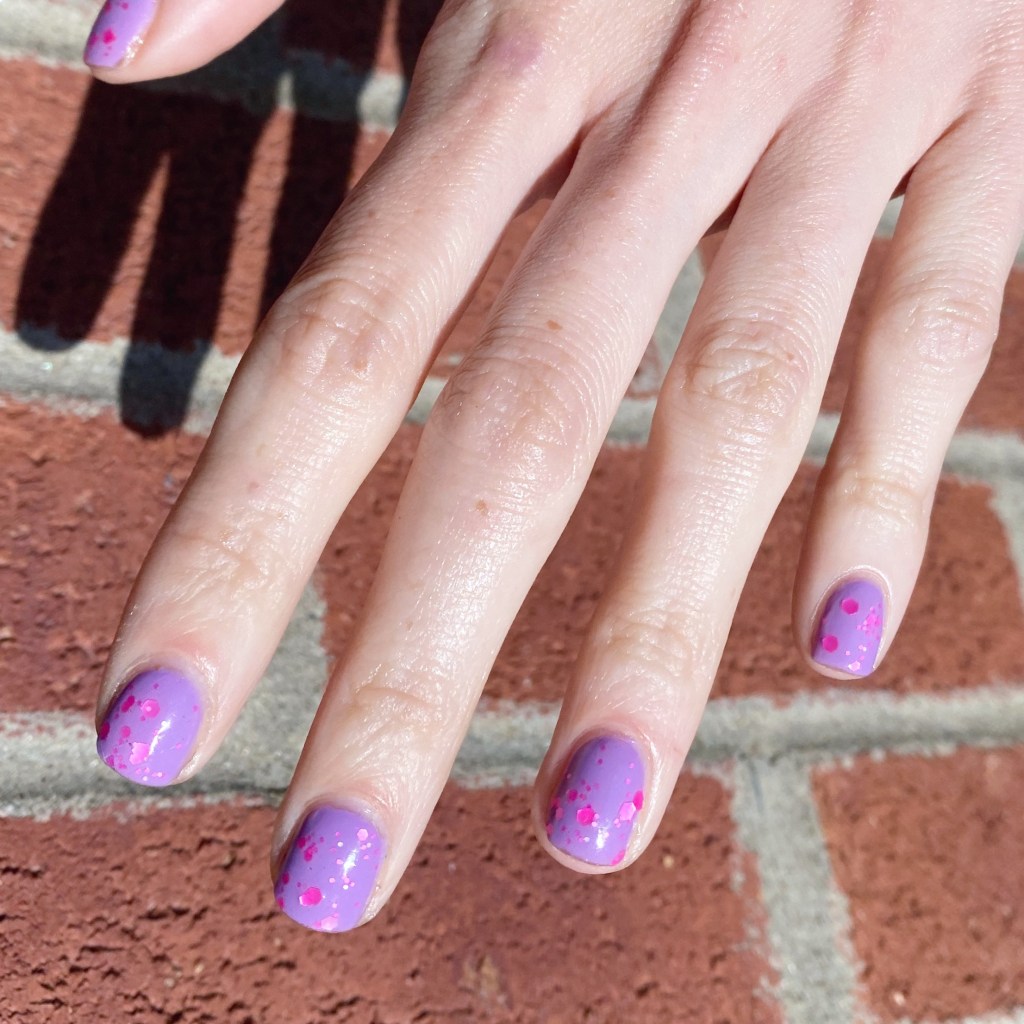
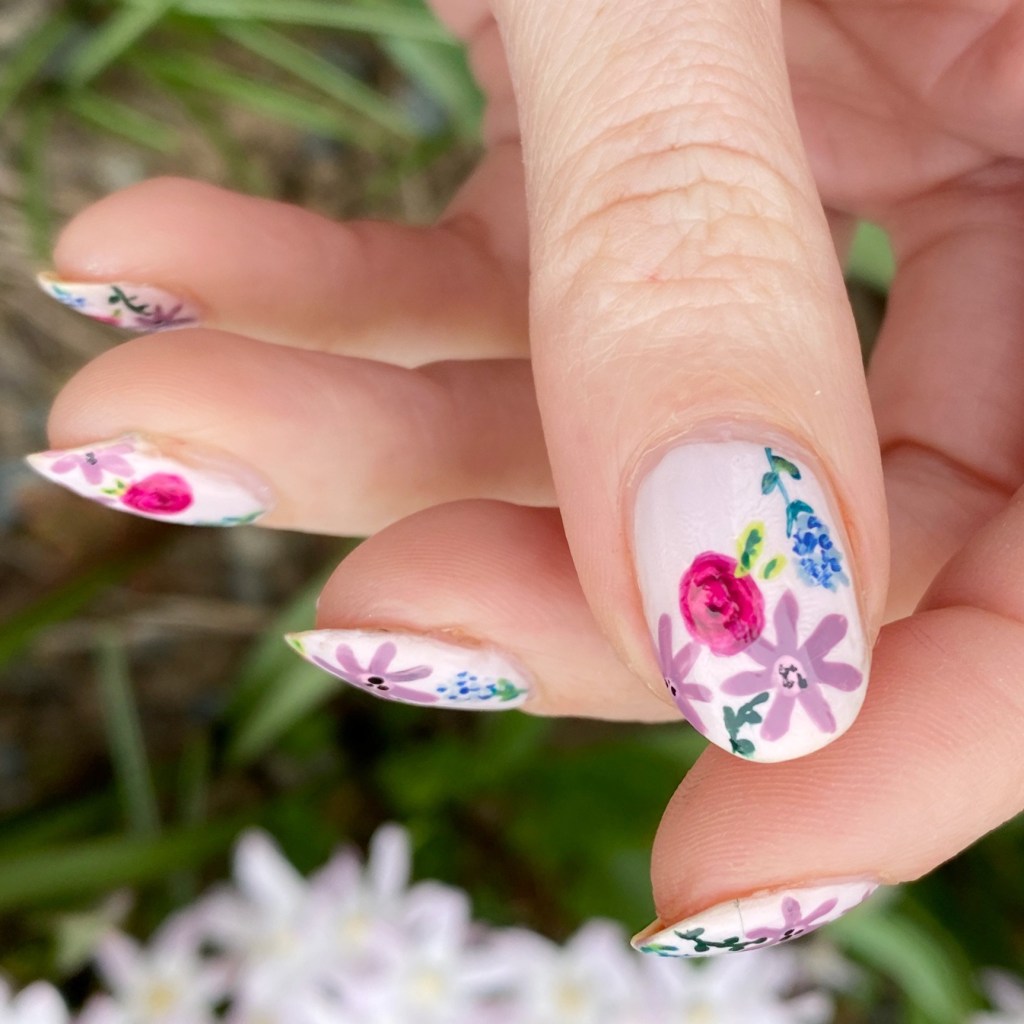
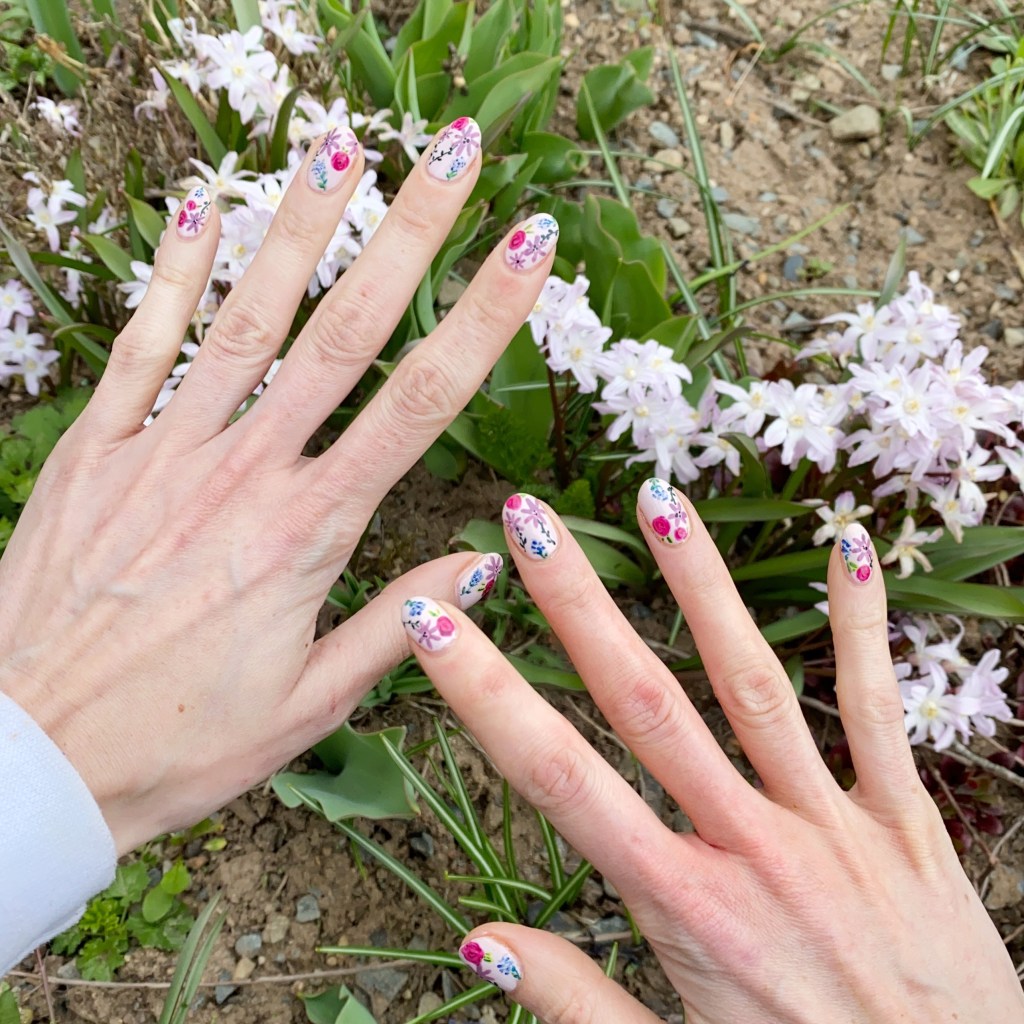
I decided to paint the whole design using acrylic paint because I thought nail polish might dry a bit too quickly, & it gave the design a fun rustic effect. I did add a little bit of glitter on top of my stars, although it didn’t show up like I had hoped. It does remind me of one of those painted Christmas cards you see.

I hope everyone has the merriest of Christmas Days. Enjoy your day however it is spent & I will see you on Wednesday!
🖤