SWATCH SUNDAY — Deborah Lippmann Through The Fire 🔥

Good morning lovelies & happy Sunday! I hope you’re having a lovely start to the week ( or end to last week). It’s been rainy & stormy here, although we just missed quite the snowy mess that the rest of the East Coast of Canada seems to be getting.

Either way, it’s wet & blah.

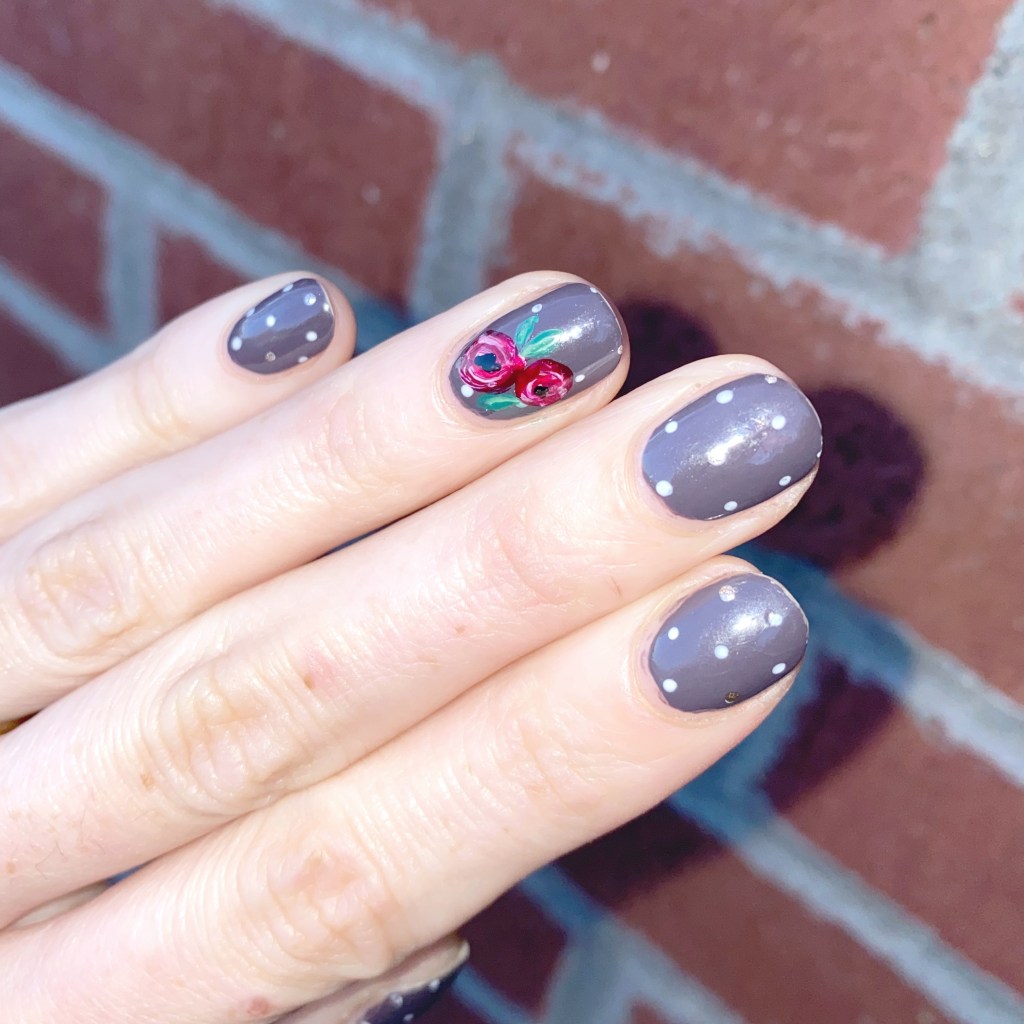
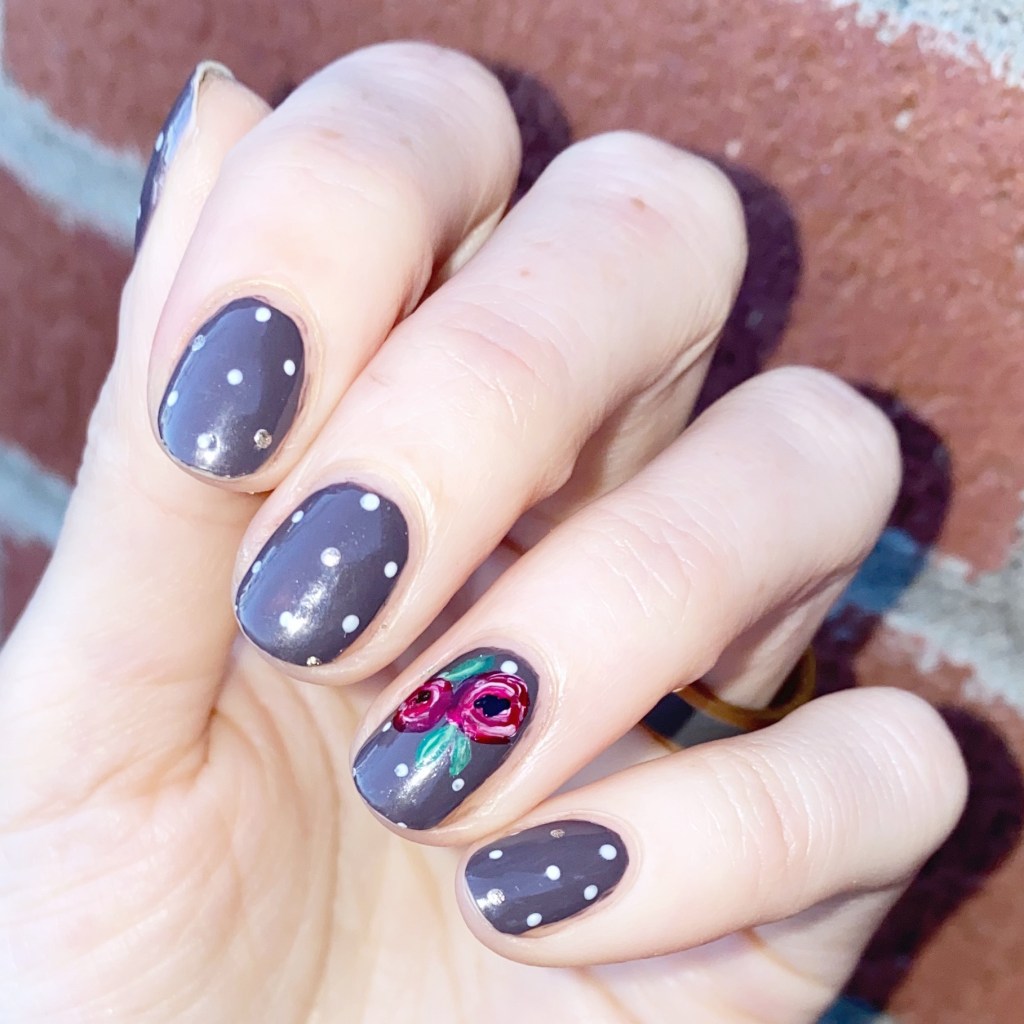
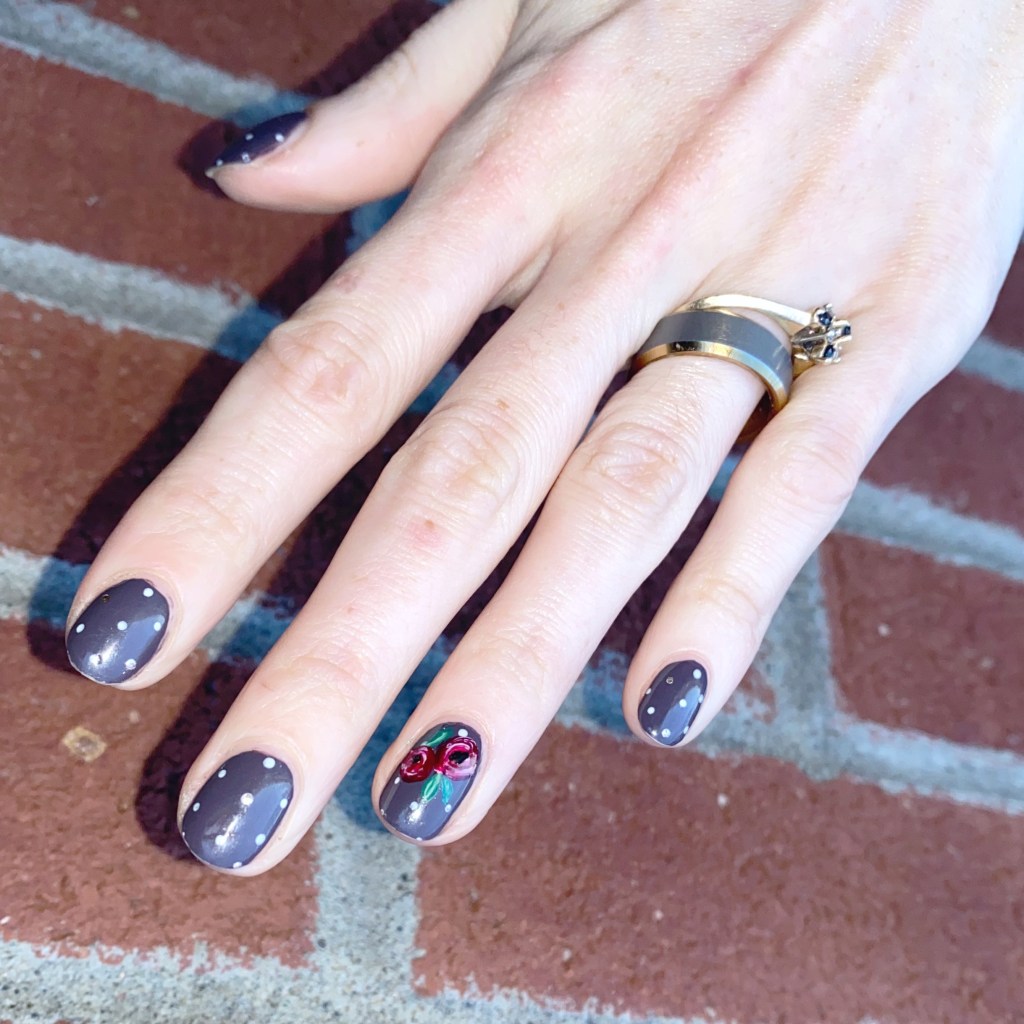
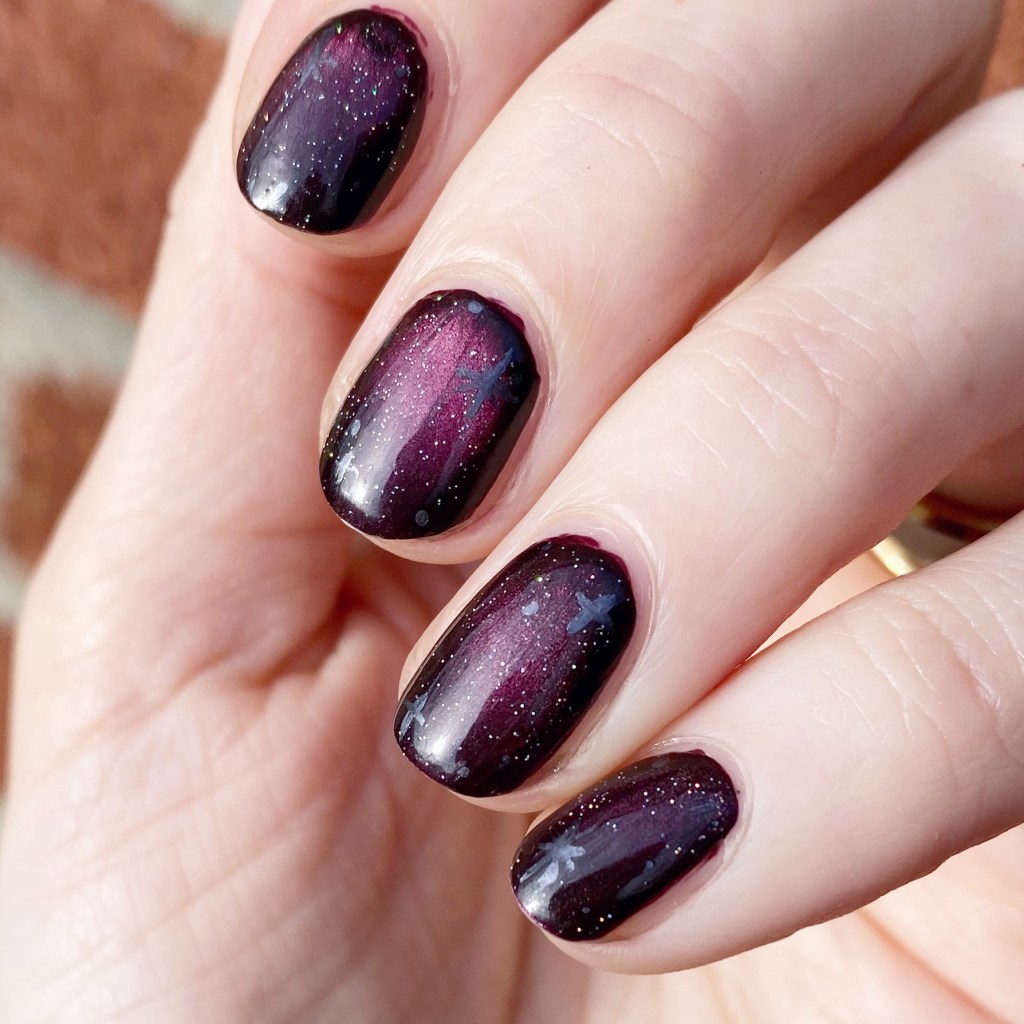
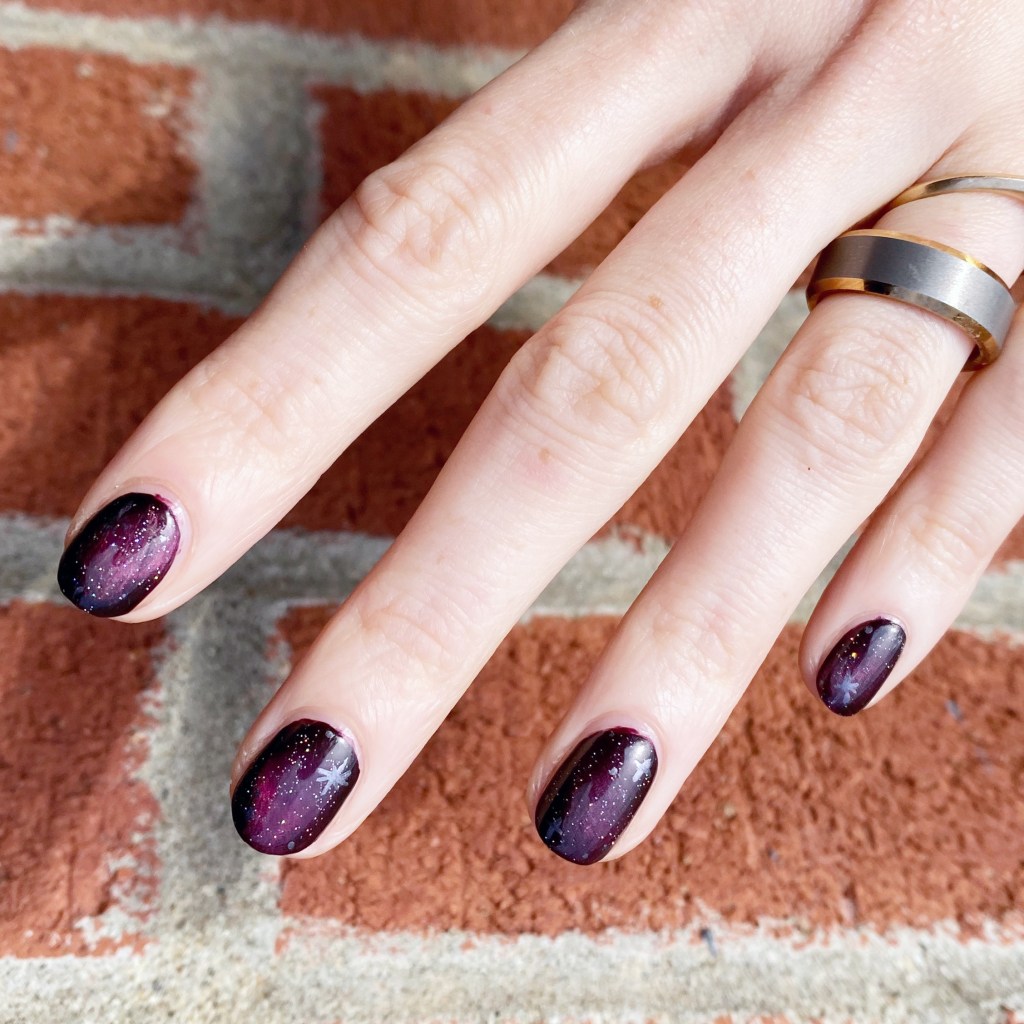
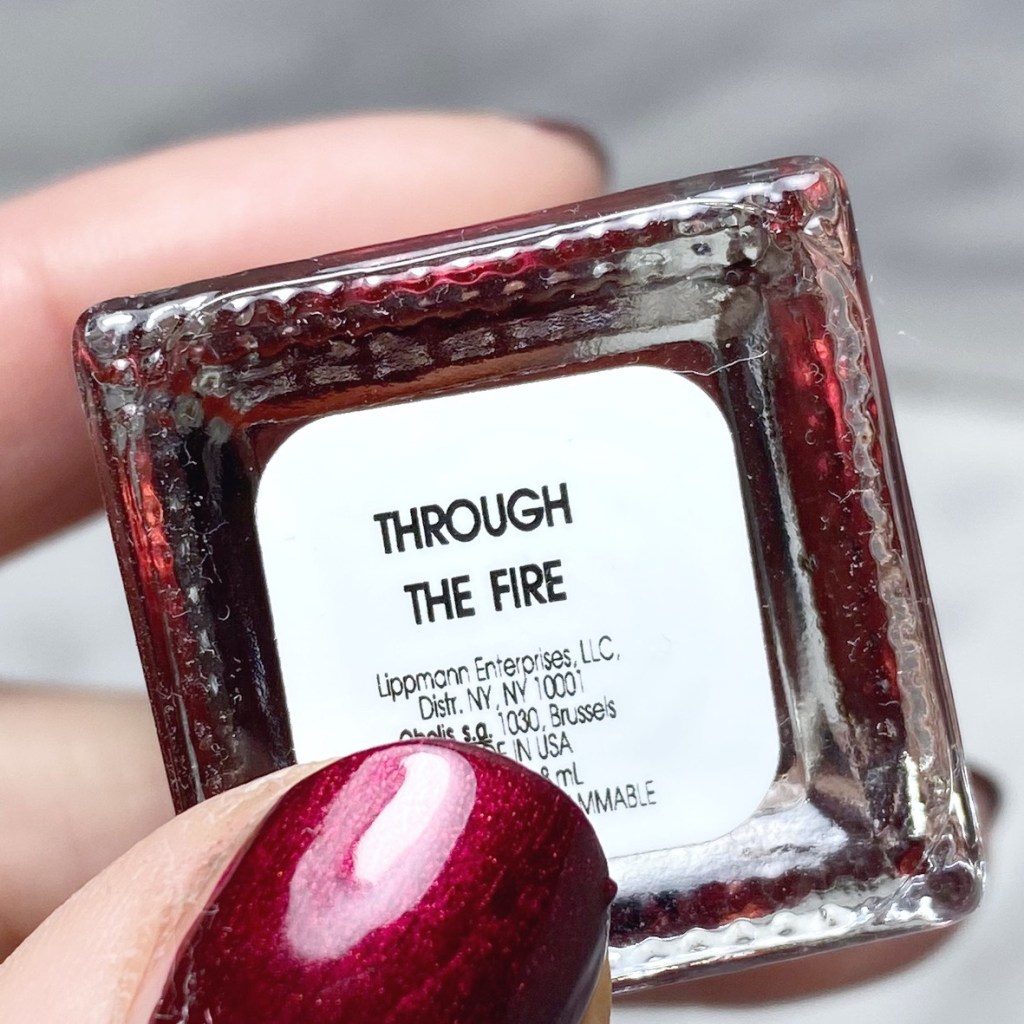
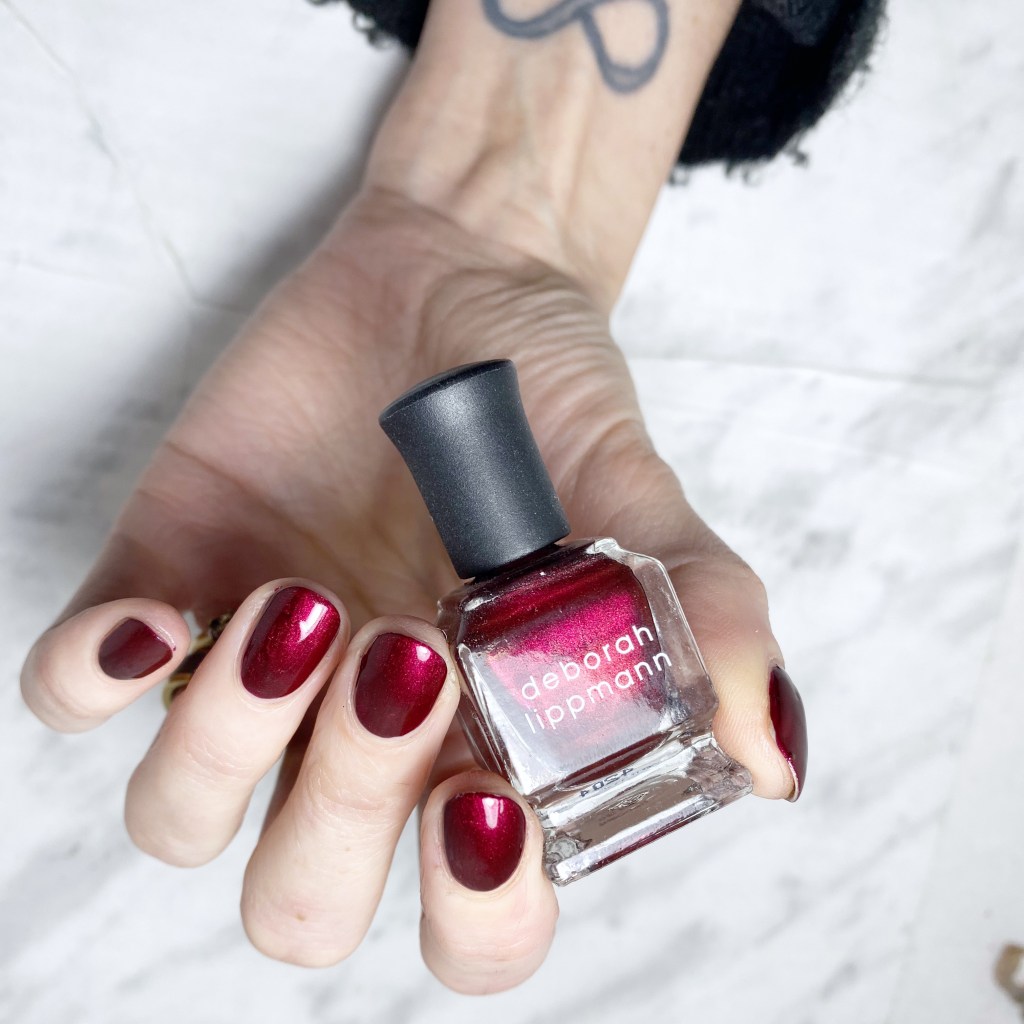
So let’s liven up this day with some nail polish. It’s Swatch Sunday, & I pulled out a beauty from the stash that was calling me. This is Deborah Lippmann Through The Fire.

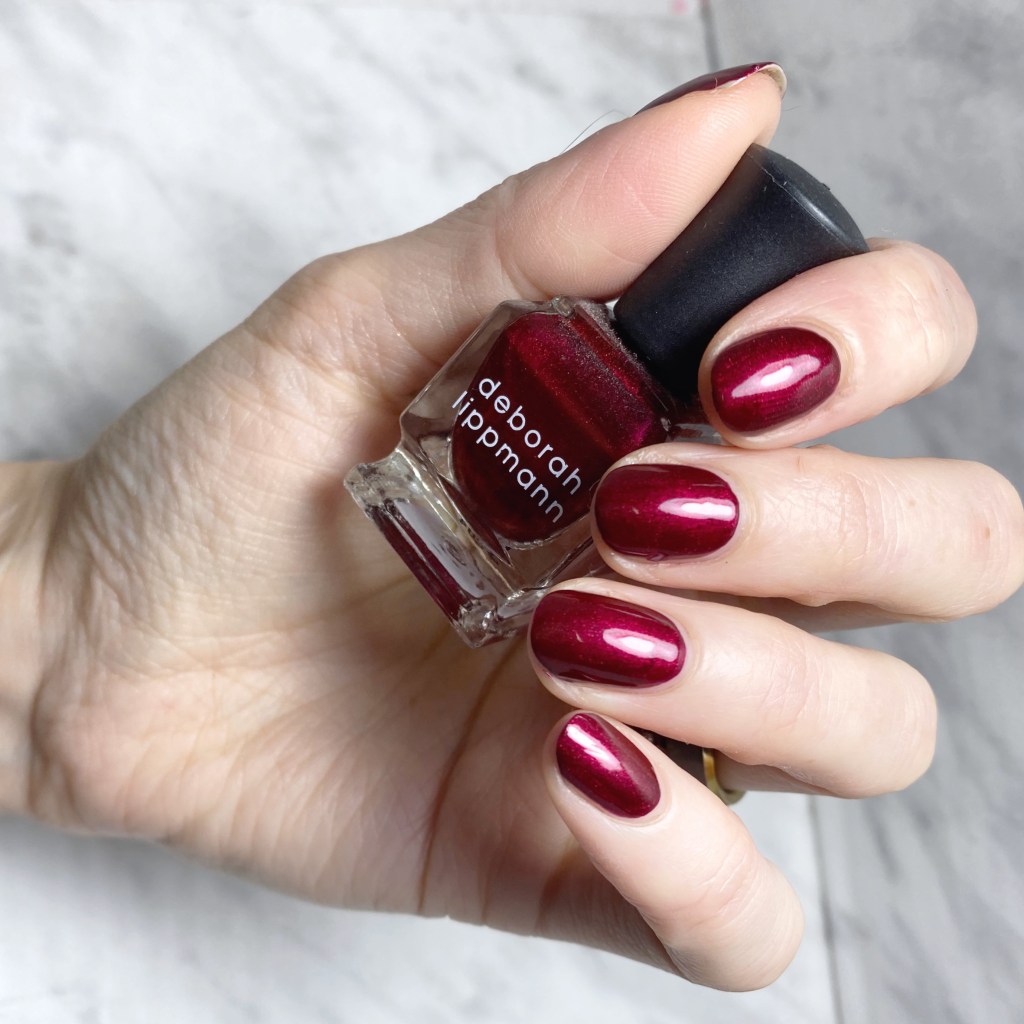
2 coats, no Top Coat

Originally released for Holiday 2012, this beautiful glowing deep red applies flawlessly in almost one coat. Honestly, I probably could have easily achieved a beautiful manicure in one coat, but I applied a second for full coverage. I picked up my bottle as part of a Deborah Lippmann collection at Marshalls (Or Winners, I can’t remember after all these years.) This definitely gives red wine holiday vibes, & even though it’s January now, I’m not mad about it.

You can really see the beautiful shimmer in this close up ( & the dust on my bottle… whoops!) The colour is really beautiful. As mentioned, this is without top coat, so you can see how beautifully glossy the polish dries just on its own. This would definitely be a great polish option for a Valentine’s Day Date, if you wanted your nails to feel extra fancy. A little heart accent nail, & bam! Done.

Sadly this shade seems to be long gone for circulation, but I did see a few listing for it on eBay, so if you’re really in need, you could definitely find someone destashing a bottle.

What do you think about this beautiful polish from Deborah Lippmann? I always forget about her polishes in my stash until I wear one again, & then I remember how stunning they are. Especially the reds I own. Let me know all your thoughts on this shade down in the comments below, & let me know you absolute favourite red to wear — I’m always open to new suggestions to add to my rotation!

Have a lovely Sunday ♥︎

Vintage Inspired Polka Dot & Floral 🌹

Hello loves, I hope you’re having a beautiful start to your Thursday!

Today’s look is giving me early blog vibes, & most specifically this early design featured in the younger days of this blog. I love a good floral, & to be honest I haven’t really been inspired to paint floral on my nails in a while. I think June was the last time I posted any kind of floral, & even that was a simple daisy design. So to say I was long overdue would be an understatement.

So obviously I decided lets do a throwback inspired design, grabbed some pink & red polishes, & I ended up with this pretty look! The throwback vibes are strong, & I’m okay with that. I feel like old school nail art designs are making a comeback — heck one of the indie brands even released a whole collection of crackle nail polish — so I thought I would join in on the fun.

The polishes I used for this manicure are: 

  • Base Coat: Essie Hard To Resist Glow & Shine 
  • Top Coat: Seche Vite Fast Dry Top Coat
  • L’Oreal Vintage Vinyl
  • Sally Hansen Miracle Gel Ski Bunny
  • L’Oreal Feeling Kilty
  • Sally Hansen InstaDri Racing Rose
  • Sally Hansen InstaDri Cinnasnap
  • Sally Hansen Miracle Gel Montley Hue
  • China Glaze Shore Enuff
  • Essence Cosmetics Green is the new Grunge
  • Starrily Vantablack
  • Dotting tool (I always use mine from NailStuff.ca — Dotting Tool Trio)
  • NailStuff.ca Mermaid Tail Nail Brush Trio (11mm Liner Brush)

Ooooh it’s so pretty! I mean, being a self confessed perfectionist I can definitely see some flaws, but I’m not going to concentrate on those, & instead focus on the good things… like floral being on my nails again after far too long. It just feels good, especially during these frigid days we’ve been having. I’m not a fan of Winter once Christmas is over, so I don’t really enjoy January at all.

A girl can only drink so many extra hot coffees in a day.

So I would expect to see a few more florals popping up on my nails over the next few weeks, especially as we start inching closer to Valentine’s Day.

What do you think of this floral design? Have you missed seeing it around? What is your favourite nail art design to do of all time — or for others to do? Let me know all your thoughts in the comments below.

Purple & Pink Drag Marble (Fail?)

Hello beauties & happy Tuesday! I hope everyone’s week is off to a lovely start. I feel like January weeks are just so blah. It’s cold…. uneventful… the days seem to drag. So I’m once again breaking up the January blahs with another fun purple design.

We all know that I’ve been having a purple moment lately, & I thought I would keep it going with the purple-y design I wore this past weekend. Originally, this was supposed be a drag marble, & that was the technique I used to create the blending between shades. & then obviously I added some gold glitter shards, for an extra little bit of sparkle.

The polishes I used for this manicure are: 

  • Base Coat: Essie Hard To Resist Glow & Shine 
  • Top Coat: Seche Vite Fast Dry Top Coat
  • Sally Hansen Xtreme Wear Late Night Lilac
  • Sally Hansen Xtreme Wear Pep-plum
  • Essence Cosmetics  Steeling the Scene
  • Dotting tool (I always use mine from NailStuff.ca — Dotting Tool Trio)

So honestly, I’m not 100% sure if I love these or if they kind of turned out as a fail. They definitely did end up the way I had intended. I actually wanted to create something more like this design, but the polishes were not agreeing with me so this is how it ended up. Sally Hansen XW Late Night Lilac is actually a super runny jelly glitter–which is beautiful–but not the most ideal for drag marble designs I guess. Maybe if I had used Pep-plum as my base instead of Late Night Lilac it would have worked out better.

& then obviously I added some gold glitter just for a little something extra… because I feel like it needed some sparkle. The two shades were beautiful together, just missing something.

What do you think about this drag marble fail? Do you like these colours together? Let me know what you think of this design down below, & what colours you think I should try next time for a better result.

Have a fantastic day loves!

SWATCH SUNDAY — Color Club Pucci-licious

Good morning lovelies & happy Sunday!

I hope everyone’s day is off to a great start & that your first week of 2023 has been lovely. It’s finally kind of looking like Winter here in my part of the East Coast, so naturally that means I’m feeling the complete opposite with this week’s Swatch Sunday pick.

I’ve been in a serious purple mood lately. The last 4/5 of my manicures have a purple theme (& I have another one ready to go!) So naturally when picking this week’s Swatch Sunday pick I wanted to keep the trend going. & one of my all time favourite purples?

Color Club Pucci-licious.

2 coats + Seche Vite Fast Dry Top Coat

I’m not going to lie, I’m actually surprised I haven’t picked this shade to swatch yet. It’s absolutely one of my all time favourite purple polishes.

Color Club Pucci-licious was originally released as part of the Poptastic collection, but then made its way into the permanent line up. The polish itself is a cool toned vibrant purple cream. On its own it’s quite glossy, but I did add top coat to mine as I was adding some crackle overtop.

I used two easy coats for my swatches, & it was perfectly levelled with the second coat.

As you can see from the top of my bottle, I bought this guy at my local Lawton’s in the clearance section. However, you can still find this guy for sale on the Color Club Website so I don’t think he’s been discontinued (thank goodness!) It’s also available via NailPolishCanada.com — on sale! — so that’s a good option as well.

The shades look much different on the two sites, but they’re definitely the same polishes. That’s kind of the thing about photographing Pucci-licious—depending on your lighting when photographing it, it can look very different. I did my best to capture my swatches as close as real life as possible!

What do you think about Color Club Pucci-licious? Do you own this beauty of a shade in your own nail polish stash? L

et me know all your thoughts, & what colours your currently wearing to get you through the January blahs.

Have a lovely Sunday! 🖤

Easy Galaxy Nails ( With Magnetic Polish)

Hello beauties & happy Thursday! We’re almost one full week into 2023 & its kind go crazy to think about. & it actually looks like Winter today, which I think is the first real snowfall we’ve had so far that wasn’t more than a dusting. Now if only it could have come like 2 weeks ago before Christmas, haha.

Today we’ve got our second nail art look of the year.

I’ve recently been going through my stash, looking at old shades I haven’t touched in a while. We all know magnetic polishes are having a serious moment right now on Instagram, so I decided to pull out one of my old school magnetic shades from China Glaze to test it out with the Starrily magnetic I got from NailStuff.ca & see what kind of effect it would have on it. & from that, I realized how perfectly it would be as a base for a galaxy design! So here are my super easy magnetic galaxy nails!

The polishes I used for this manicure are: 

  • Base Coat: Essie Hard To Resist Glow & Shine 
  • Top Coat: Seche Vite Fast Dry Top Coat
  • China Glaze Magnetix Instant Chemsitry
  • China Glaze Fairy Dust
  • China Glaze Public Relations
  • Starrily Magnet (C/o: Nailstuff.ca)
  • NailStuff.ca Mermaid Tail Nail Brush Trio (11mm Liner Brush)

Originally my plan was just to wear the shade on its own, as I loved the effect the magnet had on it. But then I was like “I wonder what Fairy Dust would look over this?” From there I realized how much it looked like a galaxy, so I added a few dark silver stars.

Instant galaxy.

These are definitely the easiest galaxy nails I’ve ever created, & definitely the least time consuming. This is definitely making me want to go through all the magnetic polishes I’ve collected over the years & test them out with the Starrily magnet to see what it creates. The old magnets that came with these shades usually created patterns, but I’m much more fond of this like way.

What do you think about this easy galaxy design? Is this a look you could see yourself recreating? Let me know if this look is one making you want to dig out your own magnetic polishes, or any other thoughts you have down in the comments below!