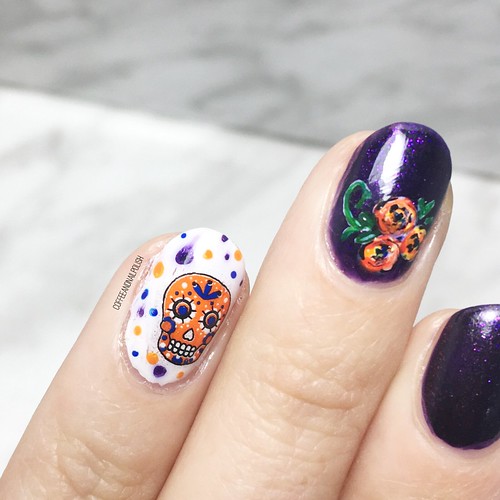
Oh my gosh, we did it you guys! It’s the last day of GlamnailschallengeOct! Another month of fun designs that I might not have done otherwise! & I’ve had a blast celebrating my favourite holiday with this challenge… now it’s time for one more design!
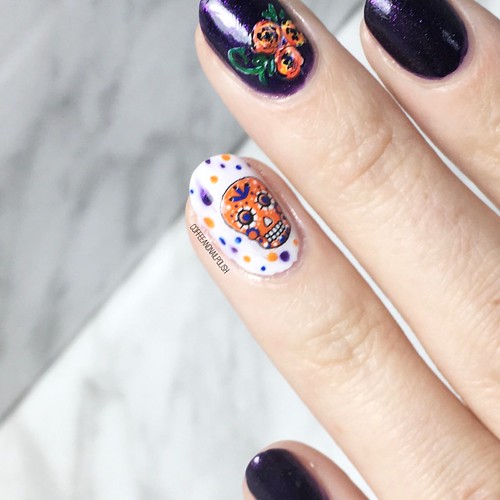
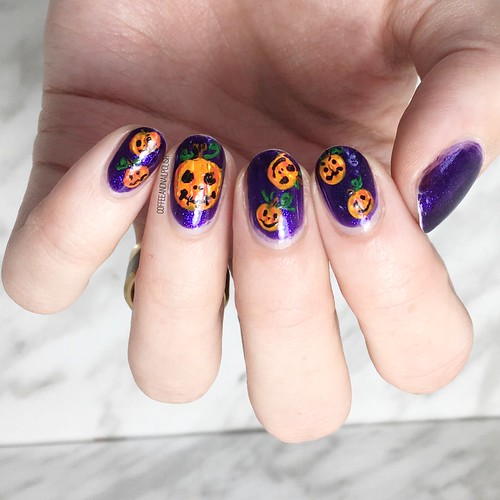
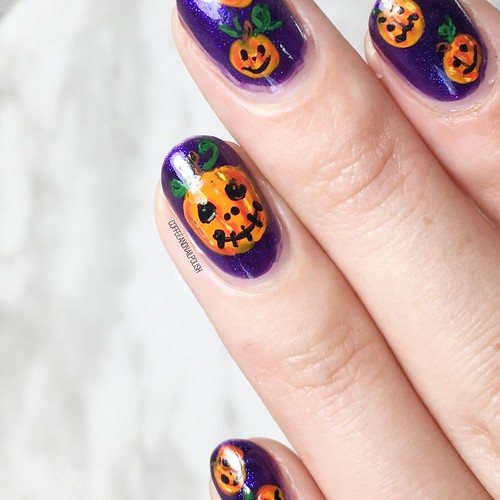
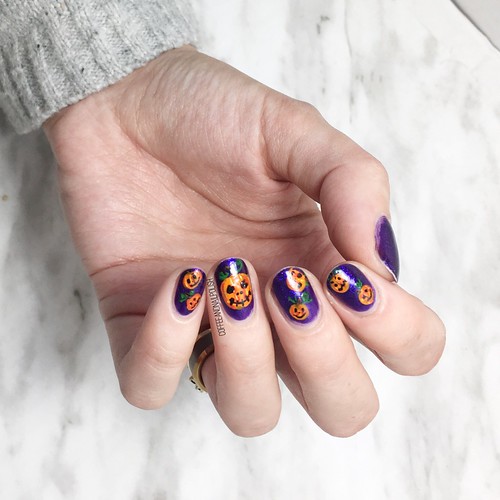
The last prompt is Jack o Lanterns. Now there are a lot of different ways you can do Jack O Lanterns on your nails, & I searched through many minutes of Pinterest for inspiration, but in the end I decided to just start painting & see what I got.

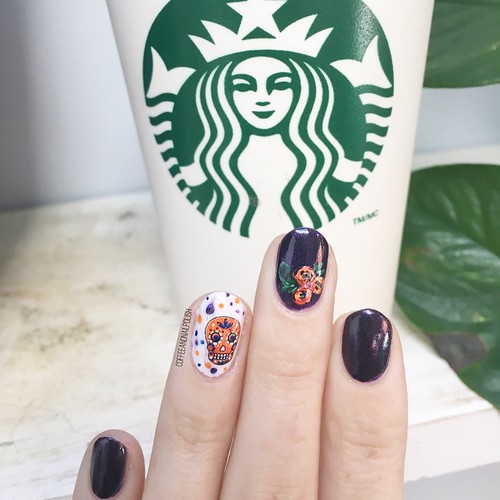
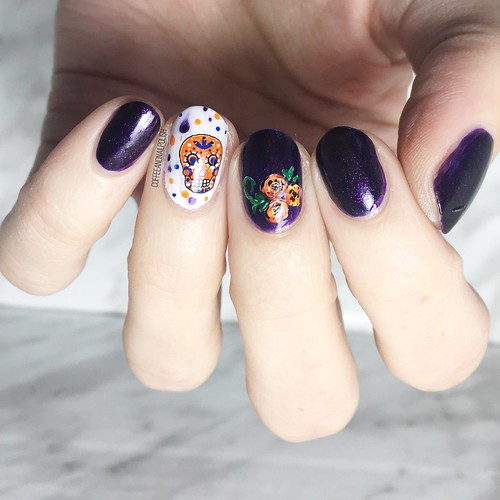
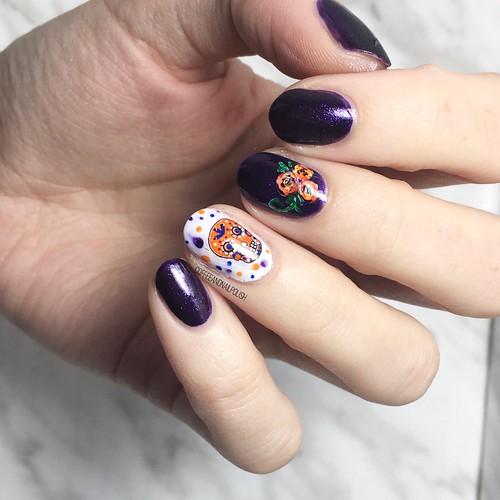
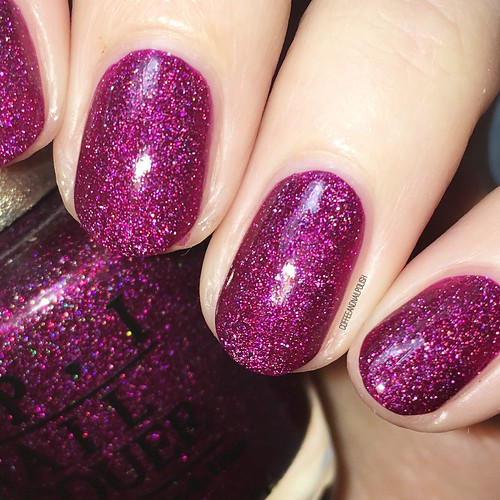
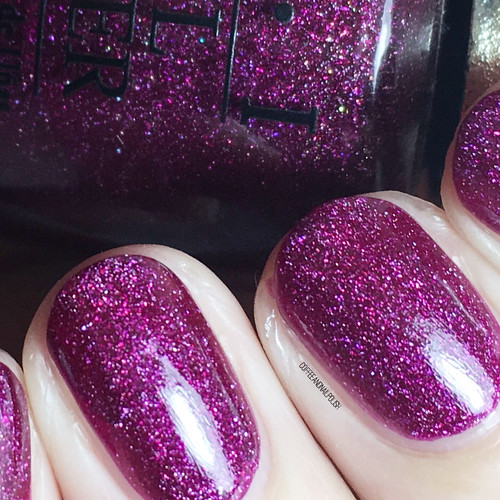
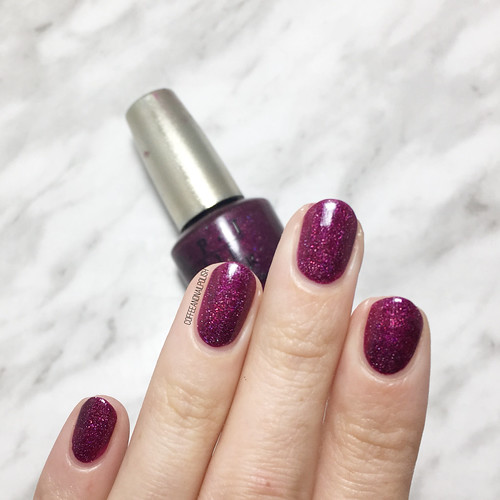
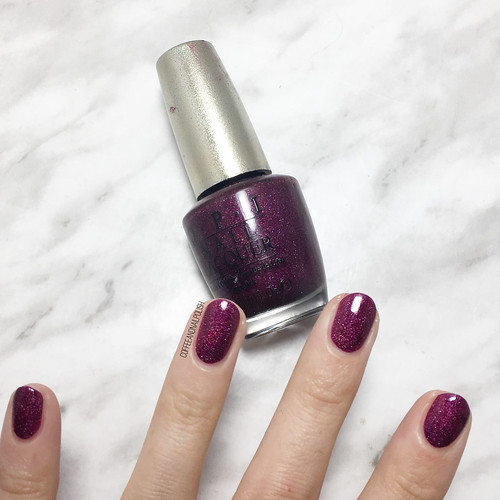
For this manicure, the polishes I used were:
- Base Coat: Sally Hansen Green Tea Bamboo Strengthener
- Base Coat: Duri Rejuvocate
- Top coat: YSL Beauty Quick Dry Top Coat
- LA Girl Rock Star Groupie
- Acrylic Paint
- NailStuff.ca 7mm liner brush (from Mermaid Brush Trio)
- NailStuff.ca dotting tool trio
.

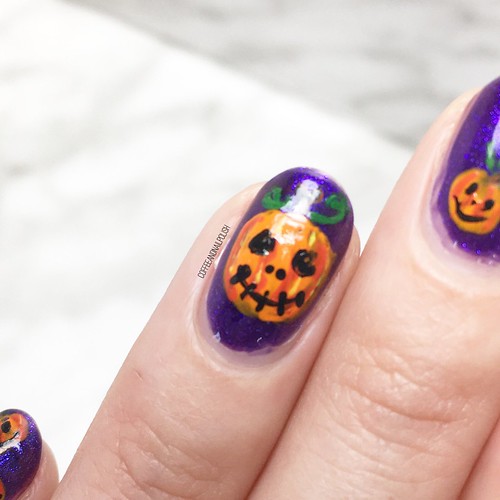

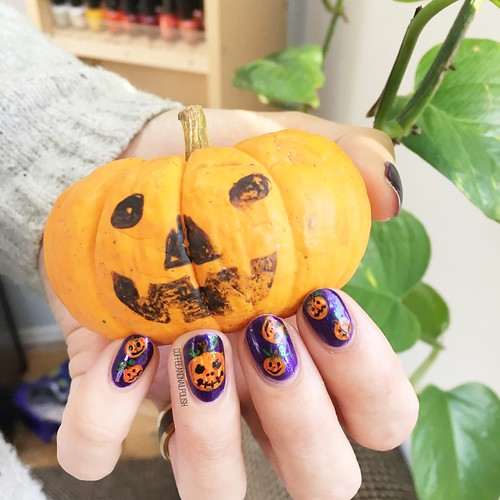
For this look, I took my base colour which I was already wearing (LA Girl Groupie) & used a few orange acrylic paints to create my pumpkins. I went with acrylic paint (again) because it’s easier to erase if you’re unhappy with how it turns out & I find can’t paint on a bit easier than nail polish — & I was working against the clock.
I liked the idea of doing a couple smaller pumpkins on each finger with a larger “accent pumpkin” on my ring finger. I thought it turned out kind of cute! I’ll be honest, I’m not a huge fan of actually carving pumpkins–& truthfully I haven’t done it in like 10 years–but I’ll paint cute Jack o lanterns on my nails any time!
What do you think about my Jack o lanterns for GlamnailschallengeOct? Have you figured out what you’re dressing your nails as yet?
Don’t forget to pop over to #glamnailschallengeOct on Instagram & see all the final designs for this month!