Hello lovelies & happy Sunday! I hope everyone has been having a lovely weekend. I actually had this weekend off from work, so I’ve been relaxing & enjoying doing a whole lot of nothing — especially since Holiday shopping craziness is really kicking into high gear!
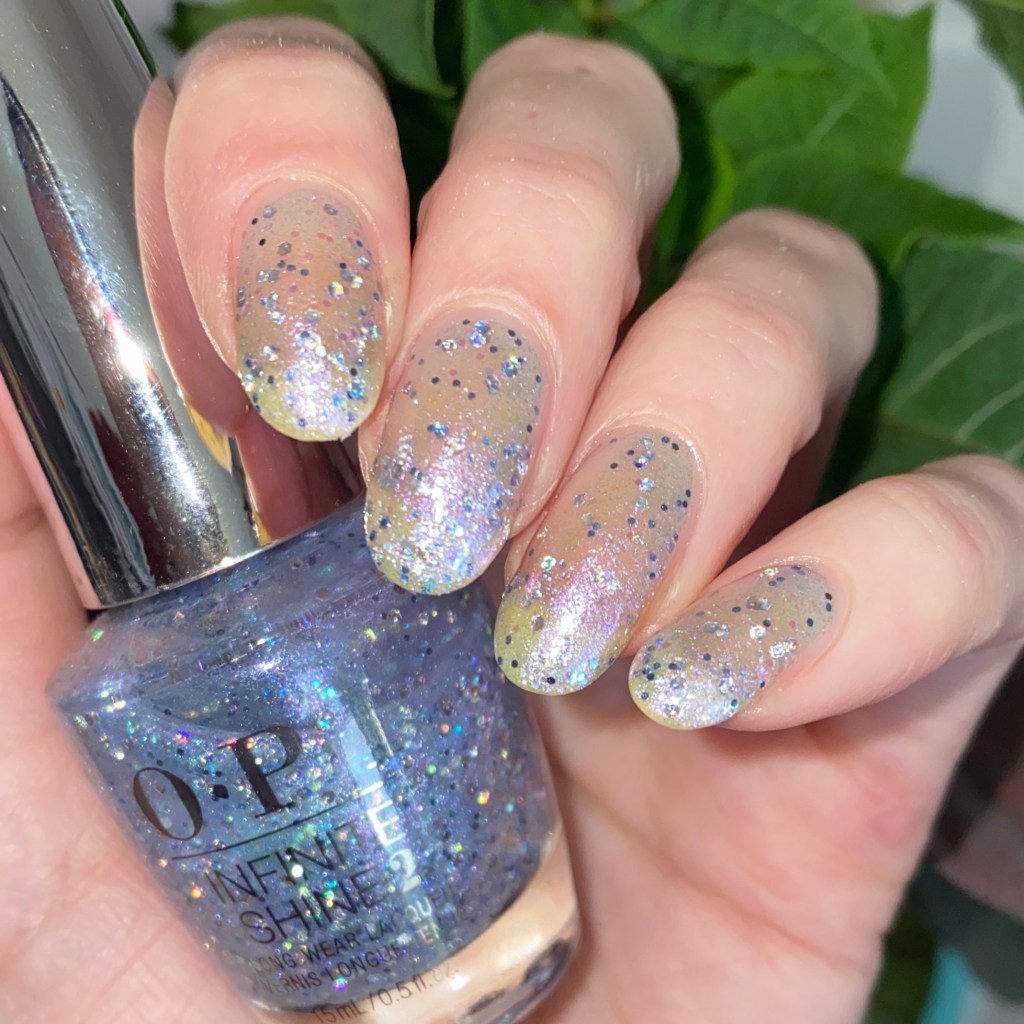
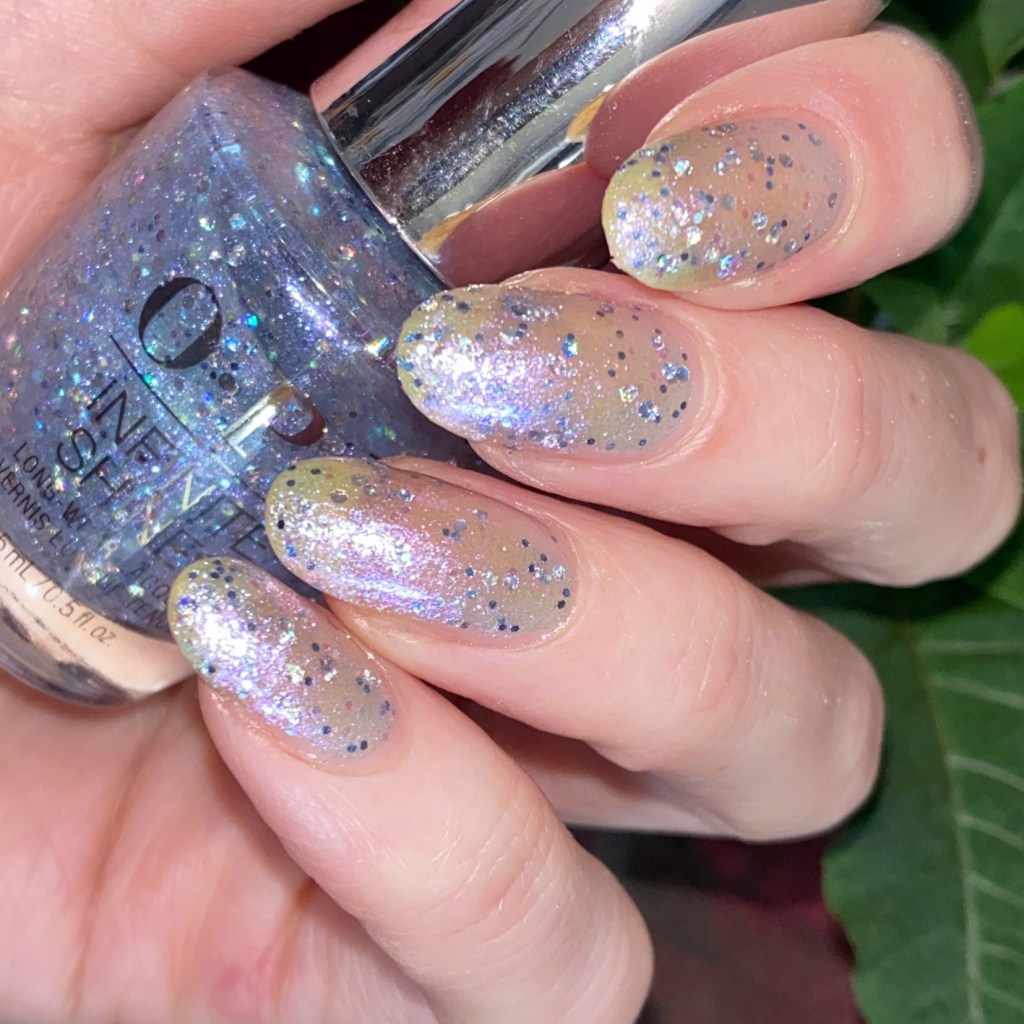
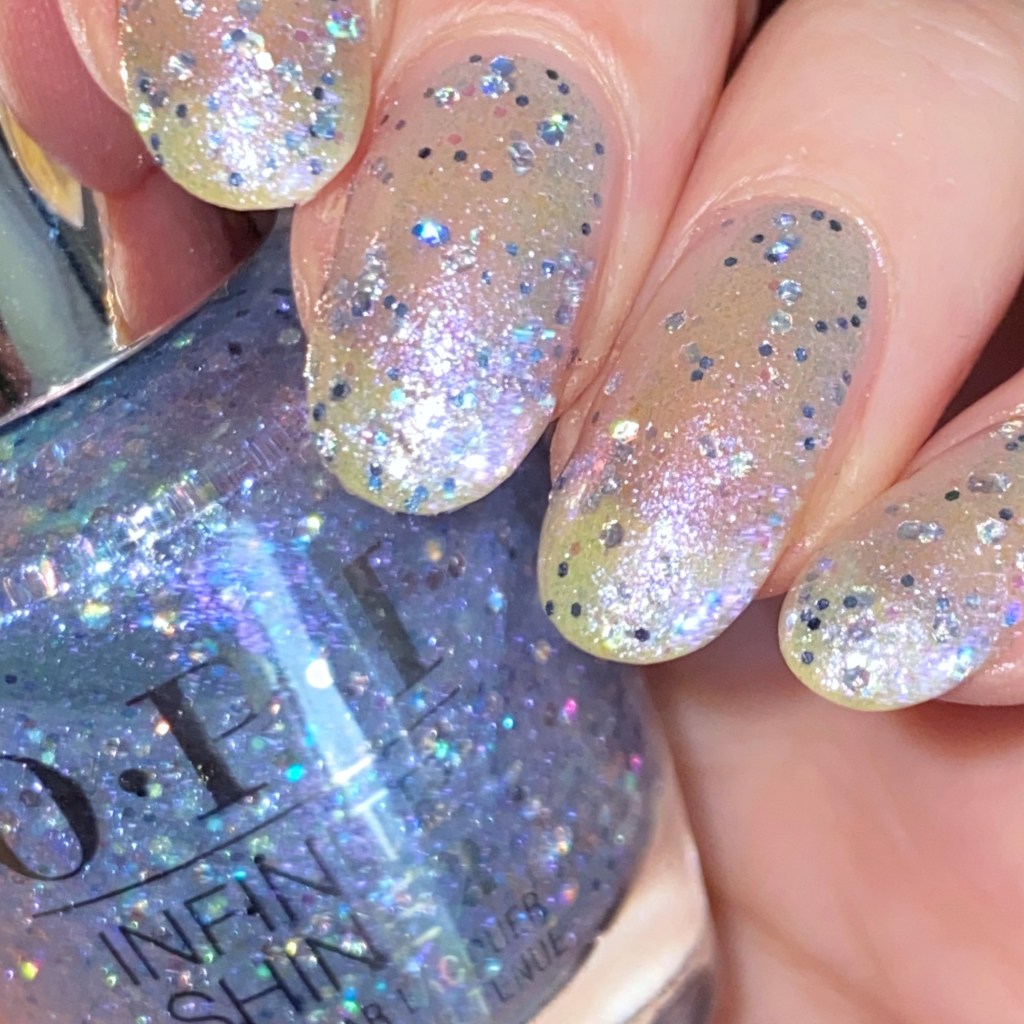
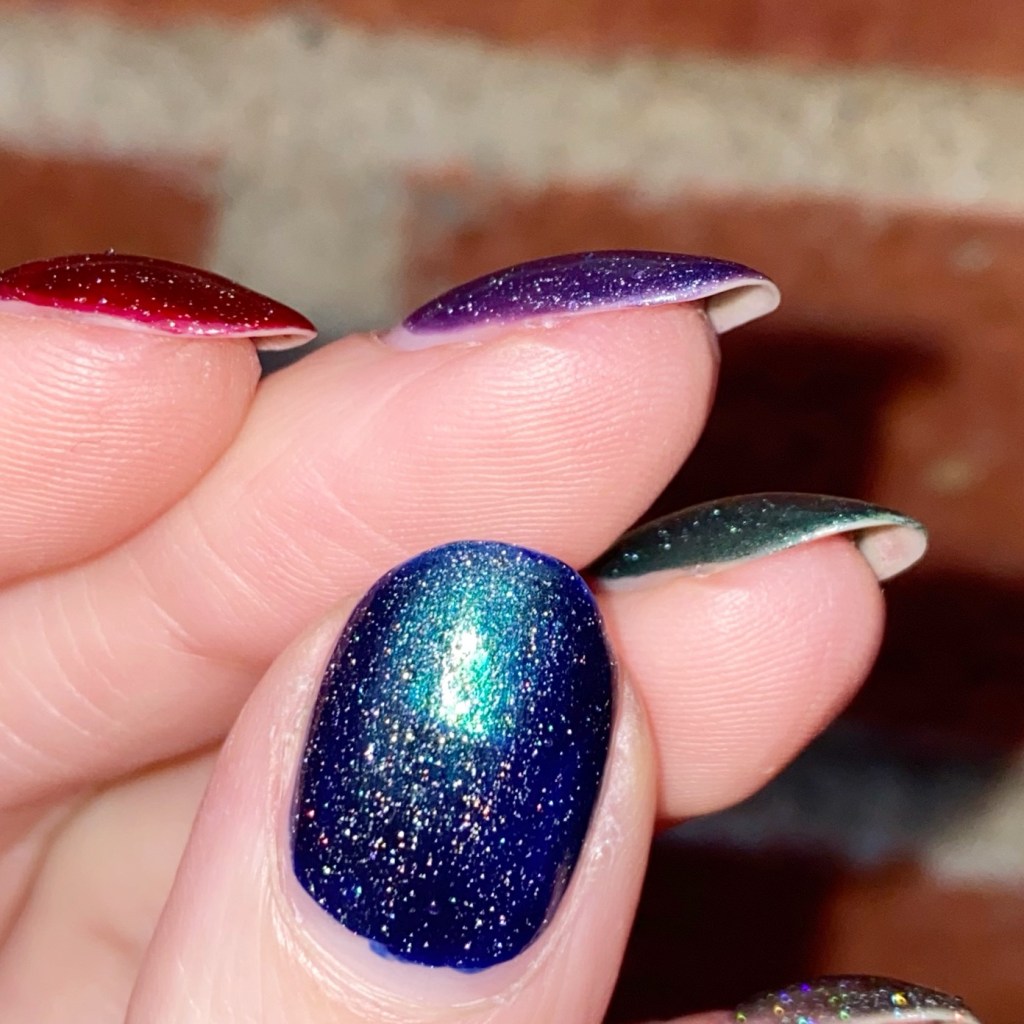
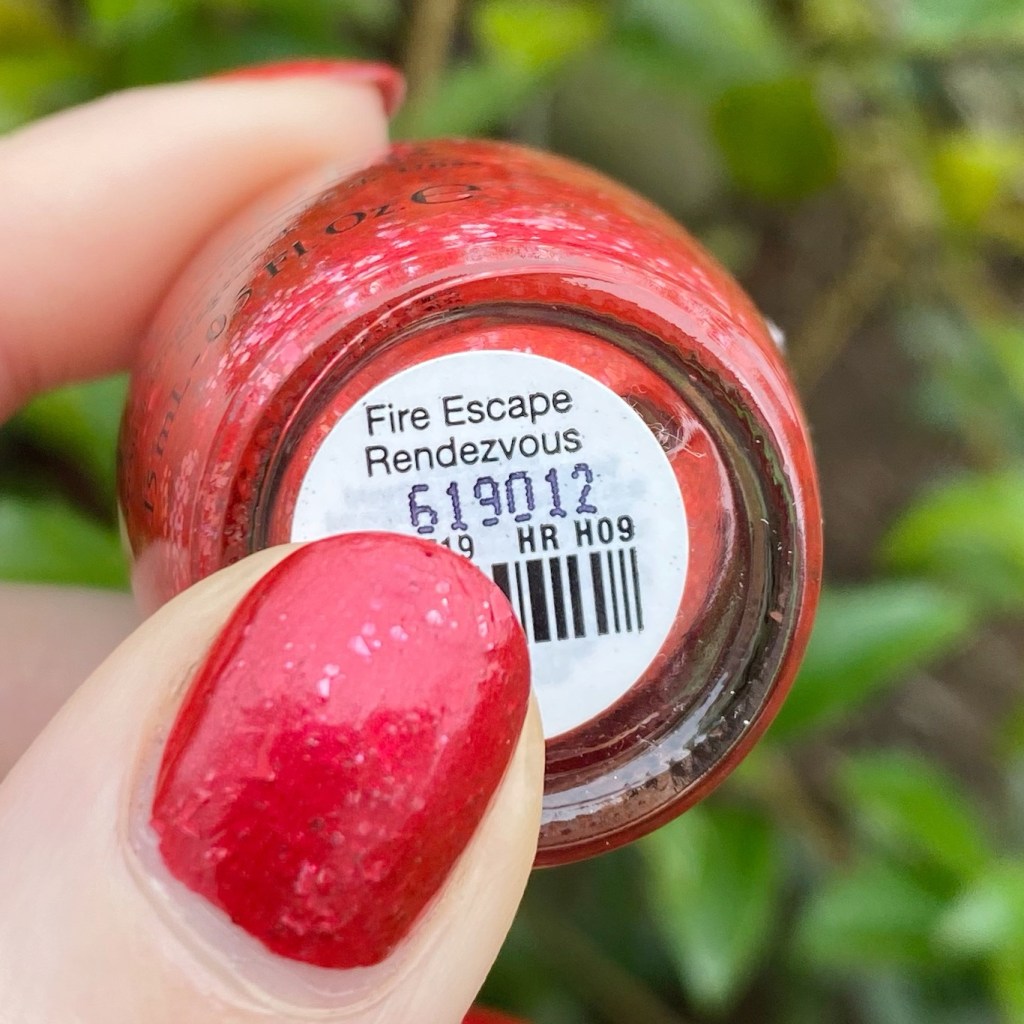
Today I’m excited to share another fun OPI Holiday shade, this time from 2016! This is Fire Escape Rendezvous.


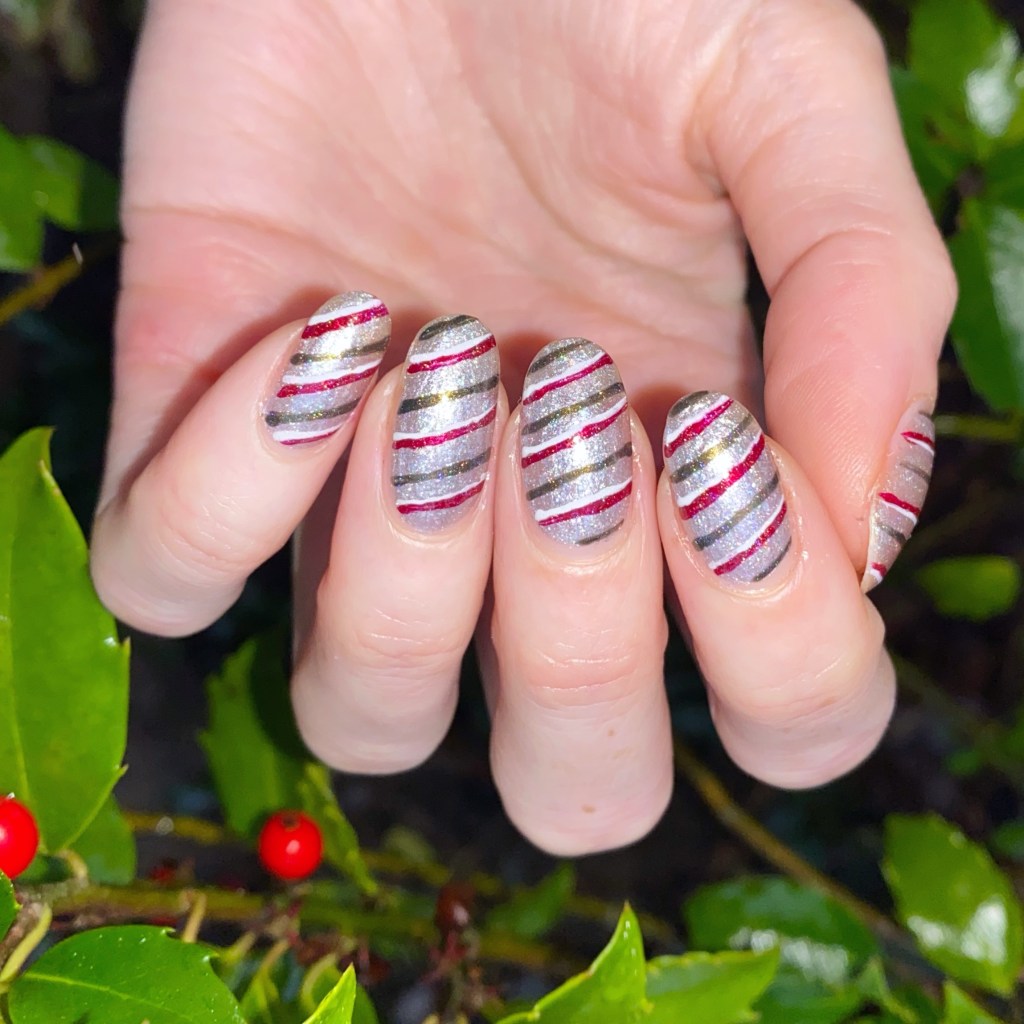
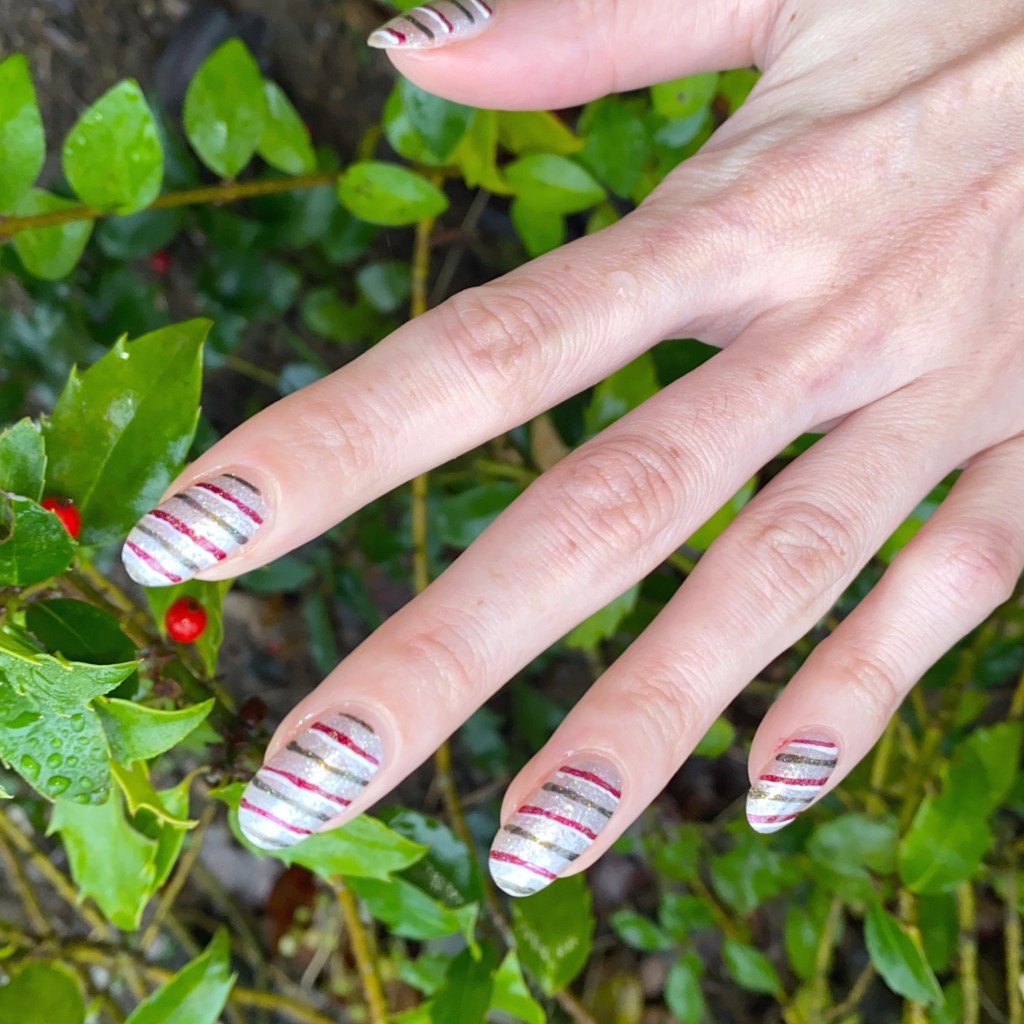
2 coats + top coat
The formula on this shade is pretty easy to work with. The base is a beautiful almost metallic blood red filled with a slew of different shaped silver glitters. They create an interesting texture on the nail, as the base is thin enough to show them off, but still buries them slightly. I know not everyone loved this shade when it first got released — it’s not as hated as say, Pineapples Have Peelings Too, but it wasn’t universally loved. Personally, I love it & its uniqueness. Plus, it’s one of those reds that when I wear it, I’ve had people literally go “Oh your nails!”
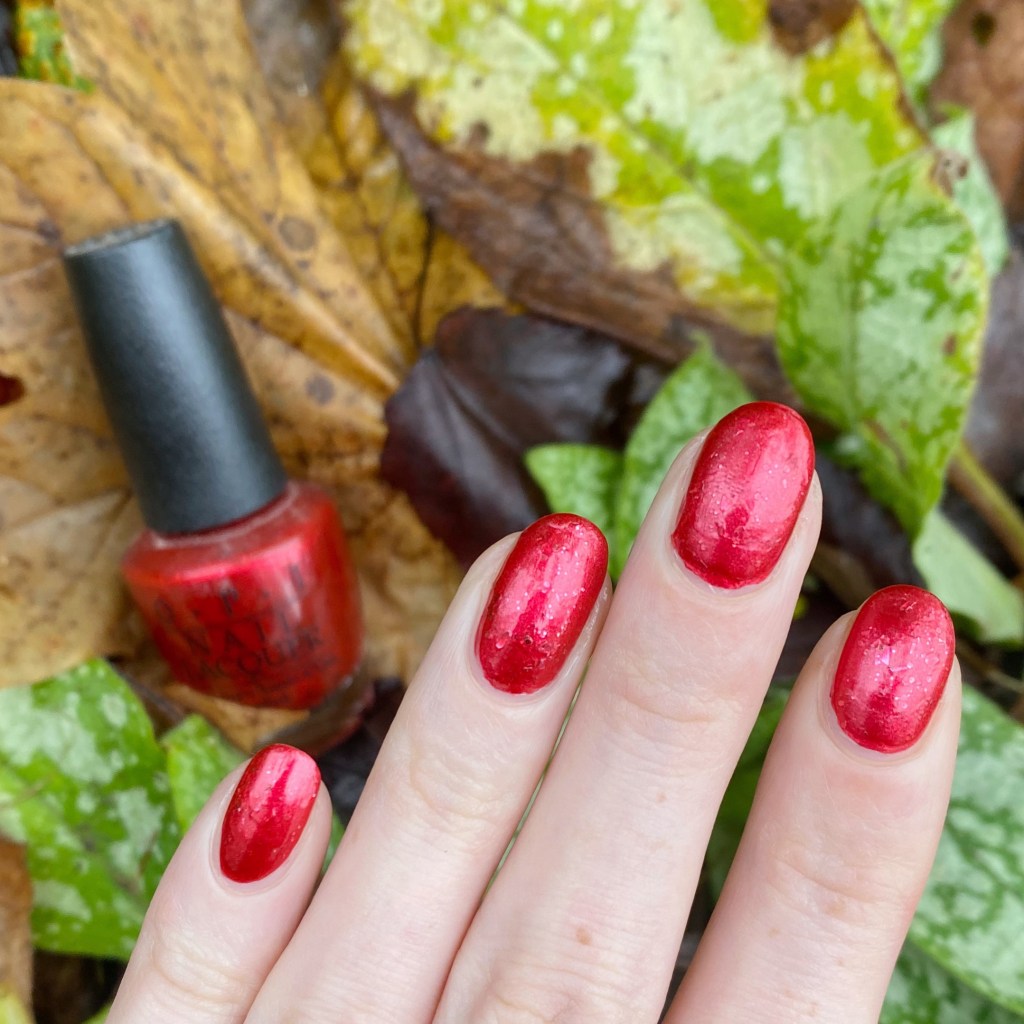

I remember being so beyond excited when OPI released this Breakfast At Tiffany’s collection for Holiday 2016, because it’s been one of my favourite movies as long as I can remember. Back when it was first released (8 years ago… how crazy is that?!) I was 7 months pregnant with my son, so buying the whole collection wasn’t in my budget, but I did find this red shade at my local Marshall’s & naturally had to snap it up.
I just think it’s so unique & different, & as someone who owns a ton of reds, I like one that it slightly different.

Do you remember Fire Escape Rendezvous from the OPI Holiday 2016 collection? Do you own any of the shades from this Breakfast at Tiffany’s collection? Let me know all your thoughts down in the comments below!
Happy Sunday
♥︎