Spring Speckled Egg Skittle Nails

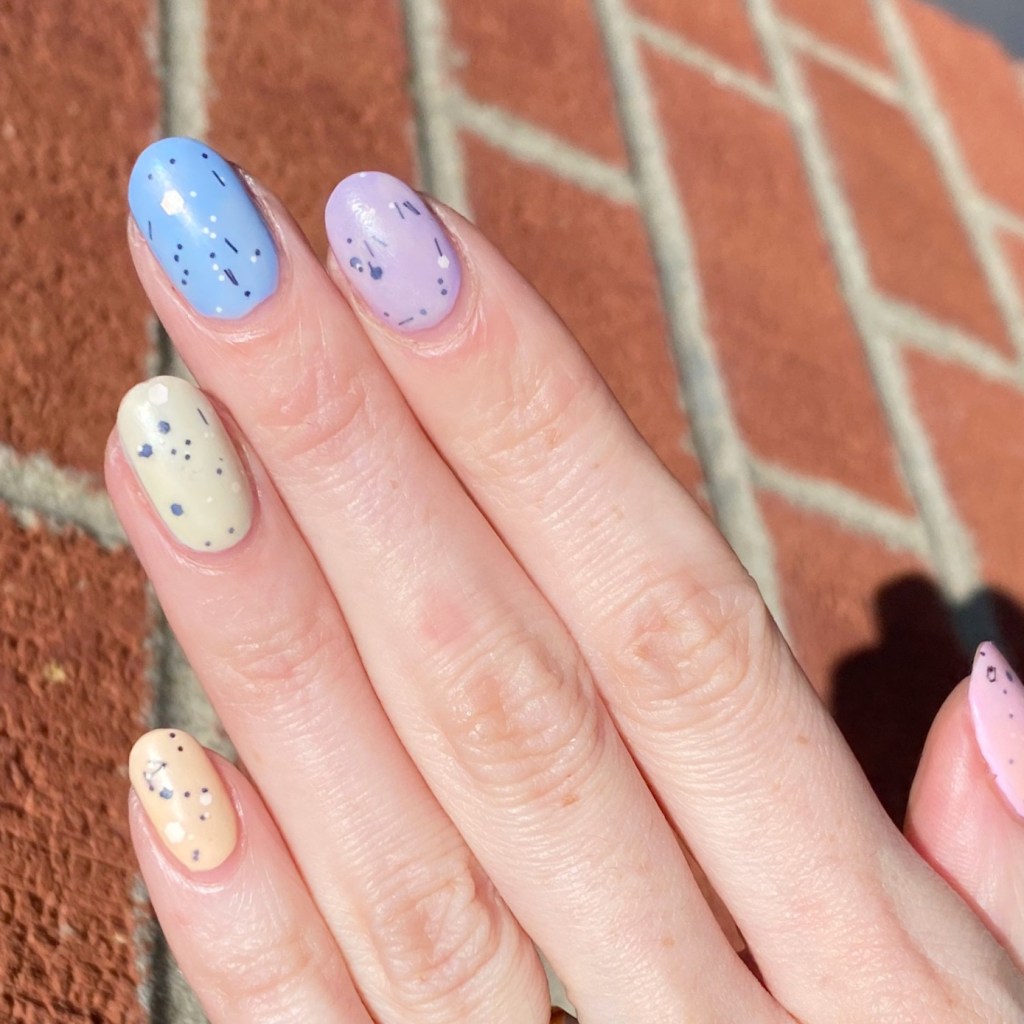
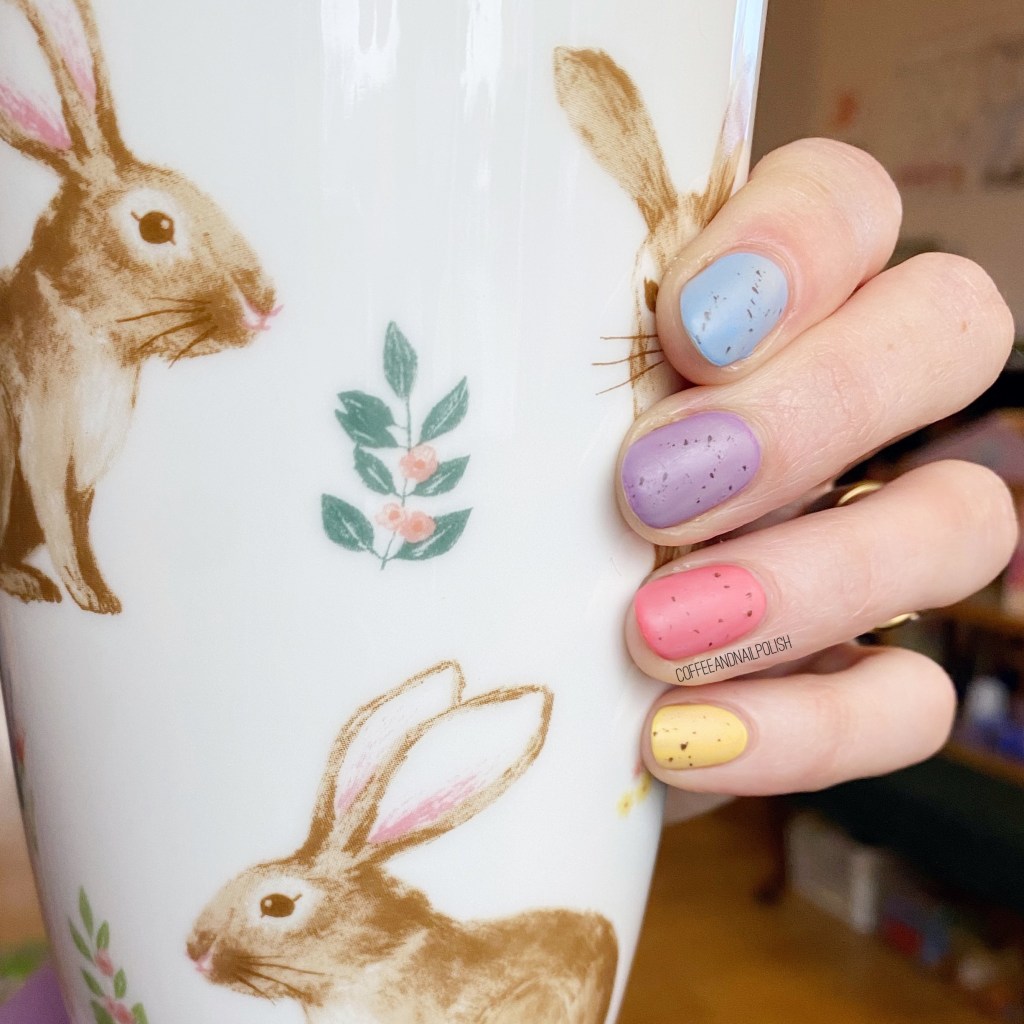
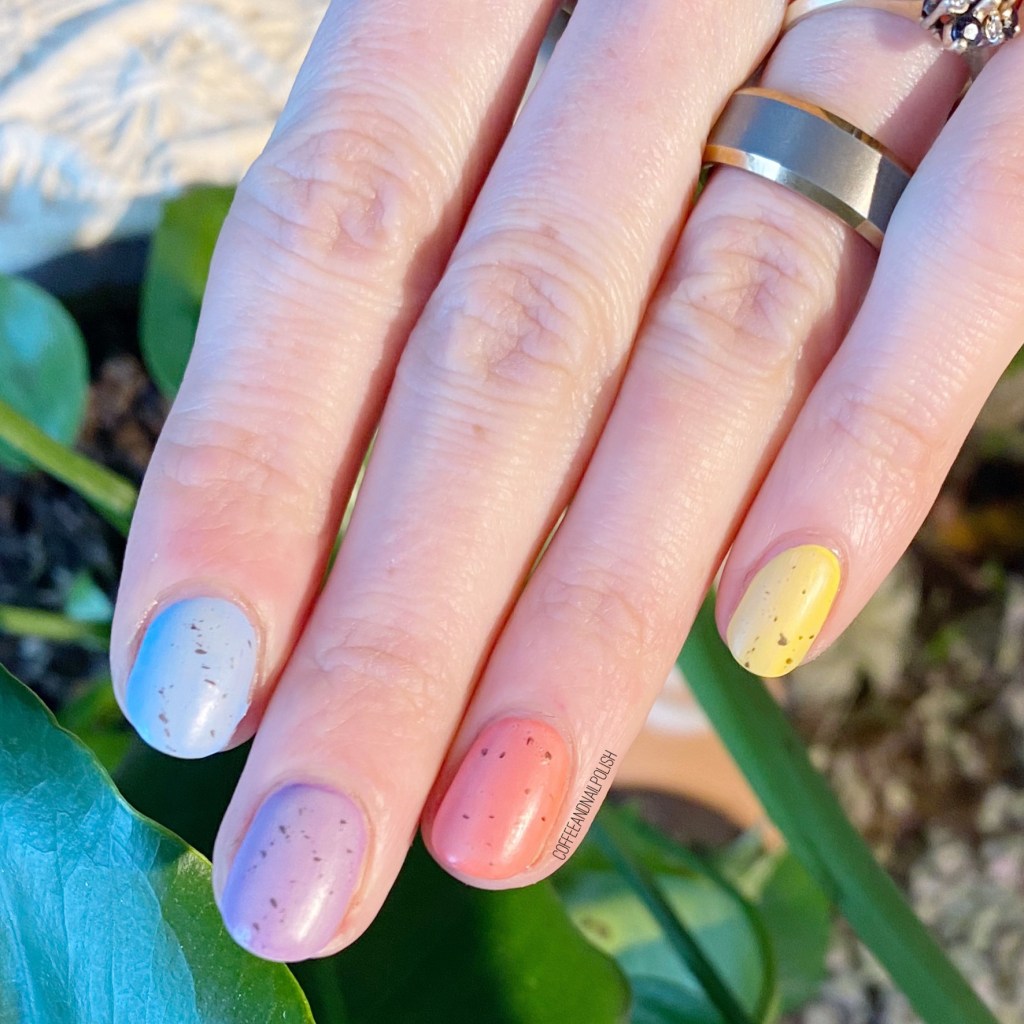
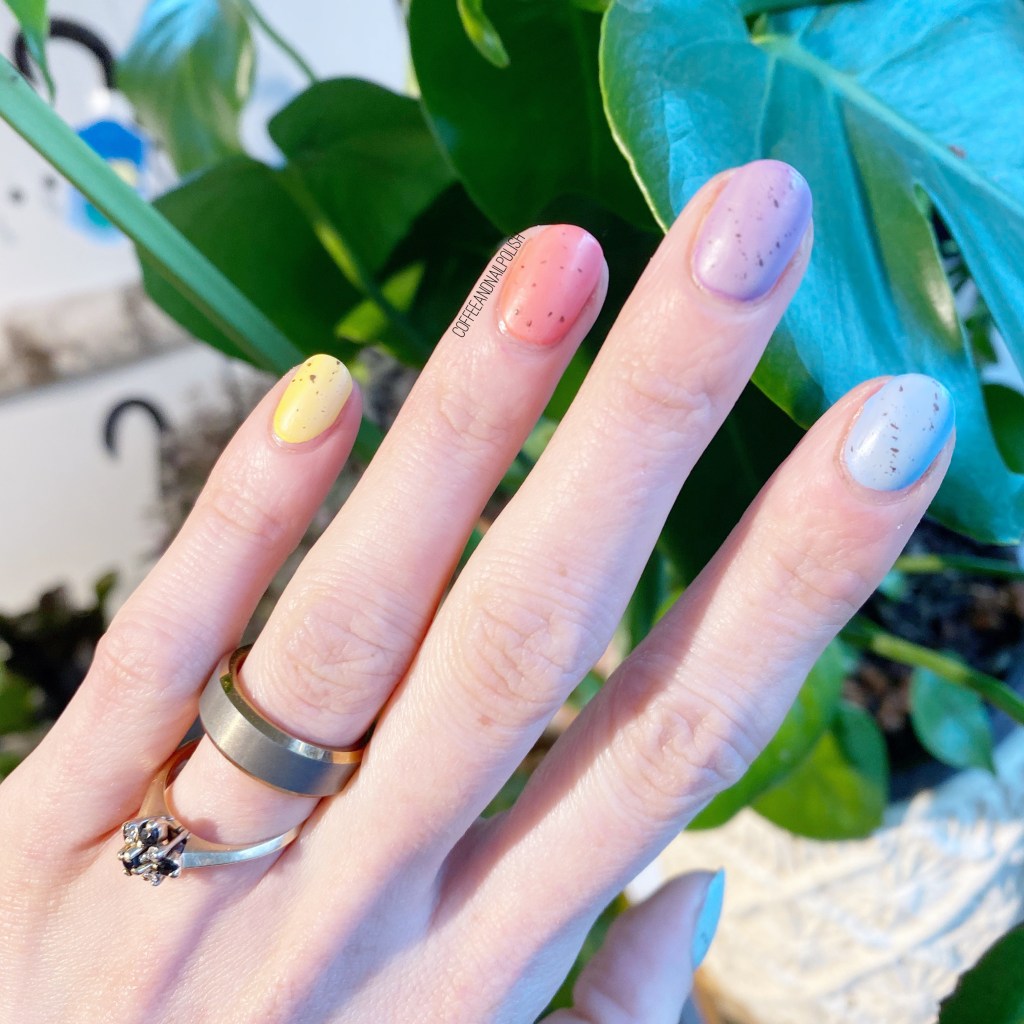
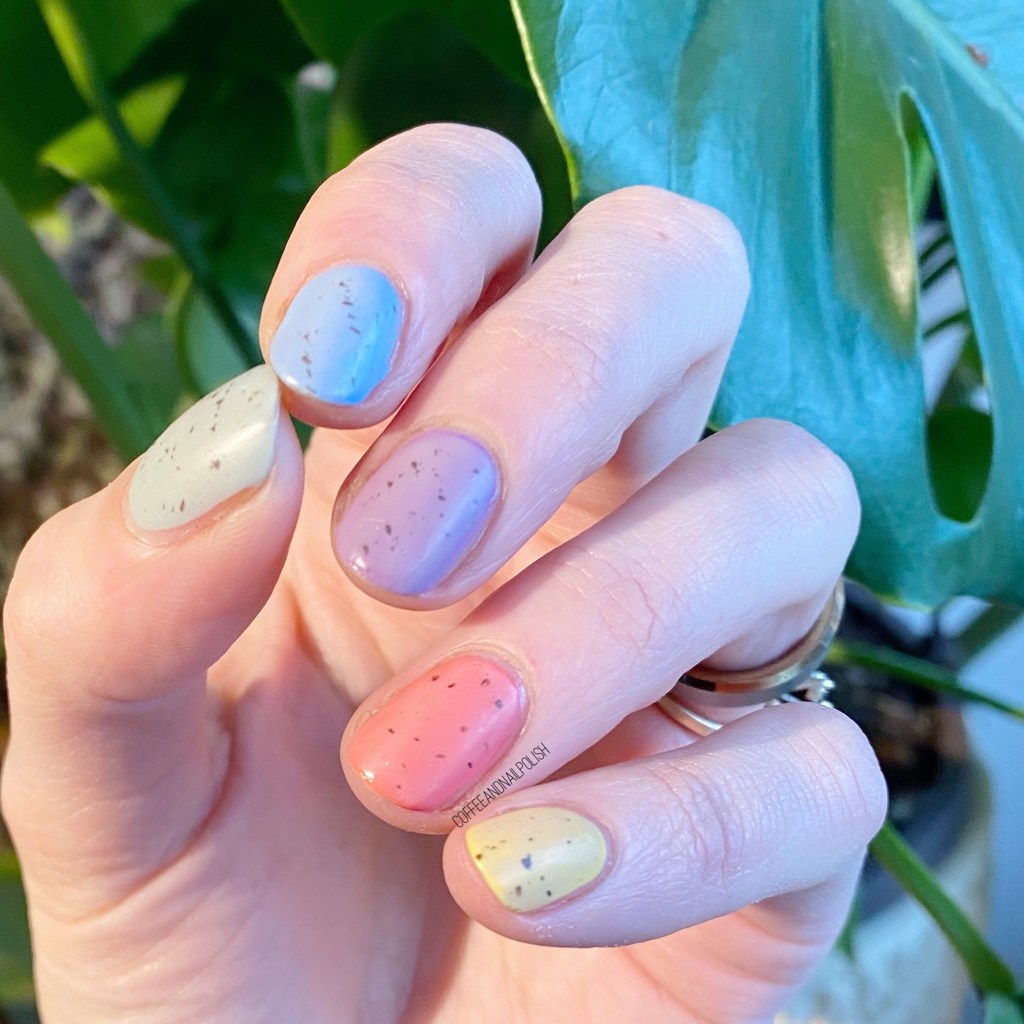
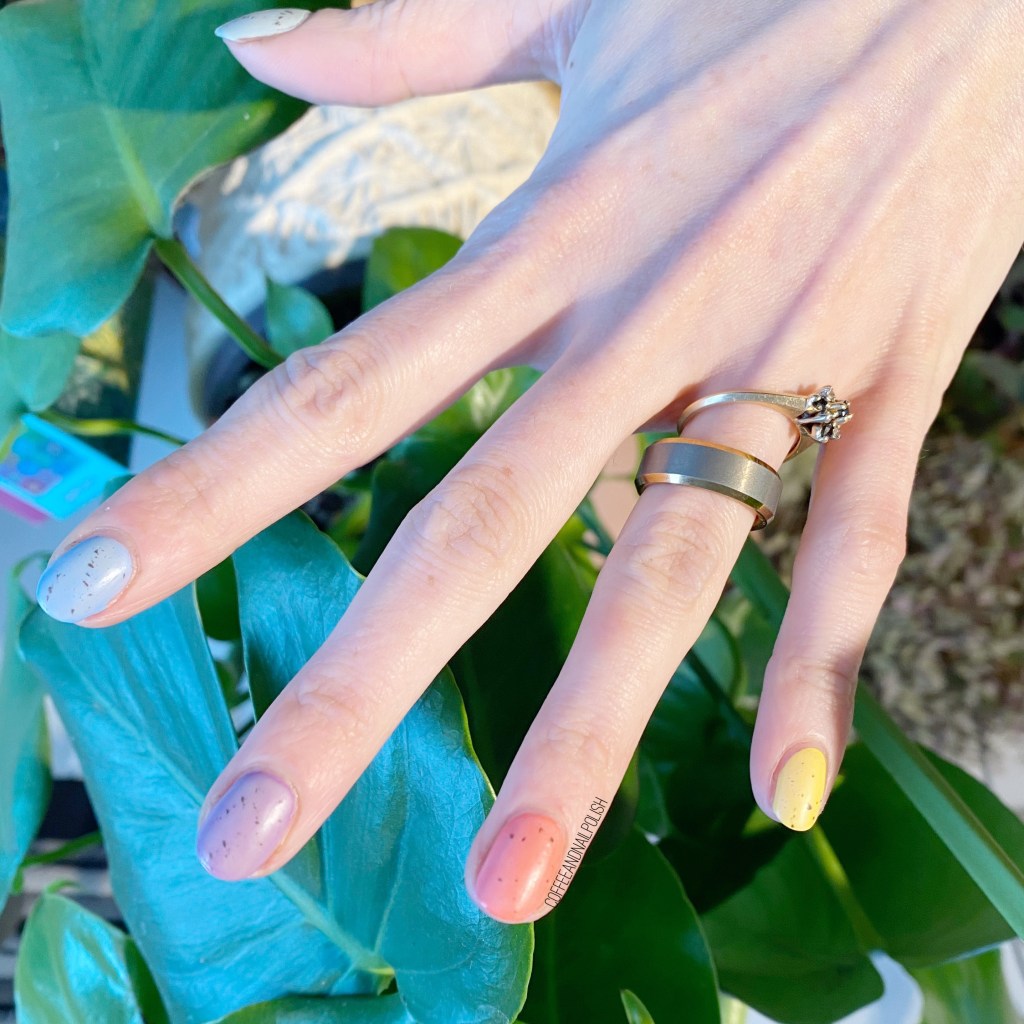
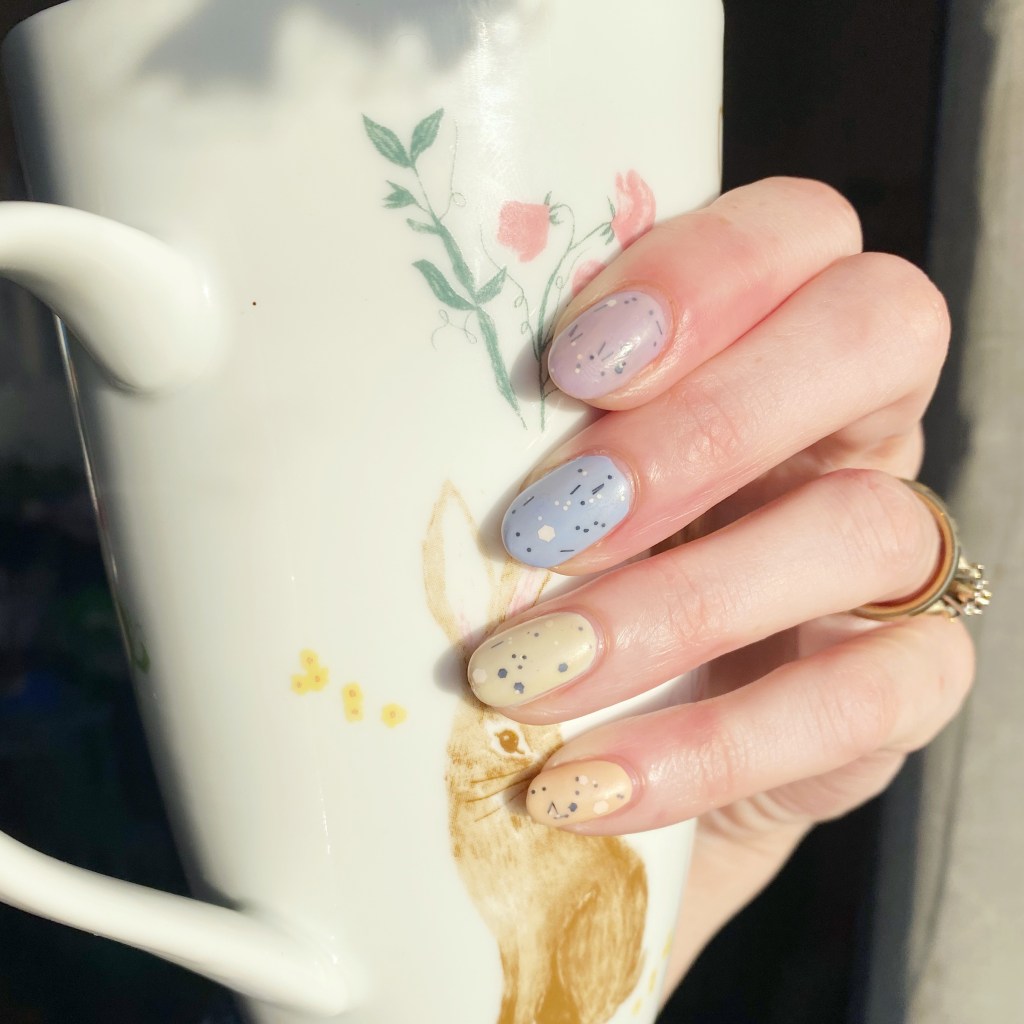
It’s the time of year again lovelies, where I recreate one of my favourite Spring/Easter designs: mini egg/speckled egg skittle nails. I’ve been doing some version of this manicure since the early days of my blog, & it never gets old to me. There is something about a speckled egg design that just screams Easter & Spring. Plus it’s so easy to do!

Today’s look was especially on the easy side, as I chose a glitter top coat for my specks.
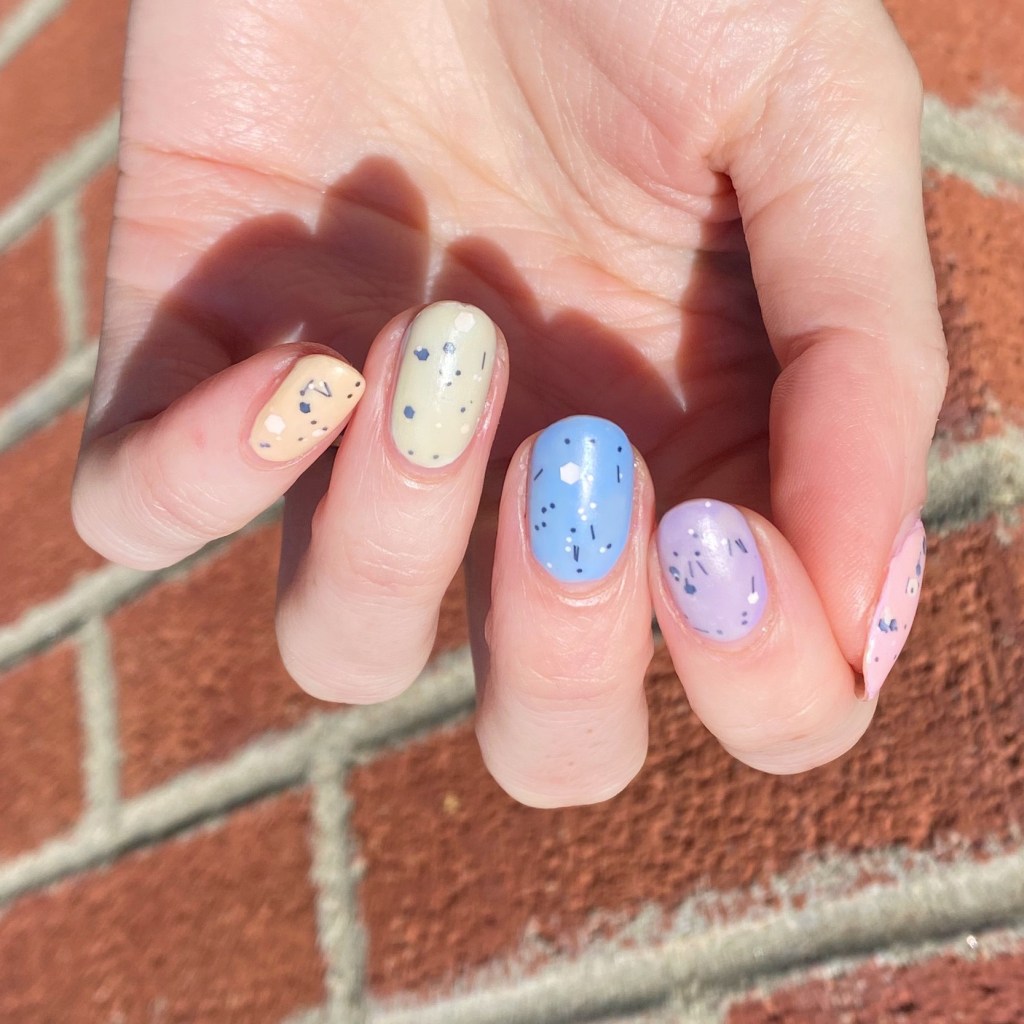
The polishes I used for this manicure are: 

  • Base Coat: Essie Hard To Resist Glow & Shine 
  • Top Coat: Seche Vite Fast Dry Top Coat
  • Matte Top Coat: Sally Hansen Miracle Gel Matte Top Coat
  • Sally Hansen MG Sun-Shower
  • Sally Hansen MG Sweet Pea
  • Sally Hansen MG Sugar Fix
  • Sally Hansen MG Lavendoor
  • Sally Hansen MG Orchid-ing Aside
  • ACO by Ardene Meteorite
  • Wet N Wild 2% Milk

When I saw this look was super simple, I mean it was super simple. I painted each finger a different colour, applied the glitter top coat, applied Wet N Wild 2% Milk for that faded look, then finished it off with my Seche Vite (because there was a lot of layers of polish) & then added my matte top coat after about 15 minutes. Everything did take a while to dry, but it was totally worth it! I just love a good speckled nail design.
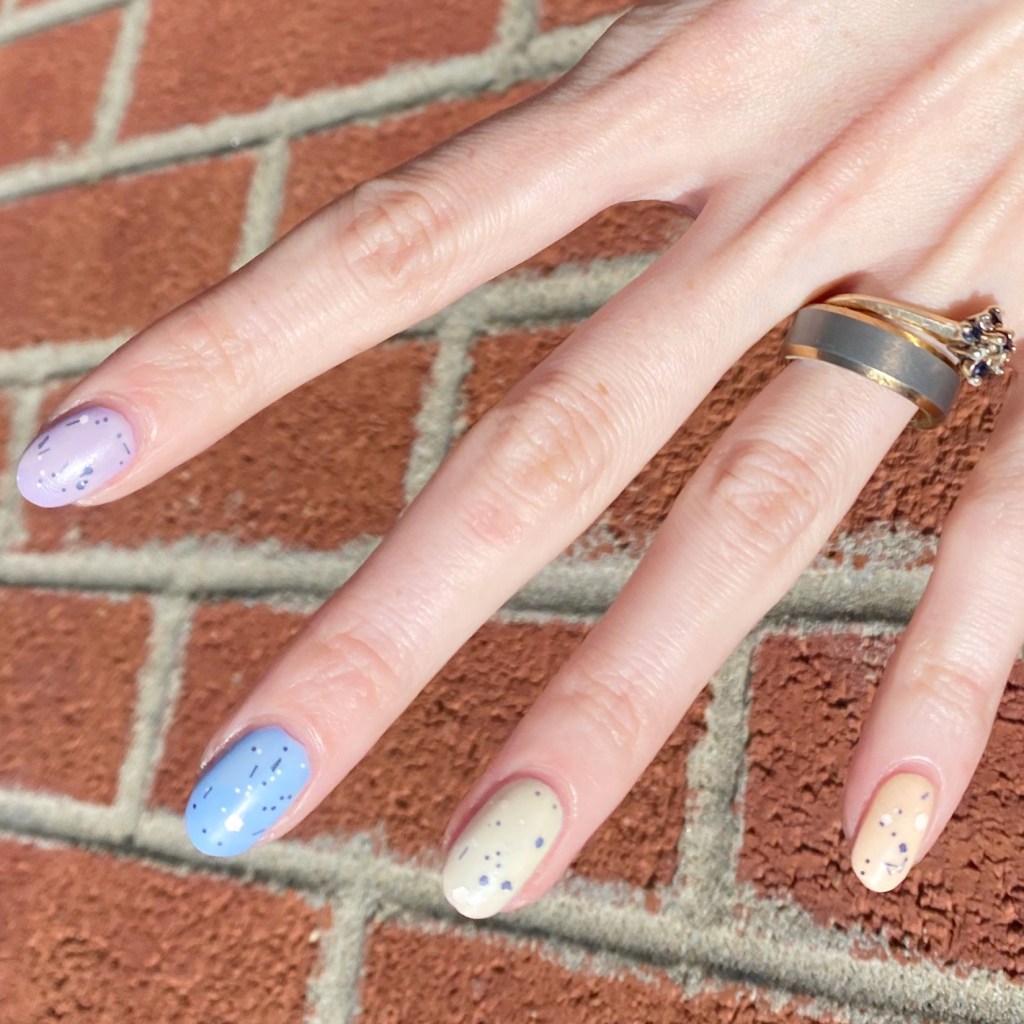
What do you think about this speckled egg design? Do you like a look like this for Easter & Spring? Are you already feeling the Spring temps where you are? It’s just starting to warm up around us, so I’m excited. I’ll be wearing my Spring dresses in no time!

Purple Glazed Half Moons

Hello lovelies & happy Friday! The weekend is almost upon us.

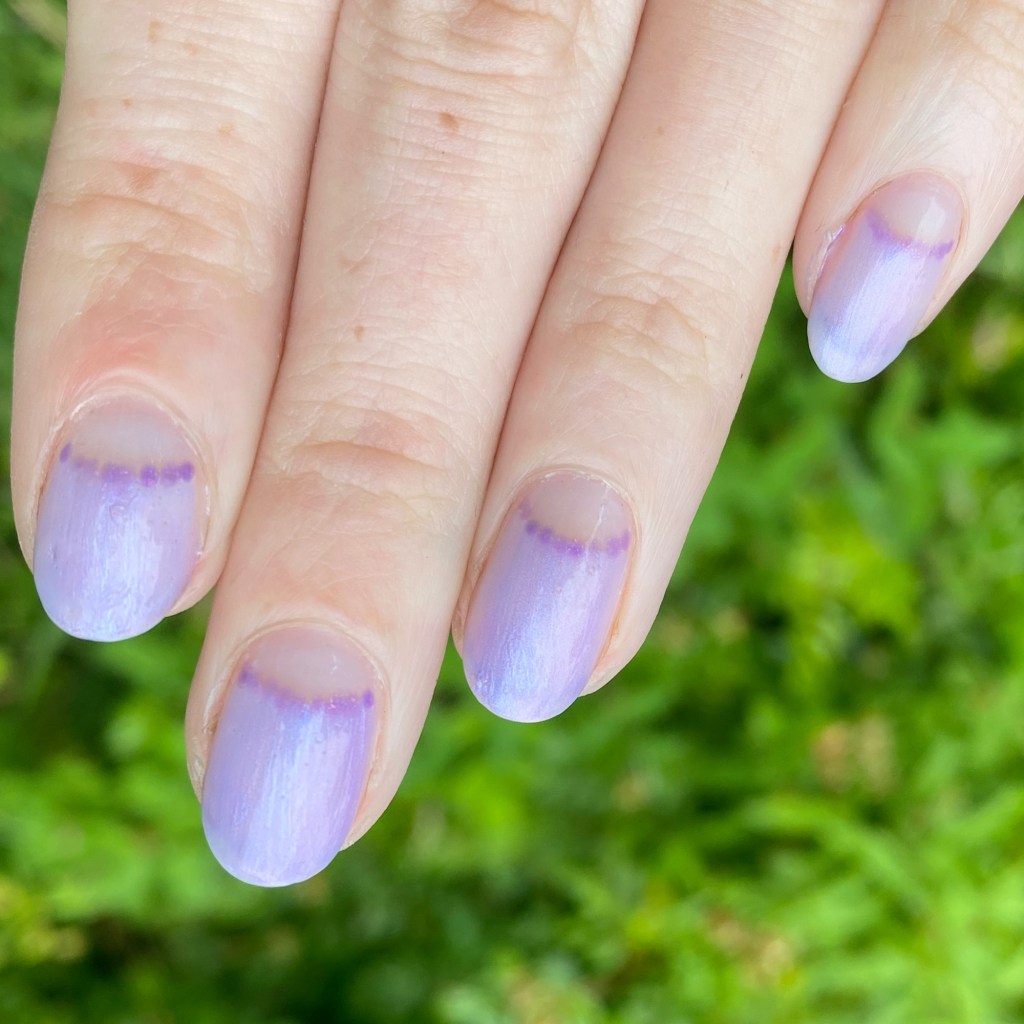
I’m sure if you’re any part of the nail art community, you’ve heard that glazed donut nails are all the rage right now. Initially sparked by Hailey Beiber, everyone has been doing their version of the glazed donut manicure on Instagram. So I thought: why not take a stab at my own version, inspired by the trend. I also recently picked up a pretty sheer purple by Essence cosmetics which I thought would give me a similar effect.

The polishes I used for this manicure are: 

  • Base Coat: Essie Hard To Resist Glow & Shine 
  • Top Coat: Essie Gel Setter
  • Sally Hansen Miracle Gel Central Pink
  • Essence Cosmetics Violet Voltage
  • Essence Cosmetics Oh My Glitter!
  • Wet n Wild 2% Milk
  • Paper Hole Renforcements
  • Teeny dotting tool (NailStuff.ca Dotting Tool Trio)

Naturally, & unsurprisingly, I’m very obsessed with how these nails turned out. I love the sheerness of Essence Violet Voltage really gives that glazed donut effect. & even though it’s not exactly like the glazed donut nails of my fellow Instagramers, I like this nail art take on the look — especially with the negative space moon touch.

It’s the same vibe, but with my own personal touch to it!

Have you heard about the glazed donut trend — have you tried it out yourself yet? Stay tuned, because I recently received a fun PR package from Sally Hansen, which included another way to achieve the glazed donut trend!

Have a fabulous day lovelies!

Speckled Easter Eggs

Hello loves & happy Tuesday! I hope everyone is having a lovely week so far. It’s almost Easter, so I thought it was about time to share a somewhat Easter-y design. & what is more fun than a speckled Easter egg design!

I literally do a version of this look every year, & if never gets old to me. It’s such an easy & festive look to do. Plus I always joke since I can’t actually eat mini eggs, wearing them on my nails is the next best thing!

The polishes I used for this manicure are: 

  • Base Coat: Sally Hansen Good. Kind. Pure Hardener
  • Top Coat: Essie Speed Setter
  • Matte Top Coat: Sally Hansen Miracle Gel Matte Top Coat
  • Julep Alyssa (thumb)
  • Sally Hansen Miracle Gel Sugar Fix (pointer)
  • Essie Play Date (Middle)
  • Essie Gel Couture On The List (ring)
  • Sinful Colors Yolo Yellow (pinky)
  • Wet N Wild 2% Milk
  • OPI How Great Is Your Dane?
  • Fan Brush

I’ve tried a few different versions of this look over the years, like I said, but (I think) this was my first time attempting using a fan brush for the speckled look. Usually I used the saran wrap splatter look, but I think I like using a fan brush even more! It gives a much daintier speckled effect. I think this look is much more true to actual speckled eggs, & I’m obsessed.

What do you think about this speckled nail look? Would you wear these for your own Easter festivities? Let me know all your thoughts down in the comments below!

Glam Nails Challenge October — Skull 💀

Hello lovelies & happy Monday! Today we’re getting into the spooky season with this month’s GlamNailsChallenge: skull ☠️ .

Now that it’s October I feel like I can finally really start getting into the Halloween nail art looks. & it also means that I can finally use a brand new stamping plate I recently bought via NailPolishCanada.

The polishes I used for this manicure are: 

First off, I can’t believe this is my first time using one of the Color Club stamping plates — they stamp amazing! I was super impressed with how easily I picked up the image & applied it to my nails. It was a very speedy experience, which was way faster than how stamping usually goes for me. Originally I had only planned on an accent nail or two, but everything applied so easily that I just kept going, & got all 10 fingers stamped in like 15 minutes.

Second, I love how lovely the silver is over the purple. A nice spooky skull design, perfect for my first Halloween look of October!

What do you think about this skull design? Are you excited for Halloween designs? Let me know all your thoughts down in the comments below, & what Halloween designs you plan on doing this month!

SWATCH SUNDAY — Wet N Wild Buffy the Violet Slayer

Hello lovelies & happy Sunday! The first Sunday of October… aka the beginning of Spooky season, aka my favourite Month! Who else is excited?

Today I’m starting off with a fun polish that I’ve had for years, that I can’t believe I haven’t shared for a Swatch Sunday yet: Wet n Wild Buffy the Violet Slayer. I’ve been rewatching Buffy (yes, again) so it felt like an appropriate shade to share, especially at the beginning of Halloween month.

2 coats + Seche Vive top coat

For a bottle of polish that is 8 years old, the formula on this shade is pretty darn good. The polish itself has that shimmer that can sometimes be hard to apply without streaks, but applying top coat flattened everything beautifully.

As for the colour, it’s a lovely — the purple is vibrant, & the shimmer adds a little something extra that gives it a beautiful underlying glow. Without top coat, it dries down to a matte finish, but I think I prefer it with a glossy finish.

Check out that macro shot — you can really see the varied shimmers. Pink. Blue. Purple. They’re such a beautiful combination, & gives the shade that glow that I’m kind of obsessed with.

Sadly these shades are no longer in production, which makes me sad I didn’t at least pick up a back up bottle. I love purple, & I love Buffy, so this is the perfect combination for me! It also works great for a pre-Halloween polish pick.

What do you think about this Wet N Wild shade? Did you pick up any of these Fast Dry shades during their original release? Let me know down in the comments below!