Spring-y Saran Wrap Nails

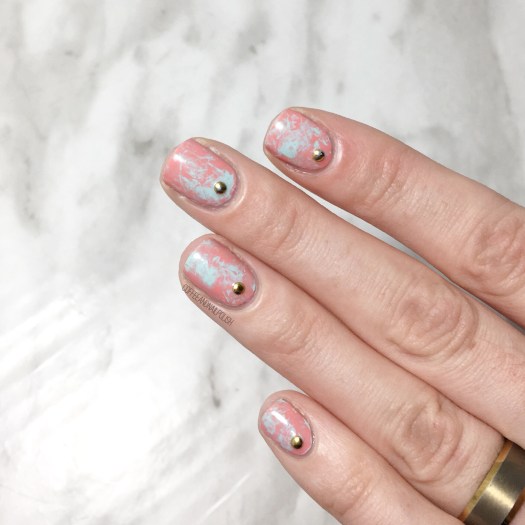
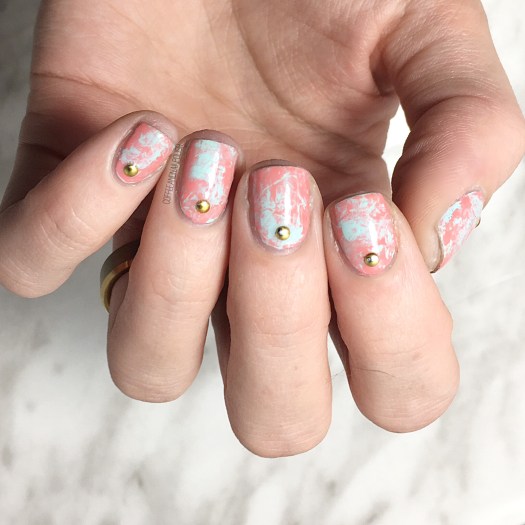
Happy Saturday! I know I don’t usually post on Saturdays, but since this week has been a bit weird, I thought I would throw an extra post in! Today is a recreation of a design I did originally 4 years ago. I’m still trying to summon Spring through my nail polish choices (although it doesn’t seem to be working very well) so I though these Saran wrap nails were a perfect choice! Now if only they’d encourage some warmer, sunnier days. Just give me a little bit of sunshine!☀️
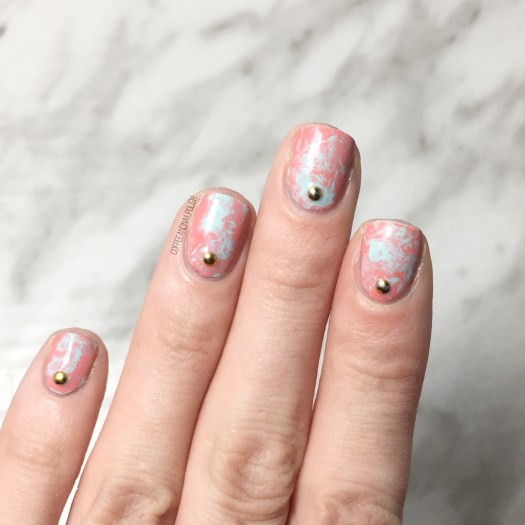
For this manicure, the polishes I used were:

  • Base Coat: Quo by ORLY Breathable Kiss Me, I’m Kind
  • Top Coat: Seche Vive
  • Essie Mint Candy Apple
  • Essie Peach Side Babe
  • NailStuff.ca Mixed Decoration Nail Wheel in Gold
  • Plastic wrap (Saran Wrap) crinkled up
  • Edge Perfection Cuticle Barrier

How long has it been since I did any Saran Wrap Nails? A while for sure! I definitely love how bright & colourful these are! So Spring-y for sure. 🌸 Of course it looks nothing like Spring outside but at least my nails are ready for nicer days. Even if I’m still stuck wearing my Uggs outside because it snowed… again.

I also love how easy these were to do. I did used my Edge Perfection to protect my cuticles because I was in no mood for cuticle clean up! All I did was paint my base colour (Essie Mint Candy Apple) & then once it was dry-ish painted over top with my second colour (Essie Peach Side Babe) & dabbed my crinkled Saran Wrap into the wet polish to create the textured effect. So easy!

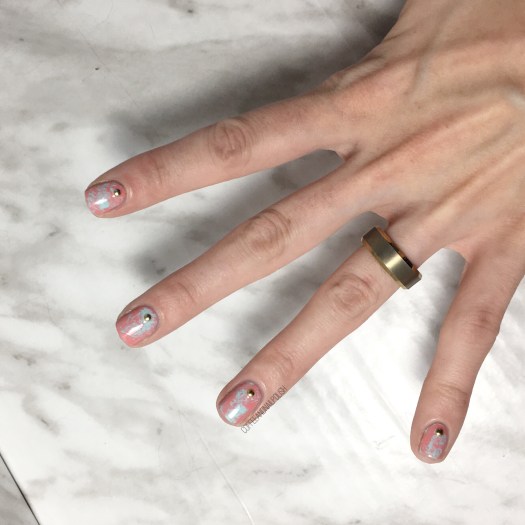
What do you think of these Spring-y Saran Wrap Nails? Do you love this colour combination. Working on doing a Spring polish pick post for this week’s Swatch Sunday post, so if you have any polish suggestions for your favourite Spring polish picks, let me know!

Happy Saturday lovelies! 💜

Valentine’s Day Chevron Accent Nails

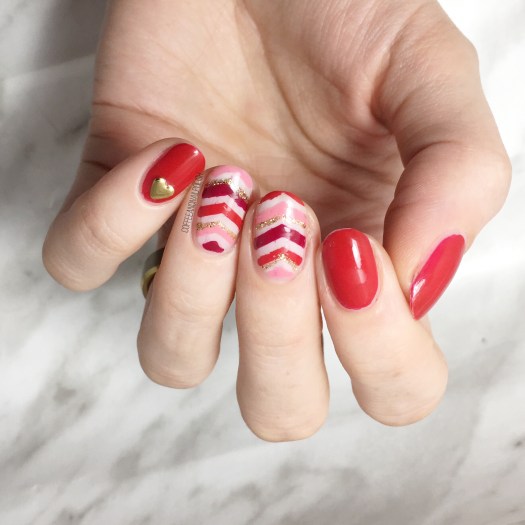
Another day, another fun Valentine’s Day appropriate design to share with you! The day is quickly approaching, so I’ve been trying to get creative while I have time. Last year with having a newborn (& spending extra days in the hospital) I wasn’t able to do anything Valentine’s Day related on my nails, so I’m definitely making up for it this year!

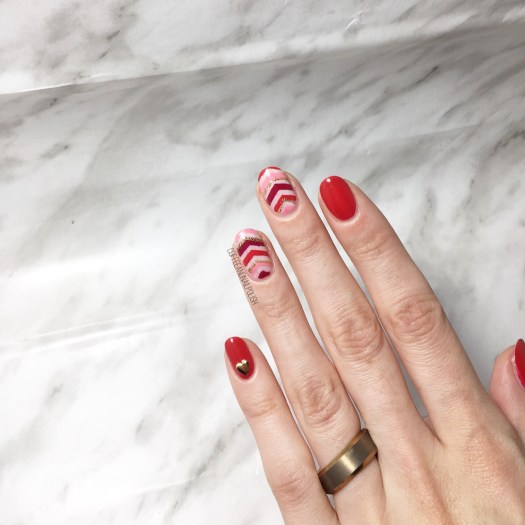
For this design, I decided to grab a few of the colours I picked from my “6 Polishes I’m Loving for Valentine’s Day” post on Sunday. To pair all these shades together, I decided on son stacked chevrons to show off all these pretty shades! This is definitely a design that is all about Valentine’s Day–it might be too flashy of a design to wear, for example, to the office (depending on where you work) but would be awesome for date night, or a Valentine’s Day themed party!

For this design, the polishes I used were:

  • Base Coat: Quo by ORLY Kiss Me, I’m Kind
  • Top Coat: Seche Vive
  • Christian Louboutin Beauty Rouge Louboutin
  • China Glaze Seduce Me
  • L’Oreal Jardin Des Roses
  • ACO by Ardene Ice Mist
  • Quo by ORLY Nail Art Striper in Gold
  • NailStuff.ca Heart Stud — Gold Mixed Decoration Nail wheel
  • UR SUGAR Stacked Chevron Nail Stencils item #AUB39877 — click to buy
  • Dotting Tool

I think these turned out so cute with the mix of colours together!  Next time I might use the stacked chevron vinyls upside down so it matches the V-shade of the heart. But I’m really happy with how these turned out, & the addition of the little heart stud just makes it even more perfect! ♥

Do you like these Valentine’s Day themed nails? Have you figured out what you’re doing on the day yet? My hubby & I usually stay in–because trying to make reservations is hell on Earth–& make heart shaped gluten free pizza or something else delicious. & of course, cupcakes! It’s become holiday tradition for me to make him cupcakes for special occasions.


Let me know your thoughts on this design in the comments below!

Half Moons & Gold Studs 

Happy Monday! How was everyone else’s weekend? We’ve been starting to pack for moving which is about as much fun as it sounds… I hate packing & I hate moving. (& I haven’t even starting thinking about moving my 1000+ nail polishes yet.) 

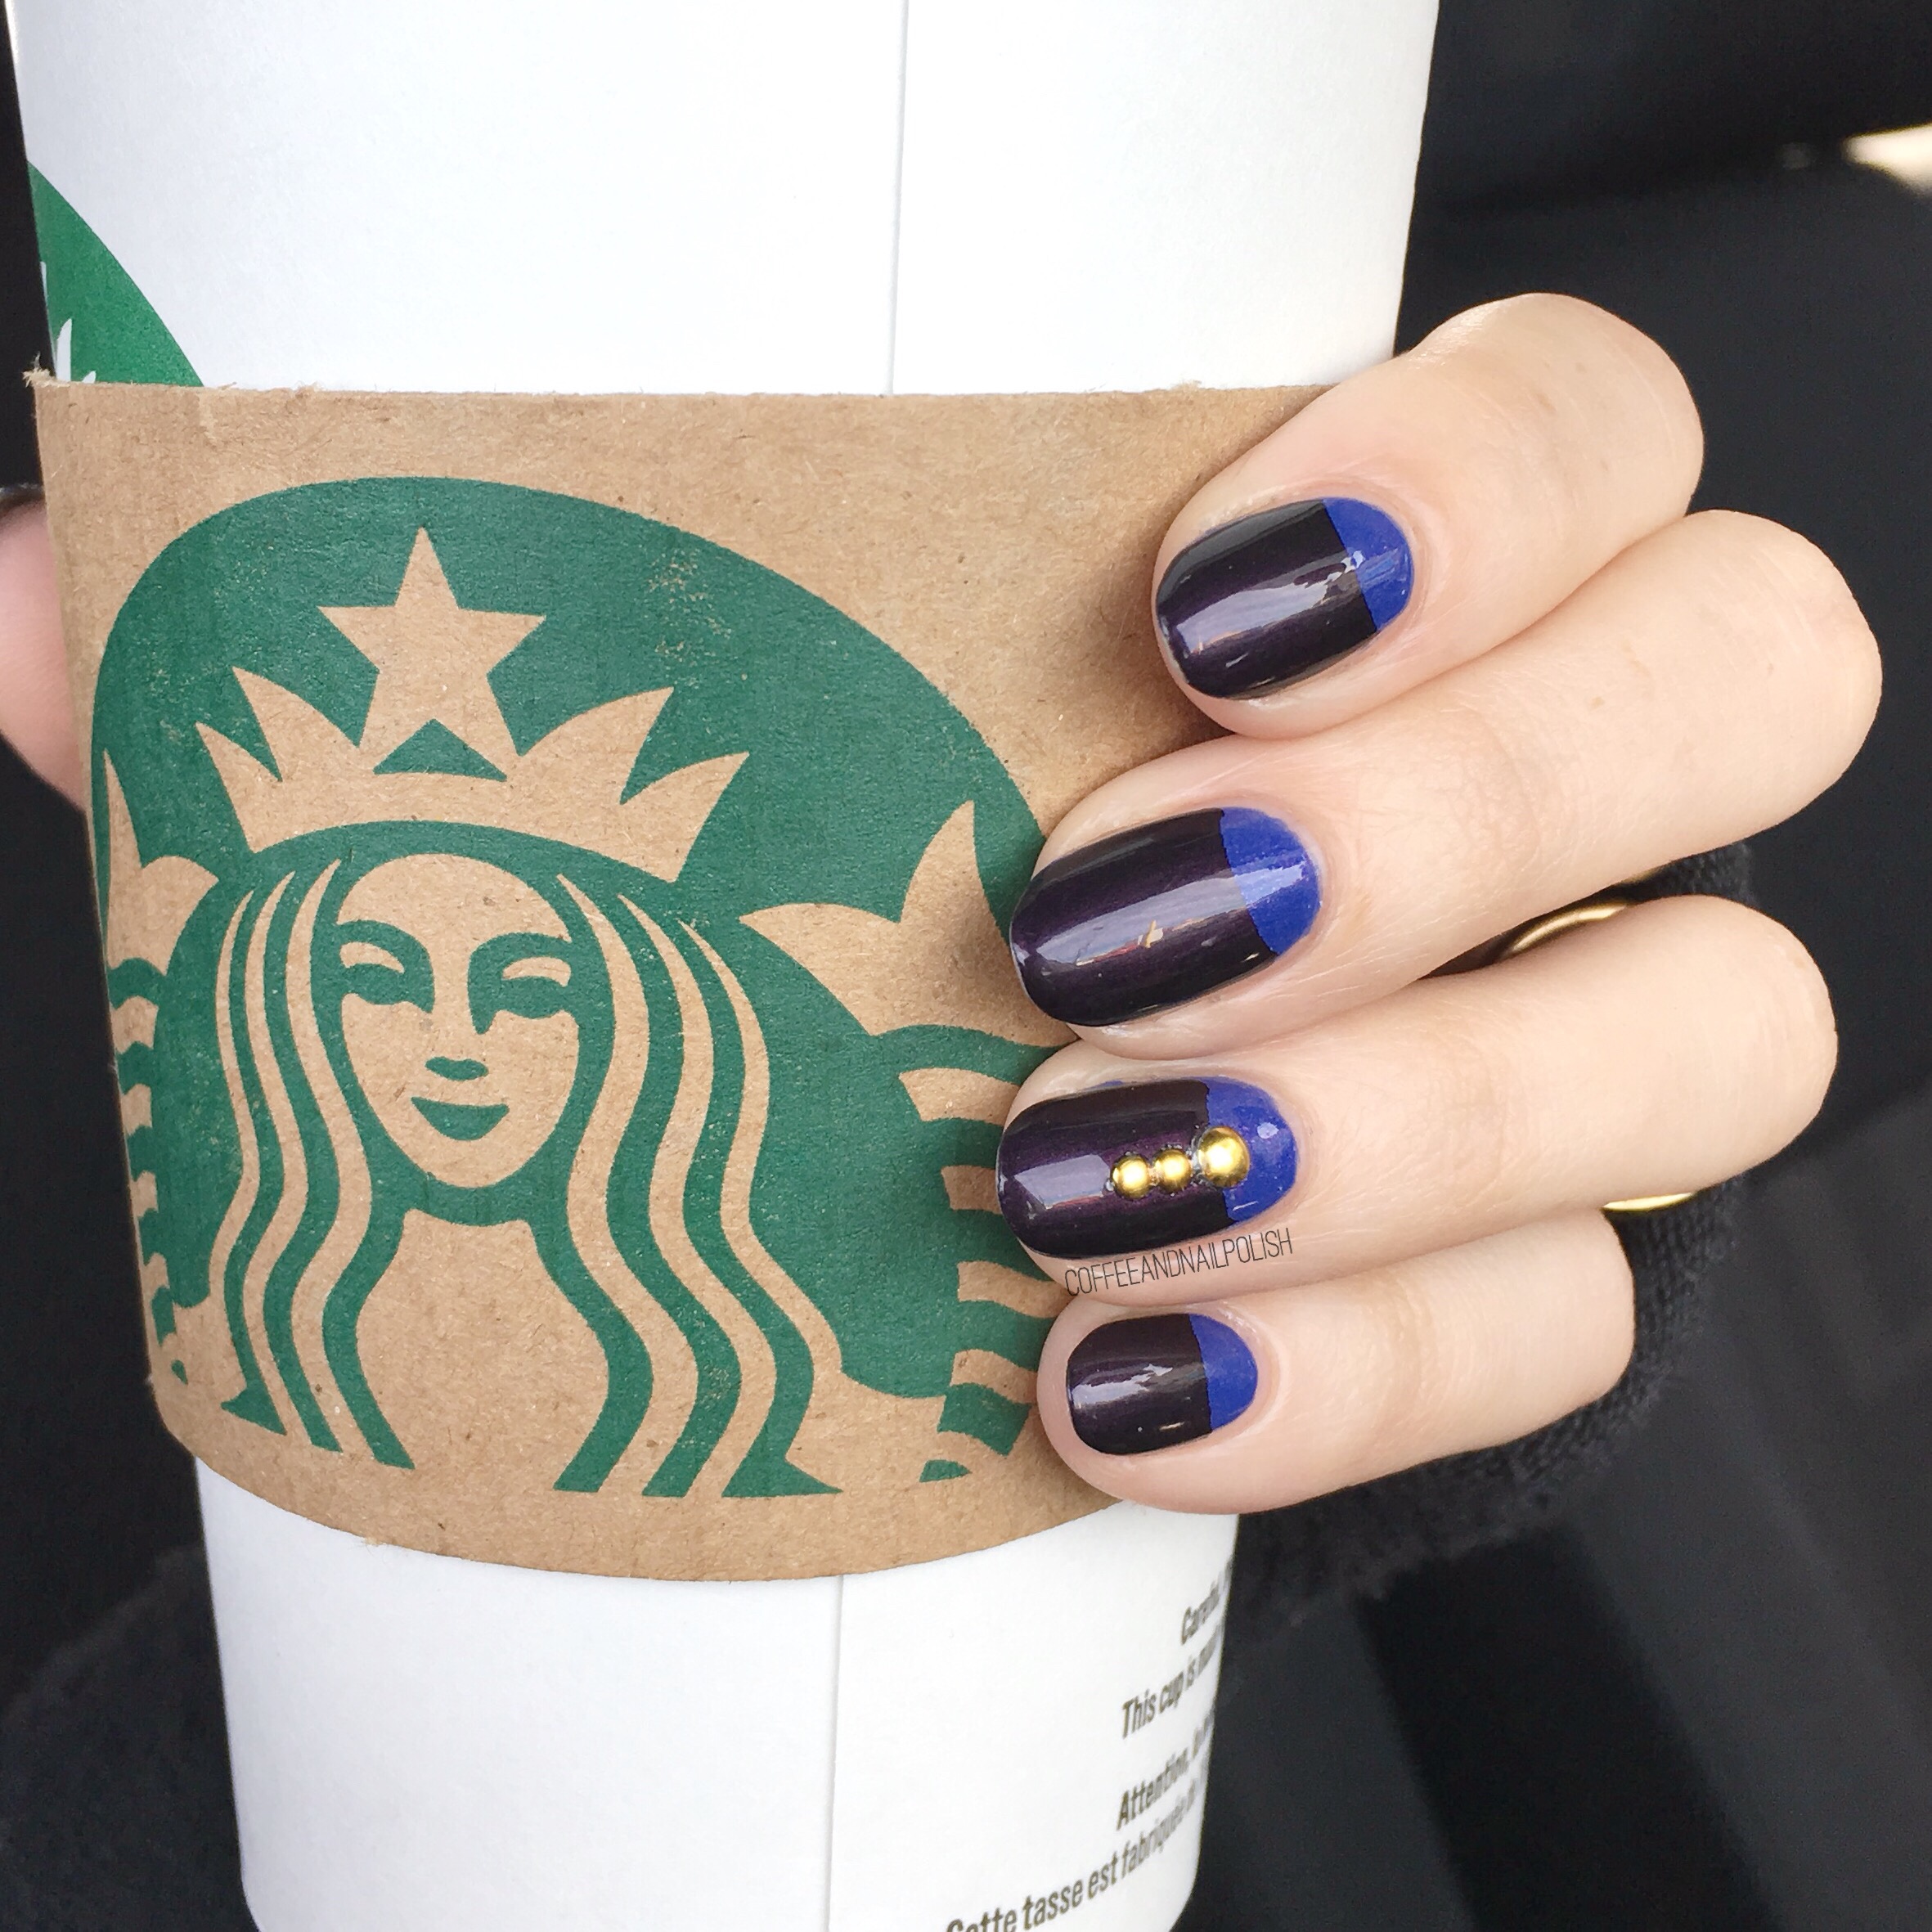
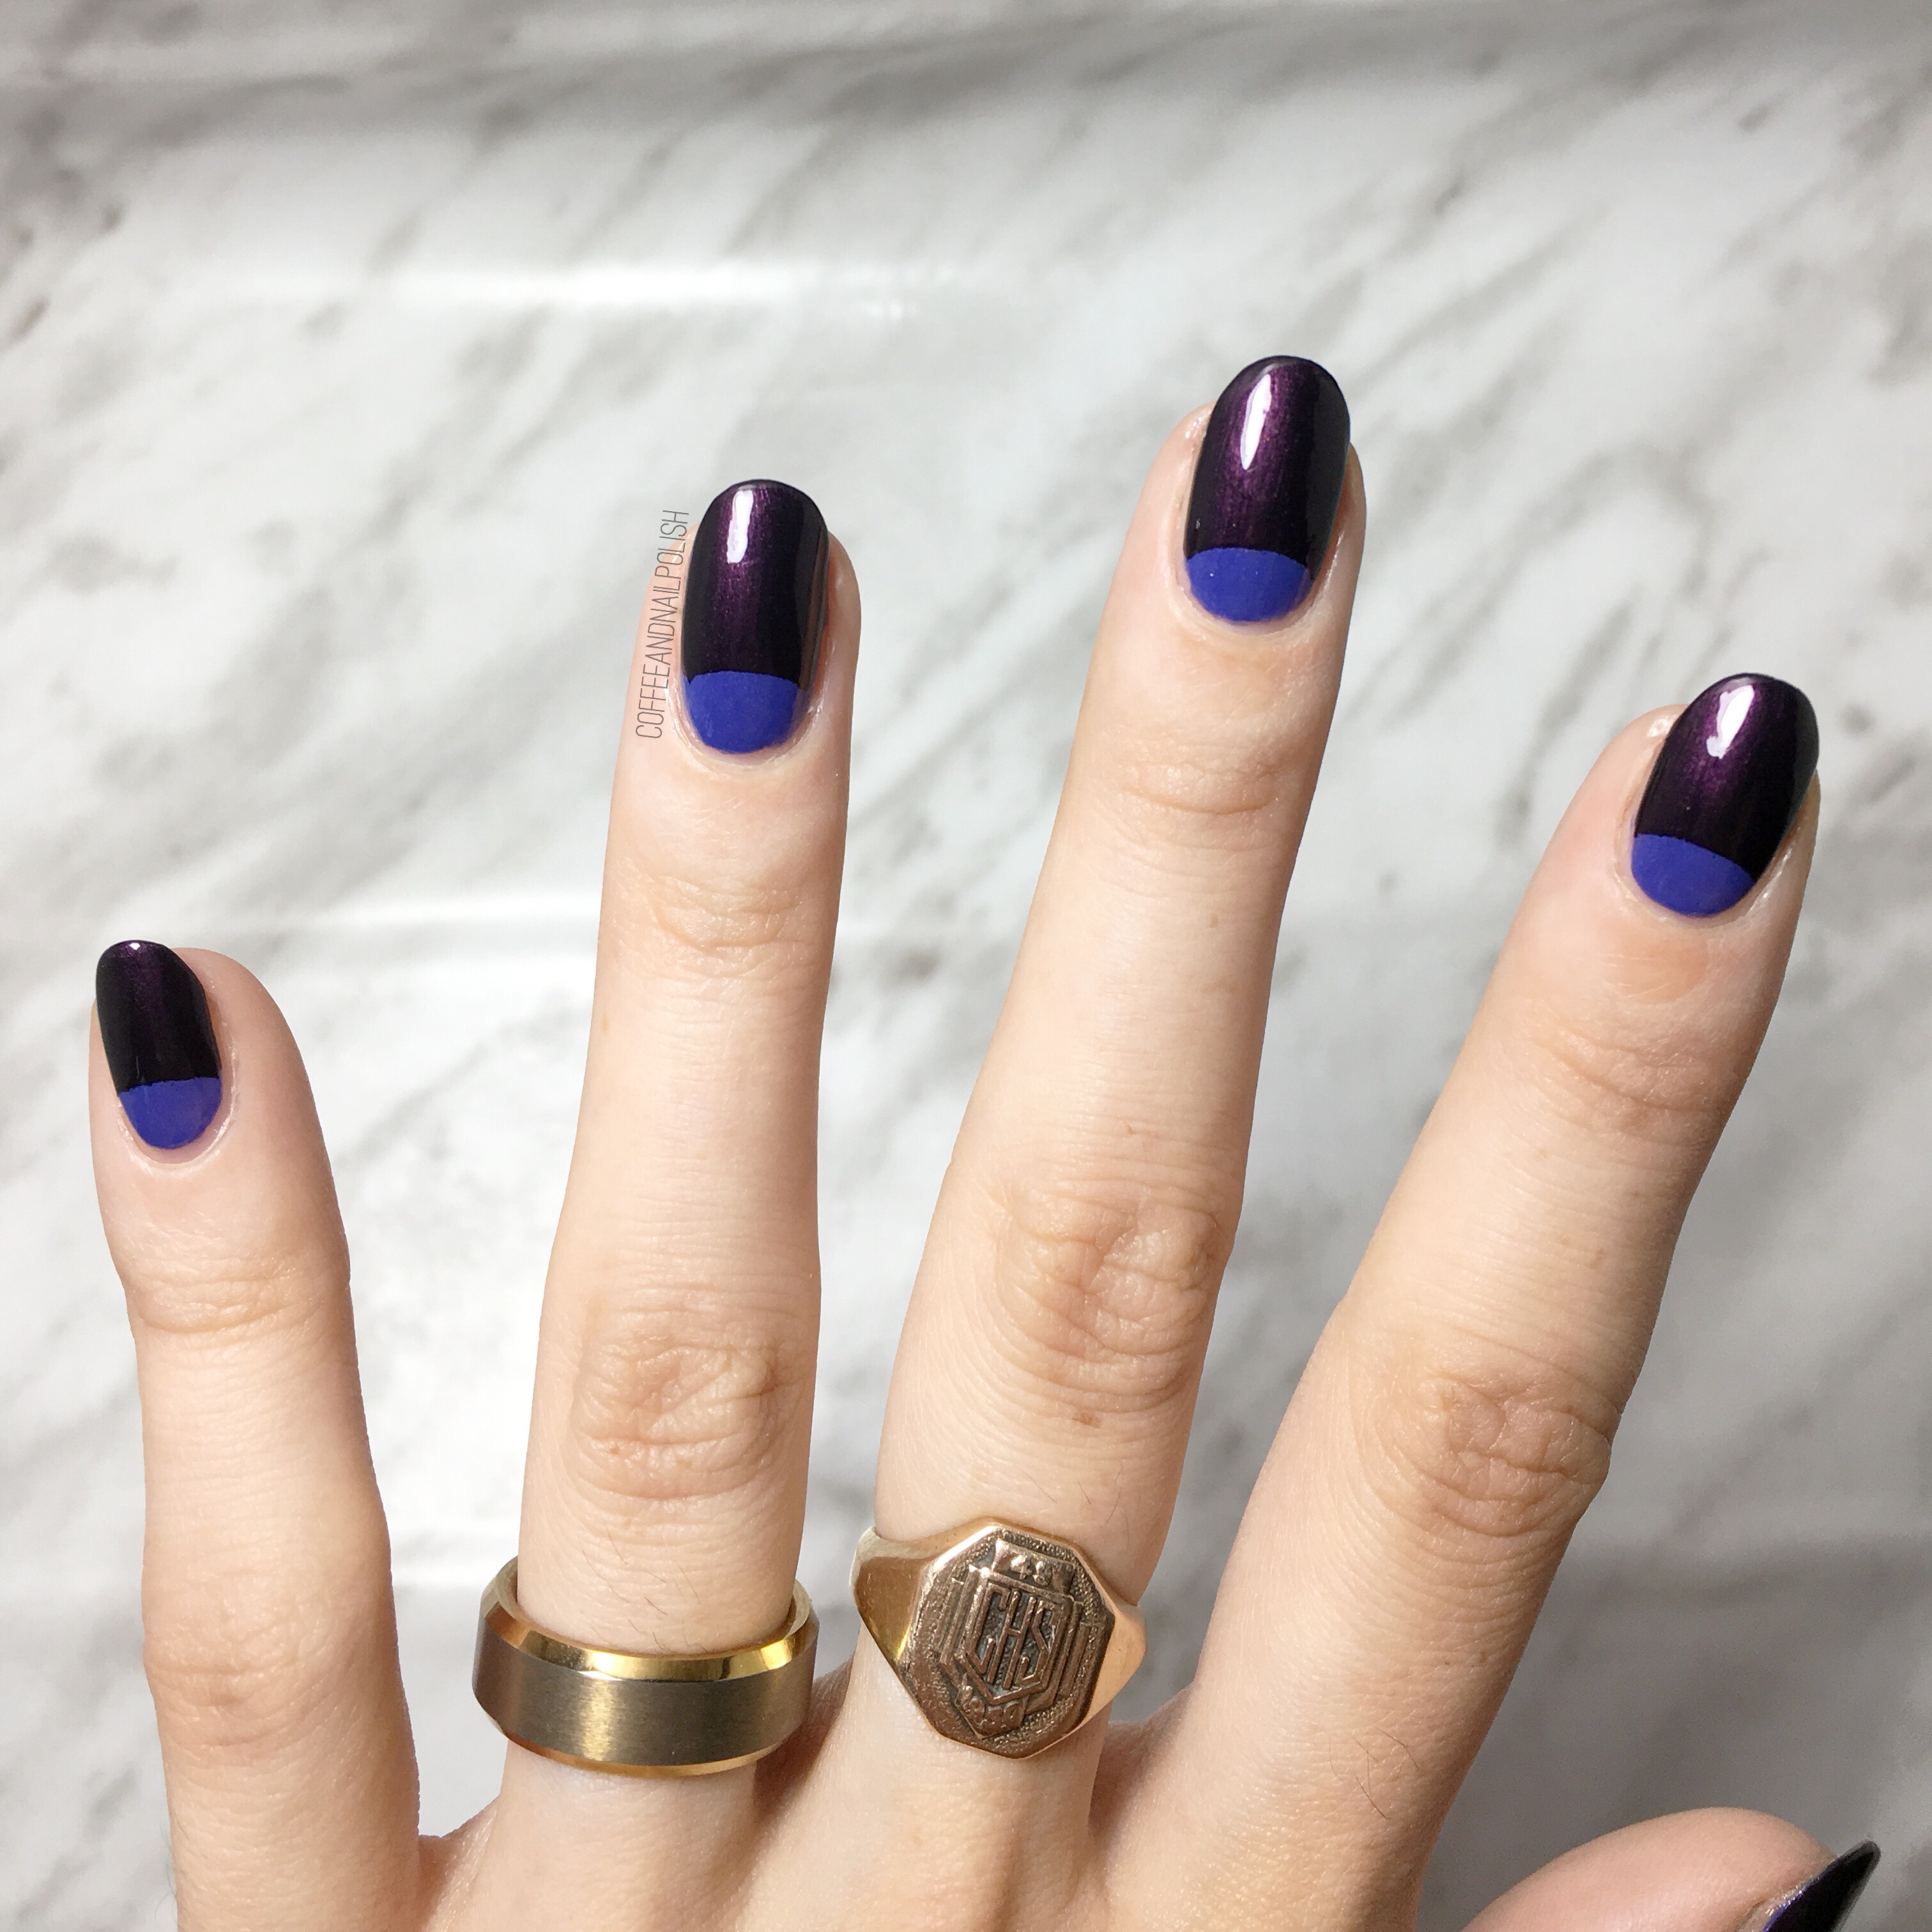
So what am I sharing to cheer myself up after a packing haze? One of my favourite go-to designs—the half moon. & thought I’d share a quick pictorial on how easy these actually are to create! & no special vinyls are needed!

The products used for this manicure were:

  • Base Coat: OPI Natural Nail Base Coat
  • Top Coat: Seche Vive
  • China Glaze Fancy Pants
  • China Glaze Glamcore
  • NailStuff.ca gold Mixed Decoration Nail Wheel

Paint your base colour & apply quick dry top coat. Let dry completely, roughly about 20 minutes depending on the top coat you use. 

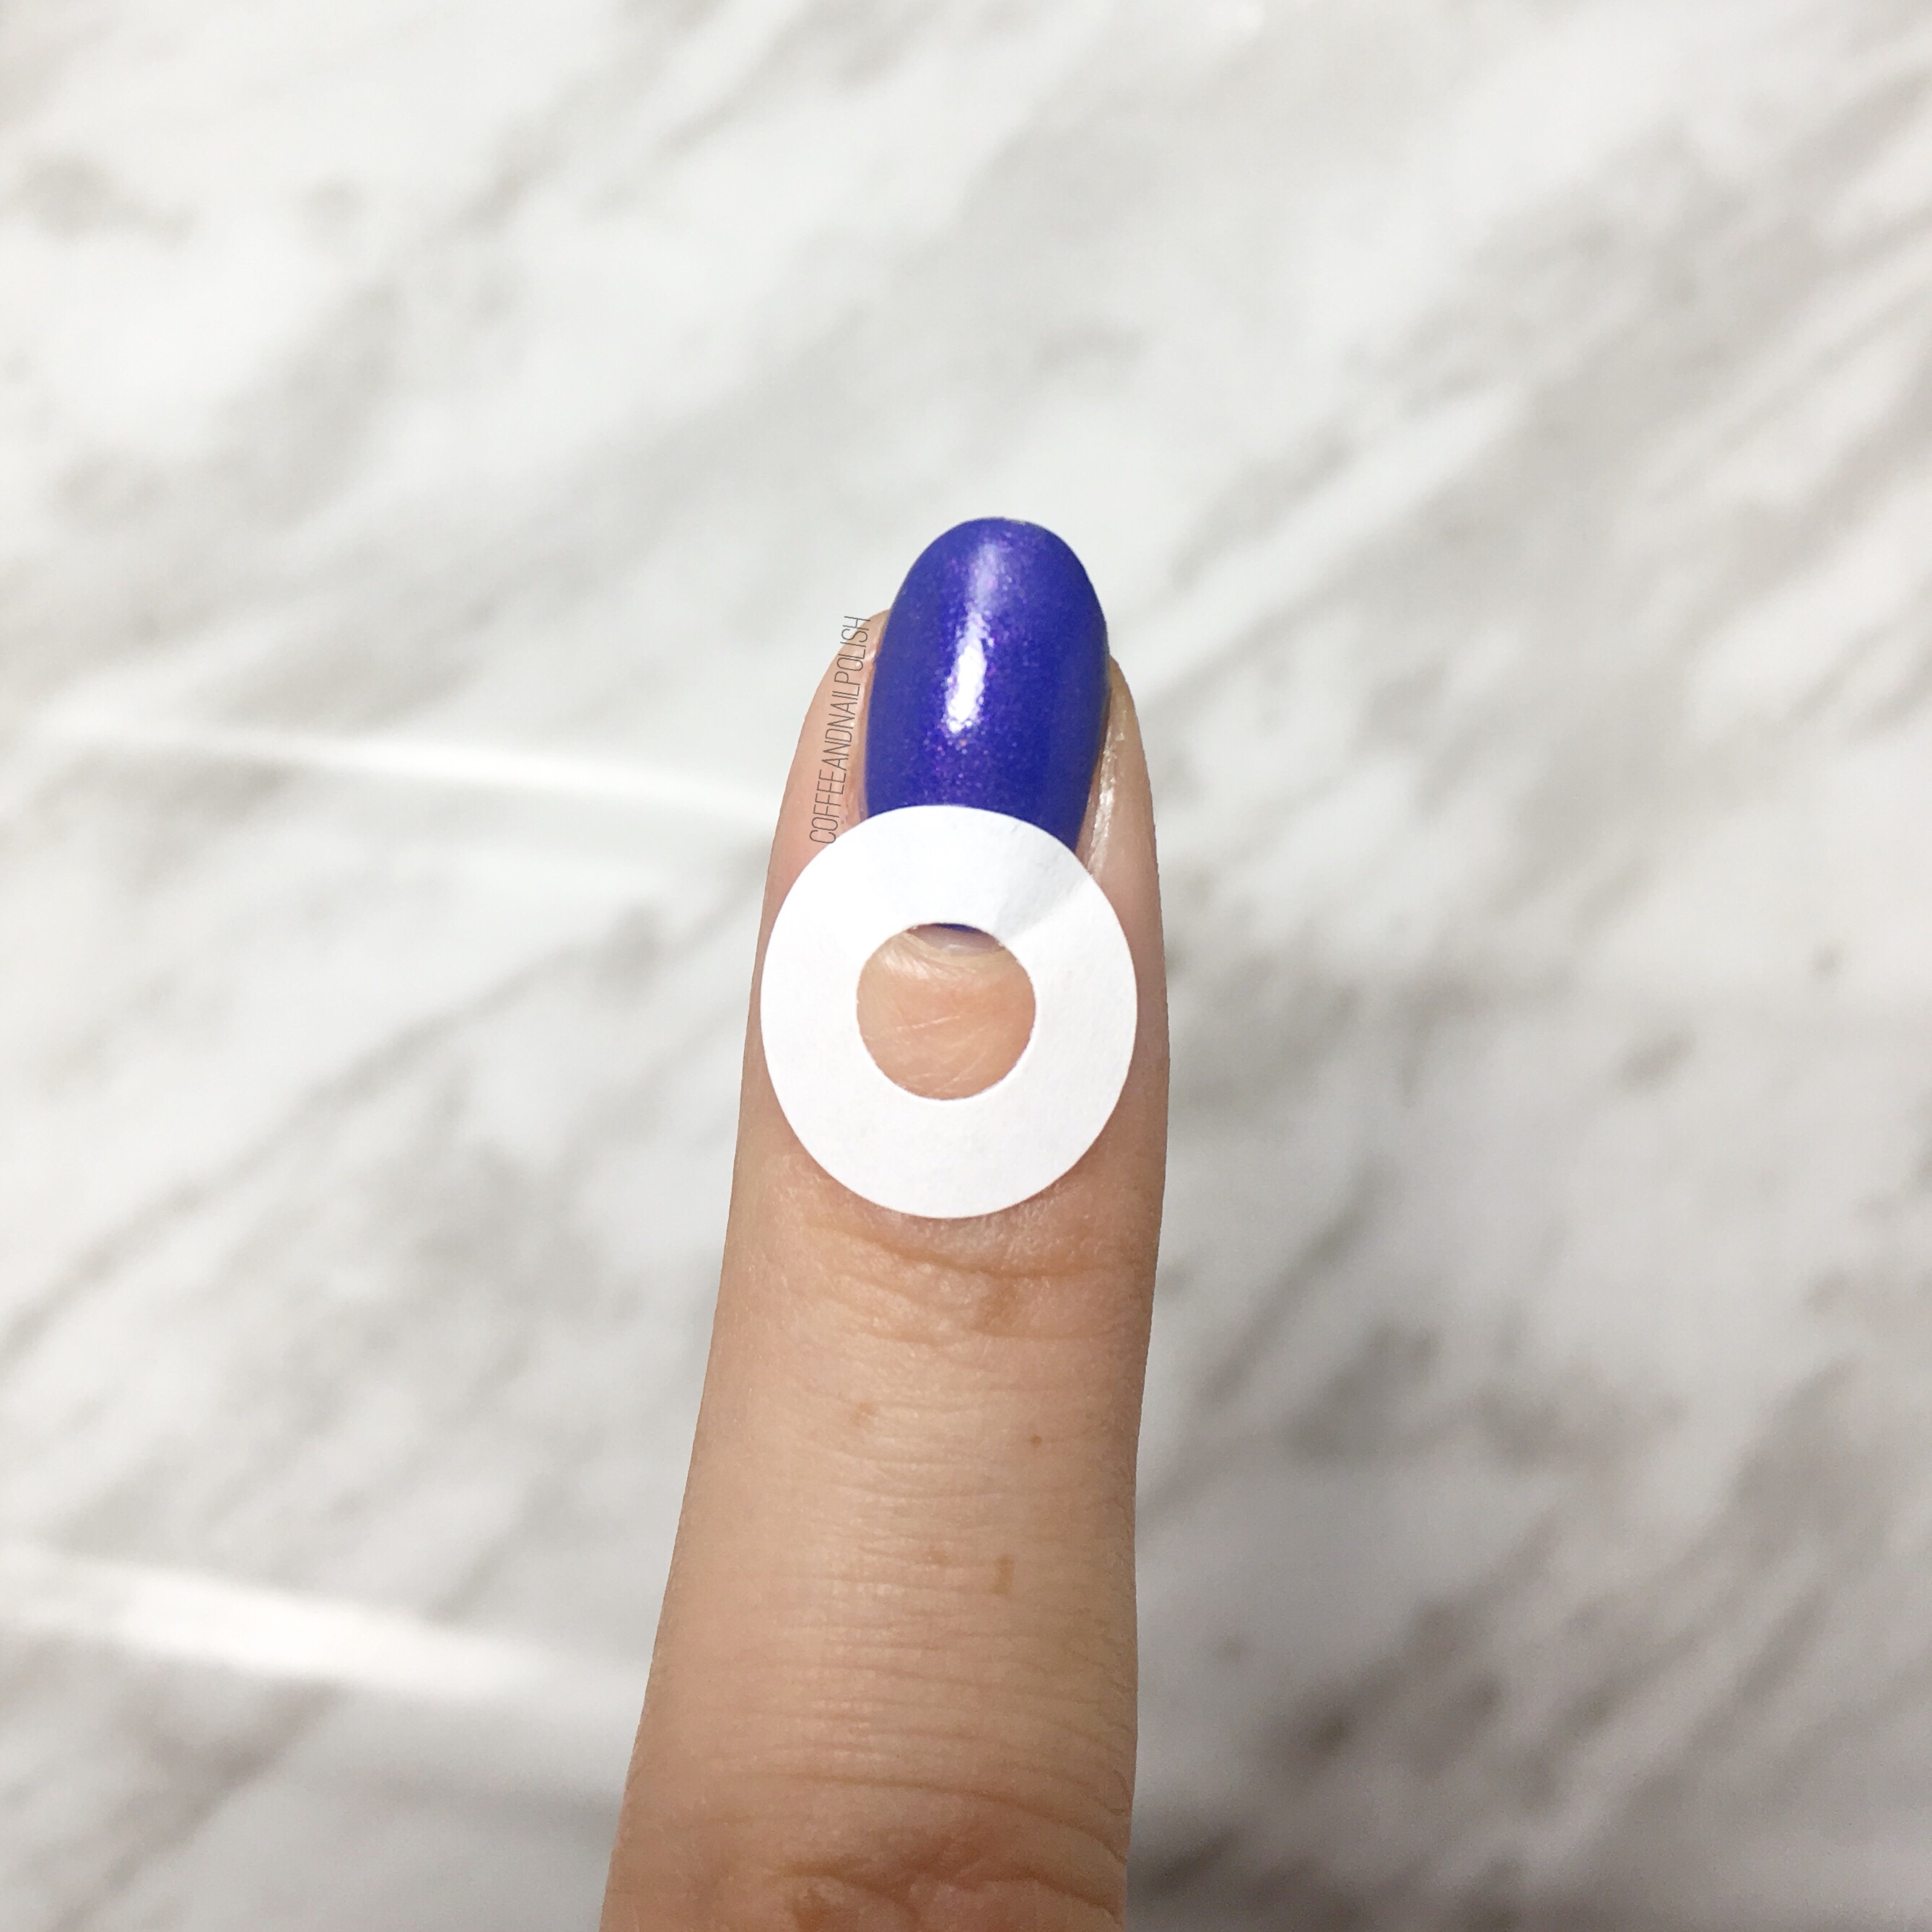
Once your nails are completely dry, pull out your pack of paper hole reinforcements & apply at the base of your nail. Make sure to press down at each end. 

Repeat on all 5 nails. I always do one hand at a time. 

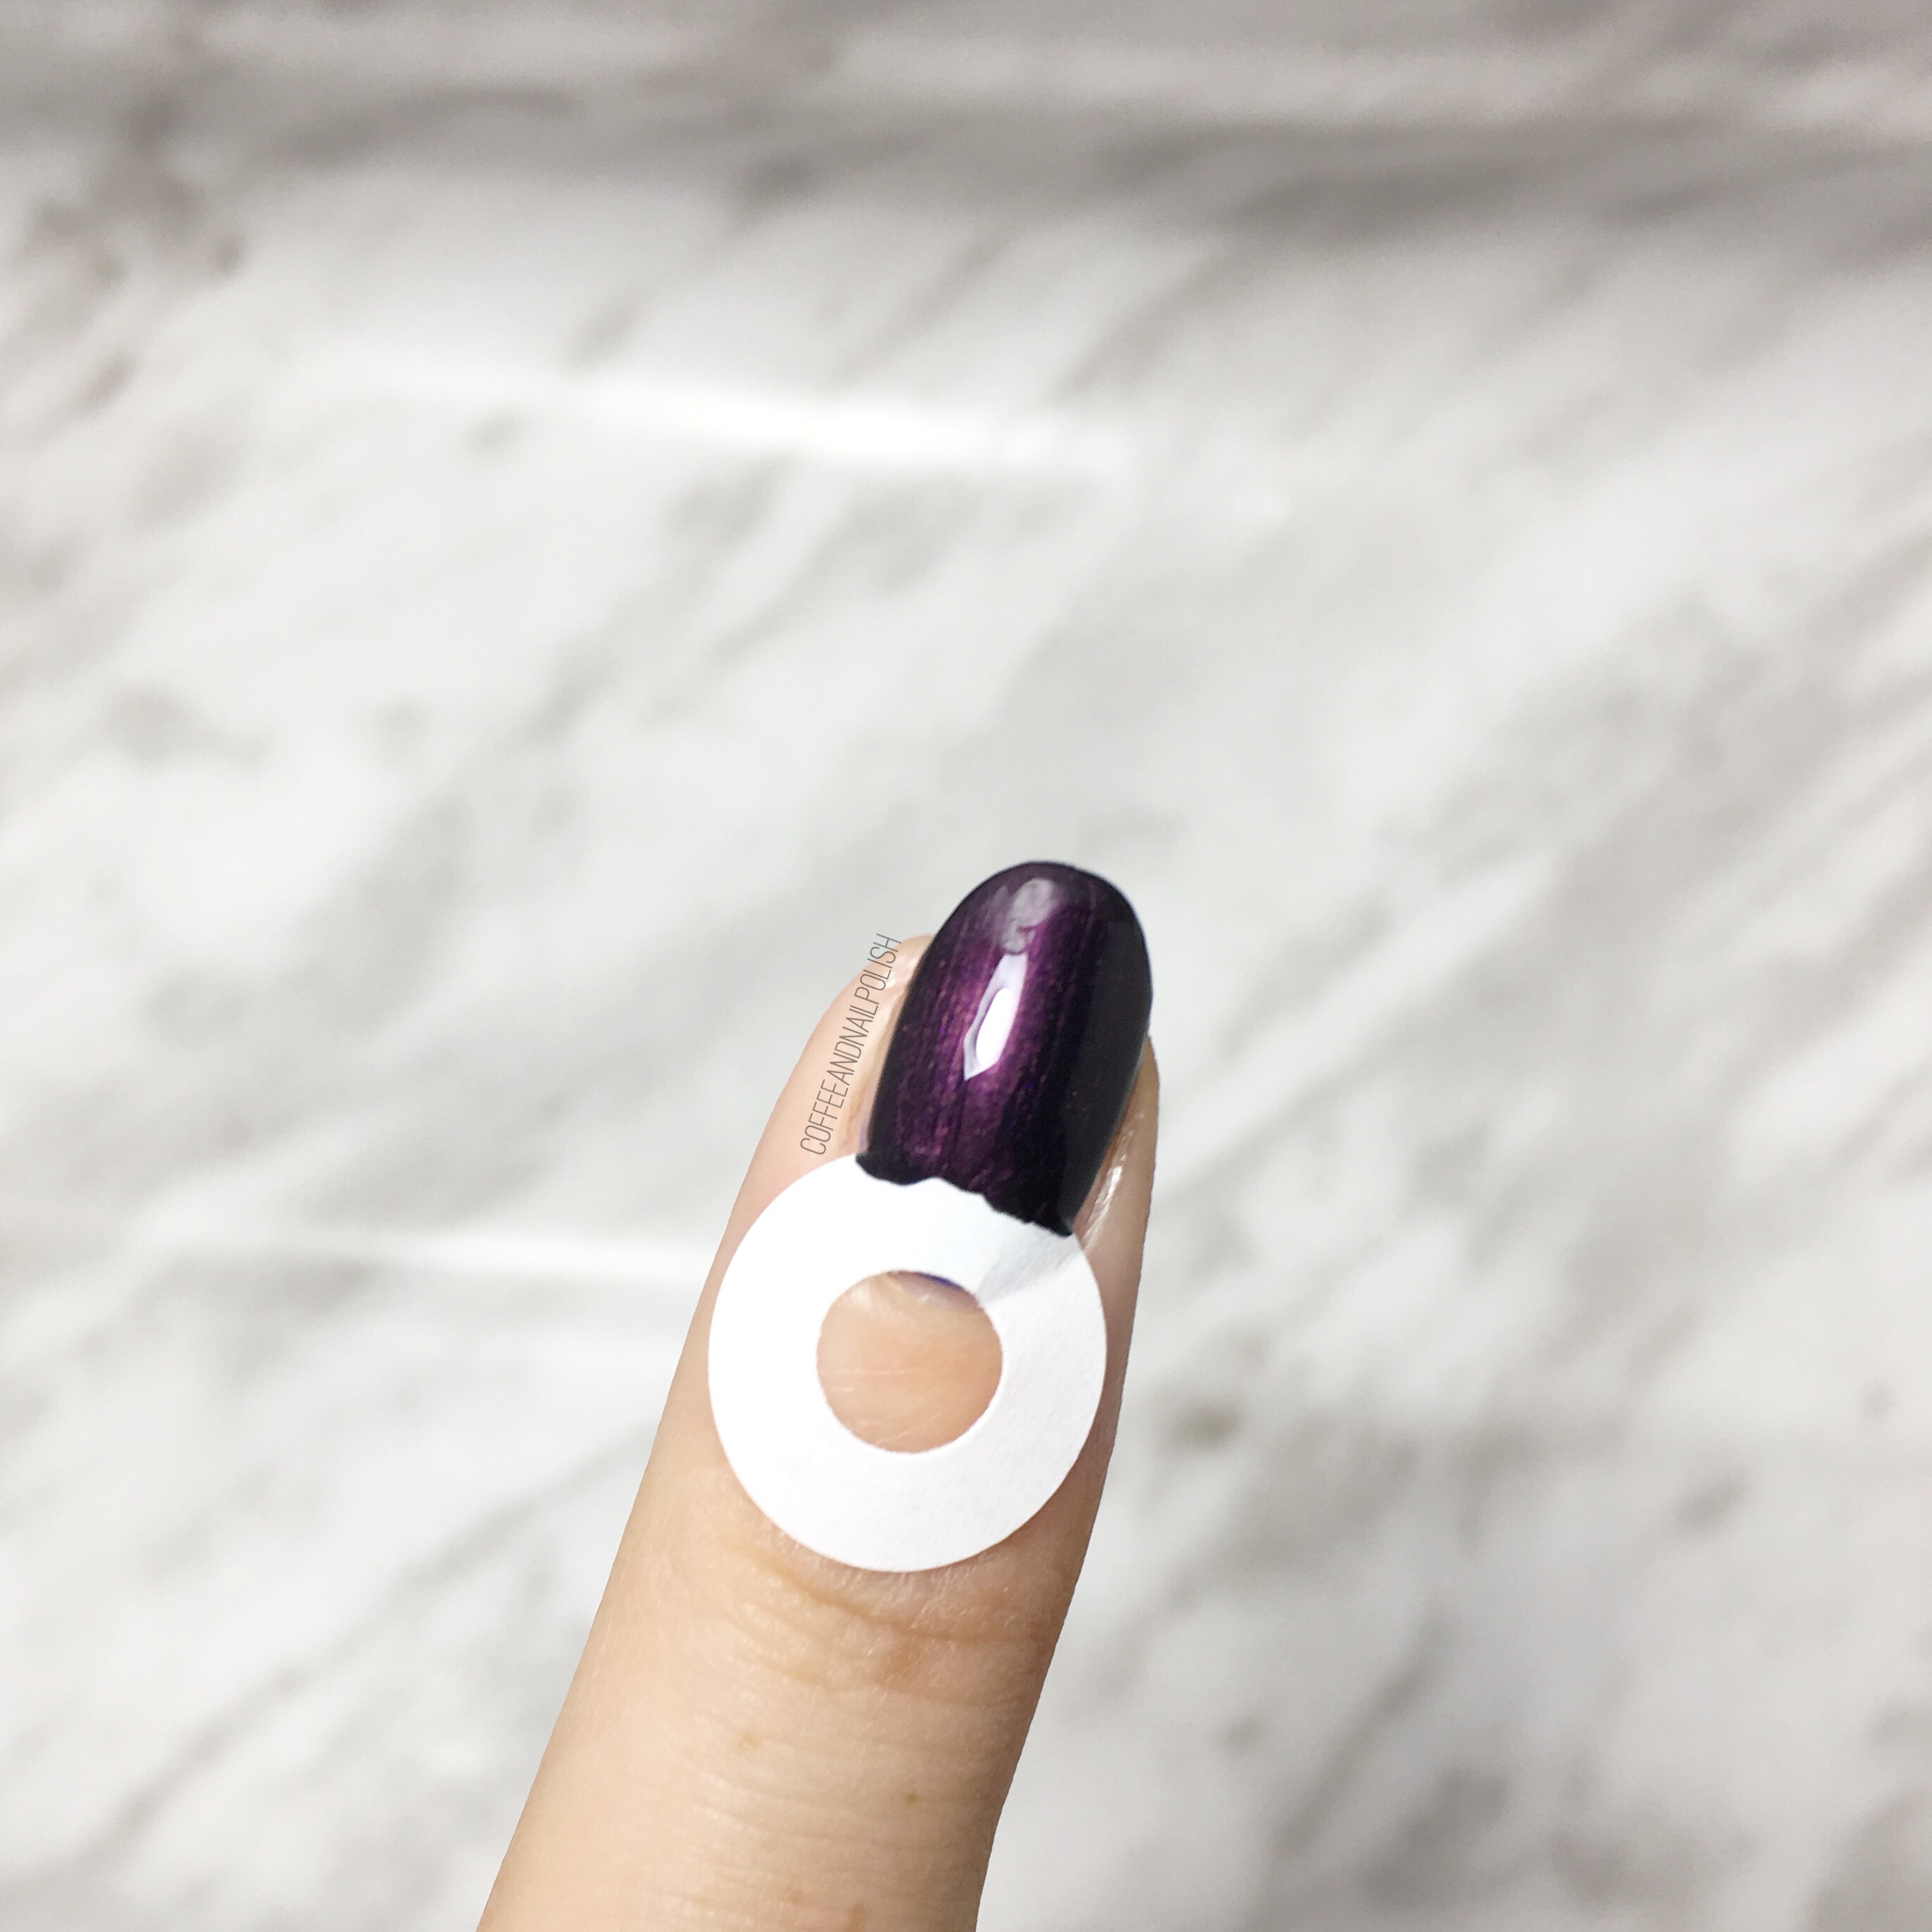
Press down each side of hole reinforcement (to make sure polish won’t bleed under) & then quickly paint second colour over top. A one coat polish works best, but she make sure base colour is covered. 

Immediately remove your reinforcement. 

Repeat steps on all fingers & then seal in design with top coat. Bam! Almost instant half moons (with a few steps in between). I loved the blue with purple but I wanted to add a little more of a snazzy finish to my nails. I’ve been obsessing about this wheel of nail studs lately adding it to a lot of my manicures lately so I figured it would be the perfect addition to this design. 

For my accent nail, I applied some blobs of coat, then picked up my studs with a wet nail art brush & arranged them. I always make sure to pull my studs out of the wheel ahead of applying them, as it takes less time trying to find them. Also, sometimes you will have to dab on more clear polish/top coat to make sure the studs stick. Also I always seal my studs in with top coat so no edges catch & get pulled off. 

What do you think of this half moon? How do you create your half moon designs? Let me know in the comments below! 🌙