Glam Nails Challenge October — Spider 🕸

Hello lovelies & happy Wednesday! Half way through the week already — can you believe it?! We’re also already on our second prompt for GlamNailsChallengeOctober… & my second Halloween design of the season.

Today’s prompt: Spider. 🕷🕸

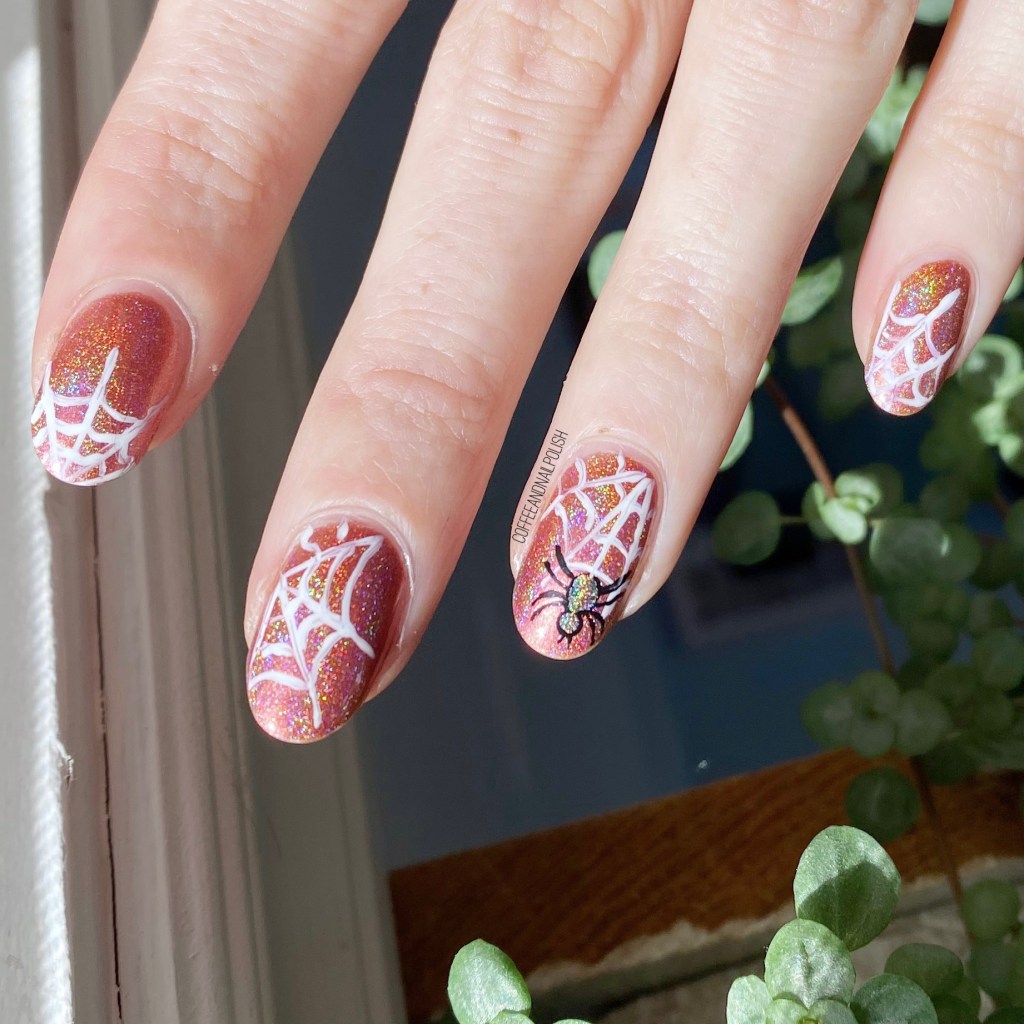
Which, anyone who knows me, knows is one of my least favourite things in the whole wide world. But for nail art, I guess I can do it. So I decided, why not do some holo-ween spiders! Because holo makes everything better!

The polishes I used for this manicure are: 

  • Base Coat: Essie First Base
  • Top Coat: Seche Vive
  • Color Club Sidewalk Psychic
  • Sally Hansen Miracle Gel Get Mod!
  • Starrily Vantablack
  • Layla Cosmetics Flash Black
  • NailStuff.ca 16mm Striper Brush
  • NailStuff.ca Dotting Tool Trio

How much fun are these? Again, spiders are not my favourite thing. In fact, I’ve been known to run screaming away from a spider, usually in tears. But these holo spiders turned out pretty cute, so I don’t mind wearing them on my nails.

October is the one month a year where spiders on my nails are okay, haha.

I really, really wanted to rock some holographic nails for this look. I thought this holographic orange-y colour was perfect as the base for this nail art. Plus we’ve had some beautiful sunny days the last few days, which were just calling for some holo.

What do you think about this nail art look? Are you currently rocking any Halloween designs? What is your favourite Halloween nail art design to do? Let me know in the comments below!
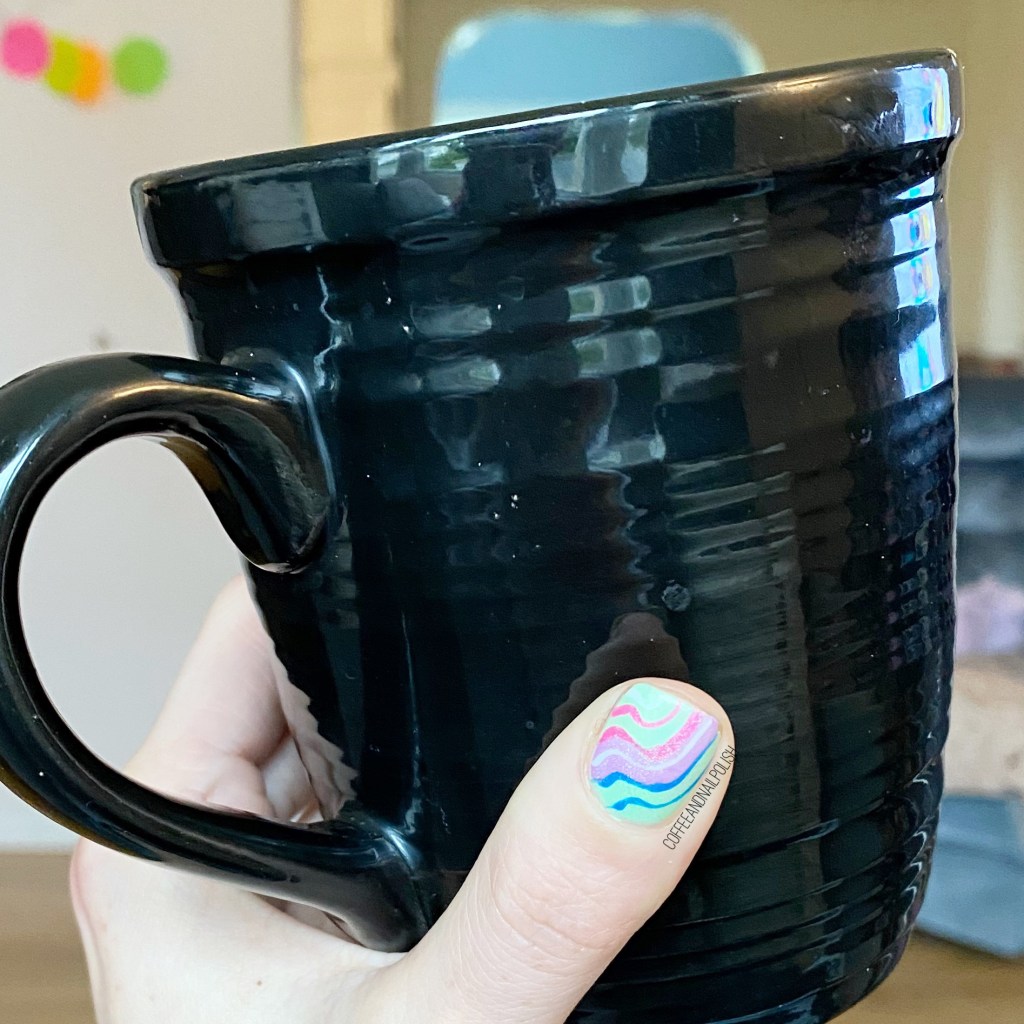
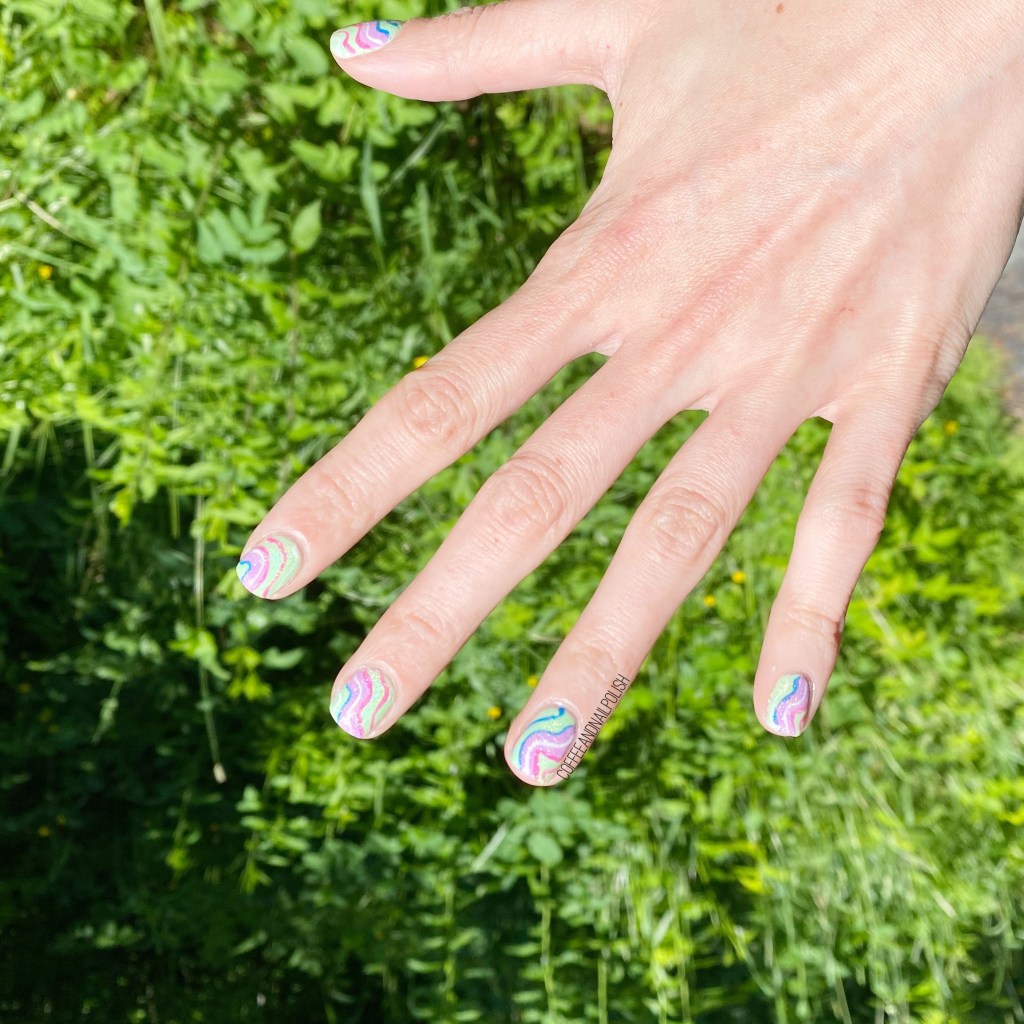
Neon & Scattered Holo Abstract Stripes

Hello lovelies & happy Wednesday.

I know I’ve been very quiet on the blog front this week as my Mum & Dad finally made it down to visit, after being away for the last 9 months. So between soaking in visiting time, & working a ton, posting has been slacking. I’ve got a few nail art looks to share, so I’m definitely going to sit down & concentrate on getting my posts written! First up, some fun neon & scattered holo abstract stripes.

For this manicure, the polishes I used were:

  • Base Coat: Sally Hansen Nailgrowth Miracle
  • Top Coat: Essie Speed Setter
  • Holographic Top Coat: Starrily Eclipse
  • Ardene Sour Apple
  • Essence Violet Vibes
  • Sally Hansen MG Fushcia Fever
  • Sally Hansen Insta-Dri Cerulean
  • Sally Hansen MG Get Mod!
  • NailStuff.ca 16mm Nail Art Striper Brush

I’m really loving how these turned out. I’ve been seeing so much neon, I needed to do another neon look (plus I just bought this “pastel neons” shade from Essence, so I needed to do a manicure with it!)

Originally I just had the abstract stripes, but it was such a sunny beautiful day, I needed to add some holo. I’ve been applying the Starrily holographic top coats I have (Space Debris & Eclipse) to basically every pedicure I’ve done in the last 3 weeks, so I figured I should try it over nail art.

What do you think about this neon & holo look? I feel like I often overthink applying holographic top coat over any neon shades, but I’m definitely going to make a more conscious effort to do it more often! Because I really, really love the end result.

Let me know what you think down in the comments below!

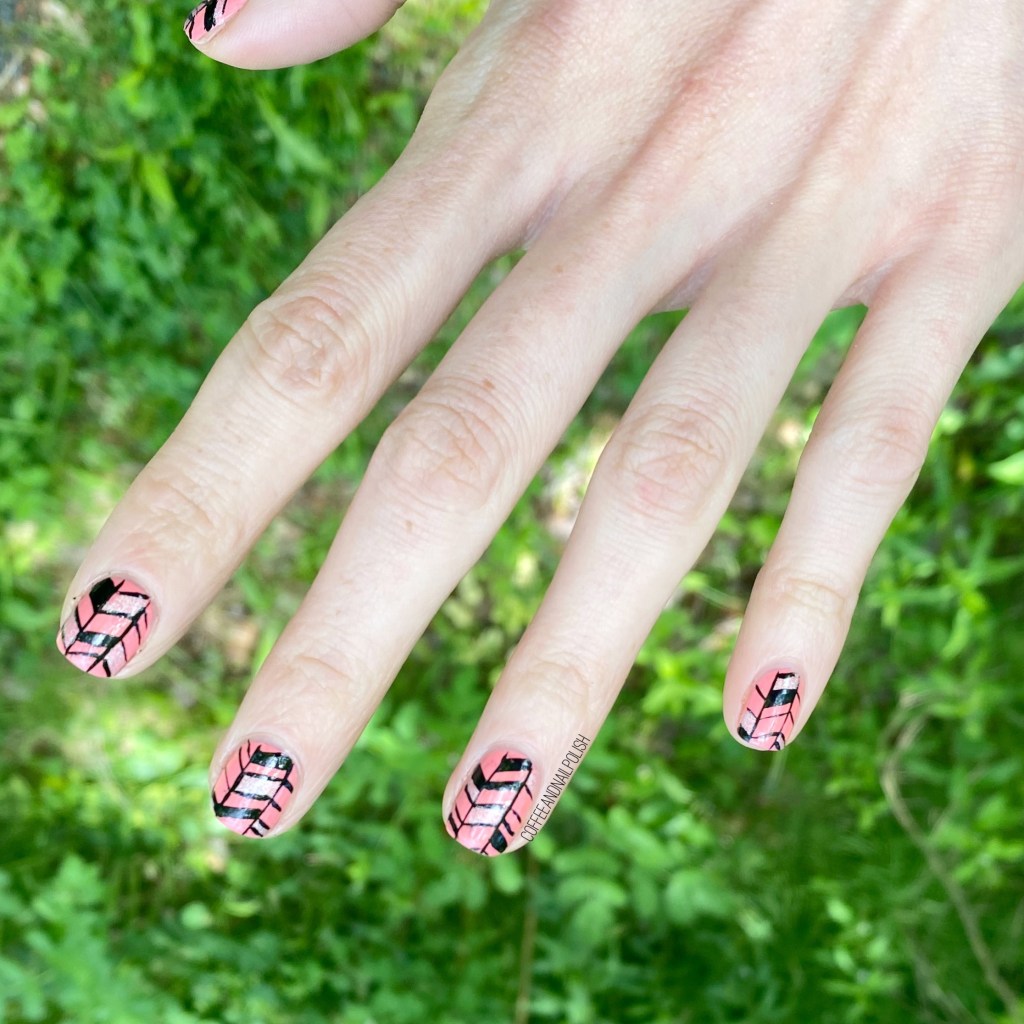
Peach Herringbone Nails

Hello lovelies & happy Tuesday!

I hope everyone had an awesome weekend. I worked all weekend, but the weather is beautiful. It’s officially Summer as of yesterday, which is also very exciting. Of course, here on the East Coast we’re awaiting the remains of a Hurricane which means it’s soggy & gross.

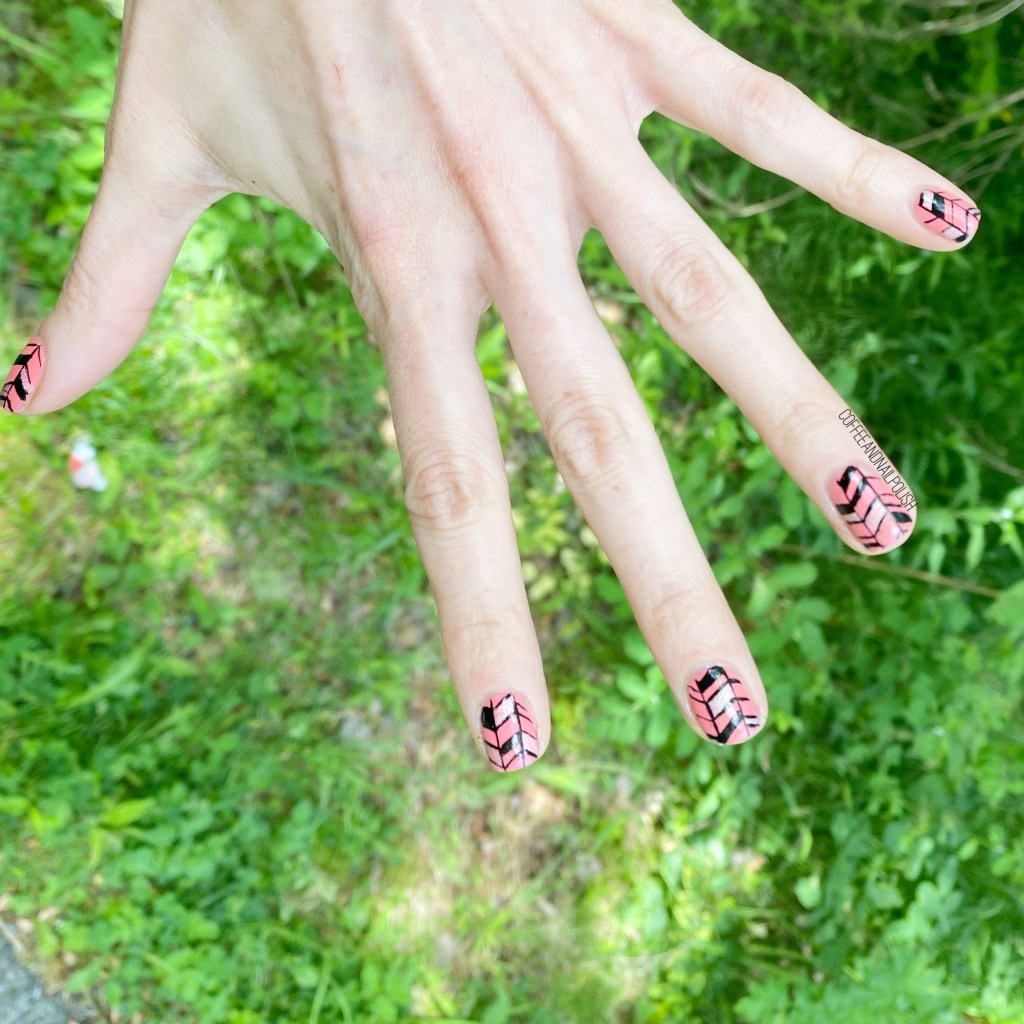
But at least my nails look cute! I did these herringbone nails last week, when I wanted nail art but I was short on time (& inspiration). I feel like I’ve been doing a lot of line work like this lately because I can do it without having to wait for my base to be fully dry.

For this manicure, the polishes I used were:

  • Base Coat: Sally Hansen Nailgrowth Miracle
  • Top Coat: Essie Speed Setter
  • Essie Lounge Lover
  • Starrily Vantablack
  • Essence Outta Space Stories We Will Spock You
  • NailStuff.ca 16mm Striper Brush

Ah, like riding a bike. I’ll be honest, at night when I first did these I wasn’t 100% sure if I liked how they turned out; they seemed messy & awful at 10pm. But I was tired, so I left them on, because awful nails are better than no nails at all (& I was way too tired to repaint them). But as soon as the sun came up, & I took another look I actually really liked how they looked, & they didn’t seem as messy as I originally had thought.

& I really kind of love them.

What do you think about this herringbone look? What nail art designs have you been living for lately? Let me know in the comments below!

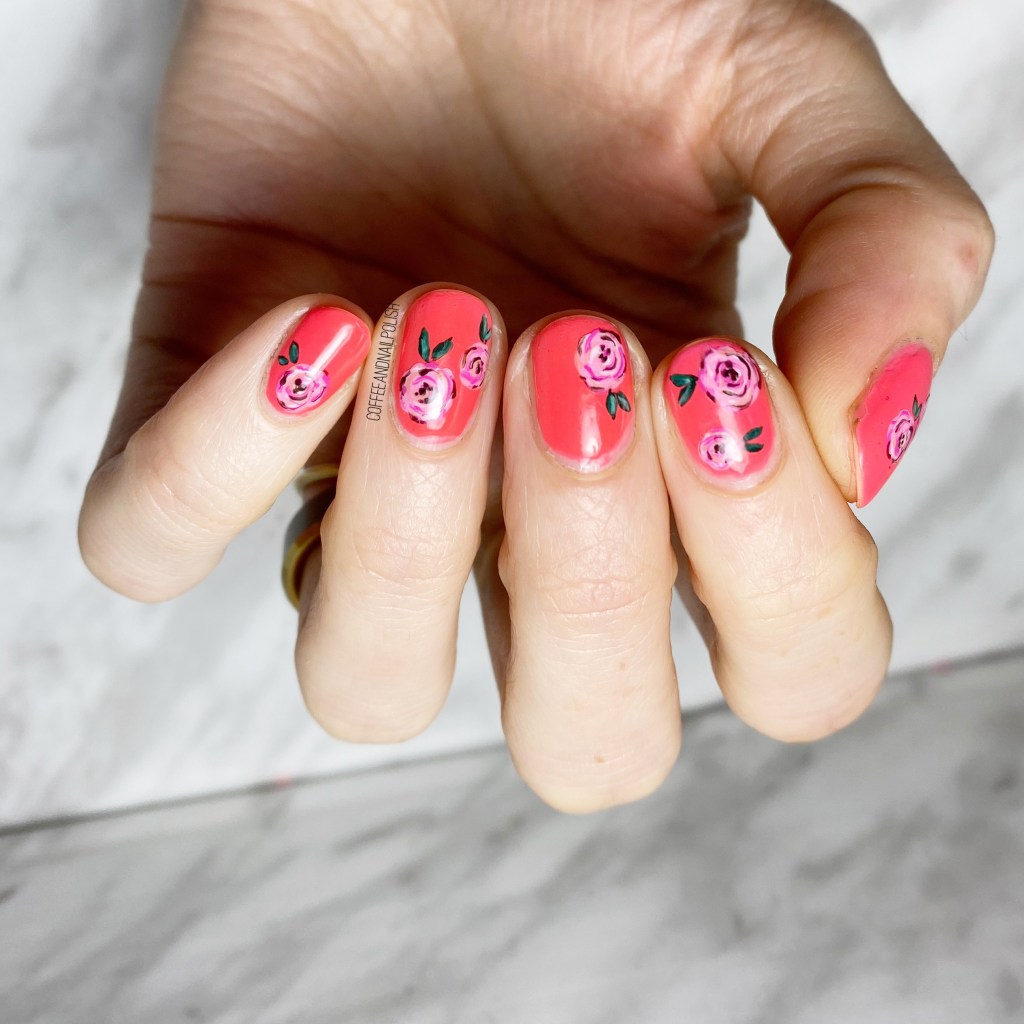
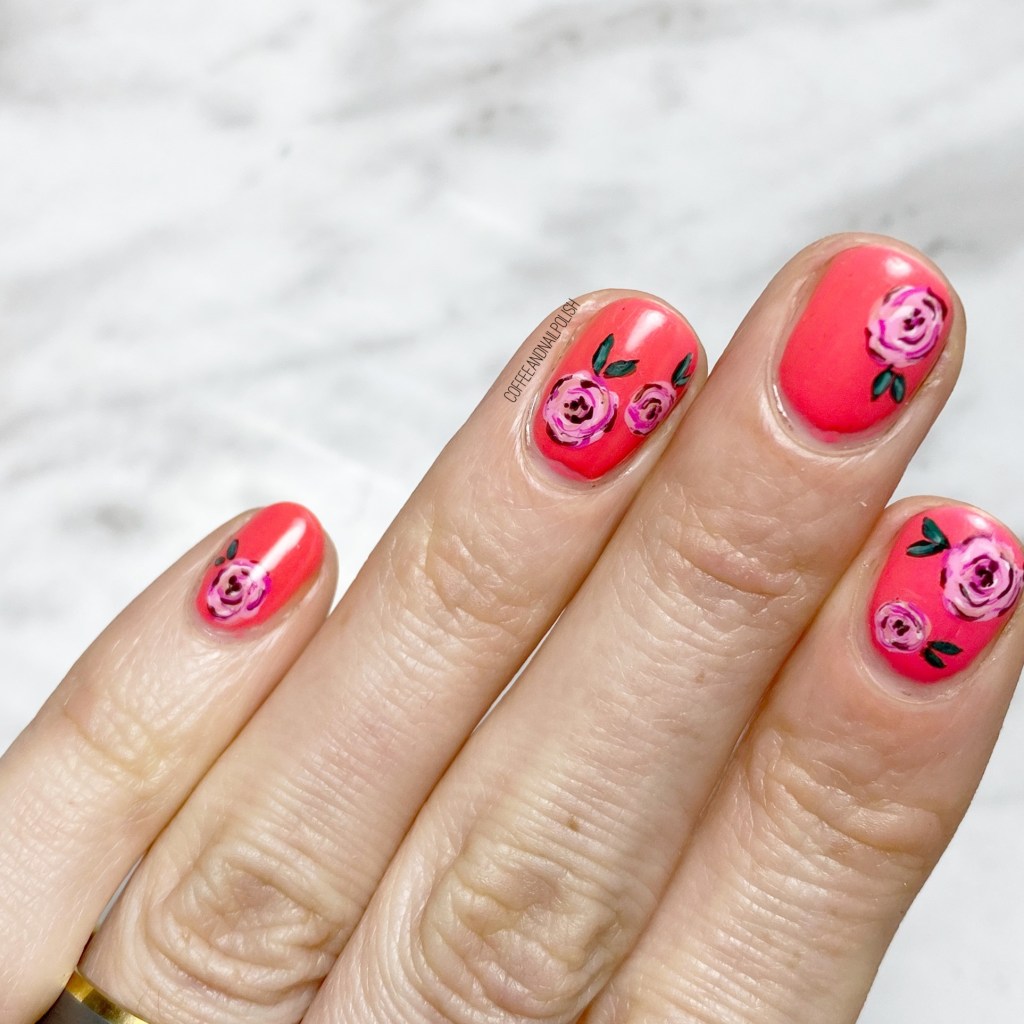
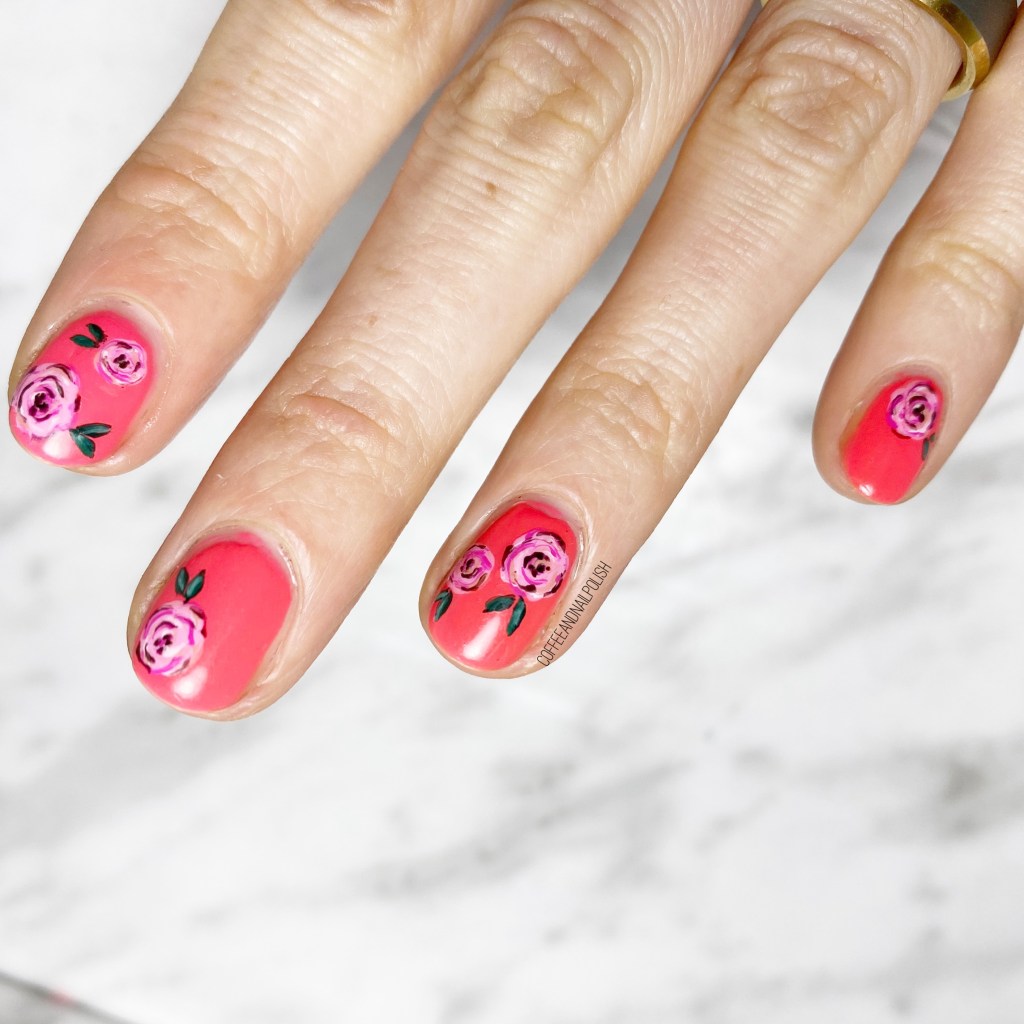
Pink Floral on Coral

Hello lovelies & happy Tuesday! Hope you’re all having a lovely, safe start to your week. Can you believe we’re almost half way through April? I can’t believe how quickly this month is going. & so far, we’ve more or less had beautiful weather.

I’ll take it!

& today I’m sharing another floral look with you! I did this look the other week after snapping off my middle finger at work. It hurt, especially because they’ve completely transformed & were getting so long! So I thought some (more) floral was in order to cheer myself up.

For this manicure, the polishes I used were:

  • Base Coat: Sally Hansen Nailgrowth Miracle
  • Top Coat: Essie Good to Go
  • Color Club Tankini (mood changing nail polish)
  • Orly Scenic Route
  • Sally Hansen Miracle Gel Orchid-ing Aside
  • Sally Hansen CSM Cherry Cherry Bang Bang
  • Sally Hansen Get Mod!
  • Essie Off Tropic
  • Essence The Green & the Grunge
  • Starrily Vantablack
  • NailStuff.ca 7mm detail brush
  • NailStuff.ca Dotting Tool Trio

First off, I love, love, LOVE this Color Club shade. It was another one of those amazing Winners (or, possibly Marshall’s) find. I’ve been absolutely obsessed with these mood (thermal) changing polishes since my late 2009 Claire’s days when I had to buy all of them! The shift on this shade is subtle, but either way the colour is GORGEOUS & I’m kind of obsessed. Very perfect for Summer.

Second, this floral turned out so pretty. Nothing like a little bit of girlie nail art to cheer yourself up after a bad break. I was going for a bit of a cartoon-y floral, & I think I achieved what I was trying to do!

What do you think about this floral on my new shorties? how do you cope with a bad, bad break? Let me know in the comments below!
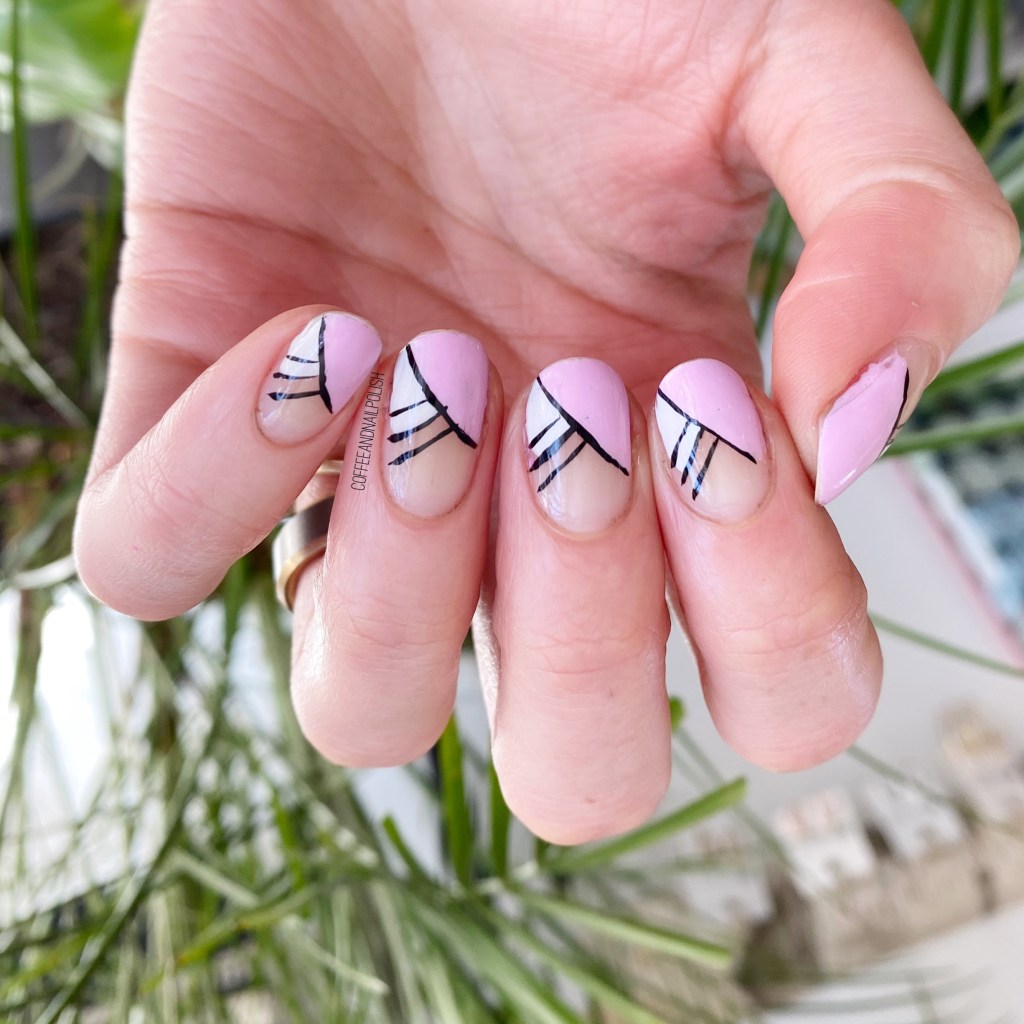
Negative Space Colour Blocking

Hello lovelies & happy Thursday! 💜Hope everyone is enjoying their week (& hopefully everyone is ready for the Easter bunny this weekend).

Today’s look is one I did last week on a whim, which I actually totally ended up loving. I used to do these negative space colour block designs a lot around Spring/Summer 2016, & I think it’s about time I bring them back!

For this manicure, the polishes I used were:

  • Base Coat: Sally Hansen Nailgrowth Miracle
  • Top Coat: Essie Good to Go
  • Sally Hansen Miracle Gel Get Mod!
  • ORLY Scenic Route
  • Starrily Vantablack
  • NailStuff.ca 16mm Striper Brush

Like I had mentioned, I did this manicure on a whim. I had started another design, mucked it up, & then had needed something quick to do. & I’m so glad I decided on these! I ended up getting so, so many compliments on them while at work, which is kind of the reason I’m thinking I should start rocking them more!

I did everything freehand—mostly because I was short on time, & didn’t feel like waiting for multiple layers to dry. & I really really love the end result. Just a fun, simple look that anyone can wear, with any length nails. & I’m going to prove it because I just had a major nail catastrophe, I’m back to itty bitty short nails.

So stay tuned!

What do you think about this nail art look? Would you wear a colour block design like this? What colours would you pair together? Let me know all your thoughts in the comments below!