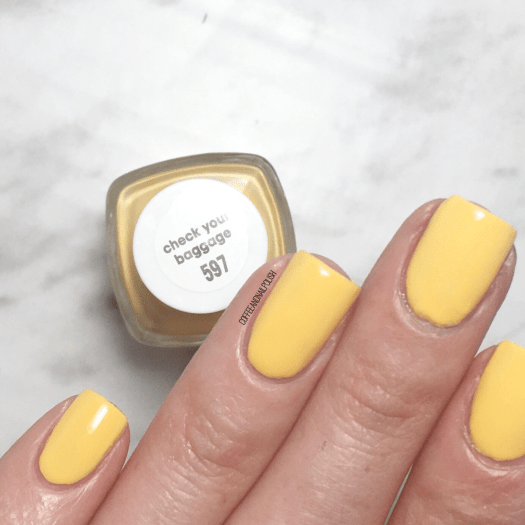
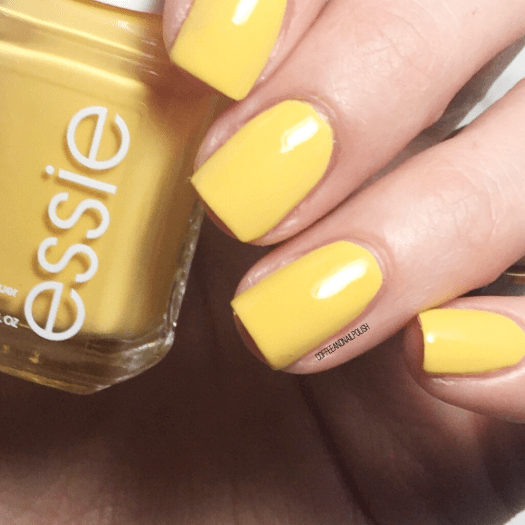
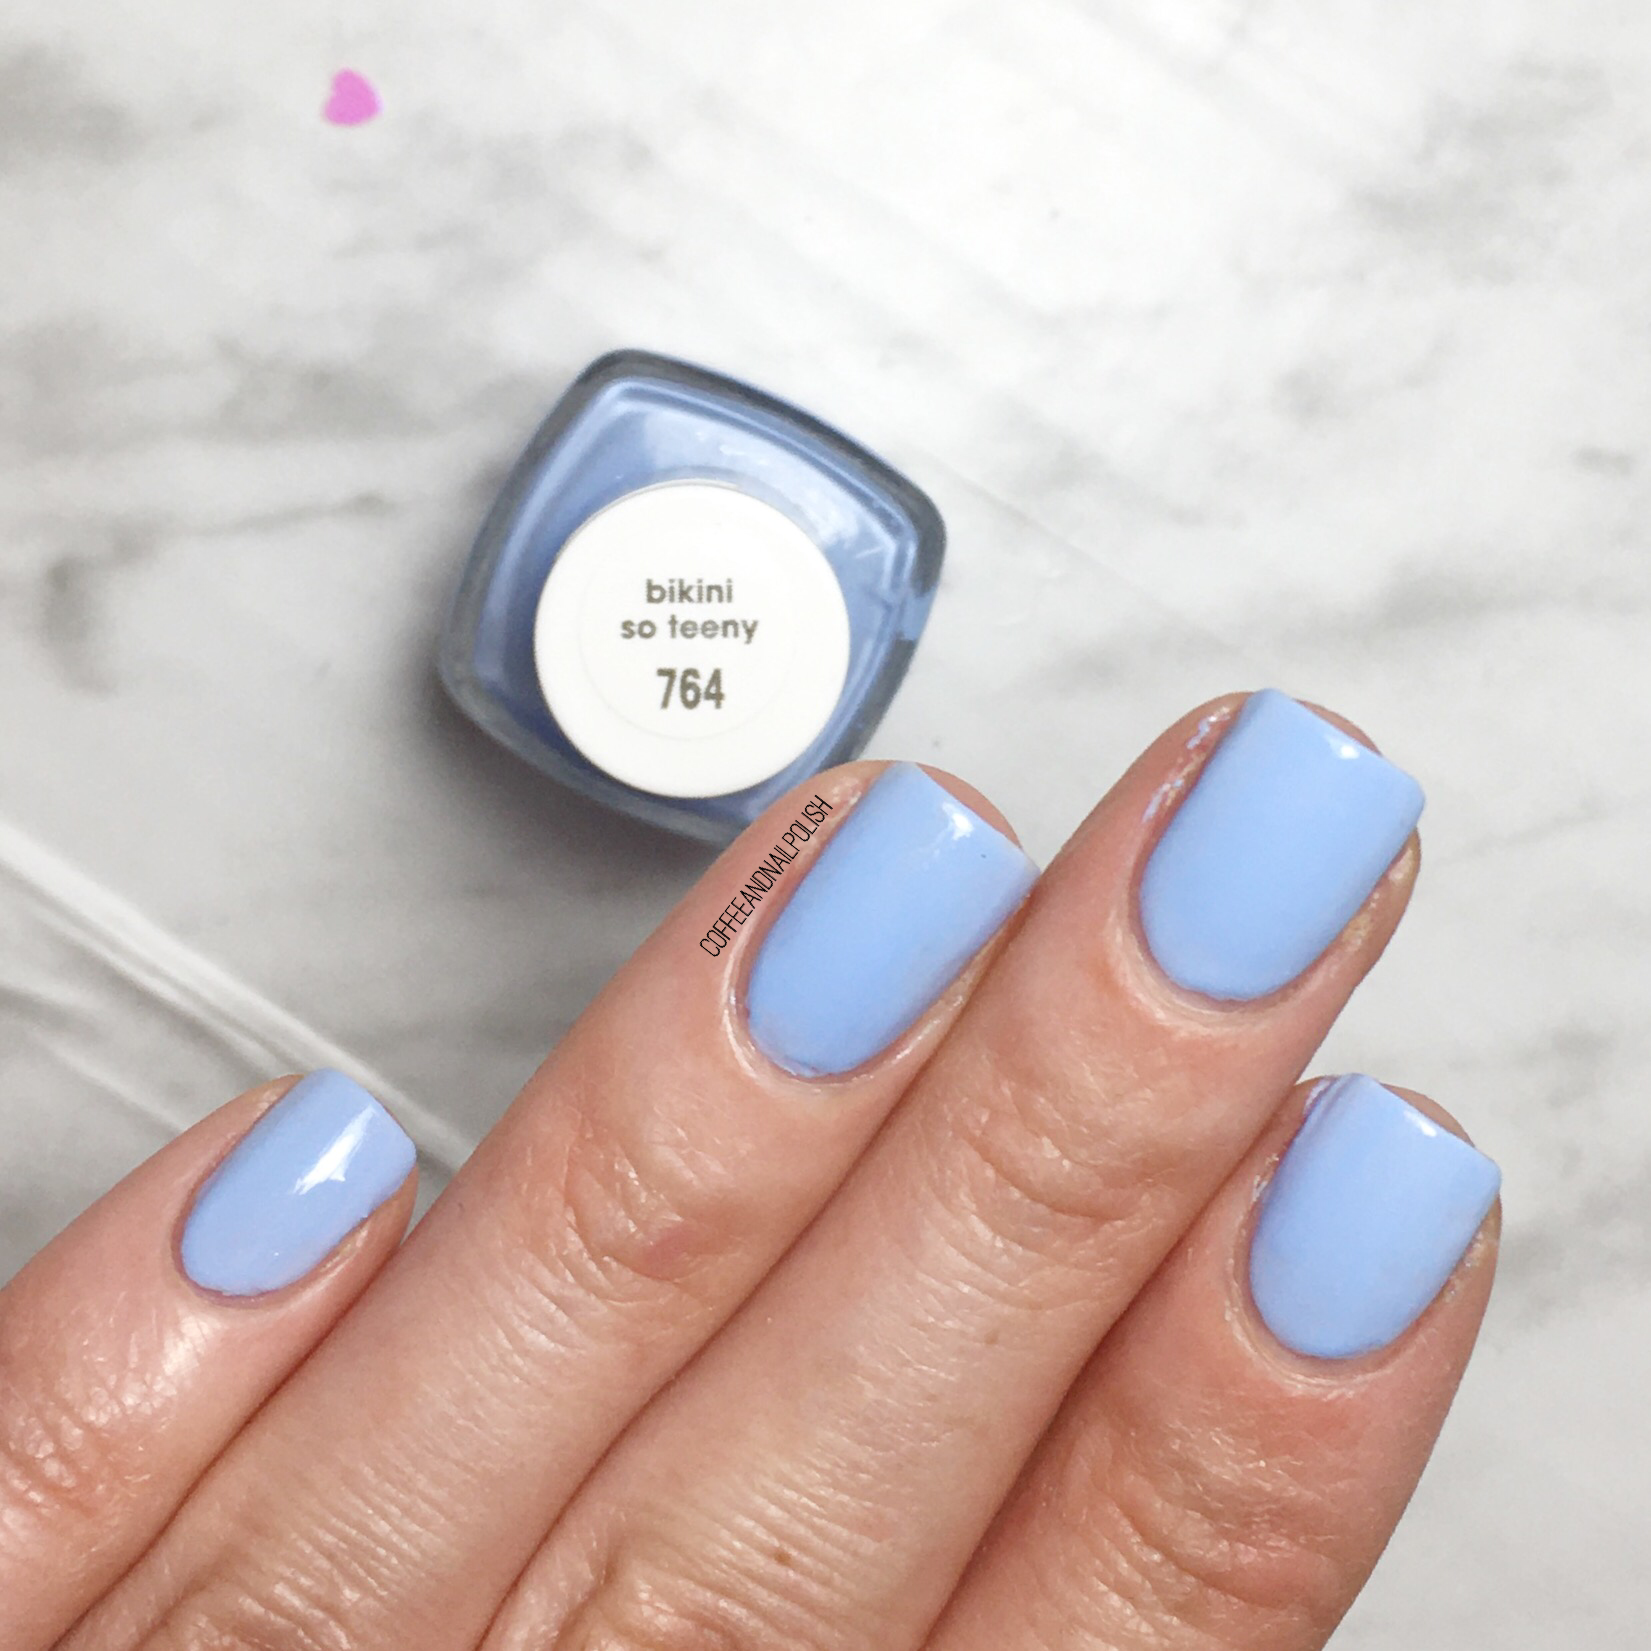
Hello lovelies & happy Sunday! Hope everyone is enjoying their weekend. We’ve had some beautiful weather the last few days, so I’ve been soaking in the sunshine wherever I can. So when in at Shoppers recently & saw some pretty Essie shades, I decided I needed to get something bright & sunny for my nails too! & you can’t get more bright & sunny than this beautiful yellow from the Essie Flying Solo Collection: Check Your Baggage.
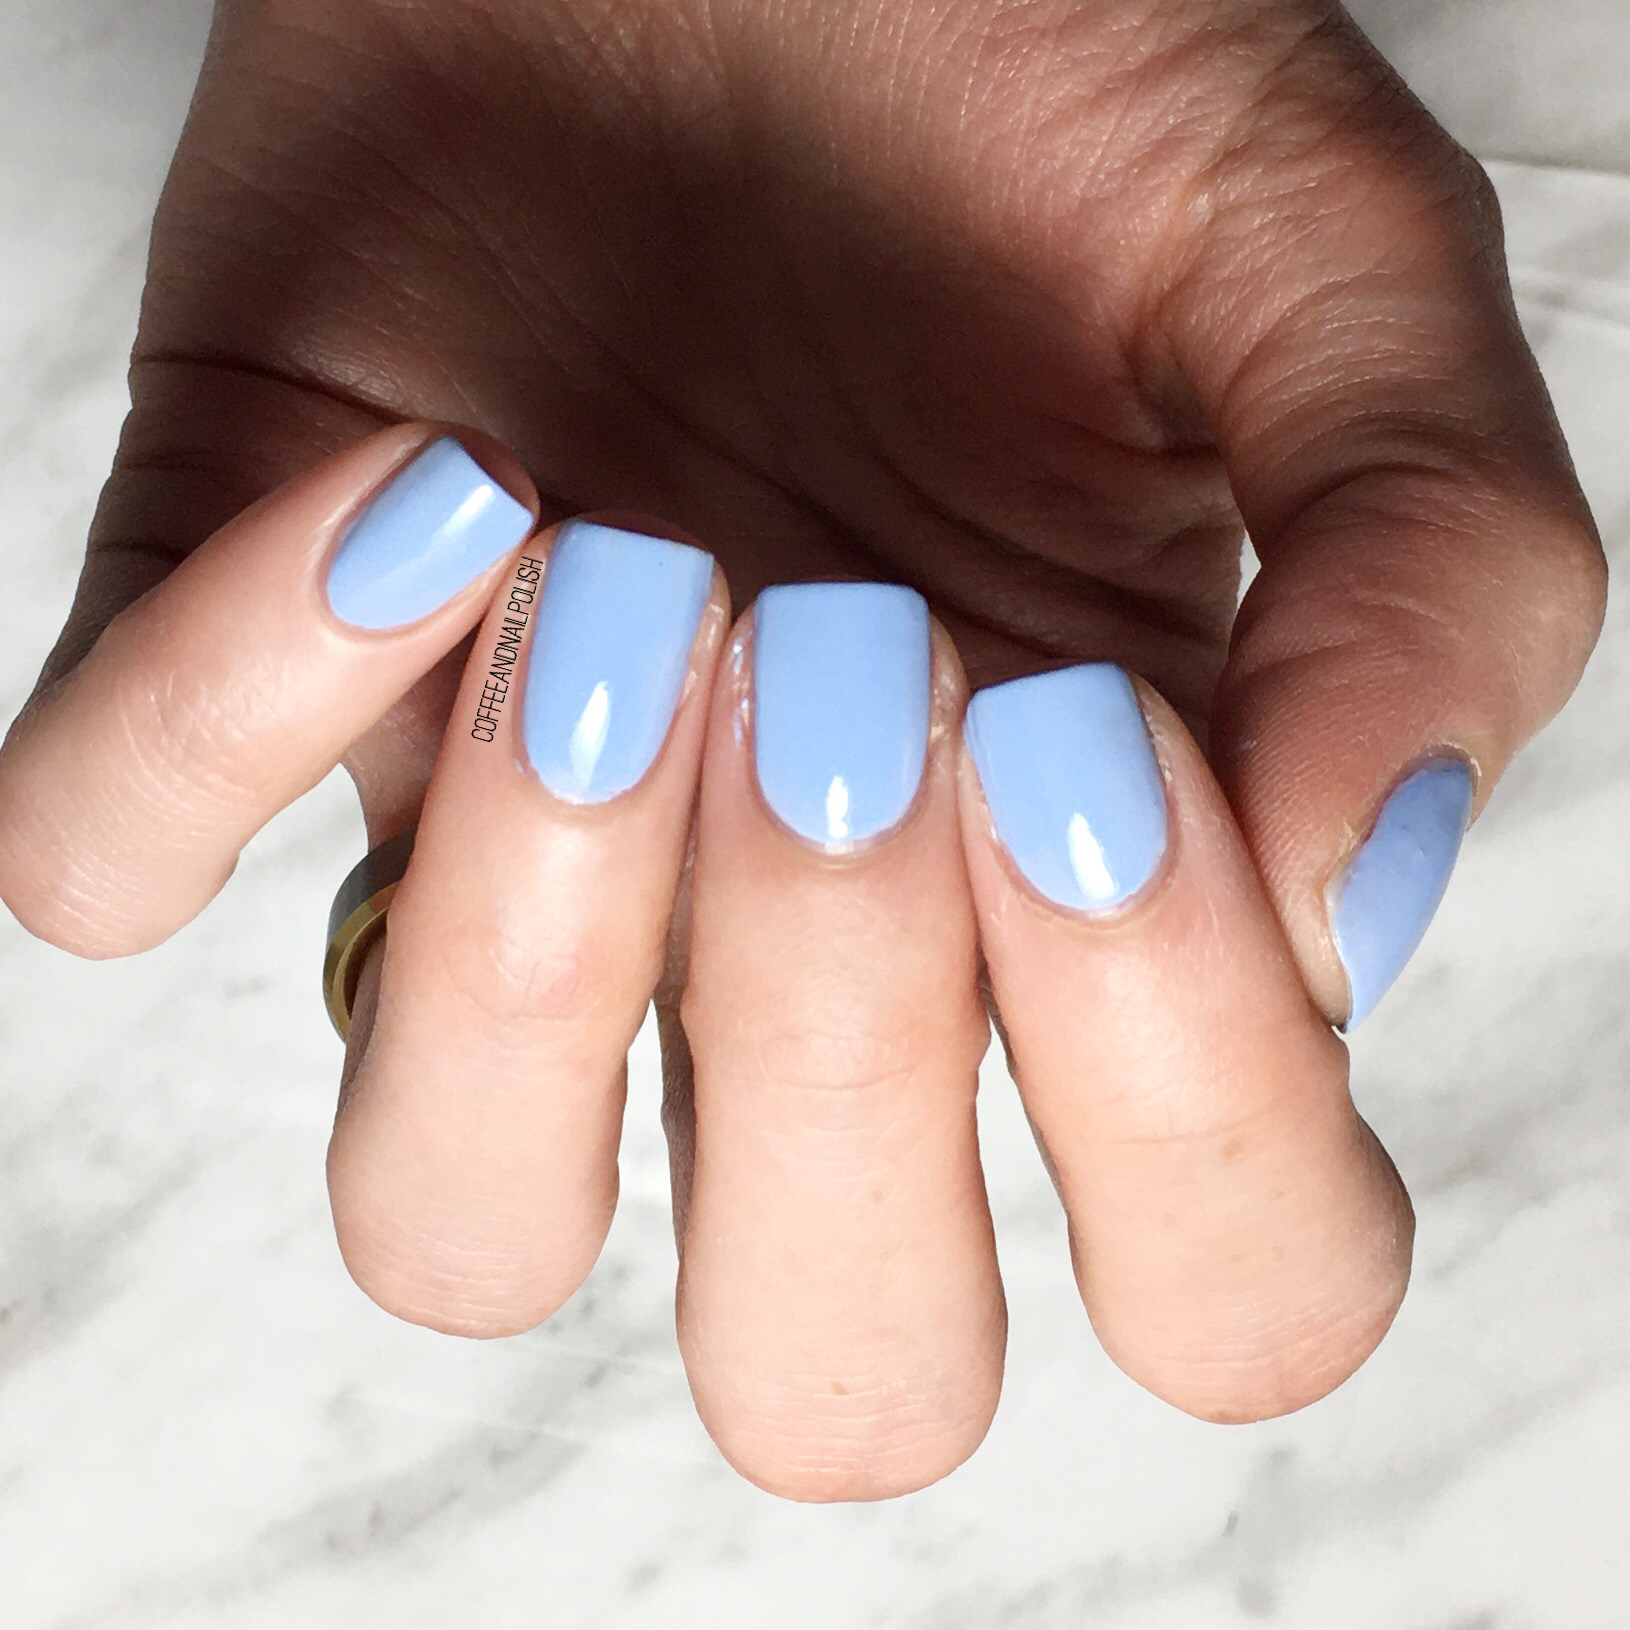
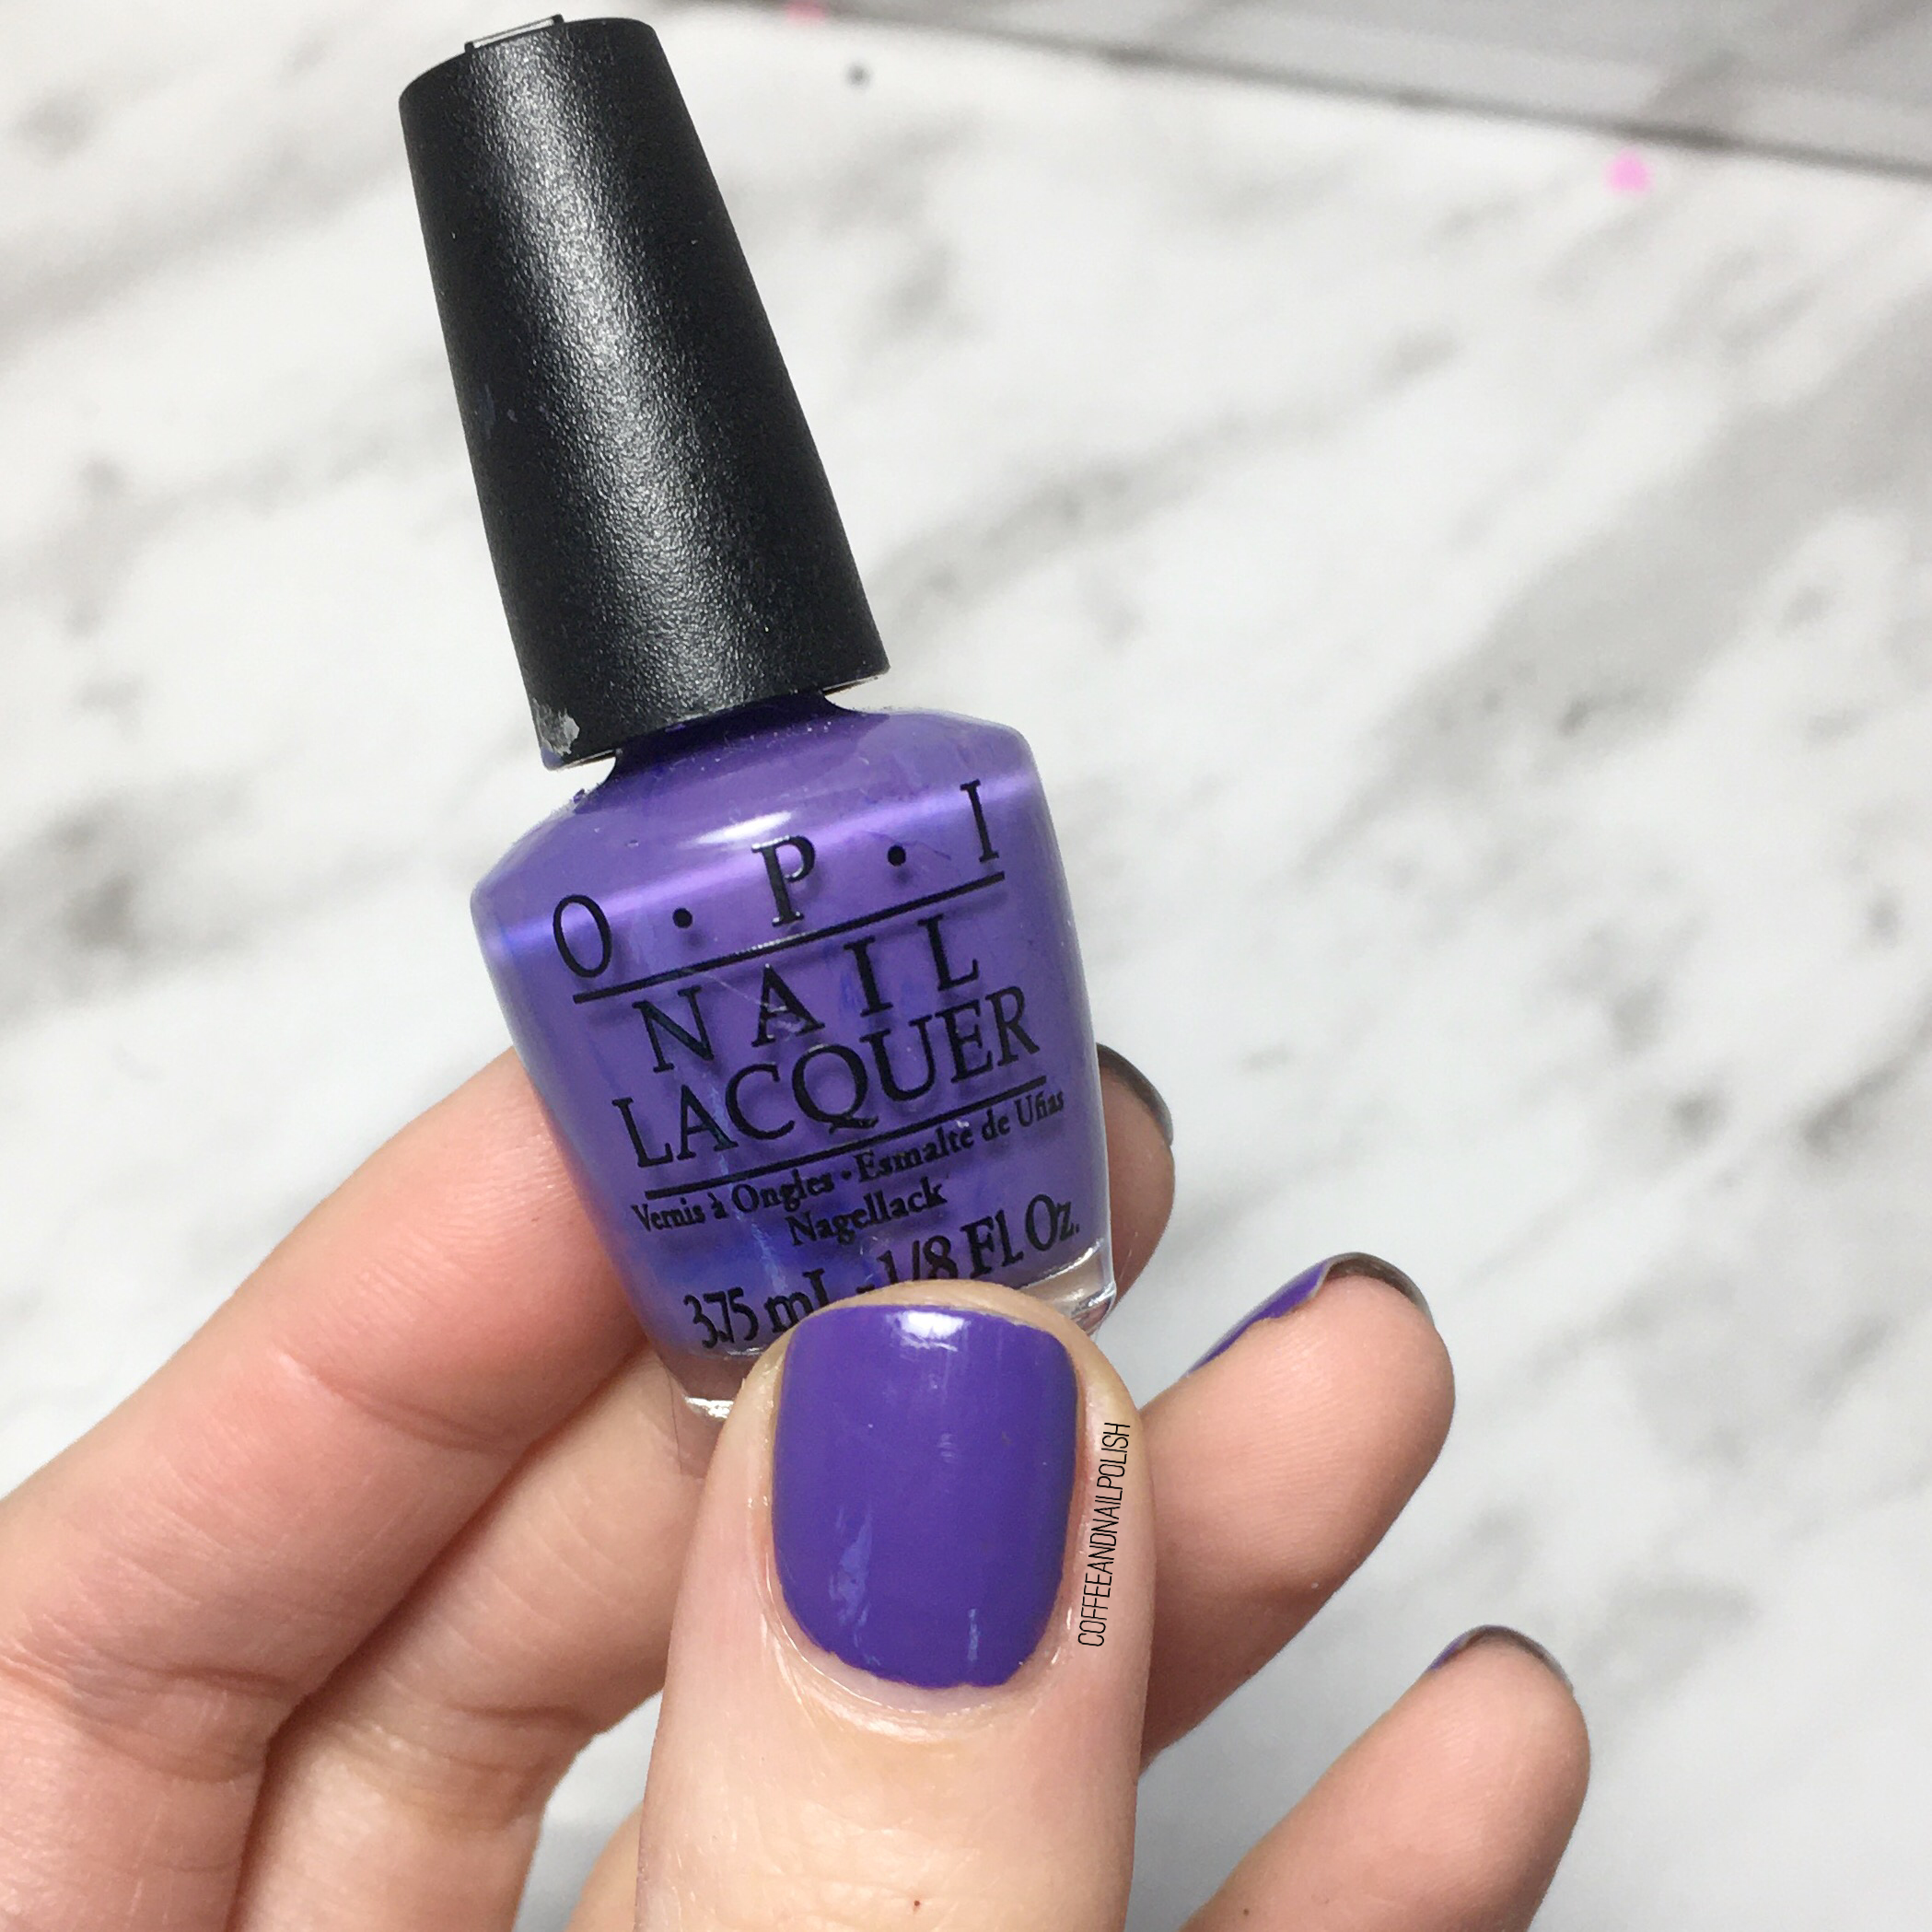
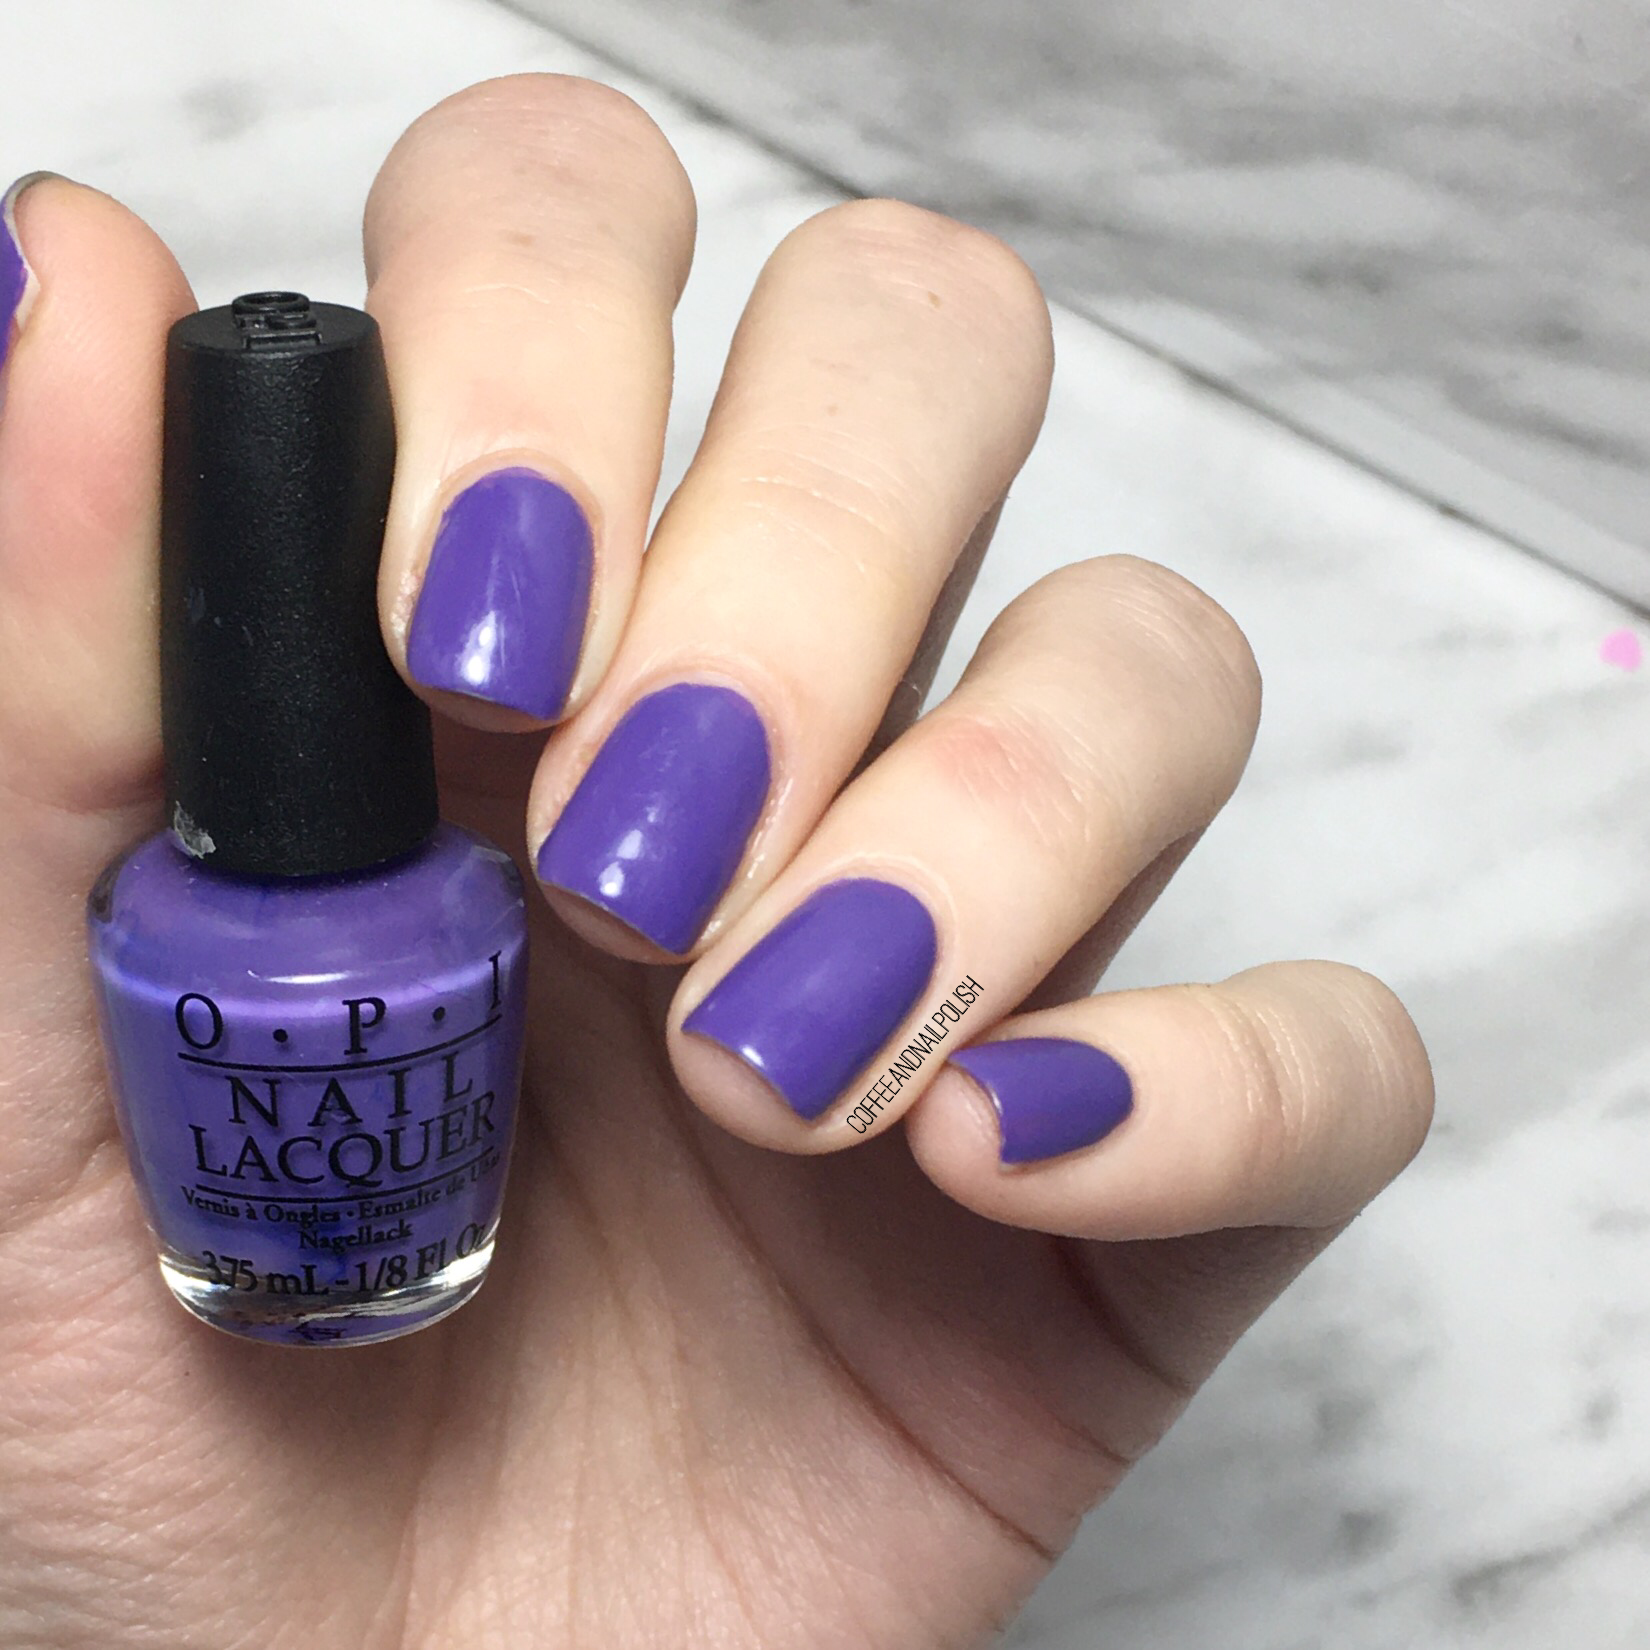
2 coats + Top Coat
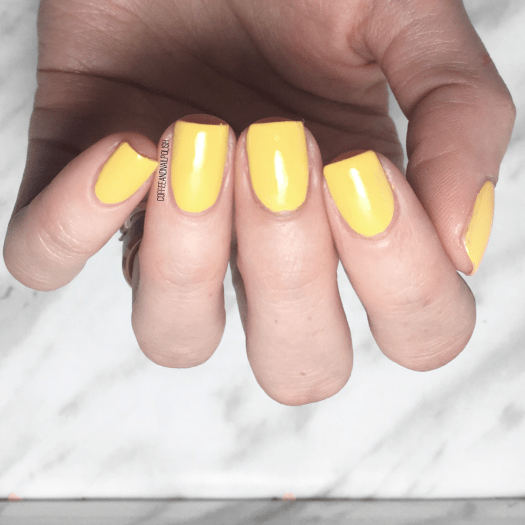
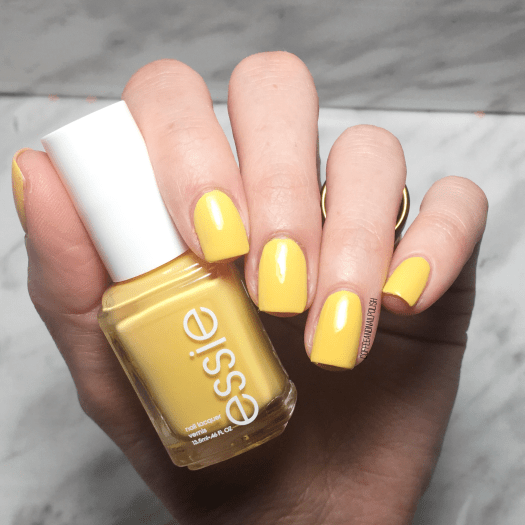
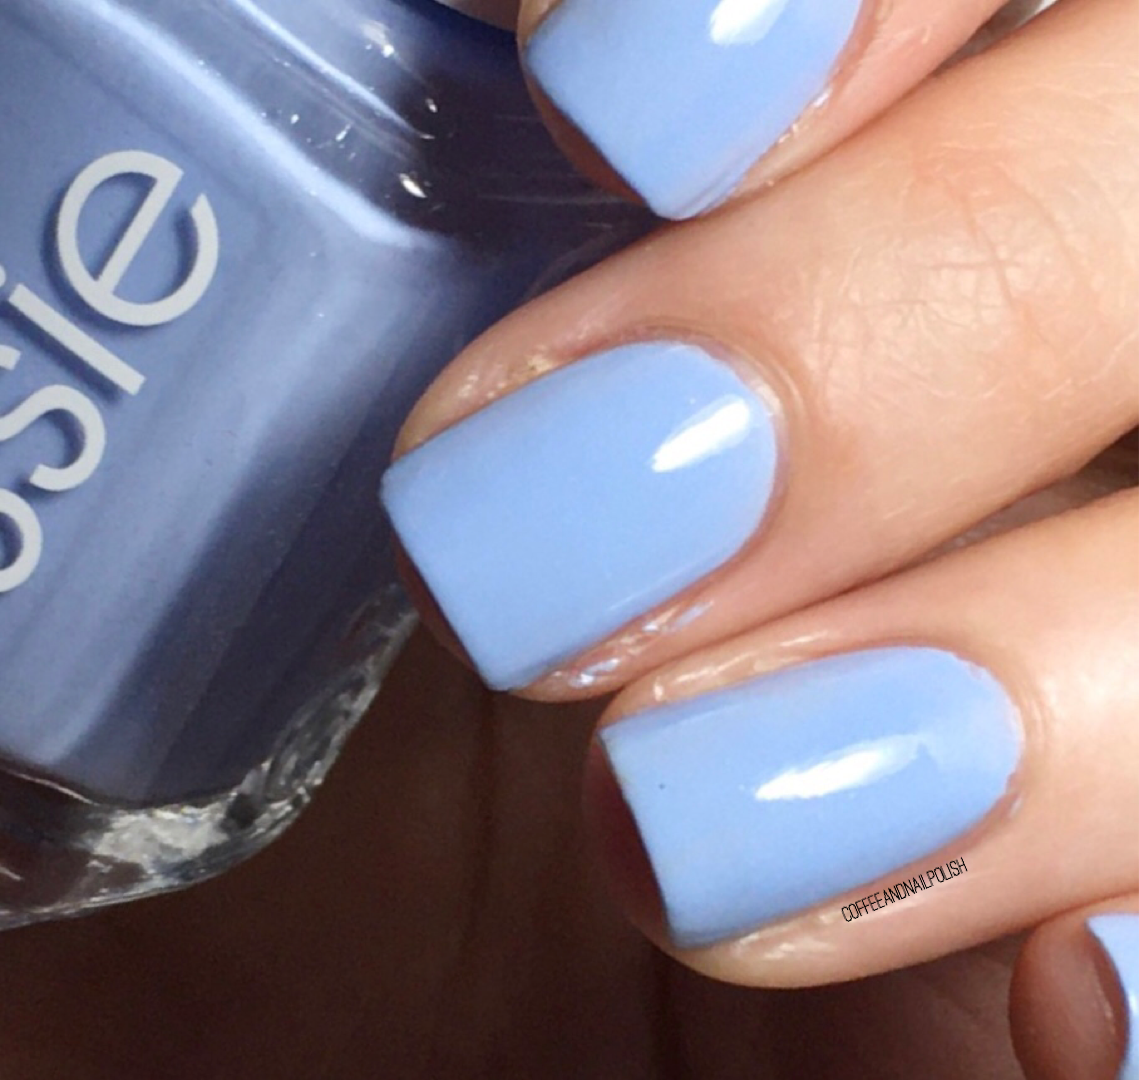
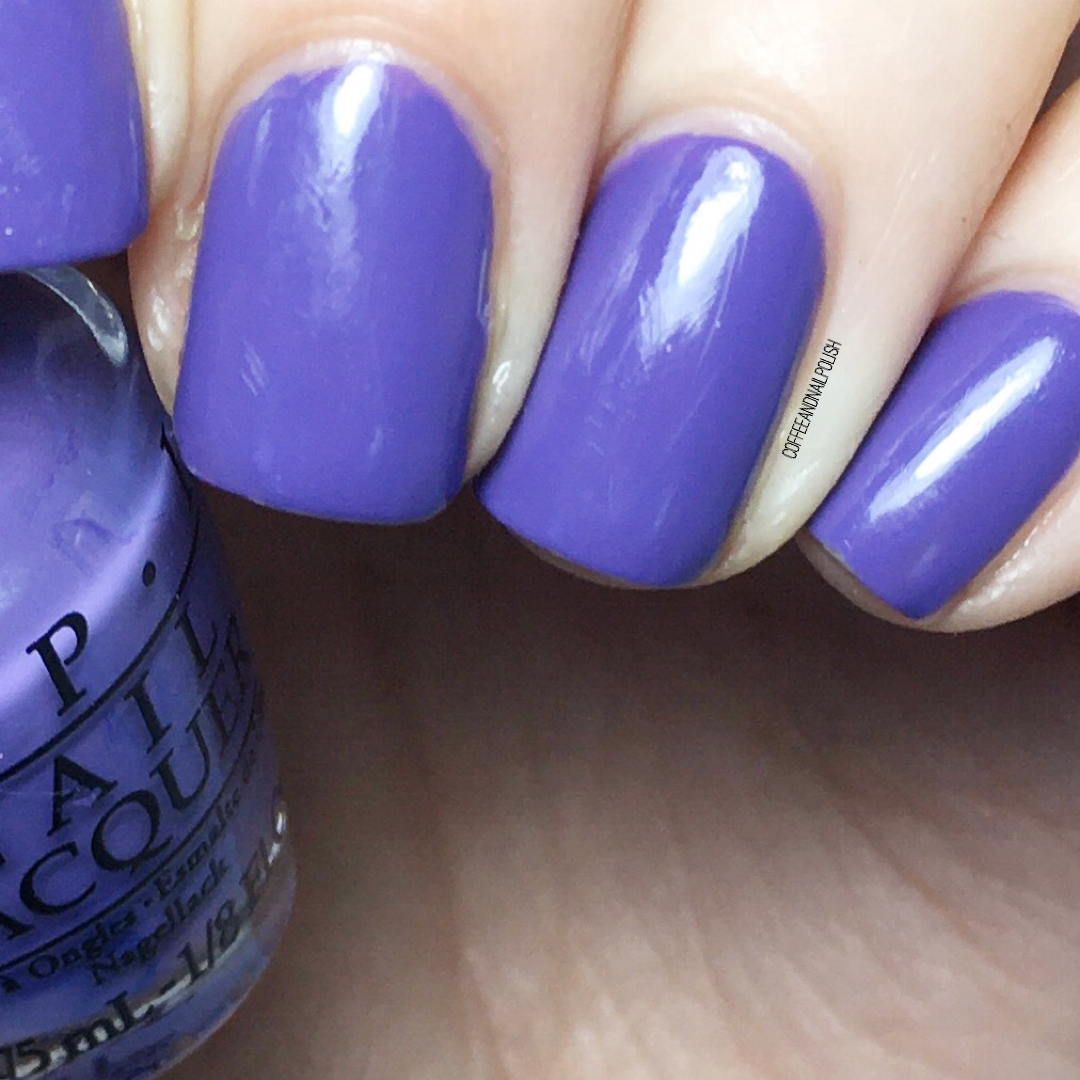
You know, yellow nail polish isn’t always my first choice, but as soon as I saw this bright & cheery shade, I knew I needed to add it to my collection. The formula is really nice, & levels out perfectly with two coats. I added top coat, naturally, which gave it an extra little boost of shine. I’m also liking the new wider brushes that Essie has introduced, because it means less strokes of polish are needed on the nail. My one & only complaint about this shade is the fact that it gives me a bit of red hands, but that’s more the yellow colour itself & has nothing to do with the actual polish.
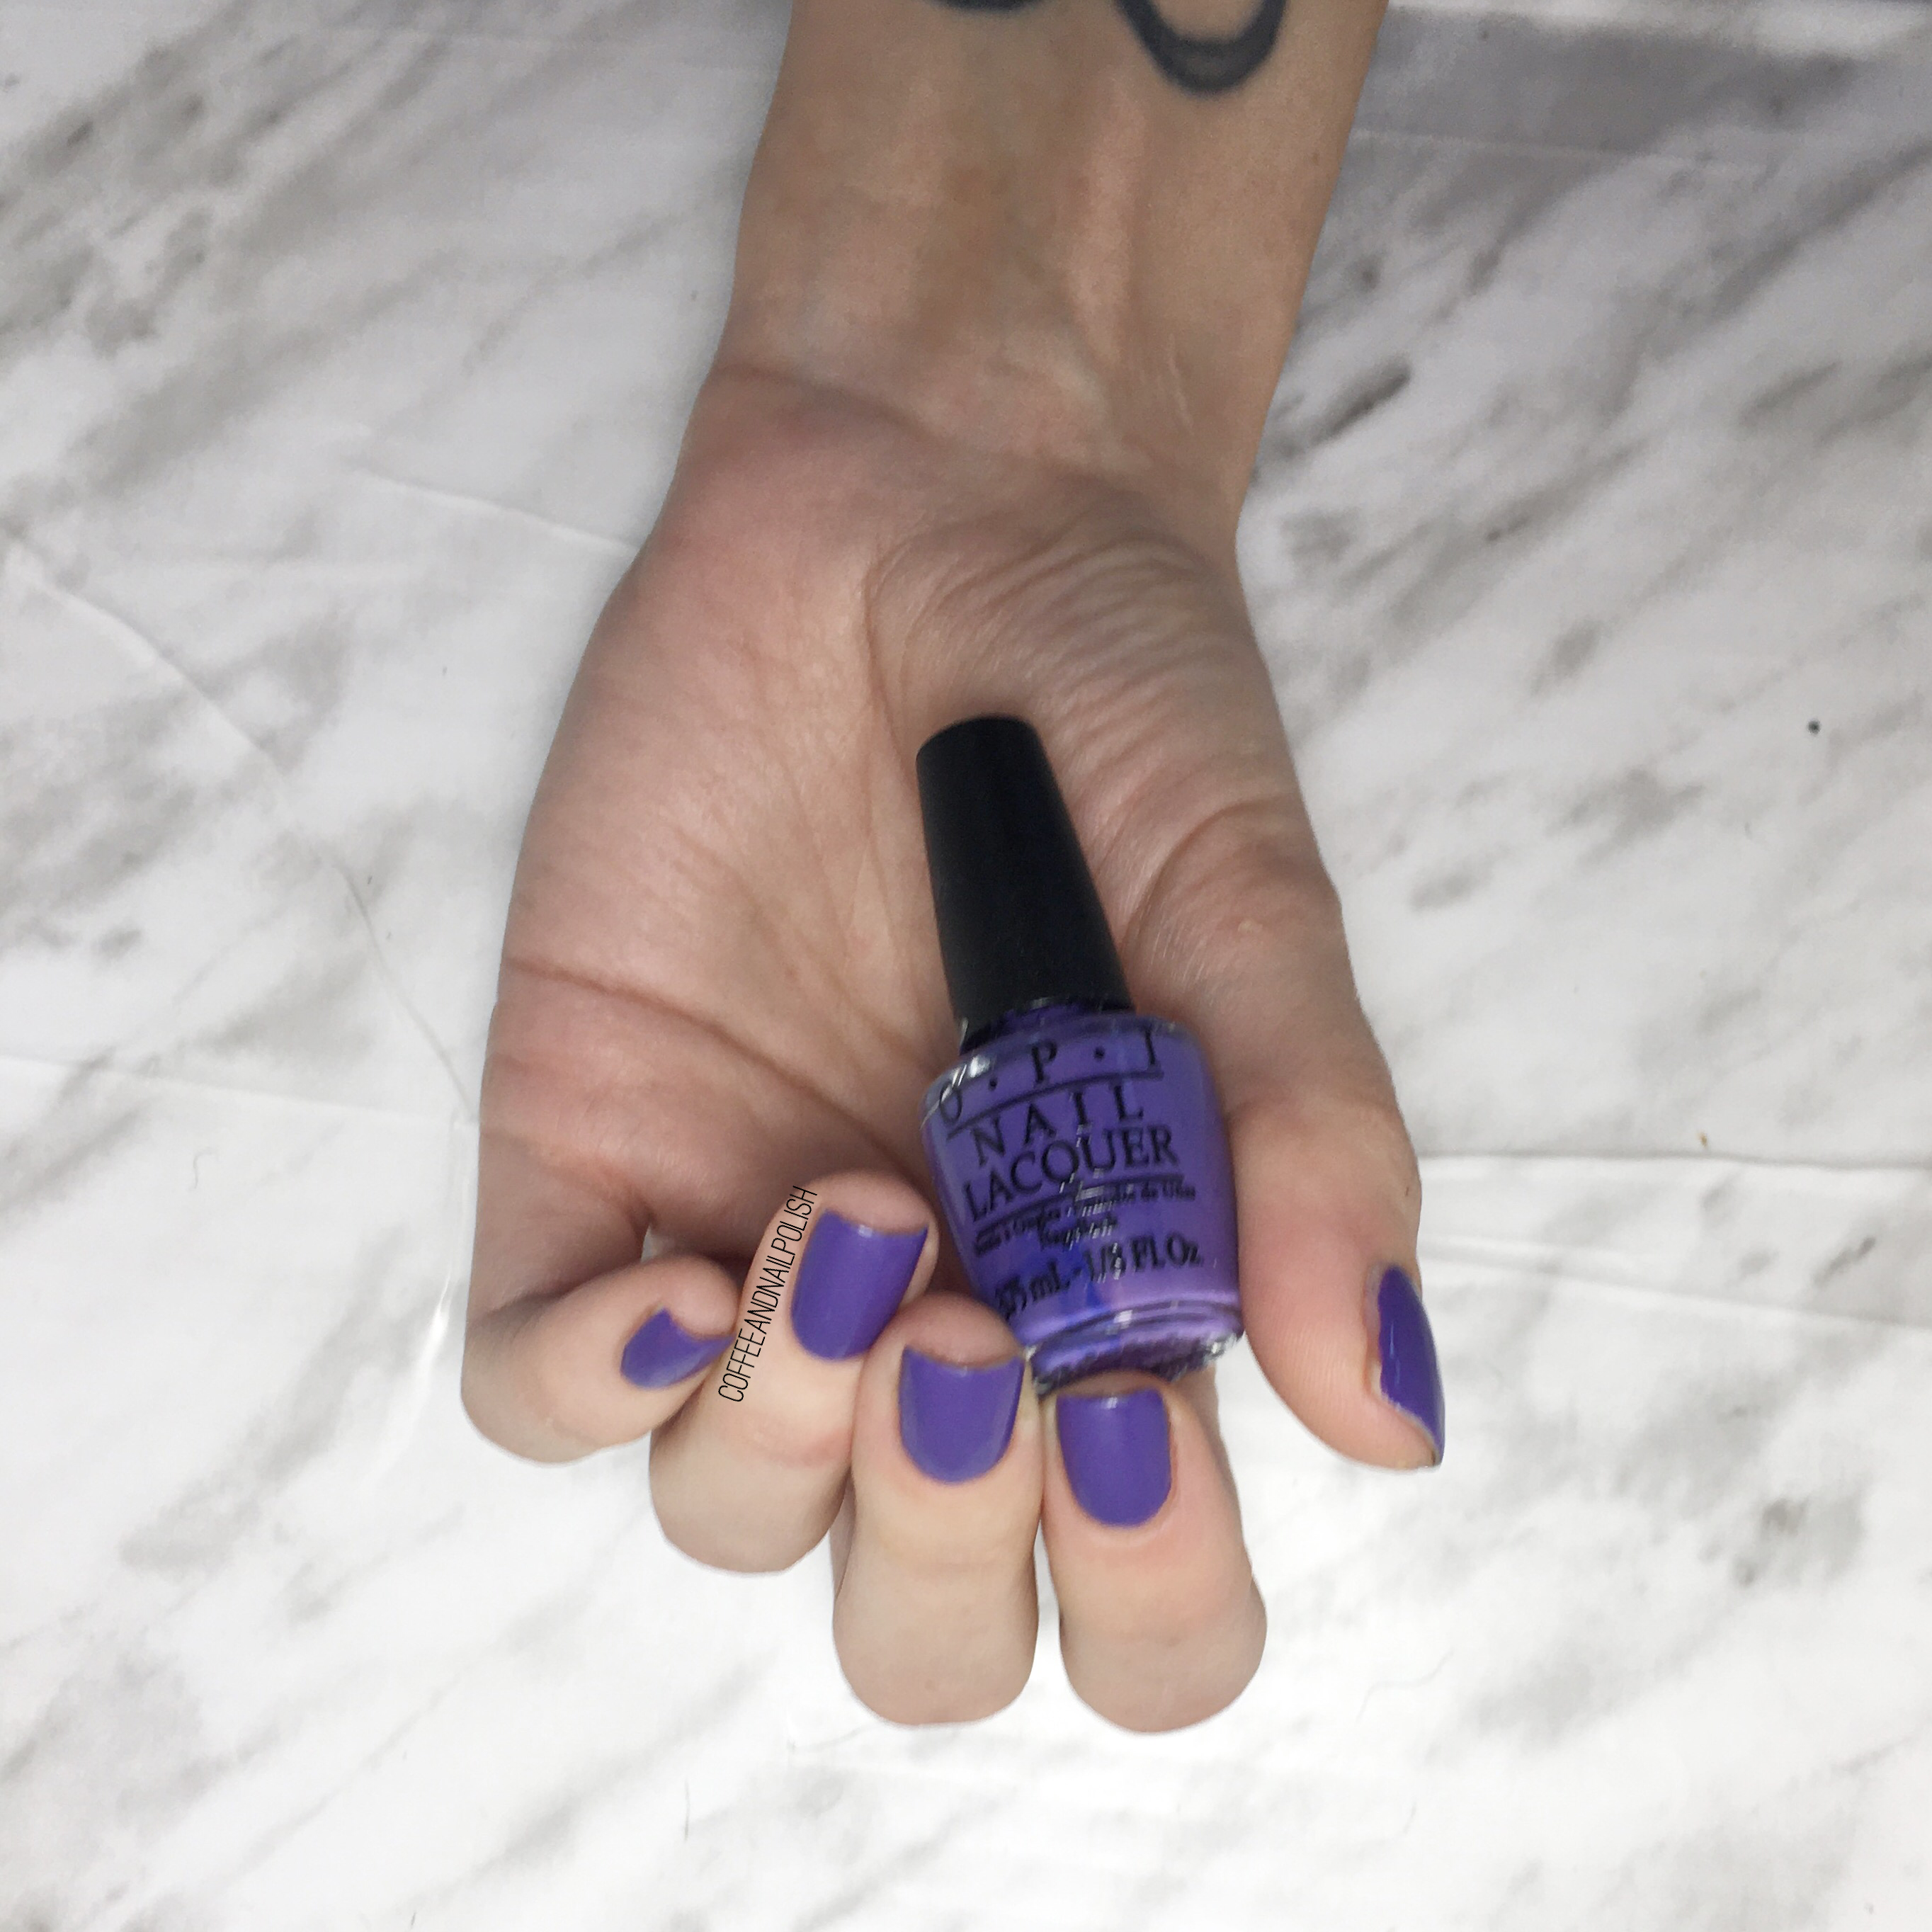
Oh man, I just have to say sorry about the cuticle/hand dryness. Even with a ton of hand cream & cuticle oil I am hurting. But never the less my nails look pretty, & that’s what is most important — right? Unless of course you have some suggestions to help the dry hand situation, because I am always open to suggestions.
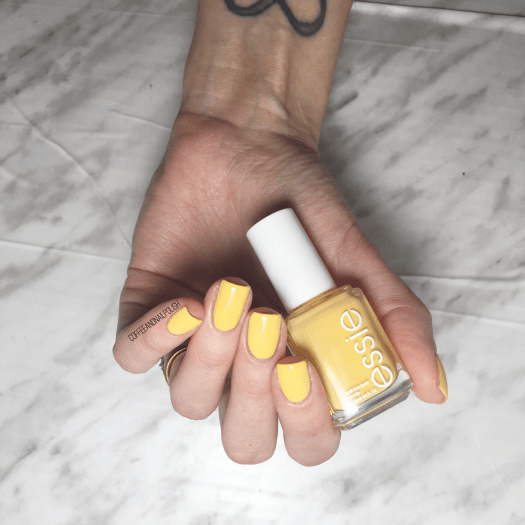
What do you think about Check Your Baggage from Essie? Do you have this beautiful yellow in your collection? Let me know what you think down in the comments below!


