Leopard Print Day Two–changing things up a bit.

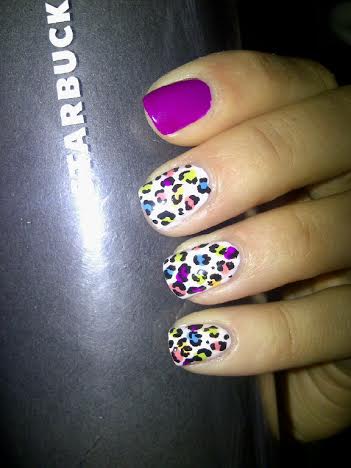
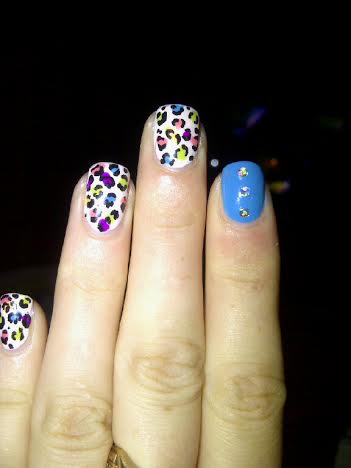
So technically this isn’t new nail art. I was so in love with my leopard print nails from yesterday, I couldn’t take them off. However, my purple color chipped badly at work so I needed to change them up somewhat to pull off day 2 nails. I don’t often wear my manicures for more than a day, mostly because I chip them so badly at work on a regular basis. But I just couldn’t take off the leopard print–I am so proud of how great they look, I had to give them at least another day of work. So what could I do to chance this manicure up a little bit?

day2

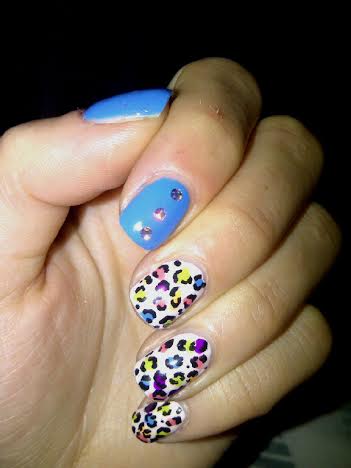
After grabbing my blue Kosmic Colours nail polish, and painting on the color I still wanted to do something fun. I picked up OPI’s I Snow You Love Me at Chatters for a sweet deal a couple weeks ago, and read online about how awesome it was for a glitter placement manicure. I’ve never done glitter placement on my nails, but I really wanted to try.

day2b day2c

It really wasn’t as hard as I thought it would be. All it took was a steady hand and my dotting tool. The blue wasn’t completely dry when I started so the glitters kind of sunk into the color a little bit, but it still turned out neat. Like little diamonds on my nails. I’ve been really wanted to try out studs and such on my nails as I see them on so many awesome manicures on my favorite nail art blogs, but I haven’t had a chance yet. These little glitters definitely gave me a taste of how pretty it can look though!

day2d

day2e

So how do you save a manicure you really love? How long do you tend to keep your manicures on your nails?

Then and Now: Multi-colored Leopard print.

Finally! Some nail art.

I’ve been feeling so uninspired with my nails lately. I will start something, get half way through, and then hate it and give up and have to start over. It’s so frustrating. =( I turned to my previous manicures for this one. One of the very first manicures I did when I got a dotting tool was a multi colored leopard print manicure. I remember being so proud of this, especially when I got a “Did you do those yourself?” Comment.

multicoloredleopardprint

So I decided I wanted to recreate that manicure. (Although, I used different colors for this one haha.)

two

The polishes I used for this manicure were:

  • Sinful Colors Dream On — purple.
  • Sinful Colors Easy Going — off white.
  • Kozmic Colours — blue.
  • China Glaze Metro Pollen-tin — yellow.
  • Pure Ice Wild Thing — green.
  • Sinful Colors Island Coral — coral.
  • Cherimoya Black
  • Nutra Nail Speed Dry Top Coat.

three one

four five


Can I use say proud I am of how these turned out! I haven’t done a leopard print in quite a while, but after a lot of practice I’ve realized smaller spots look much better than bigger blobs. And I think these nails turned out perfectly. Also I tried to take a picture doing that awkward claw hand pose (how did I think that looked good?) but It was the most awkward position ever! Also check out the state of my nails! They look so much better now! Not just because my technique has improved, but they are just such a better shape!


So what do you think of these multi-colored leopard print nails?

I’m feeling tropical… print nails.

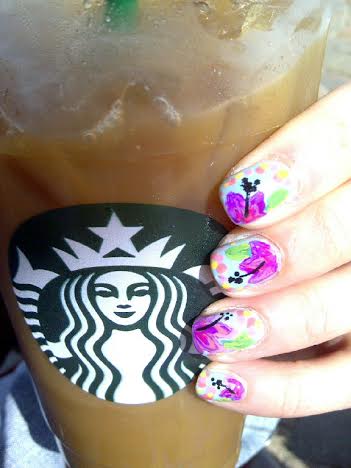
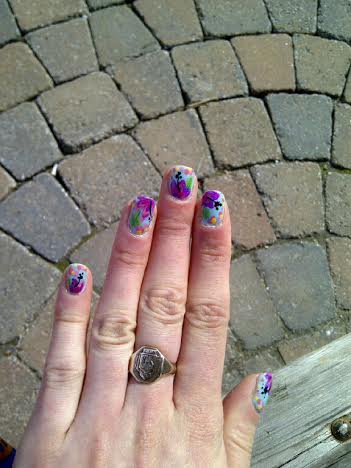
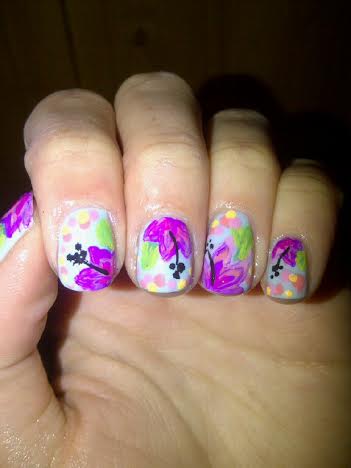
I’ve been feeling floral a lot lately, so I wanted to try something different. At work, we’ve been getting in so much tropical floral print so I was inspired to try mimicking something tropical on my nails.

2

3 1

The (many) polishes I used for this manicure were:

  • Sinful Colors Cinderella — blue base color. (I also layered it over a coat of Sinful Colors Be Happy because damn… it’s sheer.)
  • Sinful Colors Dream On — flower color.
  • Sinful Colors Coral Reef — flower color & polka dots.
  • ACO by Ardene Ardene’s Secret — flower color.
  • ACO by Ardene Kissed by a Rose — flower color & polka dots.
  • Sinful Colors Strapped — leaves.
  • Pure Ice Wild Thing — leaves.
  • ACO by Ardene Green Peace — leaves.
  • China Glaze Metro Pollen-tin — dots.
  • Stripe Rite Striping Polish in black — flower stem.
  • Nutra Nail Speed Dry top coat with green tea.


So what do you think of these tropical floral nails? I think the flower on my ring finger turned out best.

Also is anyone else as excited about iced coffee season as I am?

Freehand, and sort of abstract, chevrons/zigzags.

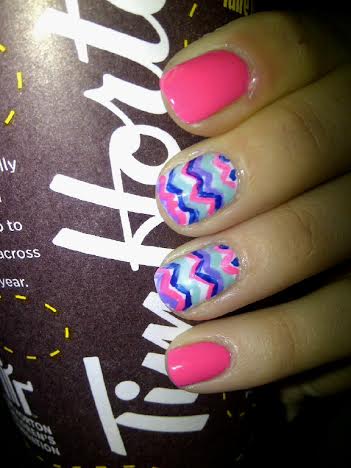
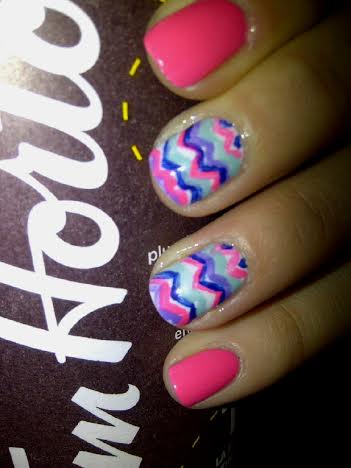
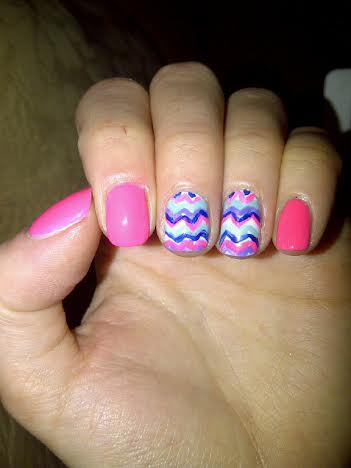
After my successful chevron moon manicure last week, I wanted to try another chevron manicure as I haven’t done very many in the past. I was inspired by this pin on Pinterest, and figured with my new small detail nail art brush, I could make a good attempt at freehand chevrons.

 1

Left hand.

6

Right hand.

The polishes I used for this manicure were:

  • OPI My Boyfriend Scales Walls.
  • ACO by Ardene Neon Pink.
  • Maybelline Sapphire Siren.
  • Sinful Colors Be Happy.
  • China Glaze What a Pansy.
  • Nutra Nail Speed Dry Top Coat.

I’m calling these abstract because… well… they’re not the cleanest lines. Surprisingly, my right hand turned out better than my left, which is funny because it was done using my none dominant hand! Never the less, I’m proud of how they look! When I first started doing nail art, I never would have been able to create something like this without it turning into a big blobby mess. It’s nice to remember that on days when I see others nail art and feel envious that I’m not that good… all it takes is lots practice.

2 3

5

Seeing these, I feel so proud of being able to create these freehand. For real first attempt, I think I did pretty good. And the colors just look so great together! This is also giving me an urge to do a “then and now” nail art post, just to show myself how far I’ve come from my first days of doing my nails, to now. It would be fun to recreate my first nail art attempts, just for a personal comparison. Maybe that’s what I’ll dedicate next week to. =)


A Peek into My Stash — Part Two.

Today I have for you the second part of my stash posts. After this, I’ll only have one more drawer of my five to photograph. Even though it’s been a bit of work taking pictures of everything, and writing them down, I’m really glad that I have. Now, whenever I’m feeling nail art, I’ll know exactly what polishes I have to work with!
And now onto the polishes…

Continue reading “A Peek into My Stash — Part Two.”