SWATCH SUNDAY — China Glaze Slay Bells Ring (Holiday 2017 The Glam Finale Collection)

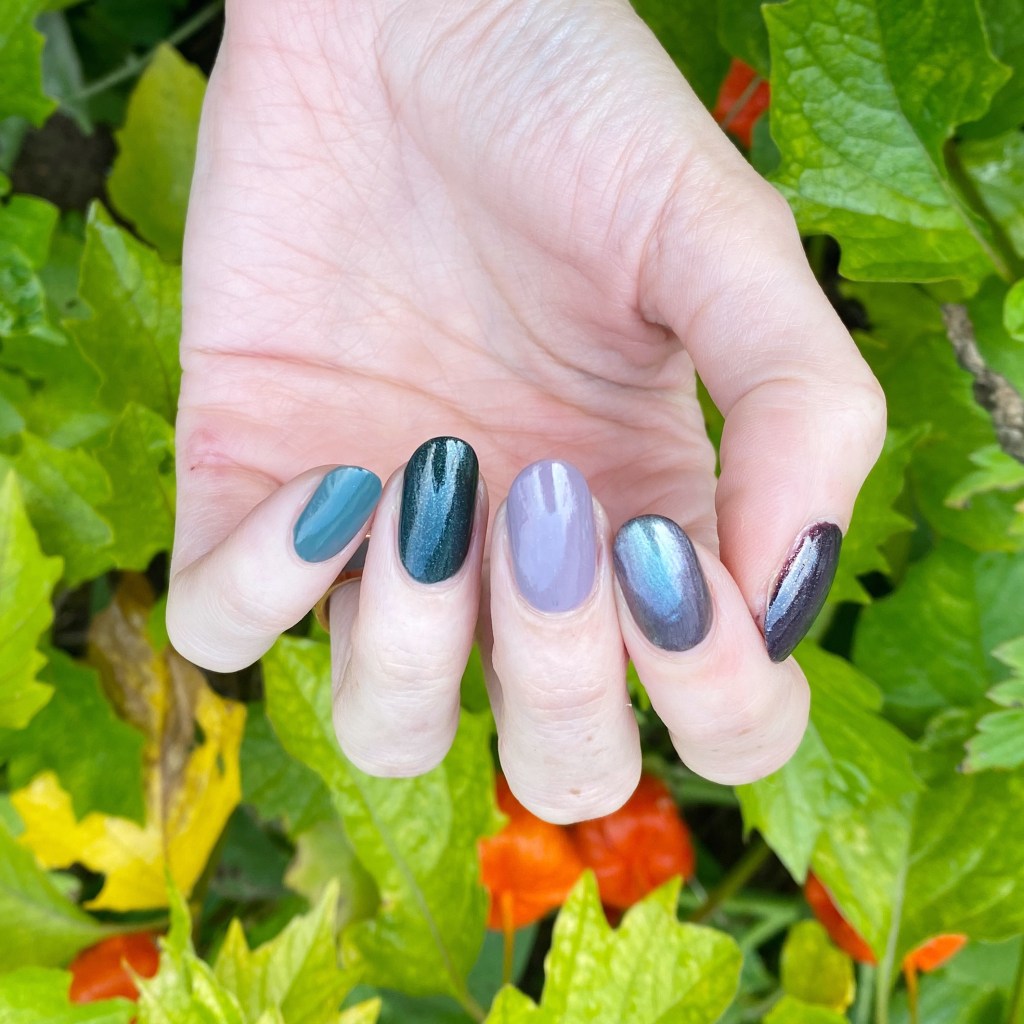
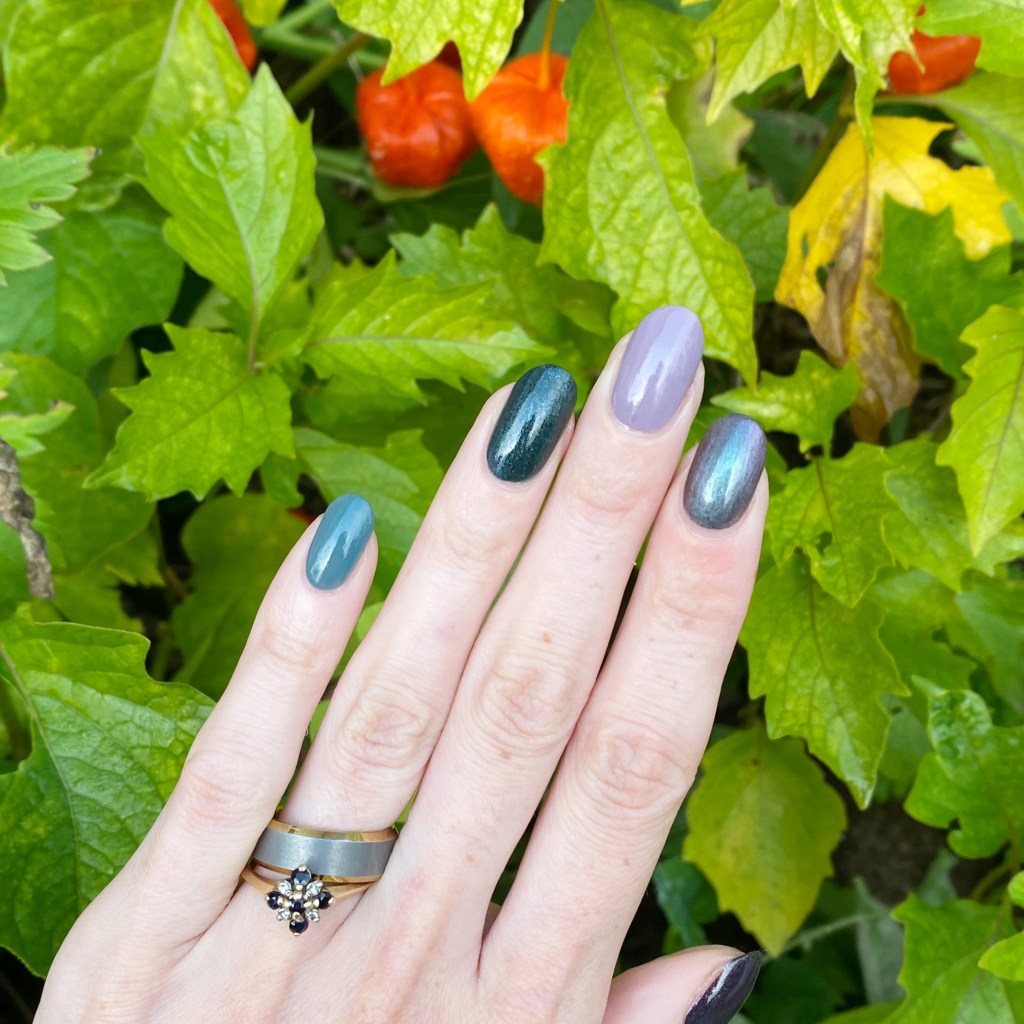
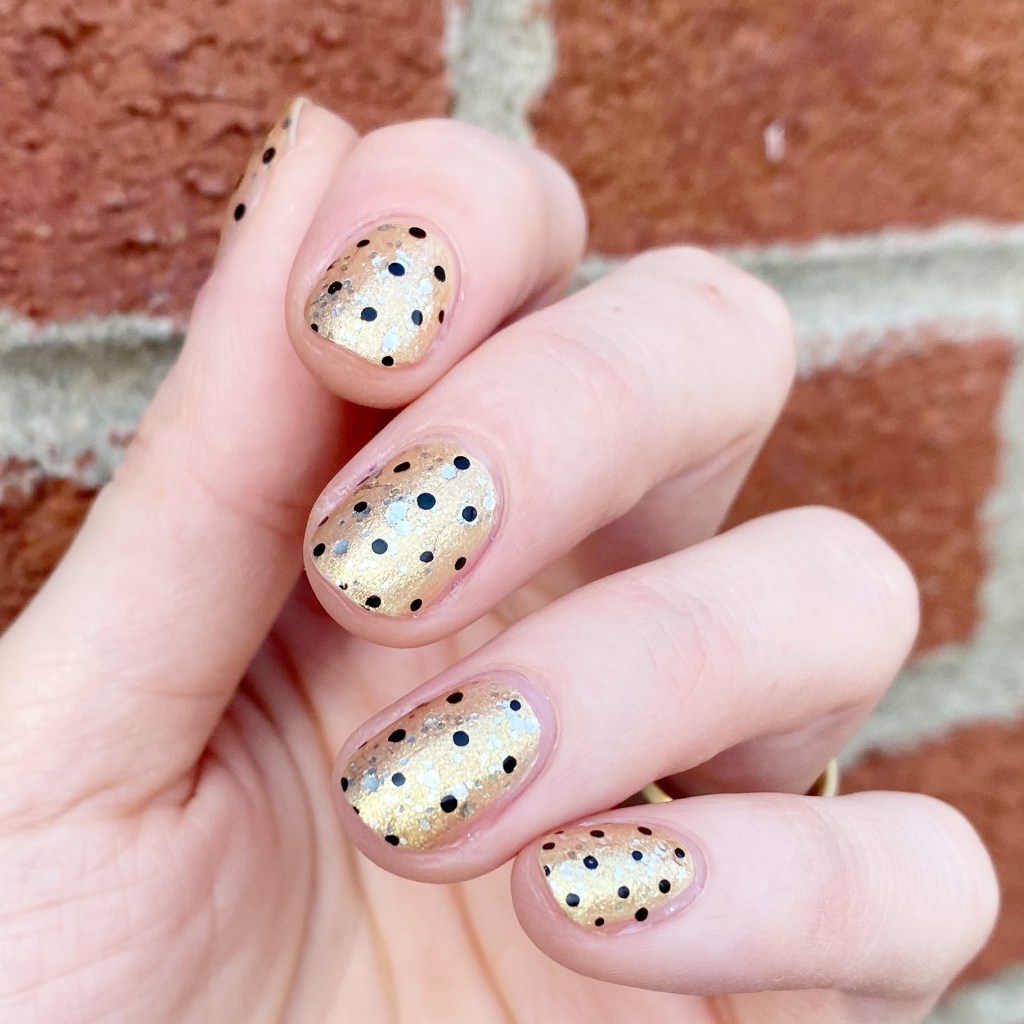
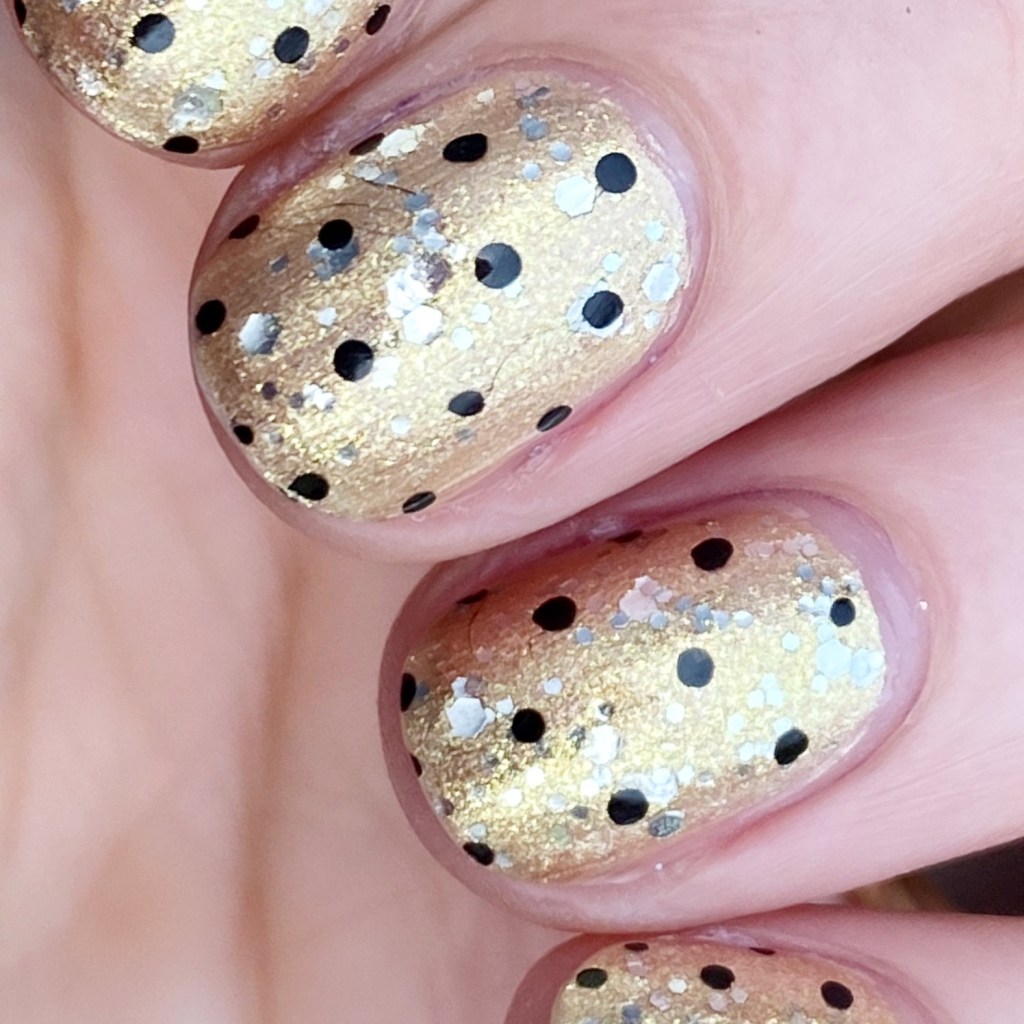
Hello lovelies & happy Sunday! The last Sunday before Christmas! I can’t believe we just blinked & December (& 2024) is basically over. It’s kind of crazy the way this year has just sped by. This year has been… a lot. But I have a good feeling about what 2025 is going to hold.

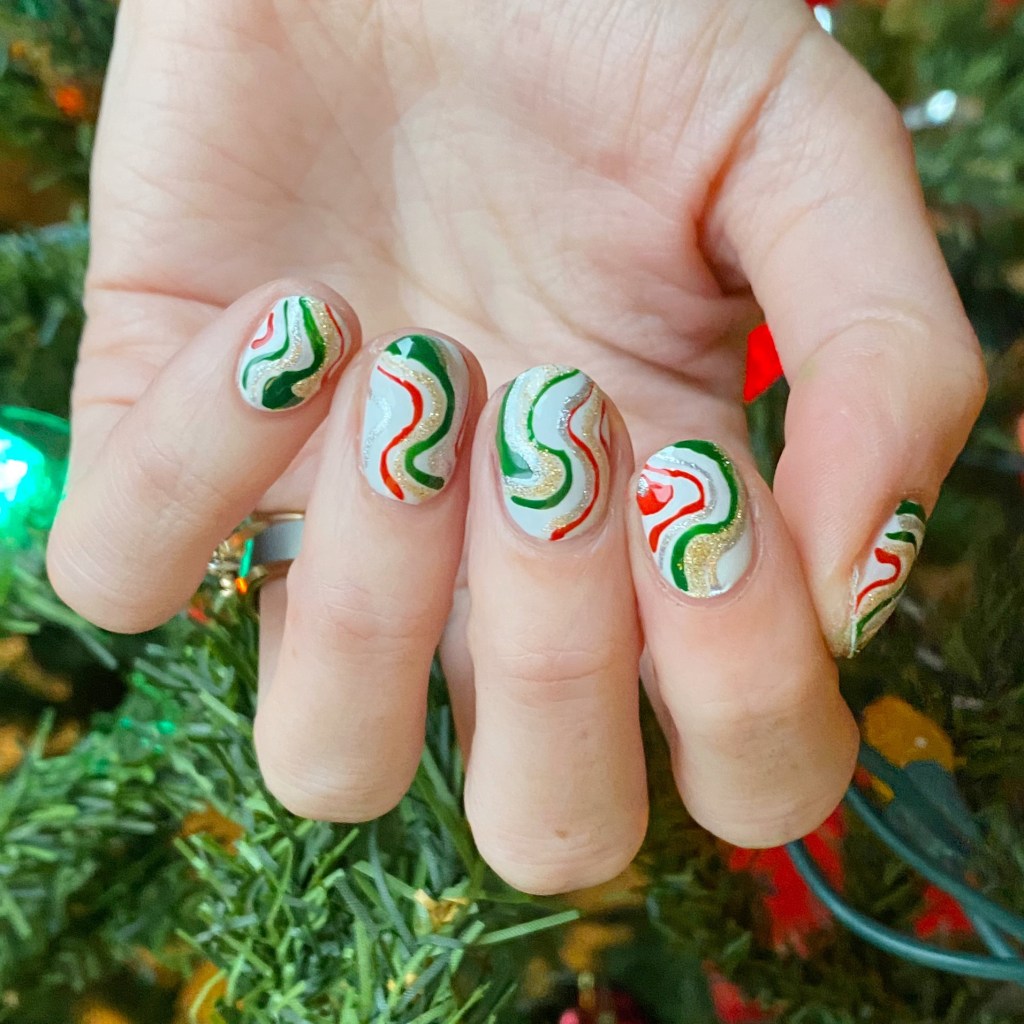
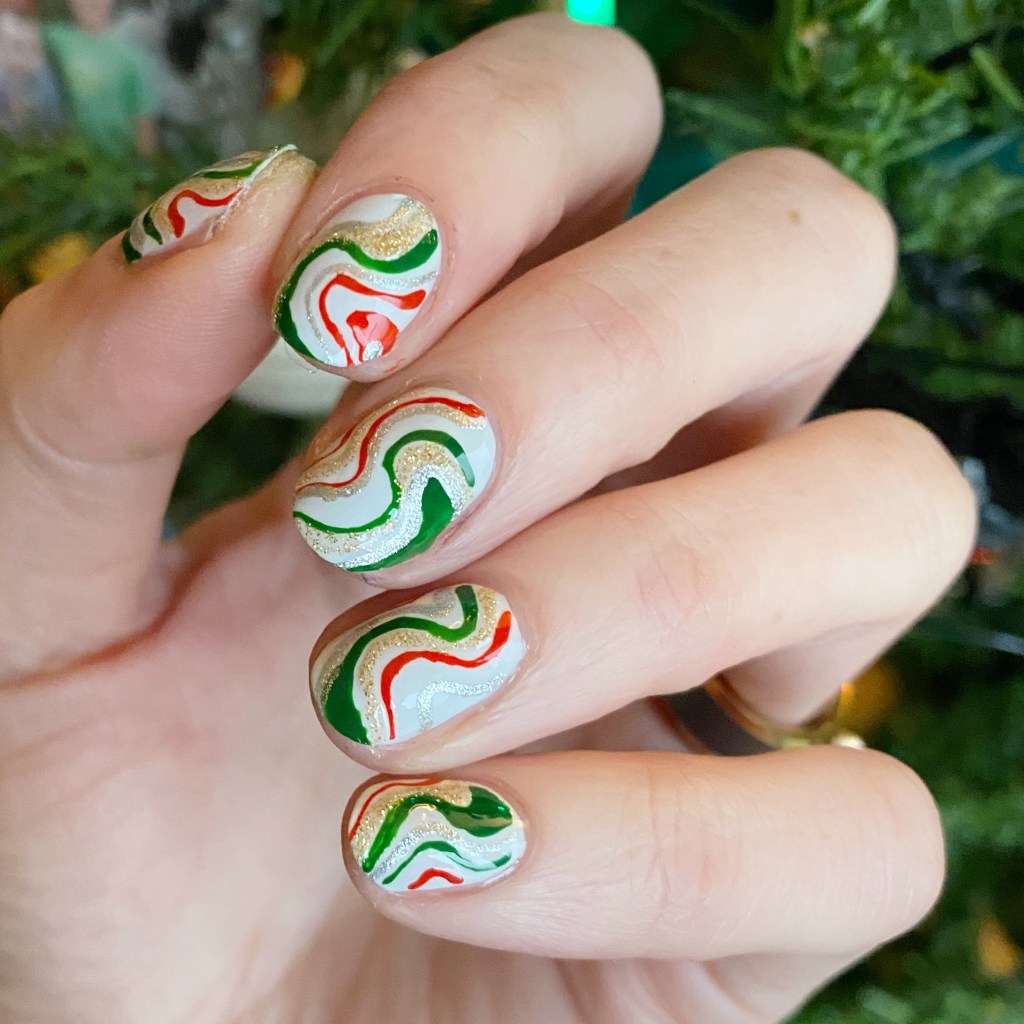
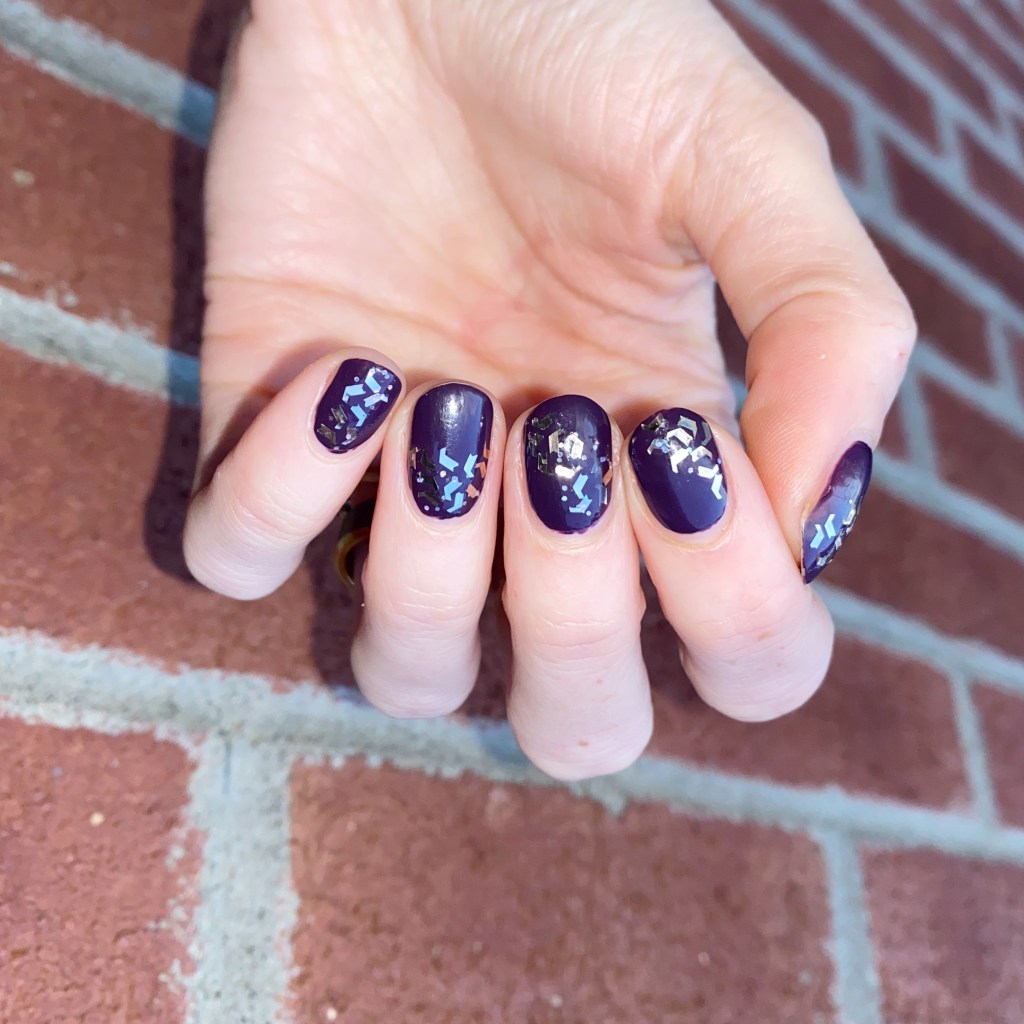
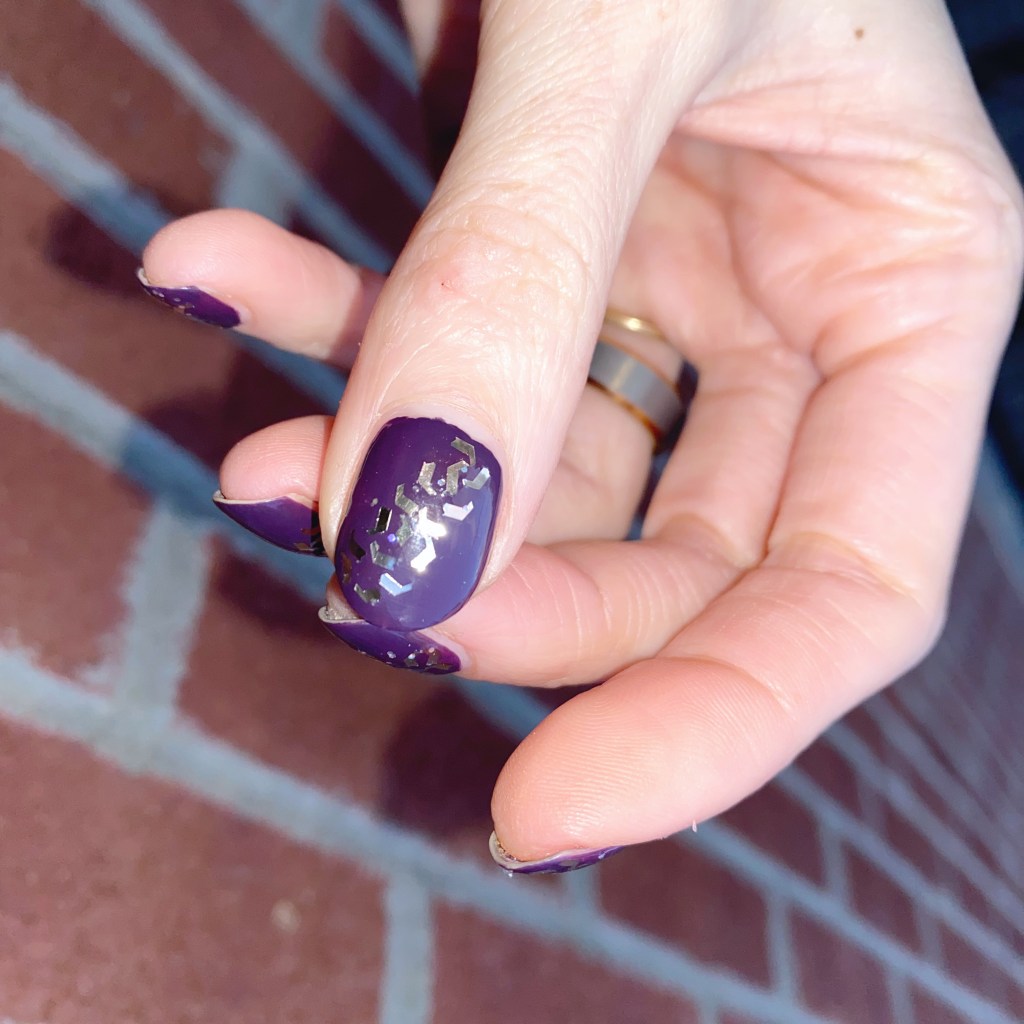
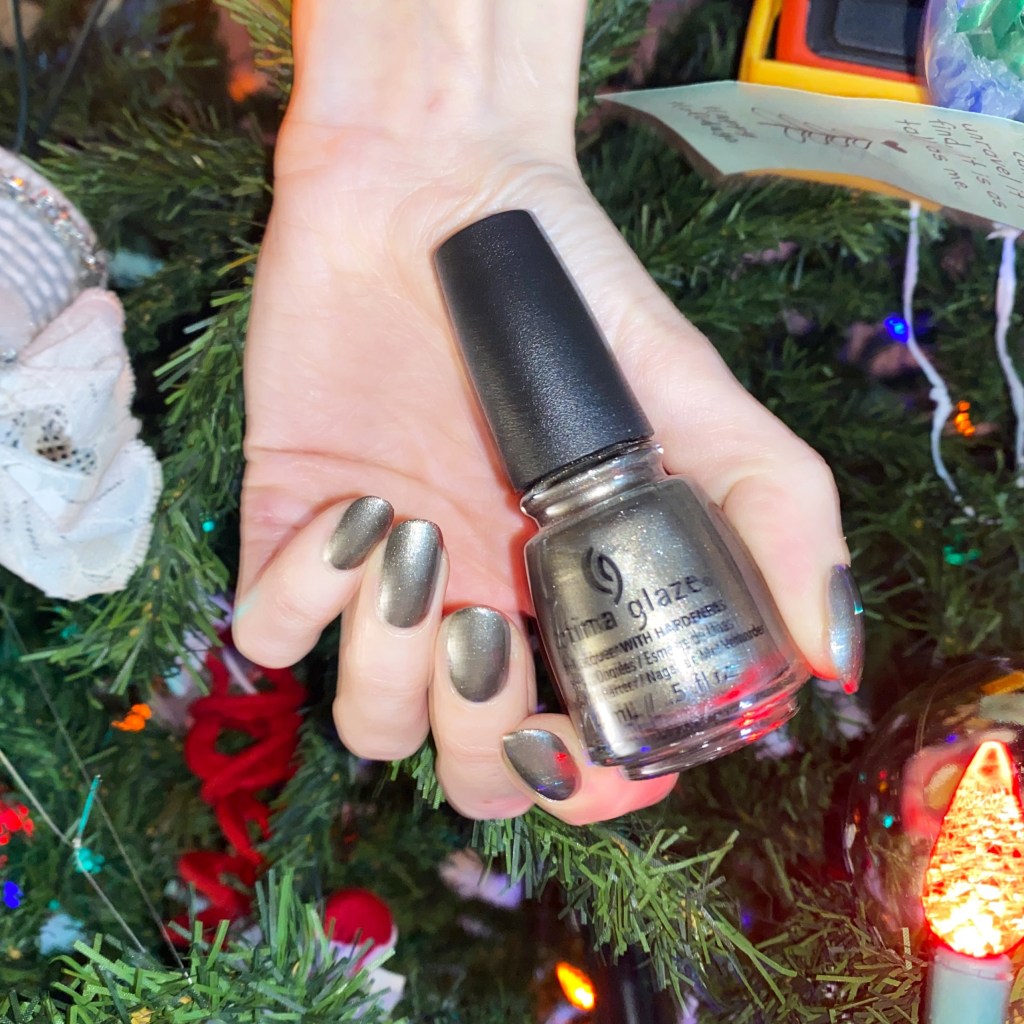
Today I pulled a Christmas shade from way back in 2017. I got this beauty as part of a two-setter at Winners (or Marshall’s) for like $5, I think. So I’m excited to share, because it’s not usually a shade I would grab for the Holidays. This is China Glaze Slay Bells Ring.

3 coats (probably only needed 2….) + top coat

Slay Bells Ring is a beautiful dark gunmetal grey, which applied smoothly & with minimal streakiness. The formula was easy to apply, & dried quickly. I probably would have been fine with only 2 coats but I thought maybe a third would make it darker. It didn’t.

This colour is beautiful, but I think the reflective quality of it makes it so unique. I posed in front of my Christmas tree, & it very easy reflected the lights which made it so beautiful!

I could definitely see this being perfect for New Years Eve with some holographic glitter or flakies applied overtop. It would give Mirror Ball easily! (& now I’m getting ideas for my New Years Eve celebrations.)

What do you think about this shade Slay Bells Ring from China Glaze? I can’t believe I haven’t bought any Christmas/Holiday polishes this year (or asked for any from Santa). I don’t know if I’m just not feeling the Christmas spirit, or just underwhelmed by the polishes I’ve seen. Either way, I’m glad I still have lots of shades to wear from years past.

Happy Sunday!

🖤

Essie Fall Skittle 🌈🍁🍂

Hello lovelies & happy Monday! I hope everyone had a lovely weekend.

I’m feeling rested from having the whole weekend off work, & ready to take on another week. Now it’s time to ready for (Canadian) Thanksgiving next weekend! Maybe I’ll sneak in some kind of Thanksgiving themed nail design sometime this week.

Today, though I’m sharing a super easy Fall design with you all. It’s been a while since I rocked a skittle look, so I thought I would pull out a few Autumn-esque Essie polishes for a quick skittle look!

The polishes I used for this manicure are: 

  • Base Coat: Essie First Base 
  • Base Coat: LA Colors Mega Grow Treatment 
  • Top Coat: Essie Speed Setter
  • Essie Frock n Roll (thumb)
  • Essie For The Twill of It (pointer)
  • Essie Cross Body Heat (middle)
  • Essie Back in the Saddle (ring finger)
  • Essie Vested Interest (pinky finger)

How well do these shades pair together? I always find that’s my struggle when I’m trying to create a skittle look, is finding the shades that look best together. I think this collection of shades really flatter, & I love it. The colours are slightly muted, with a few bits of shimmer thrown in. I’m actually obsessed with how well they go together!

What do you think of this Essie Fall Skittle look? It’s like an Autumn rainbow!

Let me know all your thoughts down in the comments below, & I hope everyone had a lovely start to their week.

♥︎

Christmas Ribbon Candy Swirls

Hello beauties & happy Friday! It’s almost the weekend, & not just any weekend, but Christmas weekend! That’s insane but exciting. I had to keep my holiday inspired nail art going with some more abstract nail art.

The first thing this design made me think of after I did it was the Ribbon Hard Candy you get around Christmas. I’m sure you know the stuff, but if not it’s this stuff.

The polishes I used for this manicure are: 

  • Base Coat: China Glaze Calcium Gel Fortifer
  • Top Coat: Essie Speed Setter
  • OPI I Cannoli Wear OPI
  • OPI Unfrost My Heart
  • Sally Hansen Miracle Gel 5 Golden Blings
  • Red & Green Acrylic Paint
  • 16mm Striper Brush from Nailstuff.ca

I decided to use a combination of acrylic paint & nail polish for this design to make it a bit easier for me. Sometimes, I find when I’m doing bigger stripes, my polish starts drying a bit too quickly, but you don’t have the same issue with acrylic paint.

I really, really like how these stripes turned out. I know, I know — I say this every time. But I don’t think there is anything wrong with being proud about your nail art! For a long time, I was extra critical of my work, so I’m glad to enjoy what I do. & it is a little bit different from typical Christmas nail art.

What do you think about these ribbon candy inspired abstract swirls? Do you like the holiday vibes they are giving off? Would you wear these for any Christmas celebrations you’re partaking in this weekend? Let me know all your thoughts down in the comments below!

Happy Friday 🎄

Broken Mirror Glitter Placement

Hello lovelies & happy Wednesday! It’s already midweek, isn’t that crazy? I feel like it’s going to be New Year’s Eve before we even realize.

Today’s look is a favourite of mine, that I’ve repeated a few times over the years, but never gets old to me. I love a good shattered glass glitter look, & so naturally when I painted my nails with this beautiful dark purple, I knew I wanted to add something glitter placement. I decided to grab a glitter I haven’t used in forever, & I’m glad I did because they turned out perfect!

The polishes I used for this manicure are: 

  • Base Coat: Sally Hansen Miracle Gel Colour Grip Primer Base Coat 
  • Top Coat: Seche Vive
  • Essie Kimono Over
  • OPI Infrared-y to Glow
  • Medium sized dotting tool (NailStuff.ca Dotting Tool Trio)

I tried to capture the little holo glitters that accompany Infared-y To Party, but for whatever reason my phone & my nails were not cooperating to really show it off. I thought this glitter was a nice alternative to the usual gold glitters I create this look with, & gives off more of a shattered mirror design because the glitters are silver.

I definitely do miss my bottle of Color Club Diamond Drops as it was perfect for this kind of design thanks to the holographic shards of glitter. I anyone knows a similar glitter topper, let me know, because I really need to expand my glitter collection for these kinds of looks!

What do you think of this broken glass/mirror design? Have you ever tried one of these designs before? If not, I definitely recommend giving it a try! It’s a bit time consuming, obviously, but other than that it’s super easy to do & is such a fun effect! I guarantee you’ll get lots of comments & compliments on your nails too!

Happy Wednesday ♥︎

New Years Eve Golden Dotticure ✨

Hello Beauties & happy New Years Eve! I told you I would sneak in one more manicure before the year was over. Obviously, it being New Years Eve, I needed to give it my all, & decided to go with gold, silver & black for the full effect.

I also didn’t want to go too crazy because I am still exhausted from working through Christmas, & honestly by 10pm I’m just wrecked. So I decided to go with a classic dotticure… but with a NYE twist.

The polishes I used for this manicure are: 

  • Base Coat: Essie Hard To Resist Glow & Shine 
  • Top Coat: Seche Vite Fast Dry Top Coat
  • OPI Rolling in Cashmere
  • Essie Hors d’Oeuvres
  • Starrily Vantablack
  • Dotting tool (I always use mine from NailStuff.ca — Dotting Tool Trio)

I like how I flipped the colours I would usually do. Normally, I would go with black (or another darker colour) as my base, & use the lighter colours as my dots. But I thought I needed more gold & silver, so I decided to use it as my base instead, & use black as my accent… & I love how it turned out! Very glam, with a hint of glitter. Perfect for New Years Eve celebrations, both over the top, & simple.

I just wanted to say THANK YOU to everyone who has visited this blog, liked my designs, & especially commented this last year! You make it worth it to keep posting, & make me excited to keep posting — especially as other social media changes so much! 2022 was a fantastic year for me, albeit challenging & full of change, but this blog was my happy place to come to, & I’m very excited to see what 2023 has in store!

Have a happy New Year Lovelies! Wishing everyone peace, calm, & joy.

♥︎