Hello lovelies & happy Wednesday! It’s another chilly wet Winter day, & the January vibes are just not it. Have I mentioned I’m not a fan of Winter?
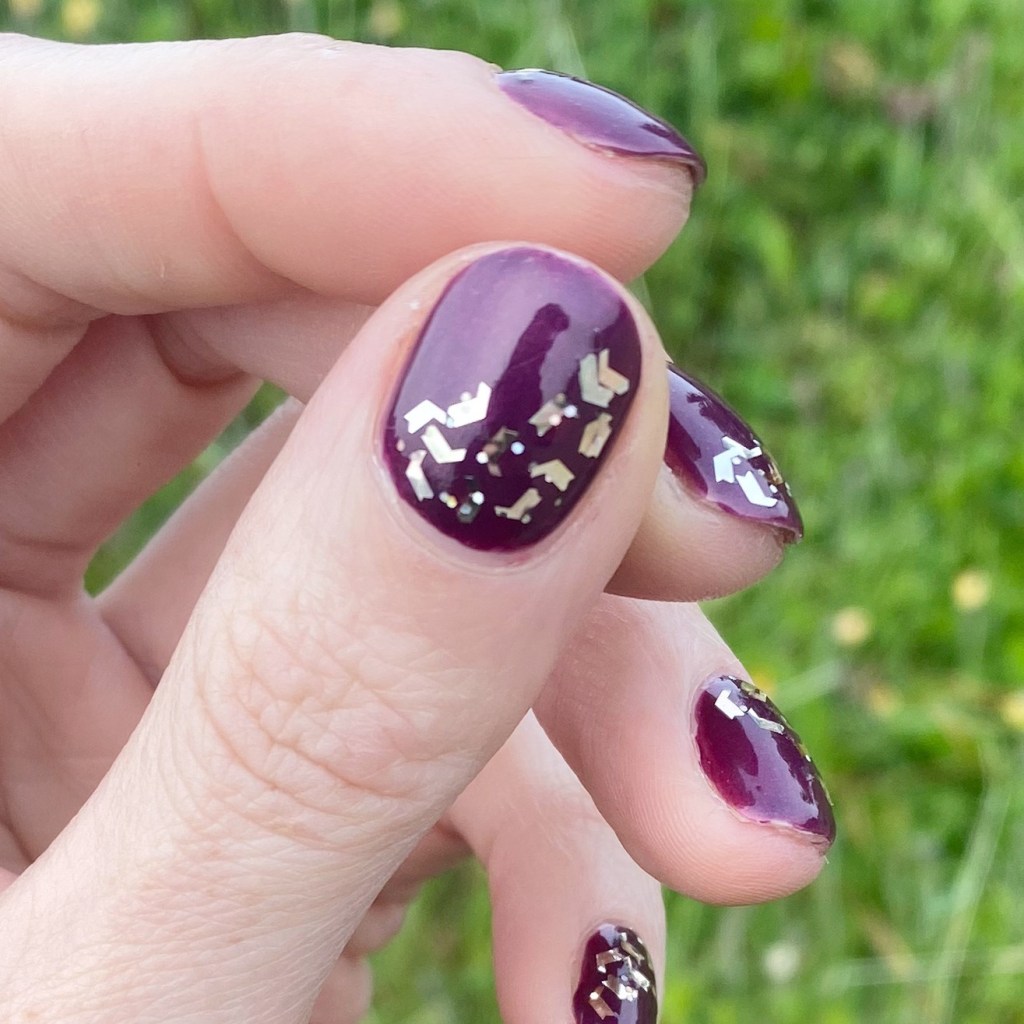
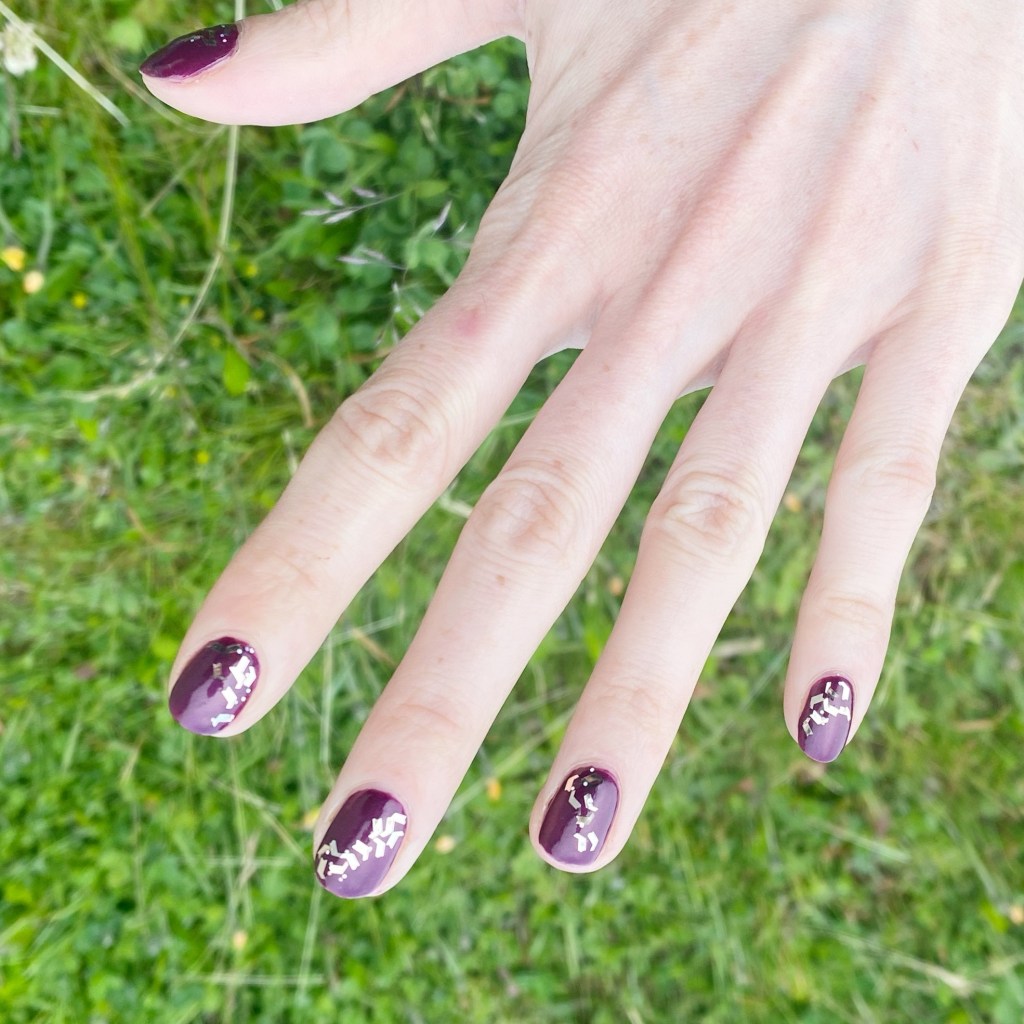
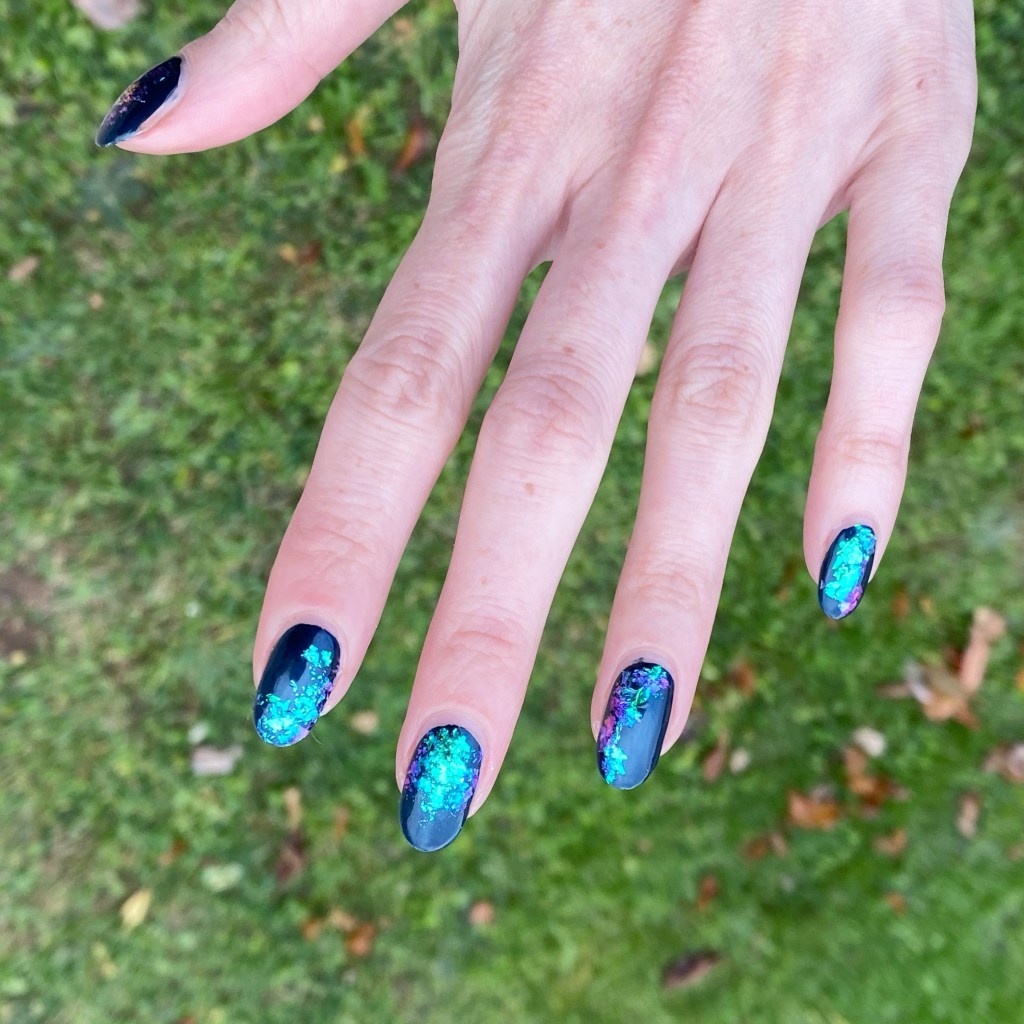
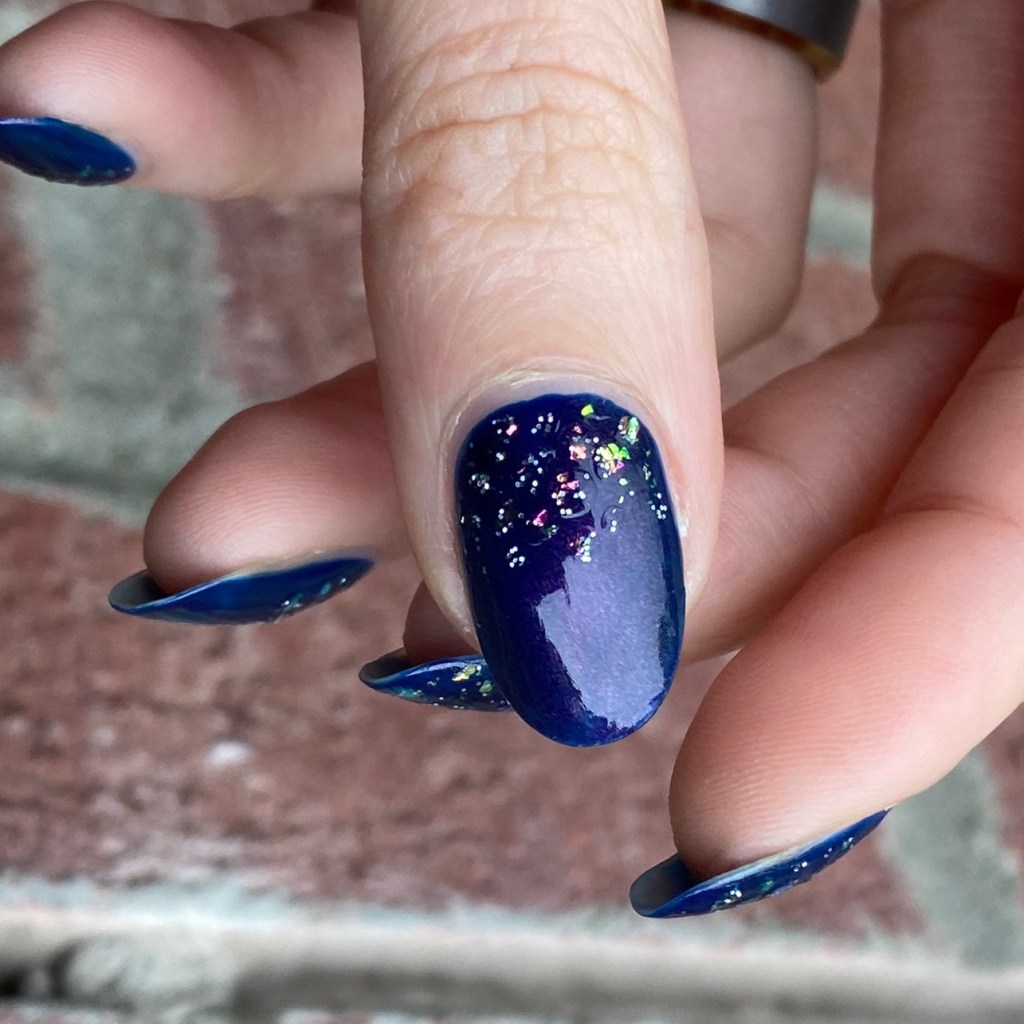
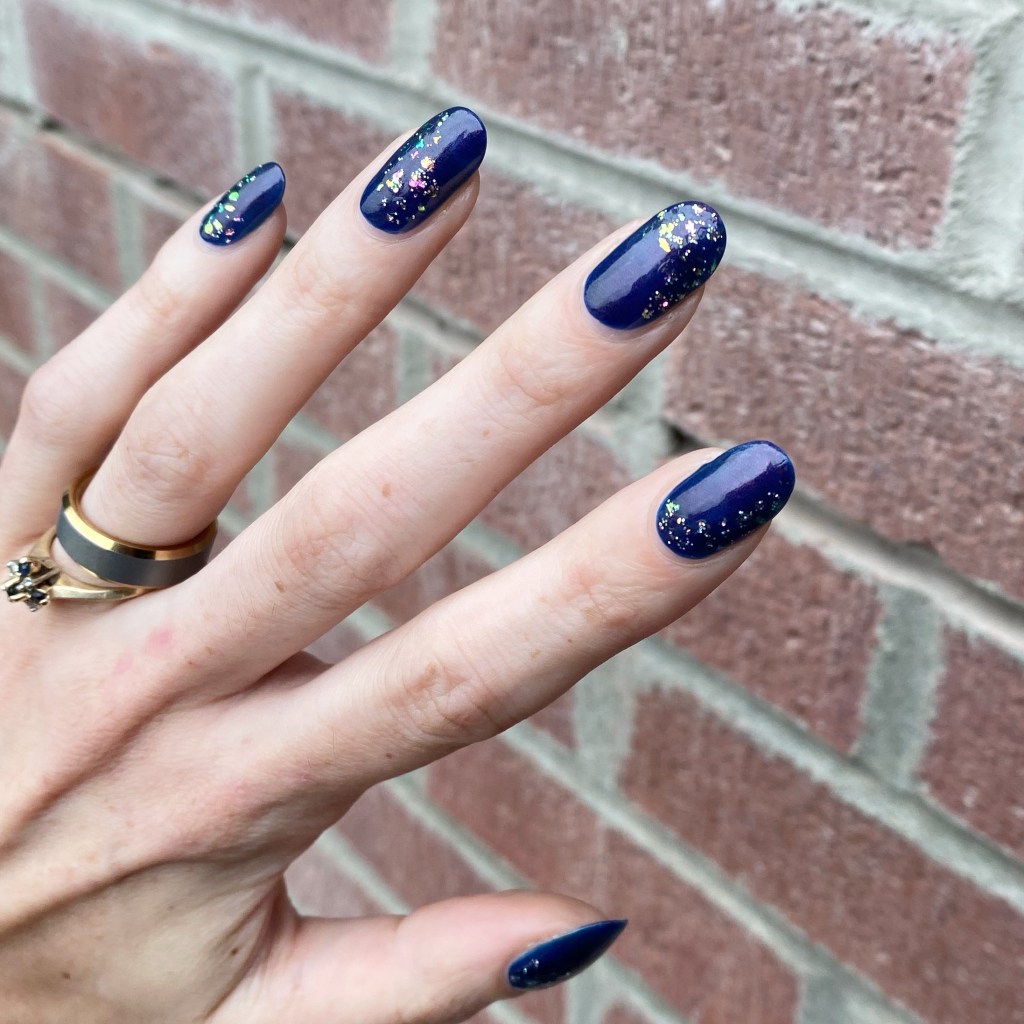
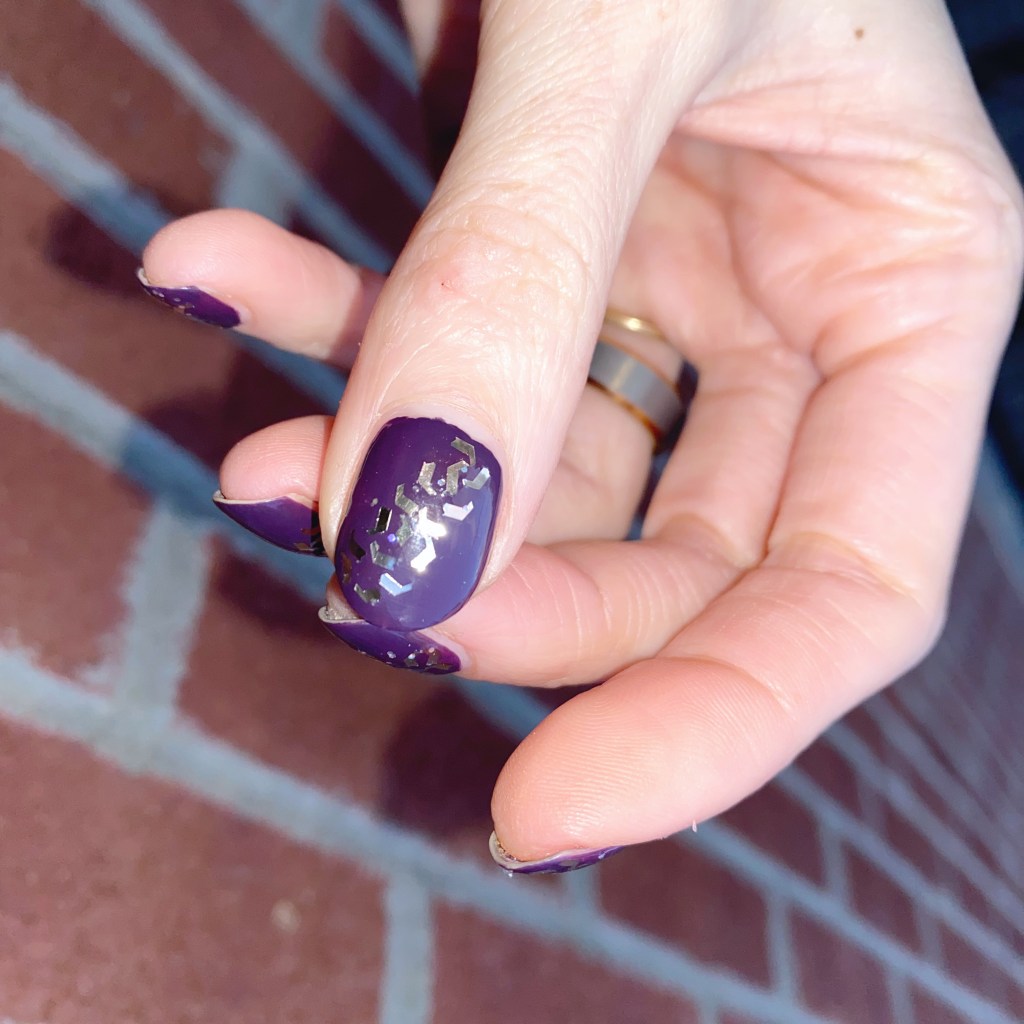
But I have just the thing to cheer myself up… new (sparkly) nails! There is nothing that I love more than some sparkle when I’m feeling down, & I recently pulled out a glitter topper I had almost forgotten I owed. The end result was another perfect glitter placement design.
I’m never going to get tired of these!
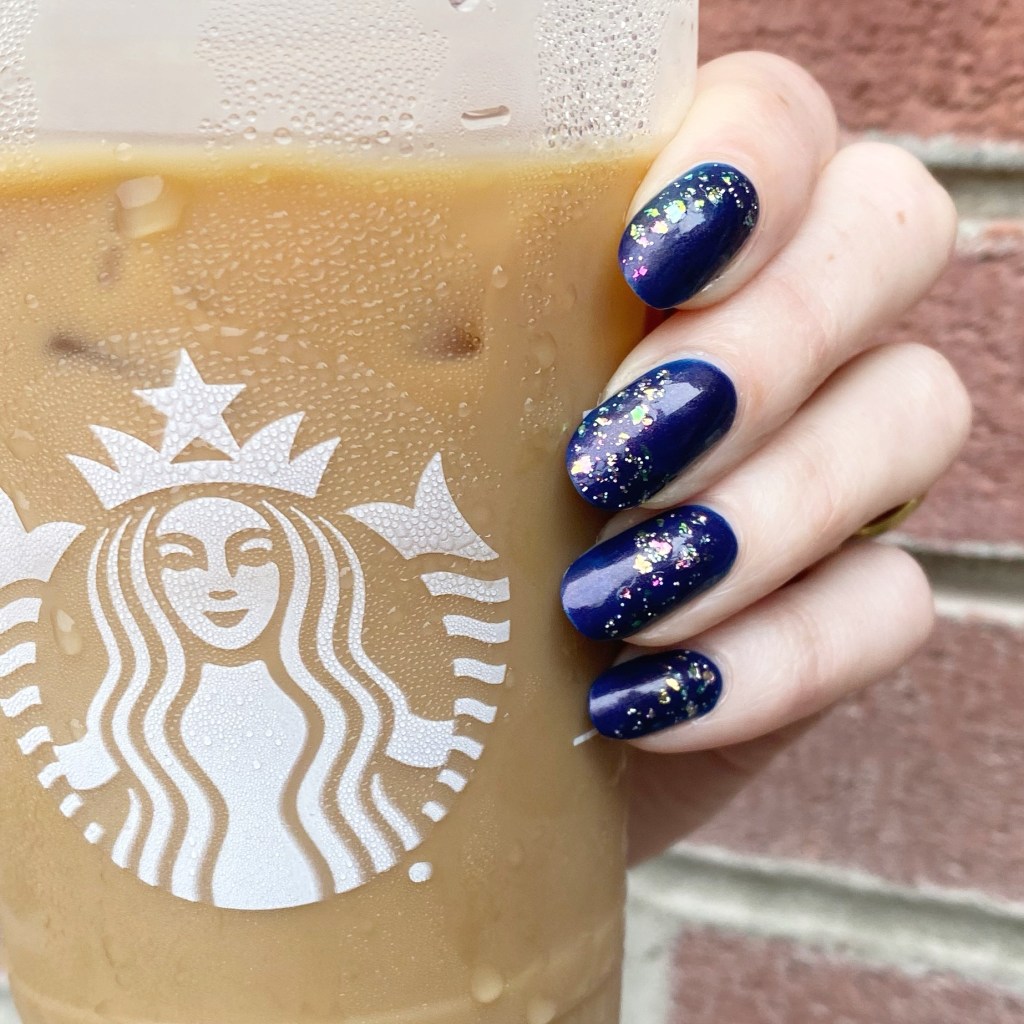
The polishes I used for this manicure are:
- Base Coat: Sally Hansen Miracle Cure
- Top Coat: Seche Vive Gel Like Top Coat
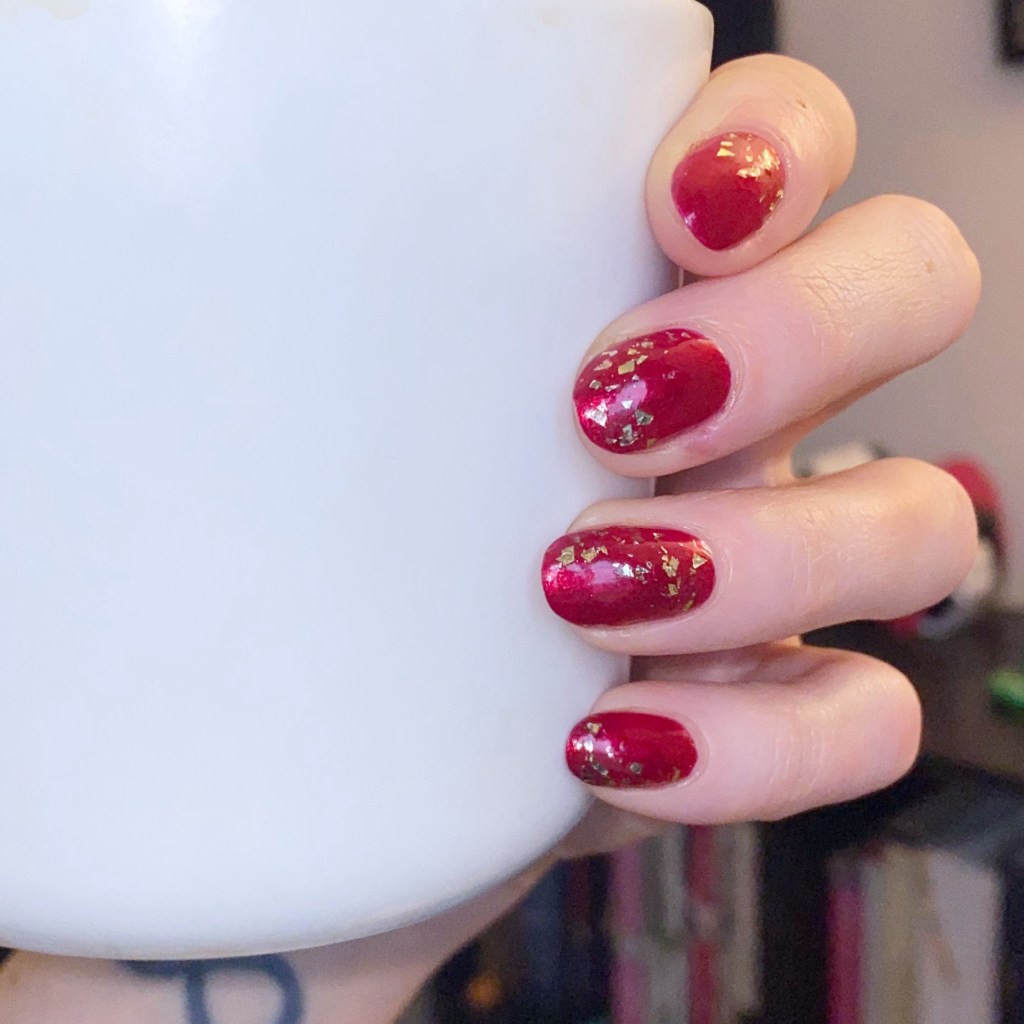
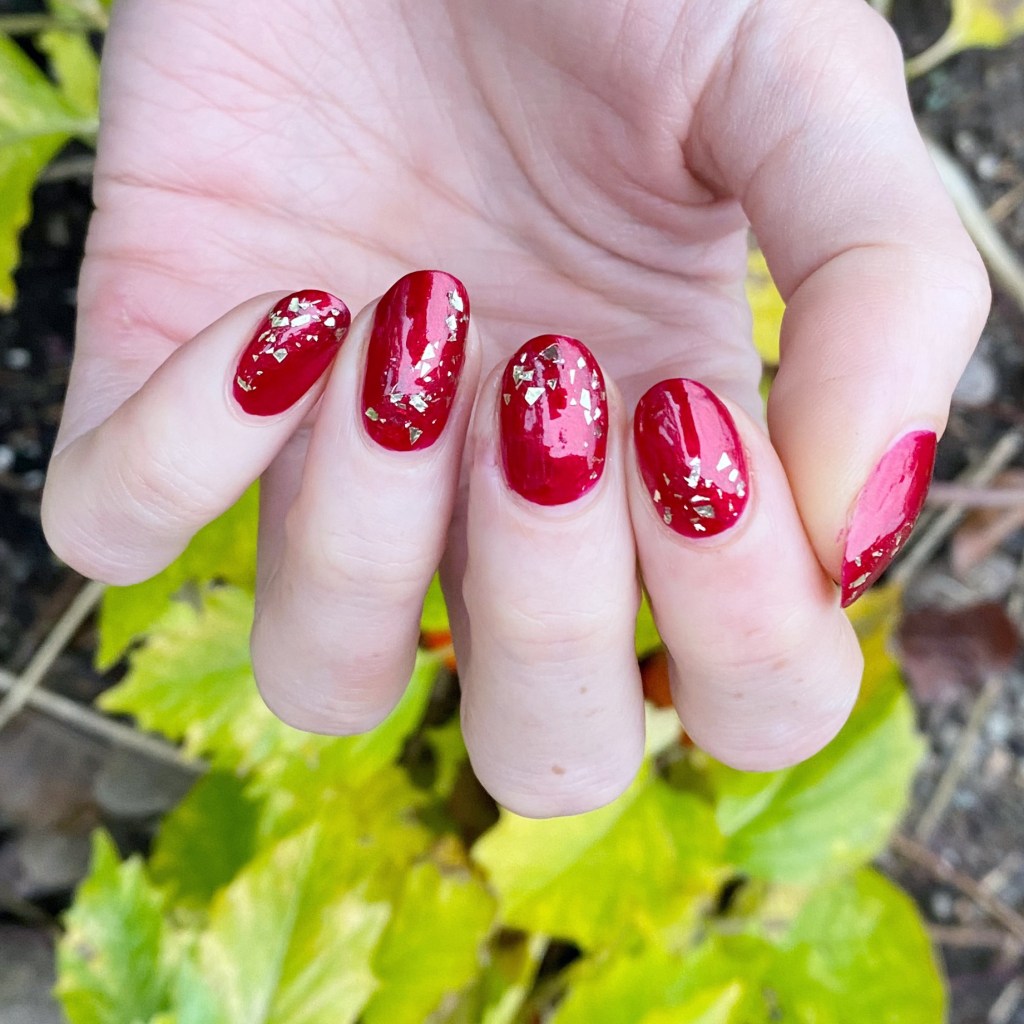
- Orly Color Blast Garnet Luxe Shimmer
- Sinful Colors Twilight Twinkles
- Small dotting tool

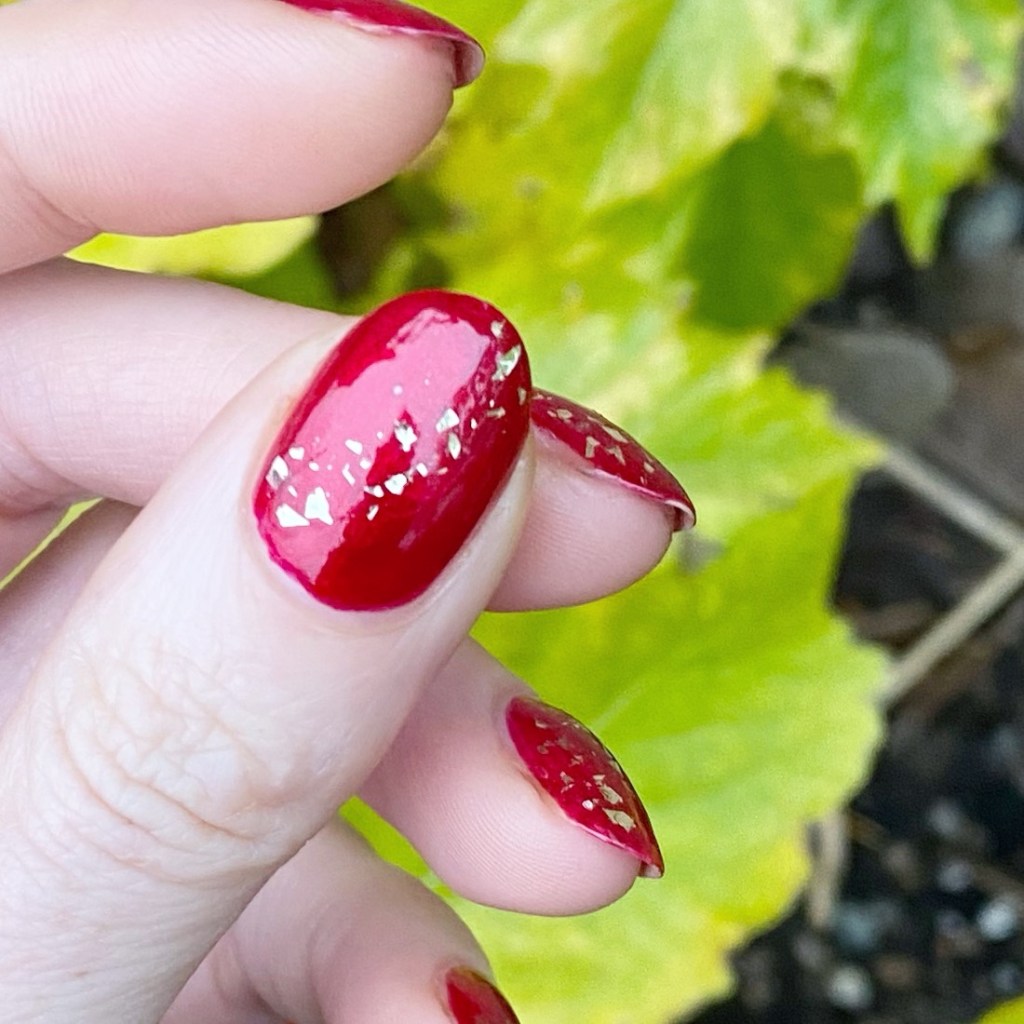
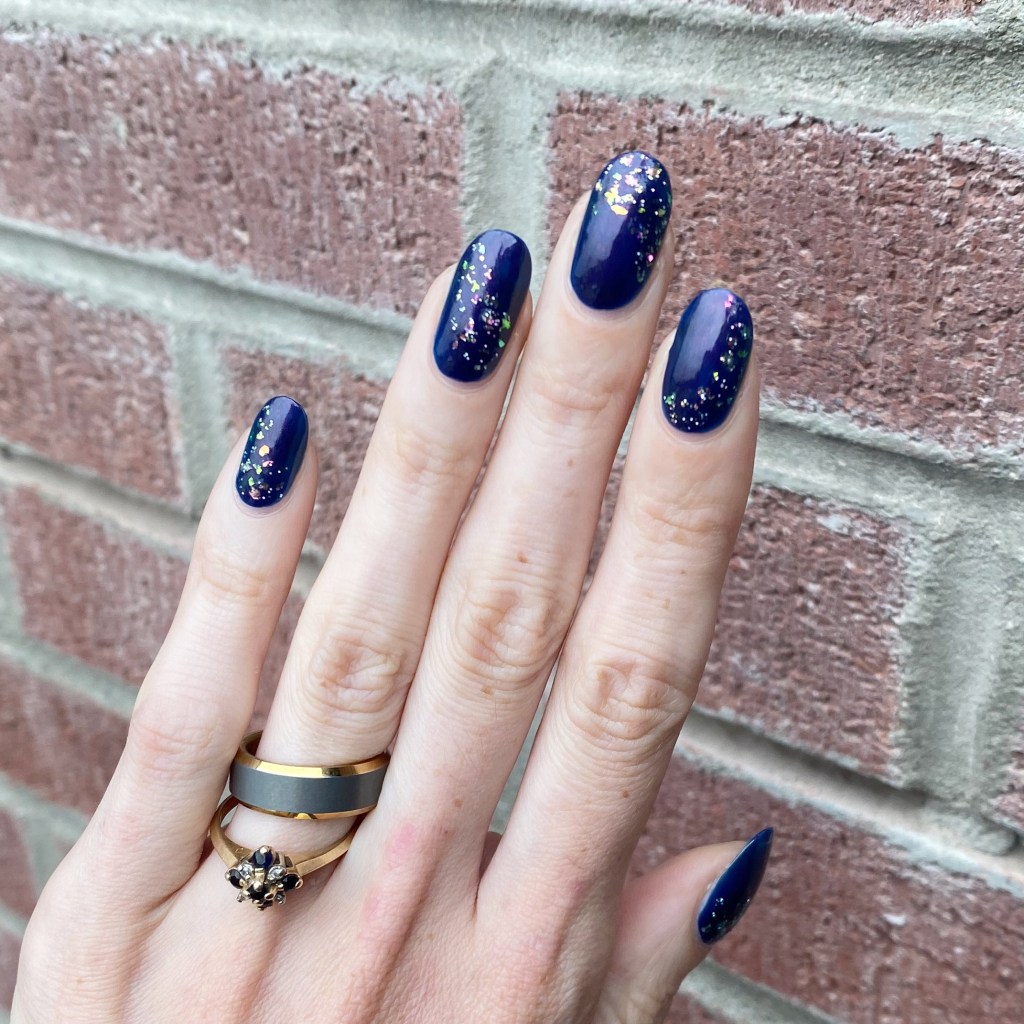
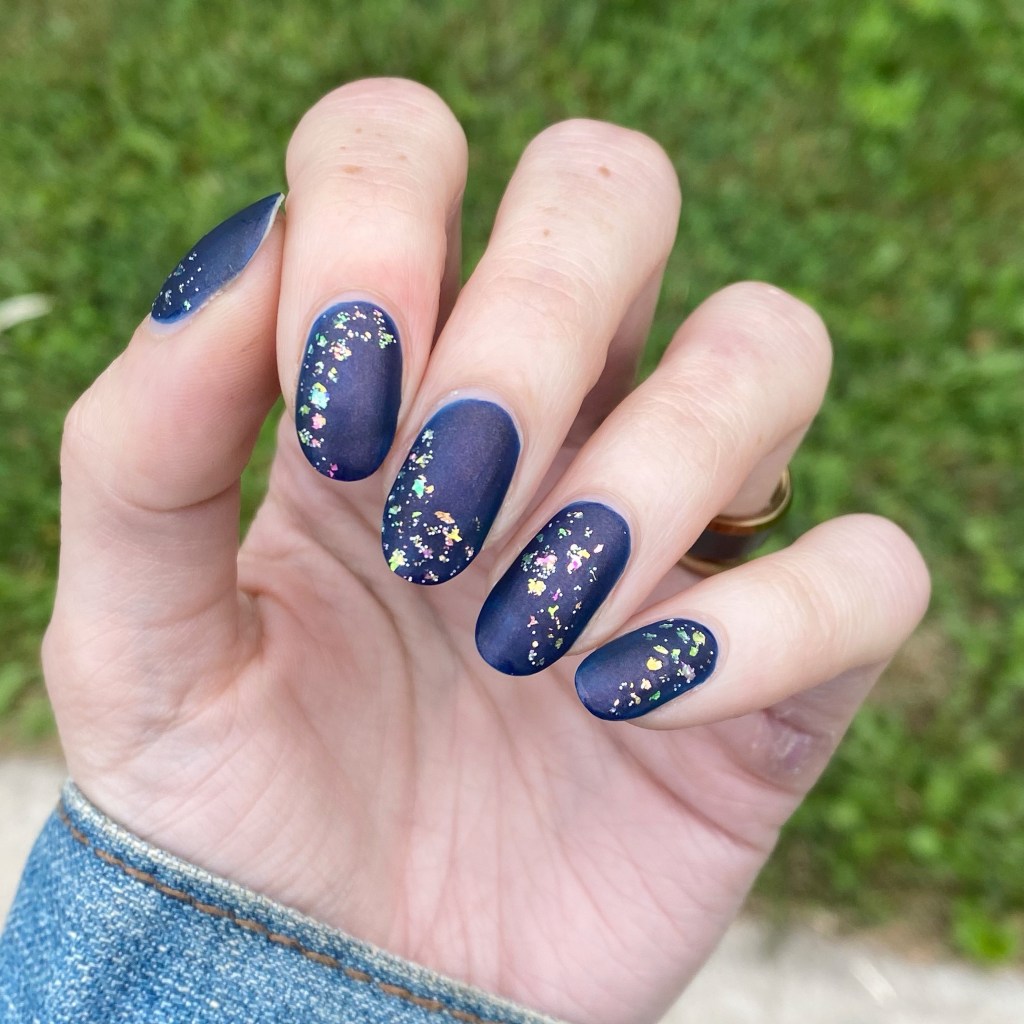
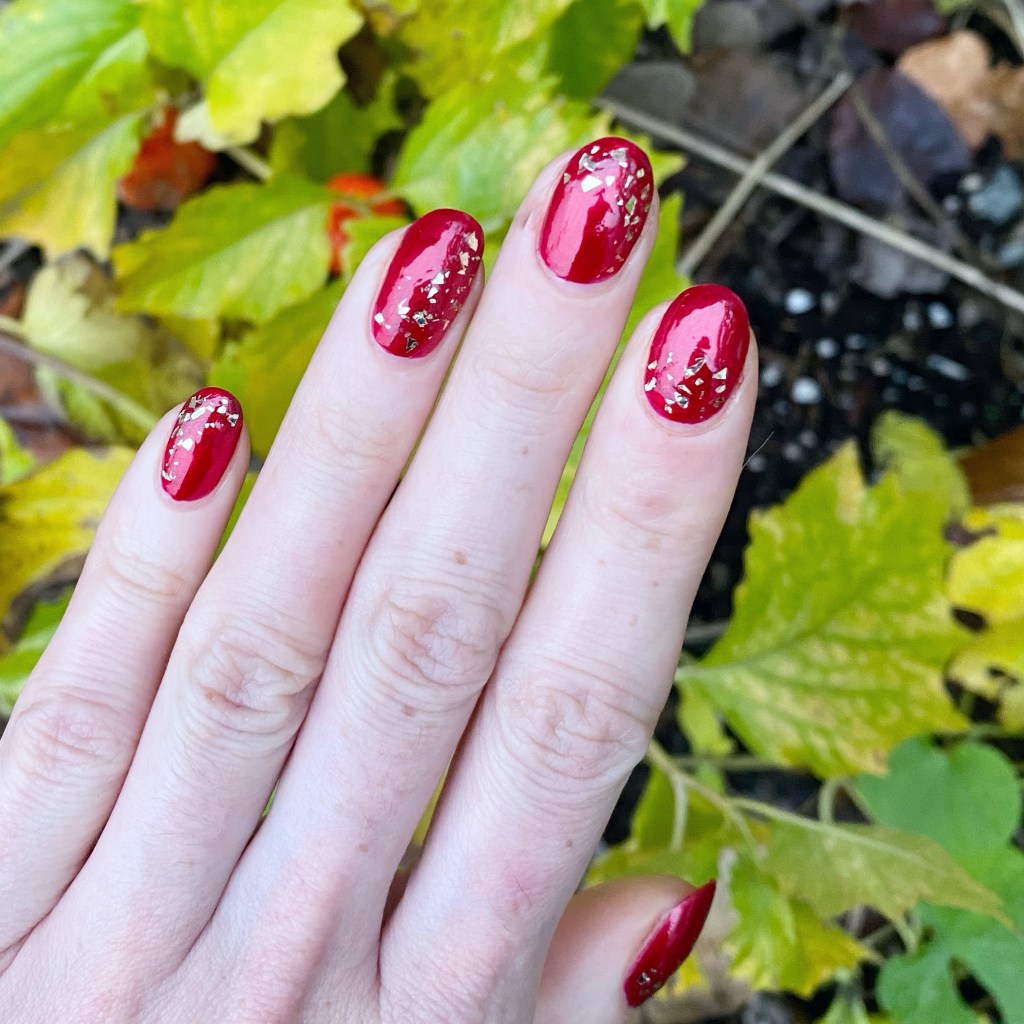
I know this isn’t a super complicated look — still trying to ease myself back into nail art inspiration — but I love how these look. They’re just fun, & pretty, & I never get tired of red nail polish. I also feel like these would be so pretty for February & Valentine’s Day nails!

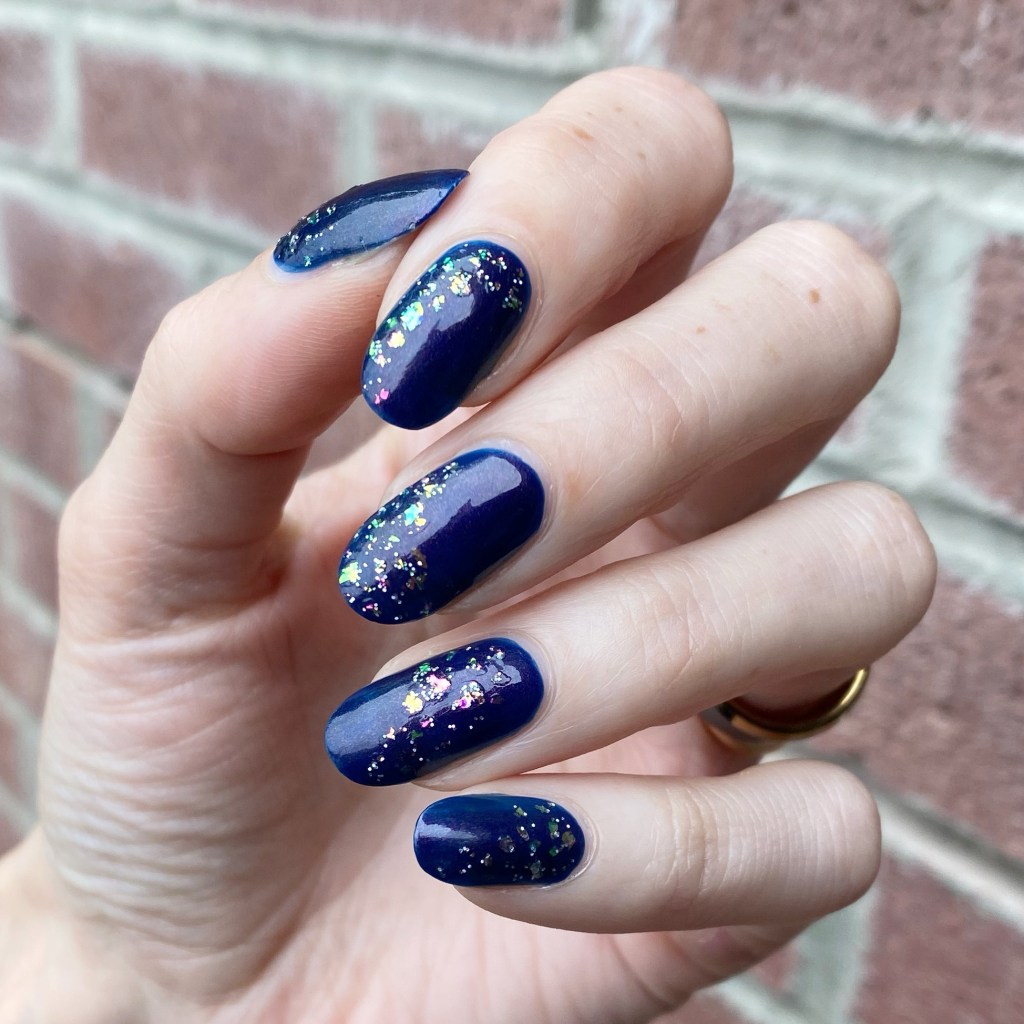
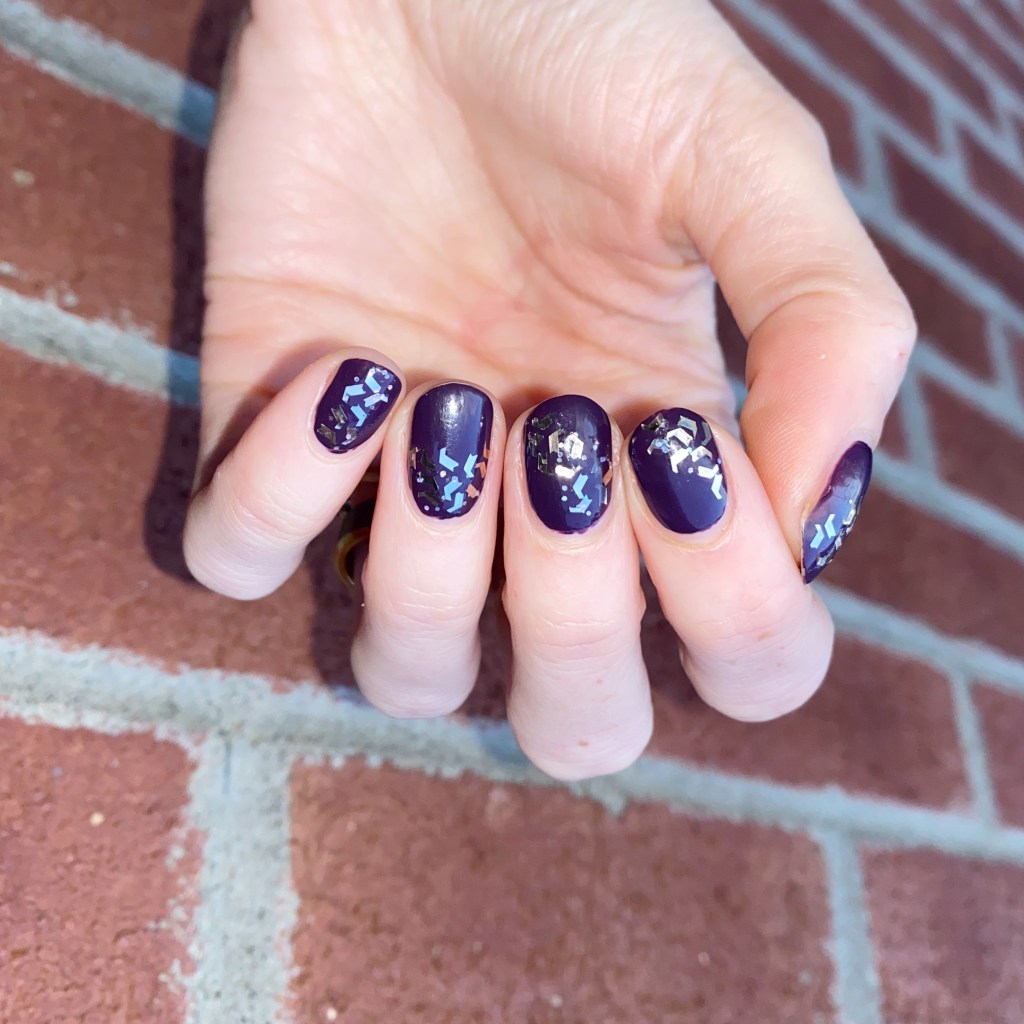
What do you think about these red shattered glitter nails? Do you love? Also — as always, if you can think of any glitters similar to these in different colours, let me know. I used to have a holographic silver one by Color Club that dried up that I’m desperate to replace!
Happy Wednesday
🖤