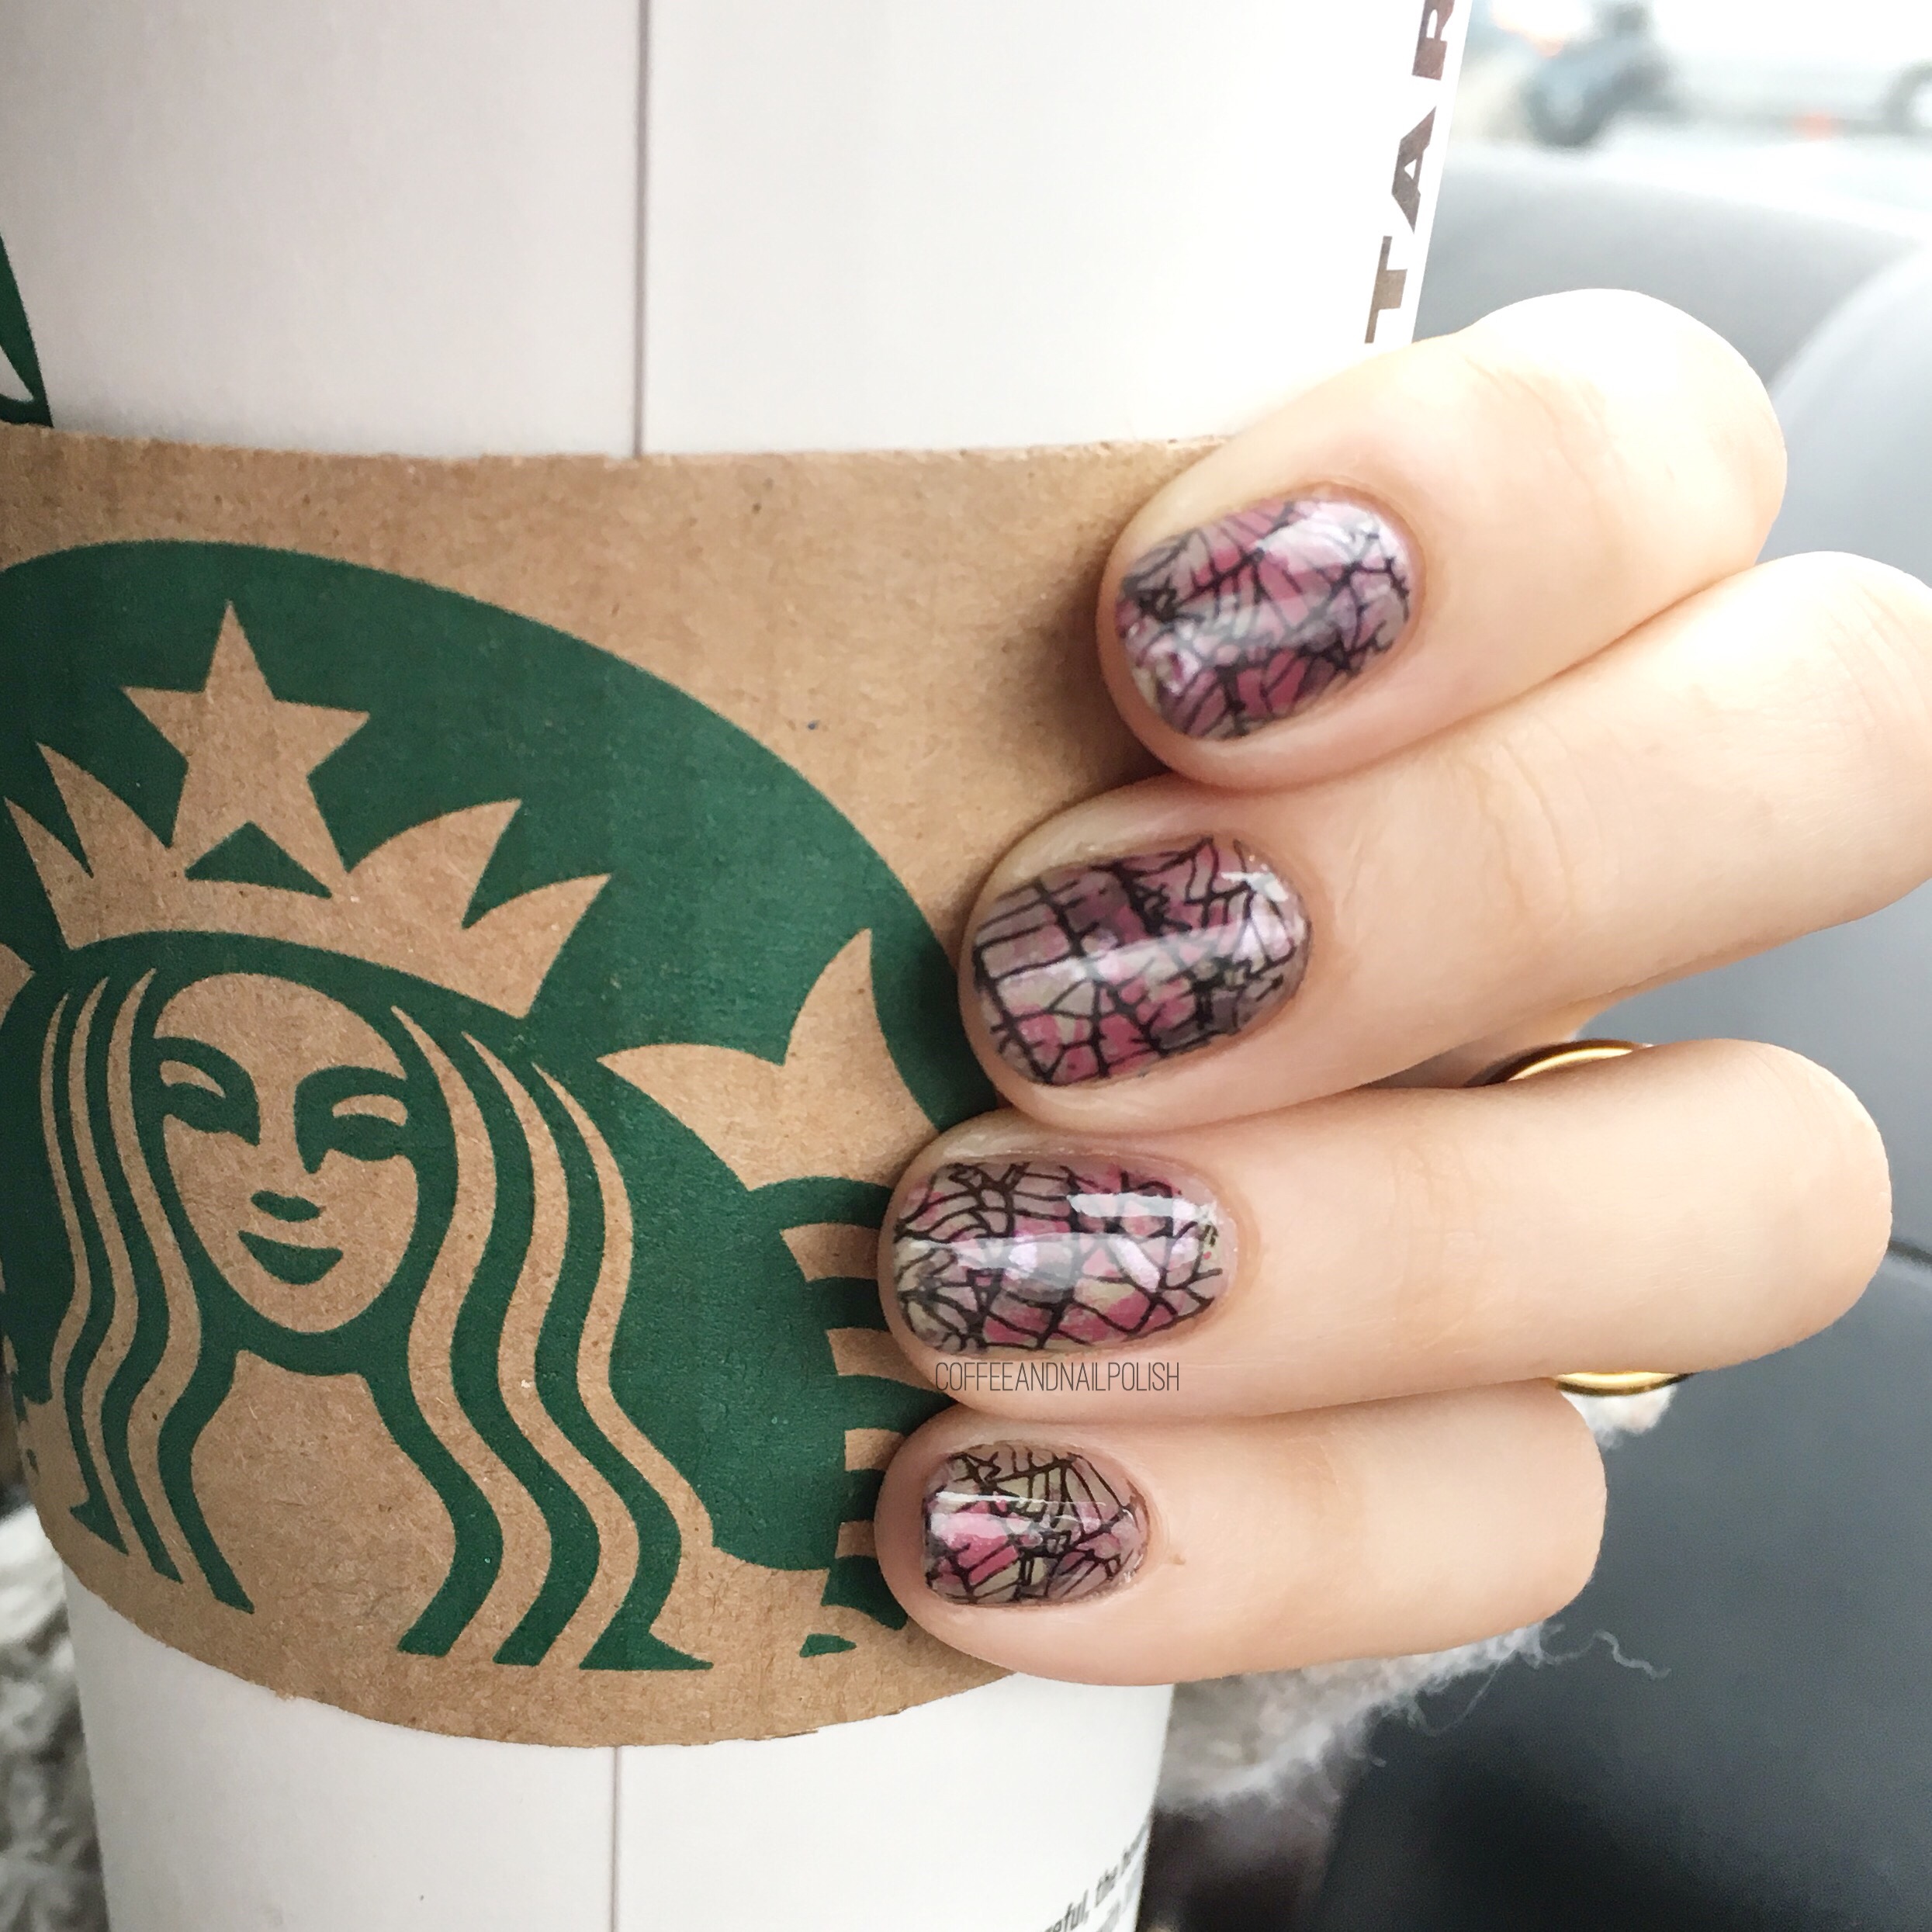
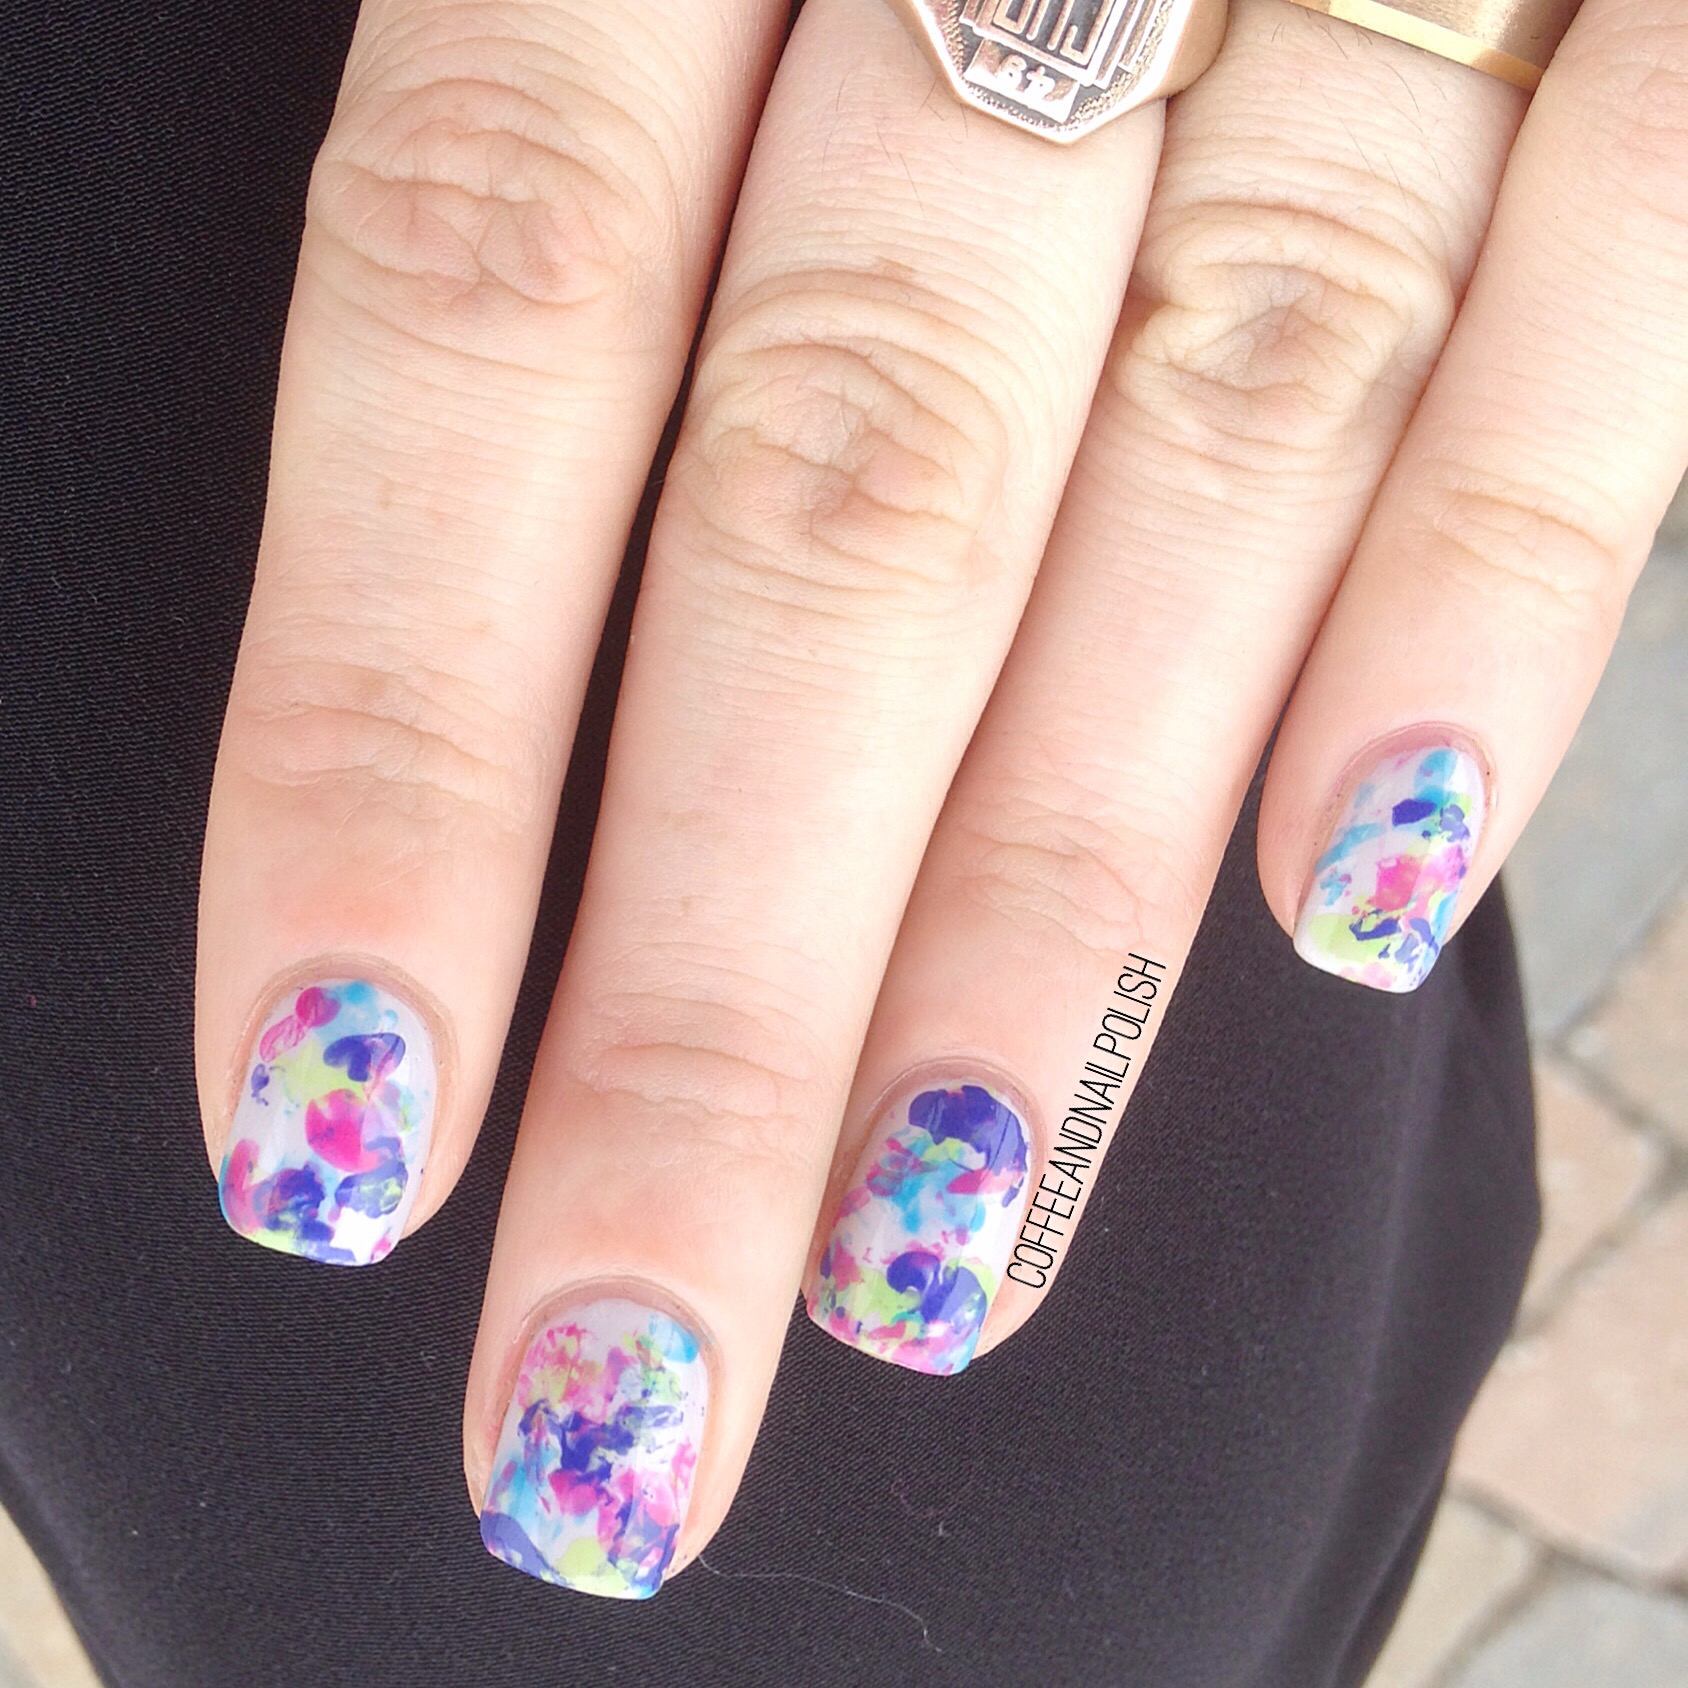
 I don’t do a lot of Saran Wrap smoosh nails, mostly because I find them fairly messy (& I ran out of liquid latex & I’m being lazy in replacing it). But every time I see one pop up on my Instagram feed I tell myself I need this technique in my life again. They just always look so cool! I’ve been struggling with inspiration lately, so I decided to risk the messy clean up & do a smoosh.

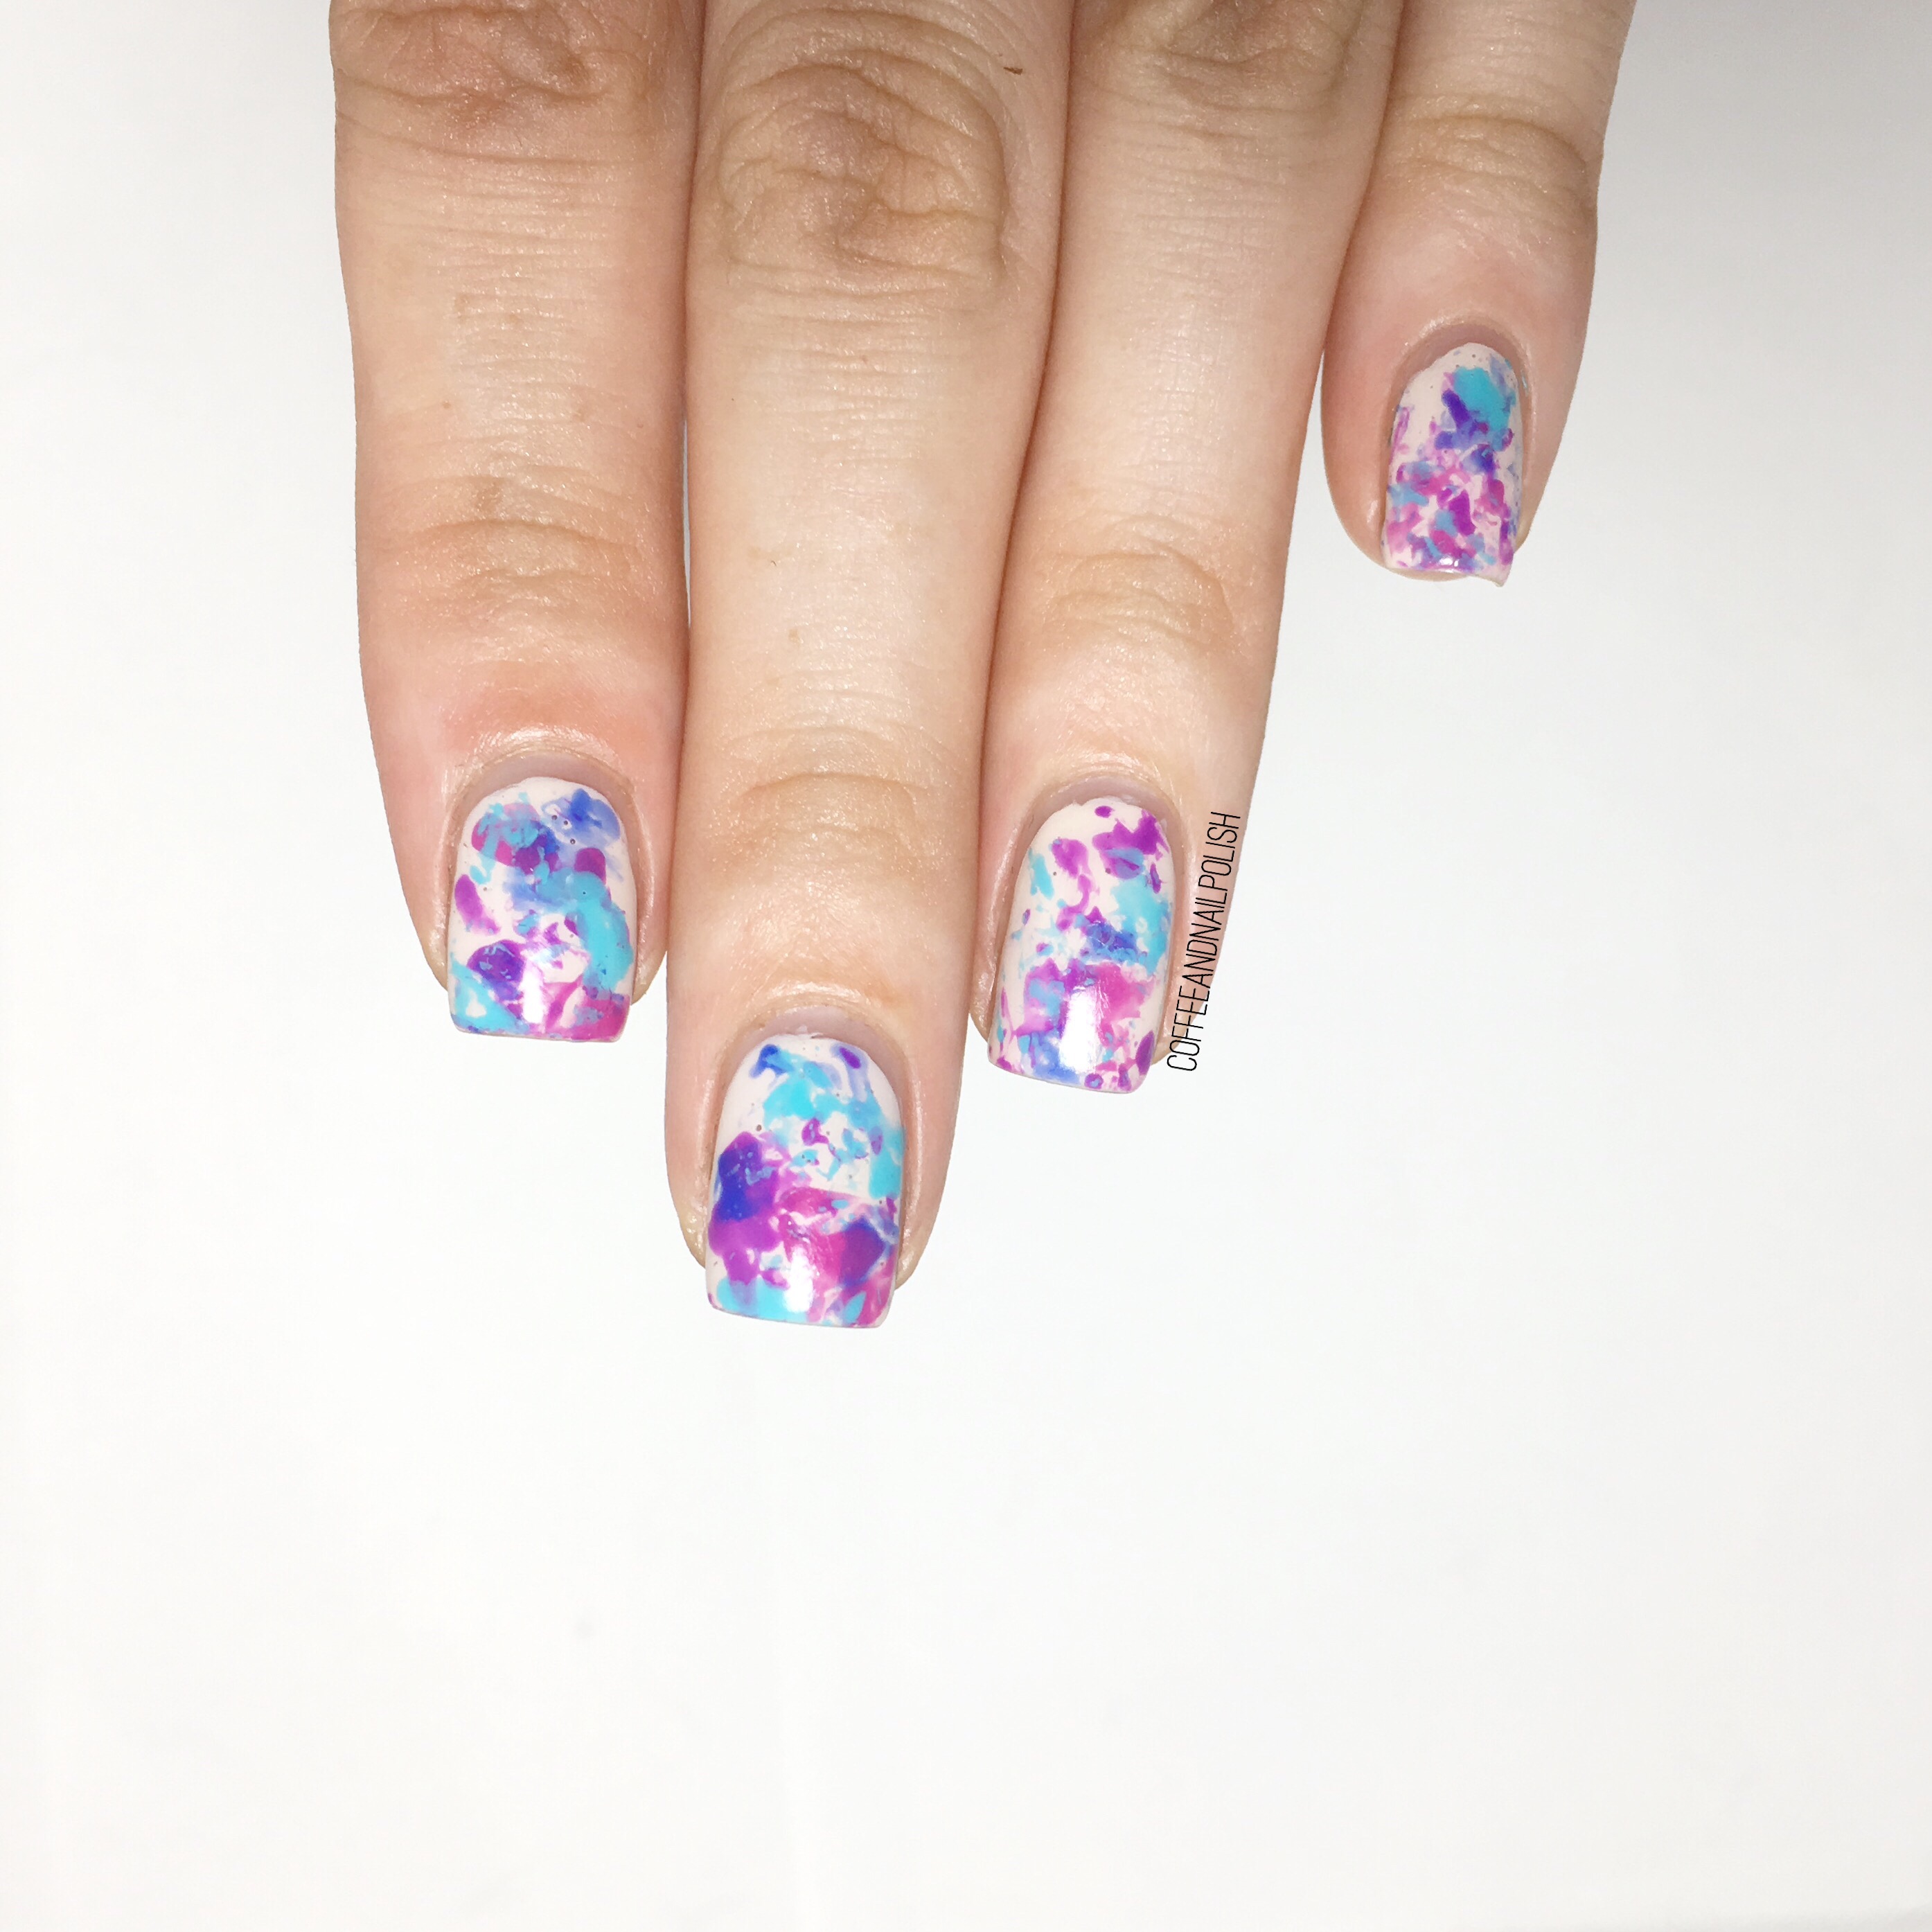
For this manicure, the polishes I used were:
- Base Coat: OPI Natural Nail Base Coat
- Top Coat: Cutex Quick Dry Top Coat
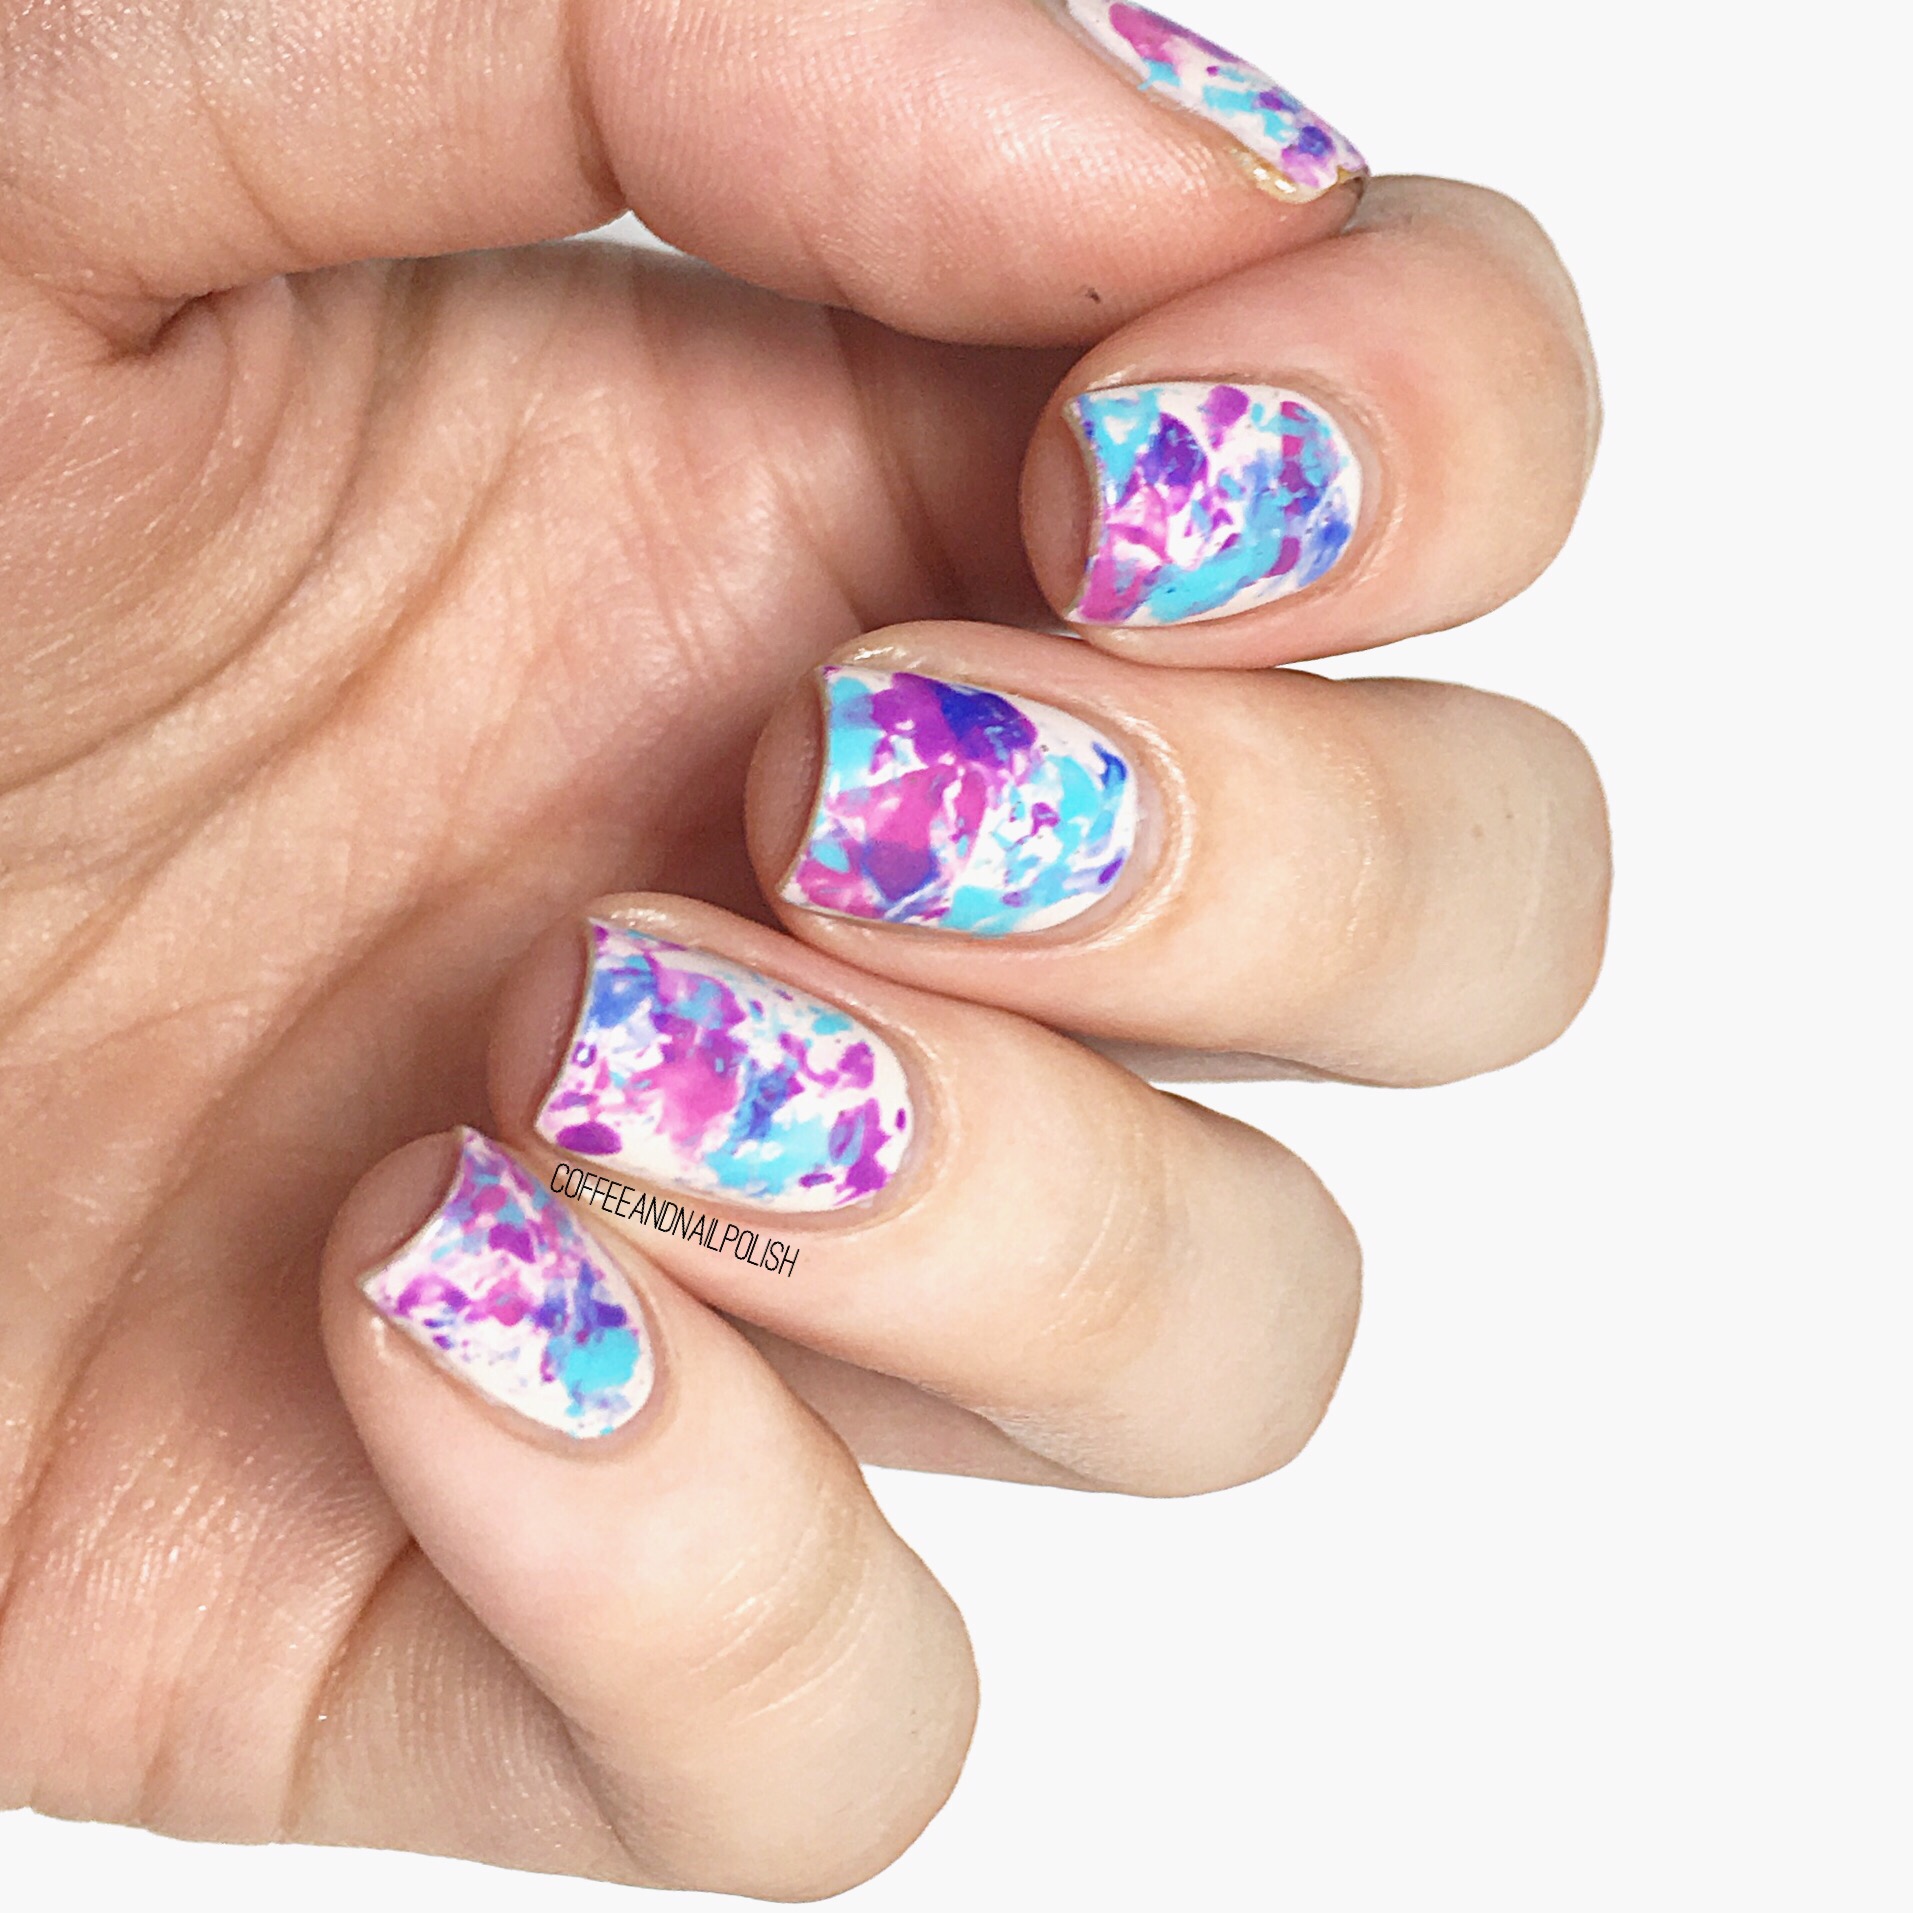
- Essie Cocktails & Coconuts
- China Glaze VII
- Quo by ORLY Fairy Godmother
- Saran Wrap, or plastic bag of some sort.


If you’ve never done a Saran Wrap smoosh, there are lots of tutorials on the internet (this one from @snowglobenails is great). From my expirence, I find sometimes they can take a few tries before you figure out what works for you, but for me less is more. I prefer to use maximum 3 shades together, otherwise I find my nails can end up looking kind of swampy. & I also try not to push blend colours too much when pressing down on my plastic.

What’s your thoughts on smooshy nails? Do you have a favourite colour combination? Let me know your thoughts in the comments below!