Pastel Rainbow Accent Nail (with Sally Hansen Rainbow Lights)

{Features Gifted Product}

Hello lovelies & happy Tuesday!

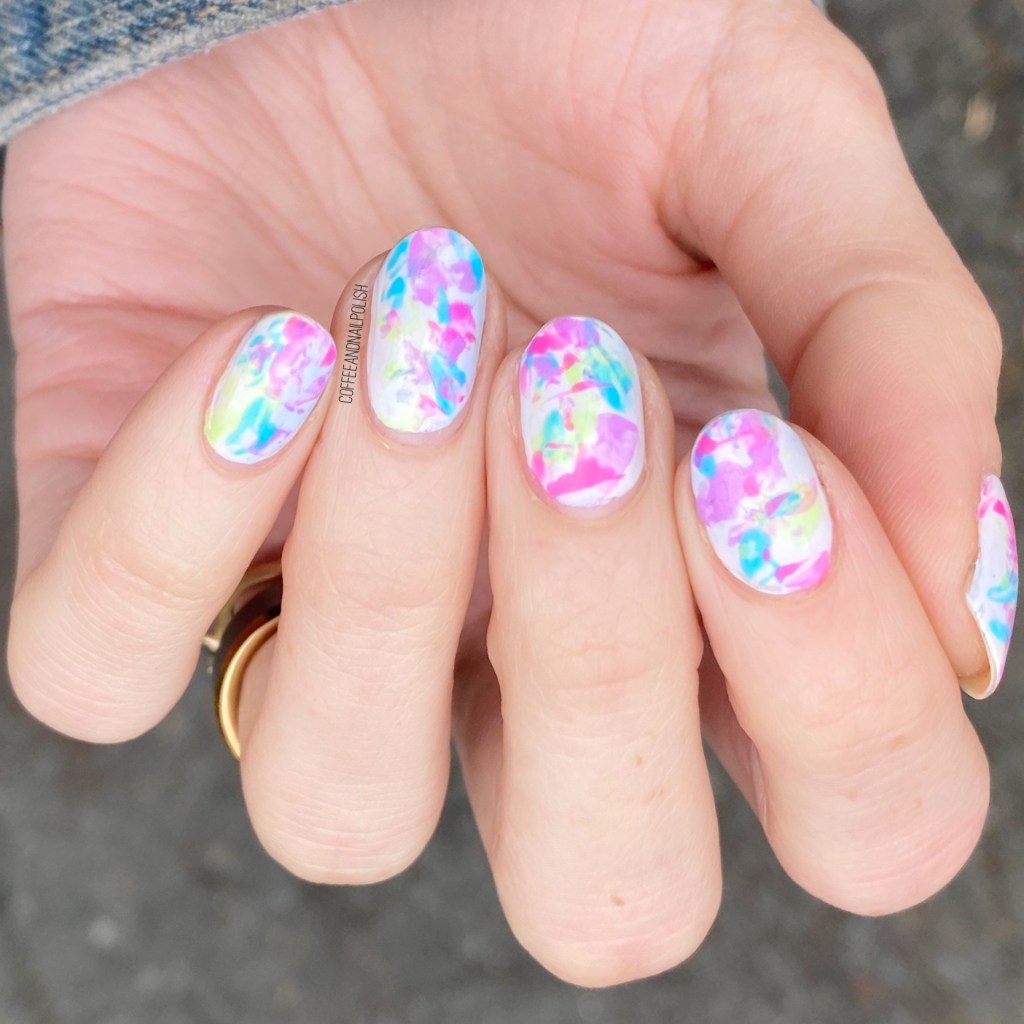
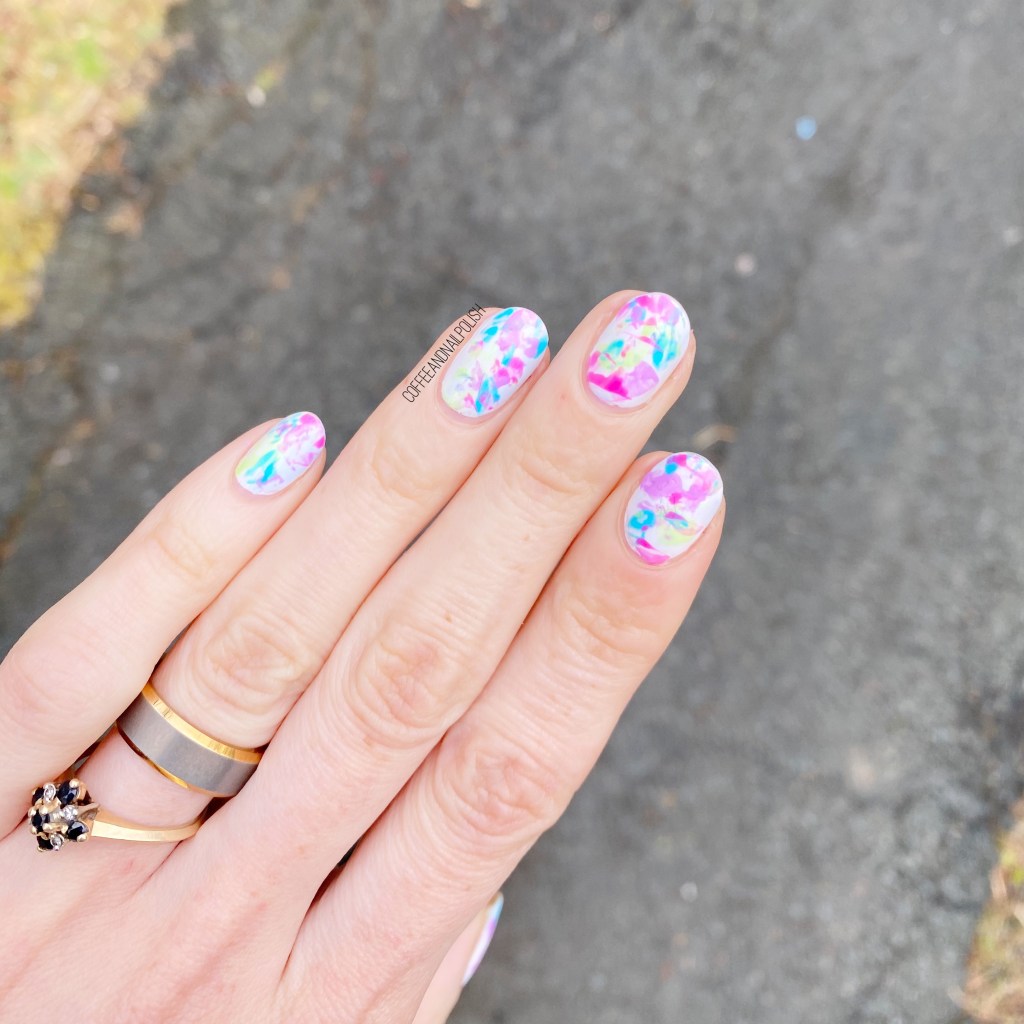
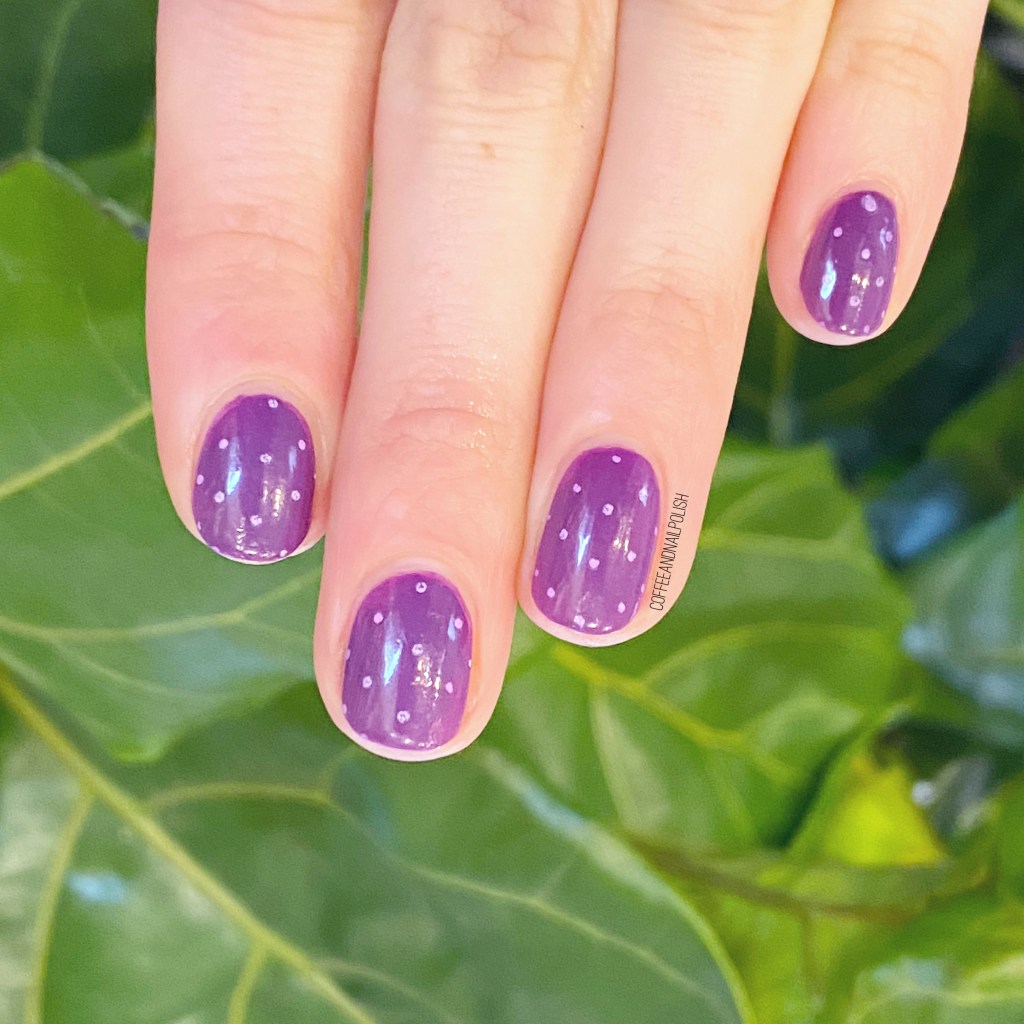
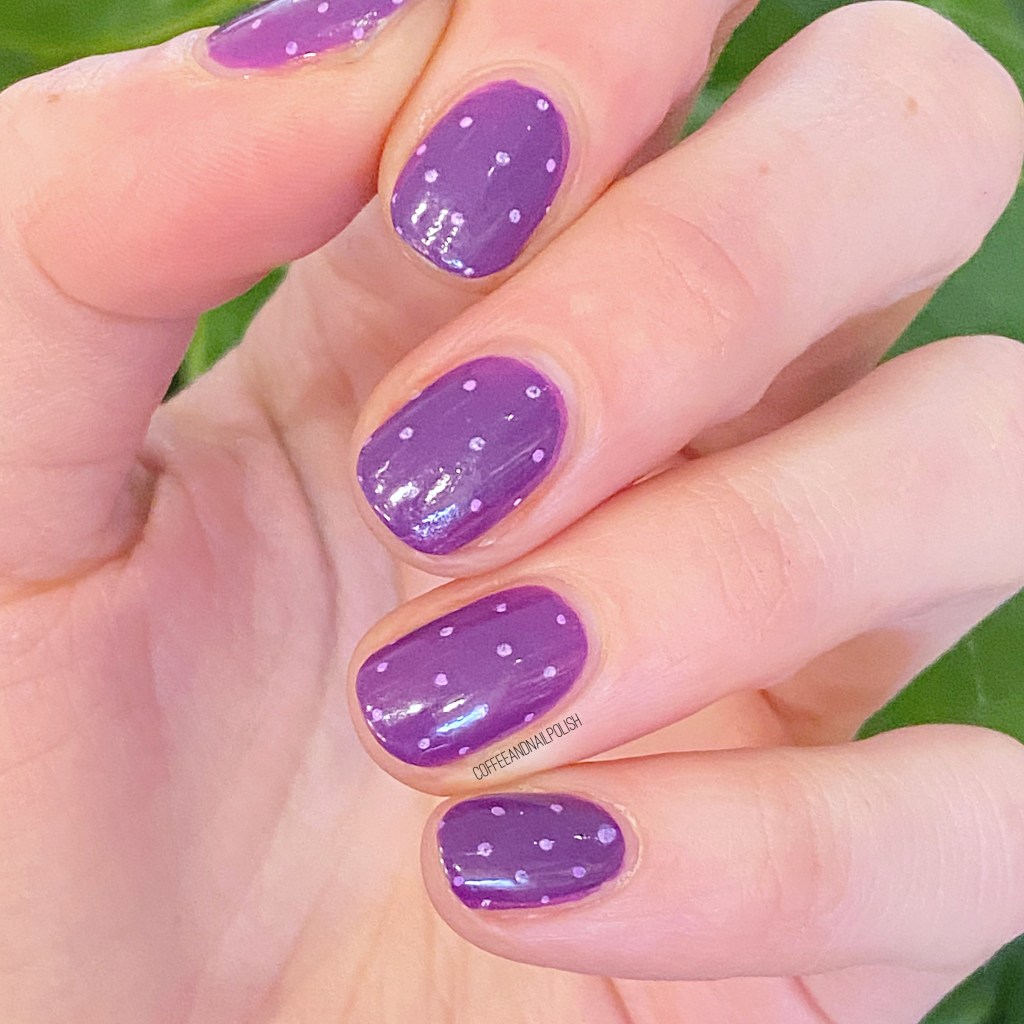
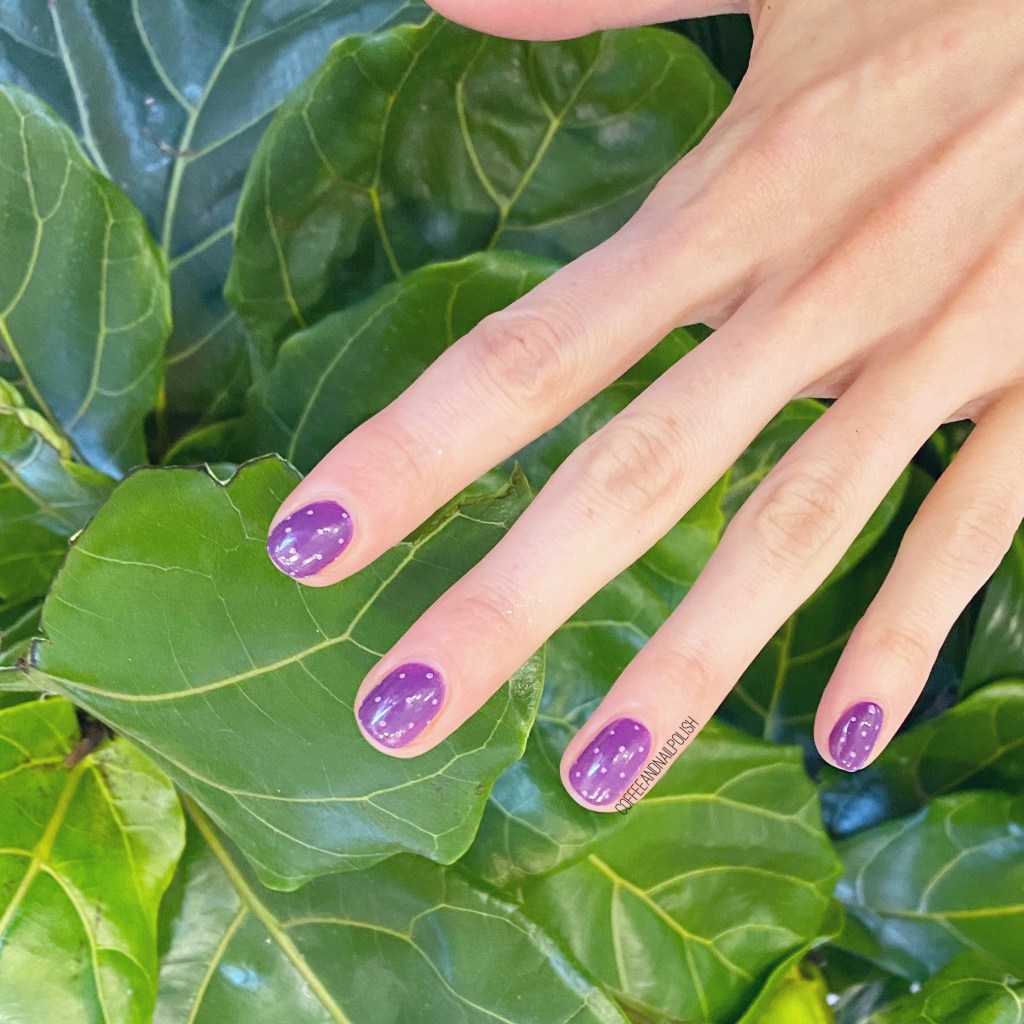
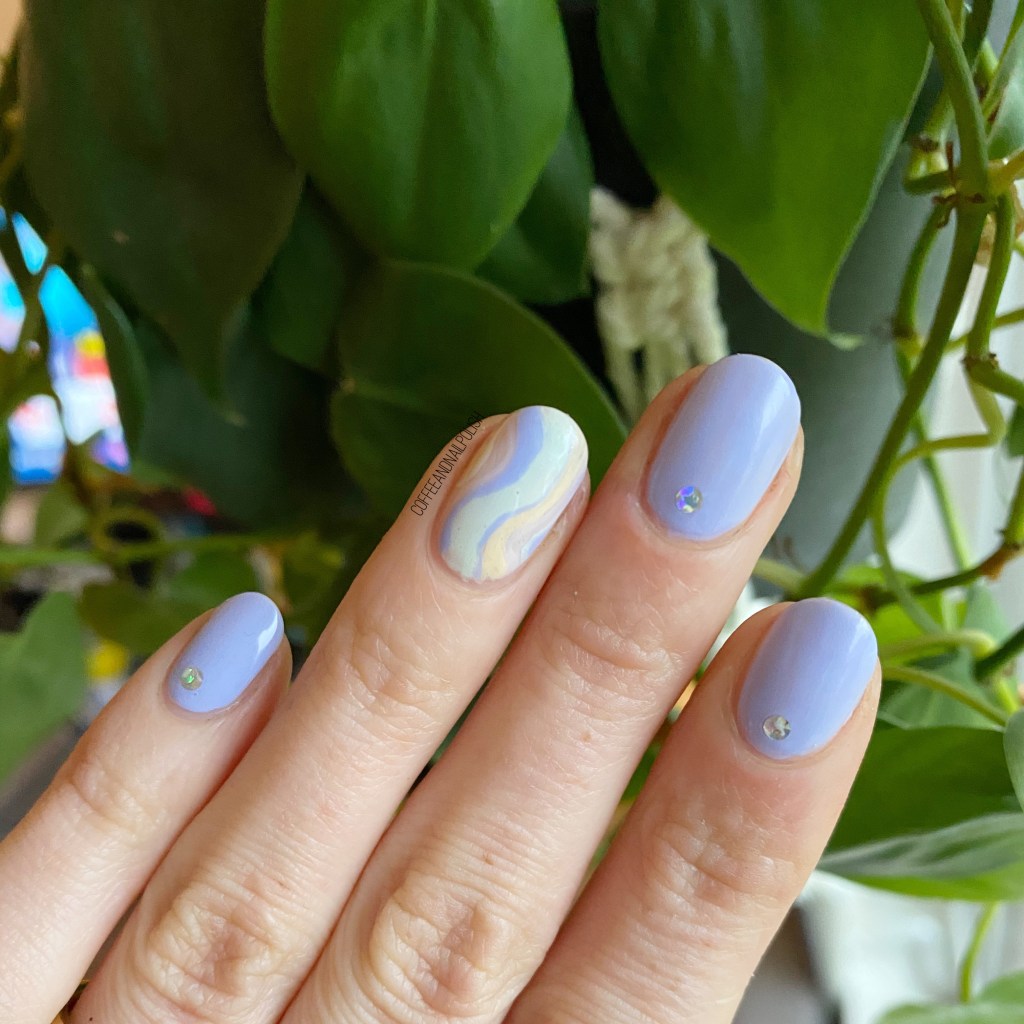
Today I have done pretty rainbow nail art to share with you, inspired by the new Sally Hansen Rainbow Lights collection! I’m really, really loving this new collection, & the pastel shades, so I was inspired to create this swirly rainbow accent nail. This is also super easy nail art that I feel anyone with a mail art brush could create this look!

For this manicure, the polishes I used were:

  • Base Coat: Sally Hansen Nailgrowth Miracle
  • Top Coat: Sally Hansen Miracle Gel Shiny Top Coat
  • Sally Hansen Miracle Gel Crying Out Cloud
  • Sally Hansen Miracle Gel Tutu The Ballet
  • Sally Hansen Miracle Gel Sweet Pea
  • Sally Hansen Miracle Gel Sun-shower
  • OPI I Snow You Love Me
  • NailStuff.ca 16mm Striper Brush

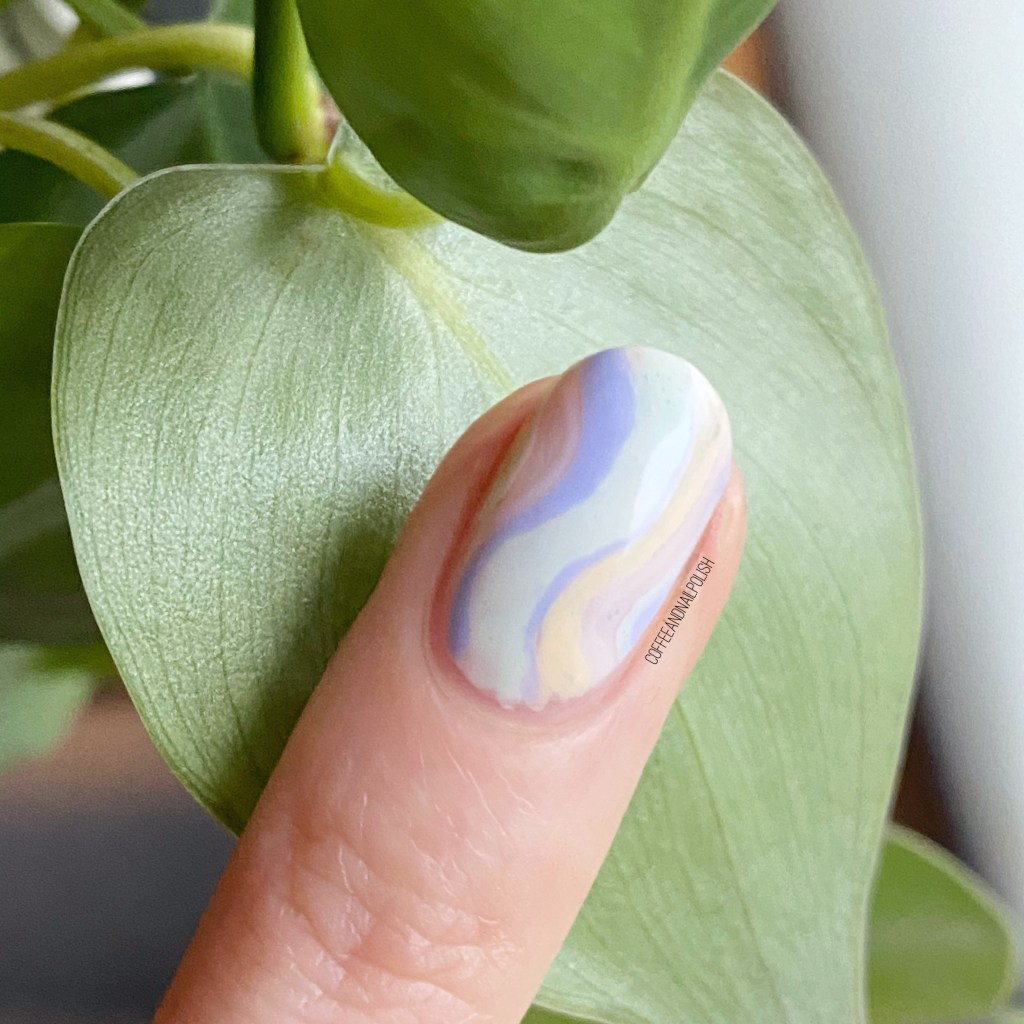
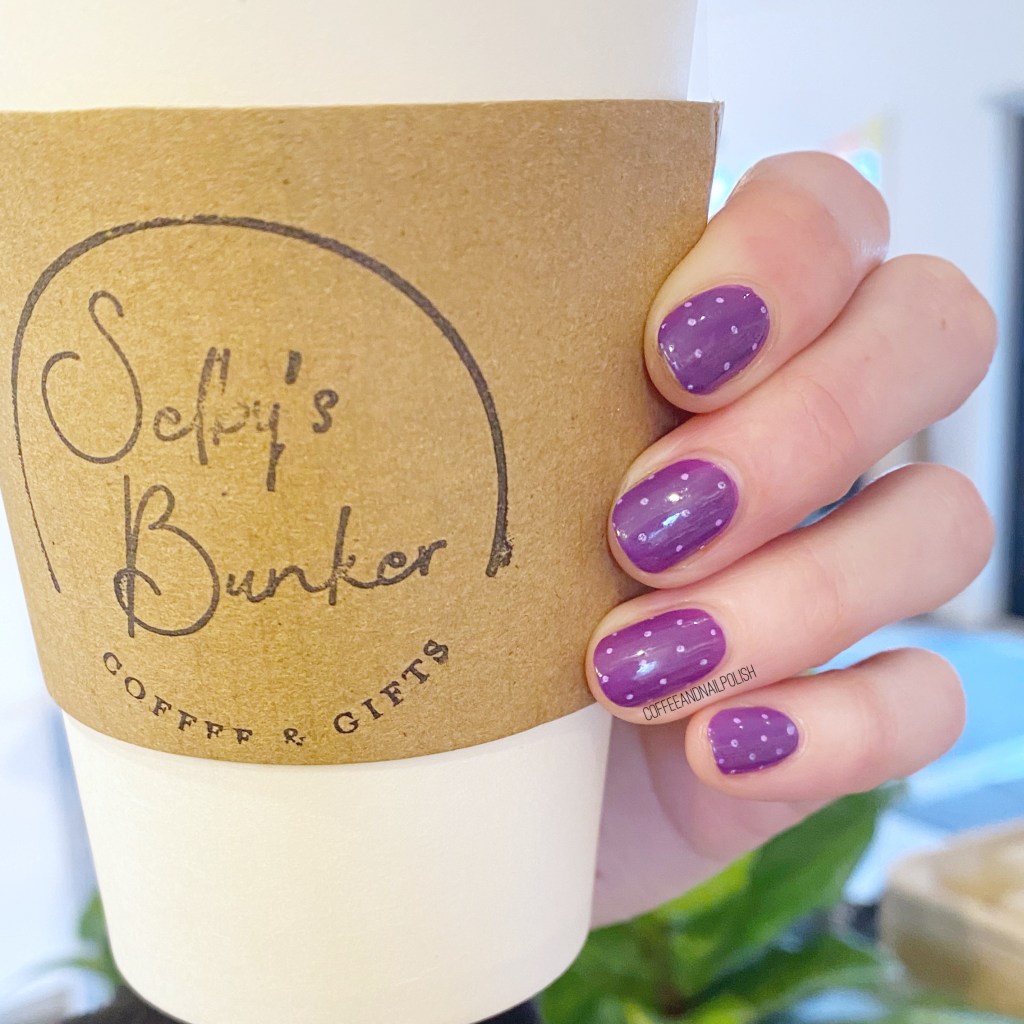
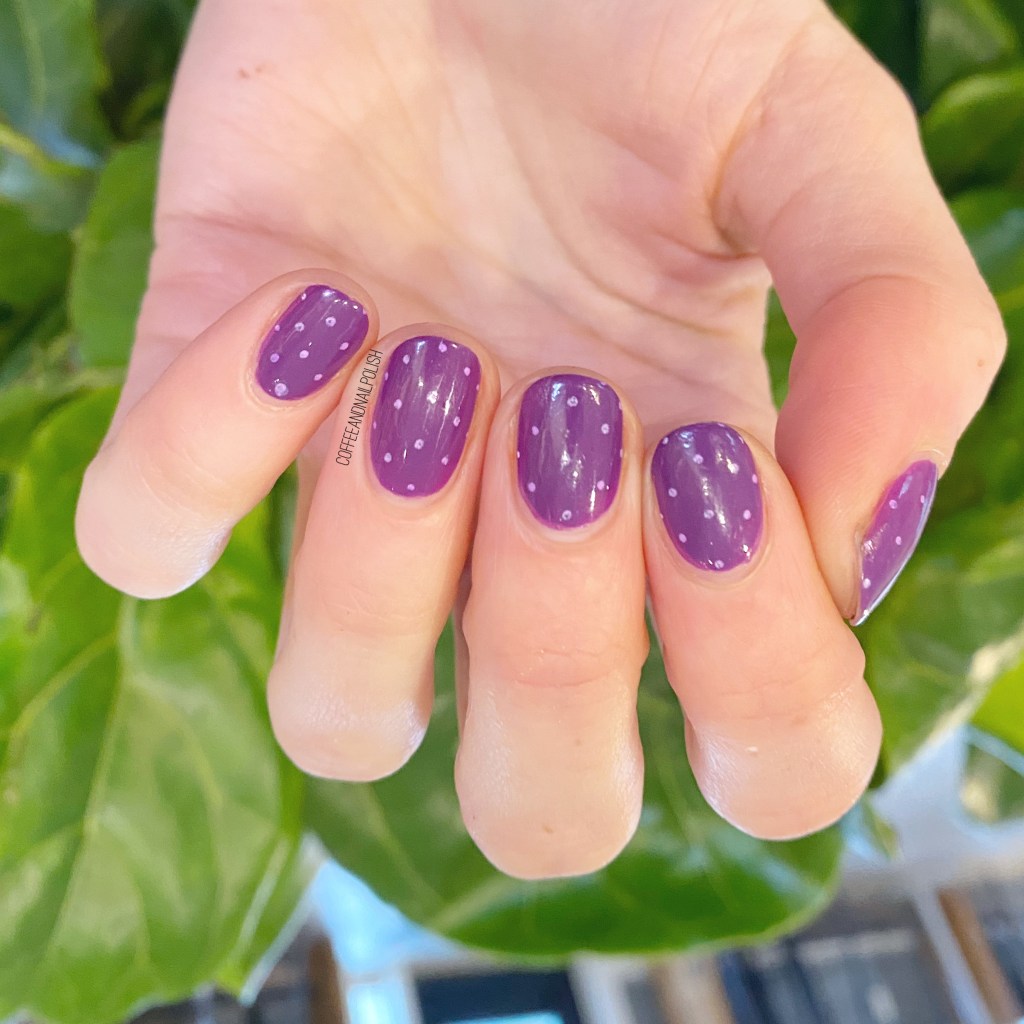
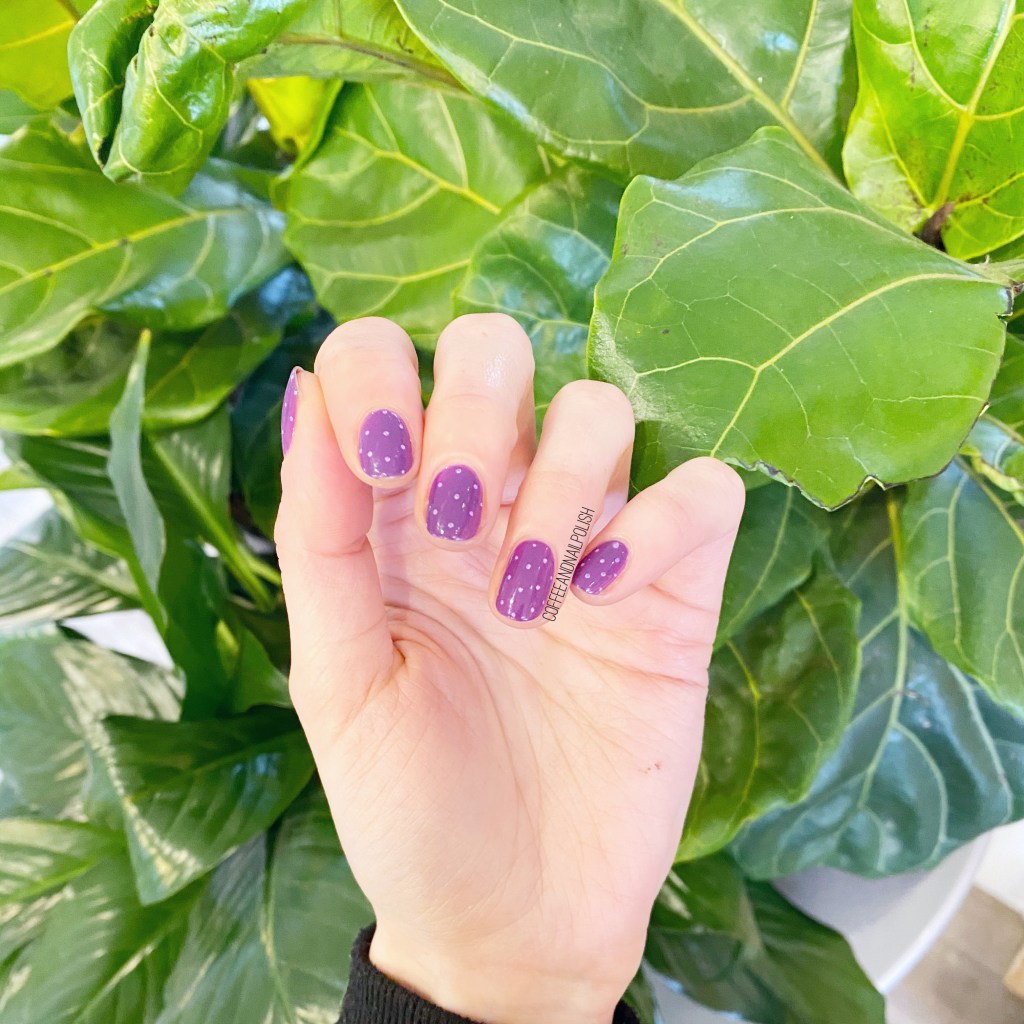
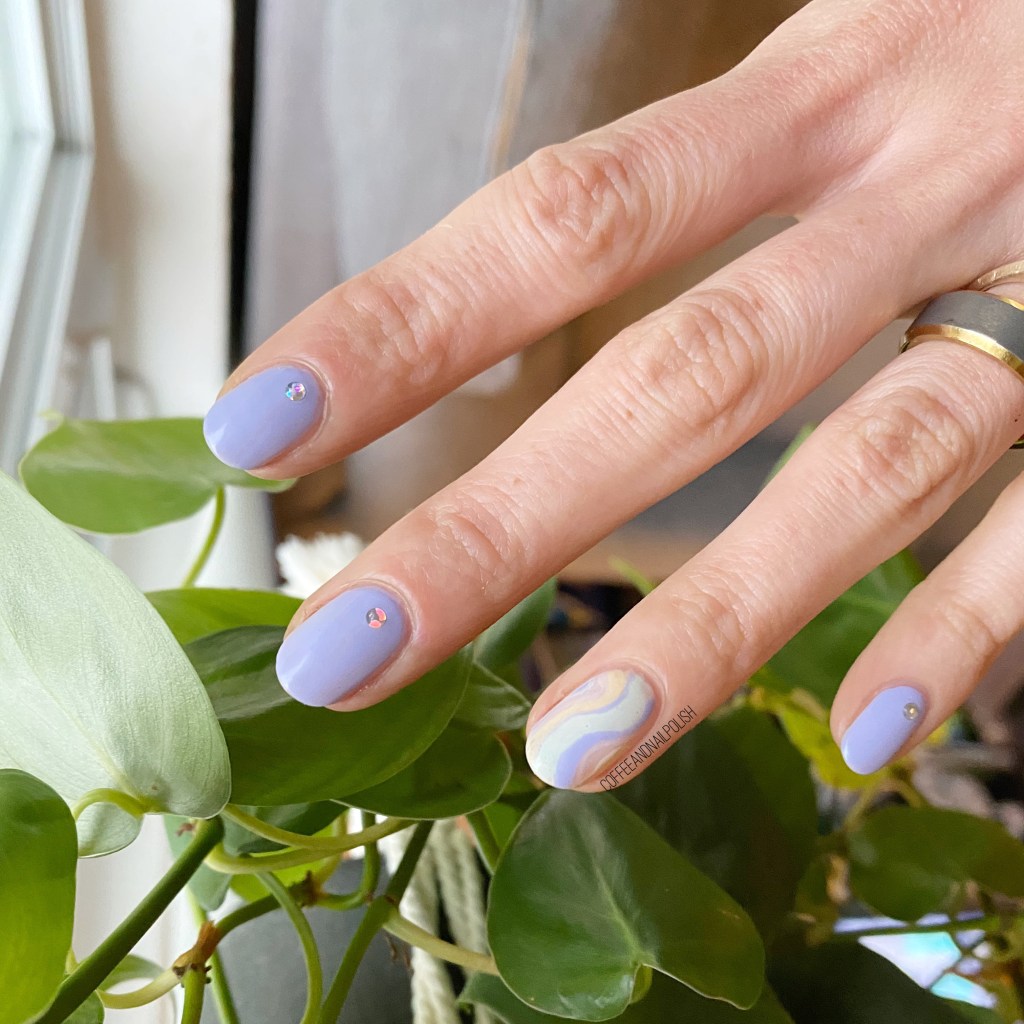
Look how cute that accent nail is? Like I said in my Swatch Sunday post, I really love the pastel rainbow shades. & I really love how all these shades compliment each other so well! I also wanted to add a few rhinestones to my nails, but since I was wearing this to work & didn’t want rhinestones popping off in people’s coffees, I decided to pull out my bottle of OPI I Snow You Love Me! This polish has always been a favourite because of the tiny round holographic glitters. A great rhinestone alternative.

What do you think about this pastel rainbow accent nail? Would you create easy nail art like this? Let me know all your thoughts in the comments below!

Neon Saran Wrap Splatter

Hello lovelies!

It’s Thursday—almost the weekend. Unless of course your entire province is in lockdown & time no longer has any meaning. But that just means more time to paint my nails, right?

Today’s look is a throwback to one of my favourite styles — the Saran Wrap splatter. It’s no secret how much I LOVE this style, & since our days are feeling a bit more Spring-like, I needed some neon!

For this manicure, the polishes I used were:

  • Base Coat: Sally Hansen Nailgrowth Miracle
  • Top Coat: Essie Gel Setter
  • Sally Hansen Miracle Gel Pretty Peony
  • Sally Hansen Miracle Gel Violet Voltage
  • Sally Hansen Miracle Gel Miami Nice
  • Sally Hansen Miracle GelElectri-Lime
  • Sally Hansen Miracle Gel Fuchsia Fever
  • Crinkled up plastic wrap

Oh man, I know this neon collection is 2 years old, but holy it is one of my all time favourite Sally Hansen collections. It’s just so bright & beautiful & I adore it. I never get tired of creating looks with it, & I’m actually shocked I hadn’t done a splatter look with it yet. Definitely an oversight. Also I like how this splatter reminds me of tie dye — I know the tie dye nail hype kind of died down a bit (no pun intended), but I still love all things tie dye. In fact, I’ve very recently found TWO tie dye shirts in the kids section at the thrift store that fit me, & I’ve been wearing them non-stop.

What do you think about this neon saran wrap splatter design? Are you feeling these neons? Do you own this neon collection from Sally Hansen, & if not, which neon nail polish collection is your favourite? Let me know in the comments below!

Dainty Purple Polka Dots

Hello lovelies & happy Thursday! The weekend is quickly approaching. & I don’t know where you are, but the weather here is starting to really, really feel like Spring. I might even wear a dress to work today!

But in the mean time, I’m showing off some simple & dainty polka dot design. Purple makes me happy, & I always love a dotticure whenever I need a quick, simple look.

For this manicure, the polishes I used were:

  • Base Coat: Sally Hansen Nailgrowth Miracle
  • Top Coat: Essie Good to Go
  • L’Oréal Color Riche Violet Vendome
  • Sally Hansen I ♥️ Nail Art Pen in Purple

Such a simple look, but a classic polka dot look just makes me happy. There is something about a simple look like this that is just so pleasing to the eye. Plus I feel like you can make it match any outfit or occasion—go wild with your colours, or keep it simple.

Also my favourite way to do simple dotticures like this is with my Sally Hansen nail art pens. I discovered these in the early days of my nail art journey, but I still own them, & still use them, especially for a look like this. Makes creating evenly placed polka dots, that are all the same size, so quick & easy. I kind of wish I had more colours, to be honest. I’m not even sure if they still exist to buy anymore!

What do you think about this dainty dotticure? Would you like to see me feature more of these easy manicures? What colour combination should I share next? Let me know in the comments below!

Pink Floral on Coral

Hello lovelies & happy Tuesday! Hope you’re all having a lovely, safe start to your week. Can you believe we’re almost half way through April? I can’t believe how quickly this month is going. & so far, we’ve more or less had beautiful weather.

I’ll take it!

& today I’m sharing another floral look with you! I did this look the other week after snapping off my middle finger at work. It hurt, especially because they’ve completely transformed & were getting so long! So I thought some (more) floral was in order to cheer myself up.

For this manicure, the polishes I used were:

  • Base Coat: Sally Hansen Nailgrowth Miracle
  • Top Coat: Essie Good to Go
  • Color Club Tankini (mood changing nail polish)
  • Orly Scenic Route
  • Sally Hansen Miracle Gel Orchid-ing Aside
  • Sally Hansen CSM Cherry Cherry Bang Bang
  • Sally Hansen Get Mod!
  • Essie Off Tropic
  • Essence The Green & the Grunge
  • Starrily Vantablack
  • NailStuff.ca 7mm detail brush
  • NailStuff.ca Dotting Tool Trio

First off, I love, love, LOVE this Color Club shade. It was another one of those amazing Winners (or, possibly Marshall’s) find. I’ve been absolutely obsessed with these mood (thermal) changing polishes since my late 2009 Claire’s days when I had to buy all of them! The shift on this shade is subtle, but either way the colour is GORGEOUS & I’m kind of obsessed. Very perfect for Summer.

Second, this floral turned out so pretty. Nothing like a little bit of girlie nail art to cheer yourself up after a bad break. I was going for a bit of a cartoon-y floral, & I think I achieved what I was trying to do!

What do you think about this floral on my new shorties? how do you cope with a bad, bad break? Let me know in the comments below!