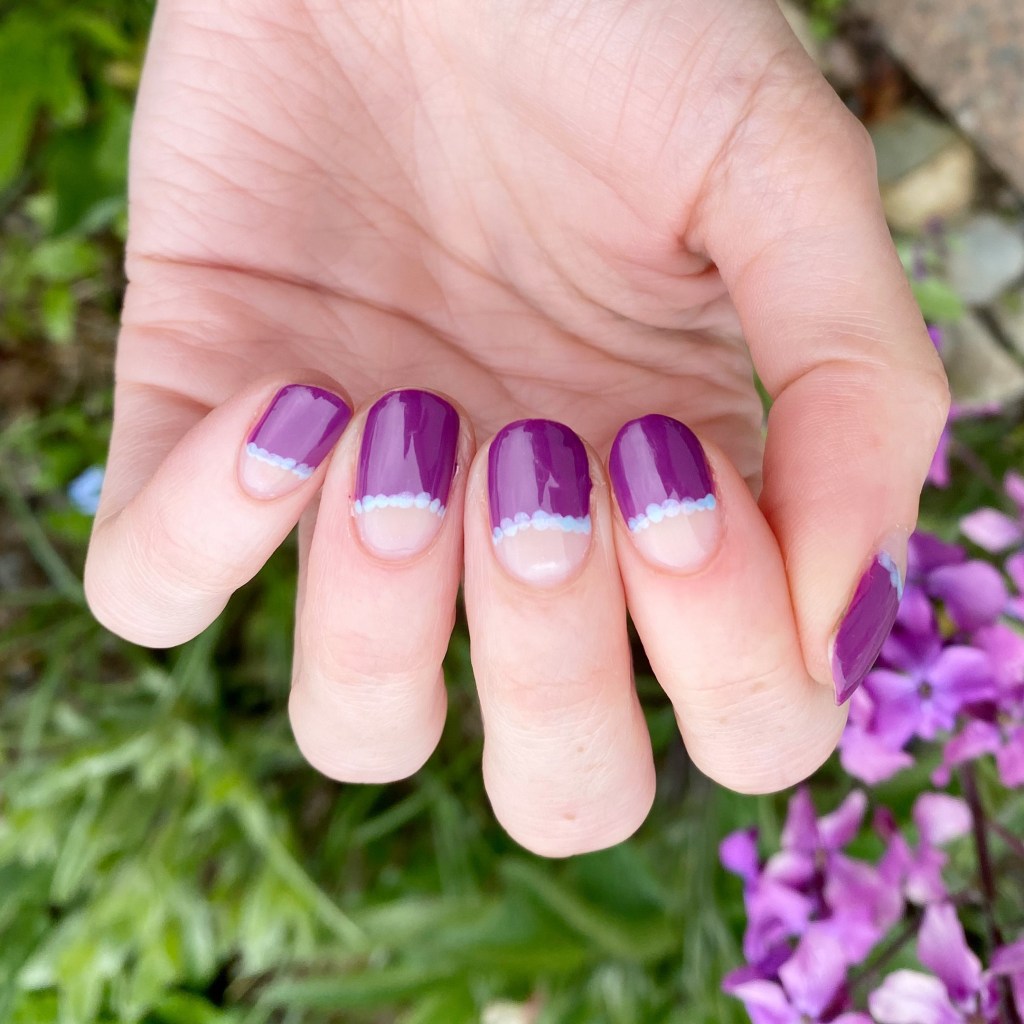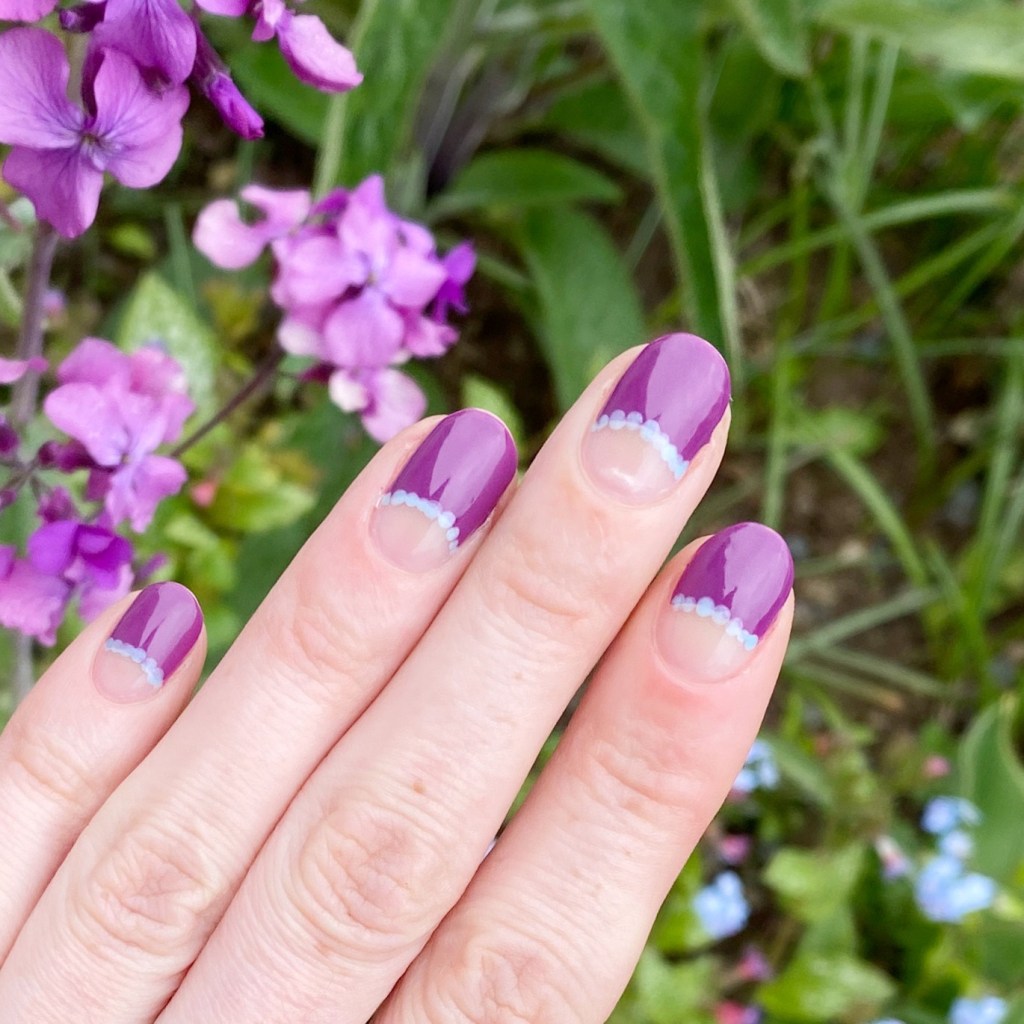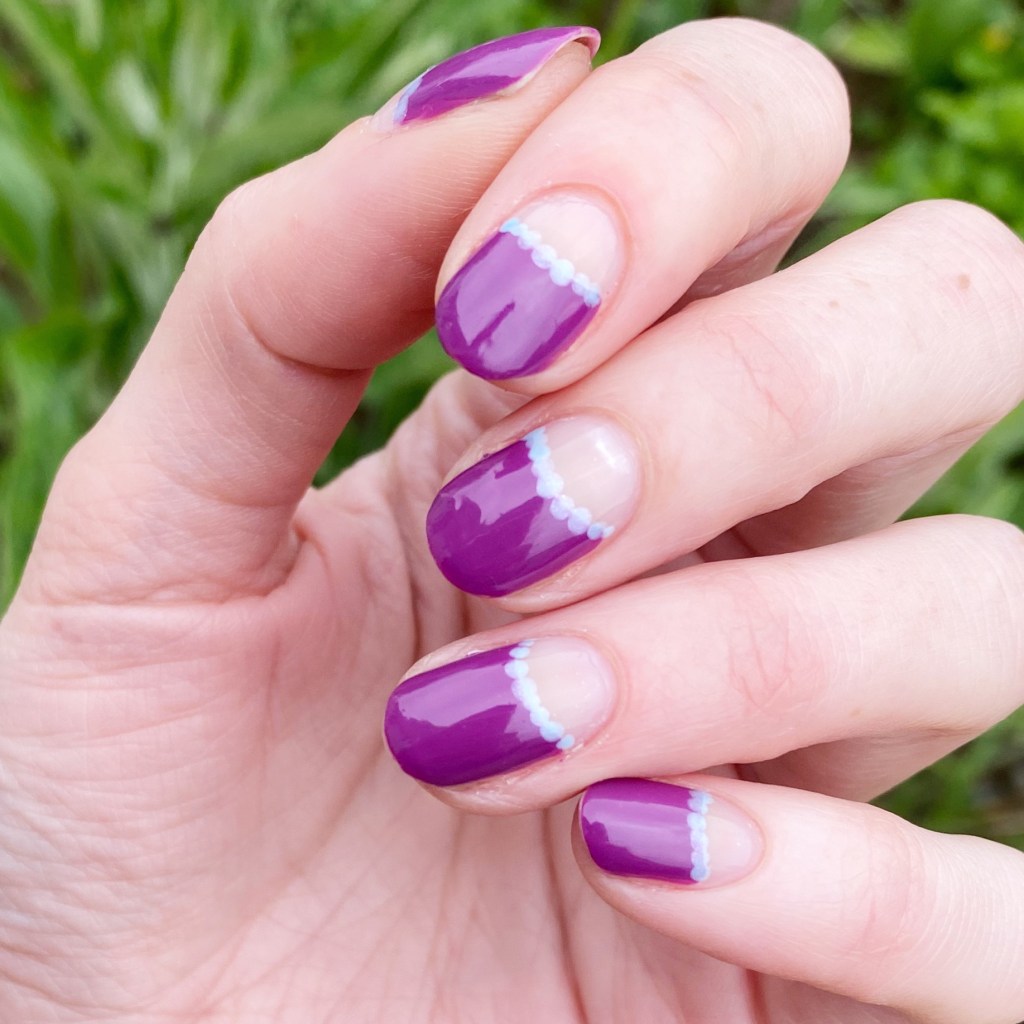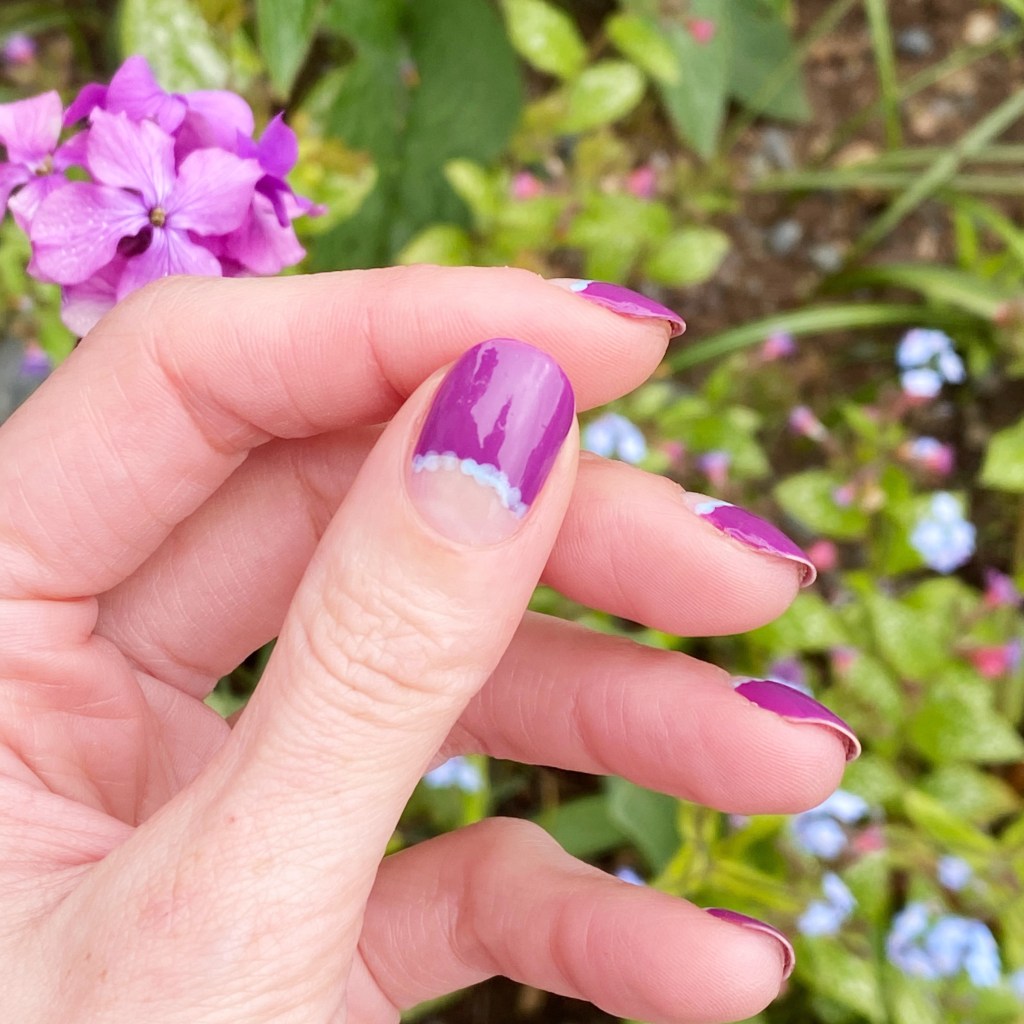
SWATCH SUNDAY — Sally Hansen Miracle Gel Hyp-nautical

Hello loves & happy Sunday! & happy long weekend to all who get to celebrate! The May long weekend always feels like the official beginning of Summer, which I’ll gladly take — even if they’re calling for thunderstorms today. Bring on the beach & BBQ!

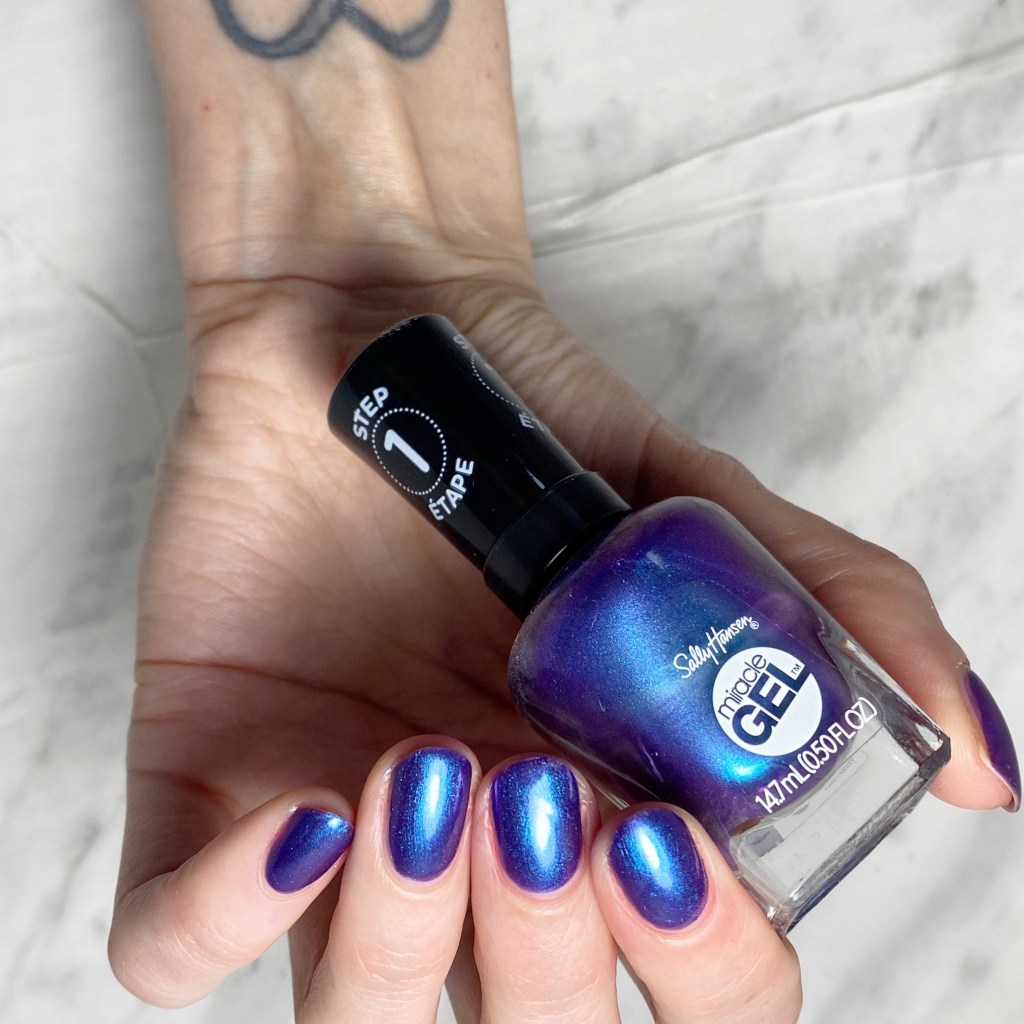
Today, though, I’m throwing things back to a shade originally released for Winter 2020. What can I say — I like to keep you on your toes. This is Sally Hansen Miracle Gel Hip-nautical.

3 coats + top coat

I’m not even sure how to begin to describe this shifty polish. The base is a darker blue that flashes purple or lighter blue depending on the lighting or how you move your fingers. It did take 3 coats for a full solid coverage — & the best shift — but the polish formula is very thin so it dries quickly.

Definitely needs a good coat of top coat to finish it off. Keeps that beautiful shine, & helps smooth out any brush strokes.

The shift between colours is actually very good. Maybe not as shifty as in the bottle, but I rarely find that drugstore polishes are. The flash of blue is very strong on this shade, which is just absolutely gorgeous! & I love, as you can see in this macro shot, you get all the levels on this polish in one shot.

Sally Hansen Miracle Gel Hyp-nautical is now part of the permanent core collection, so you can find it where ever Sally Hansen shades are sold including:

What do you think about Sally Hansen Hyp-nautical? Is this a shade that you would wear? Are you a fan of the Sally Hansen Miracle Gel line? Let me know all your thoughts in the comments below.

Zany Freehand Swirls

Happy Friday lovelies! 💙

I hope everyone has had the best week! The weekend is (almost) here. & it’s a long weekend at that! What could be more exciting? Well… how about some fun nail art? Today I’m sharing a fun look that was super, super easy to do: these fun & zany freehand swirls.

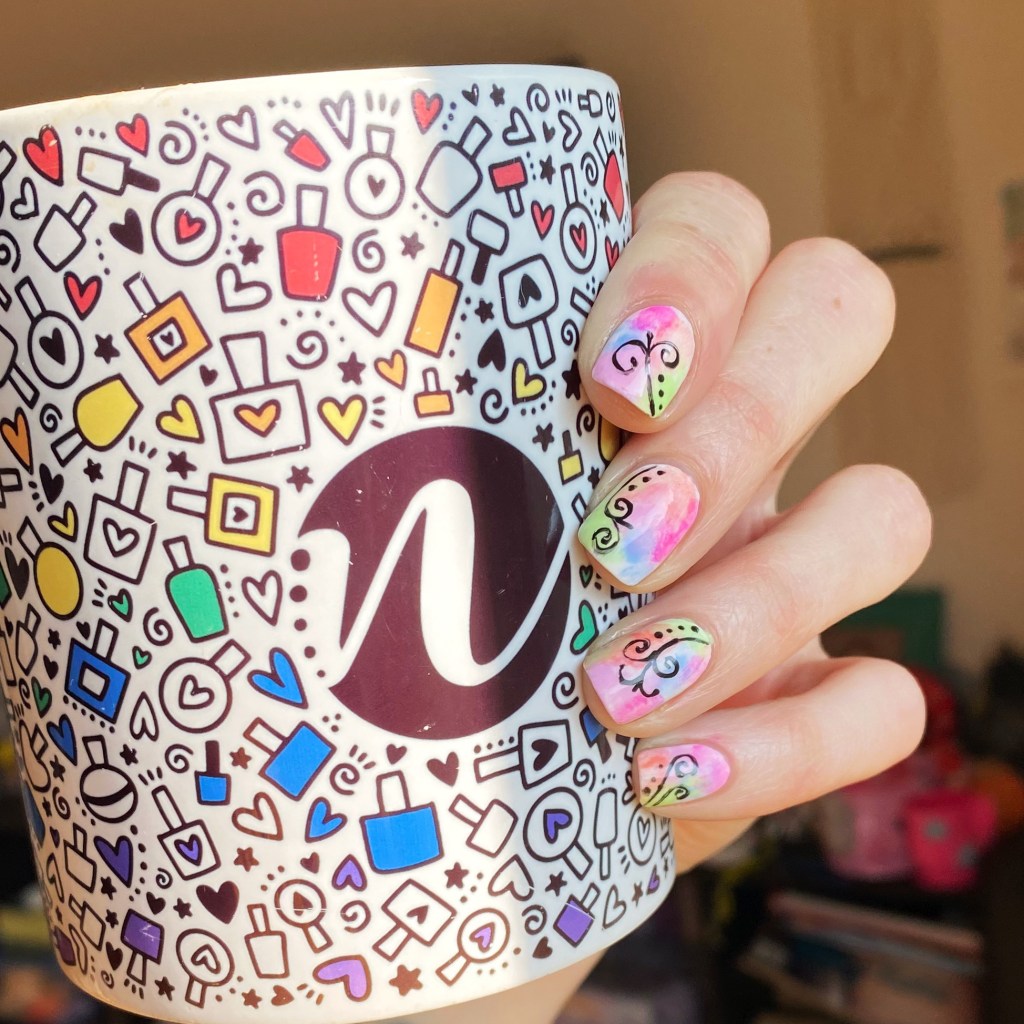
I recently re-discovered some old Art Club Nail Art Duo pens from years ago, & decided to see if they were still any good. What resulted was this fun look! The colours are a little bit outside my usual wheel house, but I wore this look for over two days, so I ended up really liking it.

The polishes I used for this manicure are: 

  • Base Coat: Londontown KUR Nail Hardener & Base Coat 
  • Top Coat: Seche Vive Fast Dry Top
  • Sally Hansen Miracle Gel Neon Lemon Chillo
  • Sally Hansen MG Get Mod
  • NailStuff.ca 16mm Striper Brush
  • Color Club Art Club Striper Passion Flower
  • Art Club Nail Art Duo Hot Purple
  • Art Club Nail Art Duo Royal Blue

Sometimes I forget that nail art isn’t supposed to be stressful, it’s supposed to be fun! & this nail art look was definitely fun. It definitely has me already planning on buying a whole bunch for stripers, just for fun.

What do you think of this nail art look? Are you a fan of this colour scheme? Would you wear a look like this? Let me know all your thoughts down in the comments below!

Girly Blue & Pink Freehand Chevron Moons 🌙

Hello loves & happy Wednesday!

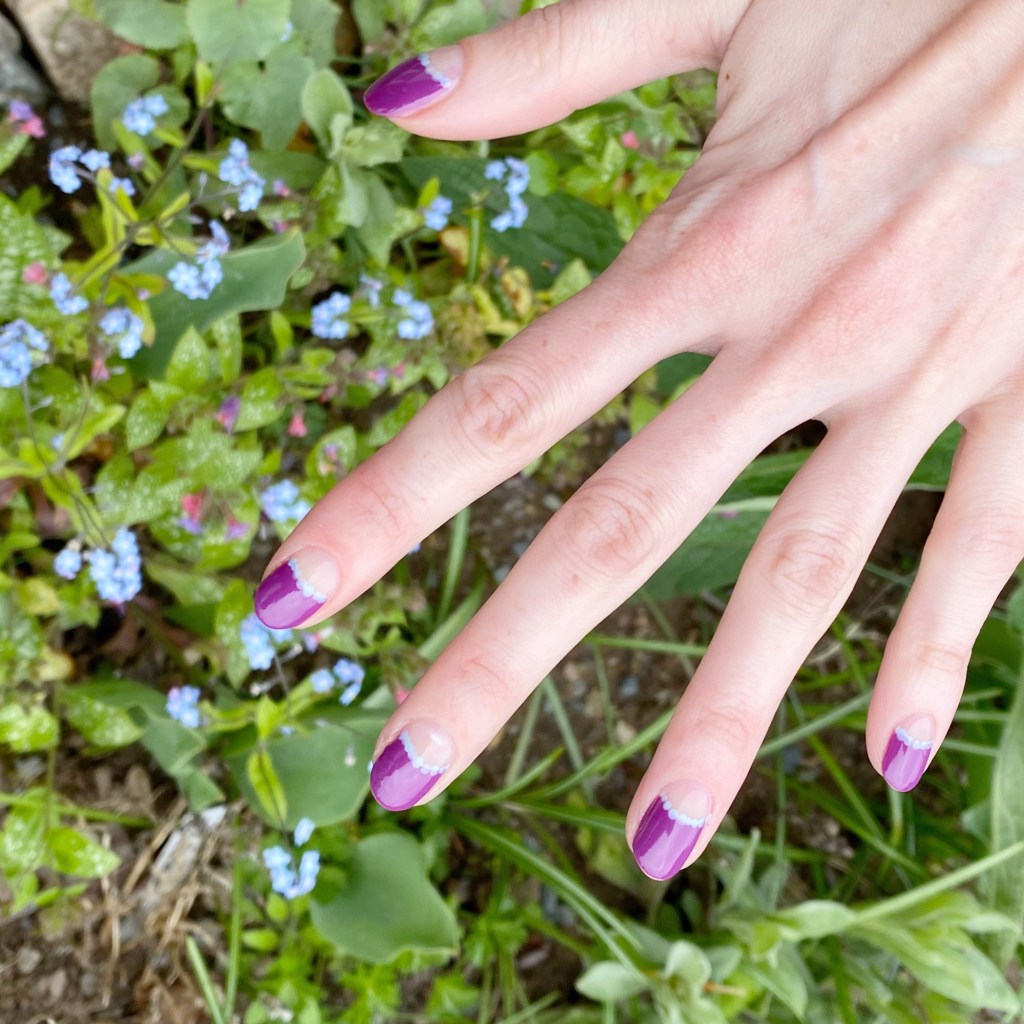
Already the middle of the week –how crazy is that? Today I’m sharing another cute look on these new shorties of mine. Whenever I have a bad break, I always get stressed about what I’m going to be able to paint on my nails. But the truth is, nail art looks just as cute on short nails as it does on long… & sometimes it looks even cuter! I always find that a moon/chevron moon design looks best on a shorter nail length, which is why I tend to do them more when my length is short.

Today’s look I went simple, & girlie.

The polishes I used for this manicure are: 

  • Base Coat: Londontown KUR Nail Hardener & Base Coat 
  • Top Coat: Seche Vive Fast Dry Top
  • Sally Hansen Good. Kind. Pure. Love You Lotus
  • Sally Hansen GKP Blue Moonstone
  • Color Club Art Club Striper Passion Flower

Back in the early days of my Instagram, I saw a tutorial from @christabellnails that showed how do easily do the v-shape of a chevron moon, & I’ve been doing it that way ever since. Obviously, I do still do the occasional vinyl look too, but this is so much easier if you don’t want to have to wait for your base shade to full dry.

Also these colours are so cute together! Blue Moonstone from the Good Kind Pure line is still one of my favourites to grab for a quick manicure, so I enjoyed pairing it with this soft pink base. & just a little hint of purple around the edges.

What do you think of these freehand chevron moons? Do you like a simple design like this, or are you a fan of a more poppy complicated look? Let me know all your thoughts down in the comments below!

& have a happy Wednesday! ♥︎

*contains PR/gifted items

Itty Bitty Gradient Dotticure

Hello lovelies! Yes it’s me — only we’re rocking some shorties again. (Okay, & I’m drinking a matcha lemonade — my other drink aside from coffee!) I mentioned I had a patch on my middle finger nail of a bad crack. I finally decided I was over trying to keep it from cracking worse, & decided to chop my my nails down.

Today I went with a simple but fun look to wear. I love a good gradient dotticure, but I realized it’s been a long time since I actually did one. This design was actually inspired by this look from 2016. I thought since we were back down to shorties, why not find some fun nail art to do on short nails!

The polishes I used for this manicure are: 

  • Base Coat: Londontown KUR Nail Hardener & Base Coat
  • Top Coat: Seche Vive Fast Dry Top
  • Londontown KUR Mint No Chip
  • Sally Hansen I ❤️ Nail Art pen in purple
  • Sally Hansen I ❤️ Nail Art pen in turquoise
  • Sally Hansen I ❤️ Nail Art pen in pink
  • Sally Hansen Miracle Gel Get Mod
  • Itty Bitty Dotting Tool (NailStuff.ca Dotting Tool Trio)

How absolutely adorable as these itty bitty polka dots? You could definitely do this with a tiny dotting tool & an assortment of polishes, but I love those Sally Hansen I ❤️ Nail Art pens because it makes it so easy! I really wish Sally Hansen would bring them back, because they’re amazing for nail art — & mine are starting to empty out after all these years.

What do you think about this Gradient dotticure? Do you think you’d wear this fun (& easy!) look? Let me know all your thoughts down in the comments below.

& feel free to share any nail art you’d love to see me do on my new short nails!

Happy Friday! 🖤

Funky Bright Abstract Stripes

Hello lovelies & happy Wednesday! A beautiful sunny Spring Wednesday.

I’ve really been feeling the bright colours lately, so I decided to dig through my stash to see what fun colour combinations I could come up with. Originally I had picked out these colours to do in a moon manicure, but it was late, I was tired & I didn’t want to wait for my base to dry so I decided to do the next best thing! A fun abstract stripe look.

The polishes I used for this manicure are: 

  • Base Coat: Essie Hard To Resist Glow & Shine 
  • Top Coat: Seche Vive Fast Dry Top
  • China Glaze Thistle Do Nicely
  • China Glaze I Got A Blue Attitude
  • Sally Hansen Miracle Gel Blacky-O
  • Sally Hansen Complete Salon Manicure Let’s Snow
  • NailStuff.ca 16mm Striper Brush

I love love love these two colours together, I can’t lie. I’ve always been a fan of pairing purple/corals together. In high school, my bedroom was painted a very vibrant shade of purple, & my curtains were this coral-y orange. & I loved it!

It was the early 2000s… don’t judge haha.

Either way, this is a fun, bright look to show off on a bright & sunny day like today. Of course, when I took these pictures it was not a sunny day… but you know, this kind of look works on a cloudy, rainy day too. Really, I’ll take any excuse for bright nails right now.

What do you think of these fun, funky bright abstract stripes? Are you hearing the call of the Summer neons? I’ll be honest, I bypassed right past pastels & full on into my brightest polish shades, but I’m okay with that!

Have a happy Wednesday!