Easter Mini Egg Nails

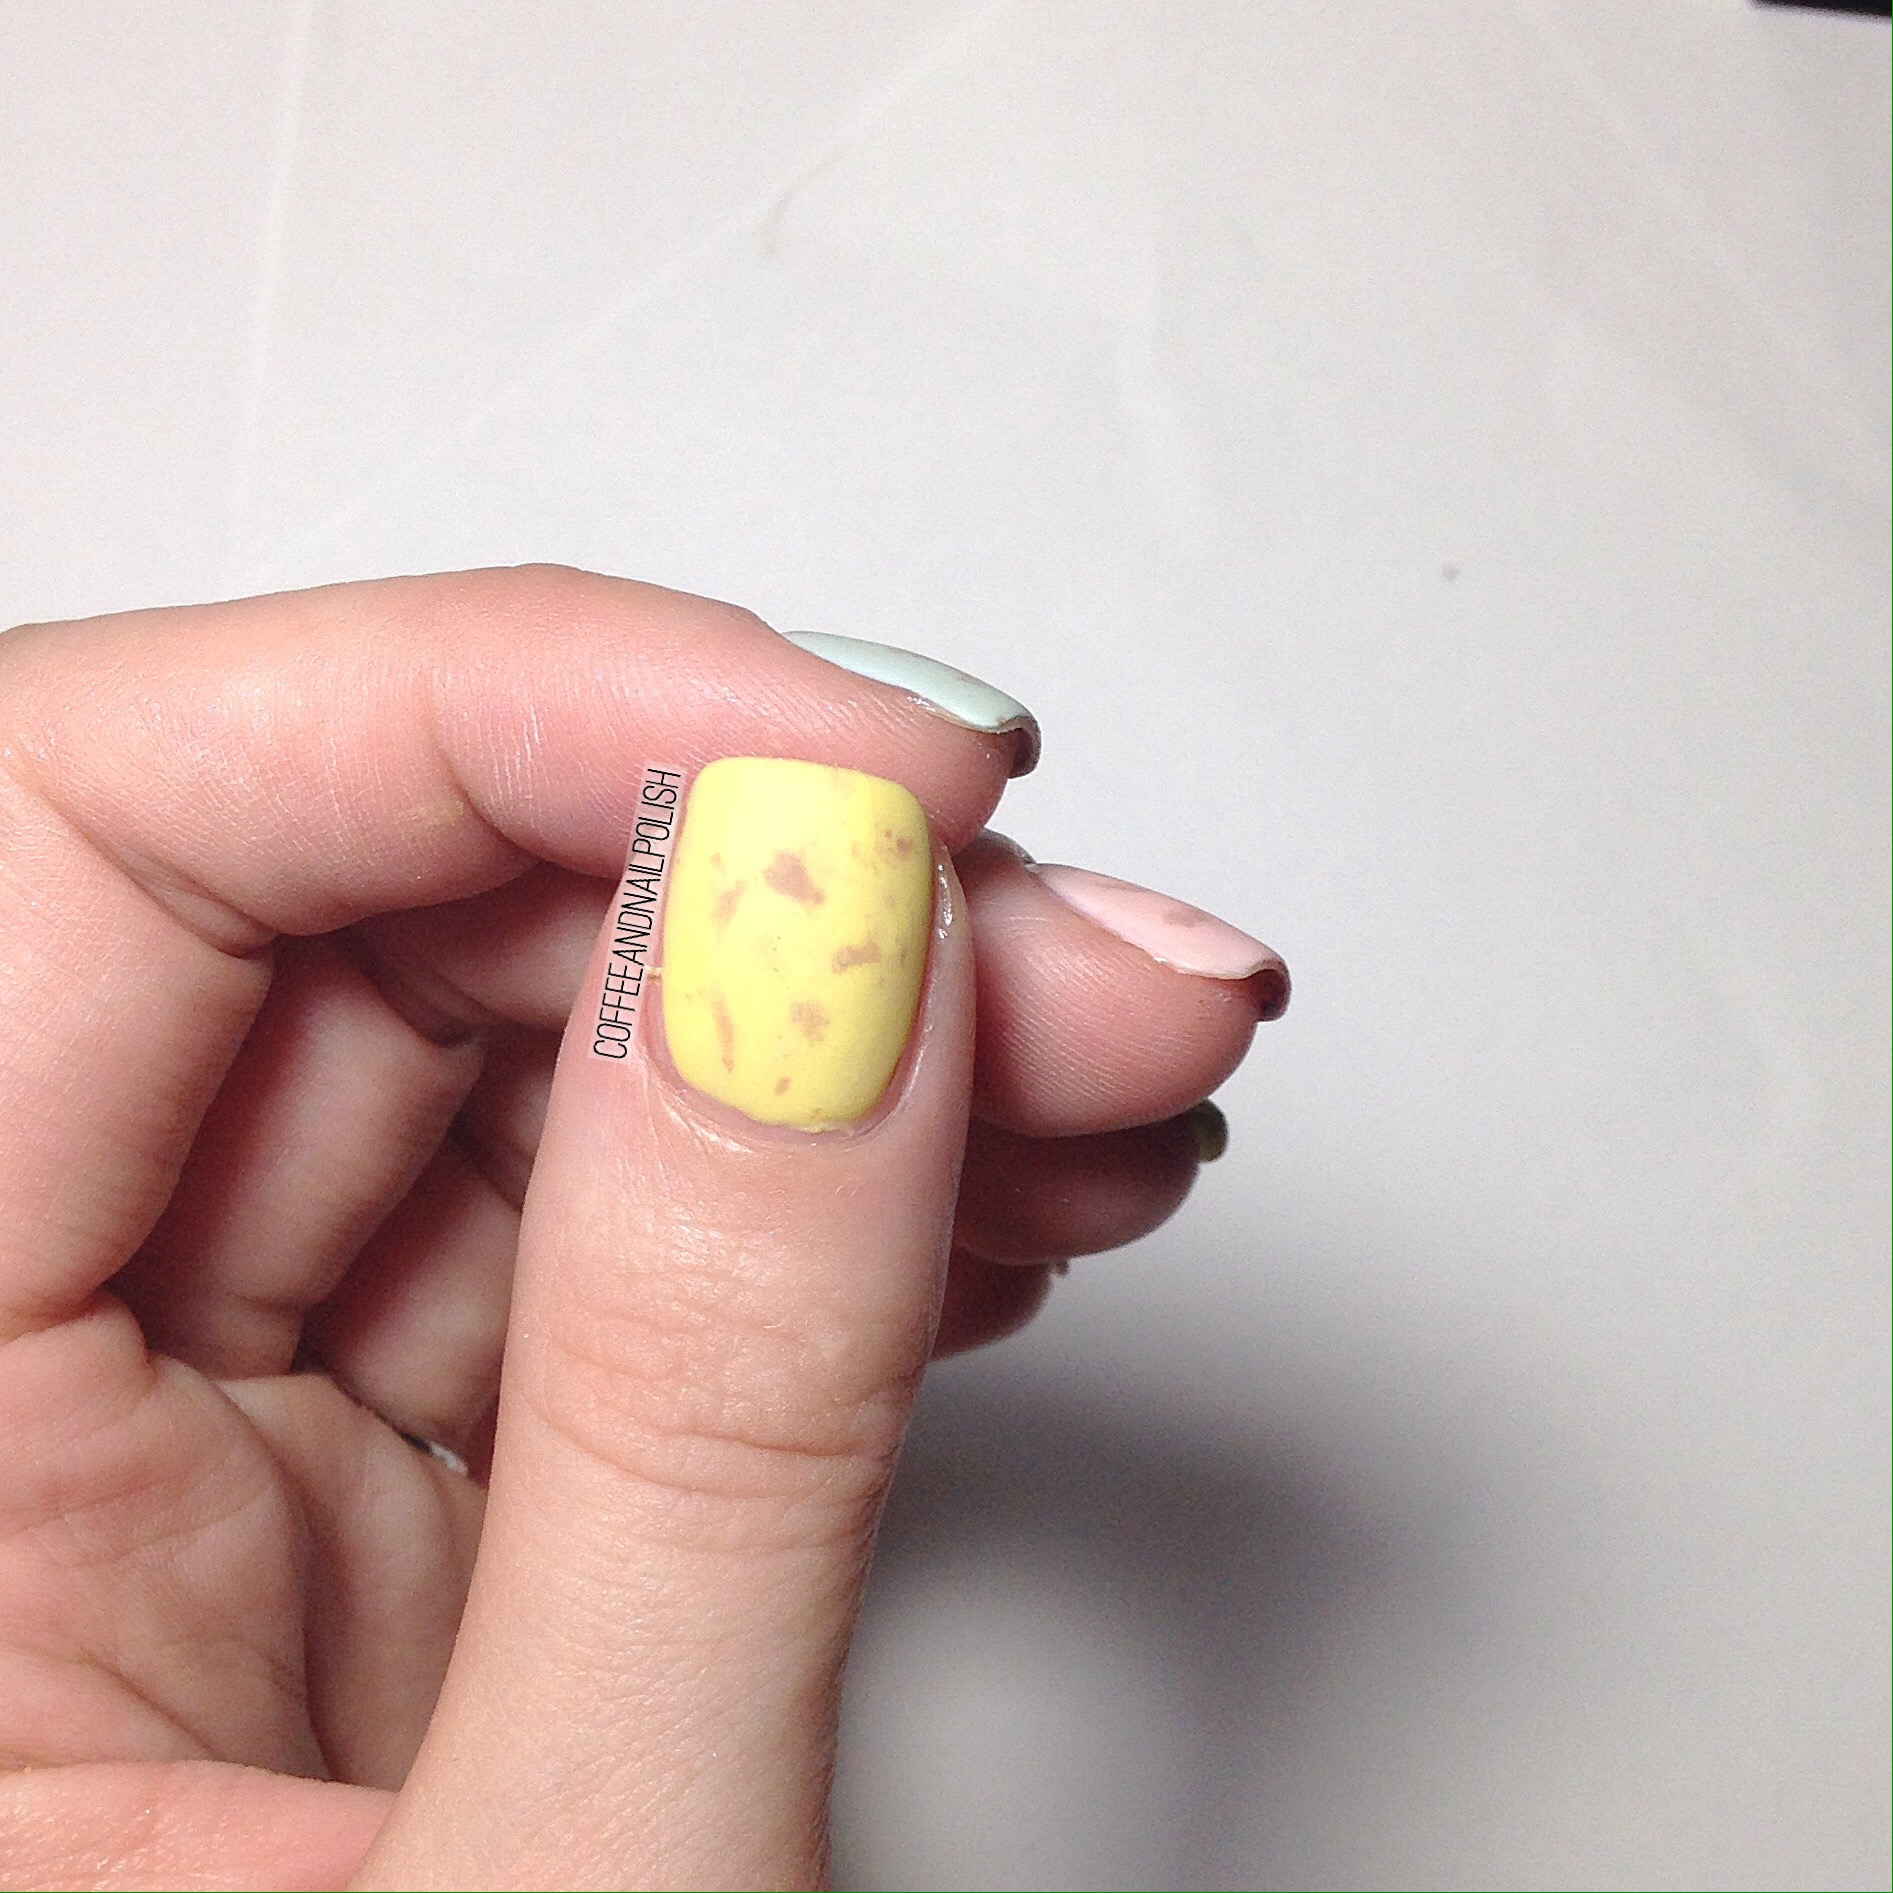
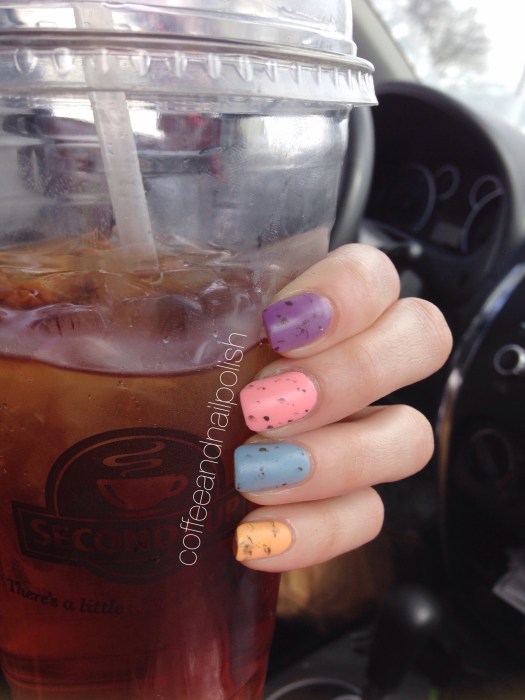
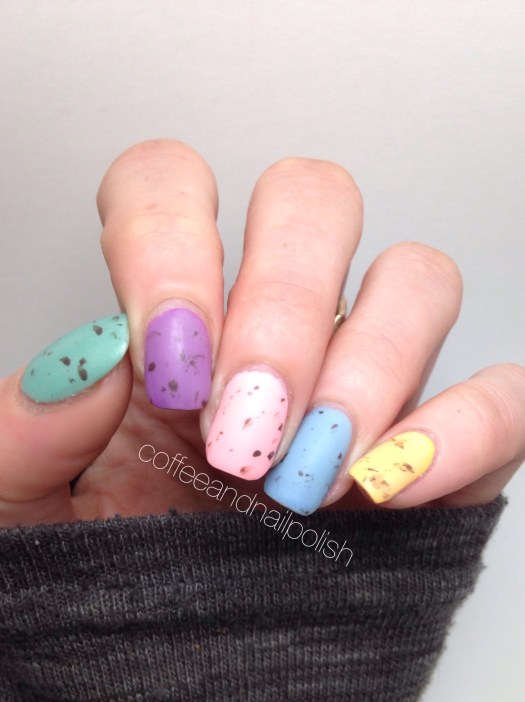
Is there anything more Easter-y than  Cadbury Mini Eggs? Well, I mean back in the day when they only came out at Easter. Sadly my lactose intolerance has come back since having the little one, but that doesn’t mean I don’t still love those delicious chocolate eggs (it just means I can eat them.) & since I won’t be enjoying them in my Easter basket this year, I thought I would continue the tradition of recreating them again on my nails. (I did mini egg nails previously in 2015 here & 2016 here) 
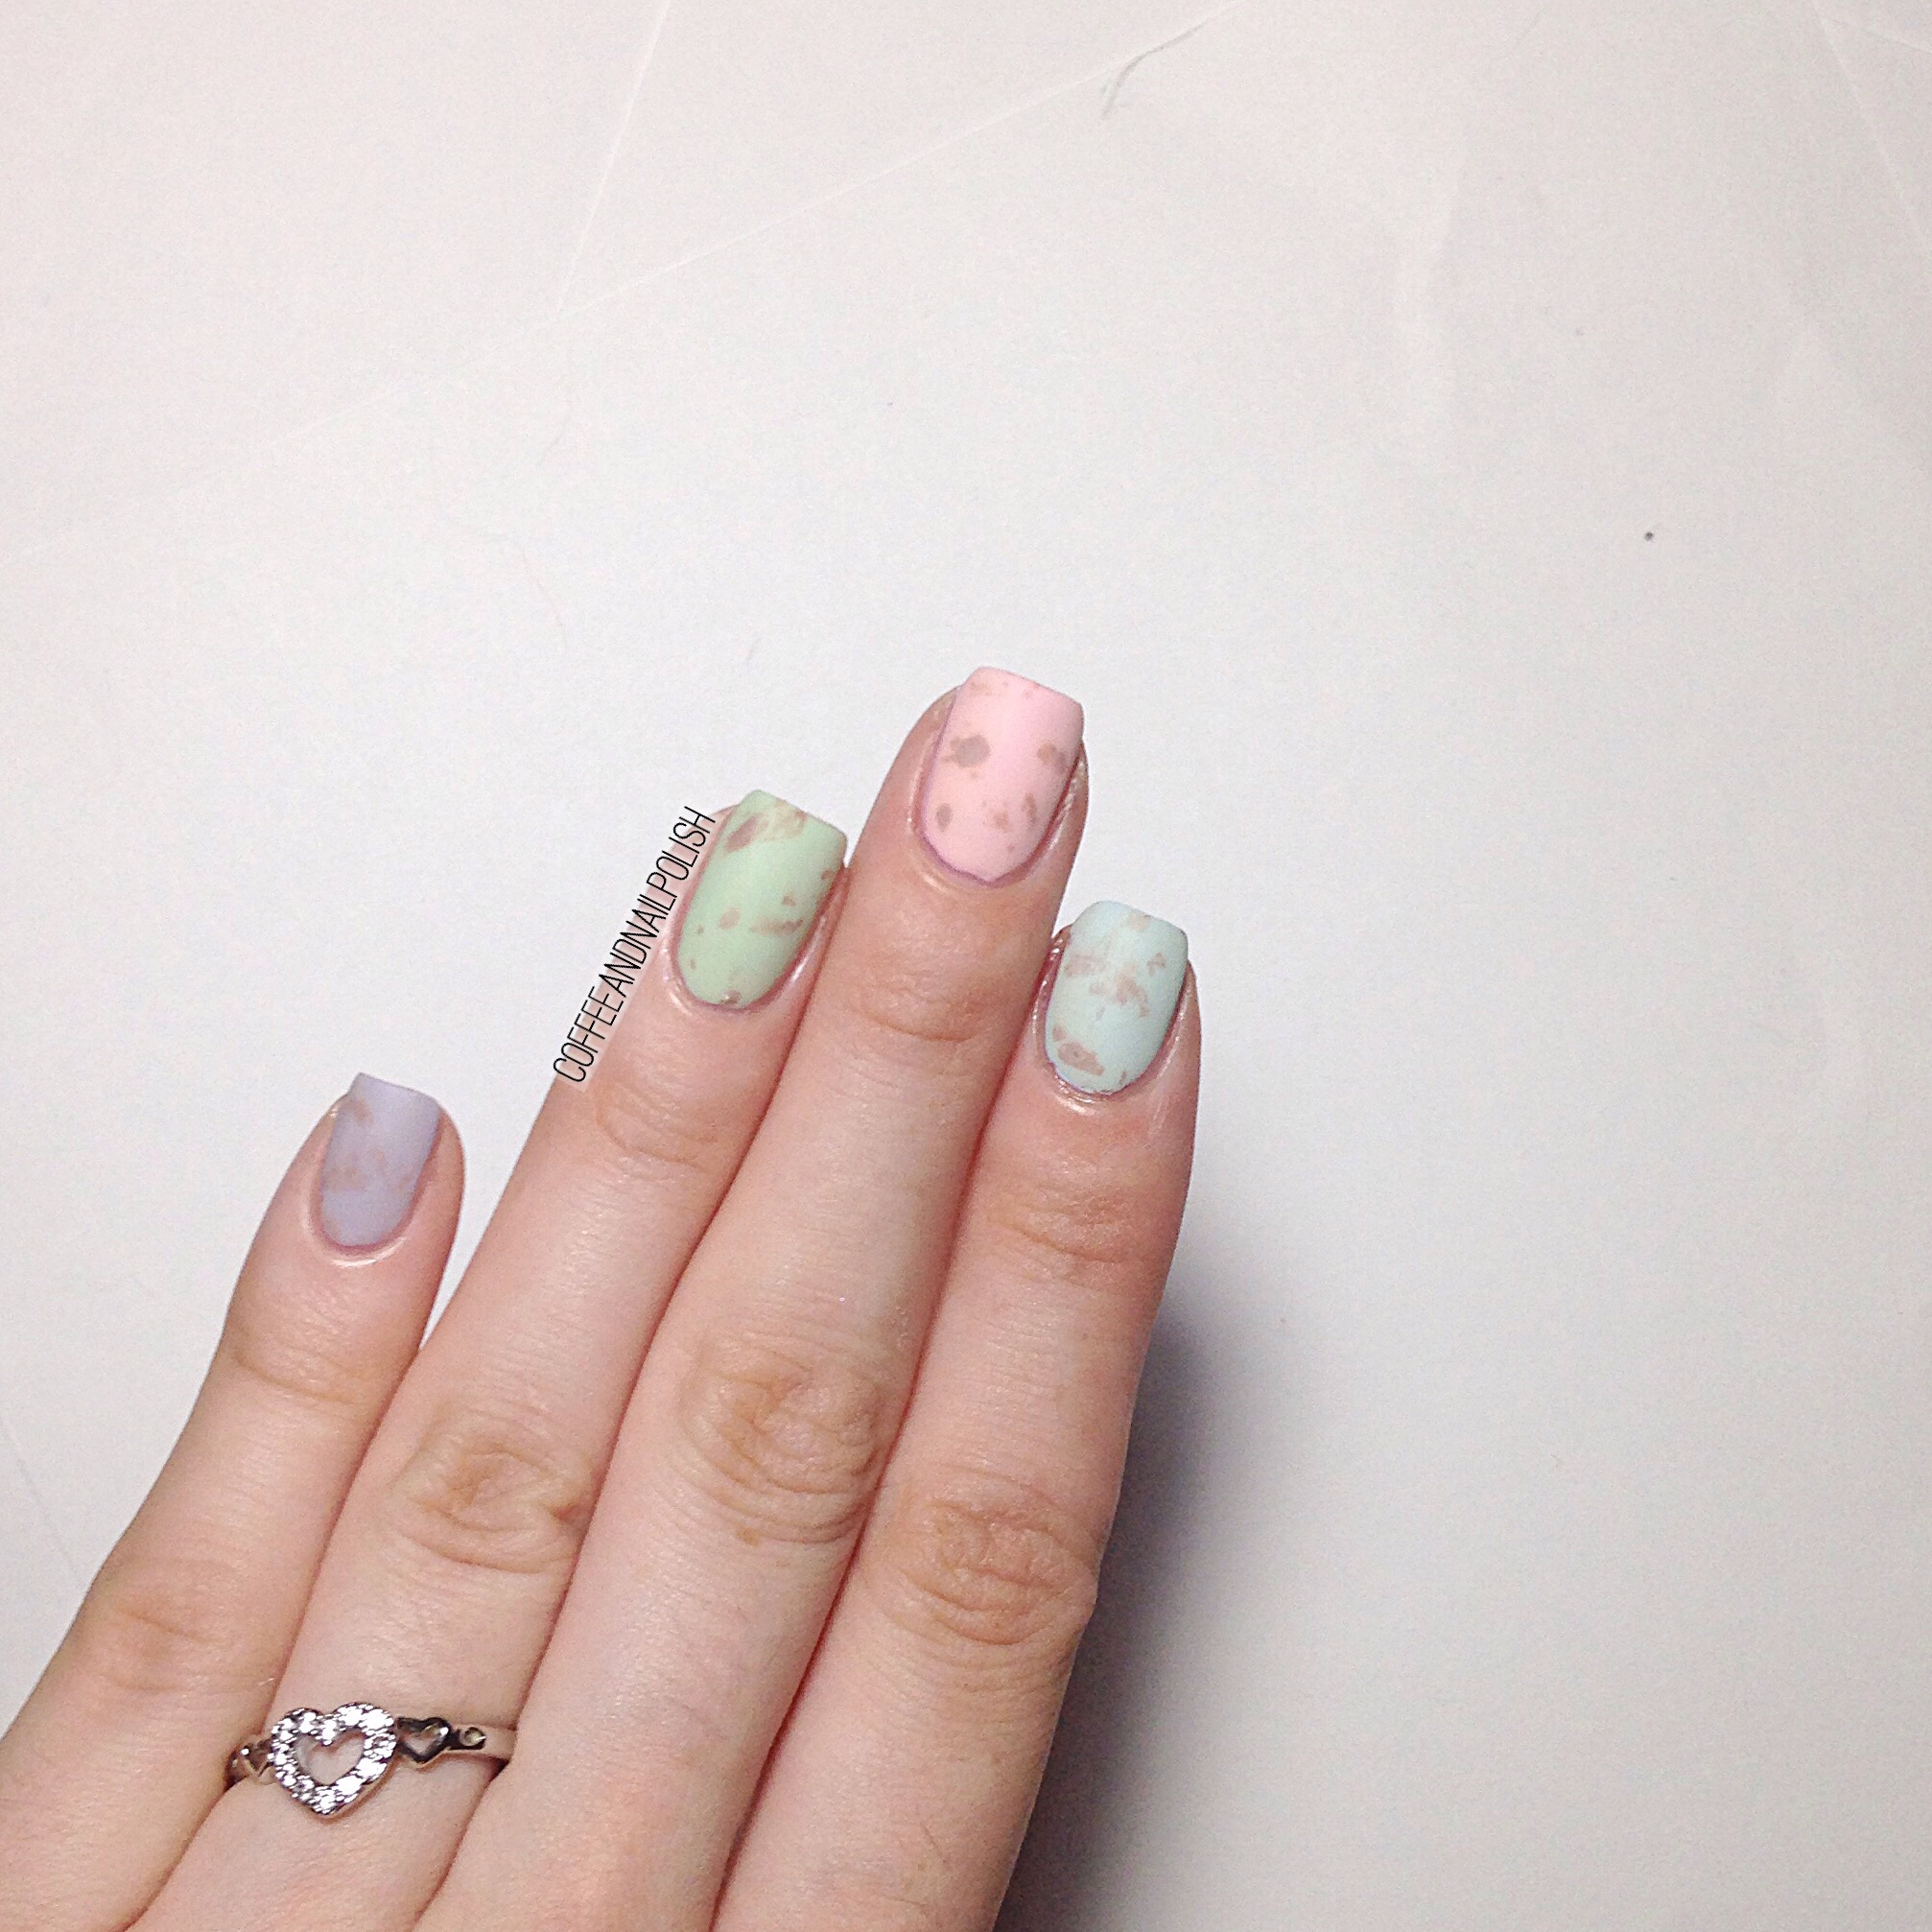

For this mani, the polishes I used were:

  • Base Coat: Perfect Formula Pink Gel Coat Base Coat
  • Top Coat: Cutex Quick Dry Top Coat
  • Matte Top Coat: L’Oréal the Matte Velvet top coat. 
  • China Glaze Sun Upon My Skin
  • Hard Candy Sky
  • OPI Getting Nadi On My Honeymoon
  • Revlon Minted
  • Nubar New Mood
  • Essie Cocoa Karma
  • Wet N Wild 2% Milk
  • Crinkled Up Plastic Wrap


 I’ve been doing these nails every year and I love how each time year turn out differently depending on the polishes and techniques used. I also think it’s because they’re just so easy to do, but it looks fantastic & just the right amount of festive! But fair warning: they will make you crave chocolate mini eggs. & if you can’t eat chocolate that could become problematic. Haha.  Don’t say I didn’t warn you!


What’s your favourite Easter designs to create & recreate? Do you already have planned what you’re wearing on your nails for Easter? Let me know in the comments below! 🐰
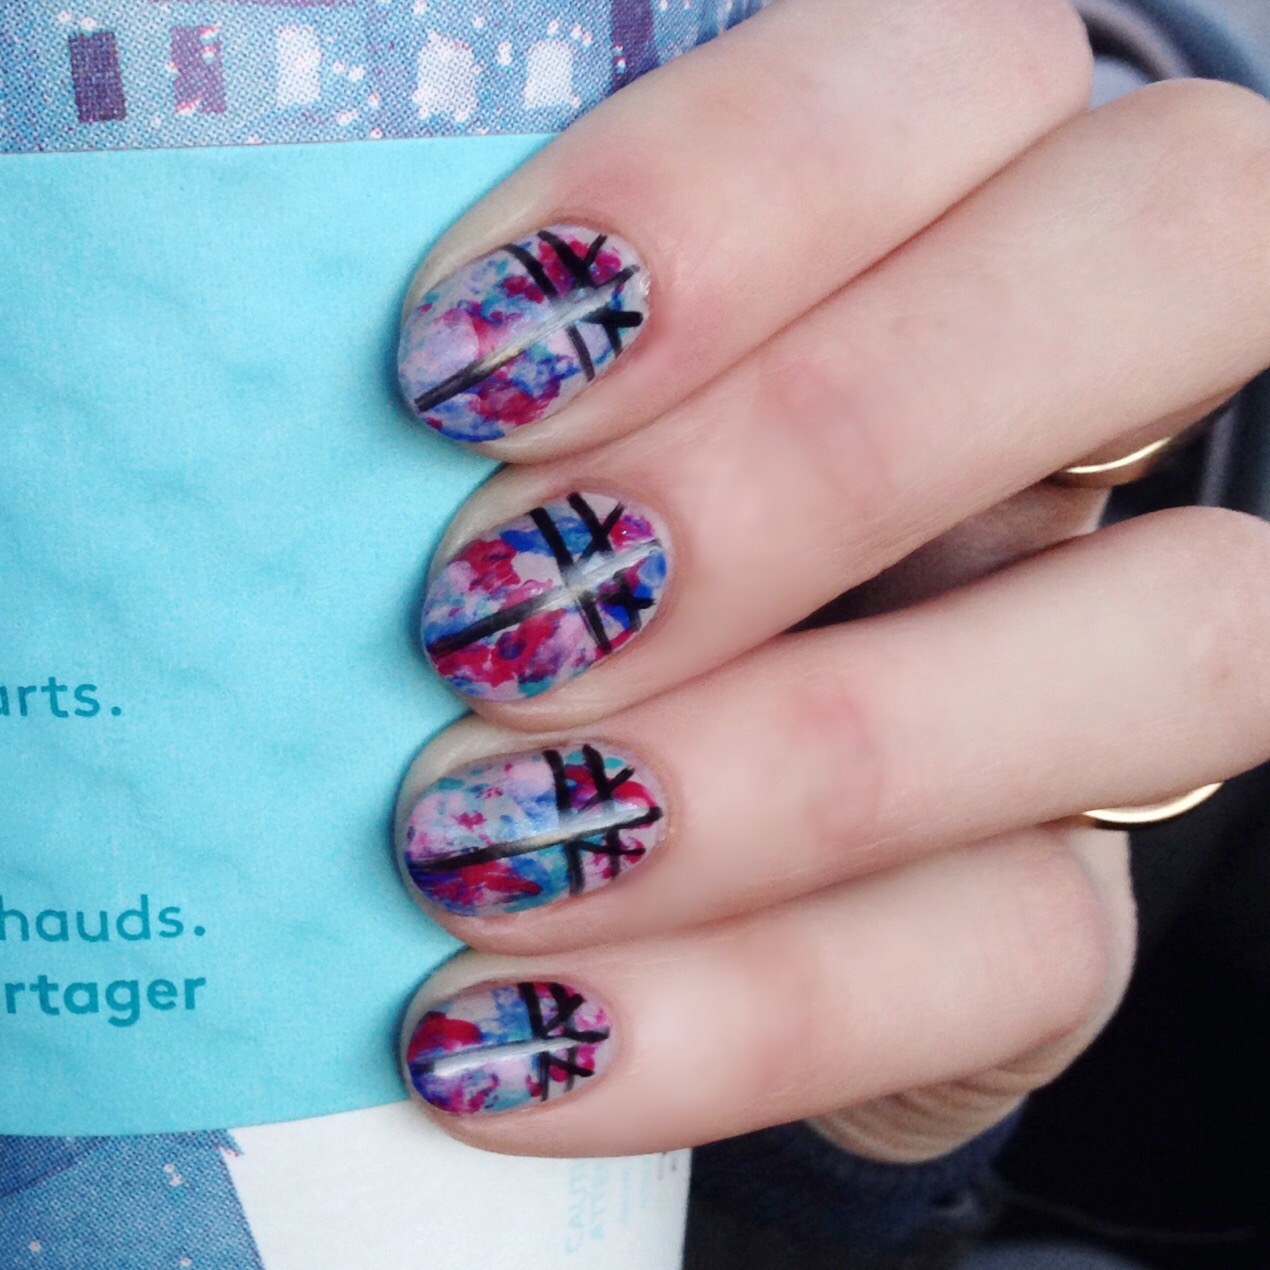
Another go at Saran Wrap nail art 

Happy Saturday lovelies! Hope you’re having a fantastic start to your weekend. And if you’re  one of those unlucky souls currently in the path of that awful Blizzard, I hope you’re staying warm and safe all tucked in with plenty of Storm Chips!


Today I’ve got some Spring-y Saran wrap nails to share with you, which I haven’t posted in quite a while. I love how quick and easy they look. For version of the Saran Wrap nails, I like to paint my polish directly on my crinkled up plastic wrap then dab it on my base colour. It creates a much different look! If you ever want me to create a pictorial tutorial for the technique, let me know and I definitely will (videos still escape me!).


 img_7668

For this manicure, the polishes I used were:

  • Essie Take it Outside (base colour)
  • Essie Garden Variety
  • Essie We’re in it Together
  • Sinful Colors Endless Blue
  • Revlon Cherries in the Snow
  • Black Nail art Striper from Milani
  • Essie Good to Go


img_7679


So what do you think of this manicure? I’m feeling the January Nail Art blues hard. I don’t find there anything inspiring about these cold awful days. =(

Bring on February and all the Valentines Days manicures a girl can handle! ❤

Cadbury mini eggs inspired nails. 

 Edit     

Easter is coming! So I figured it was about time I did some proper Easter nail art and what is more Easter then Cadbury Mini Eggs. (Or at least used to be back when they only came out in the weeks before Easter instead of being out all year.) 


I originally stumbled across the idea for these mini Egg inspired nails on 10blankcanvases.com last Easter, but never got around to creating my own version. Since I can’t eat Chocolate, I decided my next best option was to wear them on my nails! 

The polishes I used for this mani were:

  • Sinful Colors Mint Apple (green)
  • Essence you let my heart skip a beat (purple) 
  • China Glaze Feel the Breeze (pink)
  • Revlon Dreamer (blue)
  • China Glaze Metro Pollen-tin (yellow) 
  • Wet n Wild 2% Milk 
  • OPI How Great is your Dane (specks)
  • Seche Vite Quick Dry Top Coay 
  • L’oreal The Matte Velvet top coat. 


Edit So what are you wearing on your nails for Easter? I’m still trying to come up with a fun mani to wear for our Easter dinner with my inlaws. 

Comparison Post–holo glitter top coats.

IMG_2494


IMG_2495


Hello lovelies!

Today I have a fun swatch post to share with you. A couple weeks ago I was at Wal-mart and noticed that Revlon had released a line of specialty top coats. There was a whole bunch of fun ones, bu the one that caught my eye was the Holographic Pearls top coat, so I had to have it. I tested it out with a snowflake manicure I did, and couldn’t help but be reminded of China Glaze Fairy Dust so I knew I had to do a comparison! I hadn’t yet used OPI My Voice is a Little Norse, so I figured I’d throw it in just to see how close the three of them were.


IMG_2496

On my pointer and pinky, I have two coats of China Glaze Fairy Dust applied over Mary Kay Blue Knight. On my middle finger, I have just one coat of Revlon Holographic Pearls, and on my ring finger I also have one coat of OPI My Voice is a Little Norse. As you can see Holographic Pearls is a much denser glitter than the other two. My Voice is a Little Norse isn’t as dense as the Holographic Pearls, but the glitters are bigger than the other two. I definitely think I still prefer Fairy Dust over the other two, but I do love Revlon’s Holographic Pearl top coat and you cannot go wrong for the price (I paid $3.99 at my local Wal-mart for it). Seeing My Voice is a Little Norse in person now, I’m definitely going to be pulling it out again. I’m quite fond of how it looks, especially over a darker polish. Tis the season for glitter, and I’ve been glitter crazy.


IMG_2497

So what do you think about these holographic glitter top coats? Do you have your own favourite? Like I said, Fairy Dust is still my absolute favourite, but all three are just gorgeous on the nail.

Fall Leaves nail art.

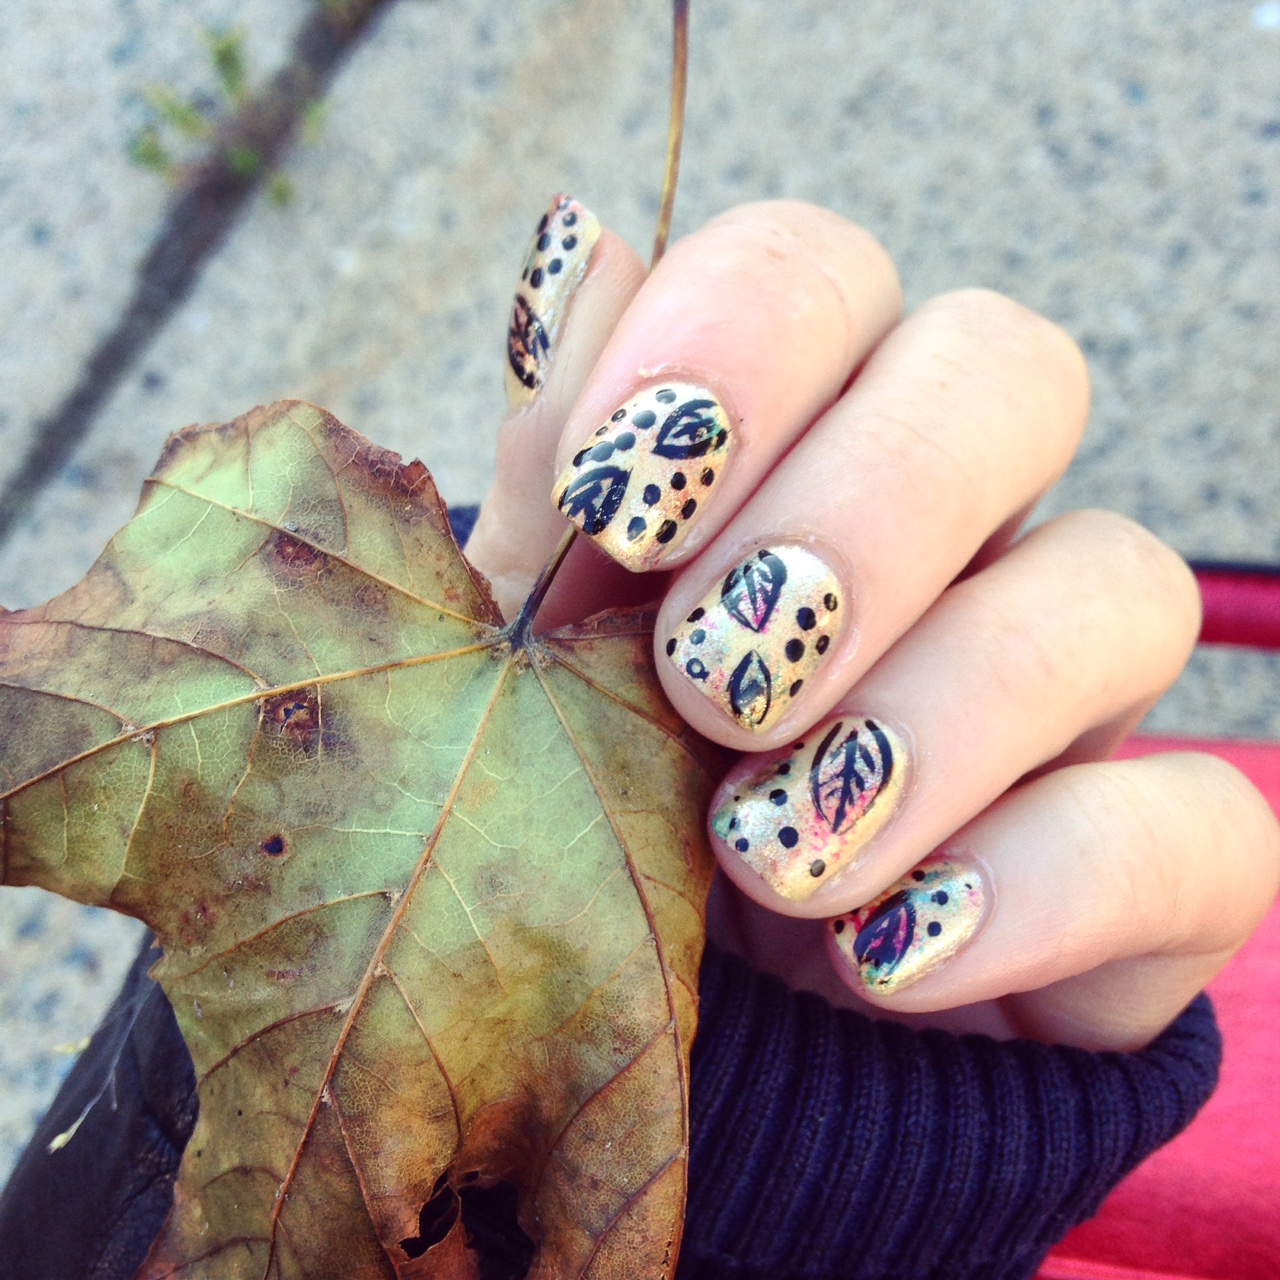
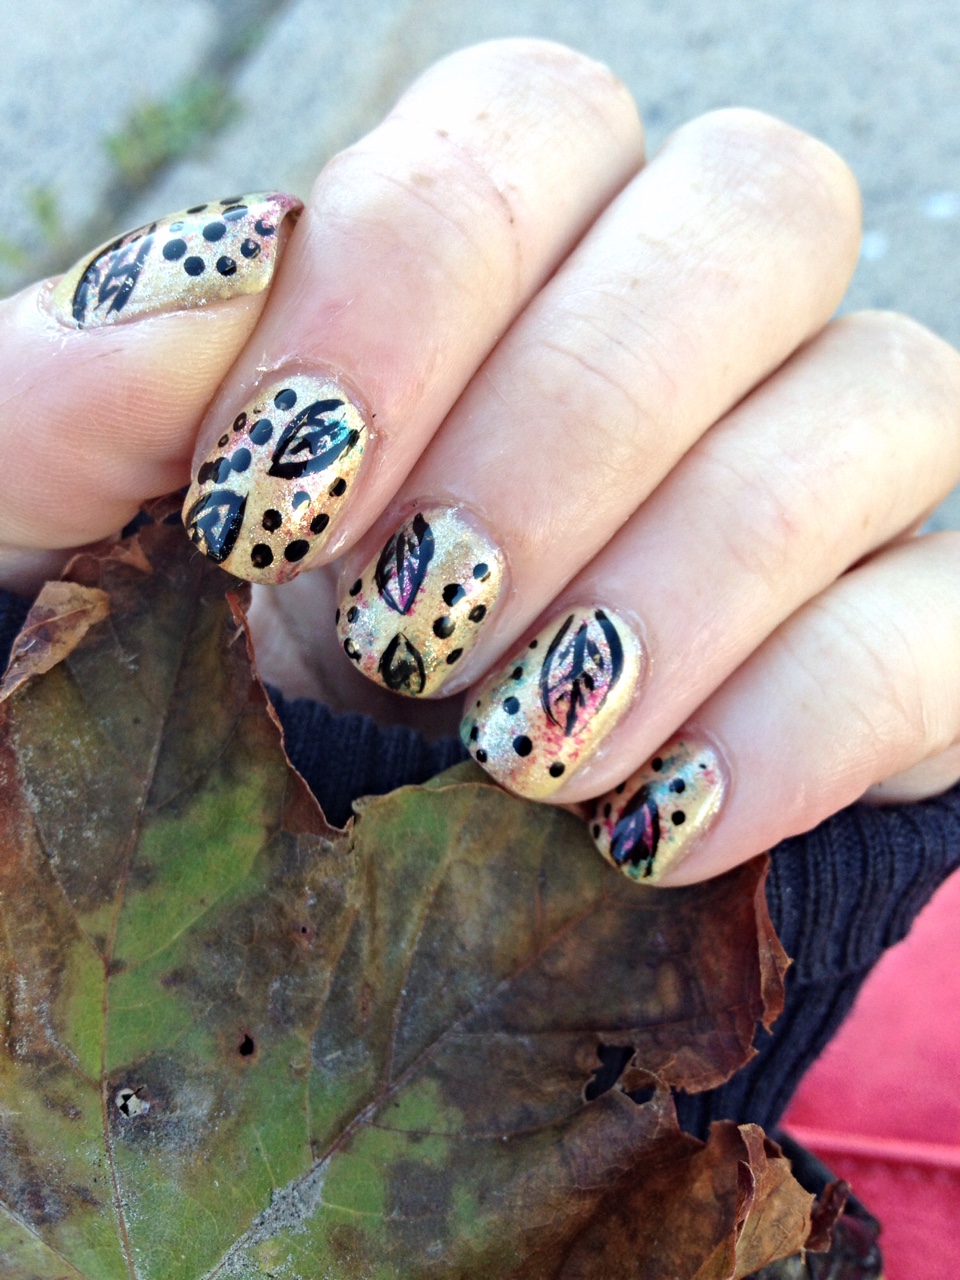
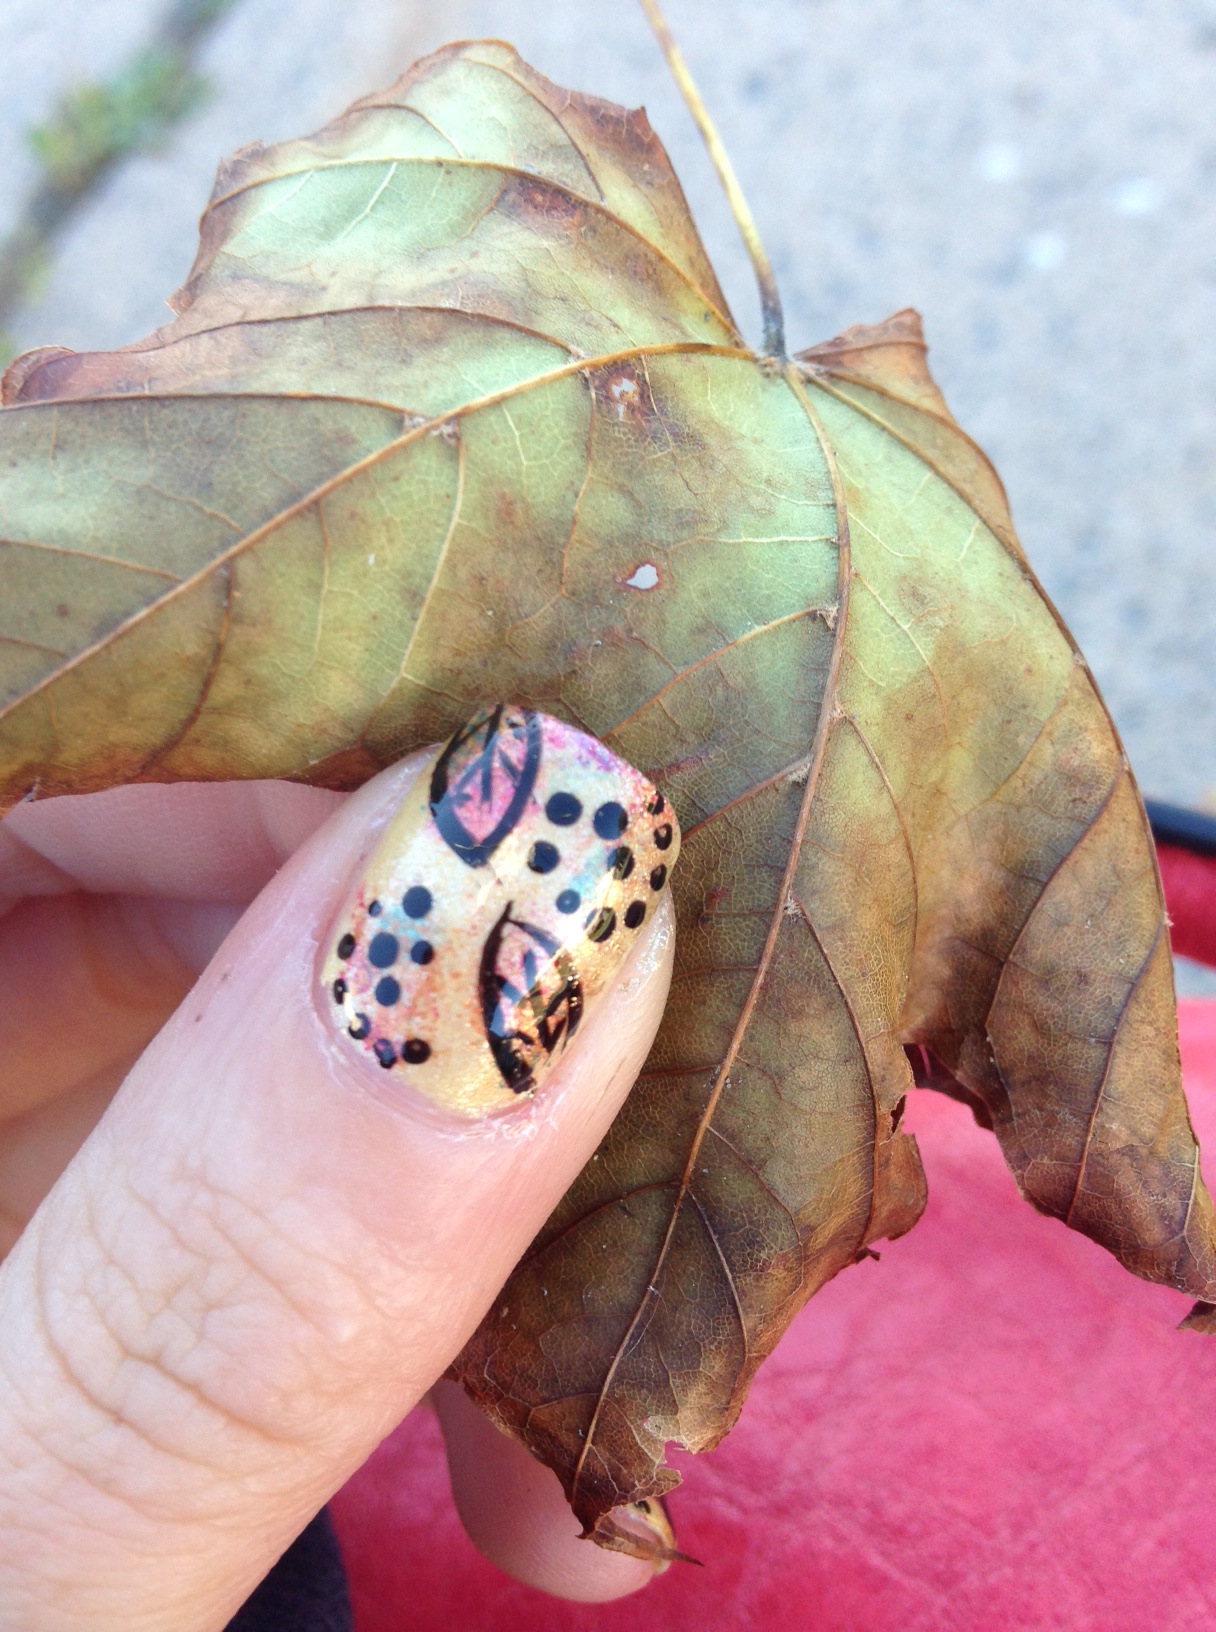
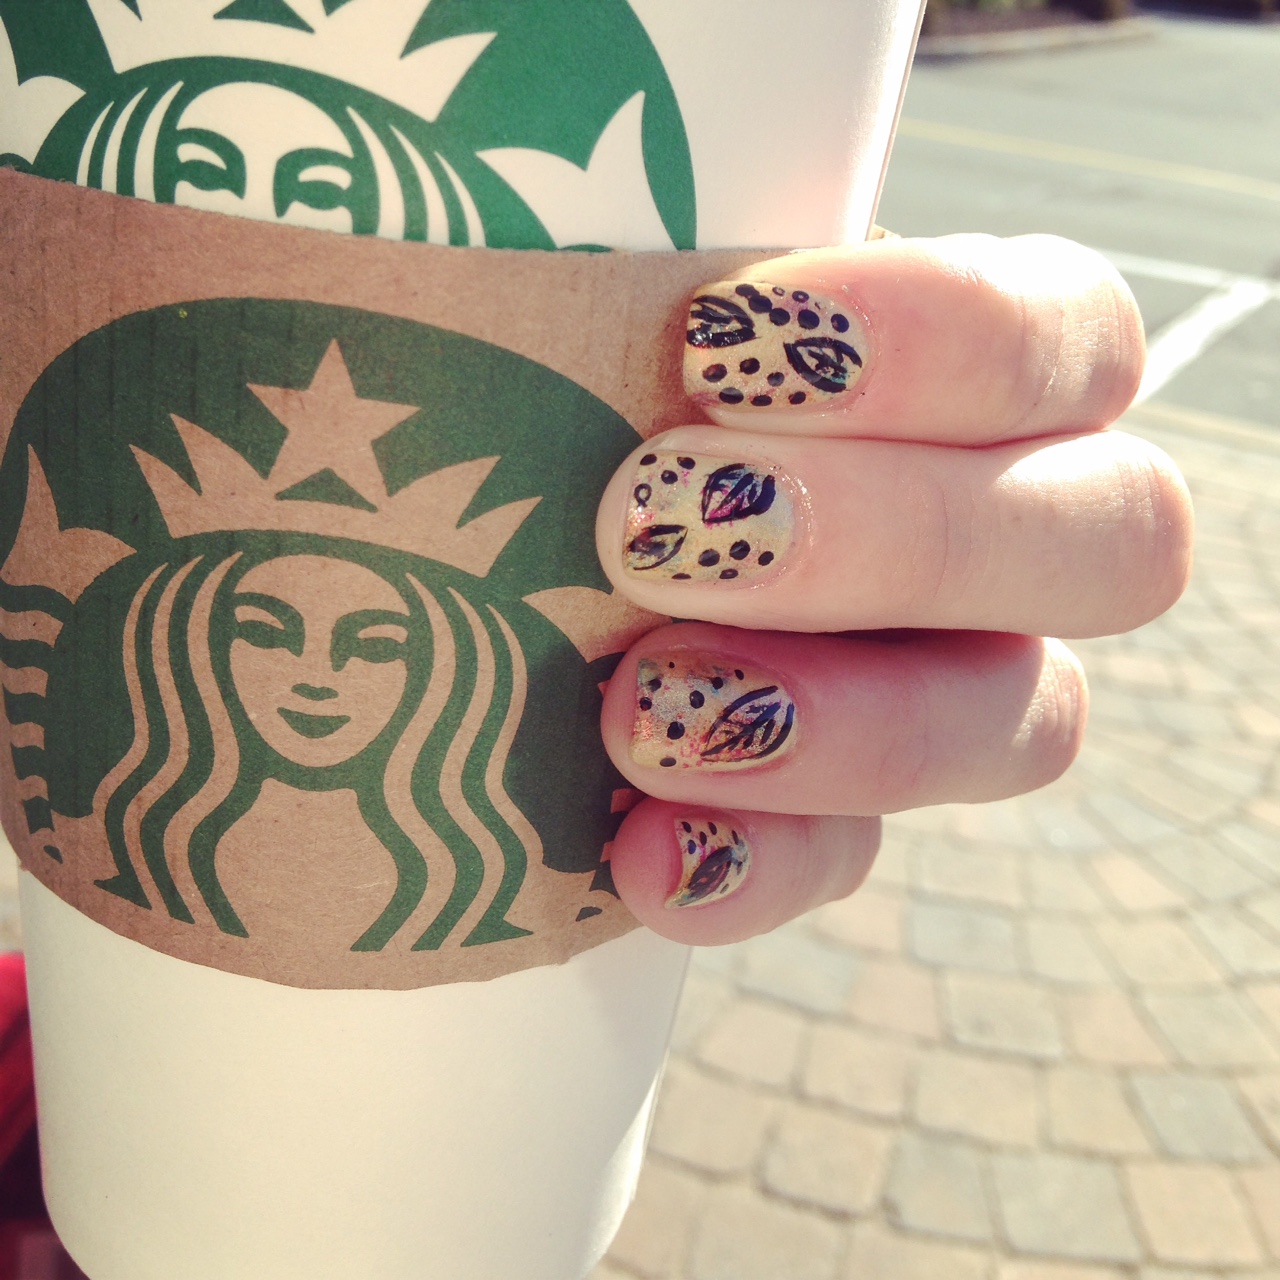
Fall is one of my favorite seasons–I love everything about it. Not too warm, not too cold. Plus the leaves changing color and falling brings me back to being a kid, and raking the leaves just to jump in them. A few weeks back, I did these fall leaves inspired nails in honor of my favorite season.

IMG_0408


The polishes I used for this manicure were:

  • Zoya Piaf — Yellow base color.
  • Nicole by OPI Emerald Empowered — sponging.
  • Claire’s Poison Apple –sponging.
  • Revlon Spidey Sense — sponging.
  • ACO by Ardene Golden Luxury — sponging.
  • Essence Color and Go Mister Rusty — sponging.
  • LA Colors Art Deco Nail Art Striper — leaves outline and dots.
  • Essie Good to Go Top Coat.

I absolutely love the outcome of these nails. I think they perfectly speak Fall to me. I started these without a clear idea of what I was going to do, and they ended up looking beautiful. Don’t you just love when that happens?! =)

IMG_0405

IMG_0401

IMG_0413

So what do you think of this fall leaves manicure?

Check out my next post–I’m going to have a fun Fall/Halloween manicure to share with you. =)