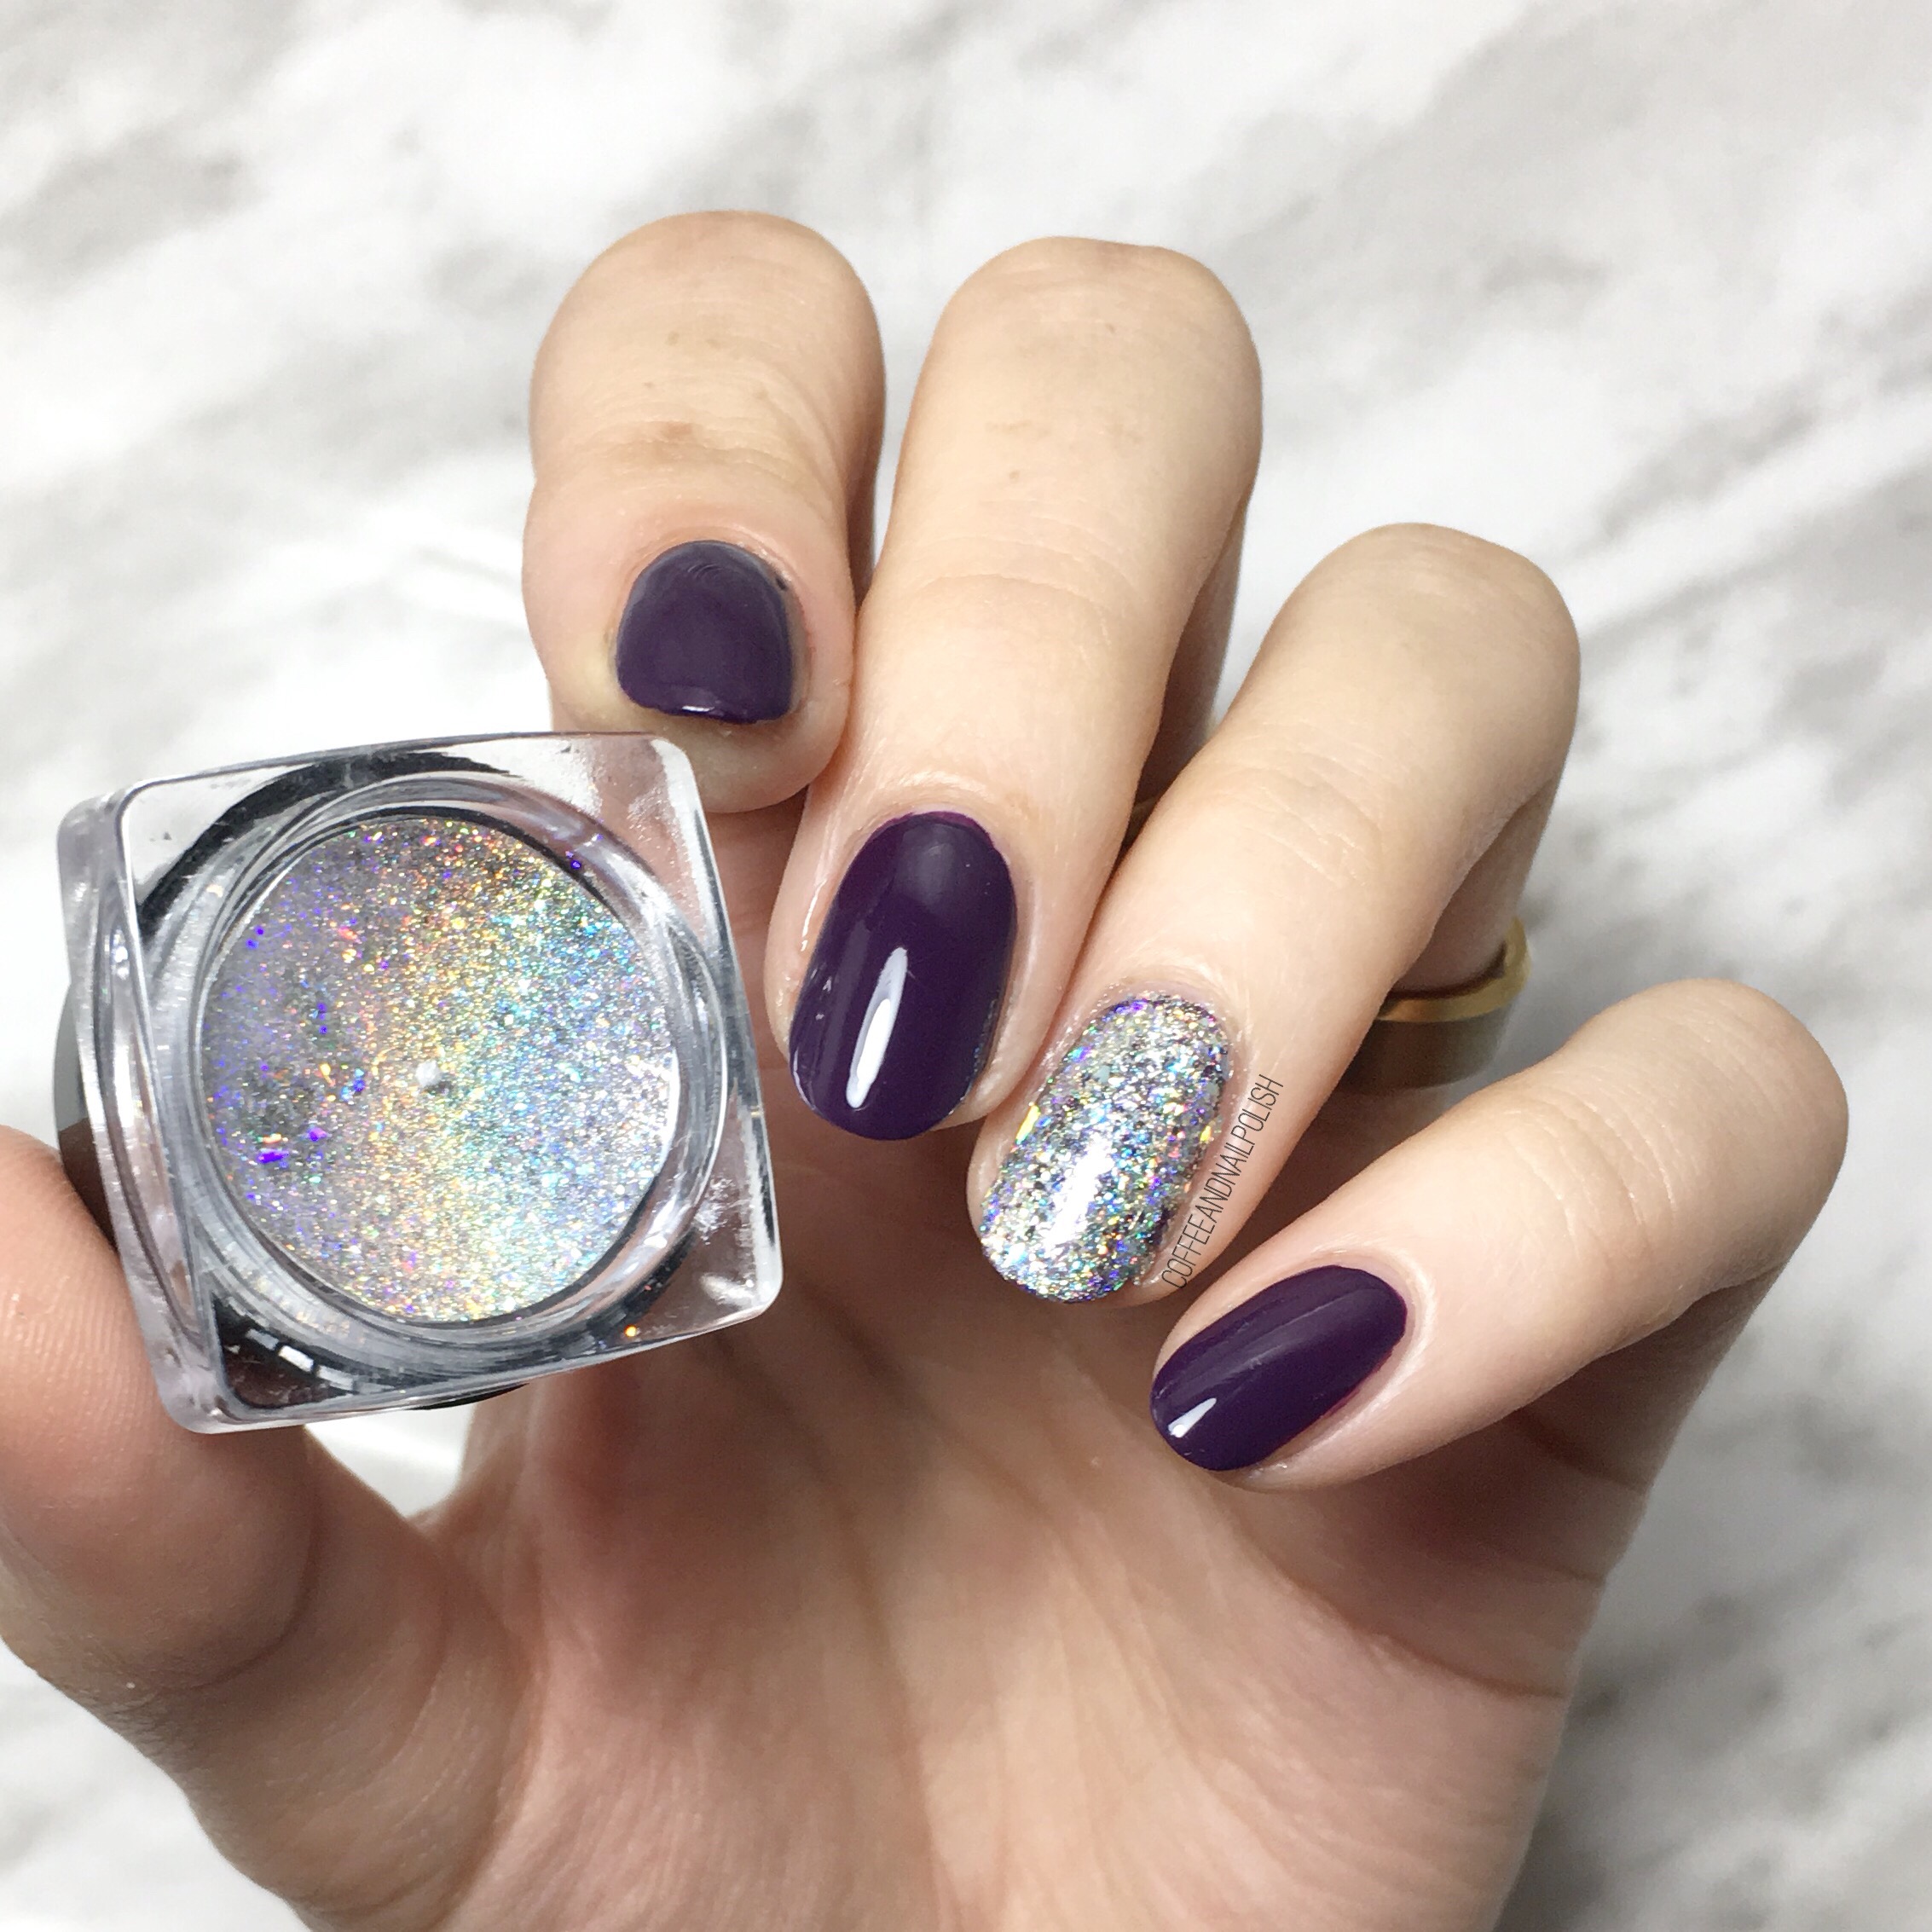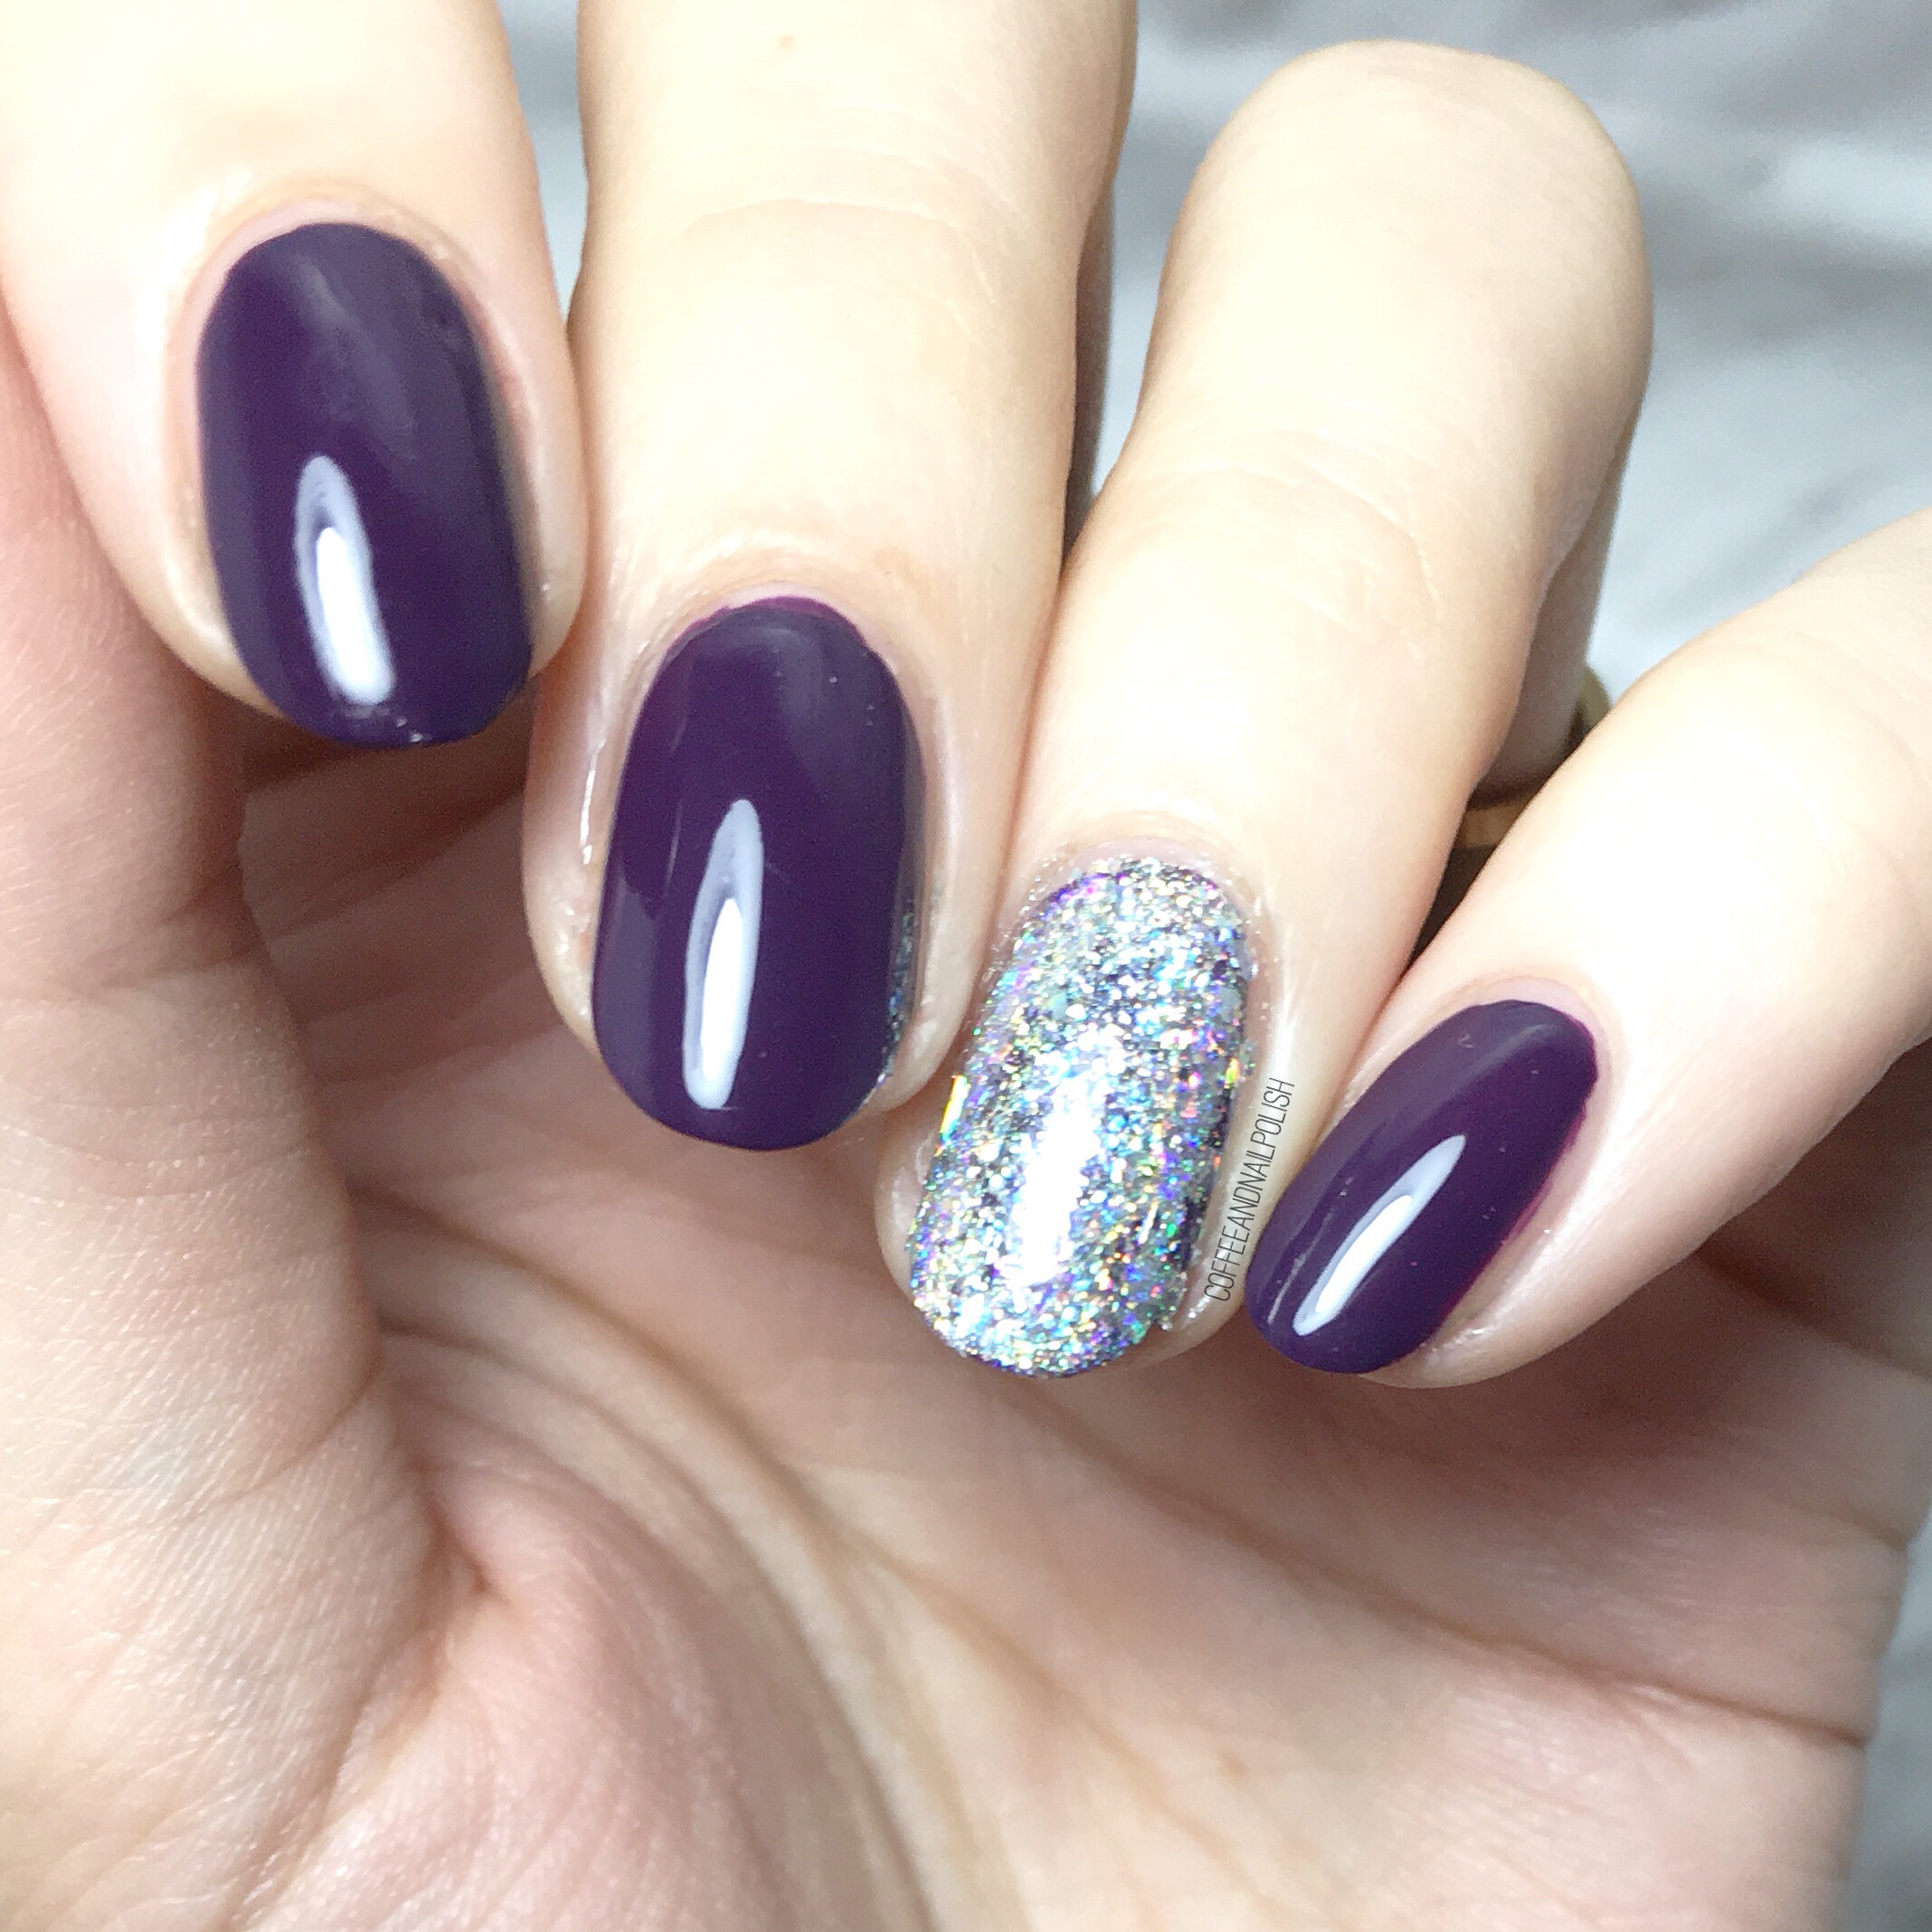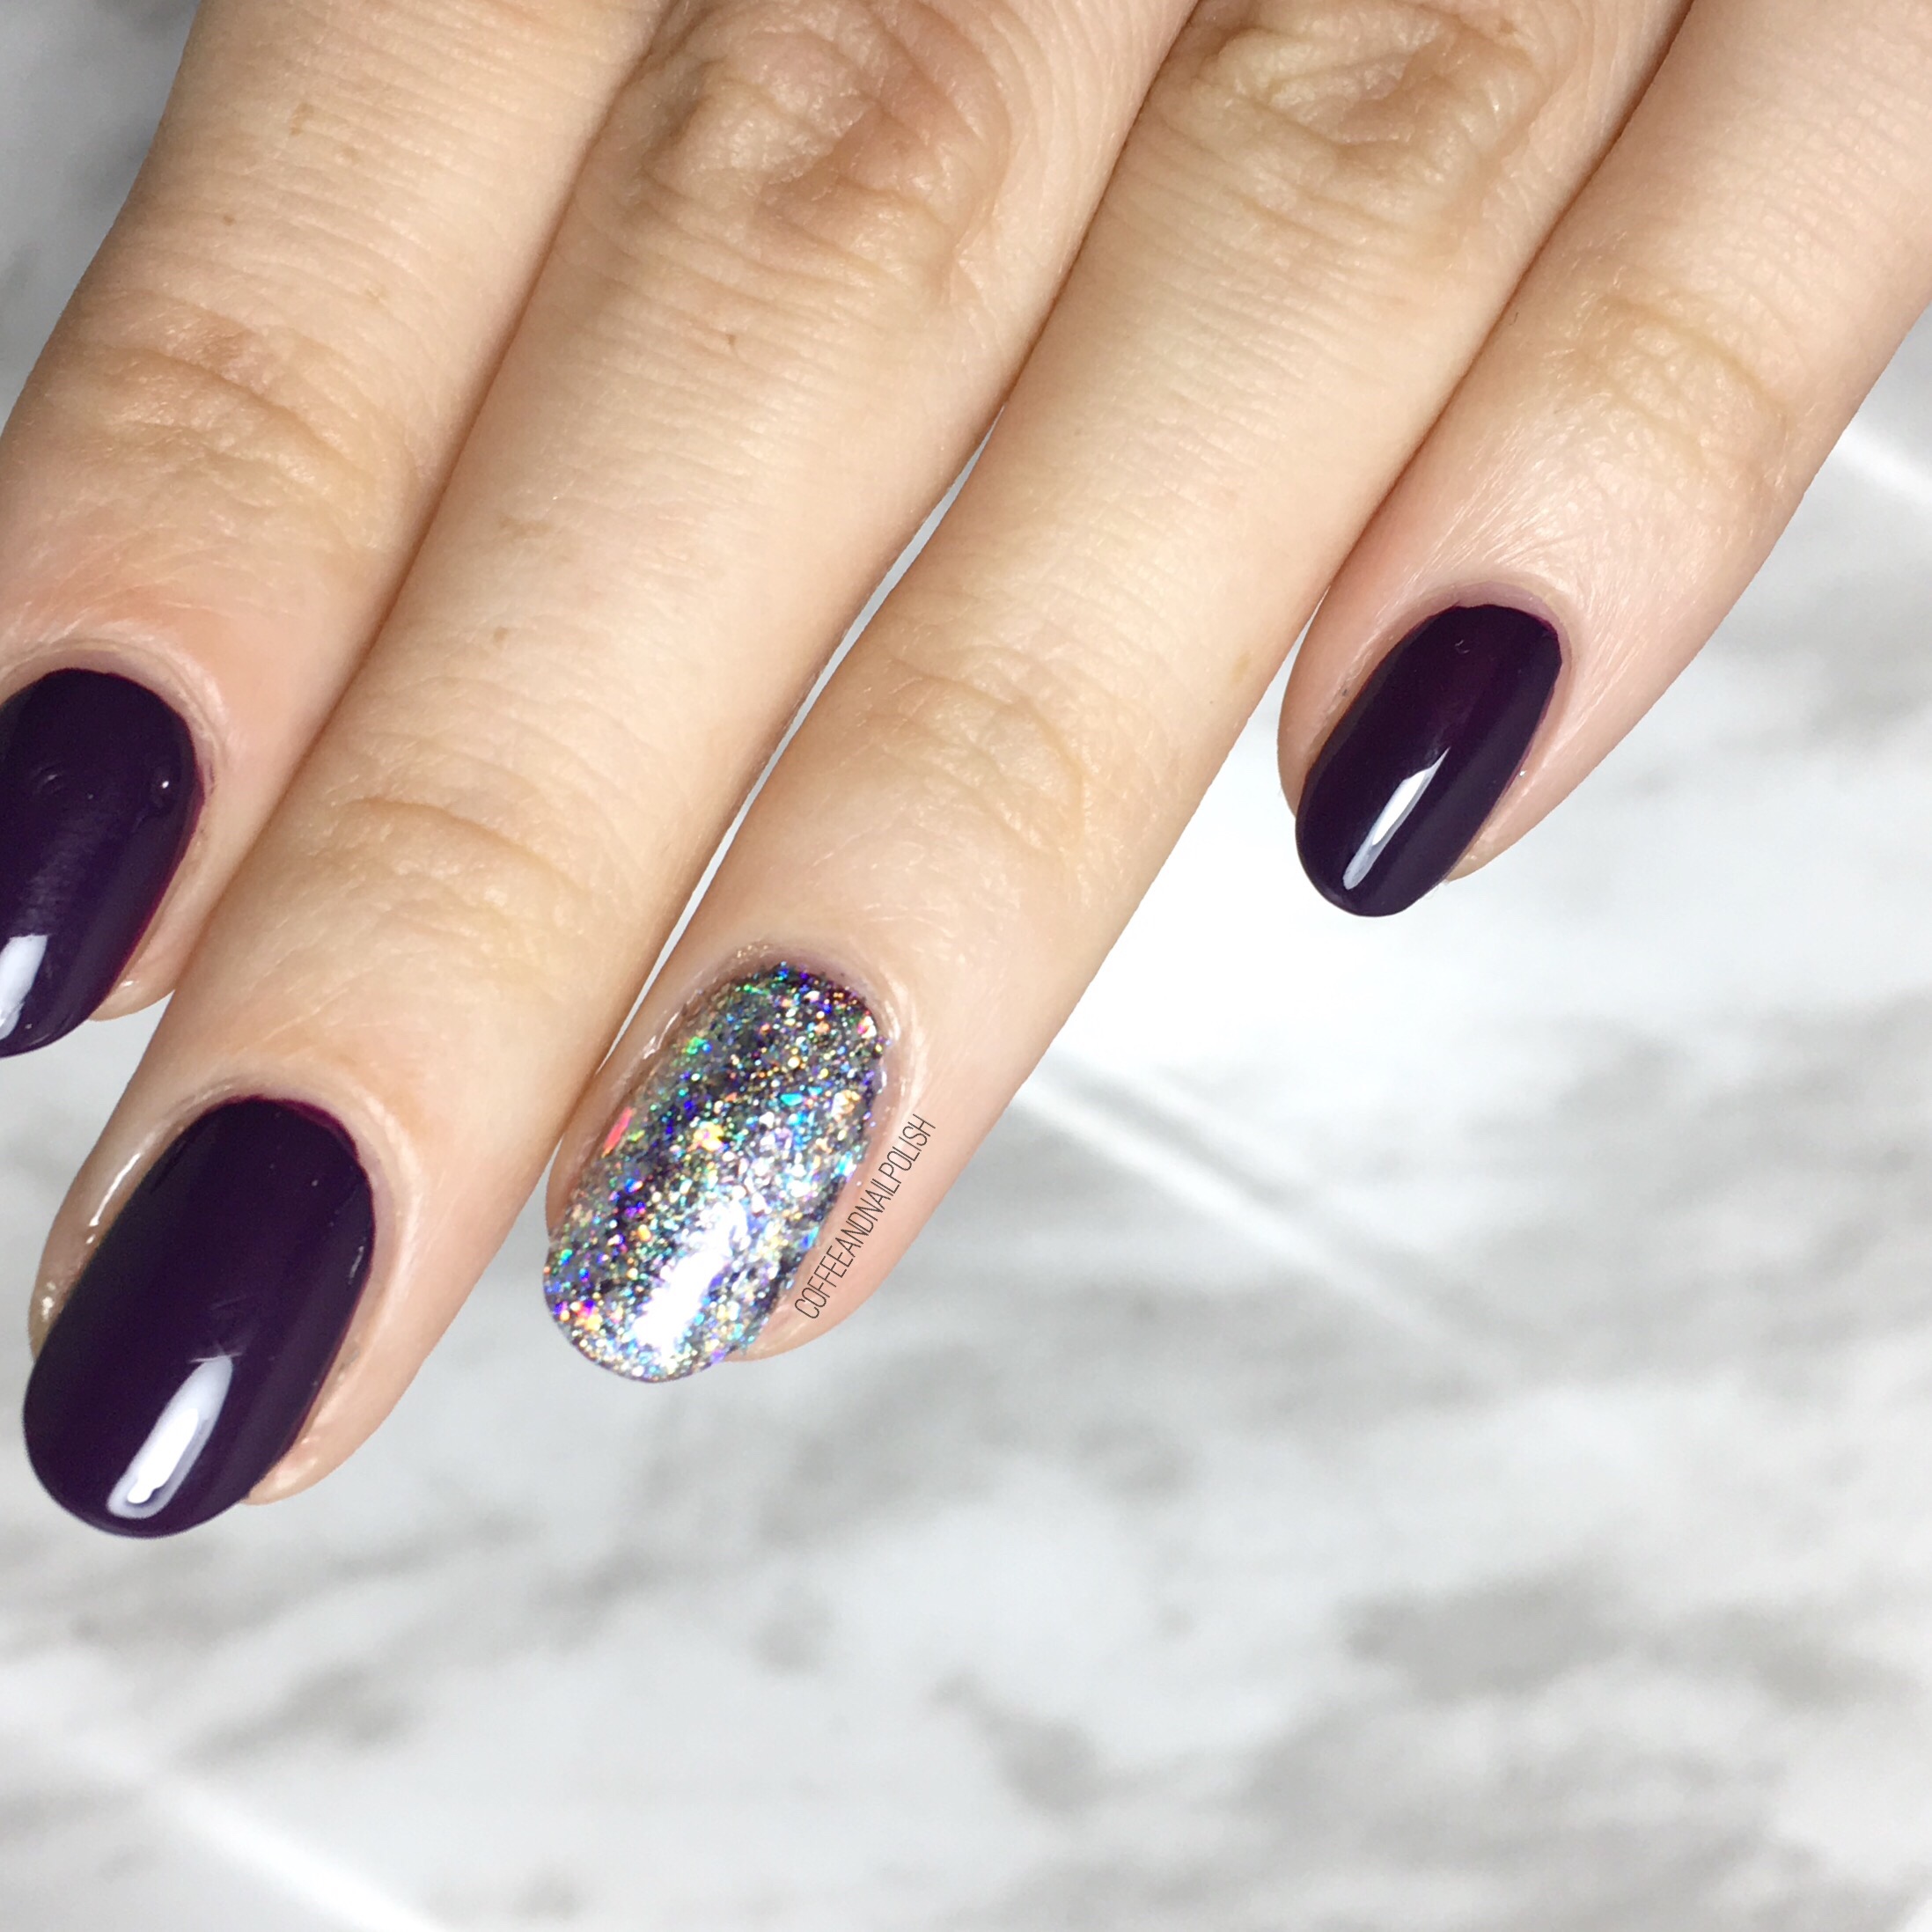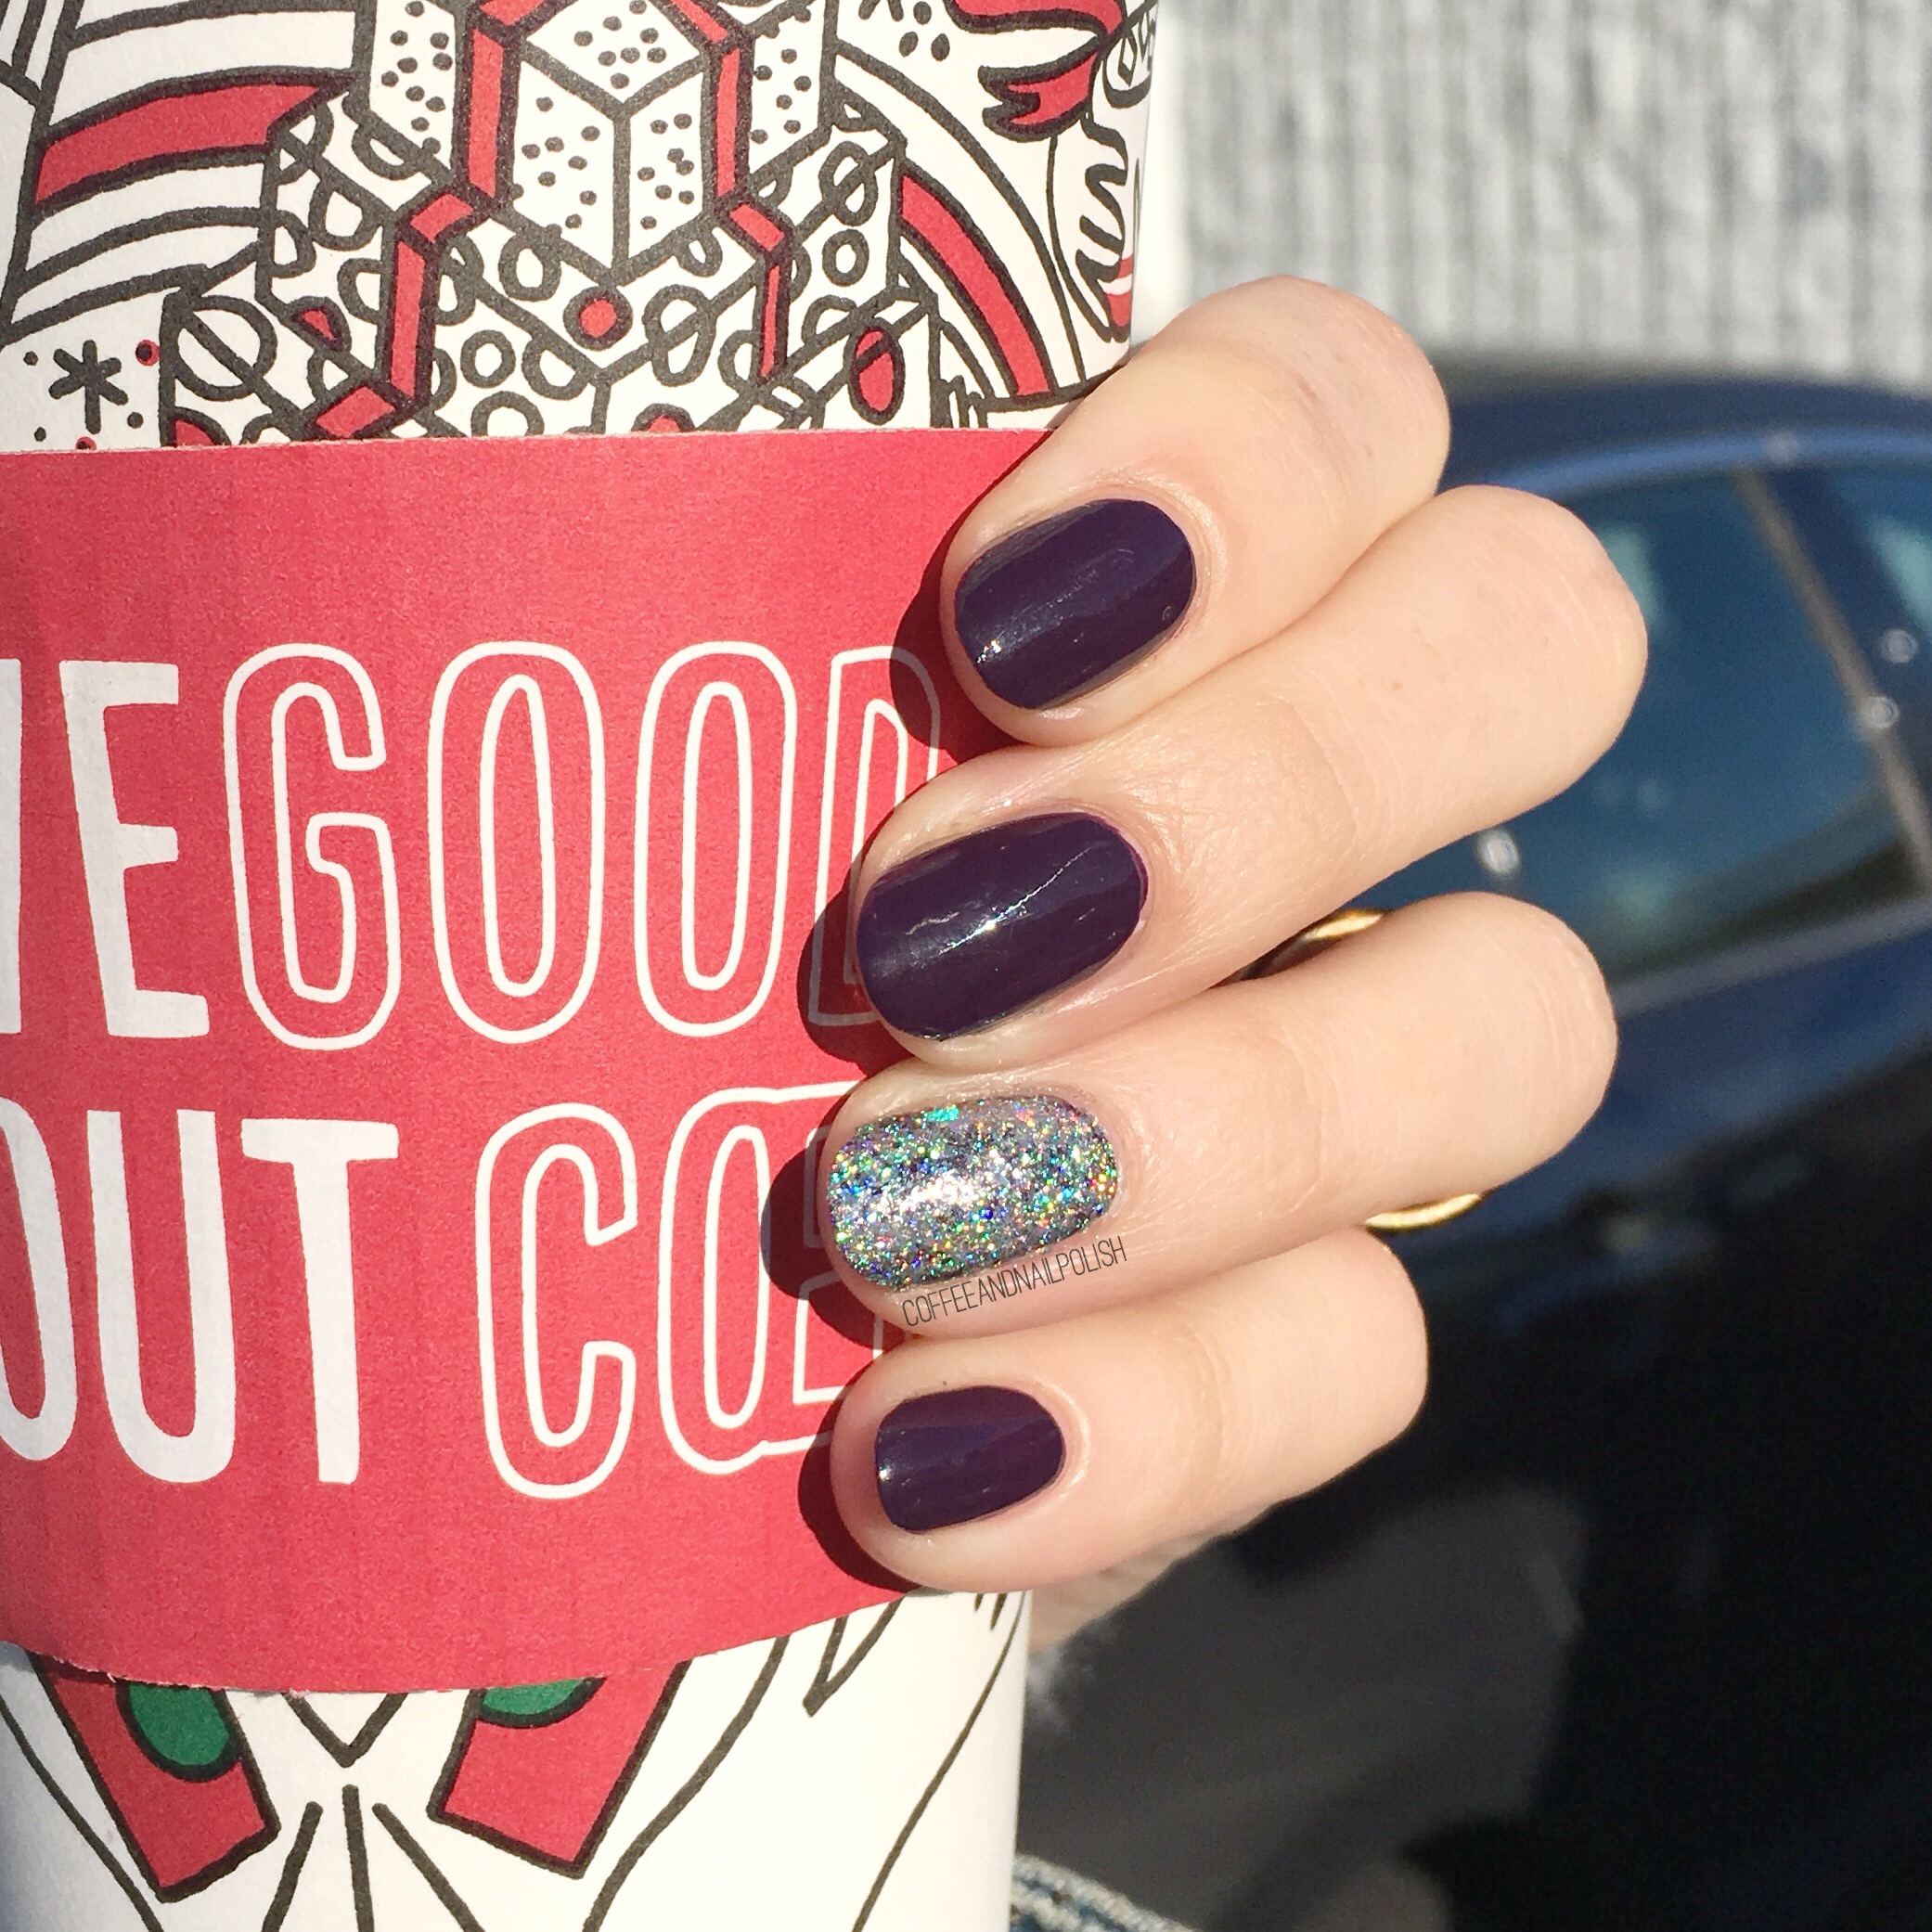
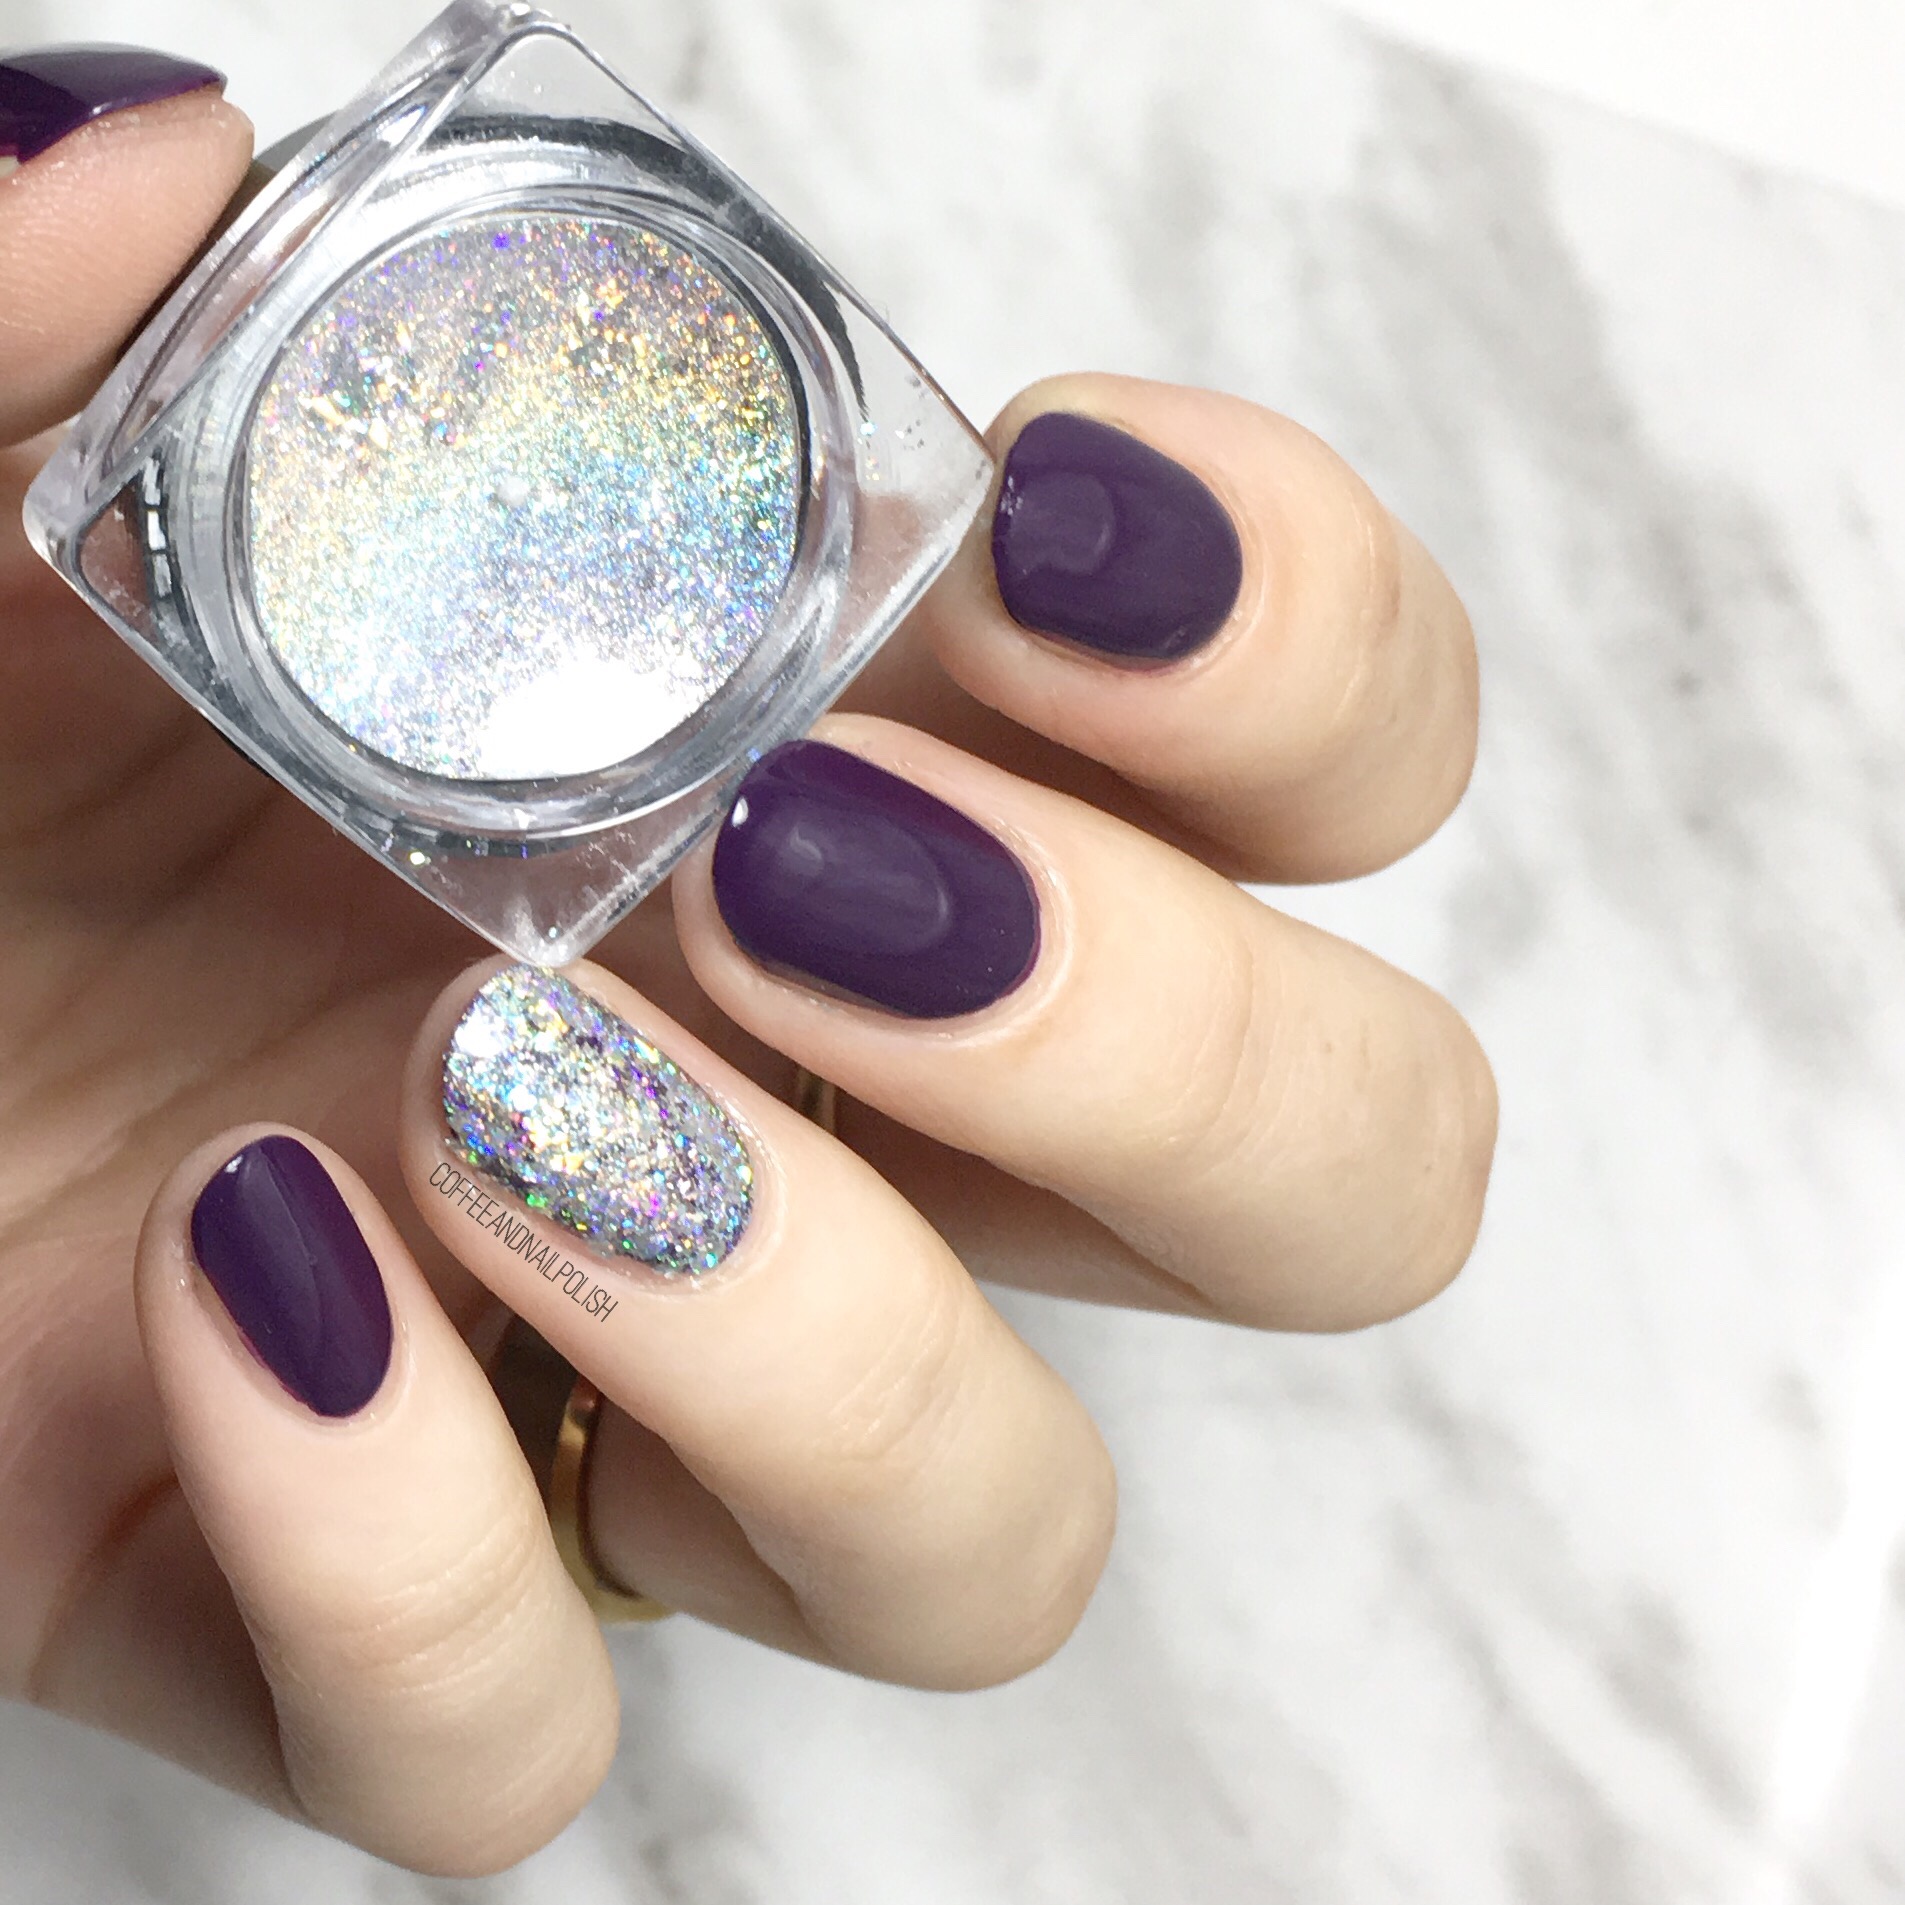
Holo Accent Nails using NailStuff.ca Holo Pigment! 

Happy Wednesday everyone! The week is already speeding by, which is crazy—halfway to the weekend. To get us over this mid week slump, today I’ve got another item I was so kindly sent to try out by NailStuff.ca: holo pigment flakies. 

This is my first time ever using any kind of pigment for the nails (I know, I’m so behind on the times) so I was super excited to give it a whirl & also totally unsure of how to go about it. I know these pigments work really well over gel nails, but I change my nails too often for that so I decided to create these holo nails using just nail polish! So after watch a bunch of YouTube & Instagram videos, I felt pretty confident I could do this! 

For this manicure, the polishes I used were:

  • Base Coat: Essie Grow Stronger
  • Top Coat: Seche Vive
  • L’Oréal Pino Purple
  • NailStuff.ca Holo Pigment Flakies
  • Fingerpaints Peel Off Base Coat
  • Edge Perfection Cuticle Barrier  

To accomplish this look: 

  • I painted all my nails with L’Oréal Pino Purple (including my ring finger.) 
  • I applied top coat to all my fingers except my ring finger & on that nail I applied Fingerpaints Peel Off Base Coat. (I originally tried used just wet nail polish but found the flakies didn’t stick as well for me.)
  • Next I applied my Edge Perfection Cuticle Barrier around my ring finger & let it dry completely. 
  • I then took the small eyeshadow applicator that comes with the flakies, & patted them down onto the nail & tried to rub them in some. It took about 2 applications to completely cover my base. (You can see at the edge of my nails where I missed a few spots.)
  • Seal in flakies with top coat (I used Seche Vive for that shine.) 

Super simple & only slightly messy. I did end up getting holo flakies in my bed (where I do my nails pretty much always) which in turn ended up sticking to my son for a couple of days but nothing wrong with a little holo glitter! 

I will say, my second attempt using a sticky base coat over my polish worked much better (as opposed to using just my base of polish). The first time I tried half the flakies came off with my top coat, but it could be my polish had dried too much for the flakies to really stick. 
Have you used holo flakies before? Any tips  for application that you’ve discovered? Leave all your thoughts below! 

*PR SAMPLE* Some of these items were sent to me for review. However, all opinions are my own. 

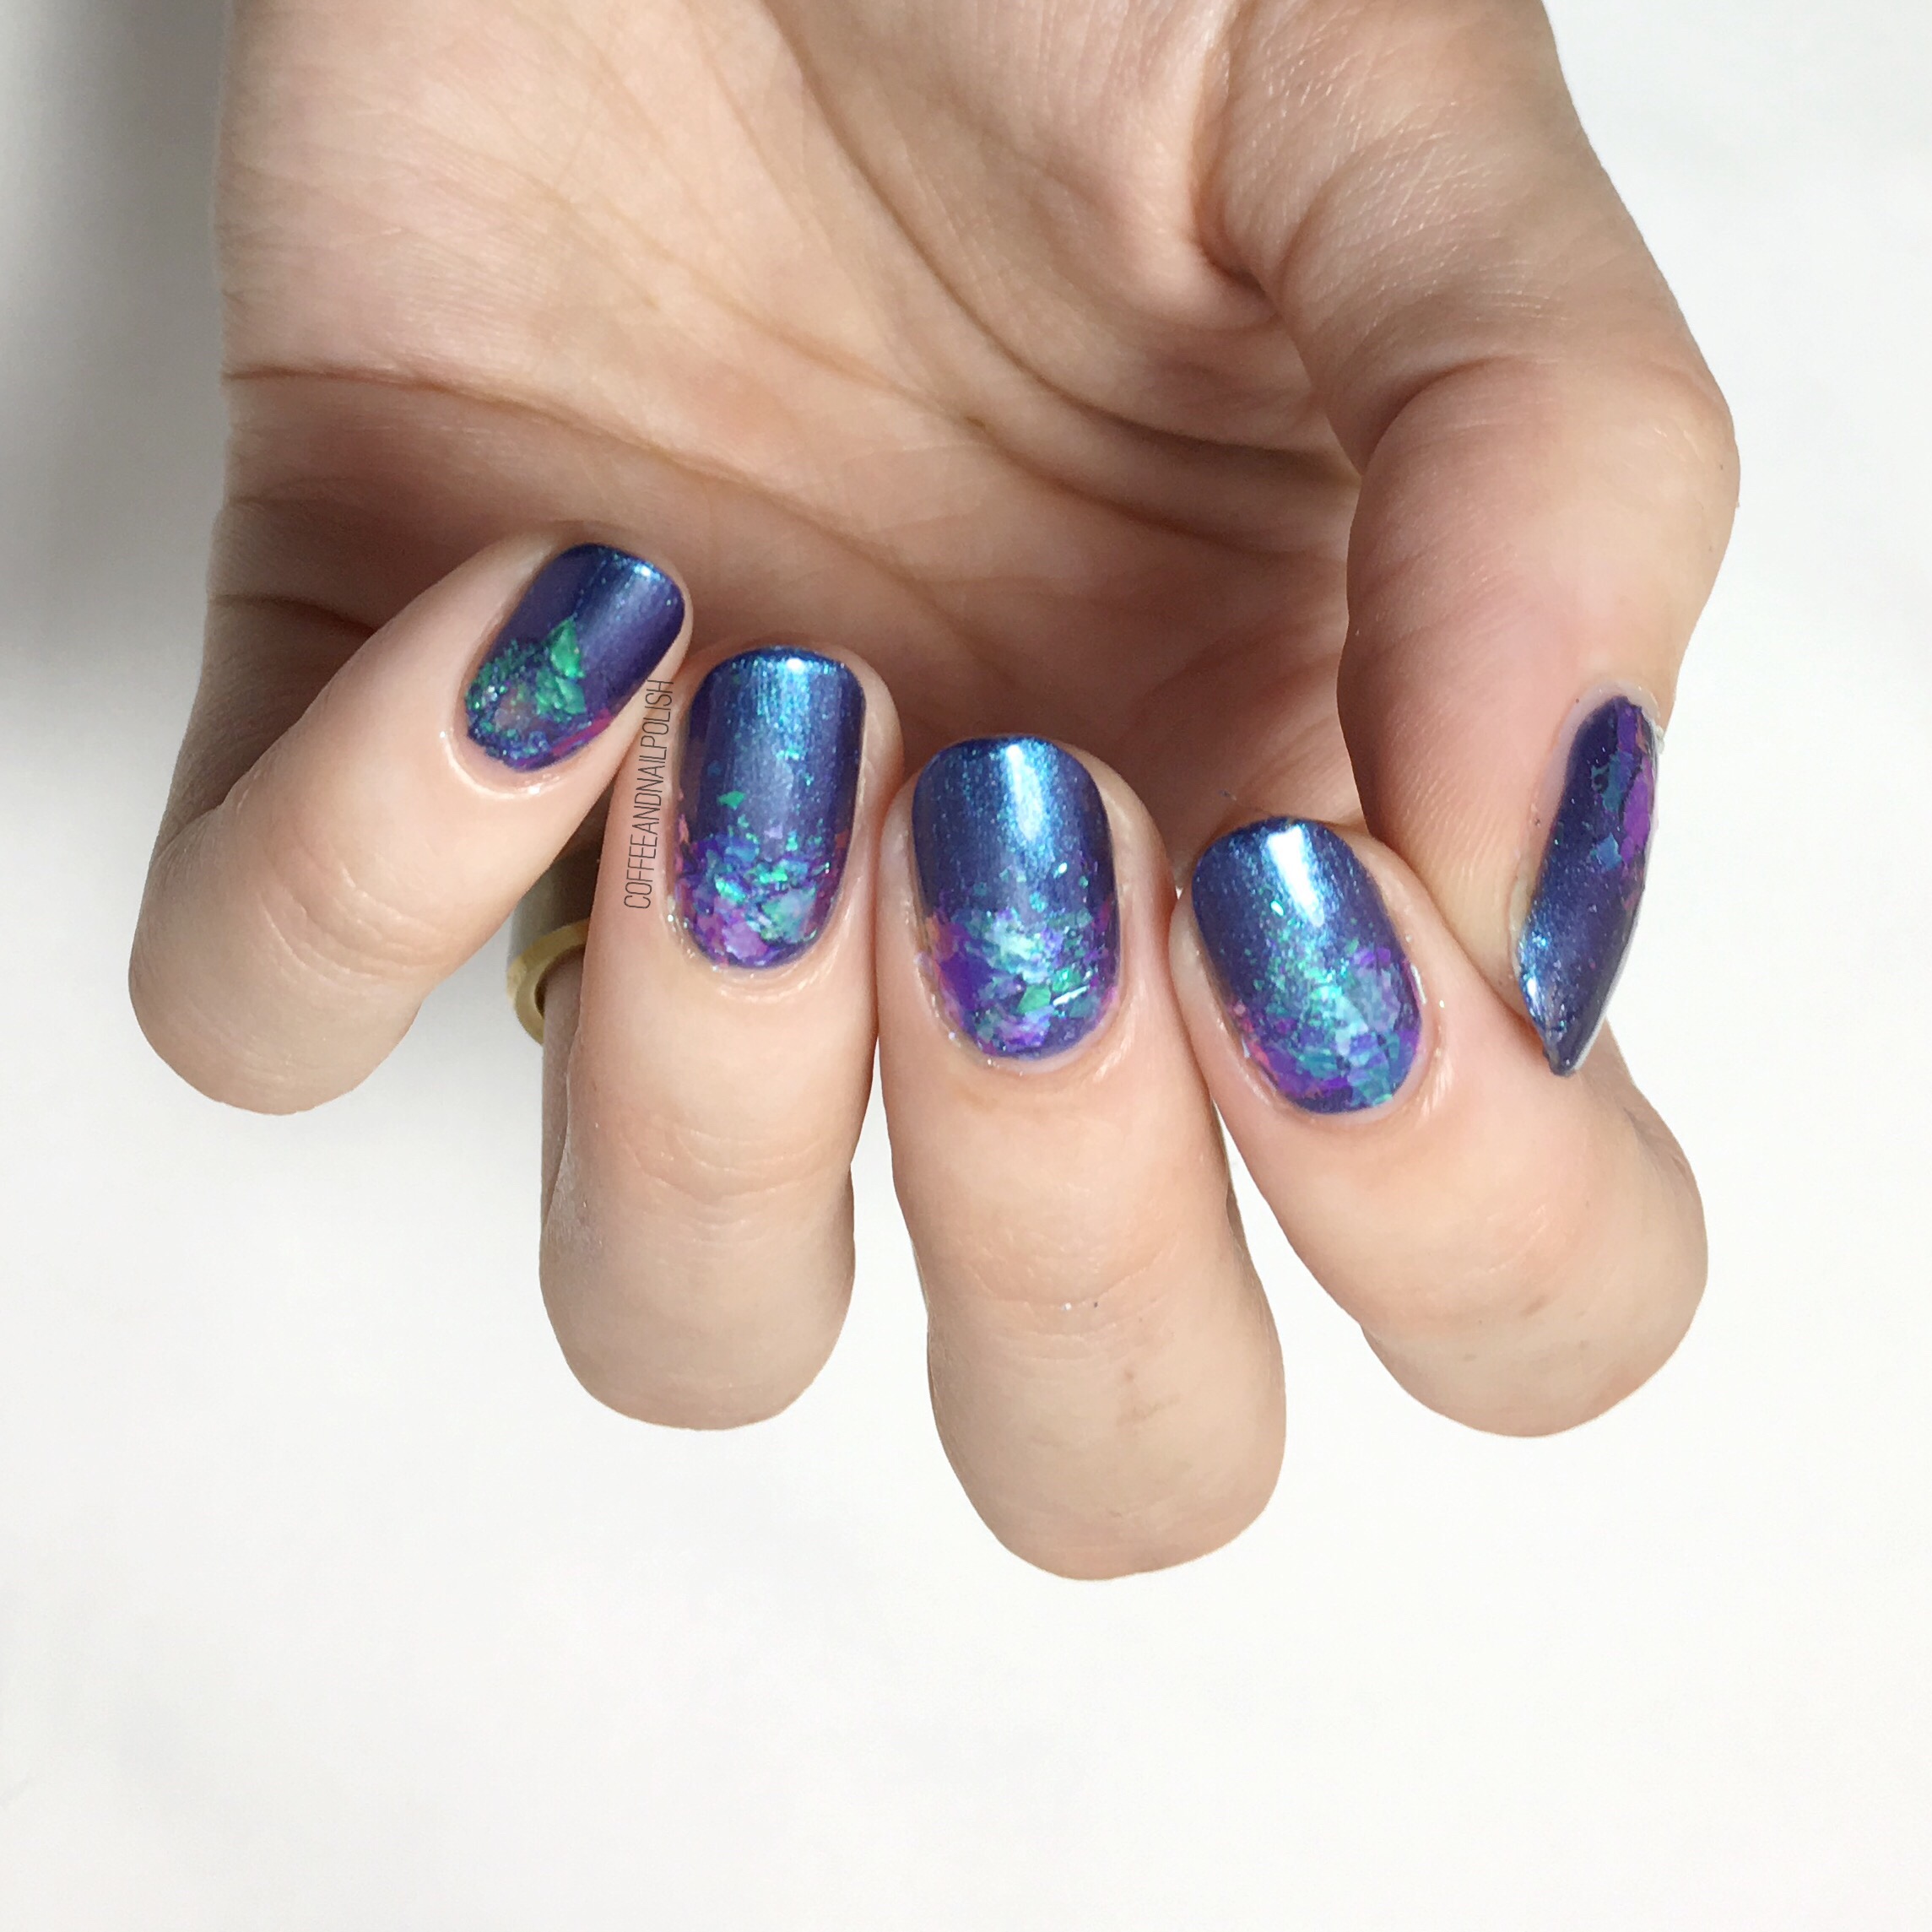
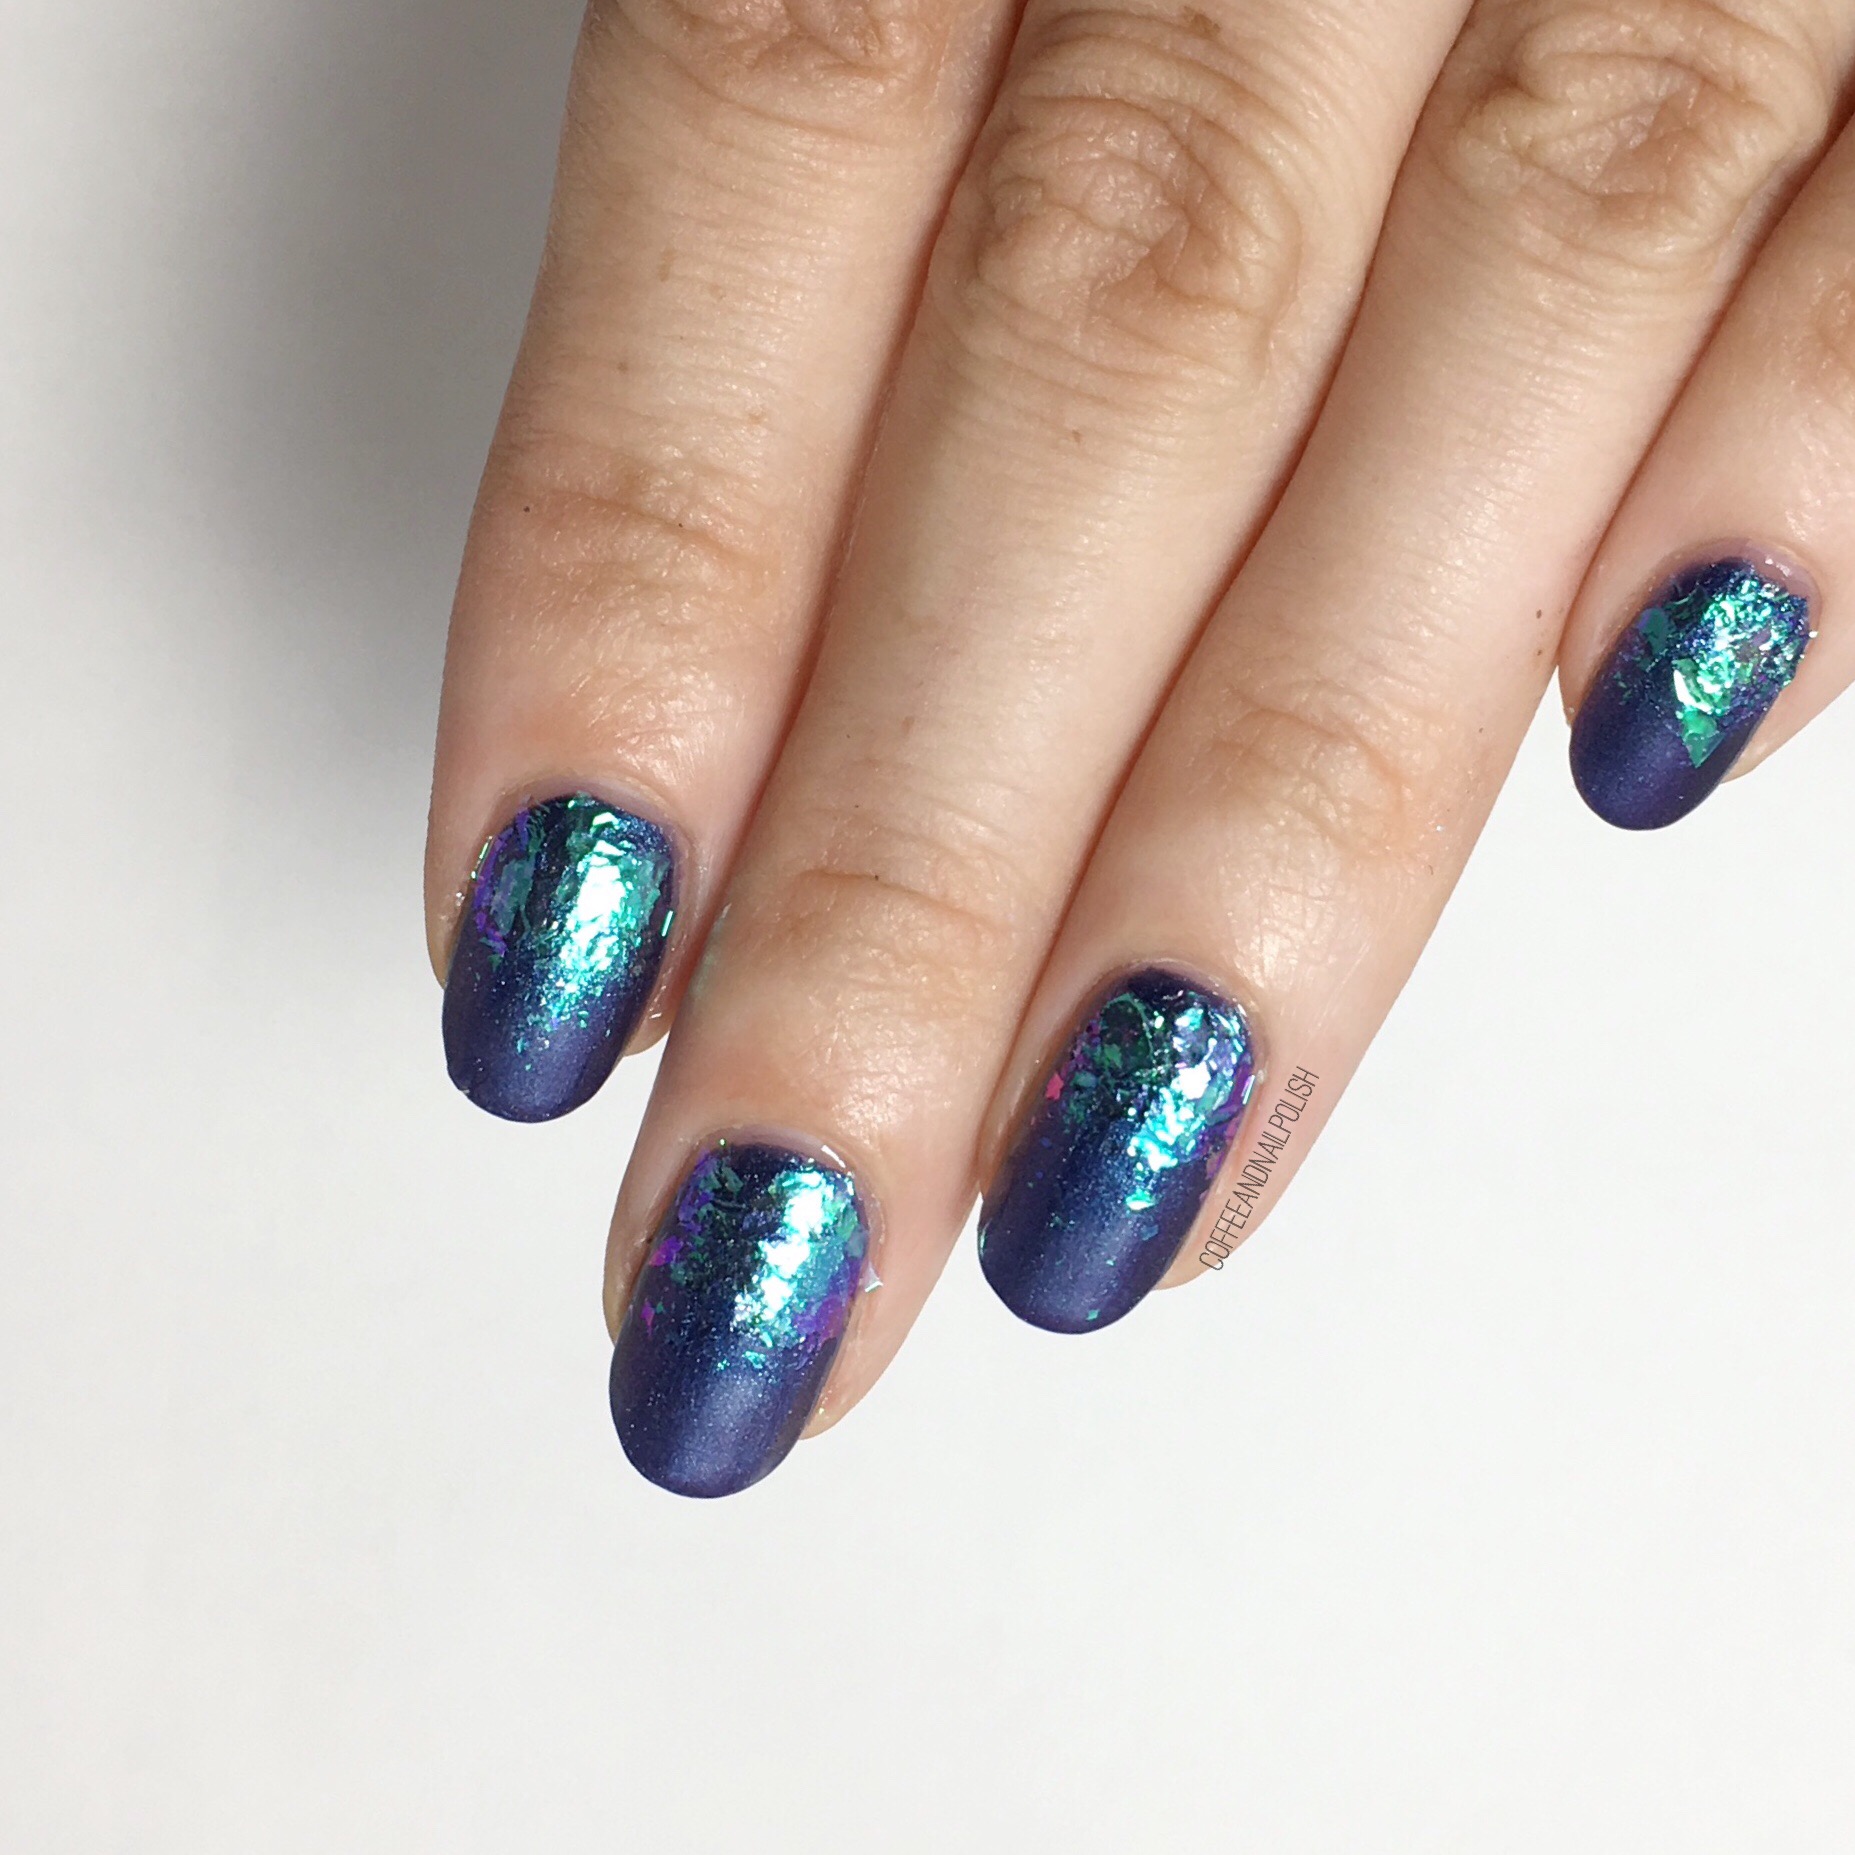
Mermaid Inspired Glitter Gradient using NailStuff.ca Flakies

Guess what! I have anothe review of one of the items sent to me from Nailstuff.ca. This time I’m sharing these beautiful irredentist flakies. 

Now I know I said I would share more Halloween looks & these aren’t spooky, but I thought this would be an awesome look for anyone going with a unicorn or mermaid look for Halloween! I know I can’t be the only one whose costume (or outfit in general) isn’t complete until her nails are done!

Okay, I’ll be honest—I’ve never used loose flakies before so I was going into this as a newbie. I knew I wanted to create a glitter gradient with them, so I glanced around at a few posts on Pinterest & Instagram until I felt confident enough I could achieve the look I wanted.

  1.  I started off by painting my nails with a base of Essence Out of Space Stories Intergalactic Adventure & let it dry. I chose this shade because I thought it would compliment the shift in these gorgeous flakies. 
  2. Apply liquid latex around cuticles. I used Edge Perfection to keep the flakies from spreading to my skin during application. 
  3. After about 10ish minutes, I took a little bit of clear polish & applied it at the base of my nails so they would be a bit “sticky”. Like I said I’ve never used these before so I wasn’t sure if this was a necessary step. 
  4. Next I opened up my little pot of flakies & using the little eyeshadow sponge provided, pressed the flakies down at the base of my nail. I also brushed lightly up the nail to create the gradient effect.
  5. Peel off your liquid latex & seal in your whole nail with top coat—I used Cutex Quick Dry Top Coat. I think using Matte top coat would also look beautiful! 
  6. Time to get distracted by your pretty shifty mermaid-esque nails. 

These flakies were a lot easier to apply than I thought they would be! You can see I got the hang of things are I went along with my pinky being my first nail & working towards my thumb. I think using a light touch really makes a huge difference on how they turn out. Also, I’m definitely going to try not applying the clear polish this time to see how well they go on. I feel like it made an extra step that wasn’t necessarily needed, so I’ll keep you updated!


Check out that shift! 😍 Had to include a shot of these nails in action because you really see how gorgeous they are in motion. & this mani totally matches my Starbucks multichrome “nail blogger” cup from a couple of years ago. Which is obviously the perfect excuse to fill up on iced lattes! 

If you’re curious about checking out these flakies for yourself, you can order these (& many more) straight from the NailStuff.ca website! Don’t forget that all Canadian orders over $29 have free shipping, & all US & International orders over $49 are free shipping. 

*PR SAMPLE* Some of these items were sent to me for review. However, all opinions are my own

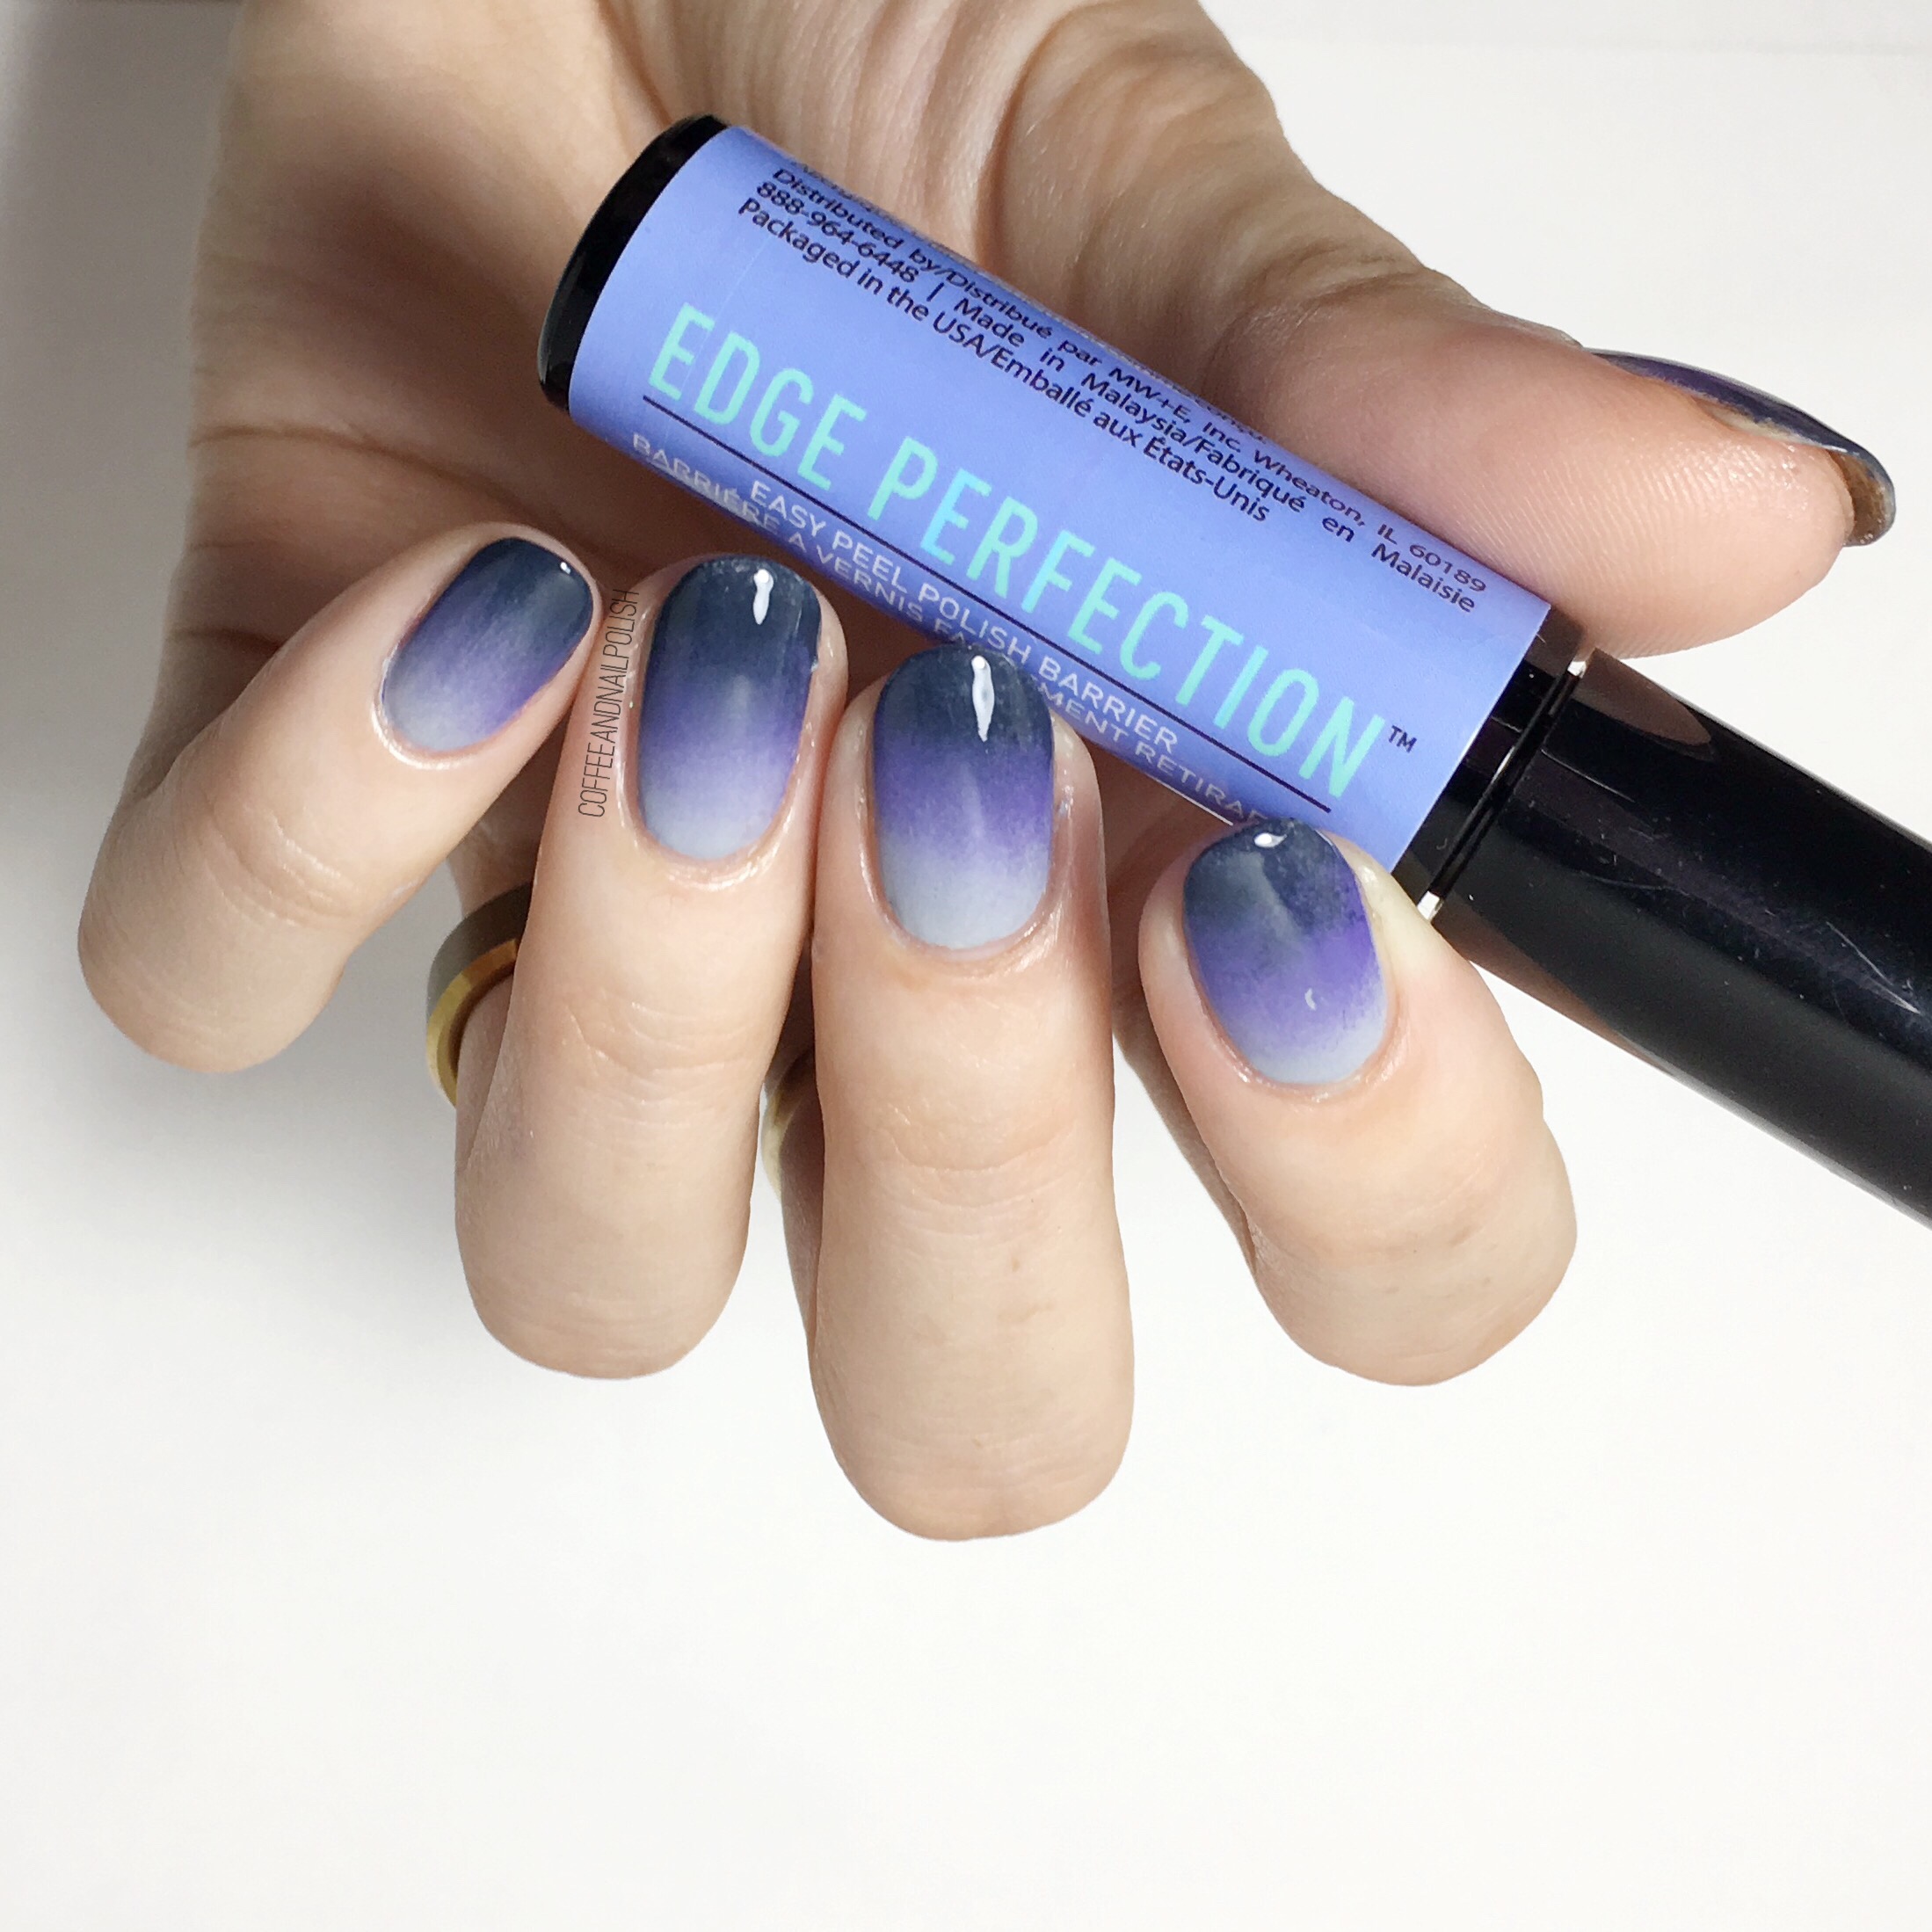
Edge Perfection Easy Peel Polish Barrier Review

So recently I mentioned that I seriously needed to invest in some new liquid latex because I’ve been out for a while & like magic the nail art gods listened! Or, at least, the lovely folks at Edge Perfection did as they sent me their peel off polish barrier to try! 

From their website:

Edge Perfection is…

5 Free, Thiuram Free, Ammonia Free, Cruelty Free, Vegan, Prop 65 Compliant, Canadian Cosmetics and EU Cosmetics Compliant too! 

Edge Perfection is a low oder polish barrier designed to make clean-up around the nails easier than ever. When using our product you’ll be happy knowing you’re using the highest most pure liquid latex on the market.

Pretty awesome claims & definitely had me curious! I’ll be honest… my previous experience with cuticle barriers only includes glue based peel off base coats (didn’t really work for me) & a Born Pretty Store liquid latex which did work but smelled weirdly fishy. So I was definitely excited to try out something new. 

My first experiment? Well a gradient of course!

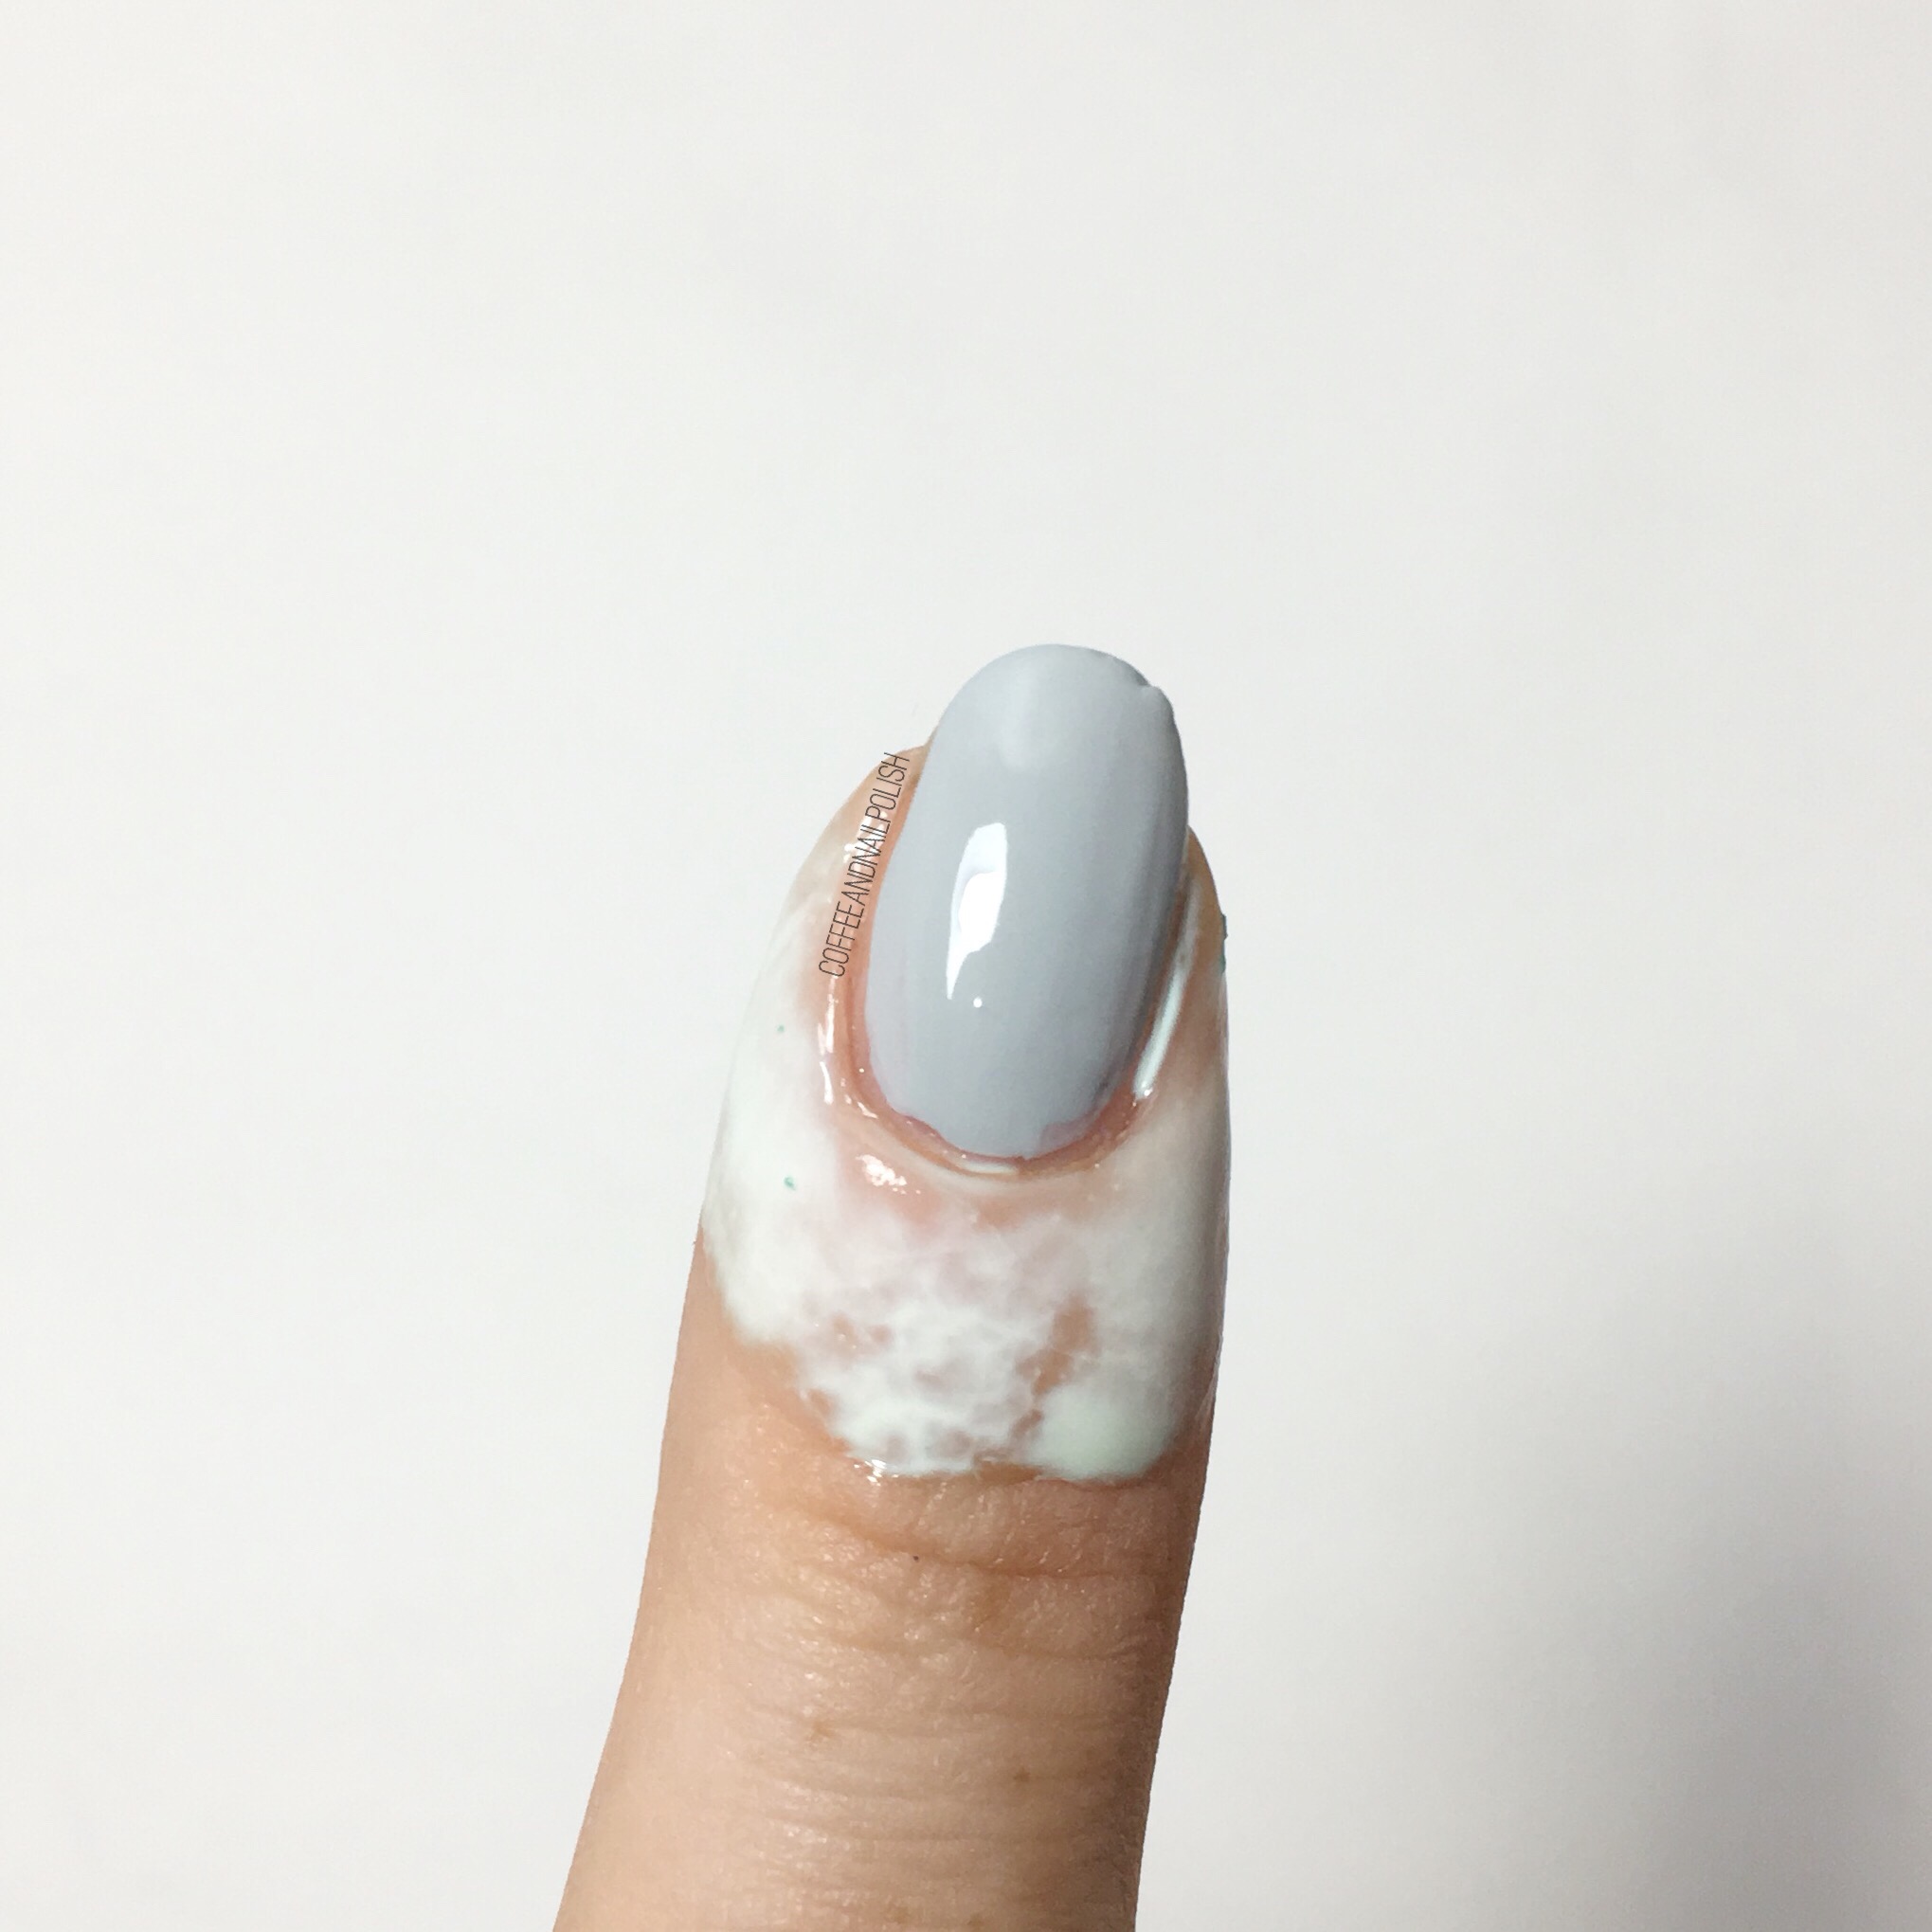
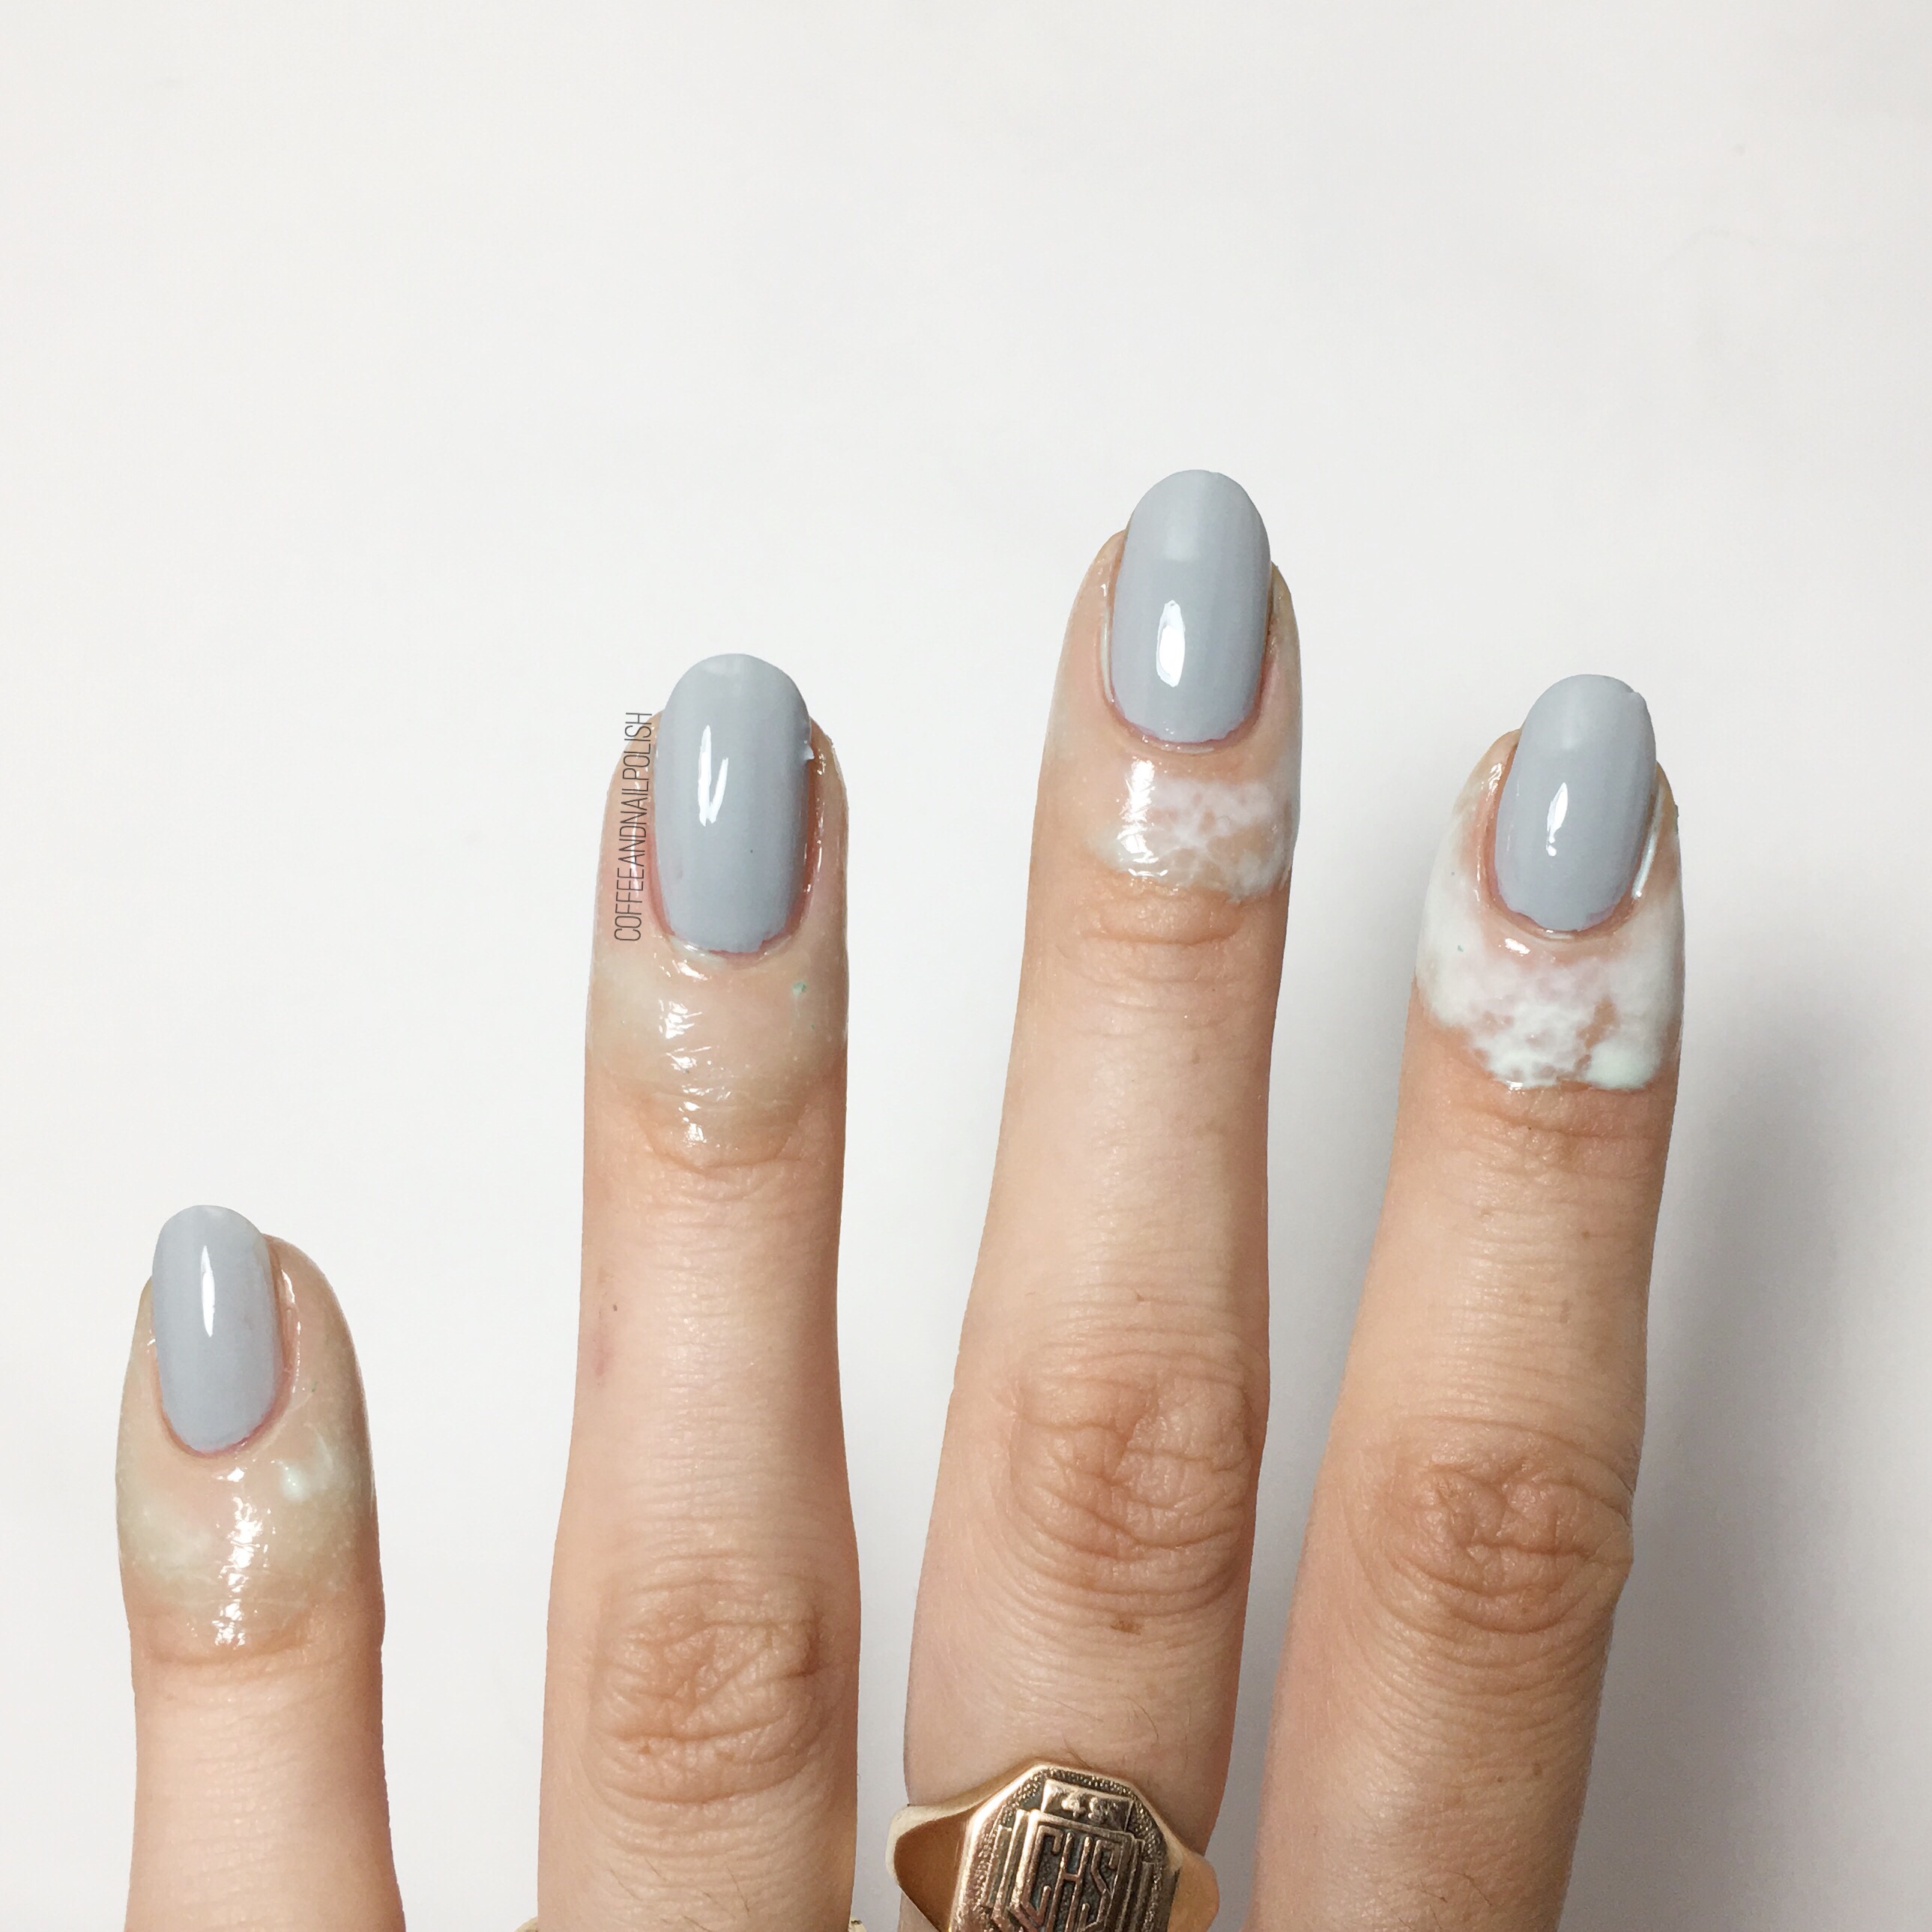
So you can use this as a barrier while applying your base coat of colour (perfect for those whole have trouble painting with their non dominant hand!). I don’t have much trouble staying “within the lines” so I applied it around my cuticles after my base was already painted. It goes on a pale green-ish shade (above) with no smell that I could notice. When applying I suggest using a light hand to get the best application. The tub has a wand with brush inside. I like the fact the brush is shorter—makes for a more precise application. 

Apply to all nails. I always stick to one hand at a time as I find trying to sponge with latex on my fingers just leads to my fingers sticking together. Dry time is pretty speedy—as you can see above I started with my pinky & moved to my thumb & pinky was already dry by the time I grabbed my phone to snap a picture. It dries down almost clear but with a hint of the mint so it’s easy to find to pull off. 

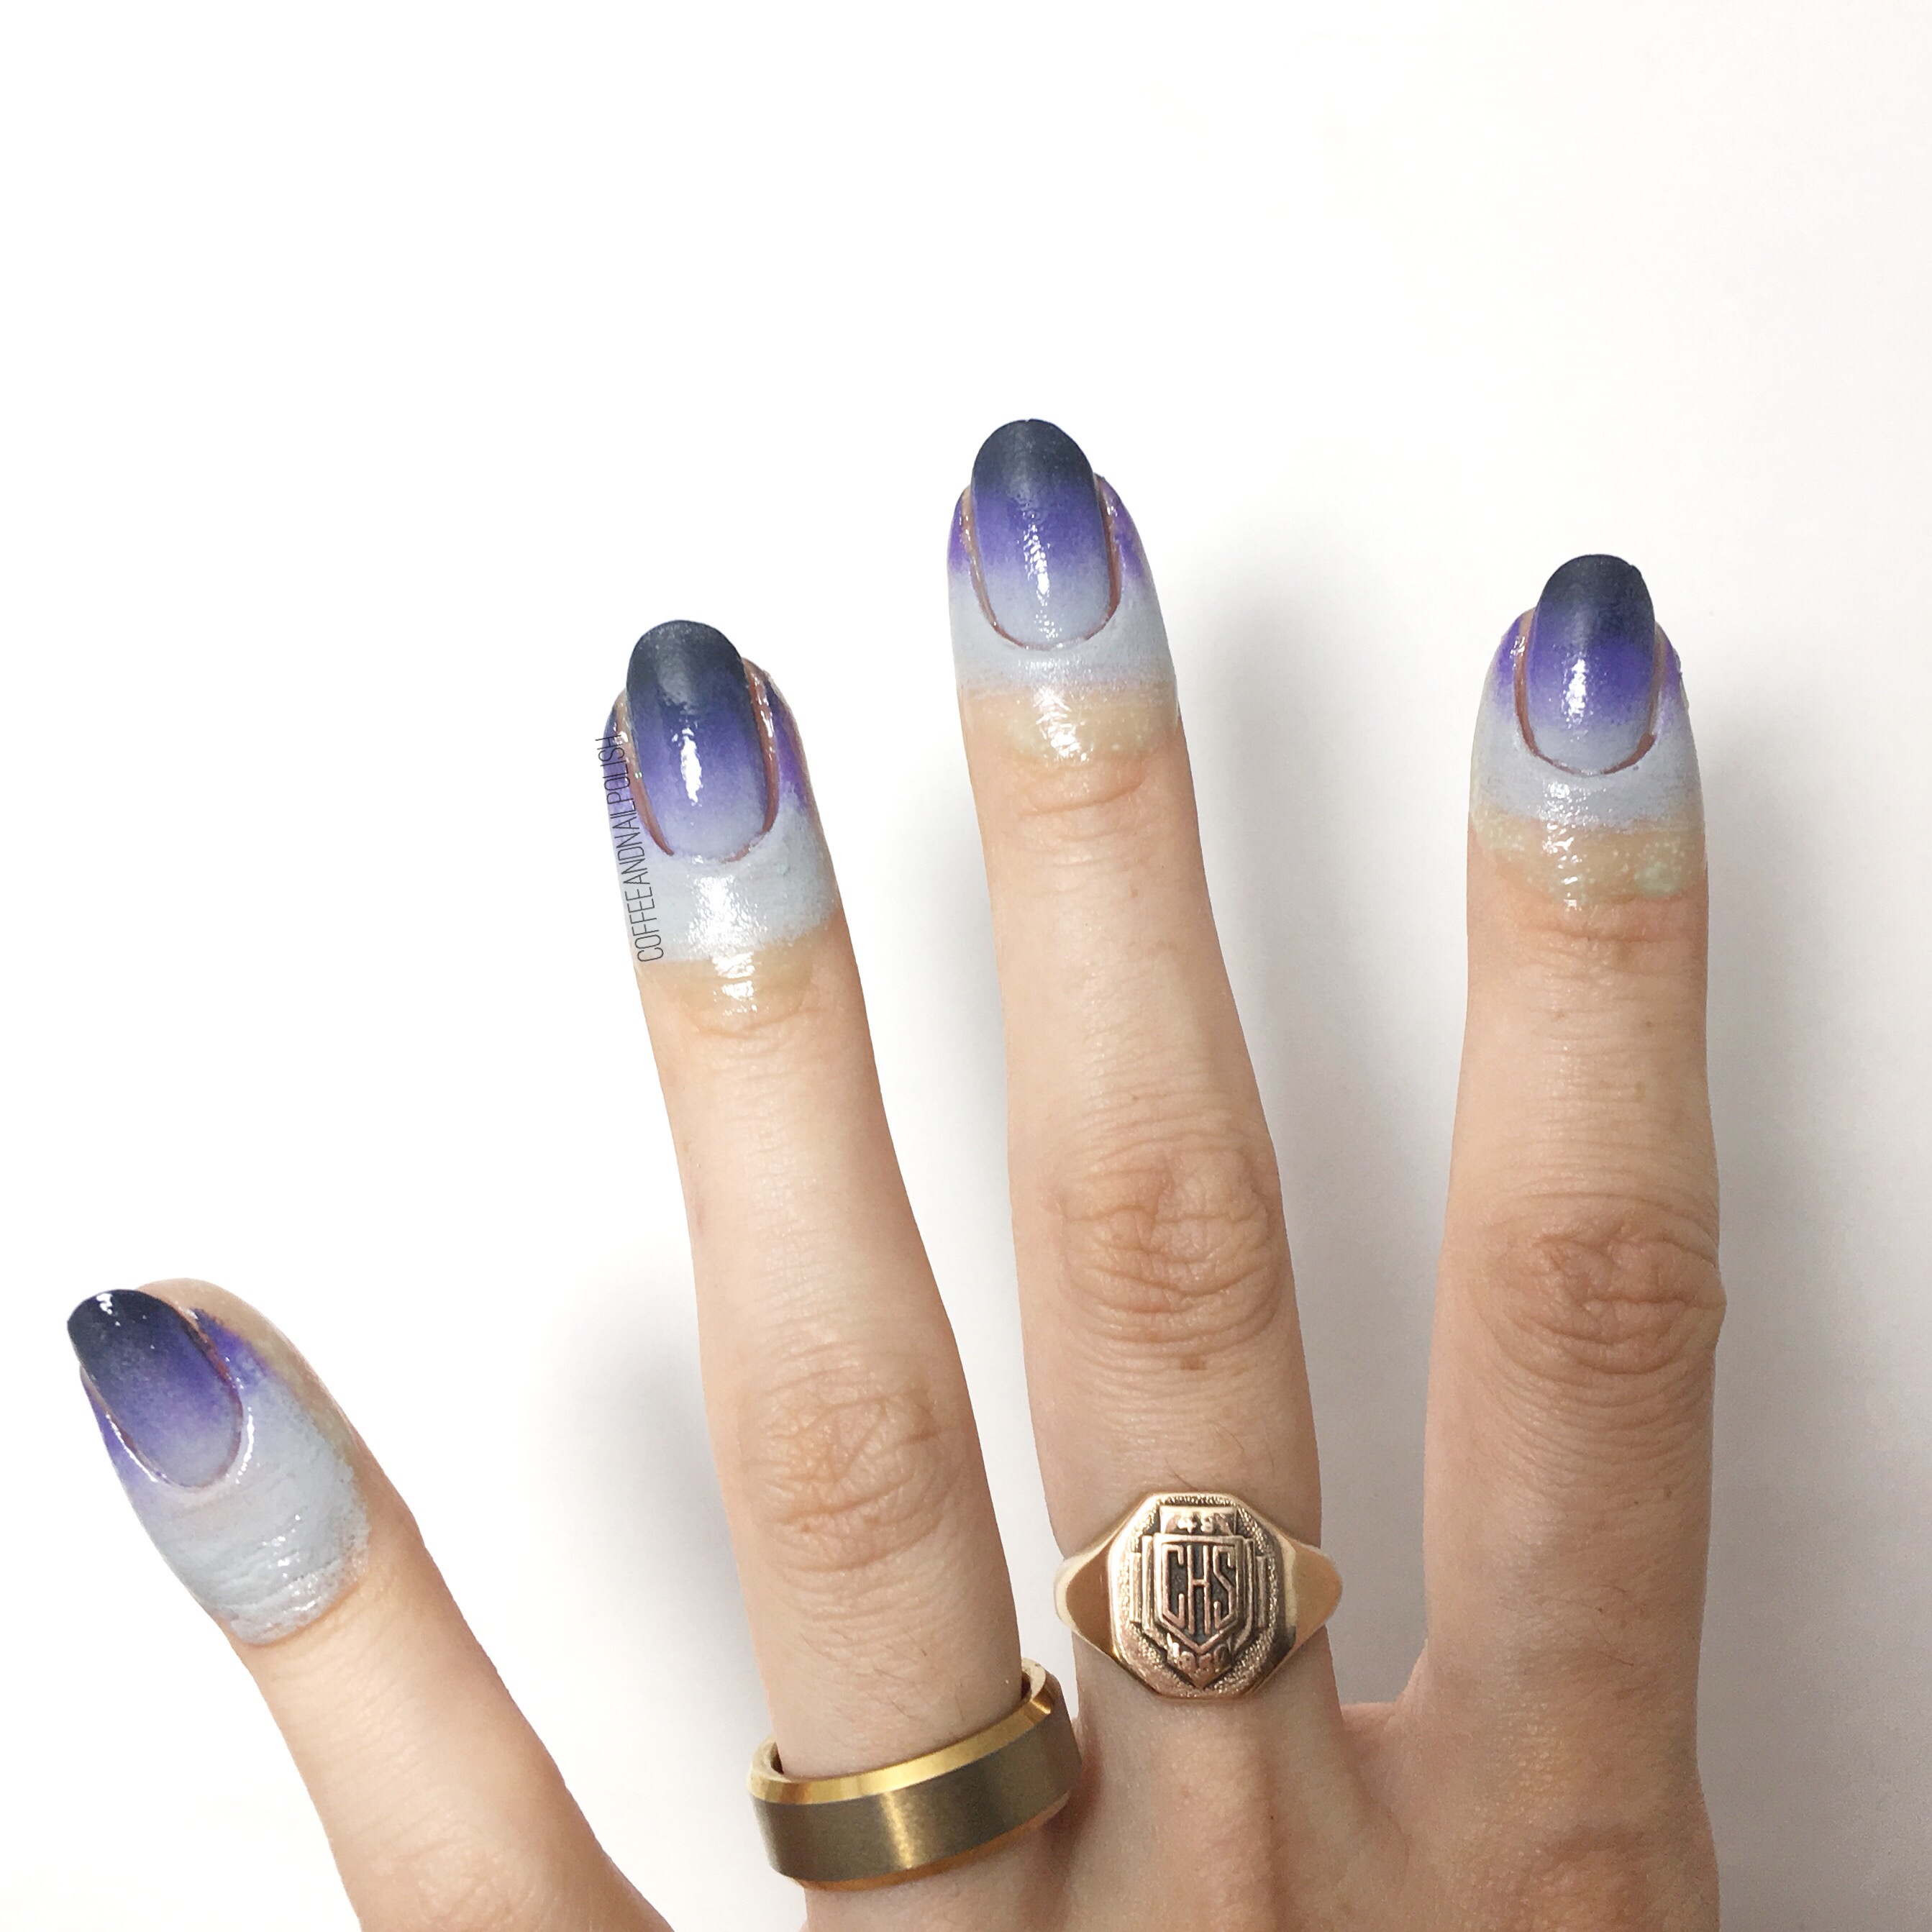
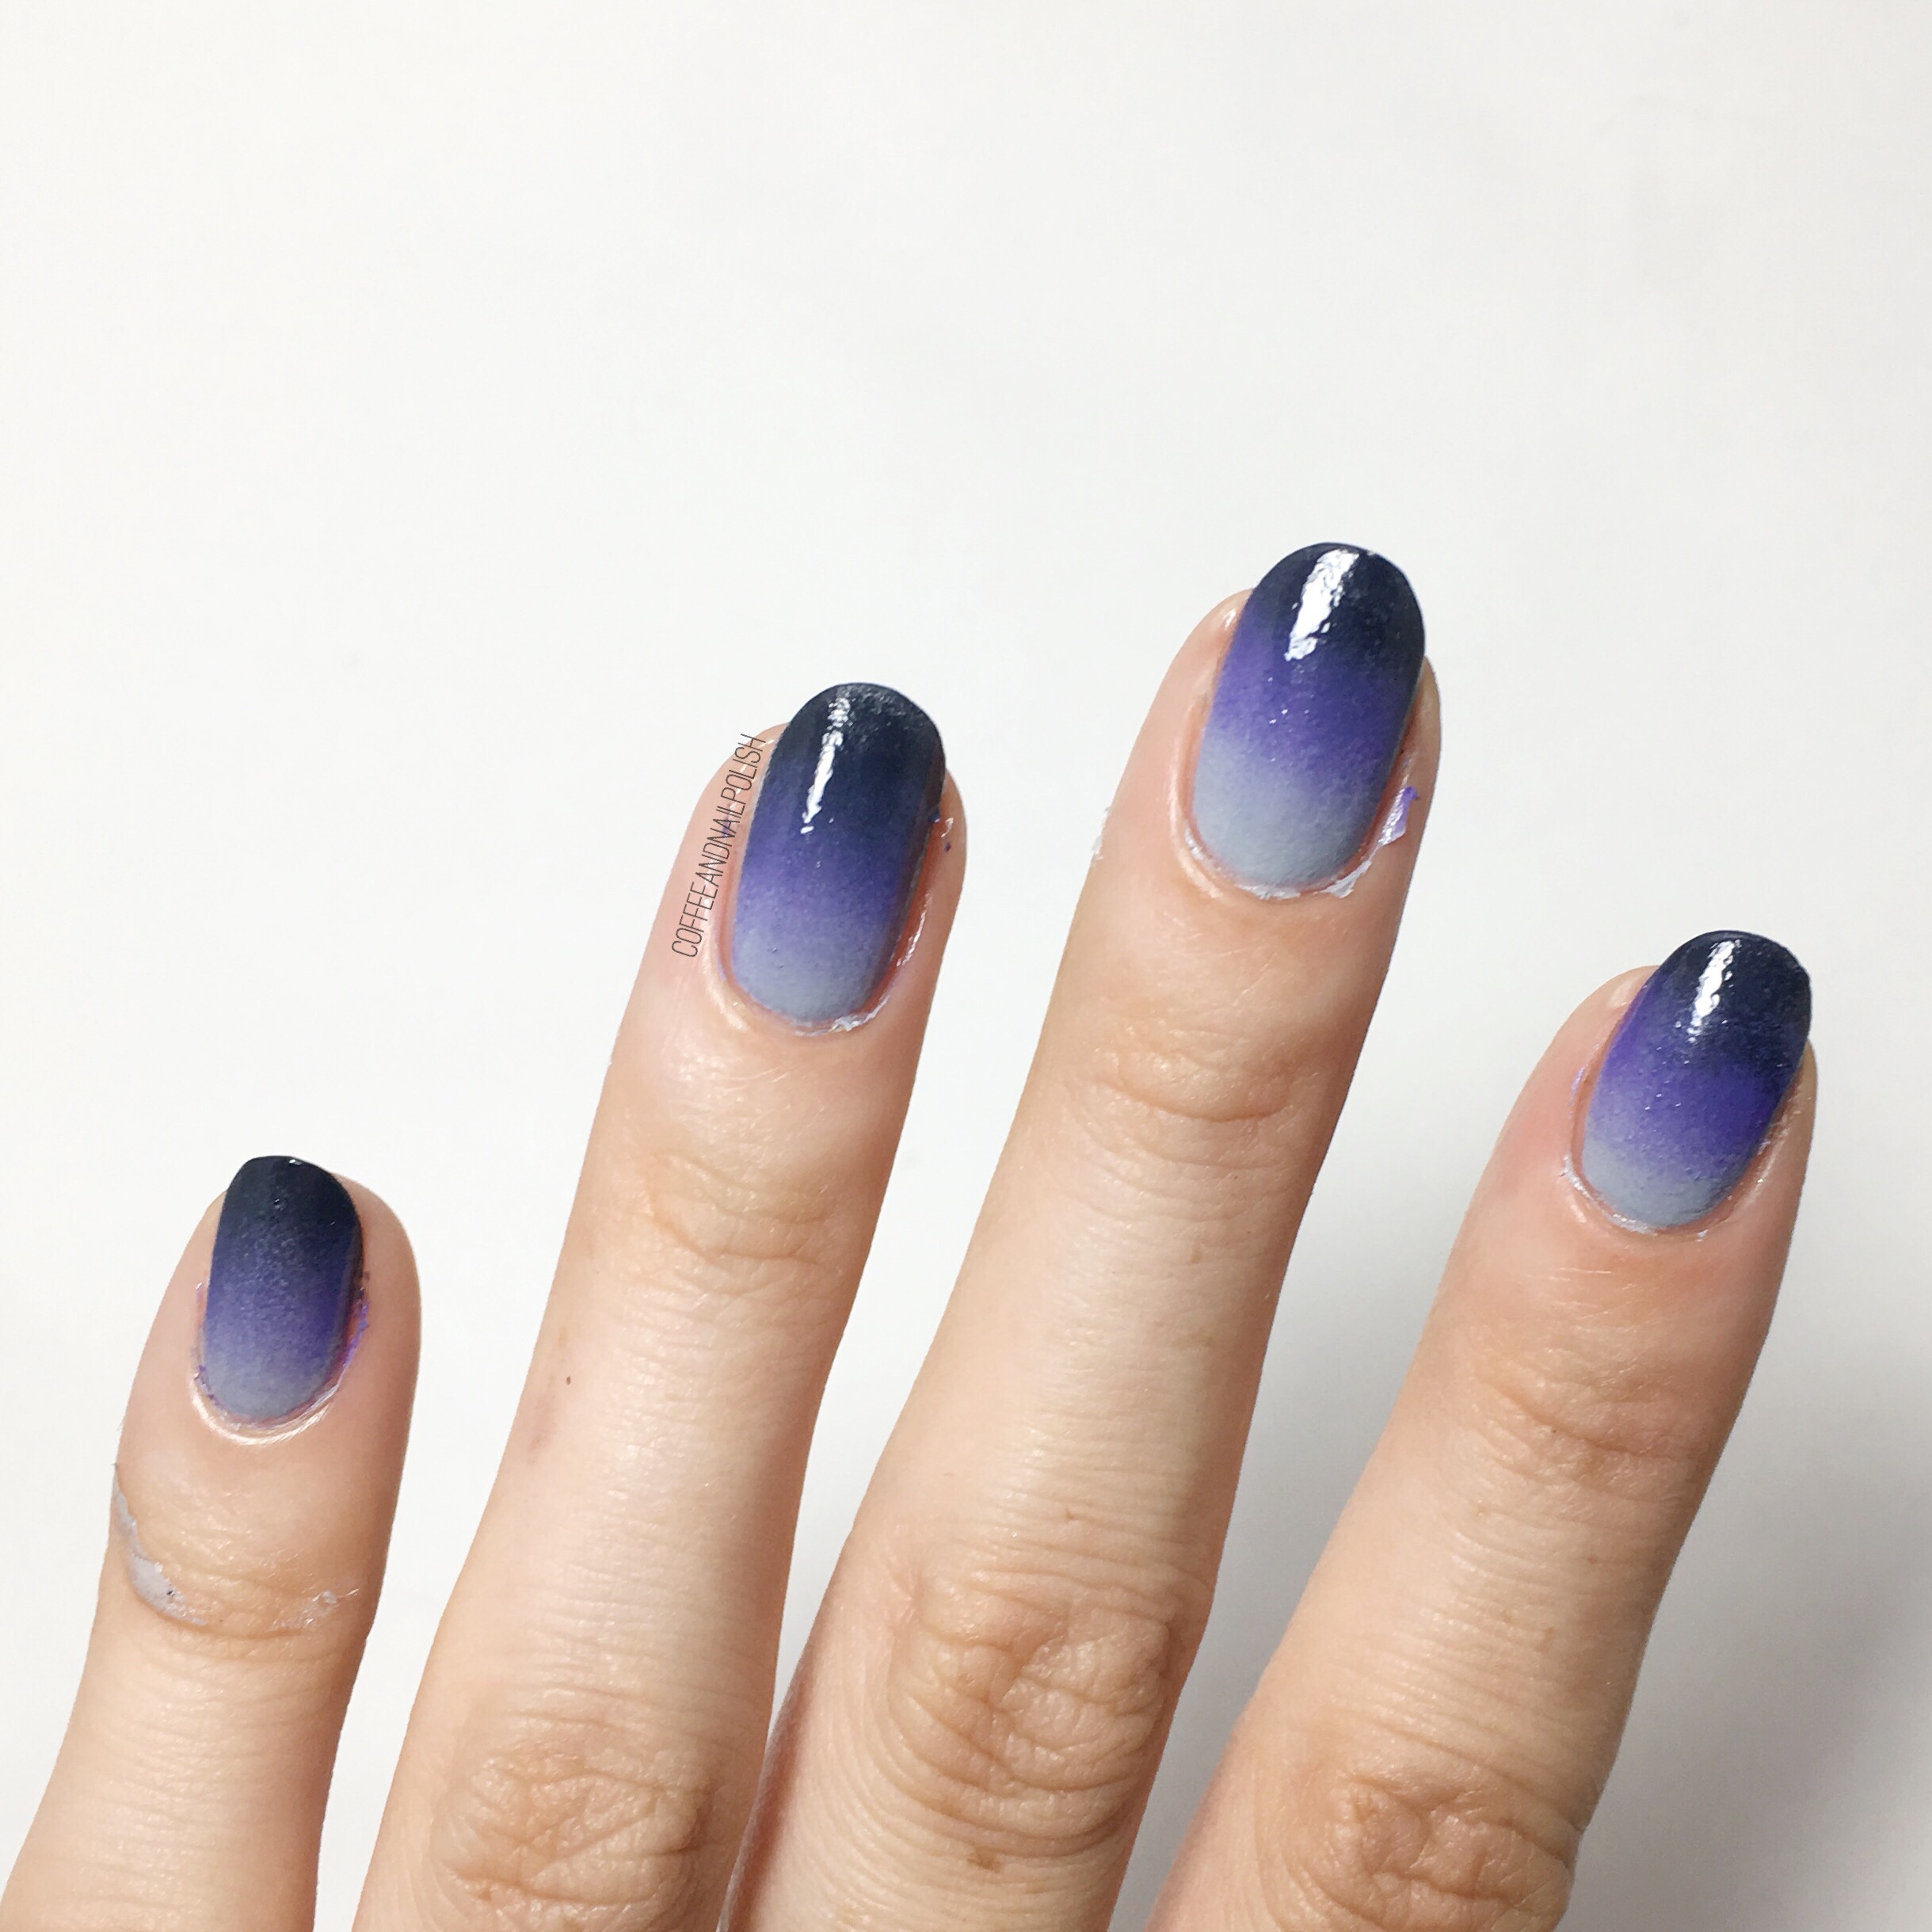
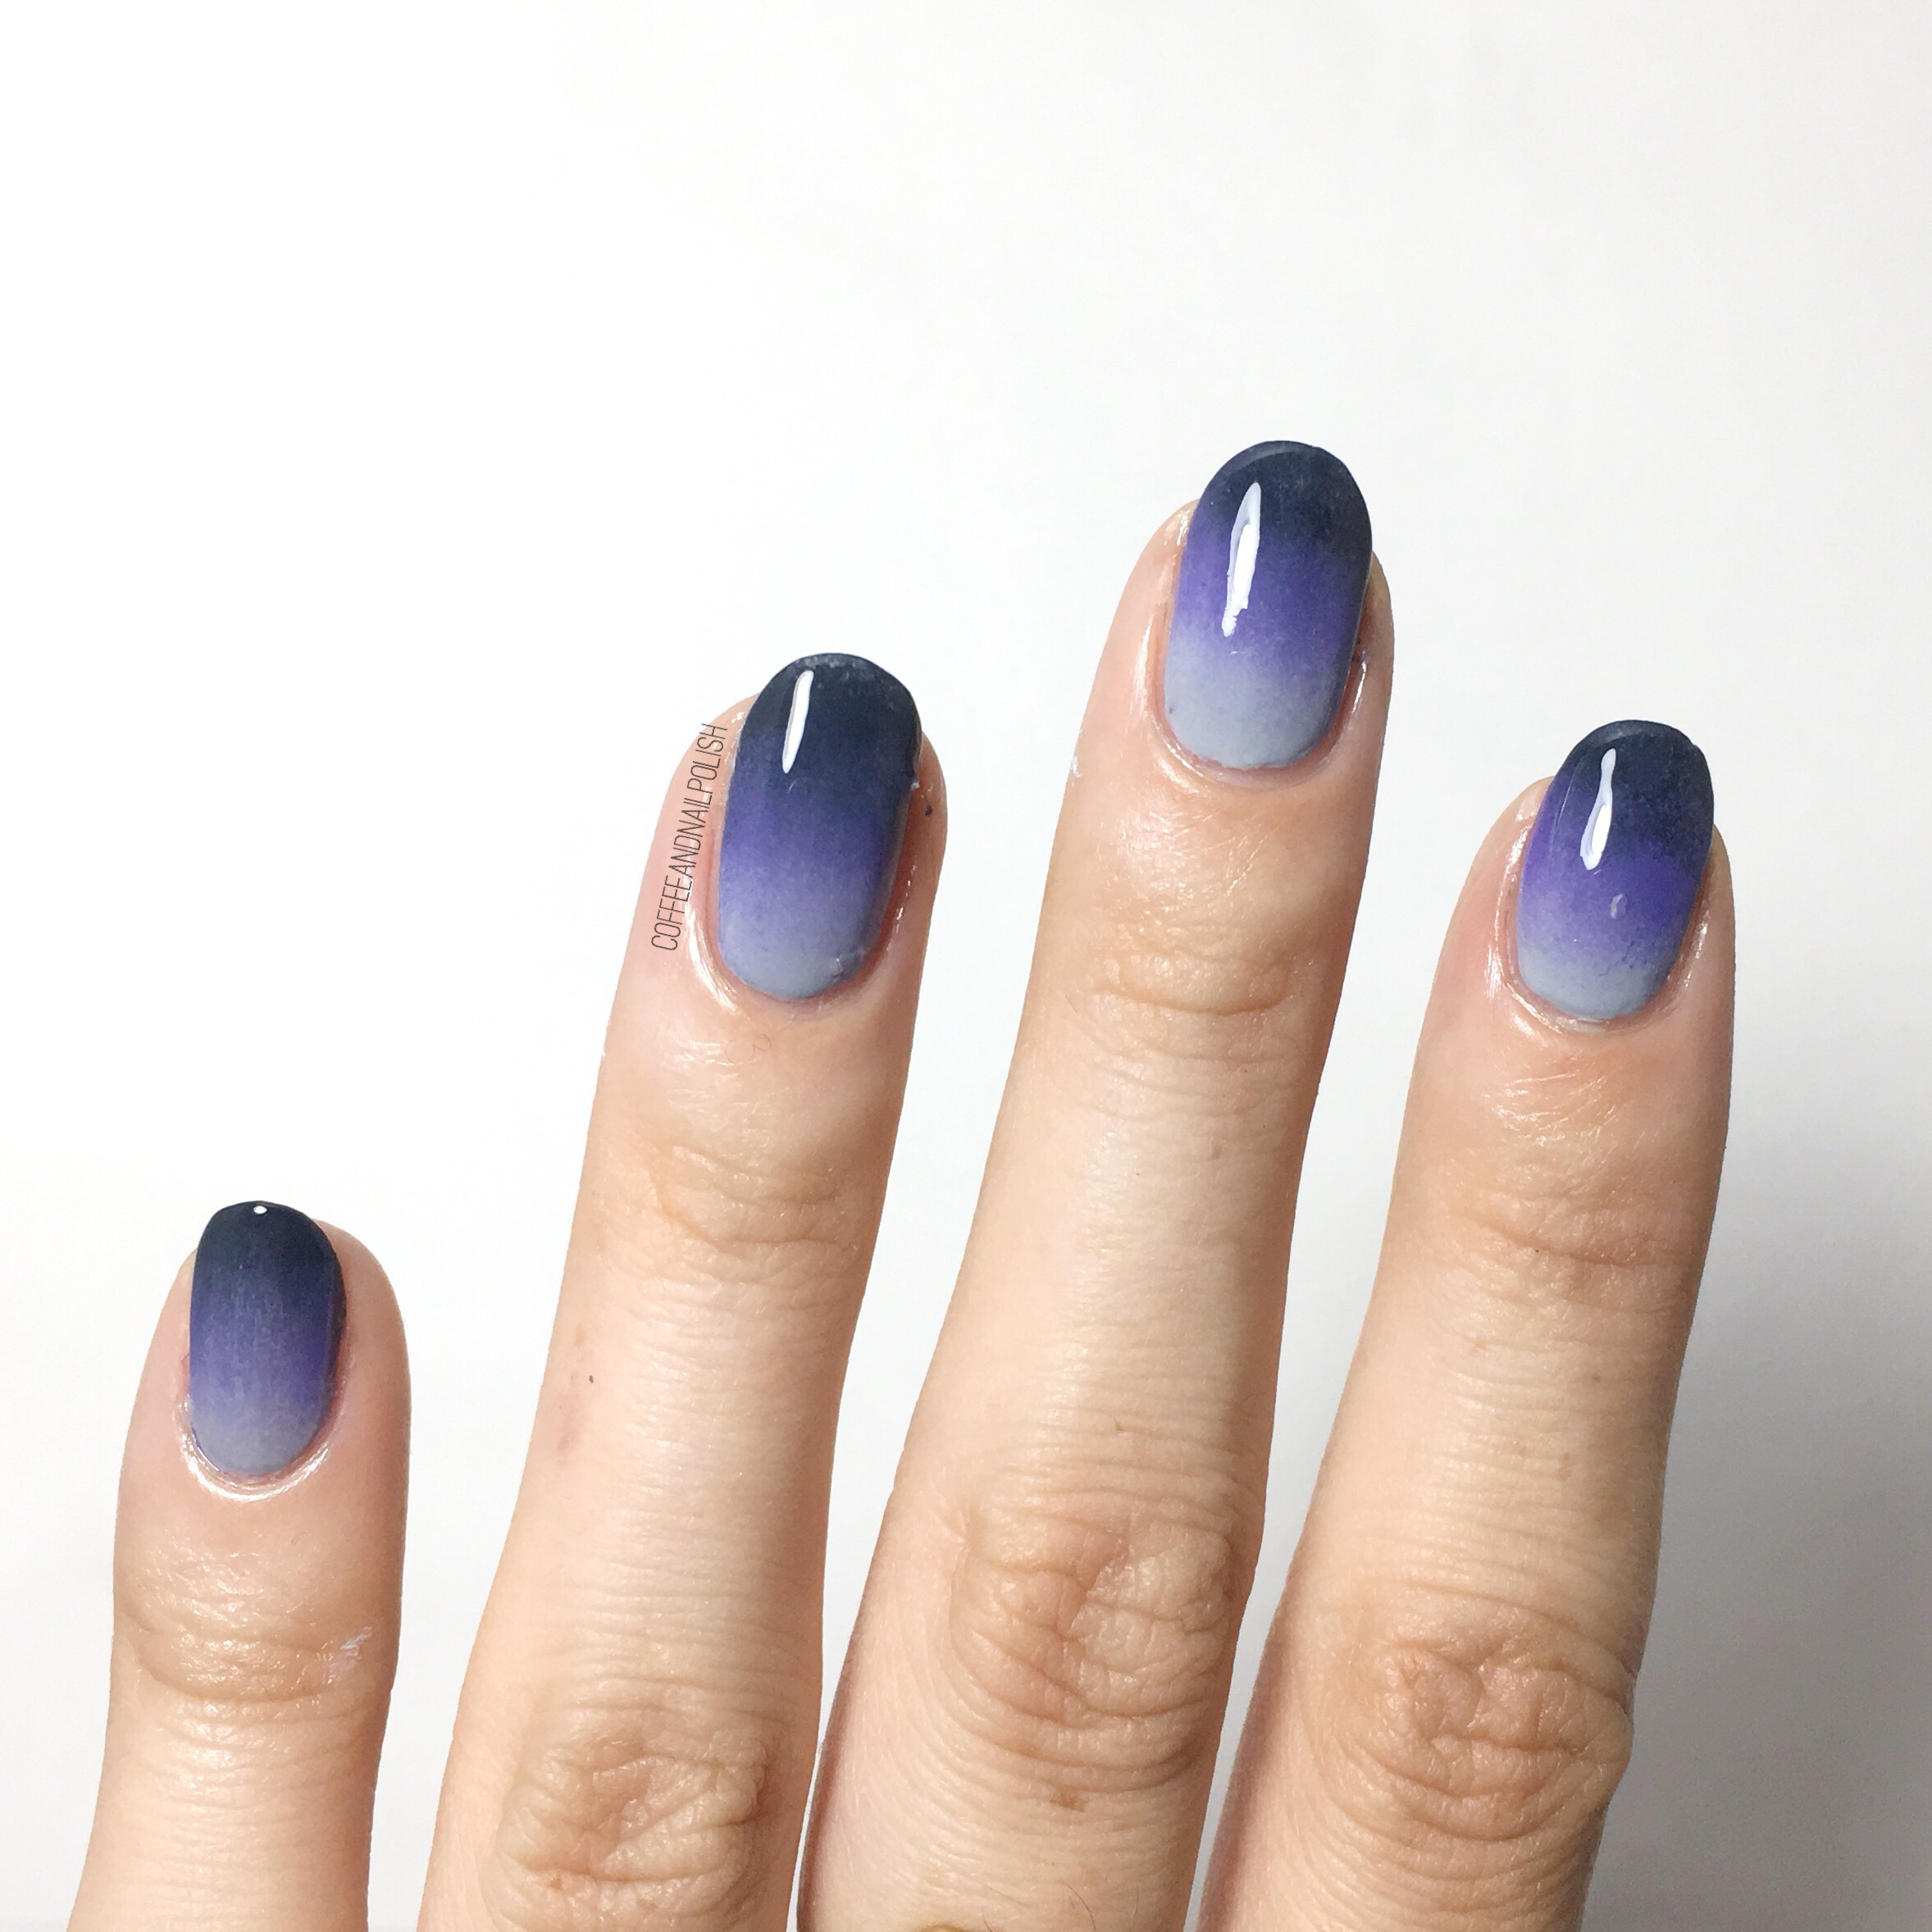
Now it’s time for nail art! I sponged on my gradient using three shades (Color Club Silver Lake, Revlon Elusive, & Essie Under the Twilight) until they were well blended. Always a messy process. 

Using tweezers, pull off your latex barrier. Above is right after I peeled off Edge Perfection (before I applied top coat). As you can see, it really did keep things quite clean! There are a few little bits of polish left on the nail but that is just an issue of not getting the product close enough to the edge (middle finger) or not far enough down the finger (pinky) & can easily be fixed with a clean up brush & a little acetone. 

& after I cleaned up the little scraggly bits of polish left over & applied top coat. Pretty gradient nails! 

As you can see, Edge Perfection seriously minimizes the mess usually associated with gradients & other messy nail art. There is nothing worse than trying to do a cool but messy nail art look & spending half an hour cleaning up around the nail. I really, really like the brush applicator with it because it’s so easy to apply & get in as close to the nail as you need to be. I also really love the fact that there is no overwhelming weird smell. 

If you’re interested in purchasing Edge Perfection for yourself & giving it a try, you can purchase it directly from the Edge Perfection website as well as CVS & What’s Up Nails. Personally, I think it’s a great product & I was really impressed with results! I can’t wait to use it for more (messy) nail designs! Except to see a lot of gradients in my future. 

*PR SAMPLE* Some of these items were sent to me for review. However, all opinions are my own

Nail Art Goodies from NailStuff.ca & my first experience with Water Decals. 

I’m back from my vacation, & while I enjoyed being away I definitely missed home! I was also excited to arrive home because I knew I had some nail mail waiting for me! My hubby was sweet enough to open my packages for me on a video Facechat, which added to my excitement. I couldn’t wait to get home & play with these goodies.

One of the parcels I received was from the new nail art site in town: nailstuff.ca! I’d recently seen items from them popping up on my Instagram feed, & when they offered to send me a few items to try out I couldn’t say no! I received a sheet of nail water decals, a sheet of nail stickers,  a wheel of nail art studs, & three little tubs of glitter (silver, holo pigment & flakies.)

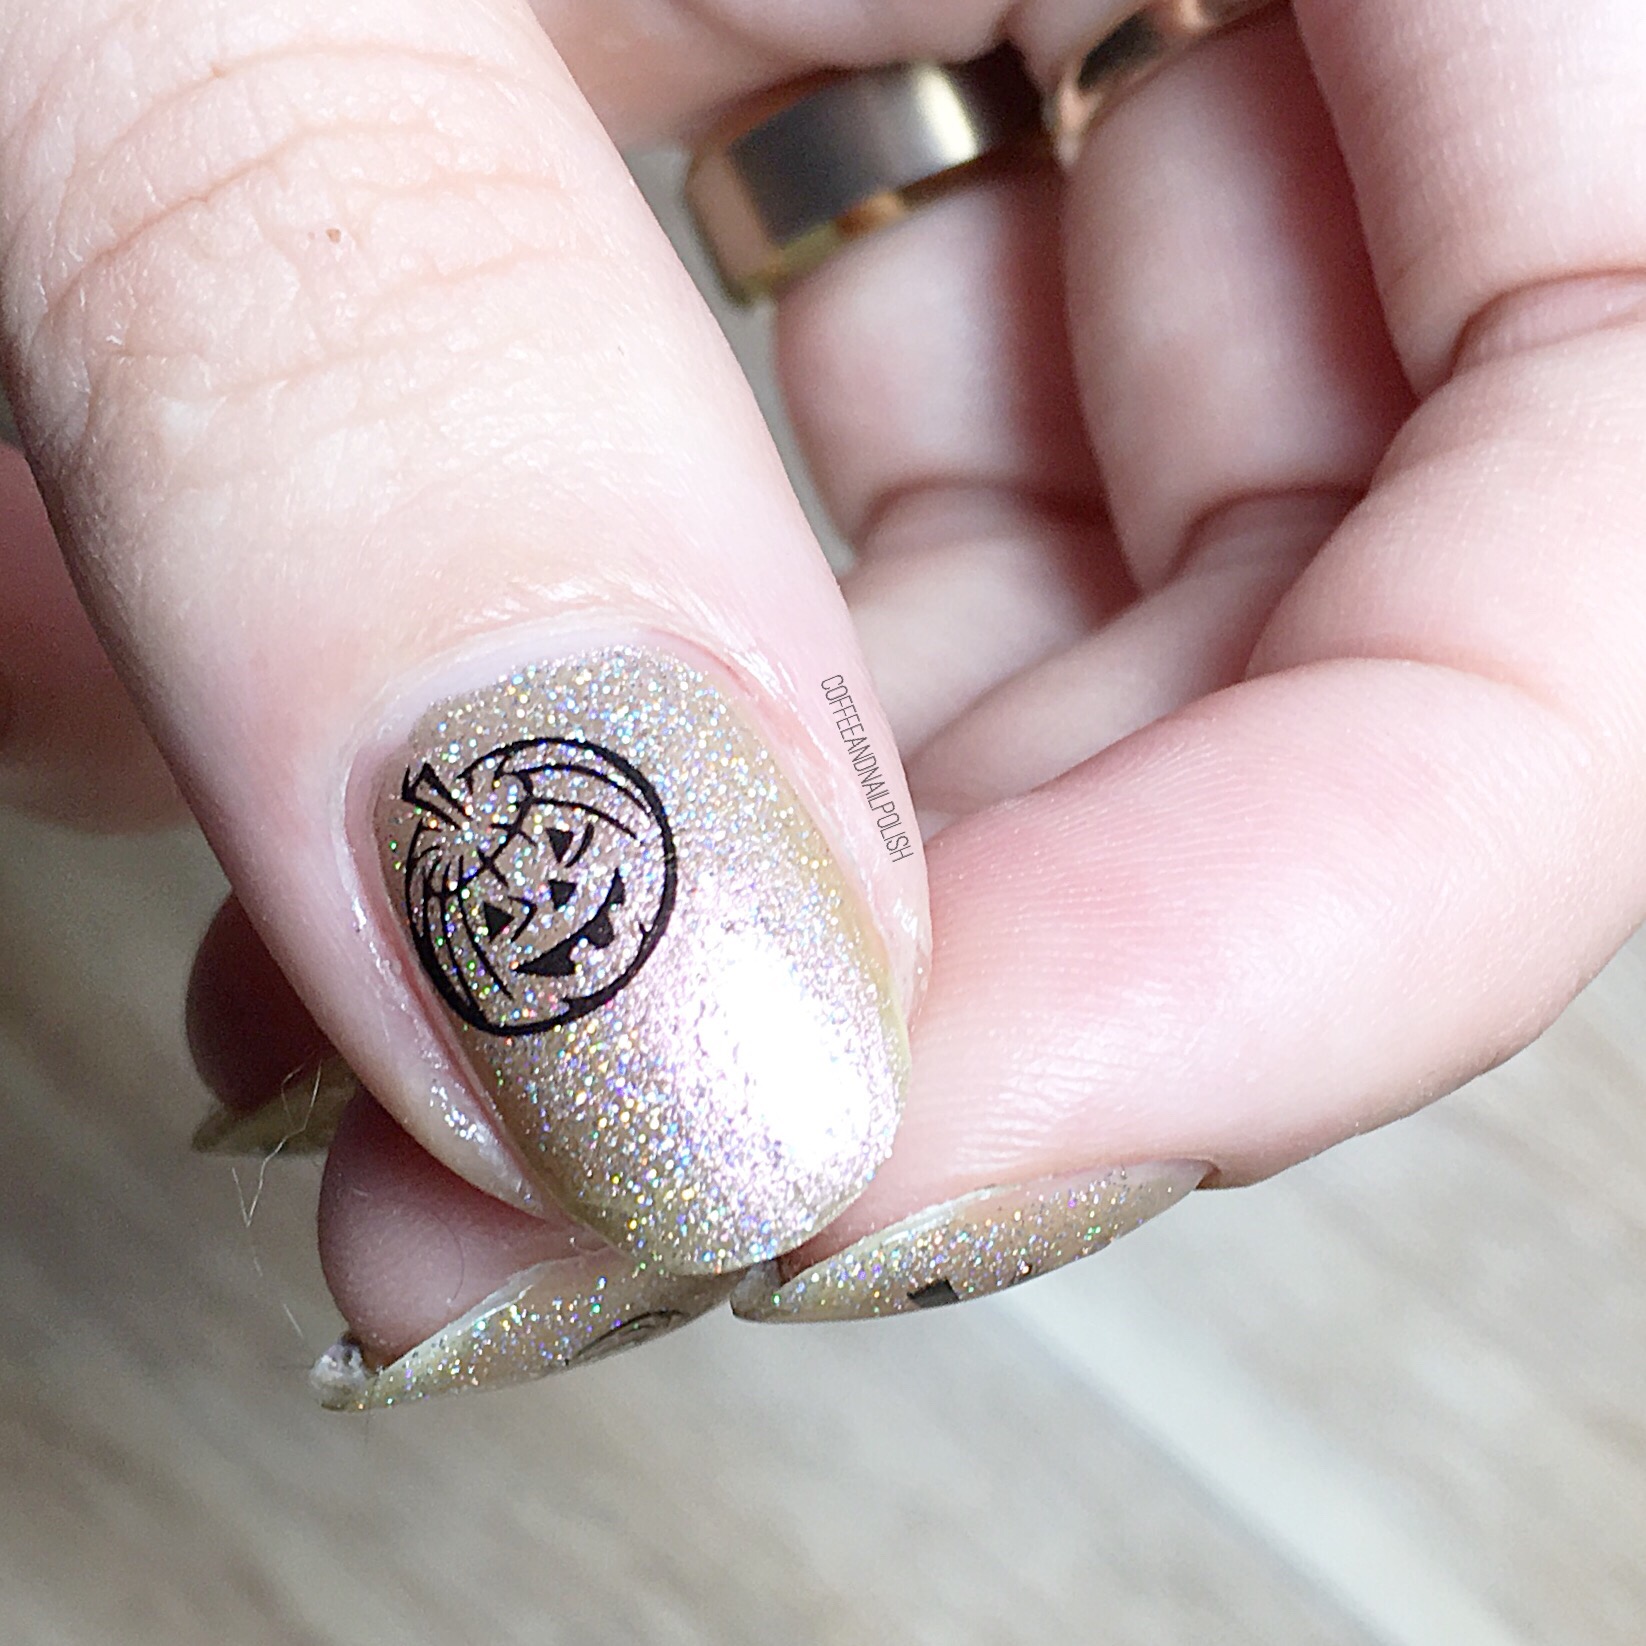
First up, I had to try out the Halloween themed water decals!

This was my first expirence using water decals. I’ve bought them before, but never actually used them. Thankfully these decals came with very clear instructions to make applying them easy. Here’s what I did to apply the water decals (as a first time user):

  1. I started off by painting my base shade (China Glaze Swanky Silk topped with Revlon Holographic Pearls) & letting dry.
  2. While my polish was drying I grabbed a cup of room temperature water & scissors.
  3. Once my Base was dry, I cut out my desired designs & dunked them in the water for 10-20 seconds. I recommend doing this with tweezers.
  4. Pull out your design & using a dry finger pick up the design carefully. Make sure your finger is dry, or else your decal will crinkle up.
  5. Immediately press the decal down on your base. You only get one try with this, so make sure you’re putting it down where you want it.
  6. The instructions recommend using a blow dryer to dry your decal, but I found if you wanted a minute or two it also worked.
  7. Seal in your decal with top coat. I used Cutex Quick Dry Top Coat.

These decals were surprisingly easy to use even though I had no prior experience with them. They sit so flawlessly on the nail, you don’t have to worry about them sticking up or peeling off (after you seal them in with top coat). They are a quick & easy way to spruce up a basic colour & would look even more awesome over a gradient! There are also a whole variety of different design options in a variety of shapes & sizes for whatever look you’re craving.

Nailstuff.ca is based out of Canada, so shipping is a lot faster some than those other nail art companies, & it’s free shipping for Canadian orders over $29 & US & international orders over $45.

Even better, they’re currently having a promo that if you use coupon code SCARYNAILS you’ll save 15% off all scary nail items for all your Halloween nail needs. So if you haven’t checked out them yet, I definitely recommend giving their site a look & stocking up!

Stay tuned because I have lots more goodies to review!

*PR SAMPLE* Some of these items were sent to me for review. However, all opinions are my own

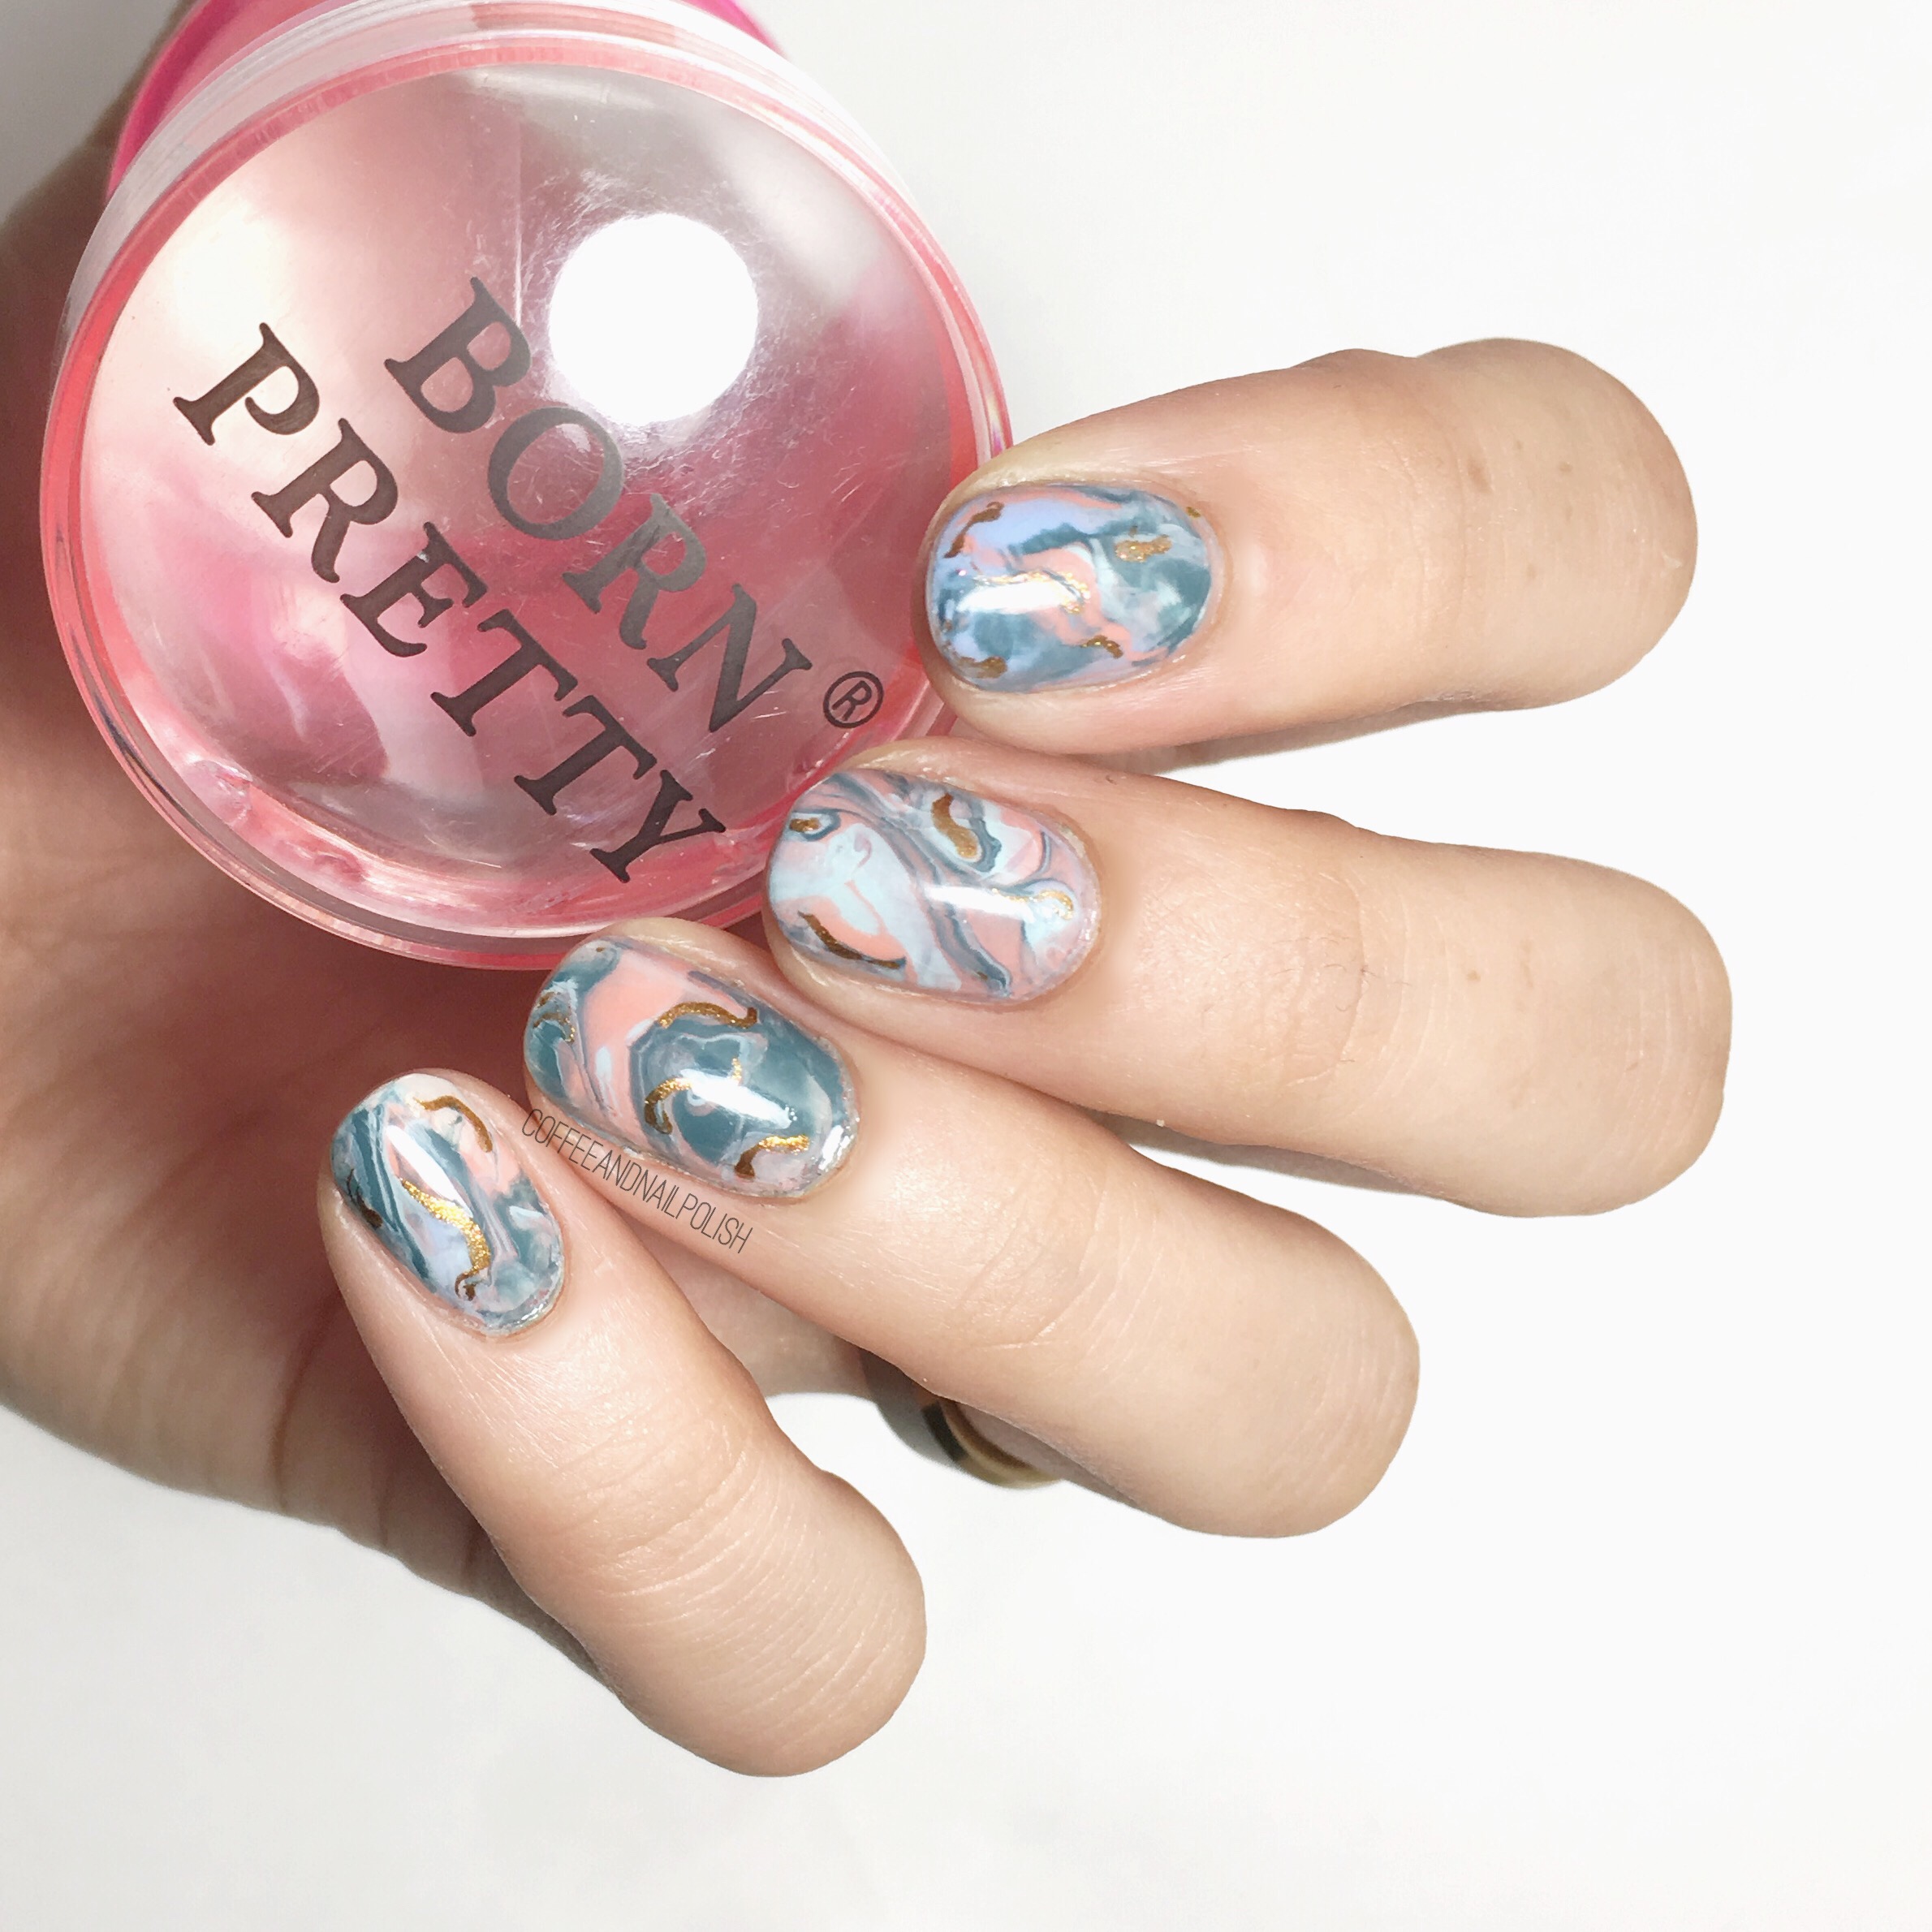
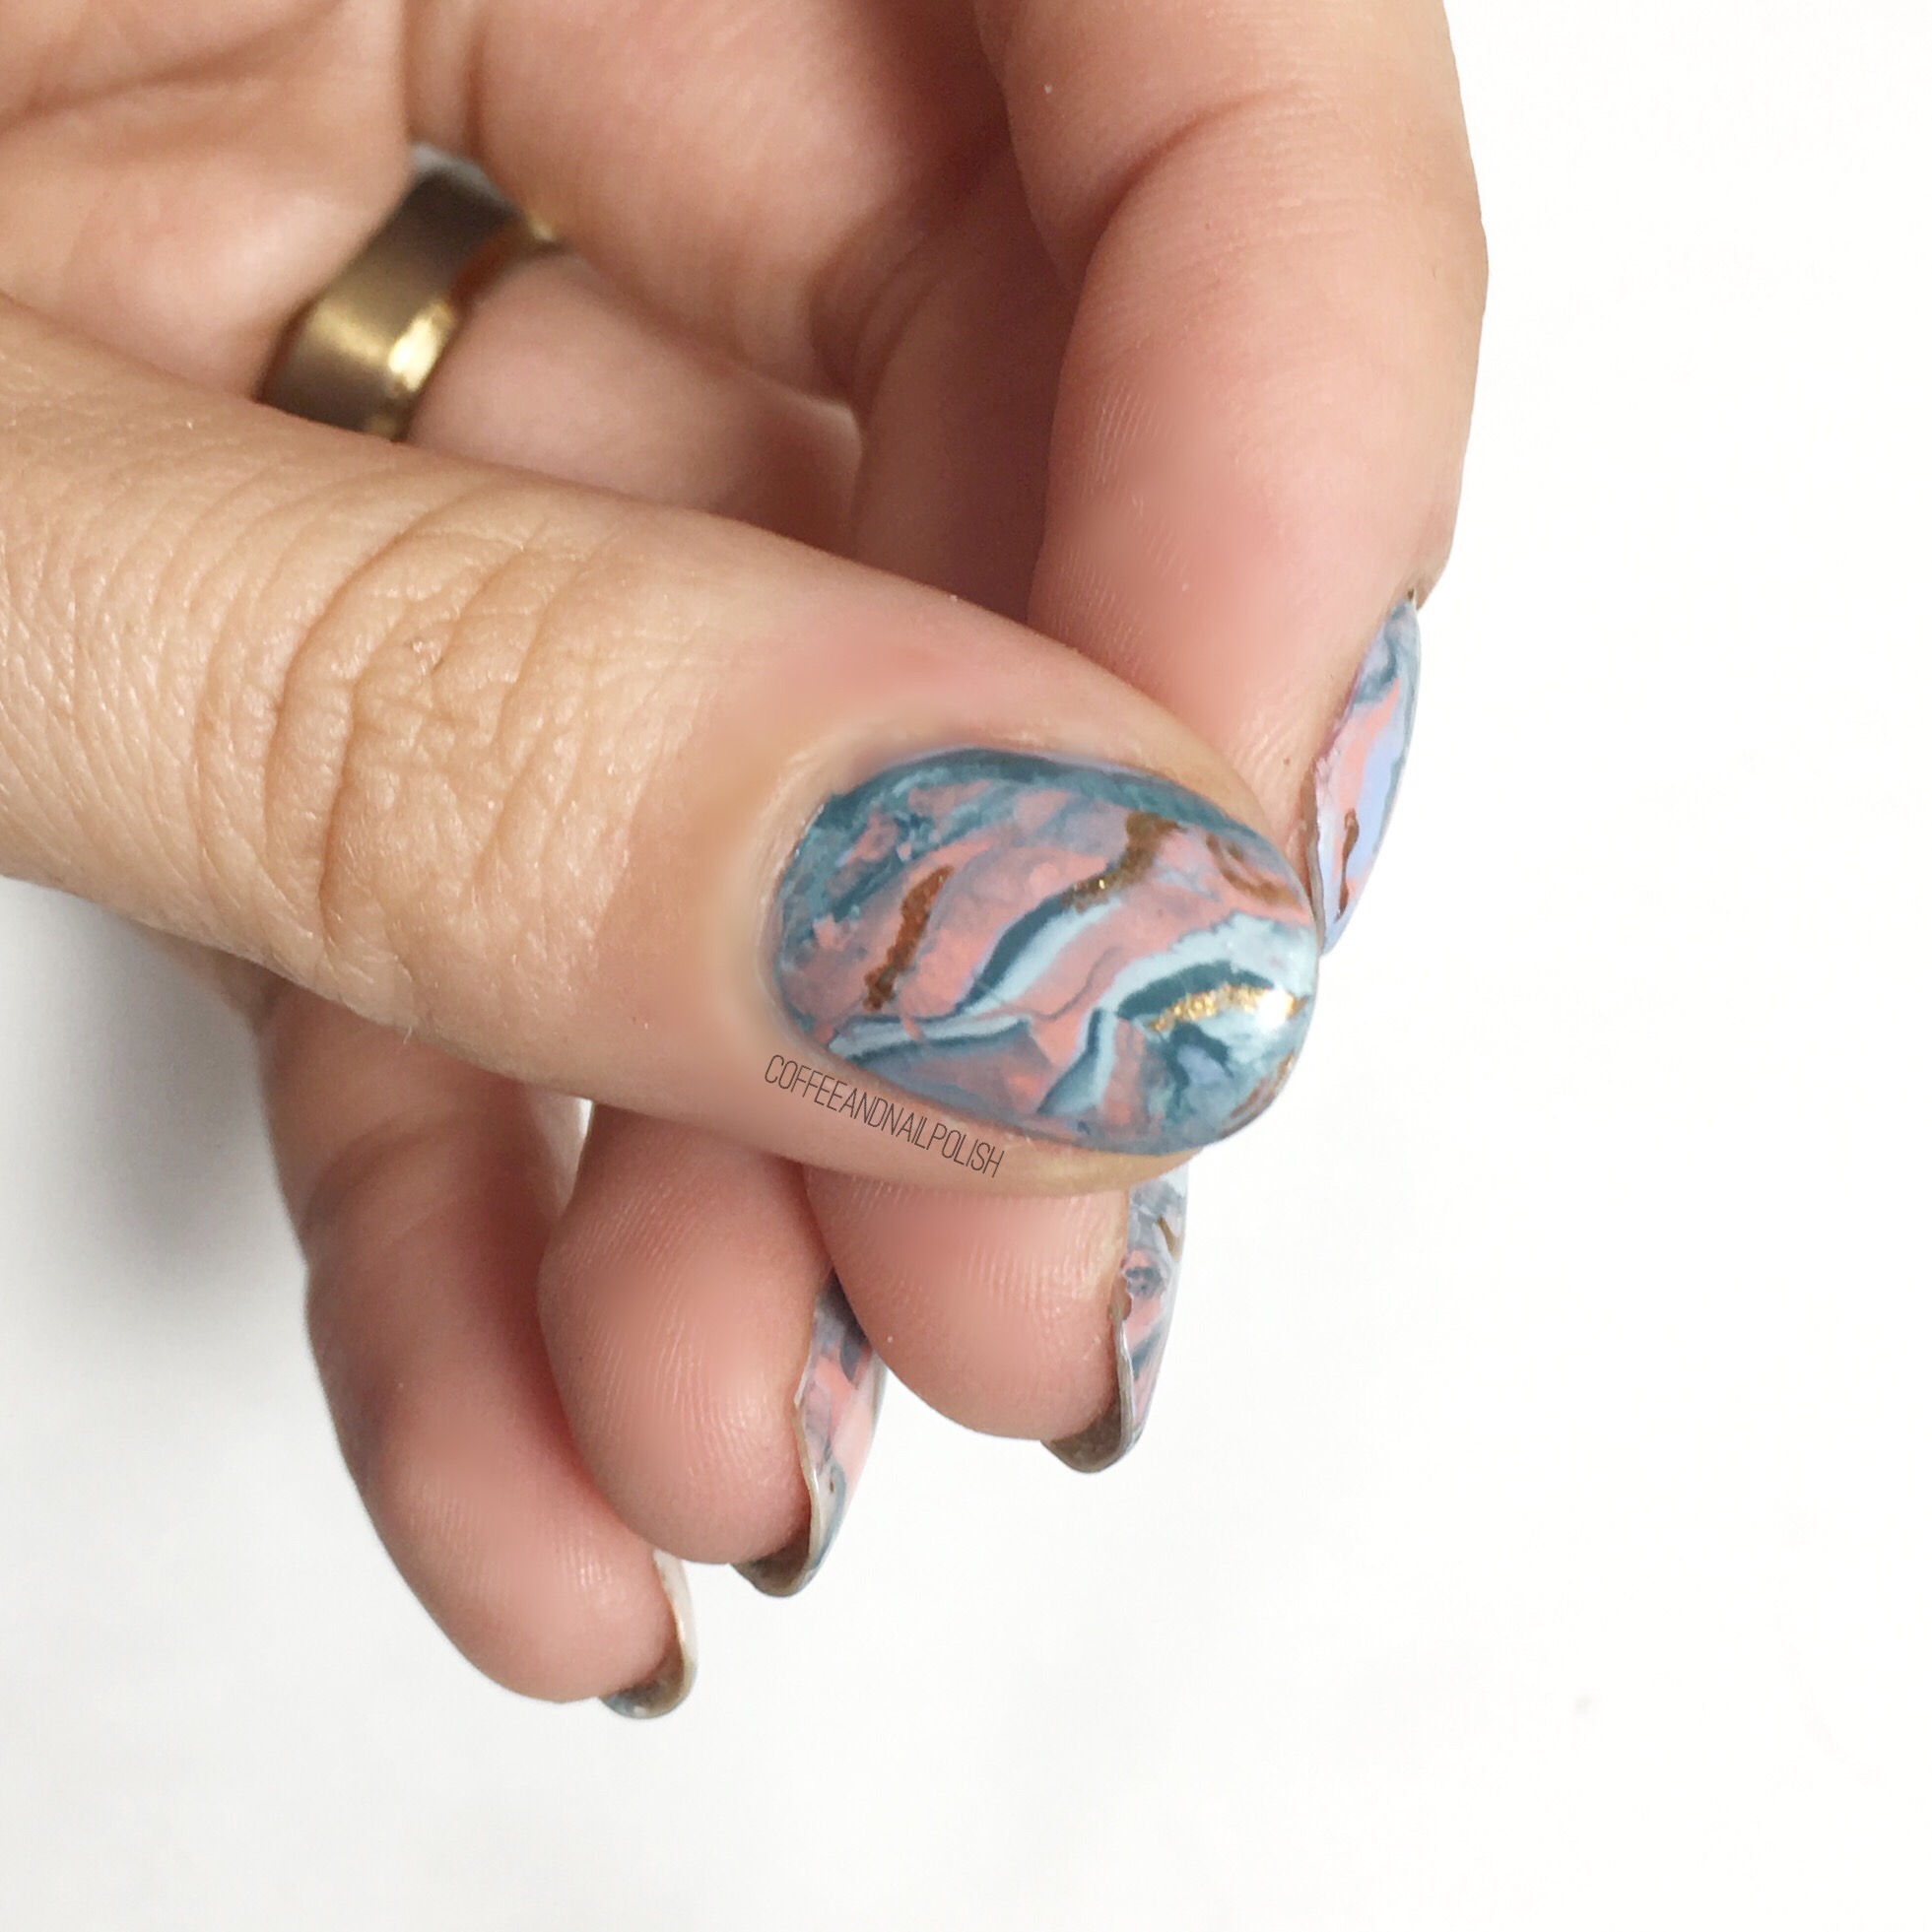
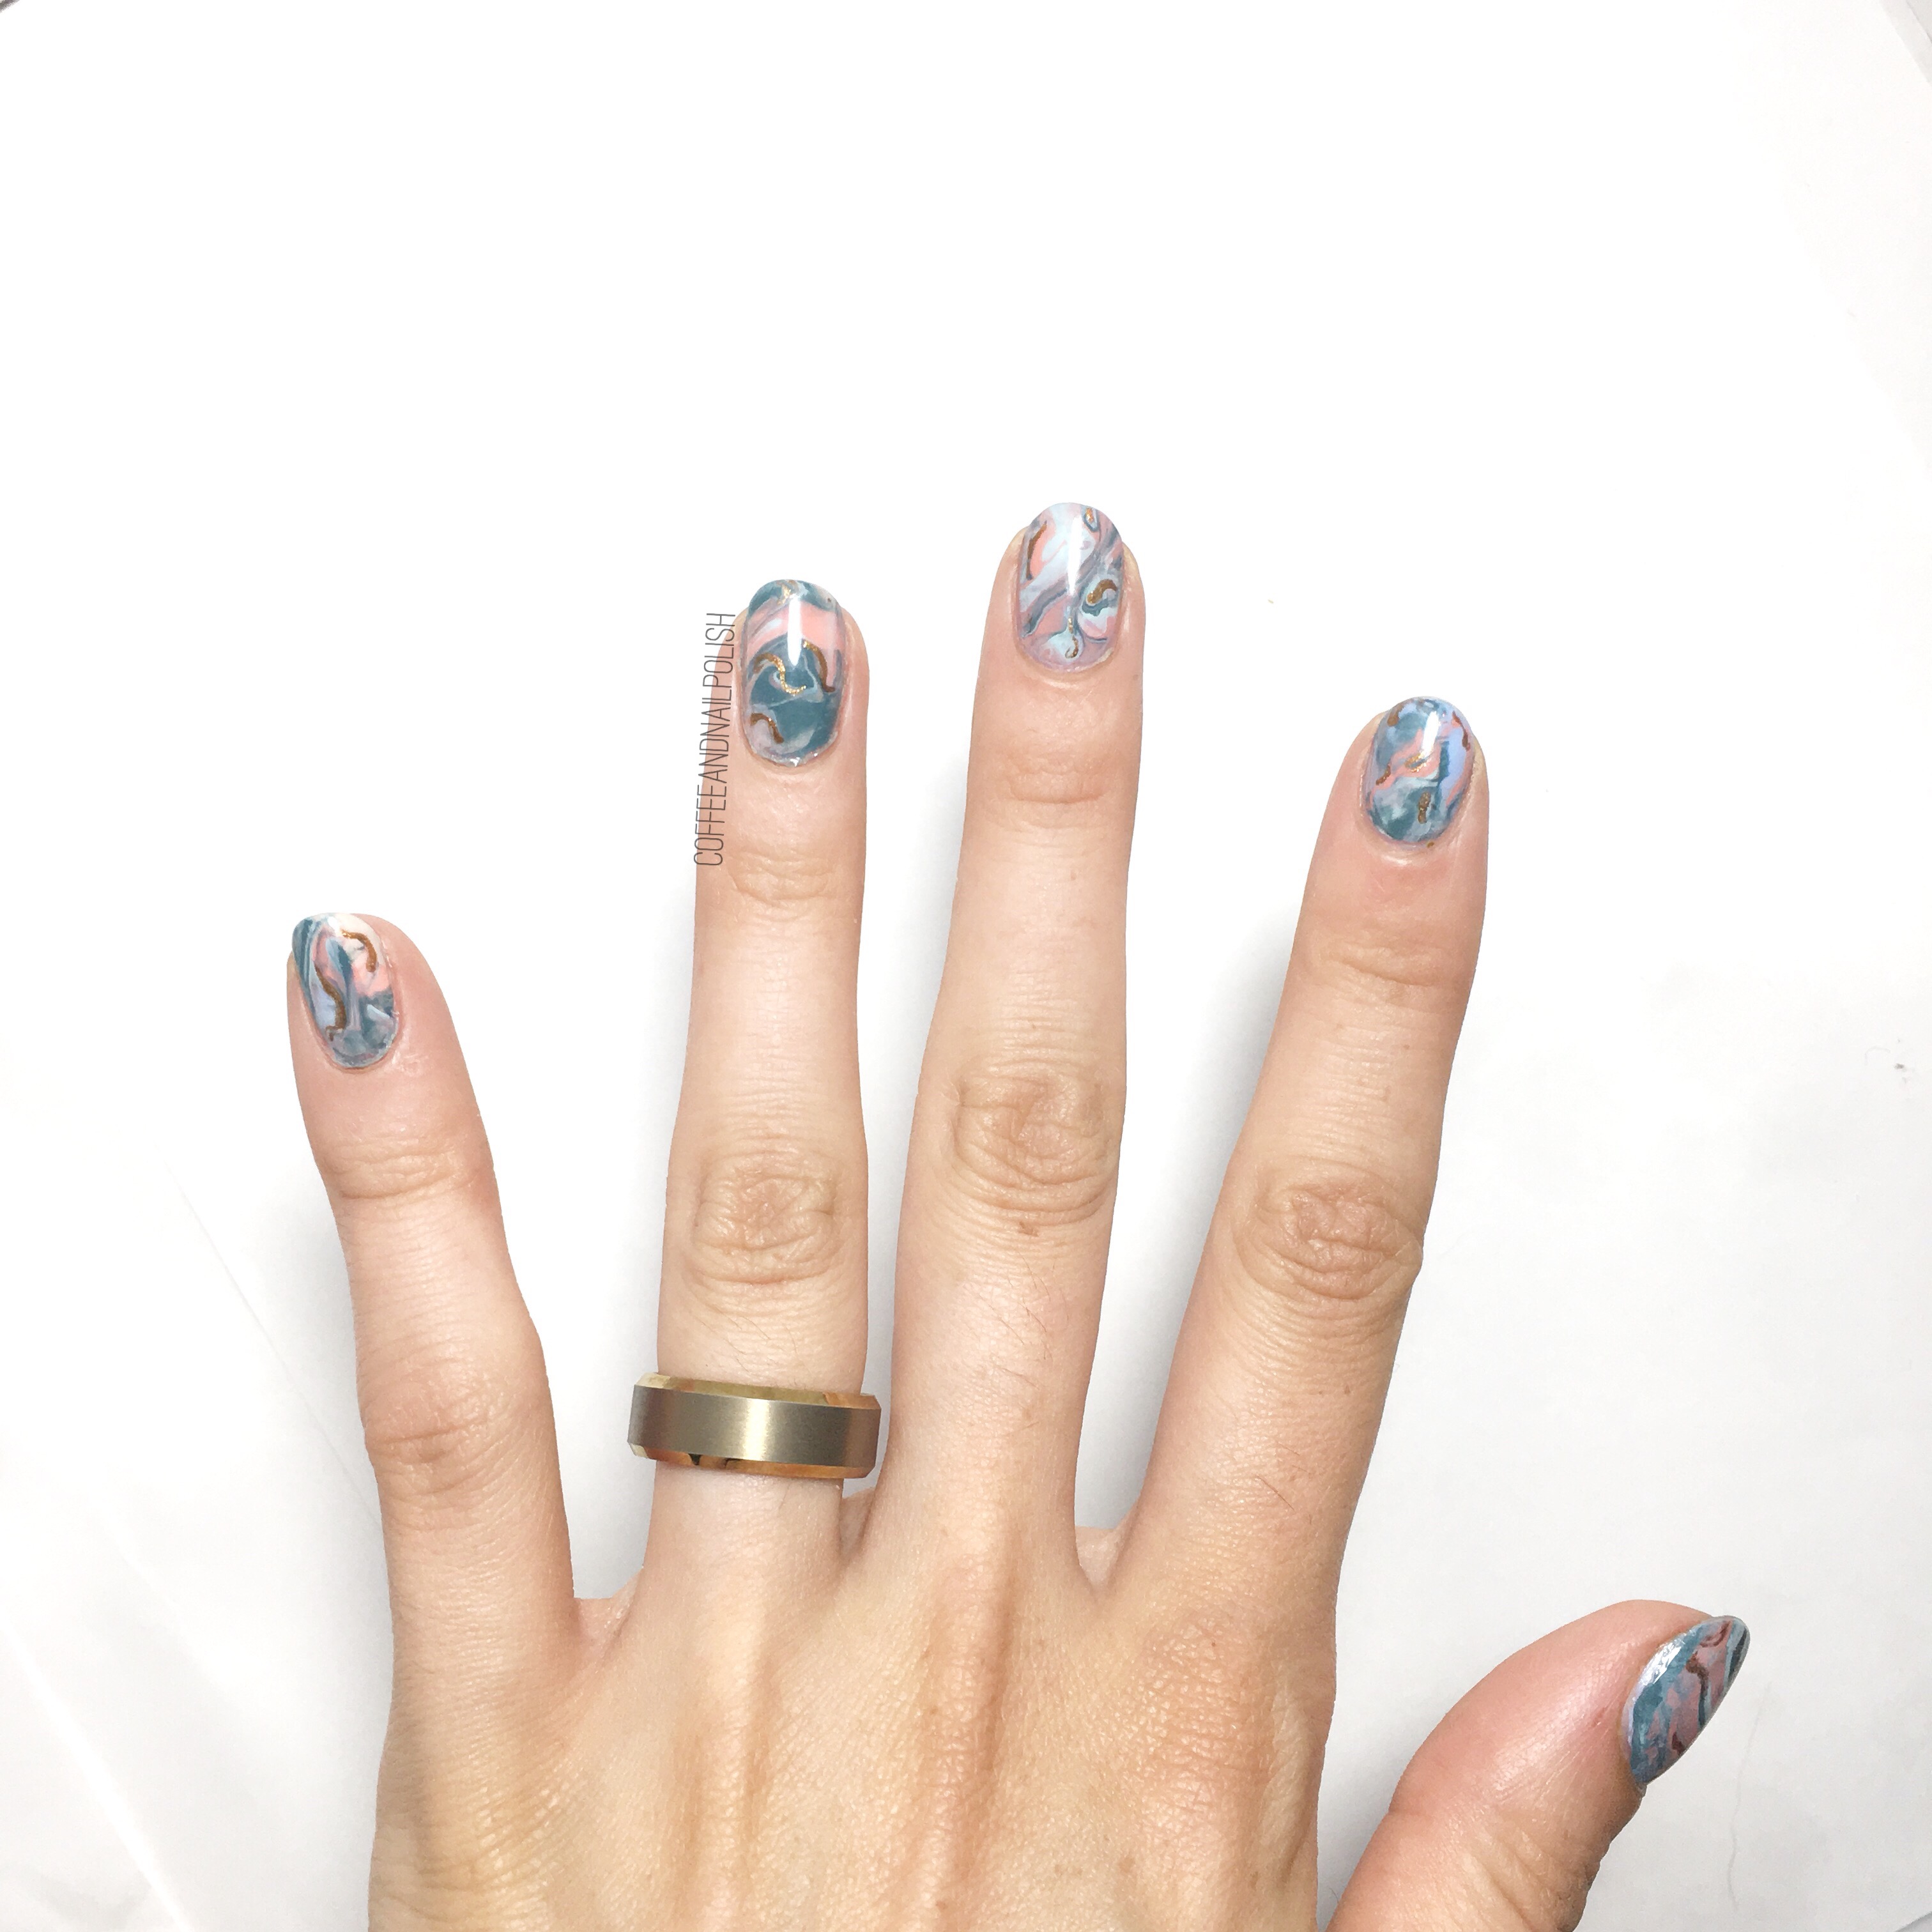
Easy Geode Marble nails using Born Pretty Store Clear Jelly Silicone Stamper item #38611

Happy Wednesday! Today I have a two in one for you–a review of this clear silicone jellly stamper (item # 38611) sent to me for review & a new technique for creating quick & easy geode nails using it! 

I used this stamping head for a few stamped manicures (including this design) but I found it was a bit too squishy for my likes for capturing the image & I prefer this Born Pretty stamper. I still wanted to see what I could do with it because it is a great product, so I decided to play around with it using a silicone mat & discovered it was great for creating these geode style nails. The size of this stamping head is especially perfect for achieveing this look. The size of means you can stamp down in one go (which is very important for getting your design to look like this). 

For this manicure, this polishes I used are:

  • Base Coat: Cutex Brittle Nail Fix
  • Top Coat: Quick Dry Top Coat 
  • Essie Bikini So Teeny
  • Essie Mint Candy Apple
  • Essie Pool Side Service
  • Essie Peach Side Babe 
  • Essie Leggy Legend 
  • Born Pretty Store 3.9cm Clear Jelly Silicone Stamper
  • Silicone craft mat (or another nail art mat… Born Pretty Store also makes a great affordable one! )
  • Small dotting tool or water marble tool. 
  • Small nail art brush. 

I tried to make a video of how to do this, but I’m still working on figuring out the best angle/set up but this video was farther away than I would have liked. Hopefully I’ll figure how to film a video where you can really see what I’m doing. But here is a rough example of how I created this design using a stamper. 

  1. Paint your nails your base shade of choice (I used Bikini So Teeny for mine)
  2. Gather all your shades around your silicone mat & make sure to pre open the bottles. I forgot to do this, & it slows down the process some. 
  3. Going colour by colour, drop the polish down on your silicone mat. Try and overlap the shades together. There is no amount of polish to put down but try & make sure you can see a little bit of each other. 
  4. Using a dotting tool, drag you polish through each other. 
  5. Using your stamper, press down on the polish. Next press down again your prepainted nail. The clear stamper is great for this because you can see through & decide which part of the pattern you want to apply. 
  6. Using a small nail art brush, go in & apply small lines of metallic shade (I used Leggy Legend). This is a great way to hide any mistakes. 
  7. Finish off with top coat to seal in design. 


You definitely want to move quickly & carefully when applying it to your nails. When pressing down, don’t move your nail because it will smudge the design which will ruin the geode look of the design. 

This Born Pretty stamper is so perfect for achieving this look. I tried it using a small stamper & it didn’t work well at all. You need that large squishy space for the polish to spread out. I do have a warning–be careful while cleaning this stamper. I used pure acetone to try & clean mine up (I was not thinking) & it caused some clouding of the plastic. So be very careful! 

If you’re looking for a versatile stamper, I would definitely recommend this stamper. Like I said, I had some difficulties using it for actually stamping but that could have something to do with my personal learning curve. However I will always gush about clear stampers because I feel like the options for nail art are endless! & this stamper in particular with its pink shell is just so pretty. 

If you’re interested in ordering this stamper (or something else) from Born Pretty Store feel free to use my discount code COFFK31 to save 10% off any regular price items! I’ve been ordering from them for years, & I love the wide variety of products you can find for all your nail polish addict needs!