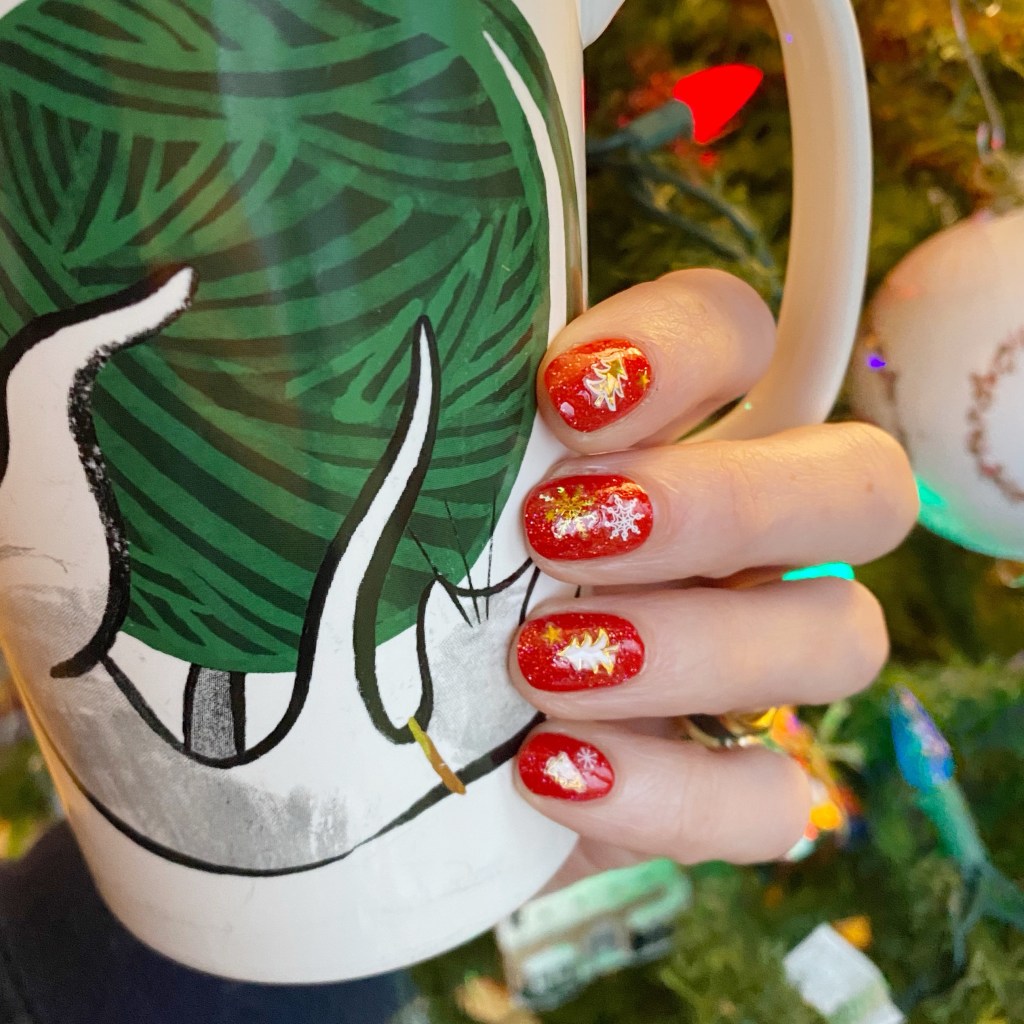
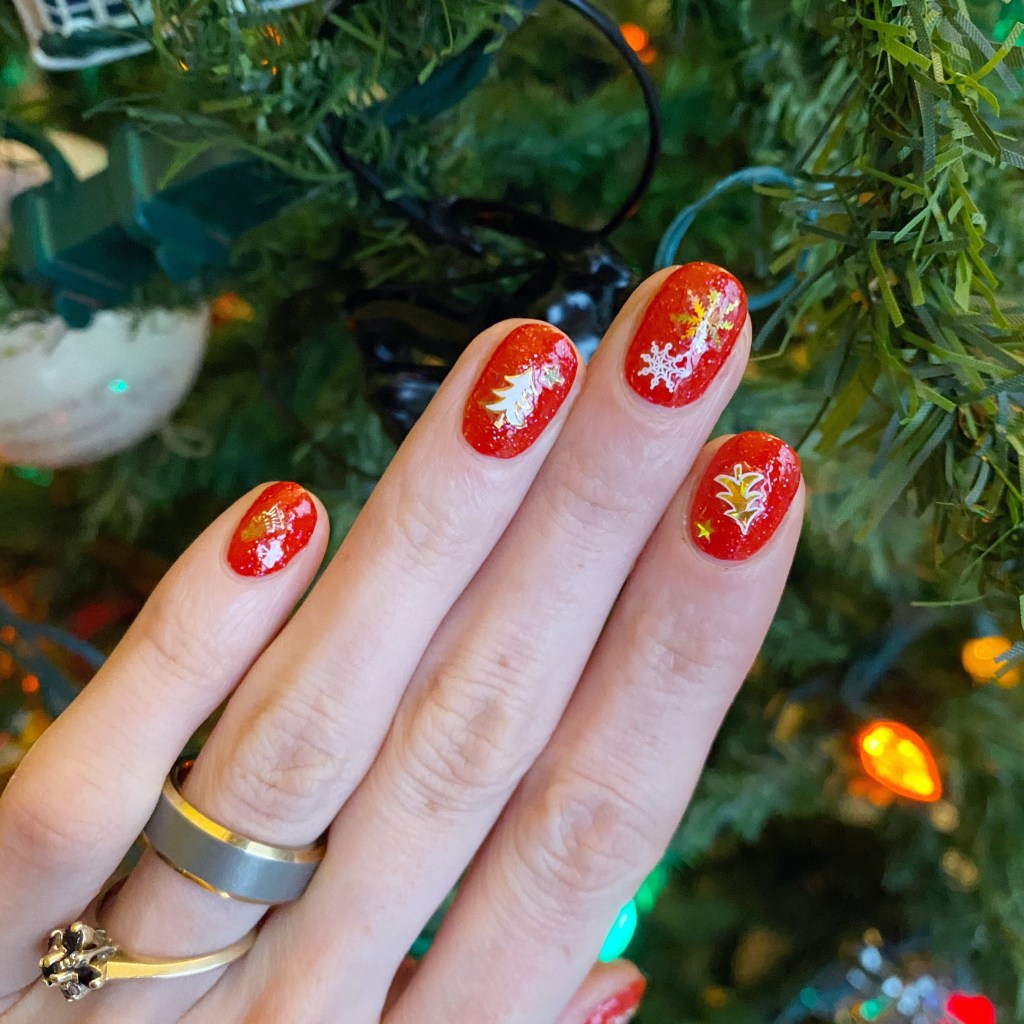
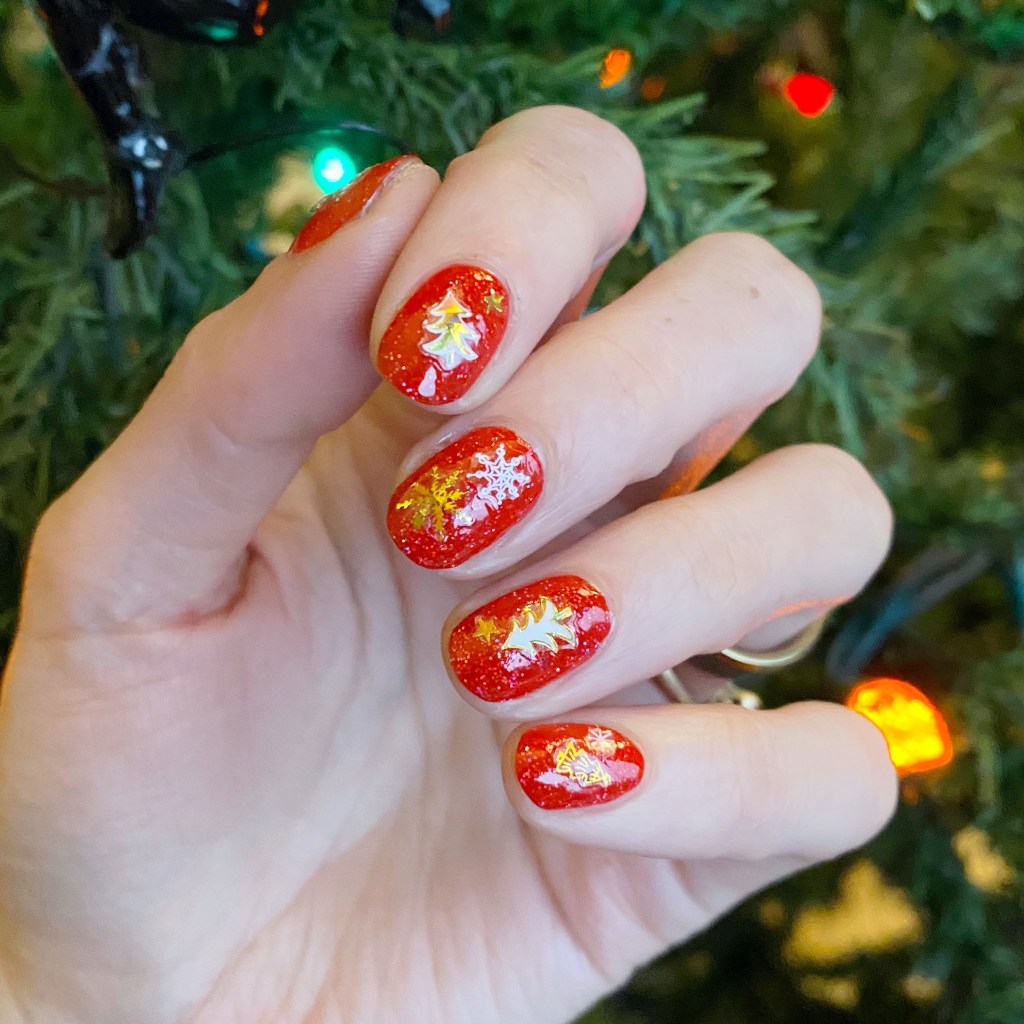
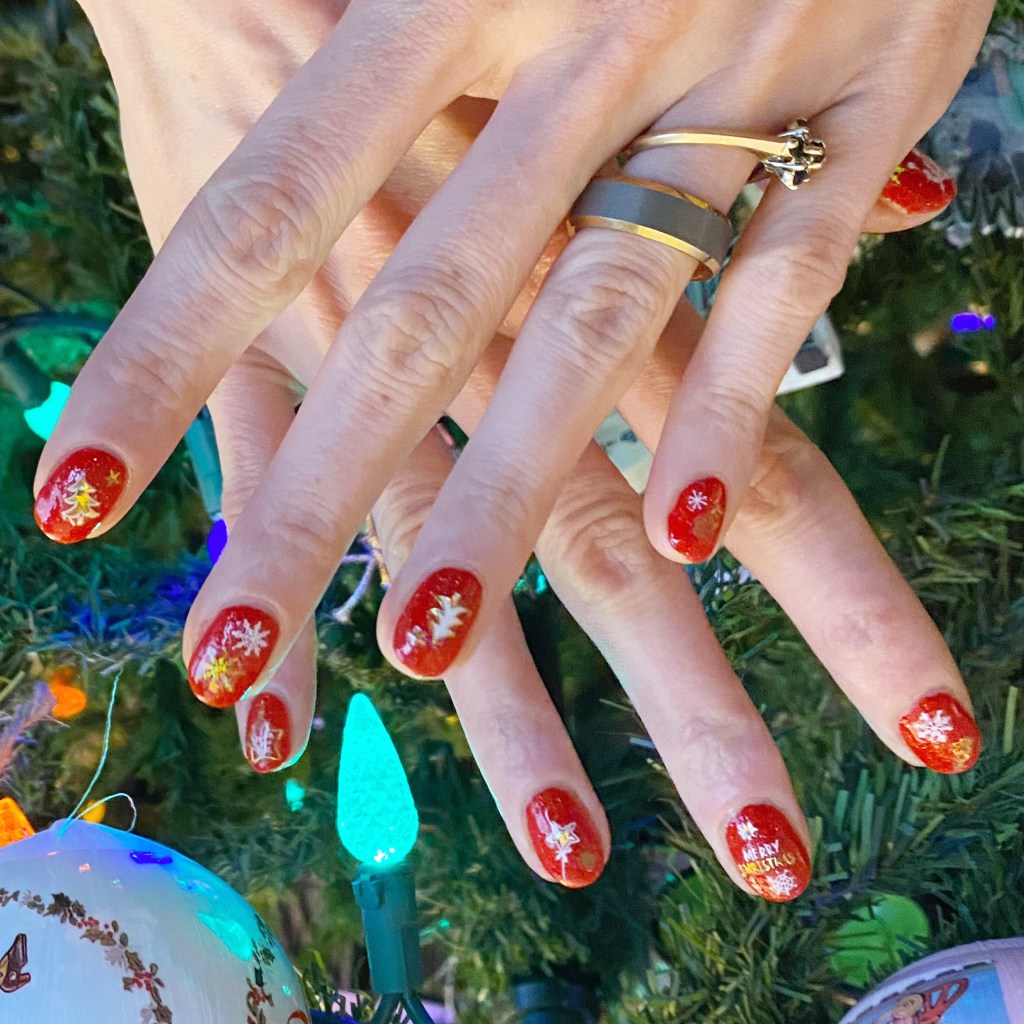
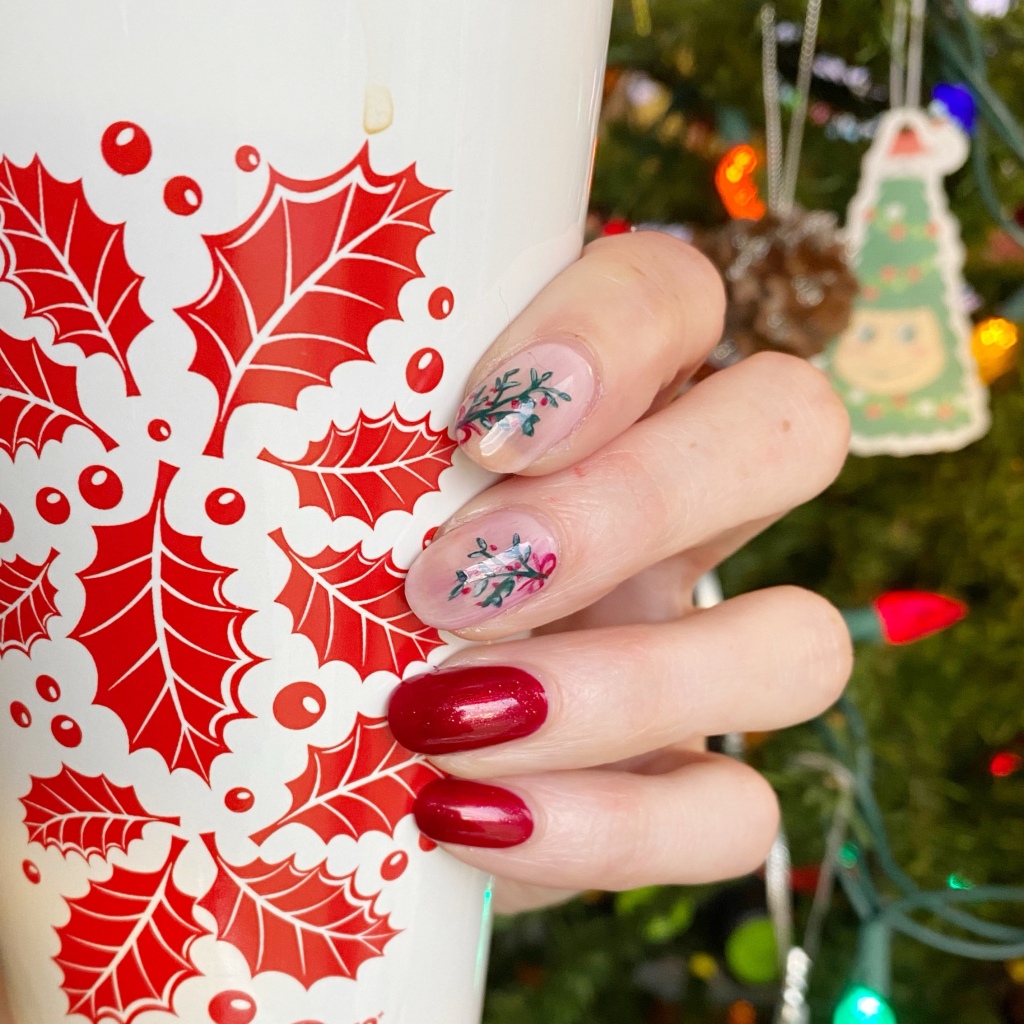
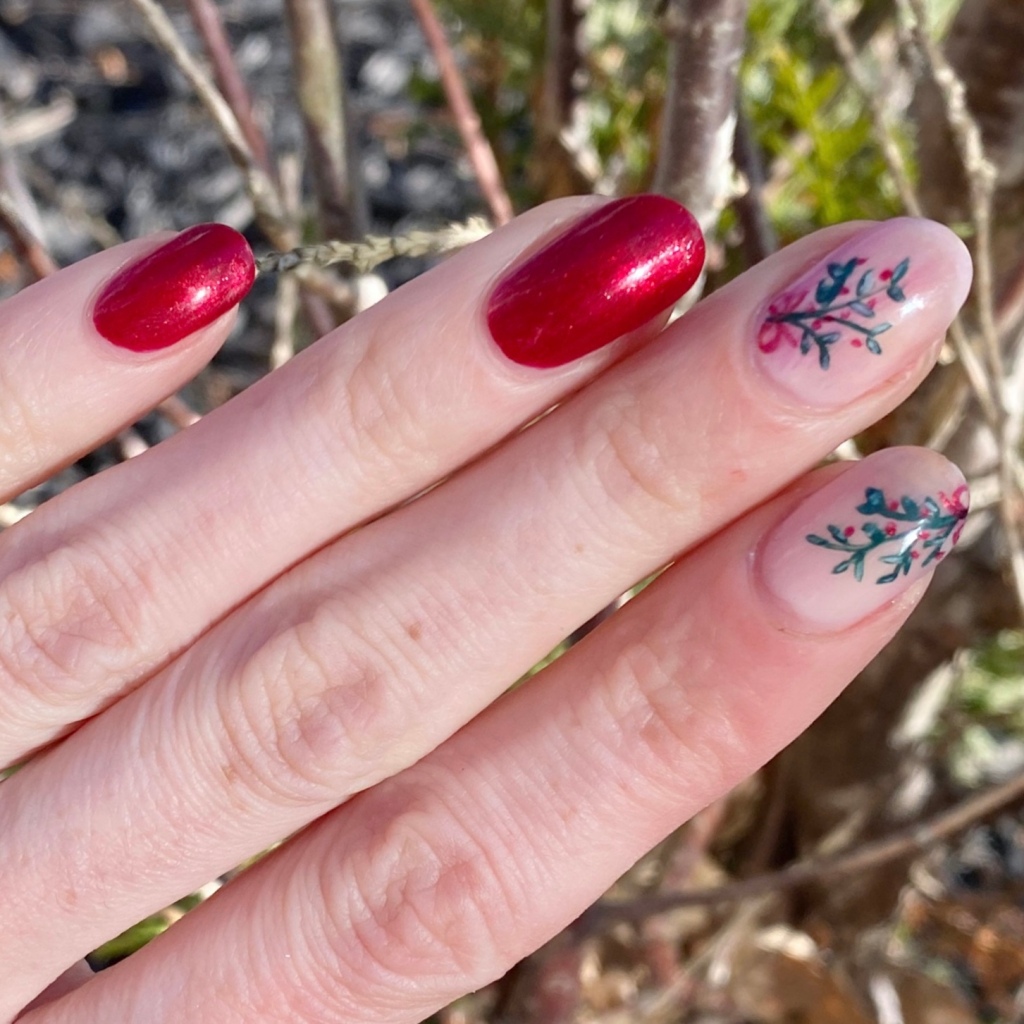
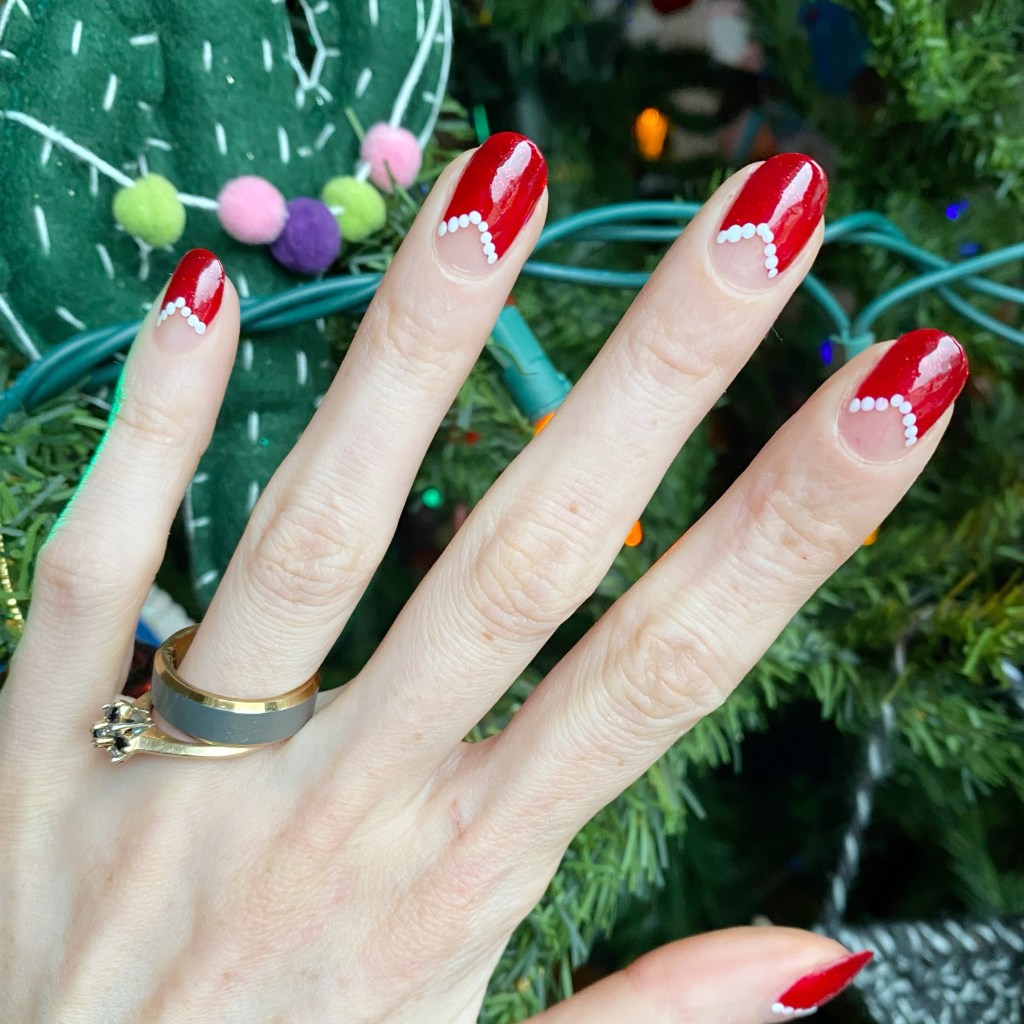
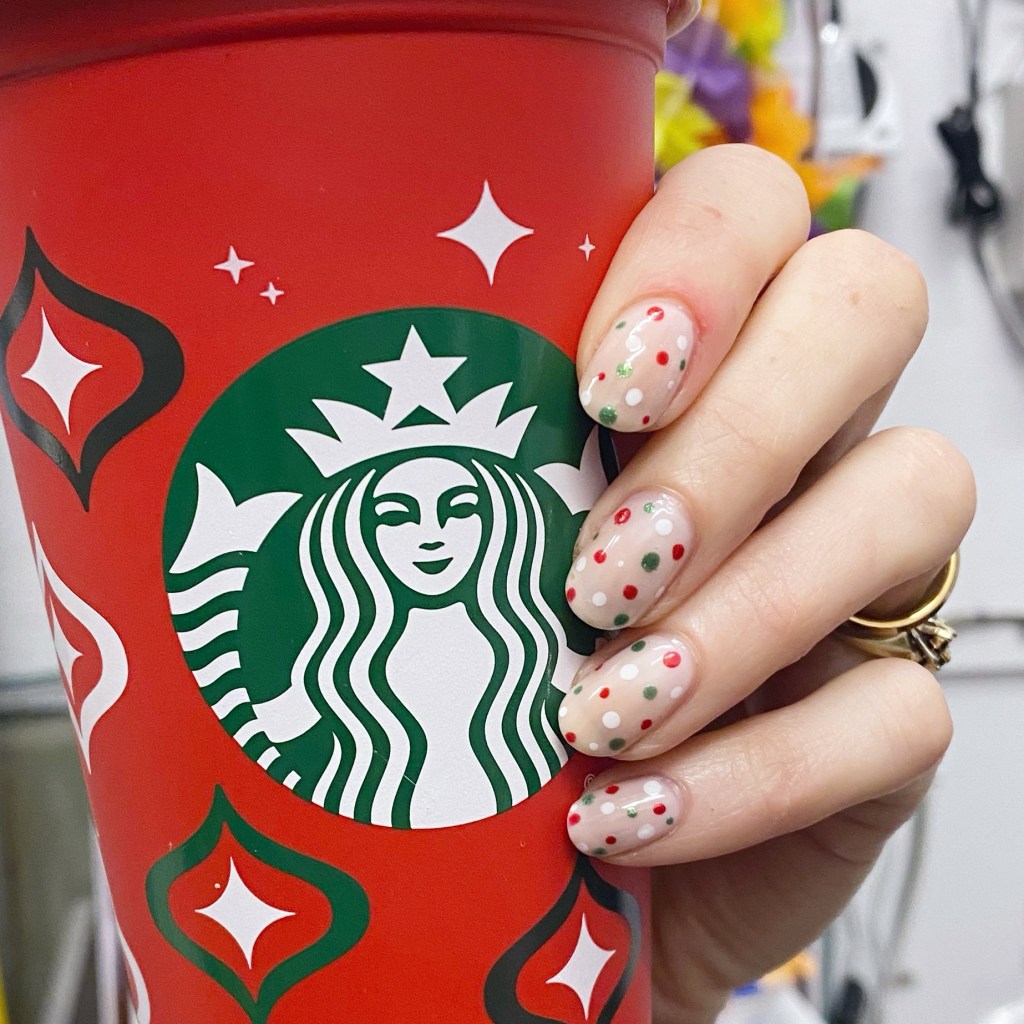
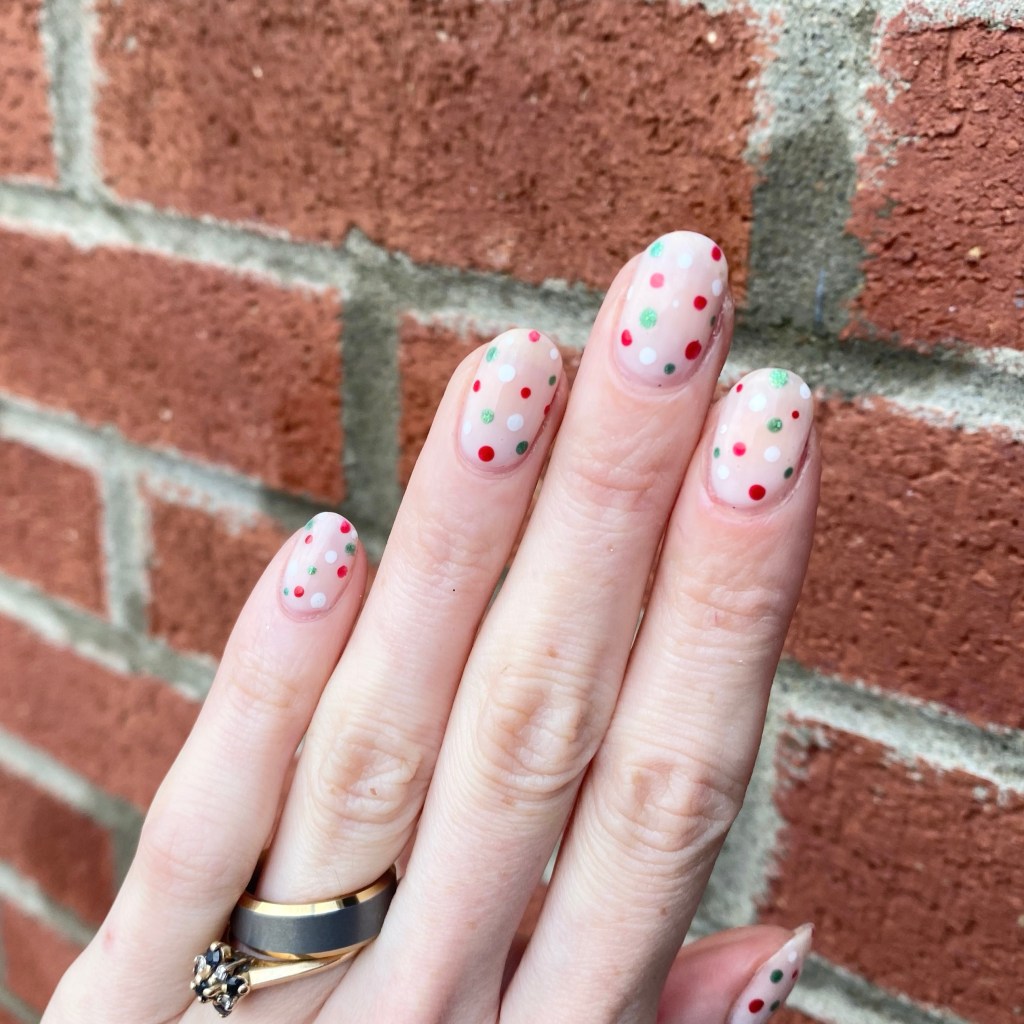
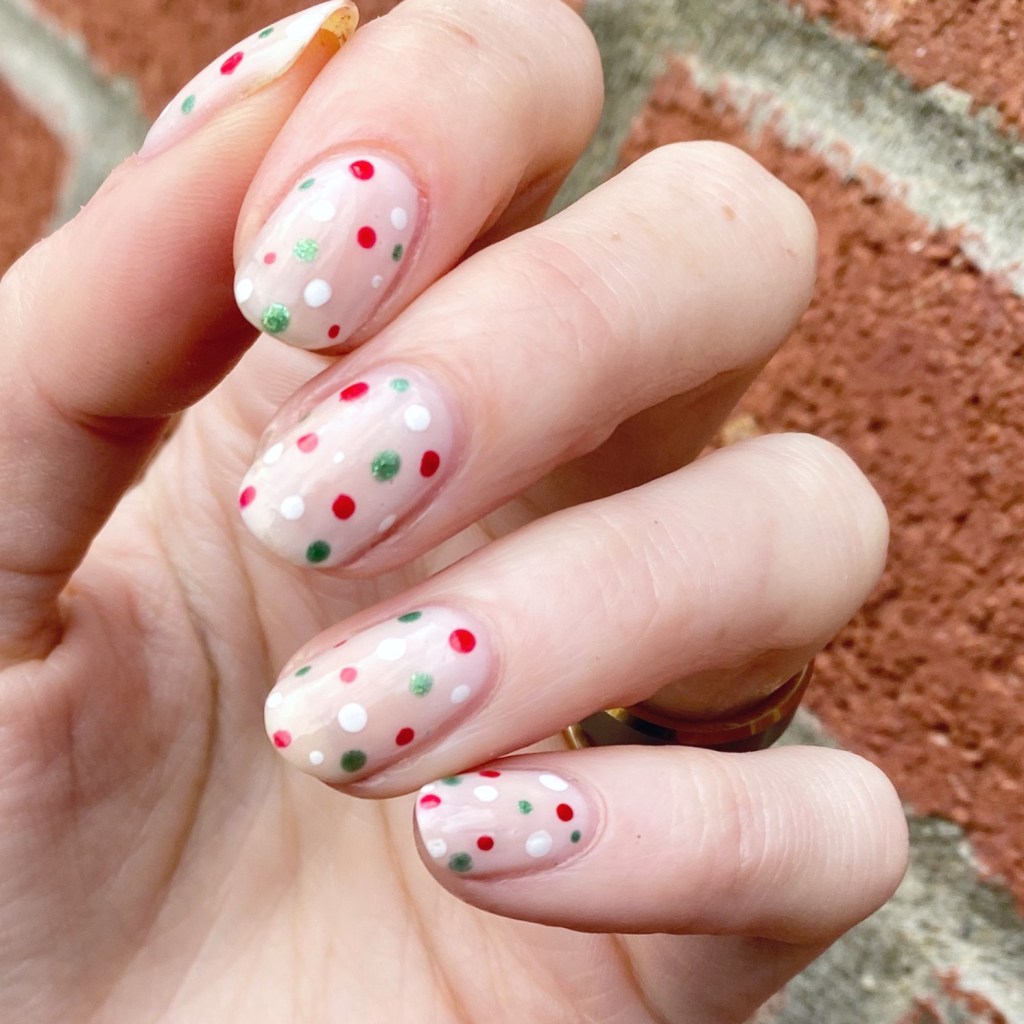
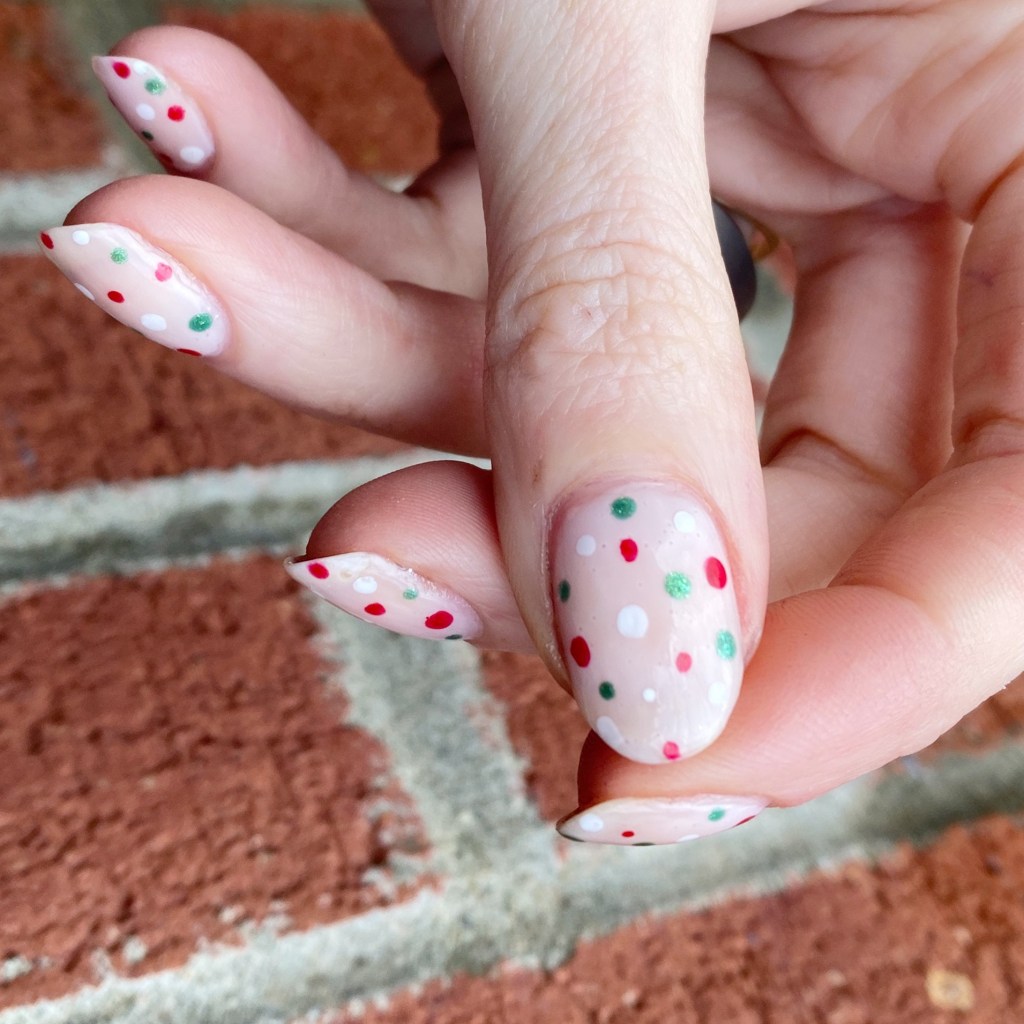
Hello beauties & happy Friday! It’s almost the weekend, & not just any weekend, but Christmas weekend! That’s insane but exciting. I had to keep my holiday inspired nail art going with some more abstract nail art.
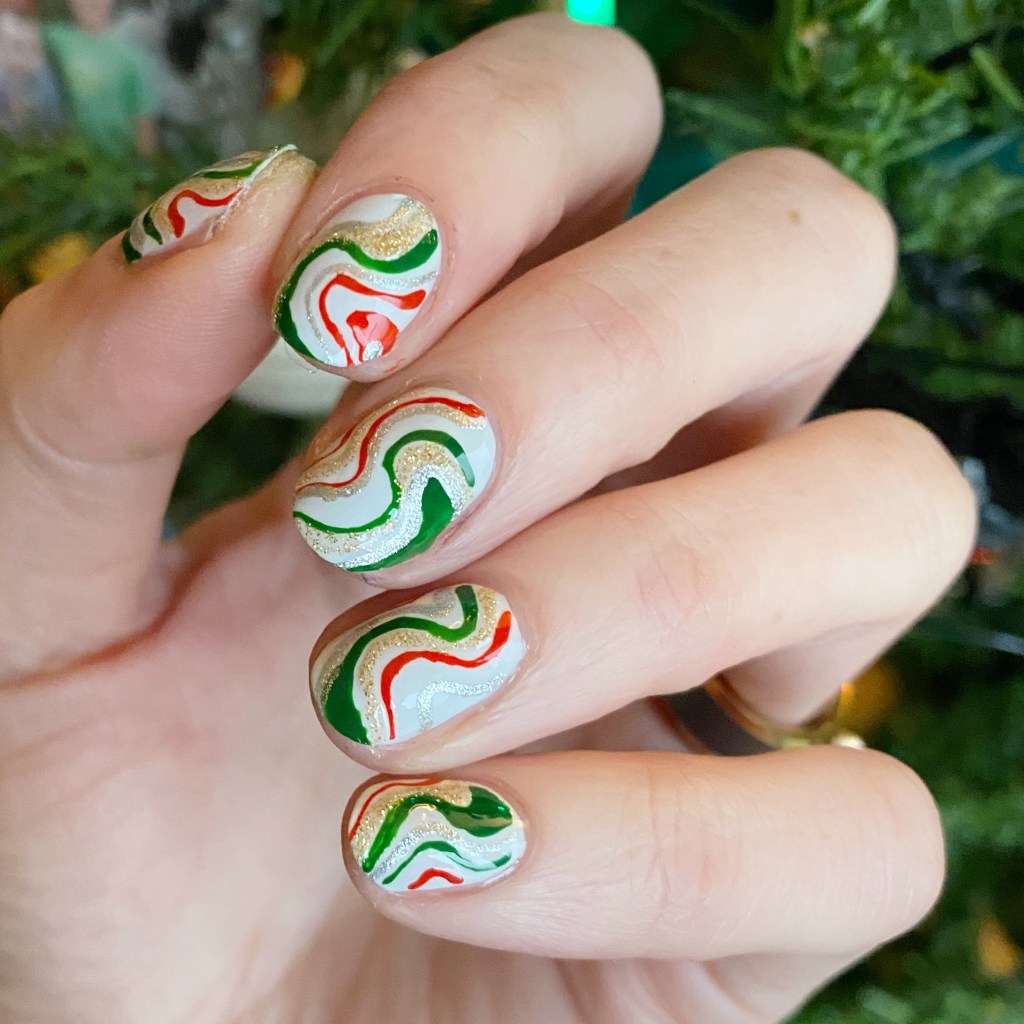
The first thing this design made me think of after I did it was the Ribbon Hard Candy you get around Christmas. I’m sure you know the stuff, but if not it’s this stuff.
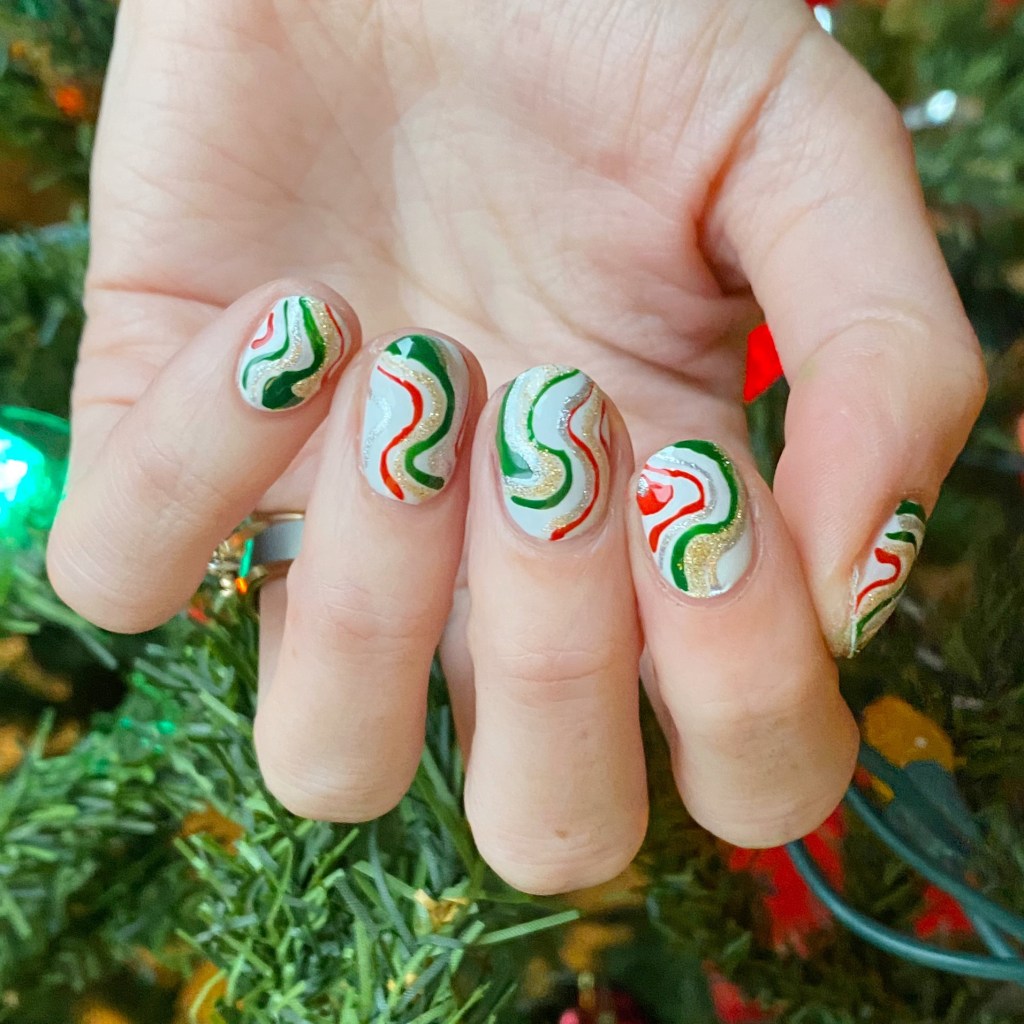

The polishes I used for this manicure are:
- Base Coat: China Glaze Calcium Gel Fortifer
- Top Coat: Essie Speed Setter
- OPI I Cannoli Wear OPI
- OPI Unfrost My Heart
- Sally Hansen Miracle Gel 5 Golden Blings
- Red & Green Acrylic Paint
- 16mm Striper Brush from Nailstuff.ca

I decided to use a combination of acrylic paint & nail polish for this design to make it a bit easier for me. Sometimes, I find when I’m doing bigger stripes, my polish starts drying a bit too quickly, but you don’t have the same issue with acrylic paint.
I really, really like how these stripes turned out. I know, I know — I say this every time. But I don’t think there is anything wrong with being proud about your nail art! For a long time, I was extra critical of my work, so I’m glad to enjoy what I do. & it is a little bit different from typical Christmas nail art.

What do you think about these ribbon candy inspired abstract swirls? Do you like the holiday vibes they are giving off? Would you wear these for any Christmas celebrations you’re partaking in this weekend? Let me know all your thoughts down in the comments below!
Happy Friday 🎄