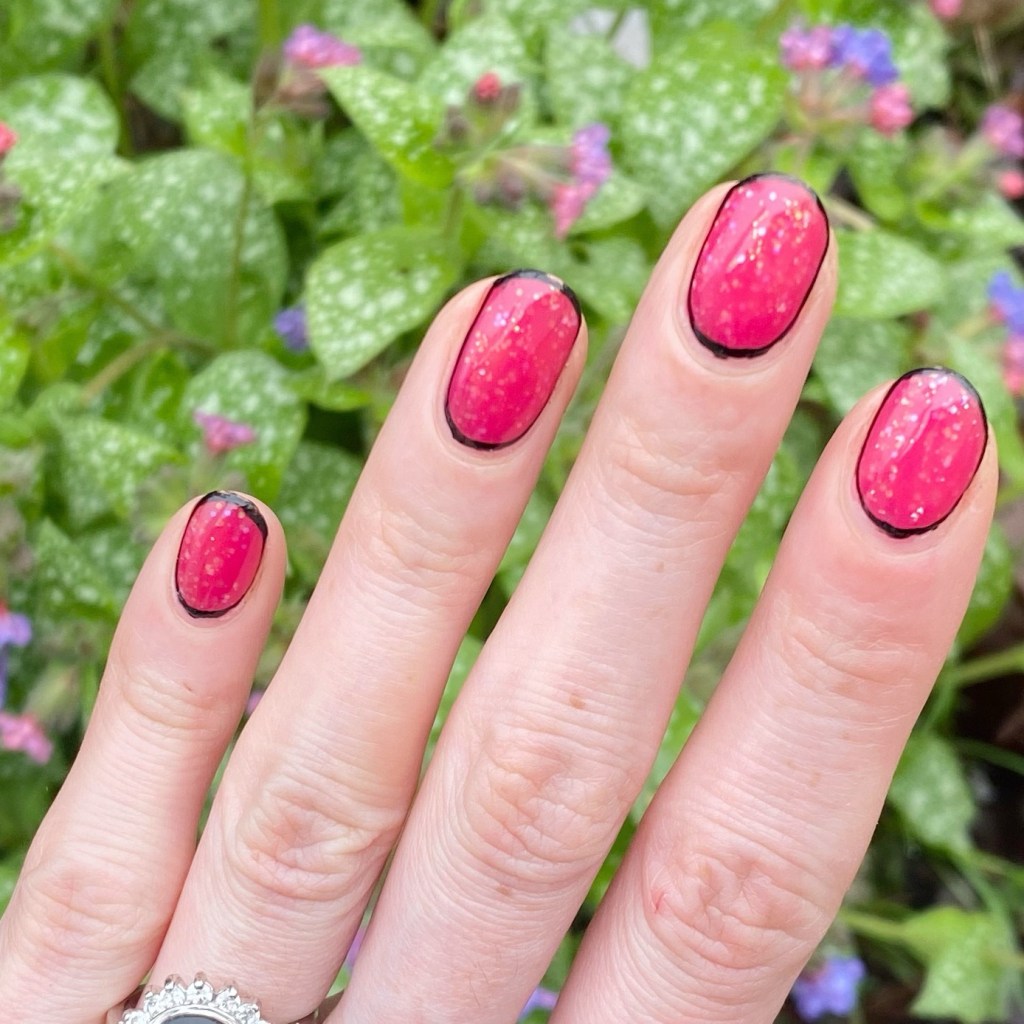
Outlined Glitter Jelly Nails

Hey lovelies, happy Wednesday!

Long time, no post. I’ll be honest — blogging has been really hard this month. Even wanting to do my nails has hit a road block. I’m still painting them, but I don’t necessarily have the energy to do nail art. Hoping once this month is over, I’ll feel super inspired again.

But I did manage to do a simple nail art look recently, so I’m excited to share it!
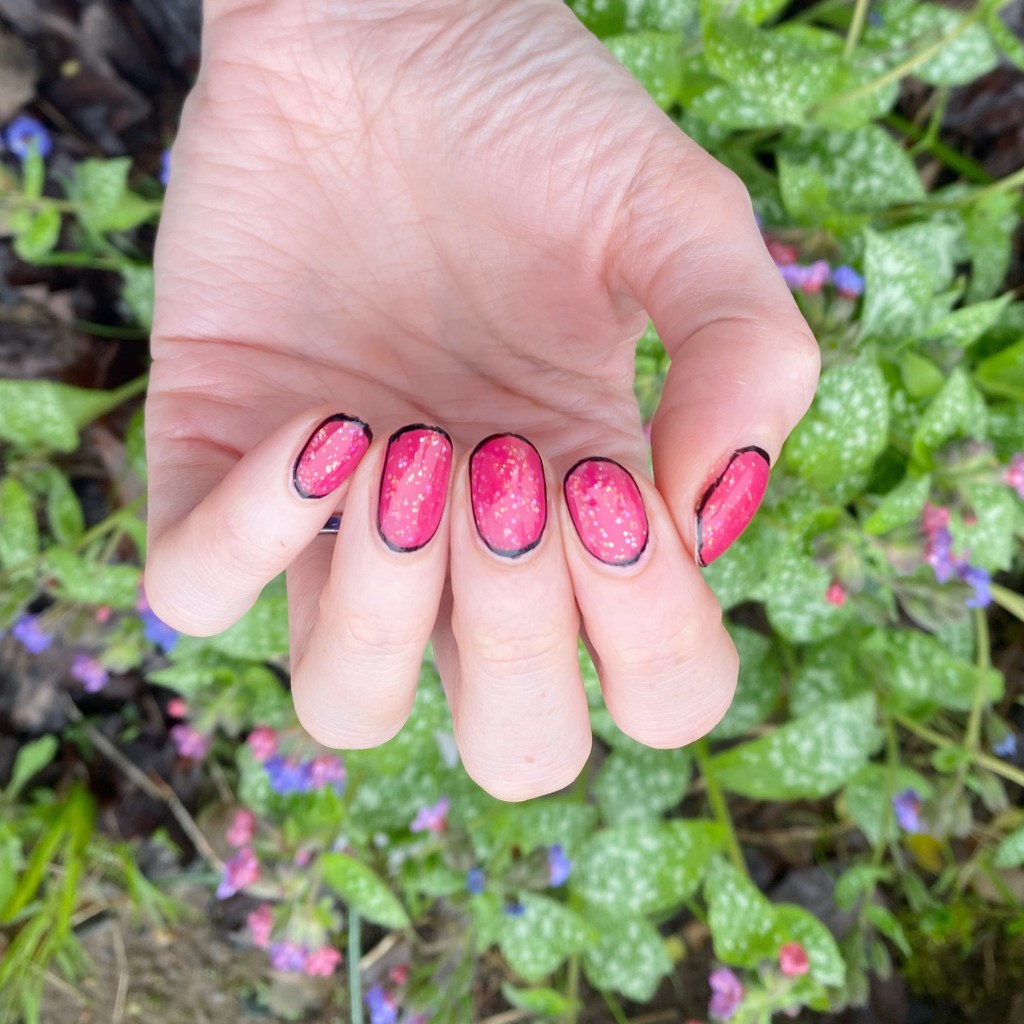
The polishes I used for this manicure are: 

  • Top Coat: Essie Gel Couture Top Coat 
  • Base Coat: China Glaze Calcium Gel Fortifier
  • Essie Love Sheen (Silk Watercolours collection)
  • Ardene Secret Diary
  • Quo by Orly Nail Art Striper in Black
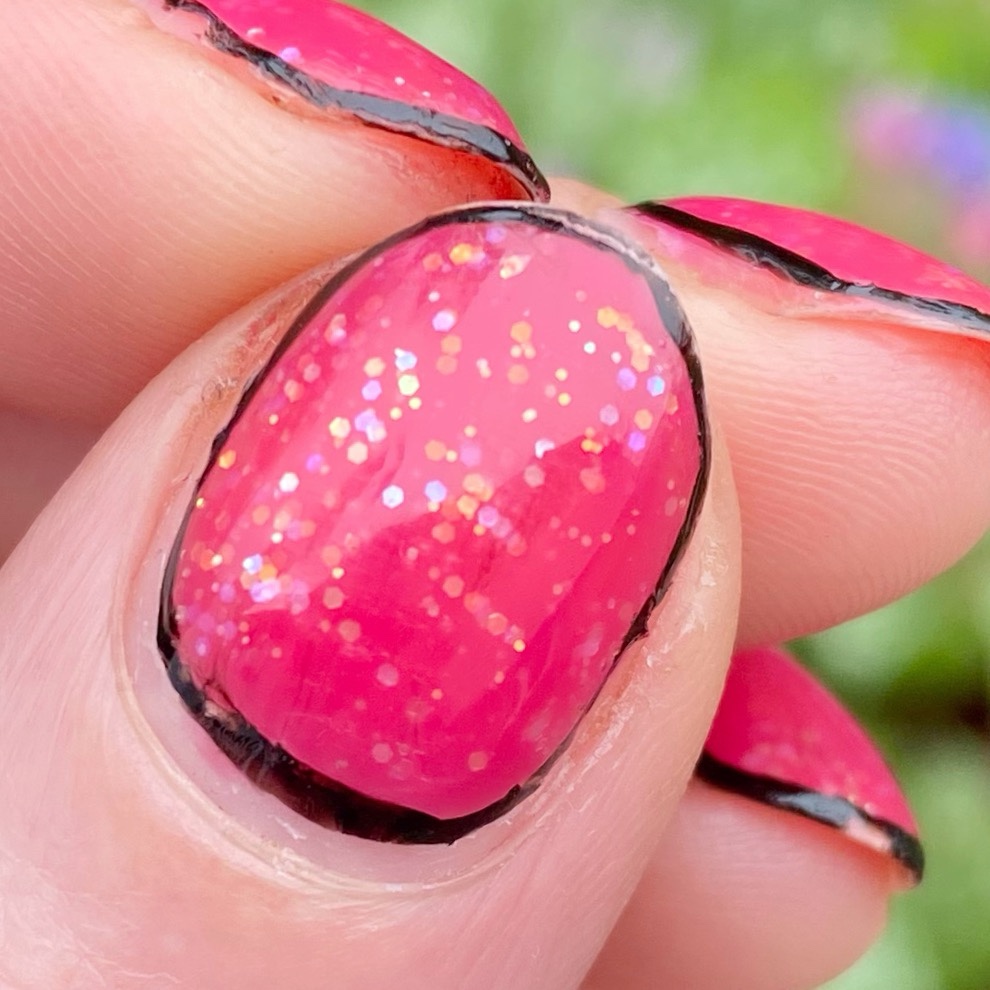
I started off by creating a jelly sandwich using Essie Love Sheen & Ardene Secret Diary. Originally that had been my only plan for these nails. But the next day, I couldn’t help but thing that some black outlining would really up the dramatic factor of this manicure — & I was right!

I don’t do outlining often, mostly because it takes a very steady hand I don’t always posses. But I’m so super proud of how these turned out & how neatly I managed to outline them! & nothing makes me happier than a cleanly drawn manicure!

What do you think about my outline glitter sandwich nails? Are they dramatic & fun? Let me know all your thoughts down in the comments below!

& if you have some nail art inspiration you want to shoot my way, I’m always looking for new inspiration for my nails! & with this nail art block I’m going through, I’d love some help to break out of it!

Happy Wednesday loves

🖤

SWATCH SUNDAY — Quo Beauty Throw Confetti 🎉 (Happy 25th Birthday Quo Beauty)

Hello lovelies & happy Sunday! It’s not such a sunny Sunday today, but I’m excited to show off a pretty fun polish for you today!

Quo Beauty, Shoppers Drug Mart in-house beauty brand, is celebrating their 25th birthday this year & have released some fun beauty products in honour of the occasion! I was browsing my local Shoppers after work the other day, & couldn’t help but fall in love with this fun topper so I had to buy it! This is Quo Beauty Throw Confetti.

1 coat Throw Confetti over Quo by ORLY Venice + top coat

How absolutely fun is this glitter topper. If they were going for a confetti effect, they definitely succeeded. For my swatches, I only needed to apply one coat over each nail for the dense application you see (with minimal fishing for glitters in the bottle.)

The clear base they are suspended in is the perfect amount of thick without being hard to apply. It also means you get lots of glitter on the brush.

Just how cute are these! I love the assortment of different colours & sizes — different pinks, but also some blue, green, red, silver. It just feels like a party on your nail, which is exactly the vibe a Polish called Throw Confetti should give off. I can’t wait to use it in a glitter gradient next — it will look so beautiful!

You could also use this for a great glitter sandwich which I may have to try to create some fun Easter egg nails!

Quo Beauty Throw Confetti retails for $13.49 CAD at your local Shoppers Drug Mart. I found my bottle on its own display, separate from the other Quo polishes.

What do you think about this pretty glitter? Would you wear this? Let me know all your thoughts down in the comments! & let me know what nail art you’d like to see me do with this polish.

Enjoy your Sunday!

🖤

Purple & Pink Abstract Stripes

Hello lovelies & happy Wednesday. Can you believe that we’re almost out of March? It’s crazy this year is almost 1/4 done already, but I am definitely happy to feel Spring coming.

Today I’m pulling out one of my favourite go to designs of years past. With the exception of floral (lots, & lots of floral) I haven’t really been feeling inspired nail art wise. So I turned to nail art of years past to figure out what design to show off on my nails.

The polishes I used for this manicure are: 

  • Top Coat: Essie Gel Couture Top Coat
  • Base Coat: Essie Hard to Resist Advanced
  • Color Club Bright Night
  • Color Club Pucci-Licious
  • Color Club Peppermint Twist
  • Essie Muchi Muchi *pr/gifted
  • Quo by Orly Striper in black
  • NailStuff.ca 16mm Striper Brush

It’s been a while since I did one of these abstract stripe designs, & that is just too overdue. I love the pinks & purples & blue all paired together — they’re super bright & fun!

The kind of nails you want to wear as the weather is getting warmer.

What do you think of my abstract stripe design? What kind of nail art have you been loving lately? Let me know all your thoughts down in the comments below, & leave me some inspiration for my next design!

Happy Wednesday

🖤

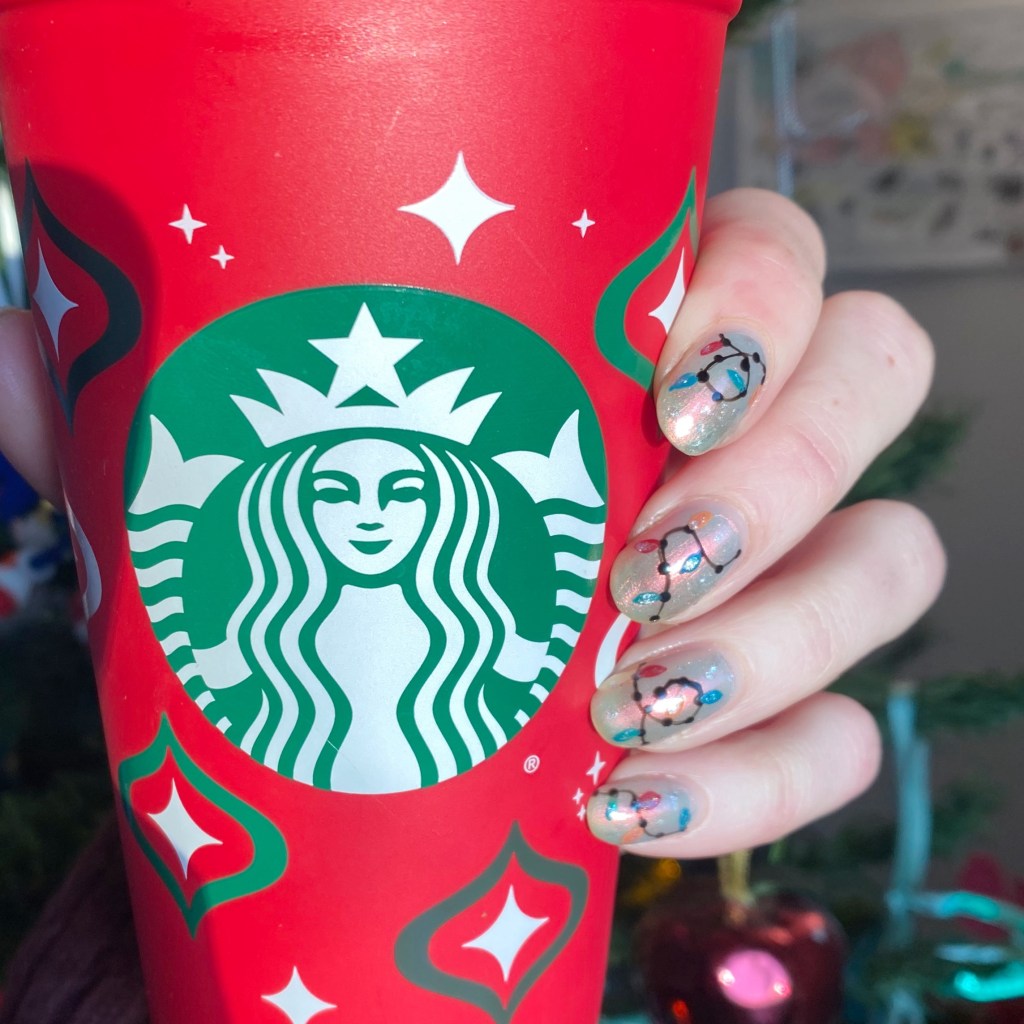
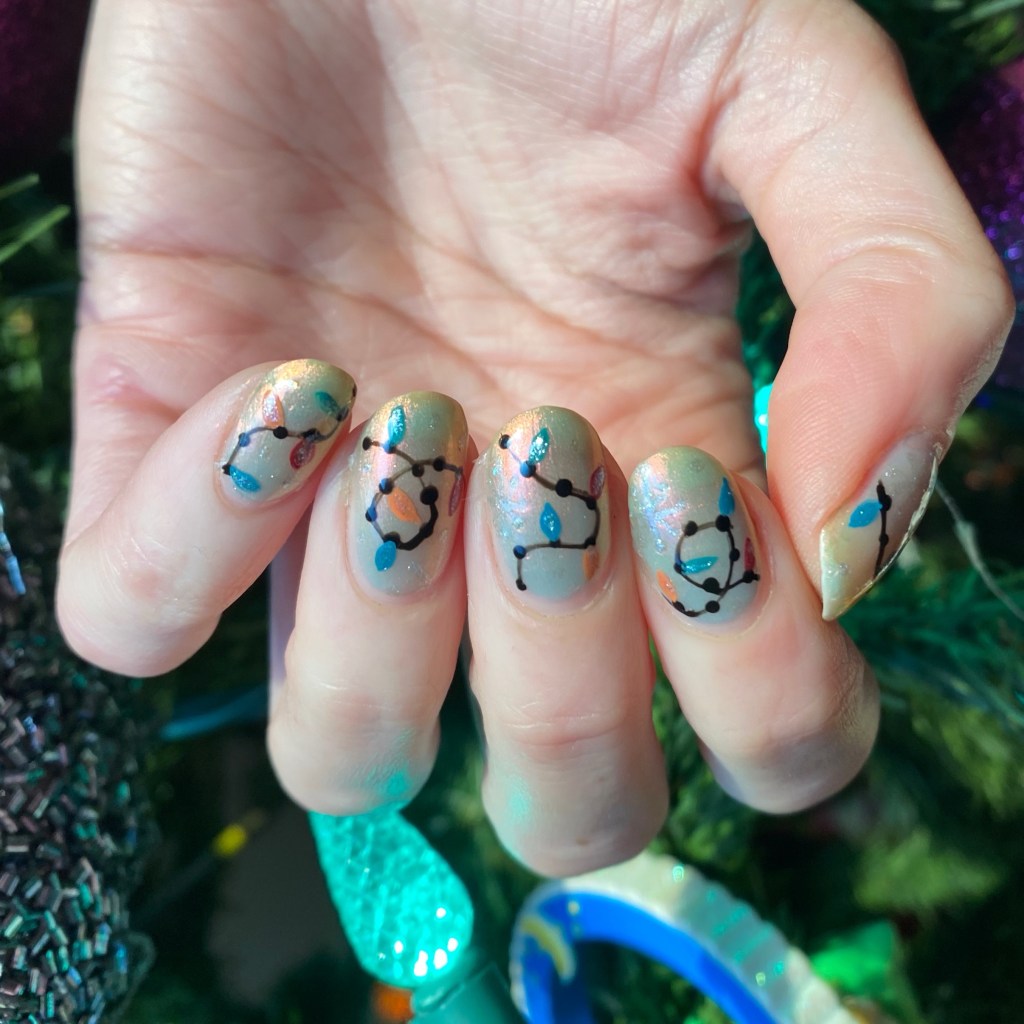
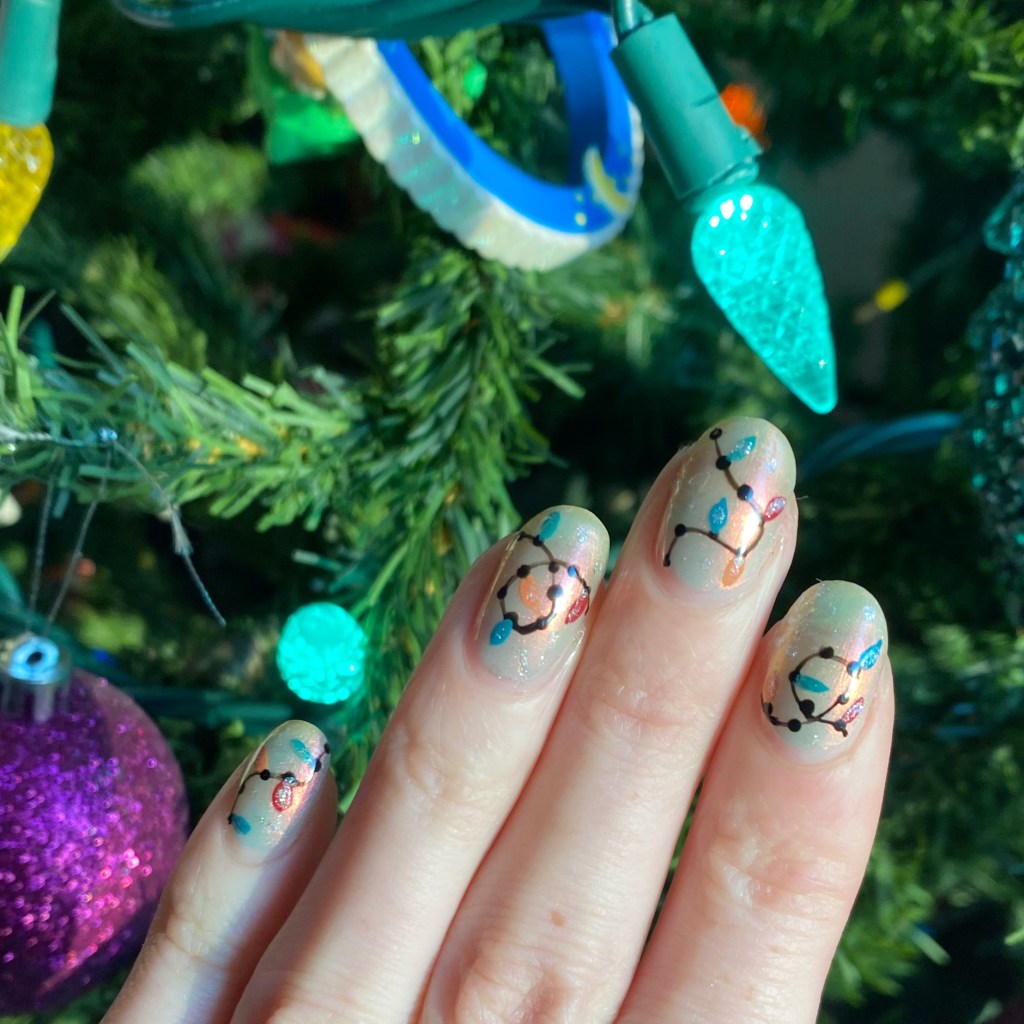
GLAM NAILS CHALLENGE DECEMBER (2024) — Christmas Lights

This week has been a rough one for painting my nails & getting them posted. I’ve had a never ending headache/migraine. Plus my holiday vibes are nonexistent this year. I don’t know if it’s just me, but it doesn’t feel like almost Christmas to me.

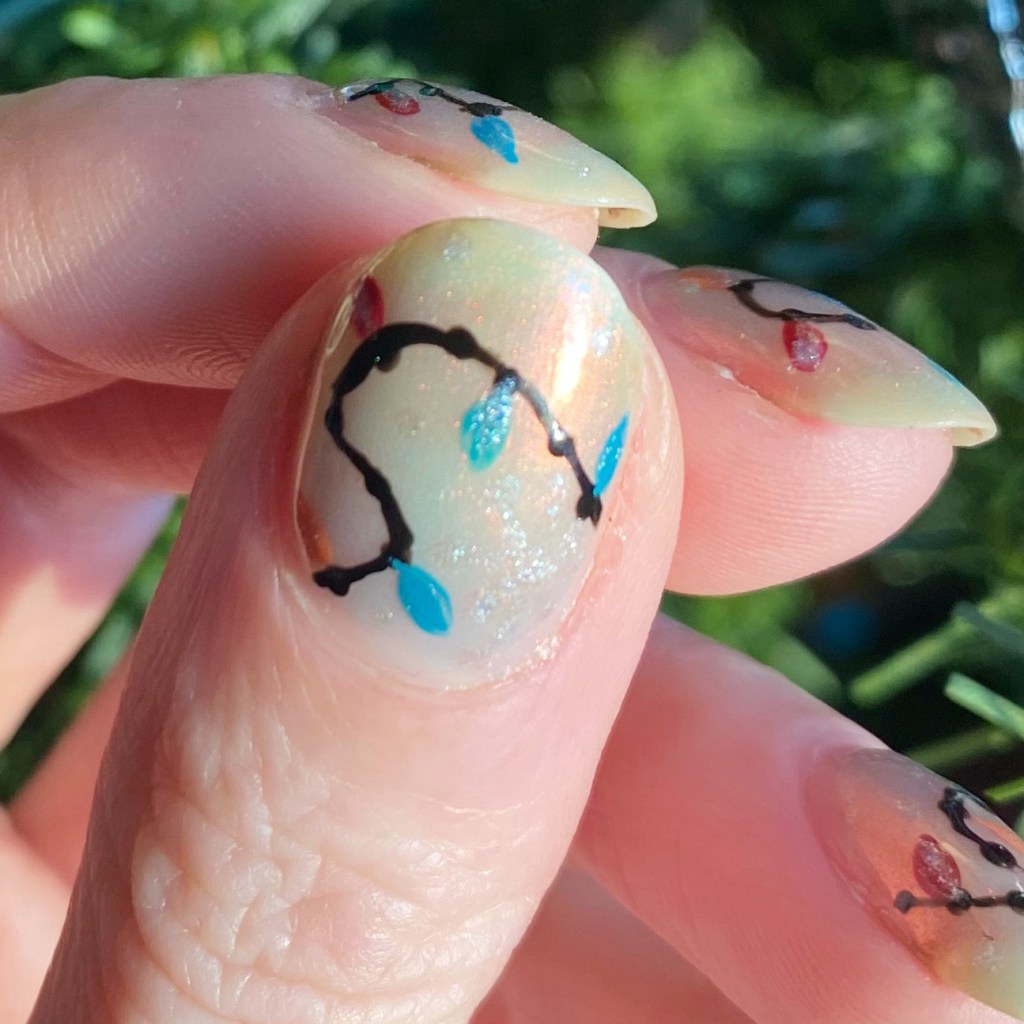
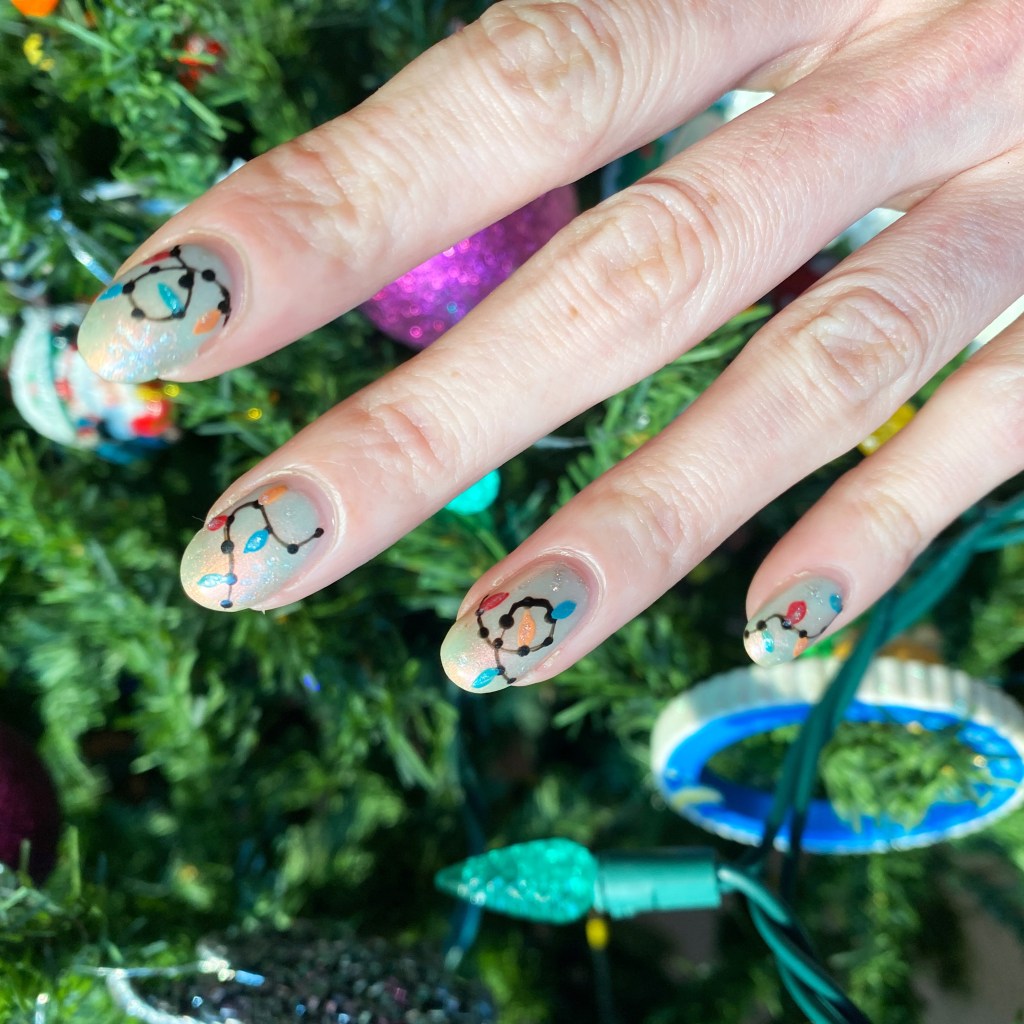
But! I did get the next prompt for Glam Nails Challenge December created which was Christmas Lights. This was inspired by a look I saw on Pinterest & thought was neat. So I decided to do my own twist on it.

The polishes I used for this manicure are: 

  • Base Coat: NailStuff Essentials Base Coat *
  • Top Coat: Nail Stuff Essentials Quick Dry Top Coat *
  • Essie Nail Art Studio Mystic Marine*
  • Essie Frilly Lillies*
  • Essie Life’s A Beach
  • Essie Offbeat Chic *
  • Essie Making Spirits Bright
  • Quo by Orly Black Striper
  • NailStuff 4mm Micro Detail Brush

*PR/gifted

I really tried to do some kind of peakaboo snowflakes with Making Spirits Bright but they’re more hidden than I was planning on. The sparkle does look really pretty in person though.

What do you think about these Christmas light nails? Did I honour the inspiration well?

Let me know all your thoughts down in the comments below. & don’t forget to pop on over to Instagram & follow all the amazing designs using #glamnailschallengedec24.

🖤

Silly Jack-o-Lanterns 🎃

*contains PR

Hello loves & happy Tuesday!

I’m continuing on with my fun Halloween looks with another freehand design. I attempted a cute Jack o Lantern look… & this is how it turned out haha. This is definitely not my best freehand design, but I still think it’s super cute (& a good easy look for someone to do.)

The polishes I used for this manicure are: 

  • Base Coat: NailStuff Essentials Base Coat *
  • Top Coat: Nail Stuff Essentials Quick Dry Top Coat *
  • Essie Tangerine Dream
  • Ella + Mila Aurora Lights *
  • Essie Off Tropic *
  • Essie Willow in the Wind
  • Quo by ORLY striper in black
  • Nailstuff.ca Mermaid Tail 7mm liner brush

*PR/gifted

My thumb is definitely my favourite of my nails! It turned out how I wish the rest of the nails looked. It was my own fault though, as I used my Quo striper & it’s gotten a bit thick with use. Either way, it’s a fun Halloween look & that’s what this week is all about. 🎃

What do you think about these Jack o Lantern nails? Do you think this look is cute? Would you wear a pumpkin look like this? Let me know all your thoughts down in the comments below & tell me what your Halloween costume is this year!

Enjoy your Tuesday

♥︎