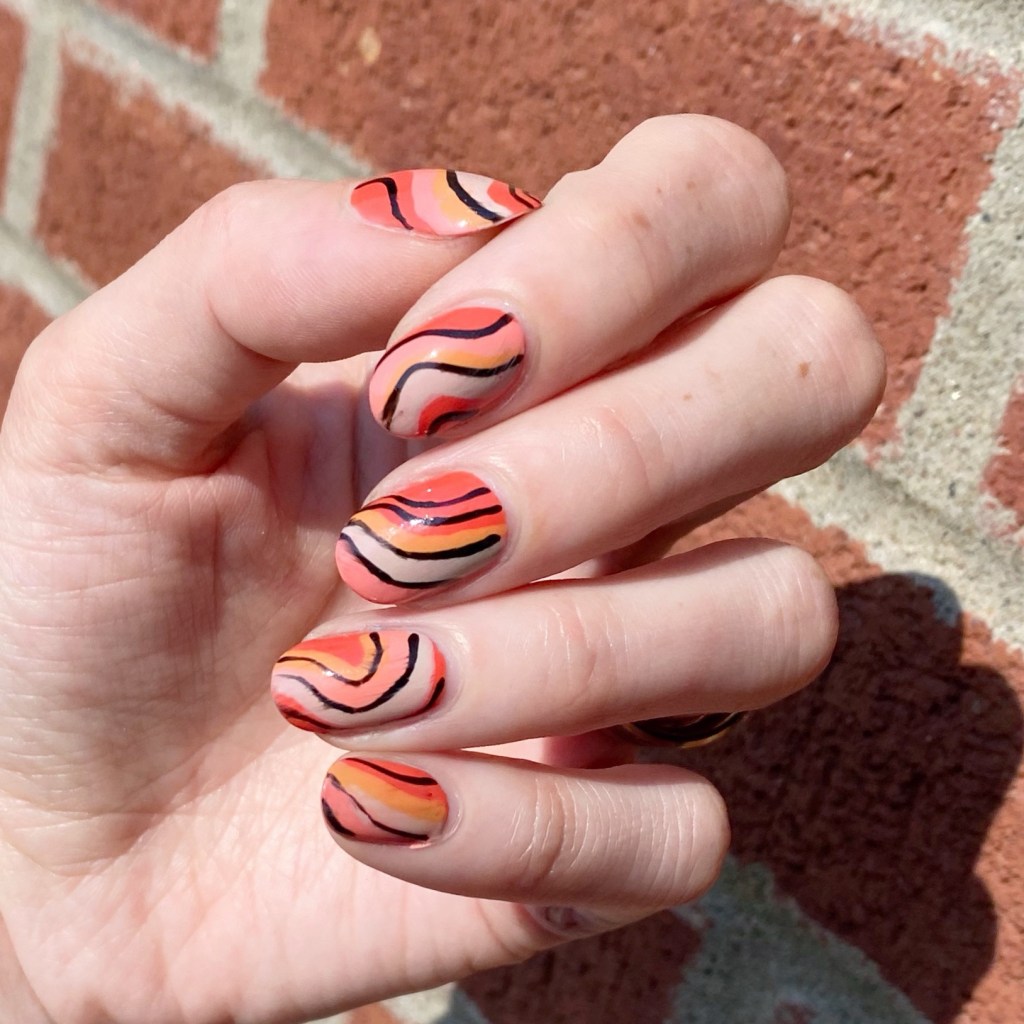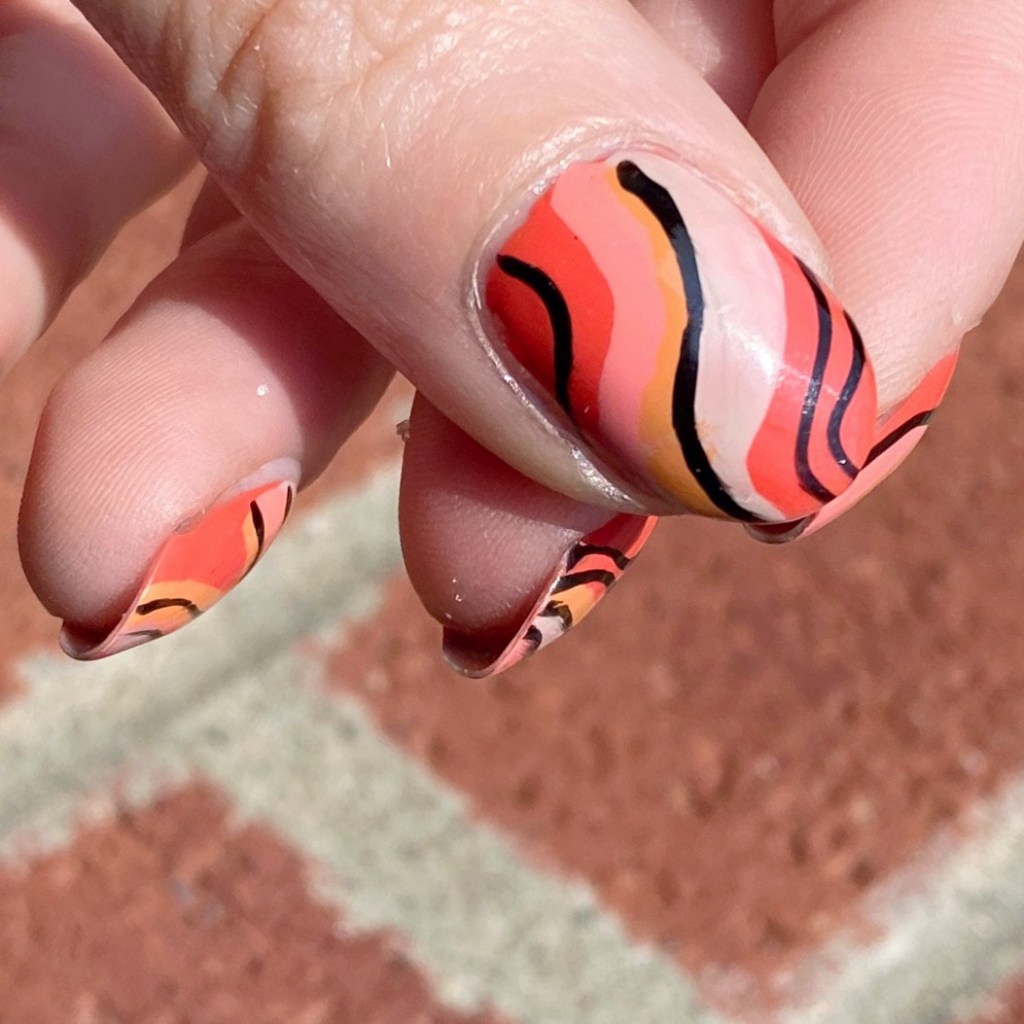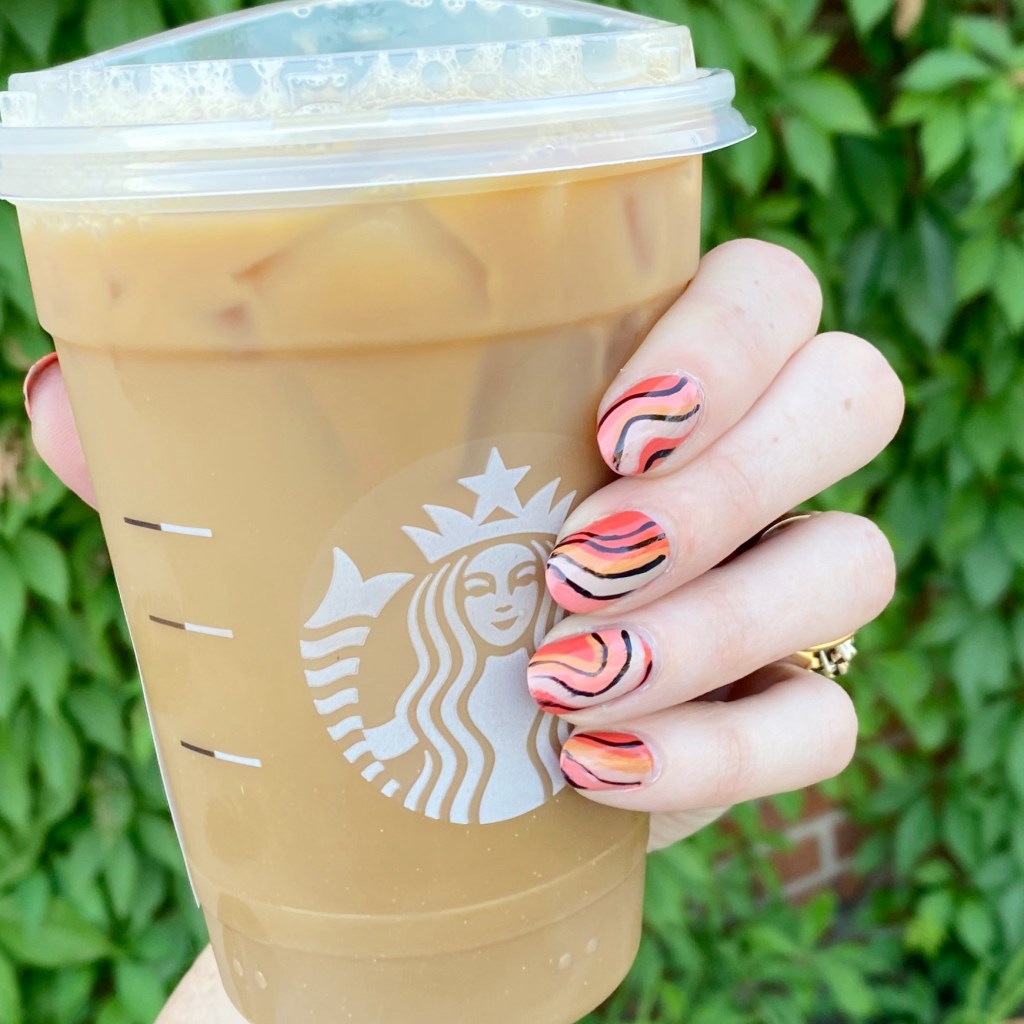
Funky Orange Abstract Stripes

Hello lovelies & happy Tuesday. Sorry for being such a stranger — I swear I’m trying to get the blog posts written, but it’s been a struggle. But I have a stash of fun designs saved up to share with you, so I’m really trying to get my butt into gear. Summer vacation has been… a struggle, to say the least.

Today’s post is one of my go to favourite designs, but I’m especially happy with how this one turned out! A retro inspired abstract stripe design is always a good decision, & the colours for this particular one just brought everything together so perfectly.

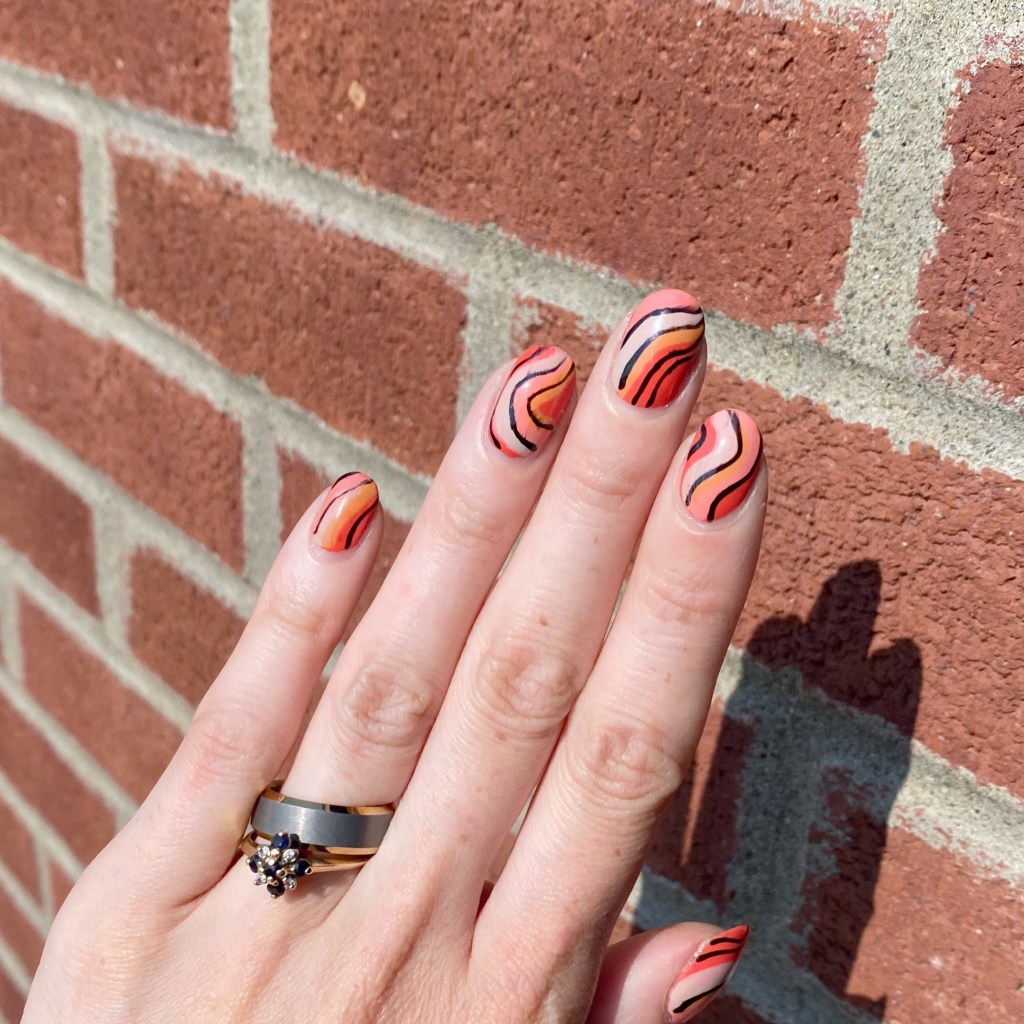
The polishes I used for this manicure are: 

  • Base Coat: Essie Here to Stay
  • Top Coat: Essie Gel Setter
  • Essie Sunshine State of Mind
  • Essie Peach Side Babe
  • Essie Fall for NYC
  • Essie Sand Tropez
  • Quo by Orly Black Nail Art Striper

How much fun! Seriously, the colours just compliment each other so well. I very much adore how it turned out. Plus, it’s one of those designs which is so easy, because there is no right or wrong way to do it. You just create a kind of swirl on your nails with the different colours of polish, & it creates this fun abstract/wavy stripe effect. A perfect look for Summer!

What do you think of this abstract stripe design? Have you given this look a try, & what did you think? Let me know all your thoughts down in the comments below.

Happy Tuesday!

♥︎

SWATCH SUNDAY Quo Beauty Mango Tango

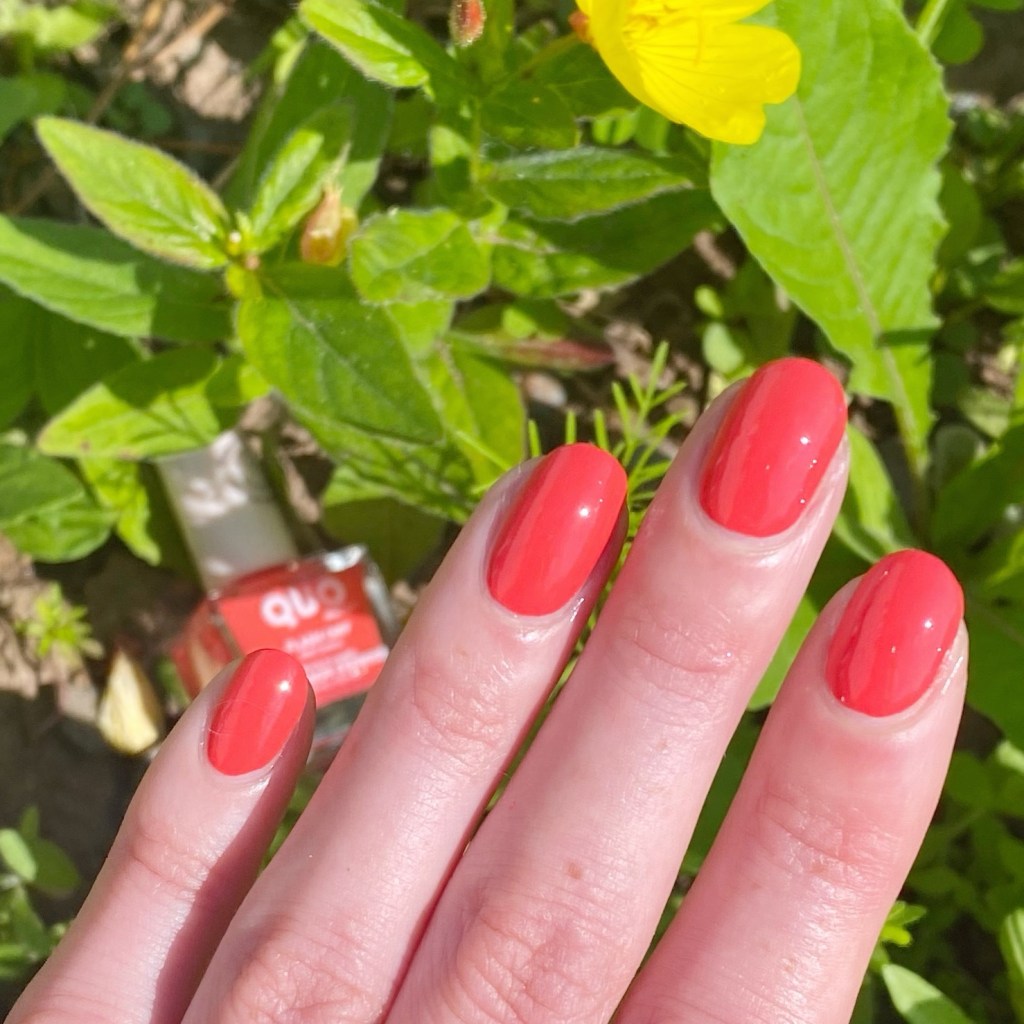
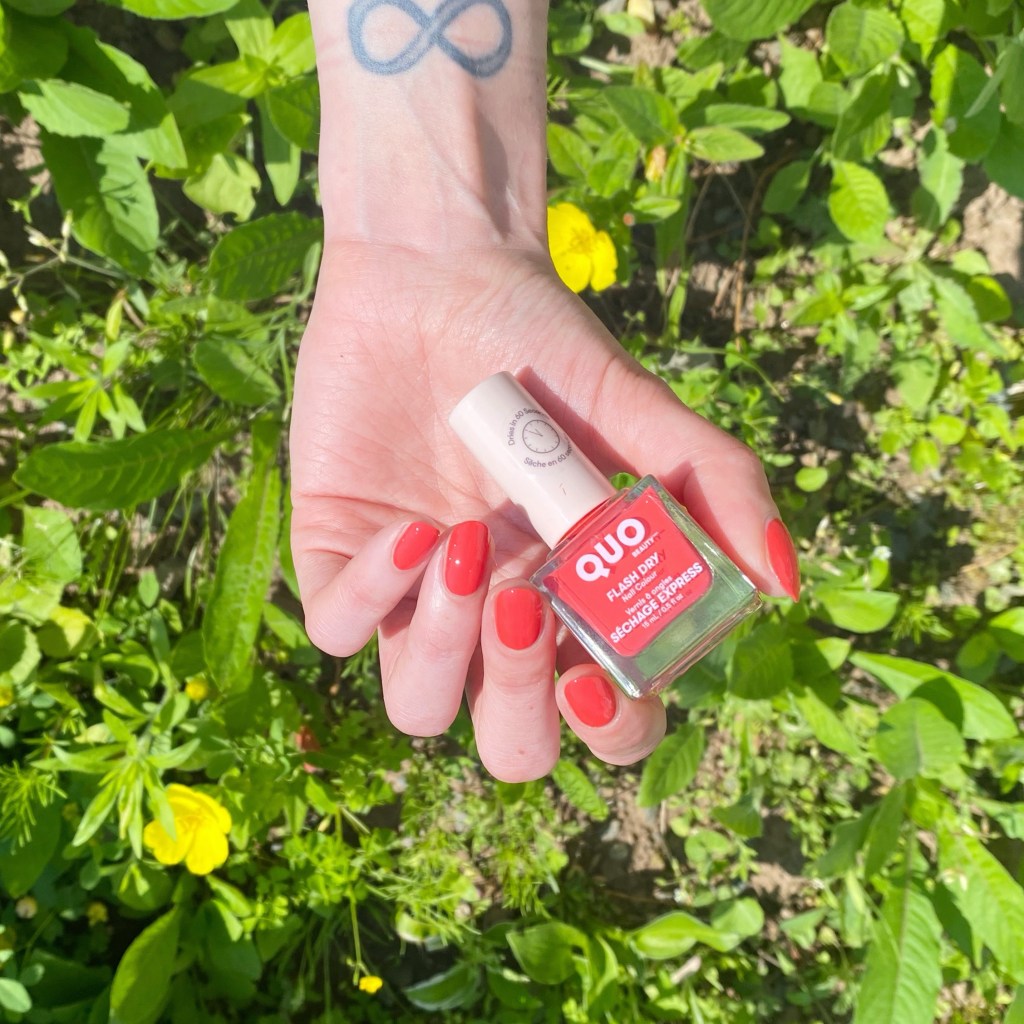
Hello lovelies & happy sunny Sunday. It’s hot & humid today, so I thought I would dig into my stash to find a fun Summer shade for this week’s Swatch Sunday post & this vibrant coral from Quo Beauty was the perfect pick.

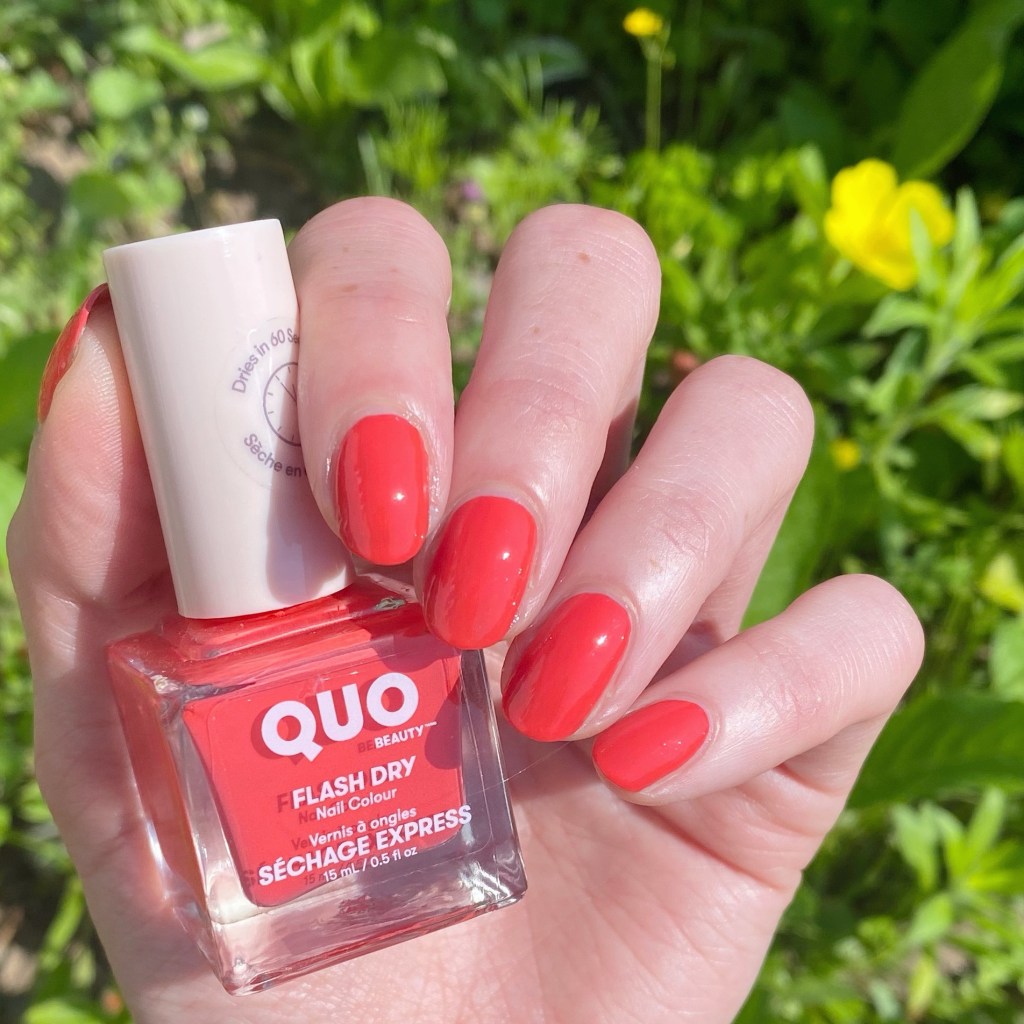
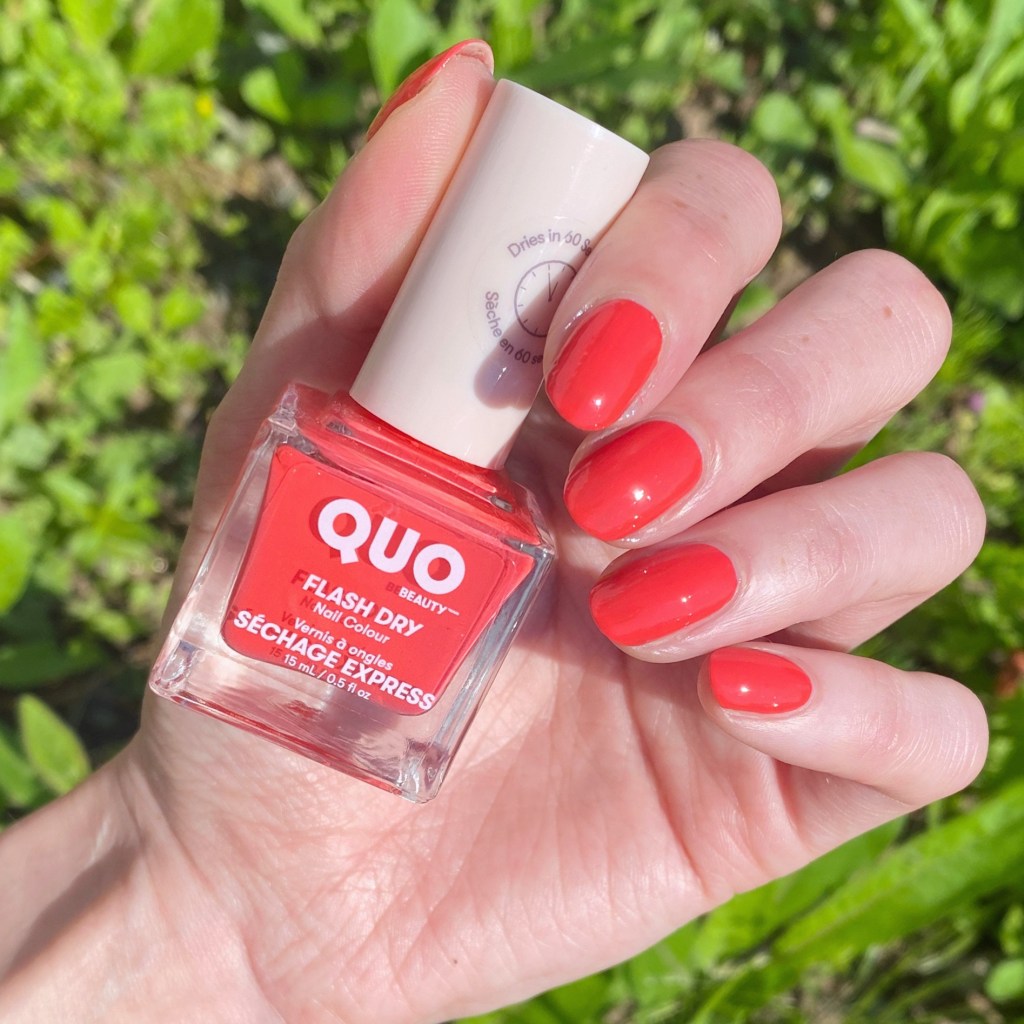
This is Quo Beauty Mango Tango.

2 coats + top coat

I believe I originally picked up this shade on clearance from my local Shoppers Drug Mart last Summer (Quo Beauty is Shoppers in house beauty brand). The polish itself is a stunning fiery coral which is very, very neon. Sometimes it leans more orange, sometimes more red.

Formula was smooth & easy to apply. 2 coats for full coverage, & it dries quite quickly which is a bonus.

Does this colour not just scream summer time? I can practically smell the sunscreen. It’s also a great shade for bringing out your sun tan, or making it look like you have a suntan. My photos definitely leaned a bit more red, but it person I feel like it complimented my olive undertones to give me that mid-Summer tanned vibe I love.

What do you think about Quo Beauty Mango Tango? Do you love this juicy coral for Summer time? Let me know all your thoughts in the comments below, & if you’d wear this beauty on your nails!

Happy Sunday

🖤

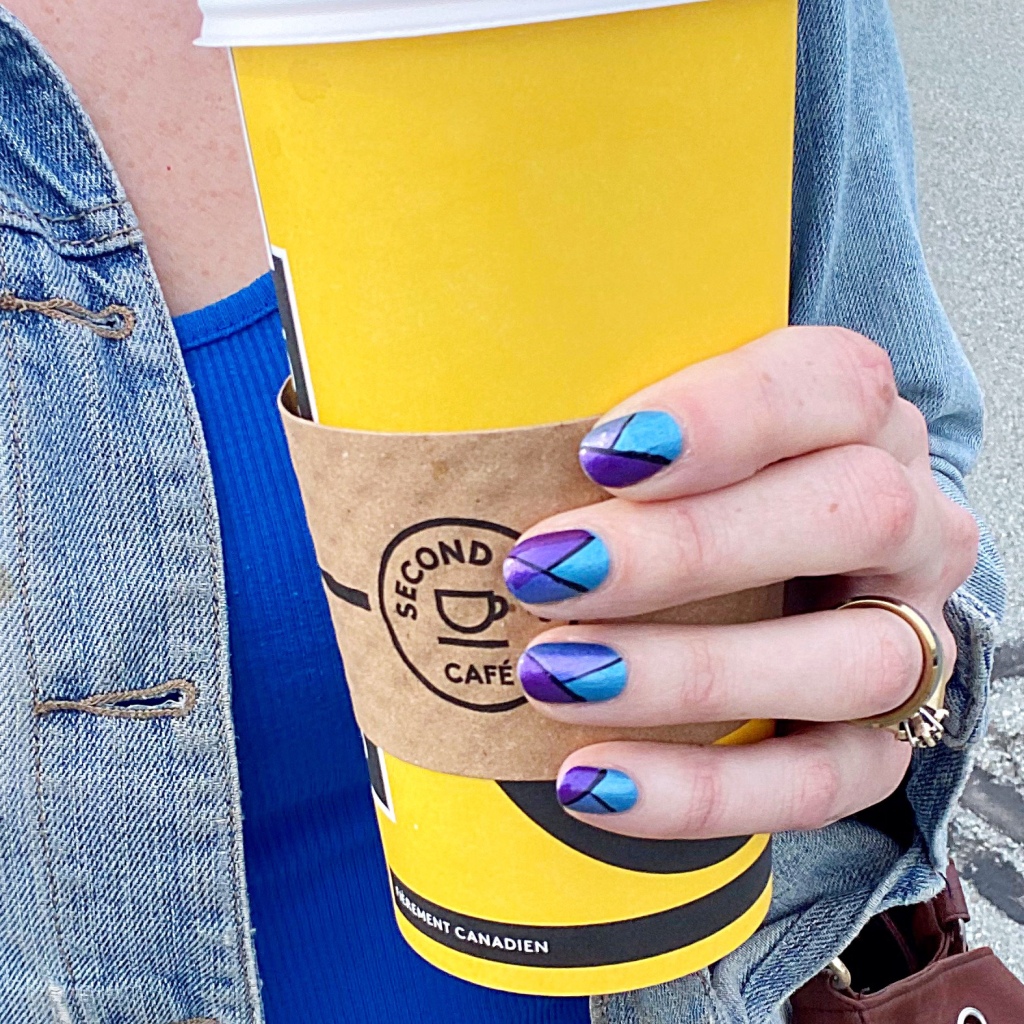
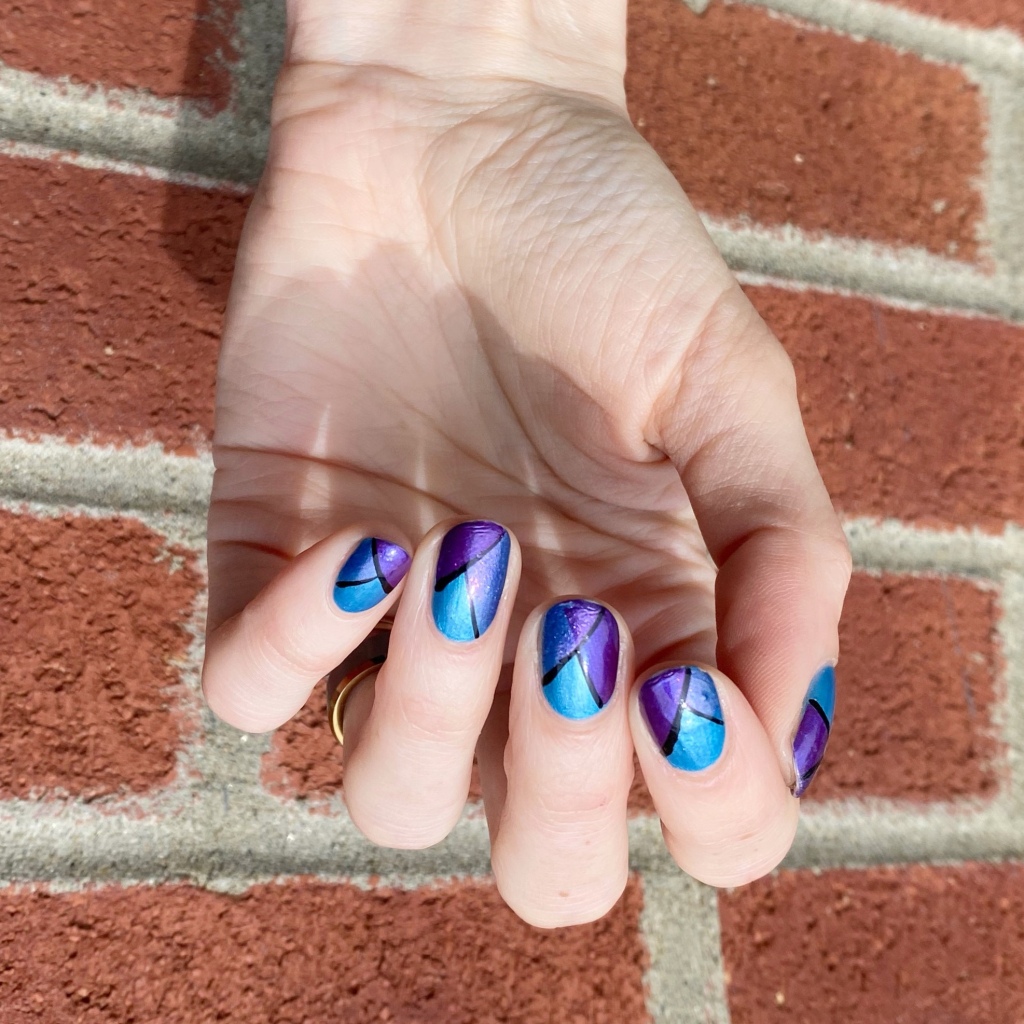
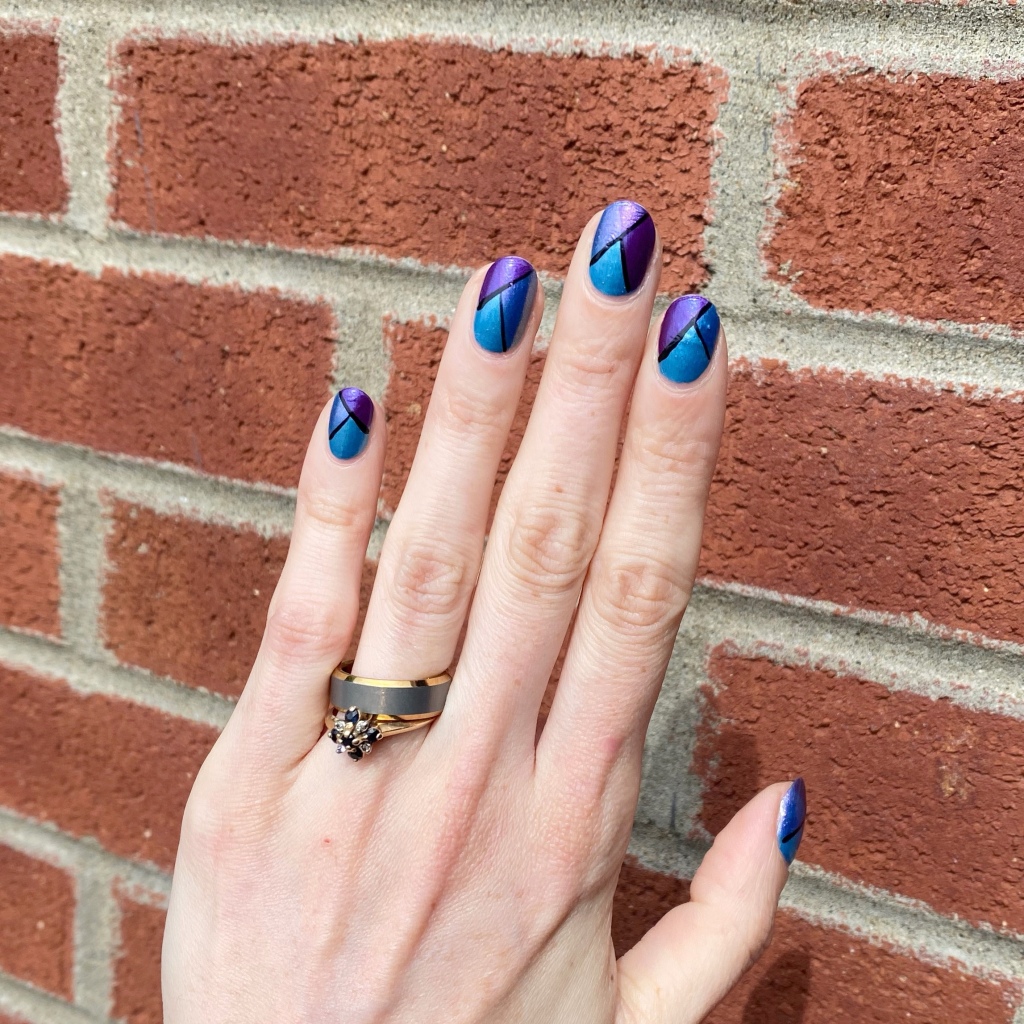
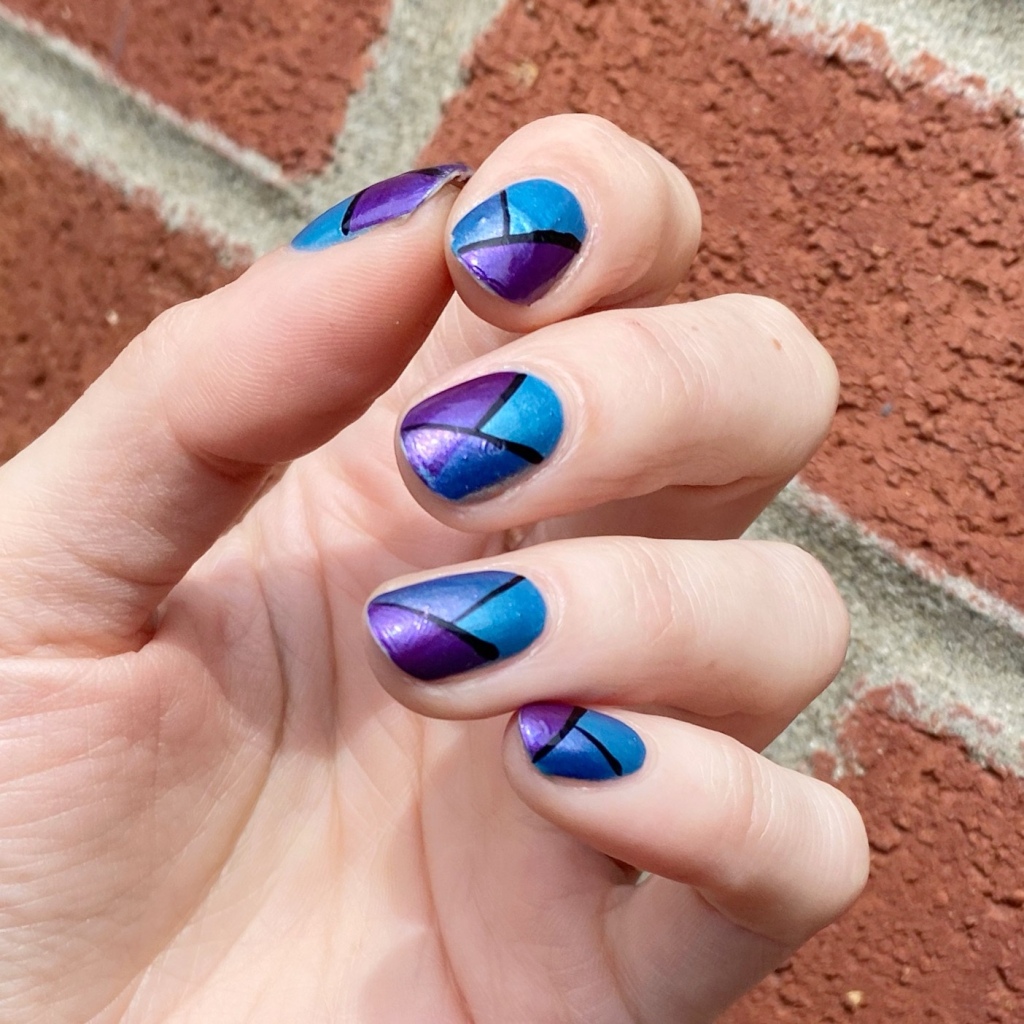
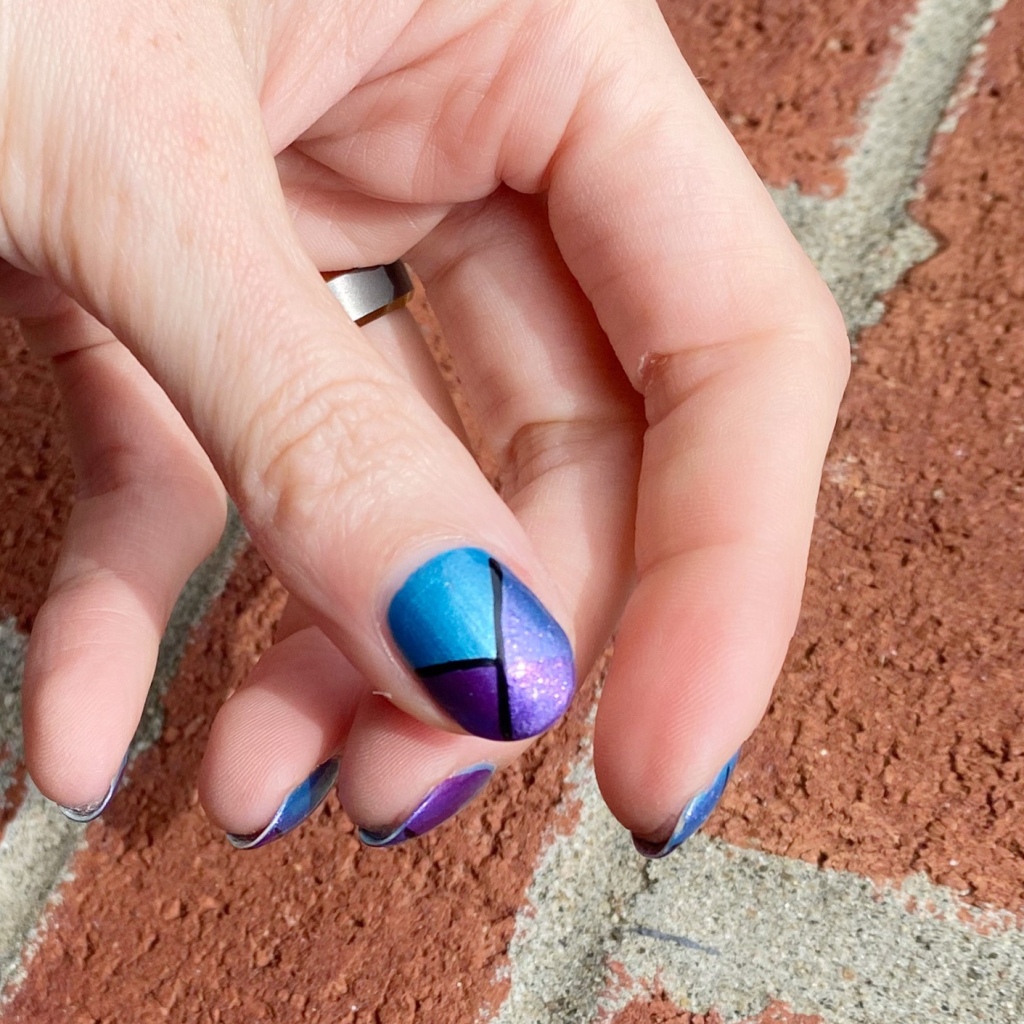
Blurple Colour Block Featuring OPI

Good morning lovelies & happy Tuesday… it’s been a while. This month has been so insane, & my nail painting has really fallen off. Trying my best to get back into it though, & today I have some fun (& relatively simple!) nail art to share with you.

The polishes I used for this manicure are: 

  • Base Coat: Essie Here to Stay
  • Top Coat: Essie Gel Setter
  • OPI Dining al Frisco
  • OPI Infinite Shine Sound of Vibrance
  • OPI Infinite Shine Shaking My Sugar Plums
  • Quo by Orly Striper Black

How good are these blues & purples together? I definitely feel like those are my colours lately, right down to my hair colour. But I just love a good colour block, & this design is so easy to do — & you don’t even need any nail art tools!

You definitely could use nail vinyls or tape if you’re not comfortable freehanding though. I like going over my lines with the black though, because I feel like it hides any mistakes you might have done, plus makes the blue really pop!

What do you think of this colour block featuring some fun OPI shades from my stash? Do you love how these shades pair together as much as me? Let me know your thoughts down in the comments below & what you’d like to see next?

Happy Tuesday!

🖤

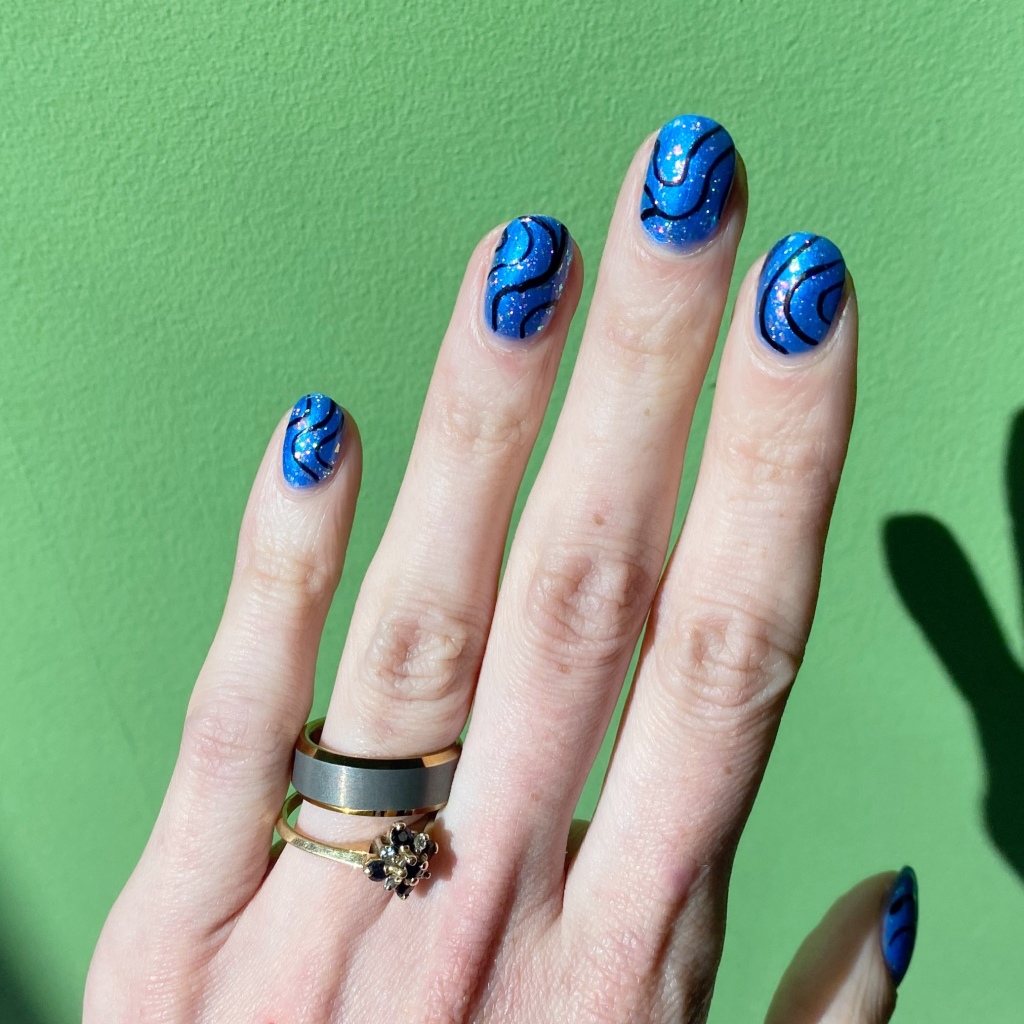
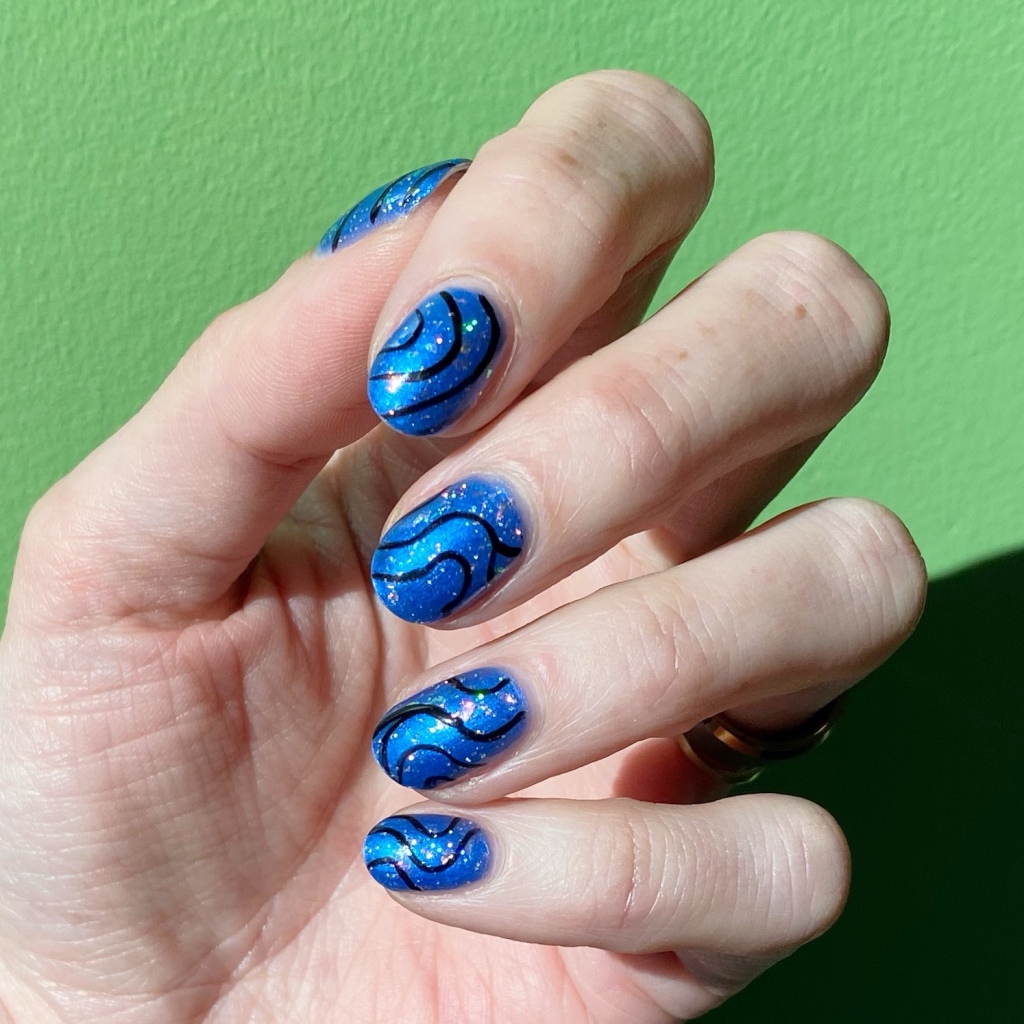
Black Swirls on Blue Shimmer

Good morning lovelies & happy Tuesday! We all survived Monday, & today is looking to be a beautiful day.

Today I’m sharing a somewhat simple to do nail art look, that is still super eye catching! As I’ve been mentioning, I’m absolutely obsessed with layering glitter over nail polish lately. It’s my go to look. But sometimes, I still want something more which is where this nail art look came from. I loved the flakie over blue look, but it felt like it needed something more.

Thank goodness for nail art stripers!

The polishes I used for this manicure are: 

  • Base Coat: China Glaze Calcium Gel Fortifer
  • Top Coat: Seche Vive
  • Ardene Blue Tide
  • ‘Ard as Nails Fairy Flakes
  • Quo by Orly Nail Art Striper Black

This look was sort-of inspired by this previous look. After applying to my base, I saw that design in my Instagram feed & realized I wanted to wear something like that. & I’m so in love with the eye catching result. Obviously, you can never go wrong with glitter (as is my new motto) but it’s fun to add something a little extra to the look.

& seriously, these took no time at all to create which is even better!

What do you think of my blue abstract stripes? I definitely am hoping to get more time for more complex nail art soon, but in the mean time I’ve really been loving these simpler looks so I hope you’re enjoying them too!

Happy Tuesday!

♥︎
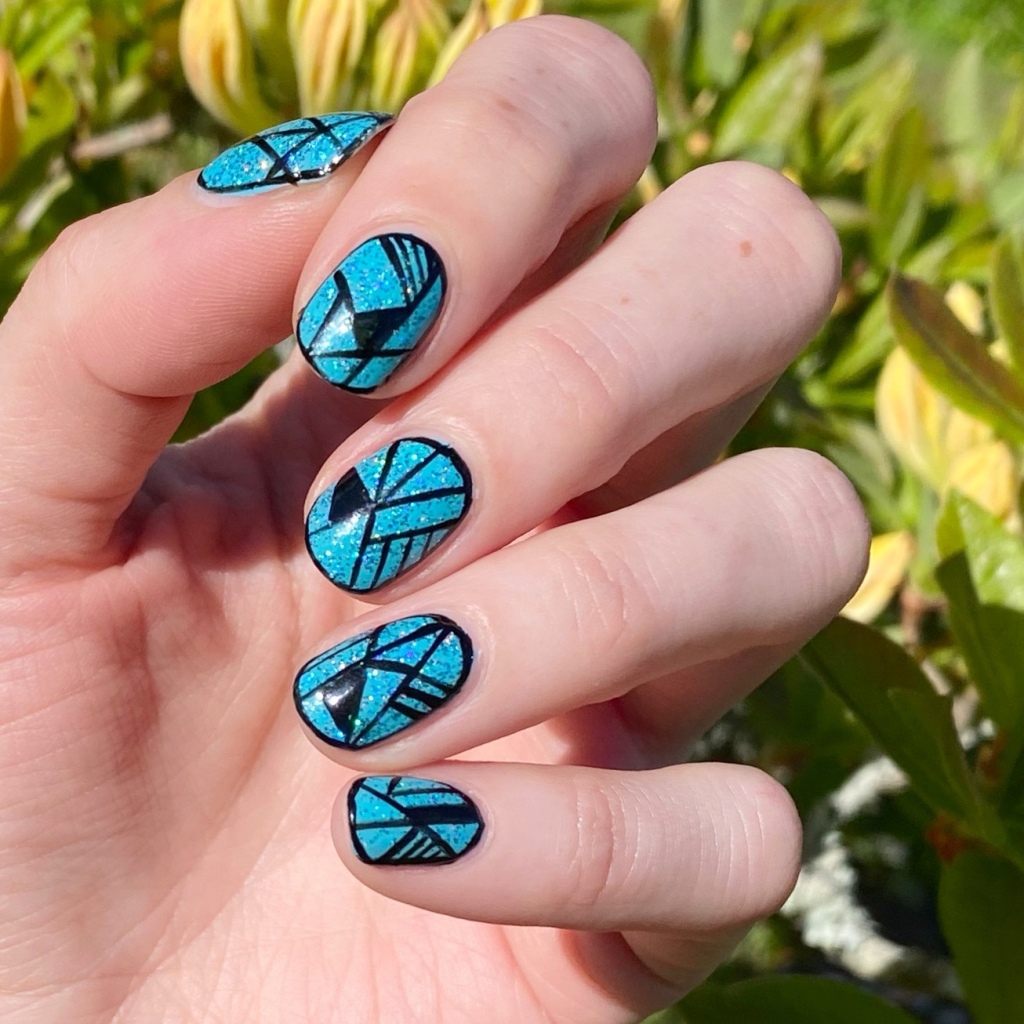
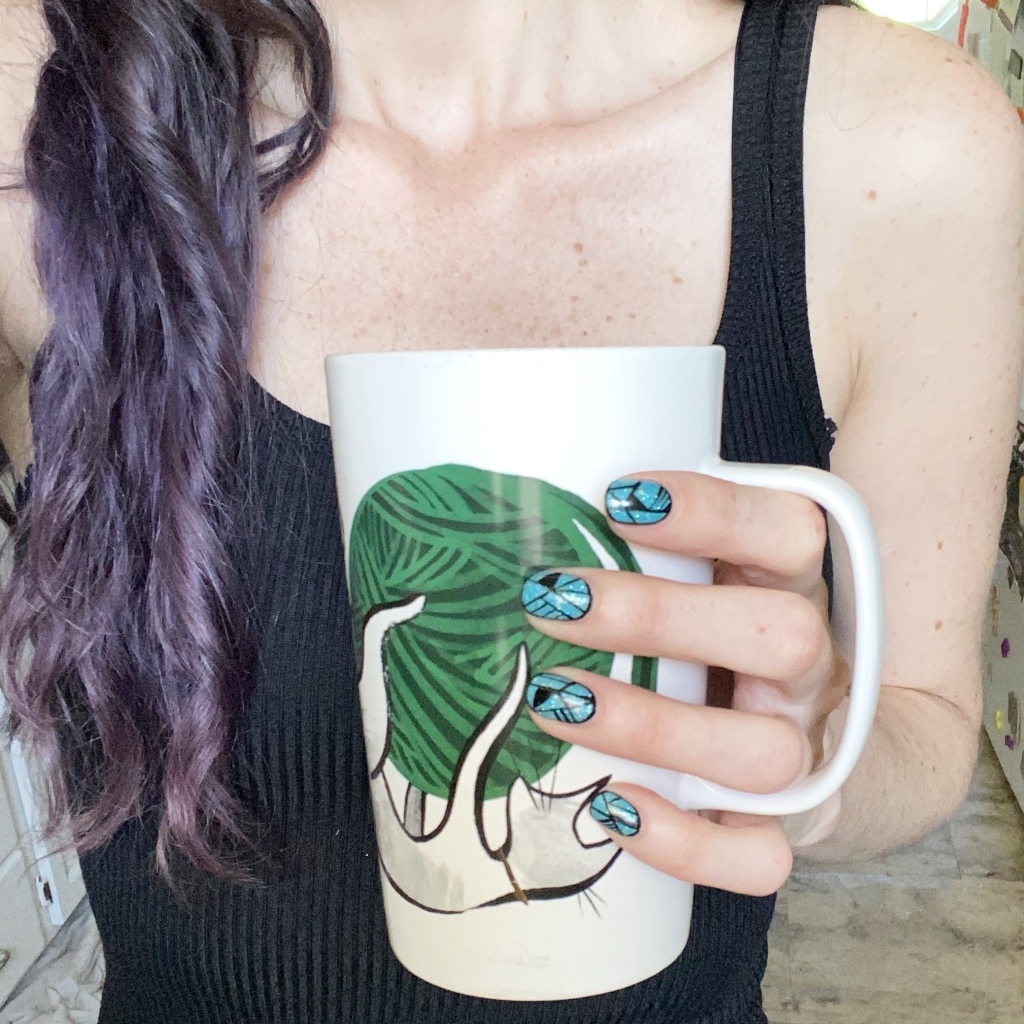
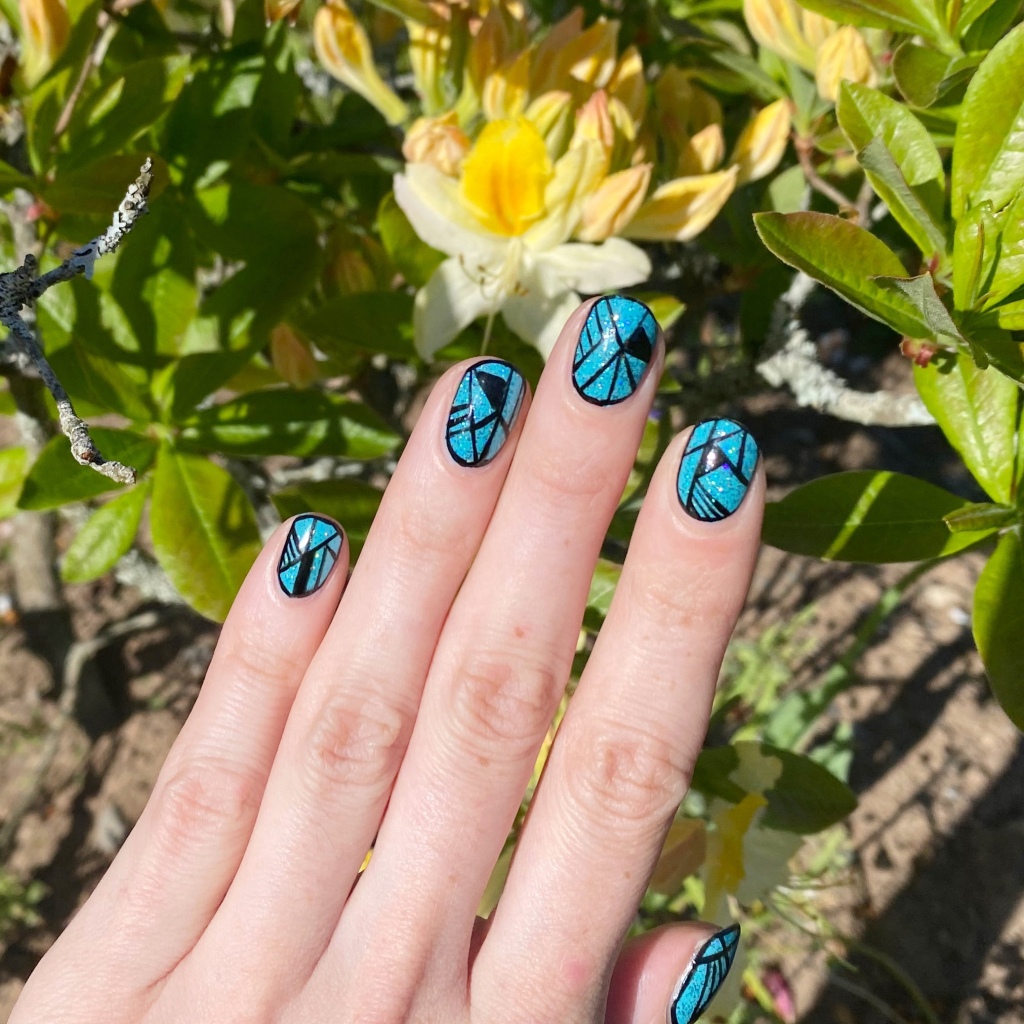
Holo & Graphic Geometric Lines

Hello lovelies & happy Thursday! It’s a beautiful, warm sunny day & I’m enjoying every second of it. & the sunshine is making me crave a lot of sparkle. ✨

It’s been a while since I rocked some graphic geometric lines, so I pulled out a Quo by Orly striper I recently found at the thrift store (it had never been used — I was pumped!) & I created this geometric look. & I think the black over the lighter blue is so striking — I just love it!

The polishes I used for this manicure are: 

  • Base Coat: China Glaze Calcium Gel Fortifer
  • Top Coat: Seche Vive
  • Essie In The Cab-Ana
  • Color Club Bougie Baby
  • Quo By Orly Striper Black

These almost look like stained glass, but with only one colour. I think they turned out really pretty. I also can’t stop adding glitter — in particular holographic glitter — to all my base colours.

When I do geometric line designs like this, I’m really not particular in what I’m doing — I kind of just go with what I’m feeling. I originally had just line straight lines, but it felt like something was missing so I added the outline around my nail, & it felt like it brought everything together! & surprisingly, it really wasn’t that hard to do at all.

What do you think about this geometric lines design? Are you feeling the sparkly holo & the crisp black lines? Would you wear a design like this? Let me know all your thoughts down in the comments below & what colour you would wear as your base on a design like this!

Enjoy your Thursday! ♥︎