I’ve been trying to make an effort to go through my stash, and wear polishes I don’t wear as often. Sometimes I get a little too excited about new polishes, and forget about my old favorites.

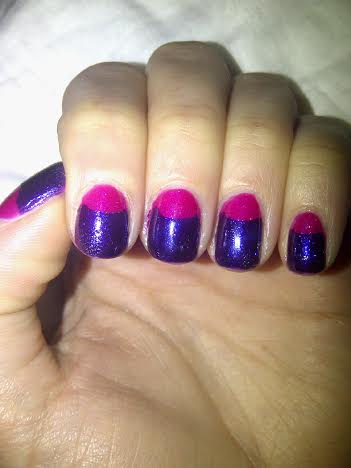
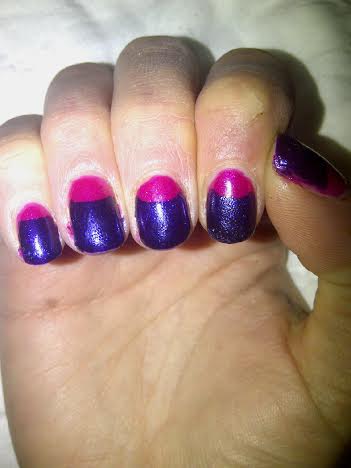
This is Bizarre Blurple, but China Glaze. It’s a darker purple base color, filled with itty bitty blue micro glitters. I’ll be honest, I bought this polish just because of the awesomeness of the name. I got it on a 3/15 clearance sale at the Chatters by my work in the beginning of the year, the same time I picked up my bottle of OPI’s My Boyfriend Scales Walls. I needed to grab two more polishes for the deal, and when I saw the name I was like “Yep! Mine!” However, the second I put it on my nails I realized just how beautiful this polish was. I’m a sucker for purple and blue polishes, and this is the best of both worlds!
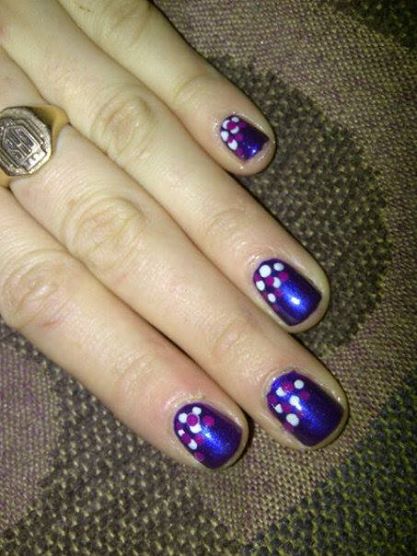
It also makes a great base for nail art.
The above manicure is from back in January, when I first picked up this polish. You can see the blue micro-glitters a little bit better in the flash. Just looking at this old picture makes me remember why I love it so much. Different lighting just changes it so much.
Have you ever bought a polish based strictly on its name? I have to admit–not the first time I’ve had to have a polish because the name was just too perfect. God, if I could get a job naming polishes, I would be set!