SWATCH SUNDAY — Boho Green Make Up Moonlight

Good morning & Happy Sunday loves! After a chaotic week I’m finally feeling a little refreshed & excited to start off a brand new week! & what is more excited to start off the week, than with Swatch Sunday & a pretty purple from the depths of my stash.

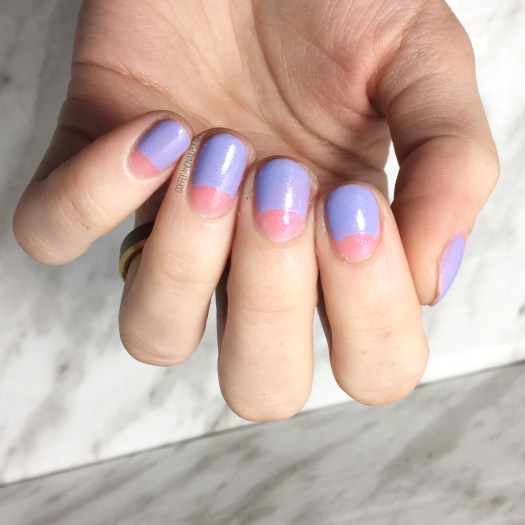
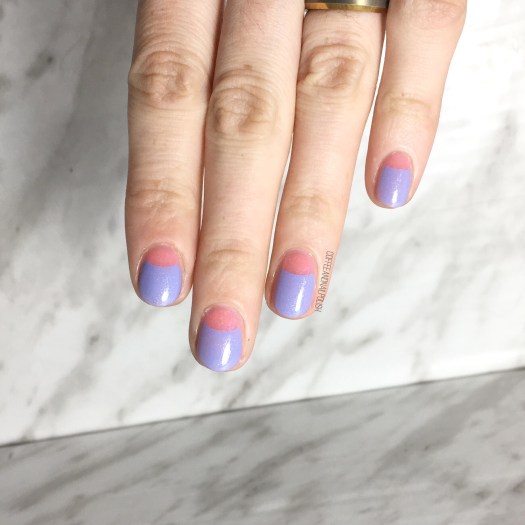
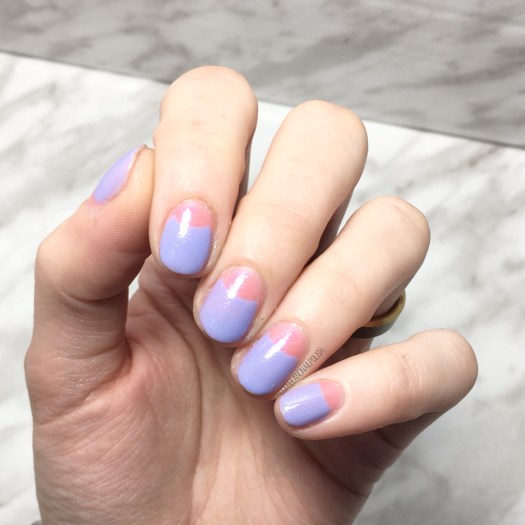
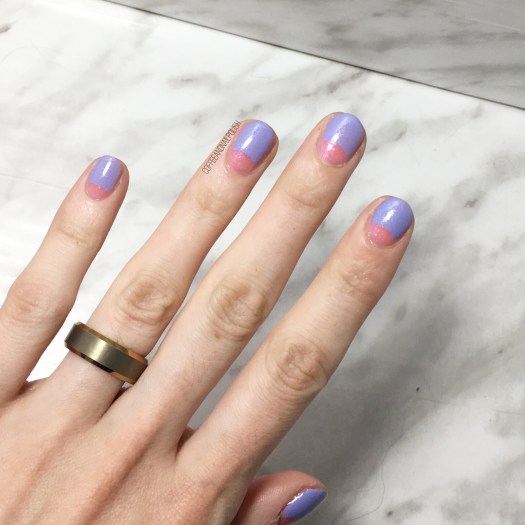
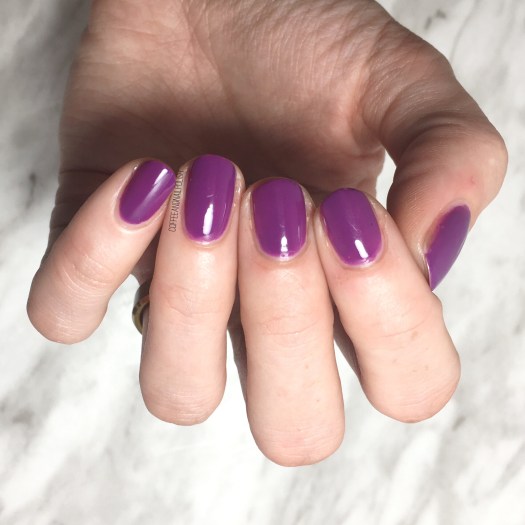
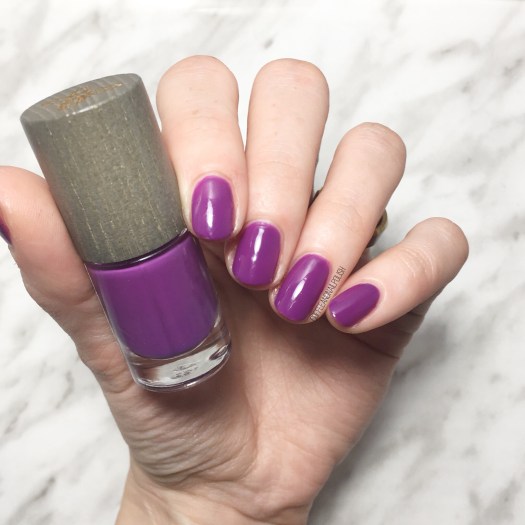
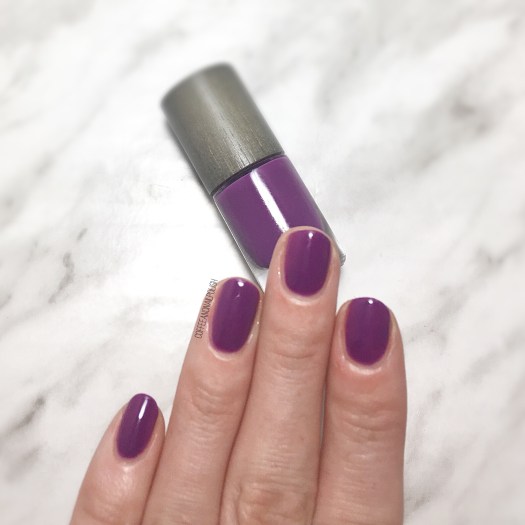
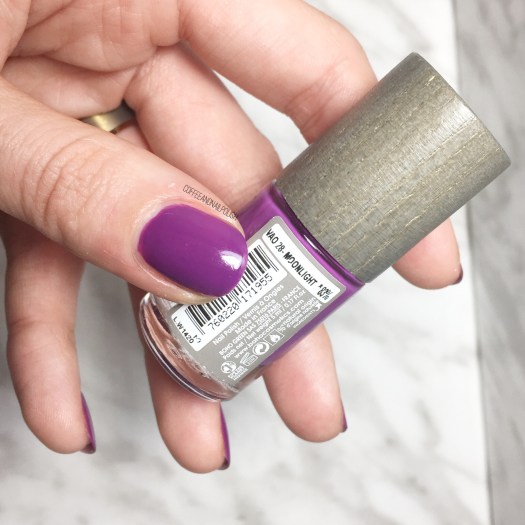
Today’s polish is one that I found on clearance at my favourite local Health Food Store for only $4! This beautiful crelly purple is called Moonlight & is from the brand Boho Green Make Up, which is based out of France. This brand is organic, natural & vegan–so it’s nail polish that you can feel awesome about wearing. You definitely get that feeling from the look of the bottle: it’s simple & uncomplicated with a wooden cap.

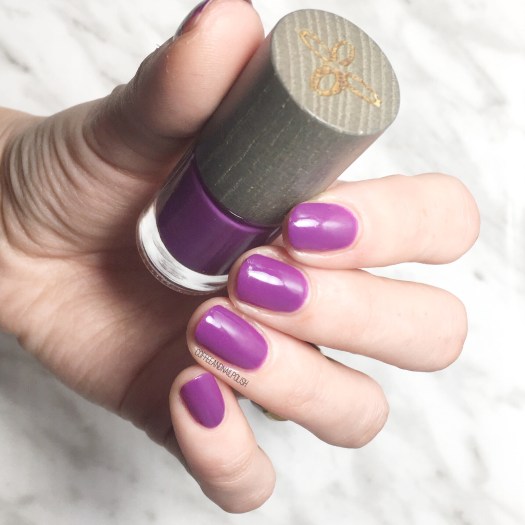
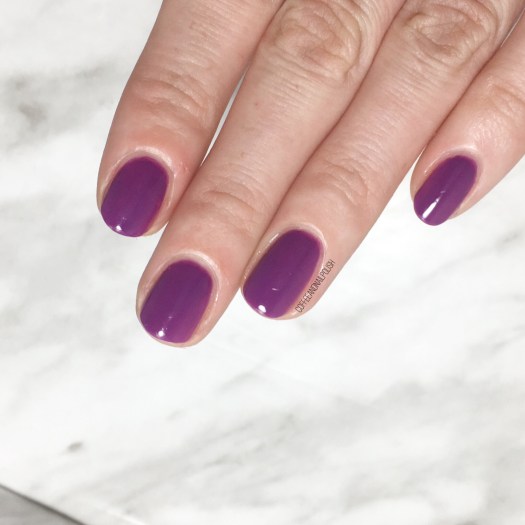
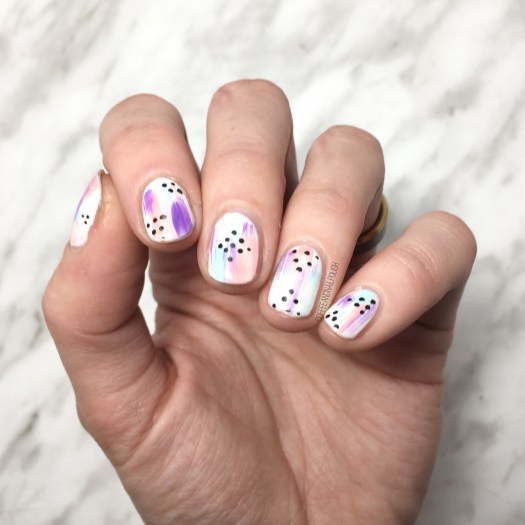
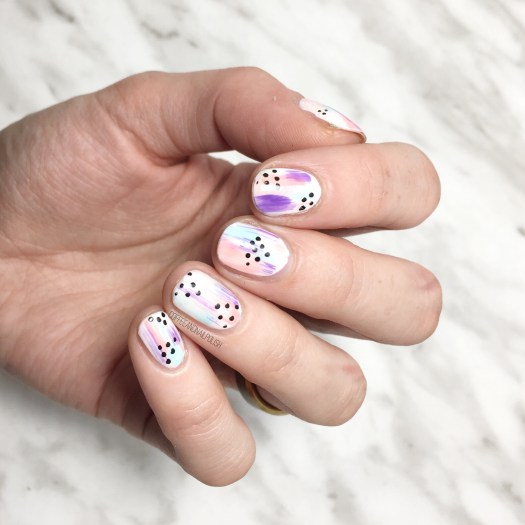
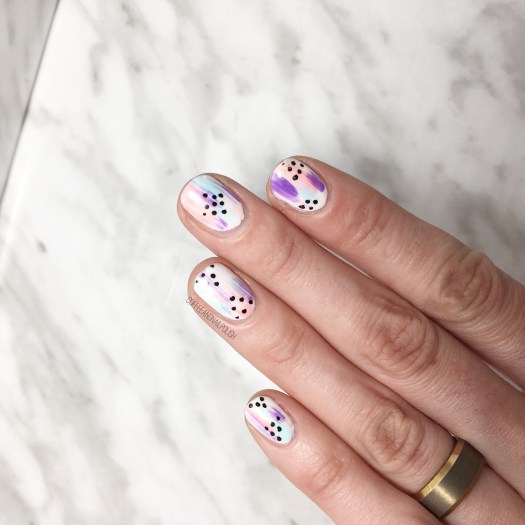
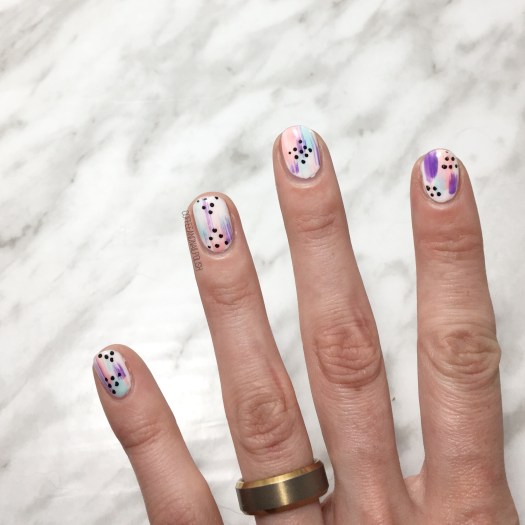
For my swatches, I used base coat (as I was going to be wearing the polish as the base next manicure) then two coats of colour & finished it off with top coat. Because of the crelly formula, you definitely need two thicker coats or three thinner coats for full opacity.

The smell while applying this polish was interesting — I suppose it is part of it being a “natural” brand, but it almost had a grape-like smell to it. I don’t know if that was psychosomatic from seeing the purple colour or actual but it definitely was more pleasant than your typical nail polish (not that I make a habit of going around sniffing every bottle of nail polish I put on my nails.)

Overall, I was quite impressed my experiences with this polish & brand. I own two shades–this one (Moonlight) & a Blue (Pacific Ocean) & both are really lovely polishes with fairly decent lasting power. I love the fact that they’re all natural & organic because it makes you feel good about wearing it on your nails.

Have you ever tried the polishes from Boho Green Make Up? What did you think? Share your thoughts down in the comments below!

Neon Saran Wrap Splatter

Happy Tuesday lovely… a very rainy, gross Tuesday (again).

I thought it would be a good day for some more bright & colourful nails, featuring one of my favourite easy to do designs–Saran Wrap Splatter! This is a design I do a surprisingly amount–which you may have noticed–because it’s easy to do, doesn’t require any specific nail art tools & truthfully is not too messy to clean up. & the colour combinations are endless.

For this design, the polishes I used were:

  • Base Coat: Sally Hansen Green Tea + Bamboo Strength
  • Top Coat: Essie Gel Setter
  • Essie Find Me An Oasis
  • Essie Strut Your Stuff
  • China Glaze Purple Panic
  • Plastic Bag (I used a plastic grocery bag that I cup up into smaller pieces.)

Please ignore the chip on my middle finger above–I keep forgetting to take pictures of my nails until after work, which leads to the above situation. Thankfully the design is so busy you barely notice the little chip at the tip. Also I’m loving the combination of this fuchsia & blues–the colours go really well together over the pale blue.

What do you think of this nail art design? What colour combination would you like me to try in a Saran Wrap splatter next? Share your ideas down below!

Pastel Dry Brush & Polka Dots

Happy Tuesday lovelies! If it’s possible for the Tuesday after a long weekend to be happy. I mean, I worked 2/3 days of this long weekend so I’m not even sure what a long weekend is anymore! But that’s okay… I’m feeling minuscule-ly better & I have a fun new manicure to share with you.

Today’s design is actually inspired by a design from a very long time ago! Okay maybe it was only 3 years ago, but it feels like forever since my nails were that kind of amazingly long. Last time, my polish picks were more in the neon family, so I decided this time to stick to more pastels. & oh yes, do I love how the colours went together!

For this design, the polishes I used were:

  • Base Coat: Quo by Orly Breathable Kiss Me, I’m Kind
  • Top Coat: Seche Vive
  • Wet n Wild Clear Polish
  • Sally Hansen Complete Salon Manicure Let’s Snow
  • Sally Hansen Miracle Gel Ocean Daze
  • Sally Hansen Miracle Gel Bourbon Babe
  • Color Club Pucci-licious
  • Sally Hansen I ♥️ Nail Art pen in black

Dry brush is such a fun technique to create on the nails, because depending on the look you’re going for you can use a clear polish or smudgy top coat to blend your colours together & let dry for a few minutes & use a non-smudging top coat to keep the look of your dry brushing more in tact. I wanted to create a more blended look, so I applied a coat of Wet n Wild’s clear polish over top, & brushed it a few times so the shades would blend together better. In this case, it’s good to smear your design. I also tend to do this with other nail art like gradients or Saran Wrap marbles, but I want to colours to blend together as much as possible.

I’m loving the vibrancy of these shades. They remind me of Summer & I love Summer. Suddenly wishing I could find a bikini with a similar dry brush & polka dot pattern on it. Or maybe a dress… something fun & Summery I could wear on more than just my nails.

what do you think of these pastel dry brush & polka dot nails? Is this a look that you would wear for summer? Share your thoughts down in the comments below!

Blurple & Pink Pastel Half Moons 🌙

Good Morning lovelies! Hope you’re having a fantastic Thursday. I seriously can’t believe that it is almost the weekend already! & the May long weekend at that. Well, unless you work in retail of course… & then it is just another weekend with a slightly busier Monday.

Today I’m showing off some pretty half moons featuring a few shades from the Sally Hansen Canada Miracle Gel Pastel Punk collection. & as you can see, I’ve made a return to rounded nails. My nails in general have been feeling pretty weak ever since my return to work (a combination of not oiling & moisturizing them every hour, dealing with lots of stock & having to use a liberal amount of hand sanitizer) so after another break I decided a return to rounded was in order.

For this manicure, the polishes I used were:

  • Base Coat: Nailtek 2
  • Top Coat: Sally Hansen Miracle Gel Top Coat
  • Sally Hansen Miracle Gel I Lava You
  • Sally Hansen Miracle Gel Just Maui’d
  • Paper Hole reinforcements

I’ve raved again & again just how much I adore the look of half moon designs, especially how EASY they are! Because this kind of design was my first ever real “nail art” I did, aside from maybe poorly door polka dots, this is one of my top nail art design suggestions for those just getting into nail art. Especially because the only “tools” it requires can be bought at Walmart or Dollarama (or any dollar store) for less than $2.

Also check out how much more purple Just Maui’d looks paired with I Lava You versus on its own when I swatched it. It pairs so well with the pinks, I can’t get over it. Definitely in love.

what do you think of this half moon combination? What is your favourite colour combination? Share your thoughts in the comments below!

Also I’m on the hunt for any suggestions on how to help my nails feel less frail. Going to be switching up my base coat–thinking about trying out Nail Envy again. If you have any suggestions let me know! 💜

Floral Flash Nails

Happy Tuesday lovelies! I hope you’re enjoying the beginning of your week. Today I’m sharing some brand new nails with you–& yep, more floral! I truly believe you can never wear too much floral. Now if only I had taken more pictures of this design…. sadly I only snapped a few to share with you!

For this manicure, the polishes I used were:

  • Base Coat: Nailtek 2
  • Top Coat: Seche Vive
  • Sally Hansen Miracle Gel In the Sheer
  • Essie Play Date
  • Essie Go Ginza
  • Sally Hansen Complete Salon Manicure Trouble Maker
  • Sally Hansen Miracle Gel Super Charge
  • Essence The Green & The Grunge
  • Sally Hansen I ♥️ Nail Art pen in Pink
  • China Glaze Metro Pollen-tin
  • Sally Hansen I ♥️ Nail Art pen in Black
  • Sally Hansen Royal Hue
  • China Glaze I Sea the Point
  • Bundle Monster detail brush
  • Bundle Monster dotting tool

It always takes so many polishes to create my favourite florals, but when you see it all put together it’s so worth it. Gosh I love floral designs over almost bare or really sheer polishes. They’re is just something romantic about how they come together. Love love love. Also I felt like I needed some untraditional floral colours–like purple roses. Something just a little bit different from my more recent floral & rose designs. I’m a little bit floral obsessed right now–I just picked up a new floral phone case, & I keep buying floral shirts & dresses. There is just no such thing as too much floral! 🌸

What do you think of this design? Are you a fan of negative space florals? Share your thoughts down in the comments below!