Hello lovelies & happy Thursday. We’re that much closer to the weekend, which is pretty exciting. Also how is this month almost over?
Wasn’t it just the beginning of May, like a week ago?
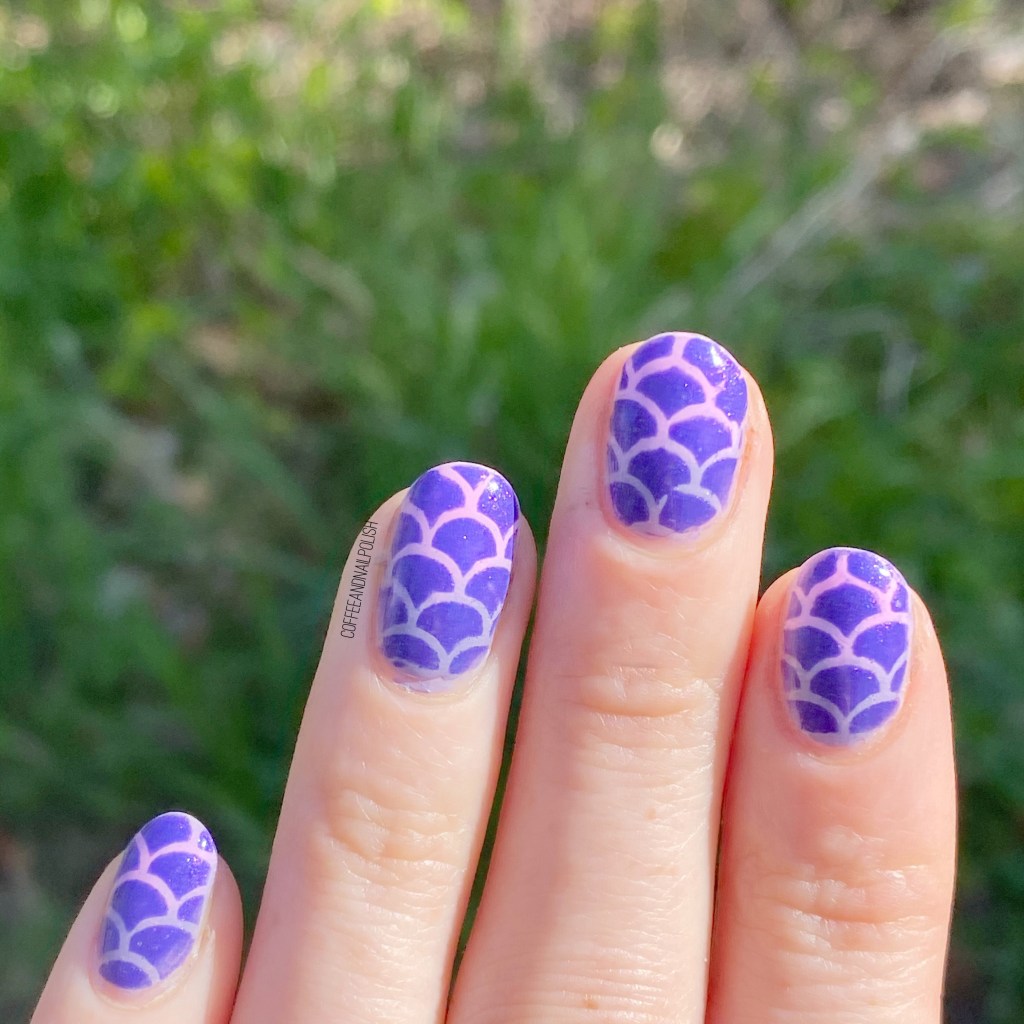
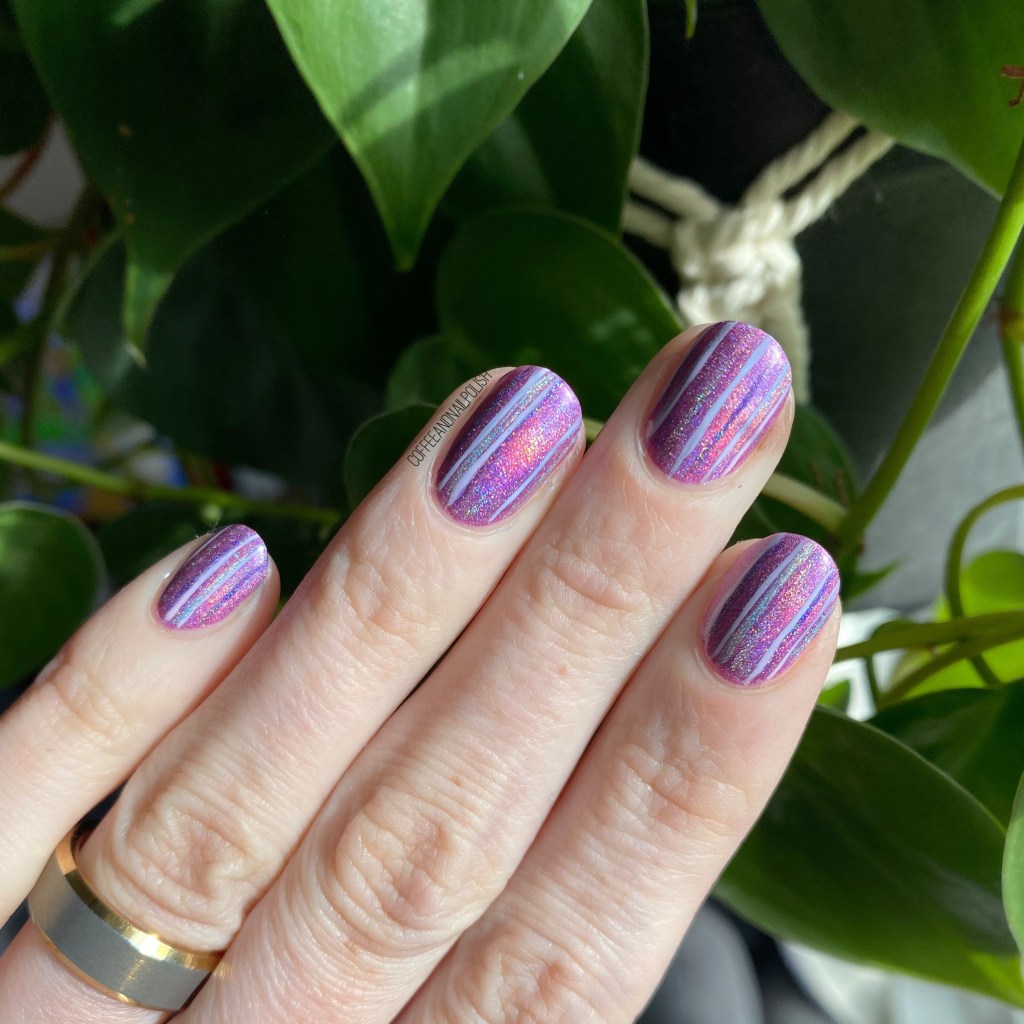
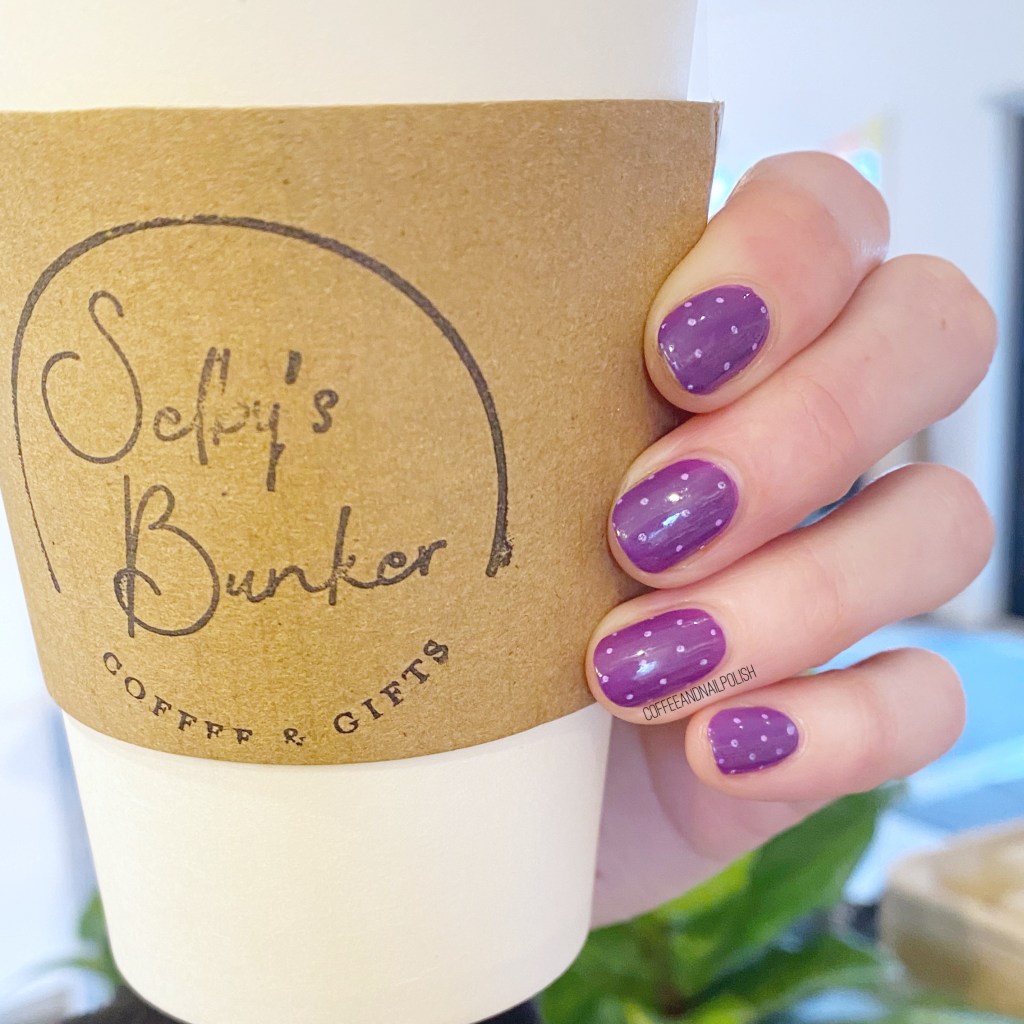
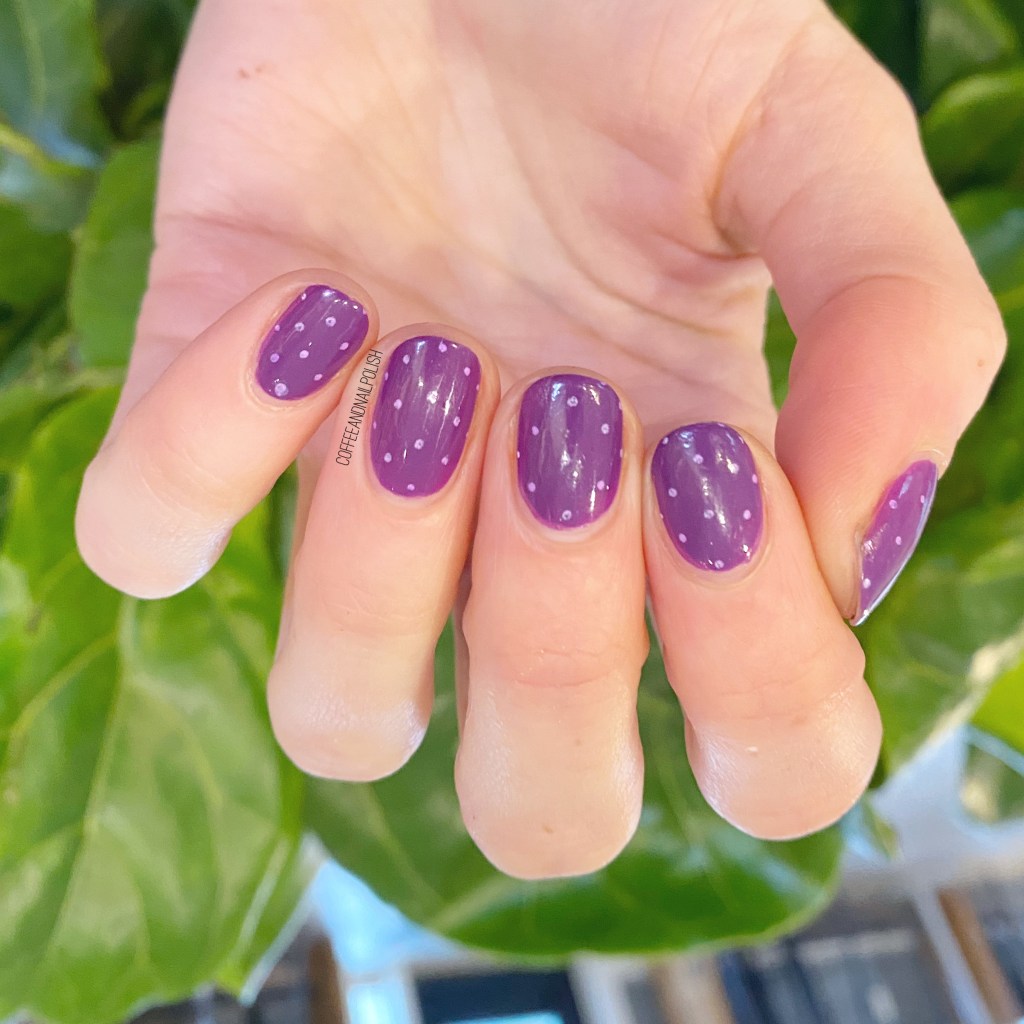
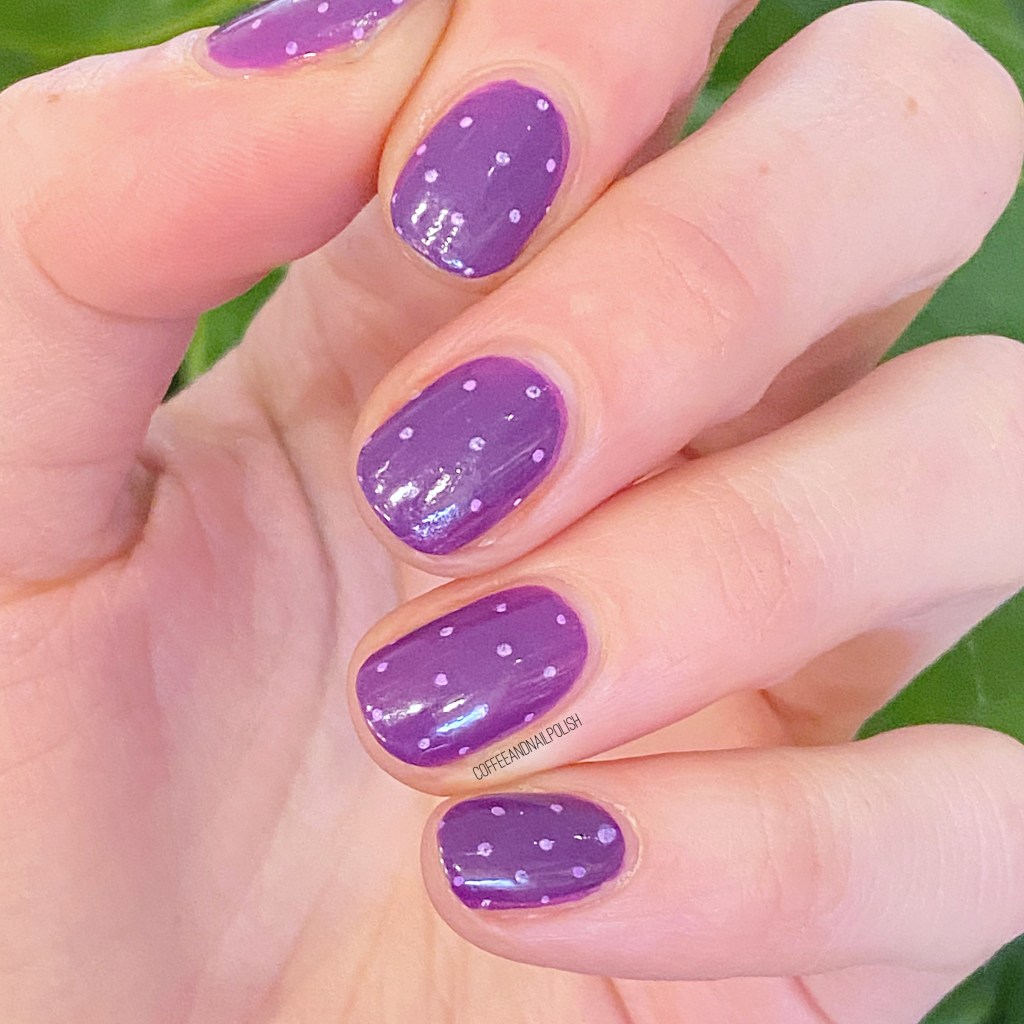
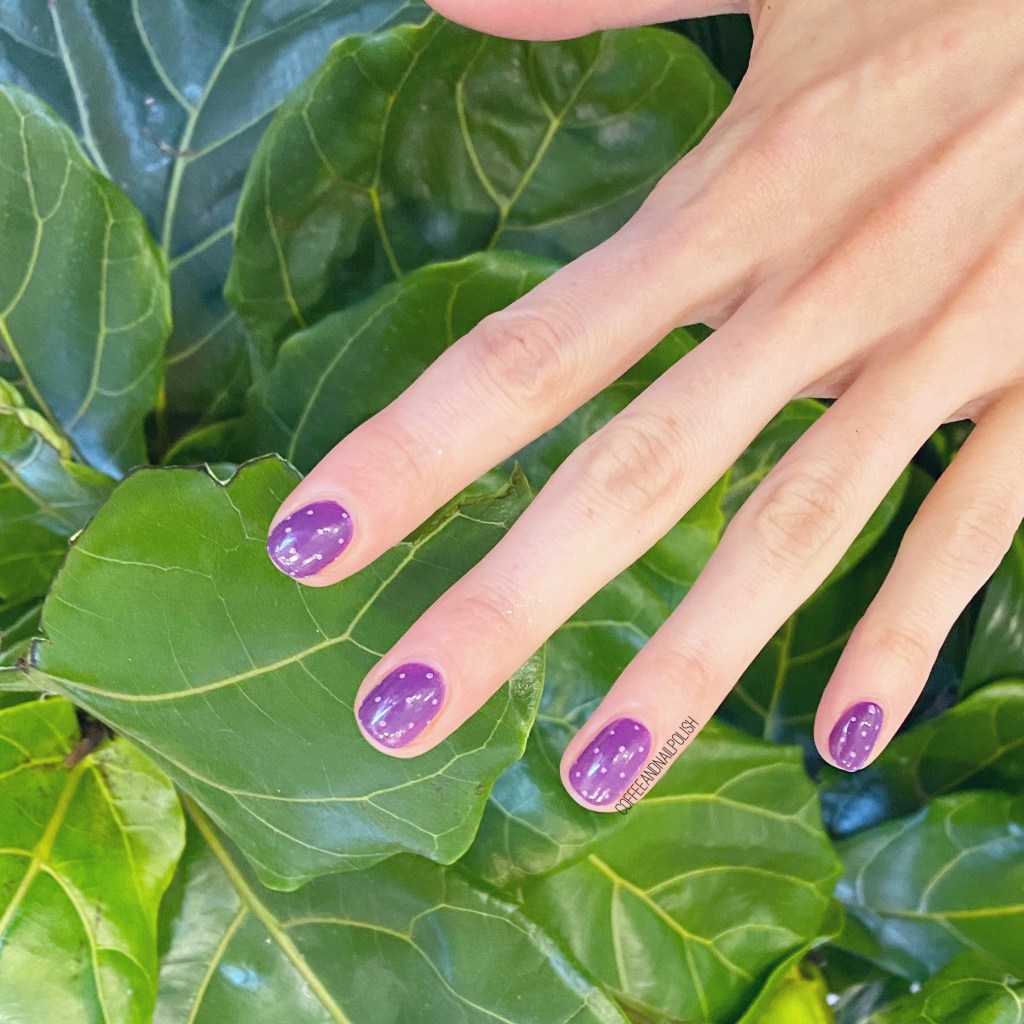
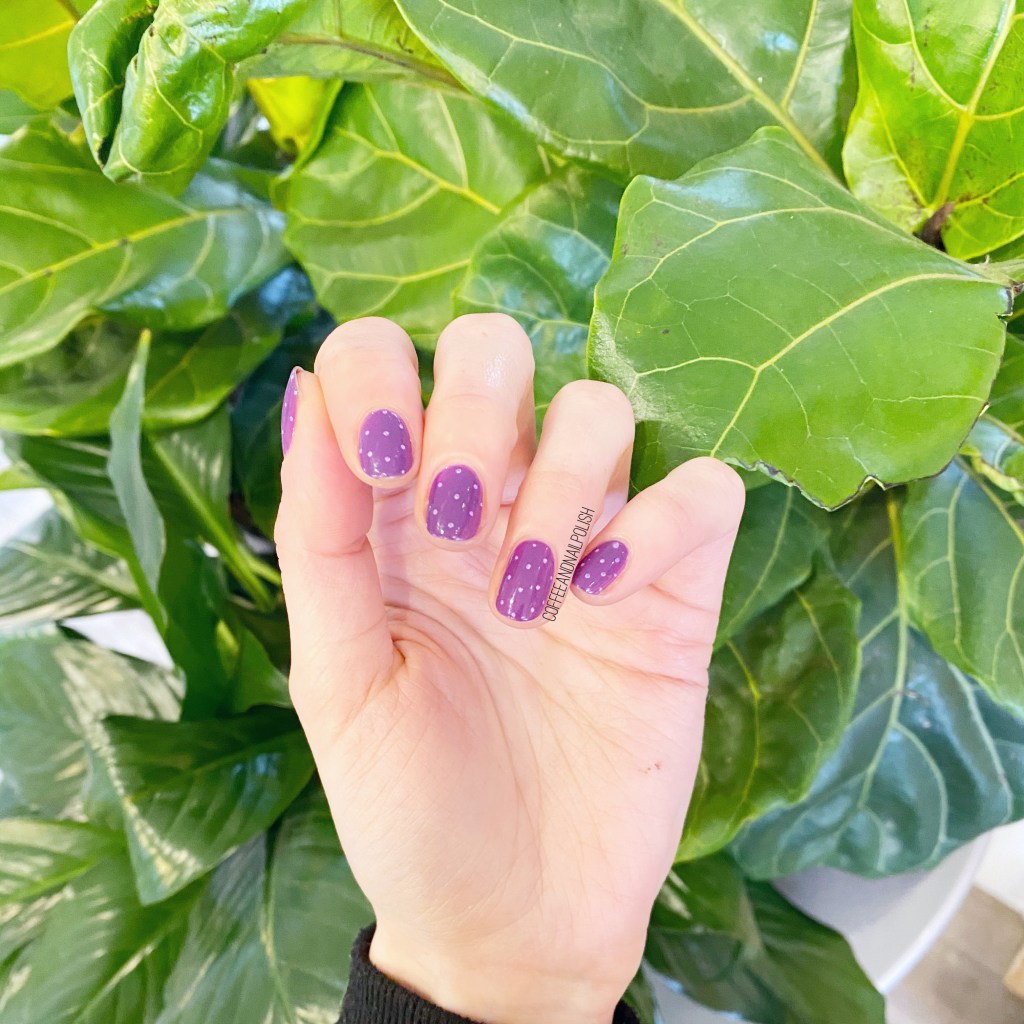
Today I’ve got a brand new look to share with you that was inspired by @nailsuponatime on Instagram. She recently posted a very pretty pastel geometric look, & I was inspired to fancy up my shorties with my own colour block look.


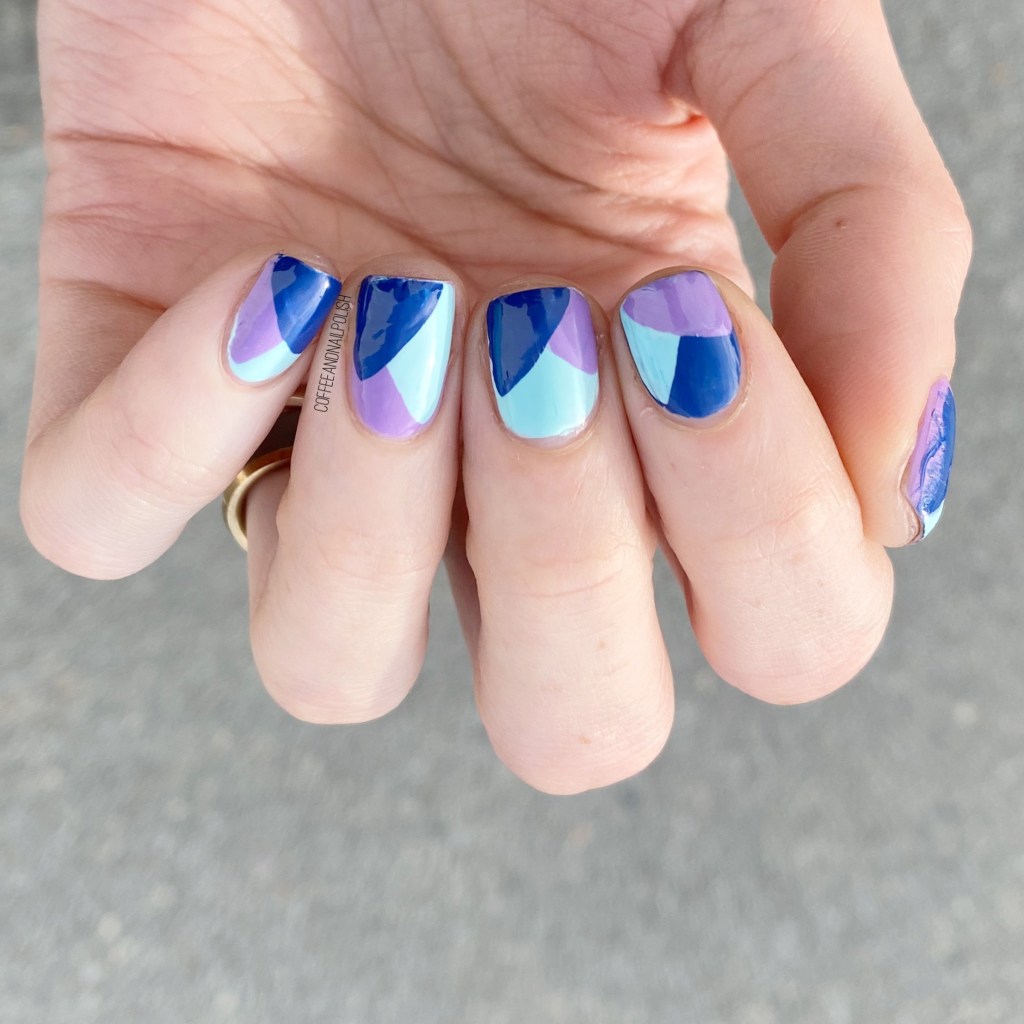
For this manicure, the polishes I used were:
- Base Coat: Sally Hansen Nailgrowth Miracle
- Top Coat: Essie Gel Setter
- Essie All The Wave
- Essie Mint Candy Apple (greener version)
- Essie Worth The Tassel


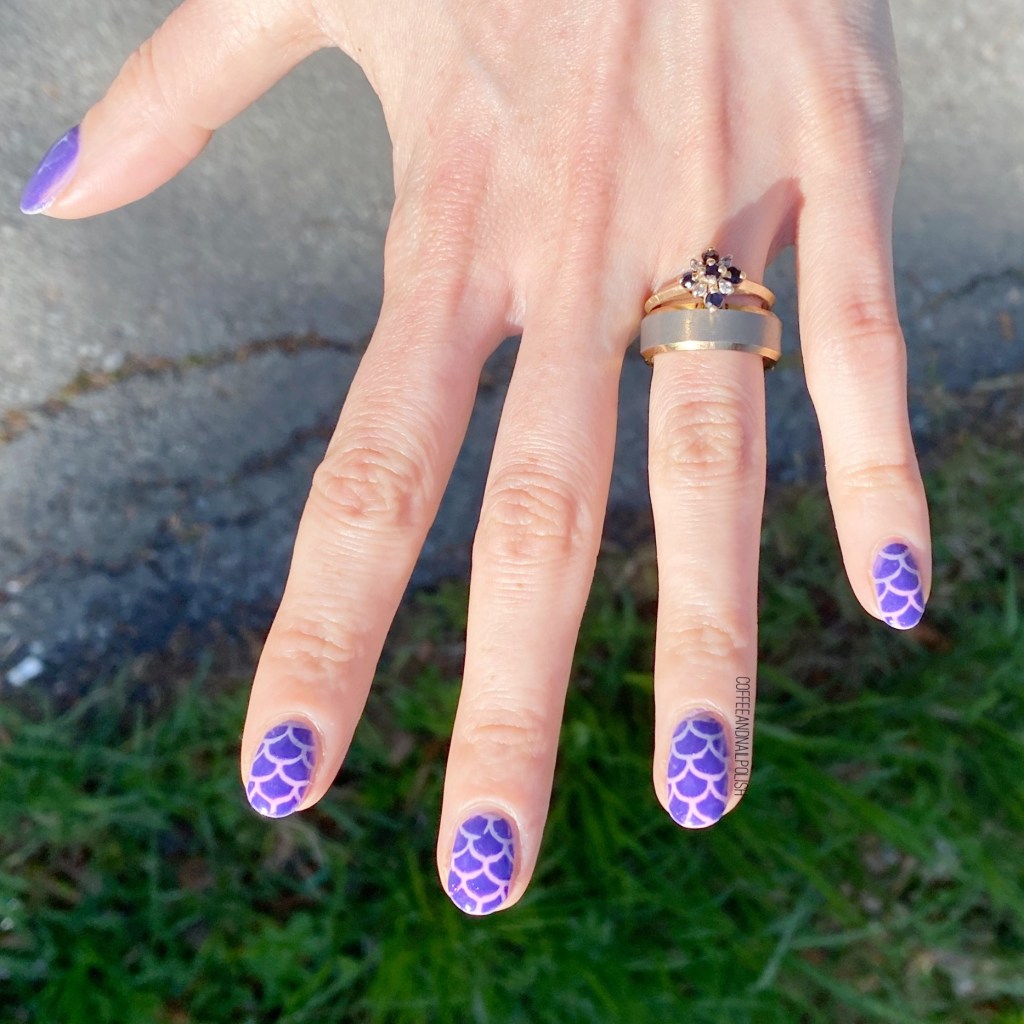
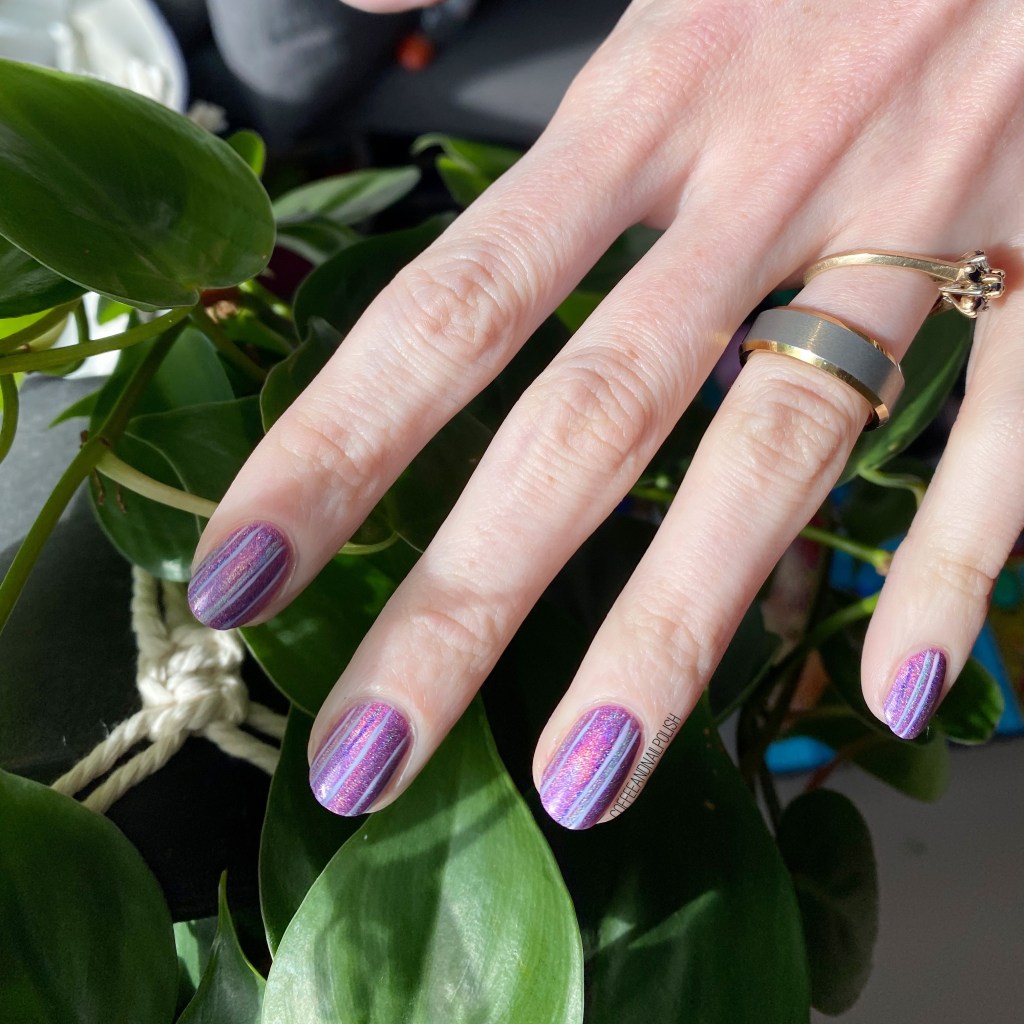
First off, an apology for my rough looking cuticles. Trying to remember my cuticle oil during the day, but when it gets busy at work — & I mean BUSY — it definitely is the last thing I concentrate on haha.
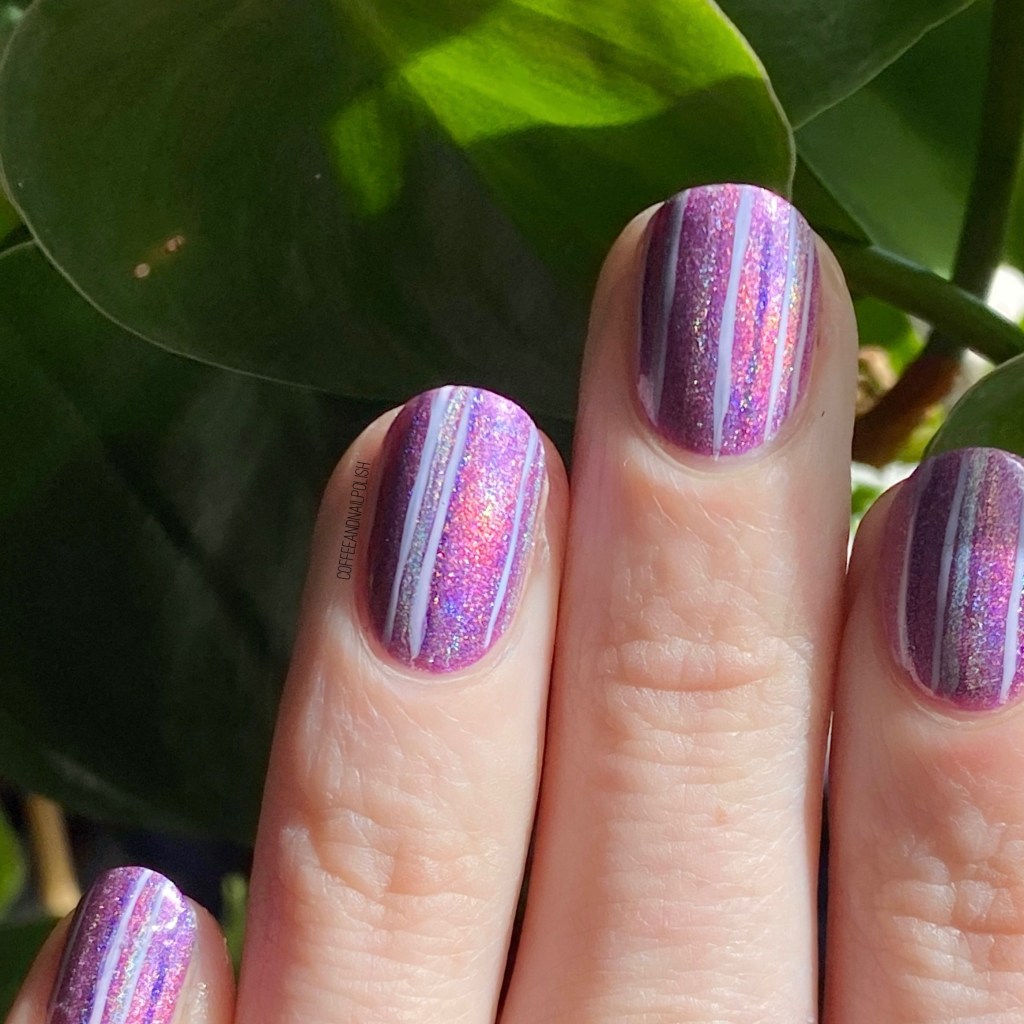
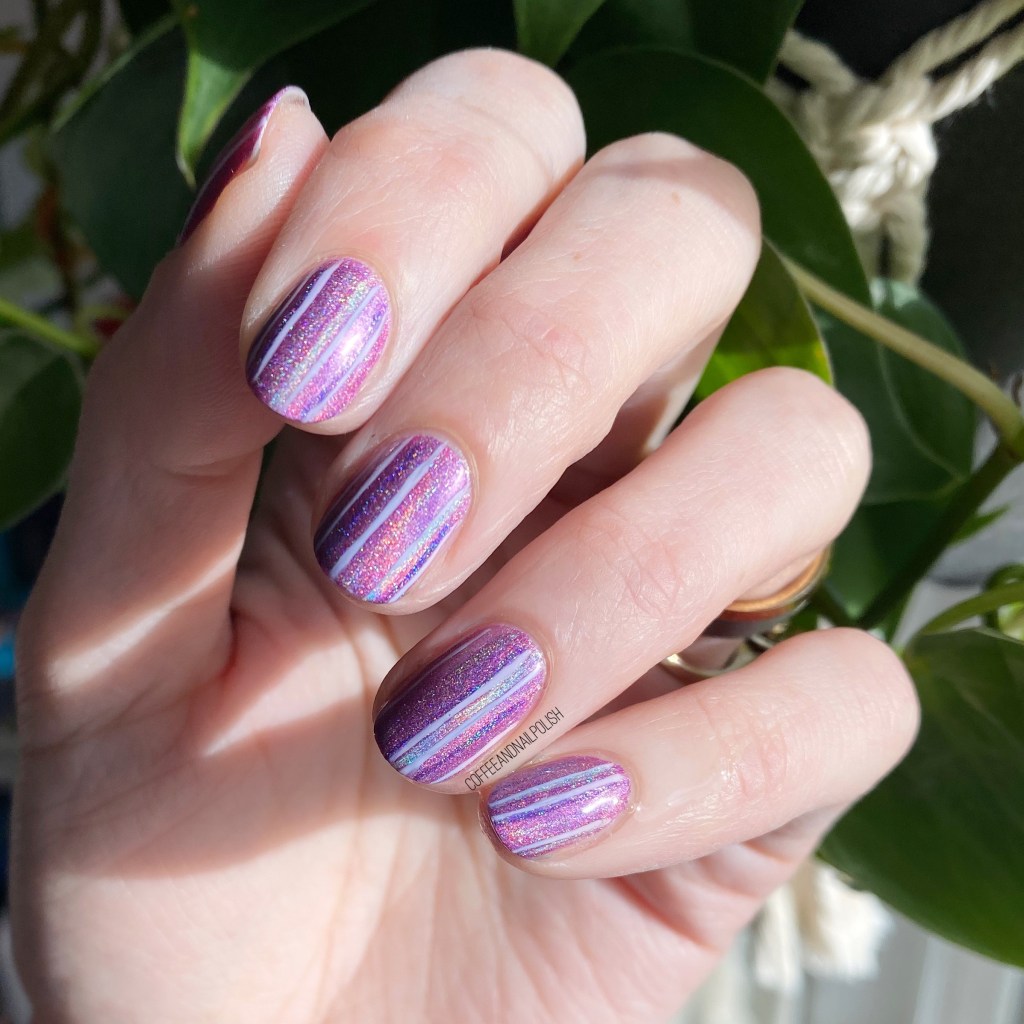
Next up, it’s been a while since I attempted some freehanded straight lines like this, so I feel like they aren’t perfect. But I do love this colour combination. I always forget to wear Mint Candy Apple from Essie — I have both versions of it, & I do adore the colour, but for some reason always forget I own it. So silly.

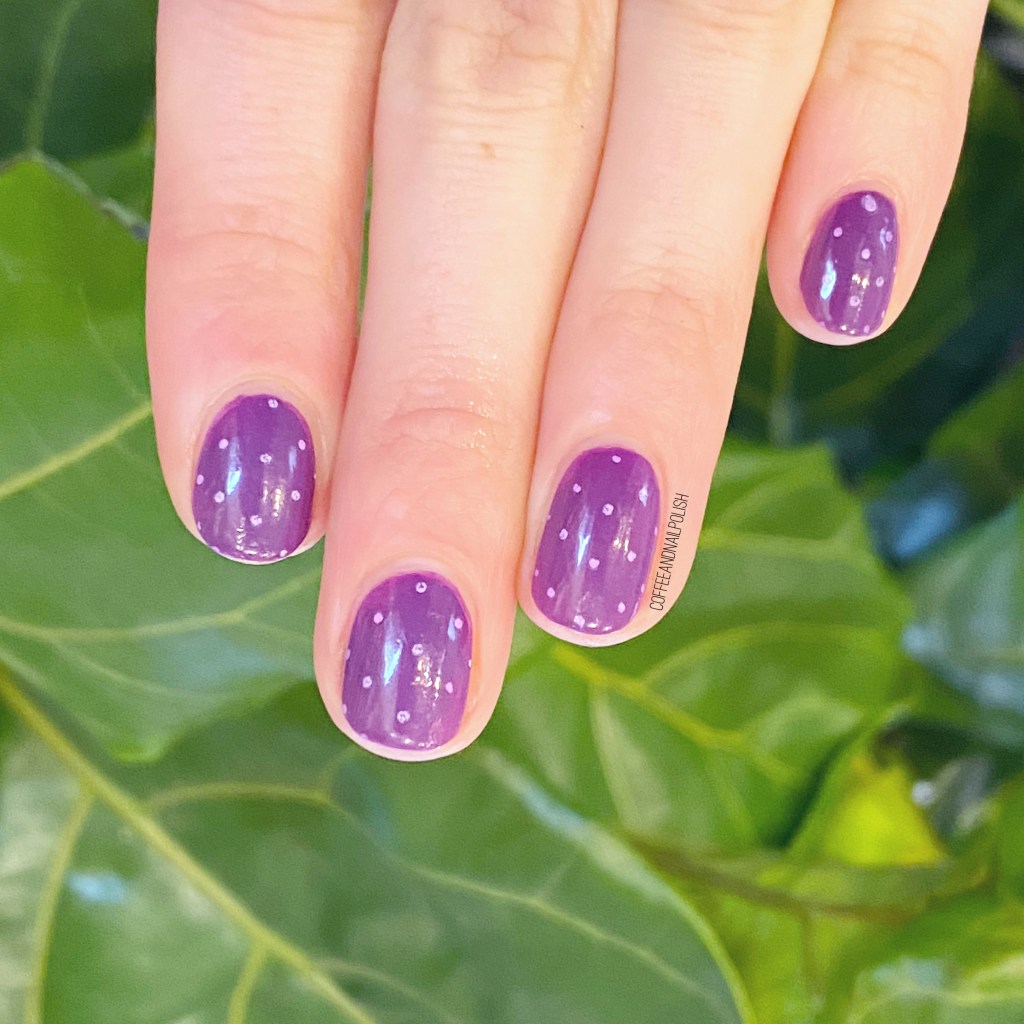
What do you think about this colour combination & colour blocking? What colours are you loving right now? I’ve been feeling a lot of blues & purples right now (if you haven’t noticed) so I might have to kick up the neons really soon! It’s been too long.