Hello lovelies & happy Wednesday! I’m back from vacation, & very refreshed from my weekend away. We had a great time, & enjoyed a ton of time visiting family. Now it’s back to the real world, & I’m excited to show off the nails I chose to wear for our vacation. I had done an Instagram questionnaire wondering what nails I should wear for my vacation, & the biggest winner was neon yellow.
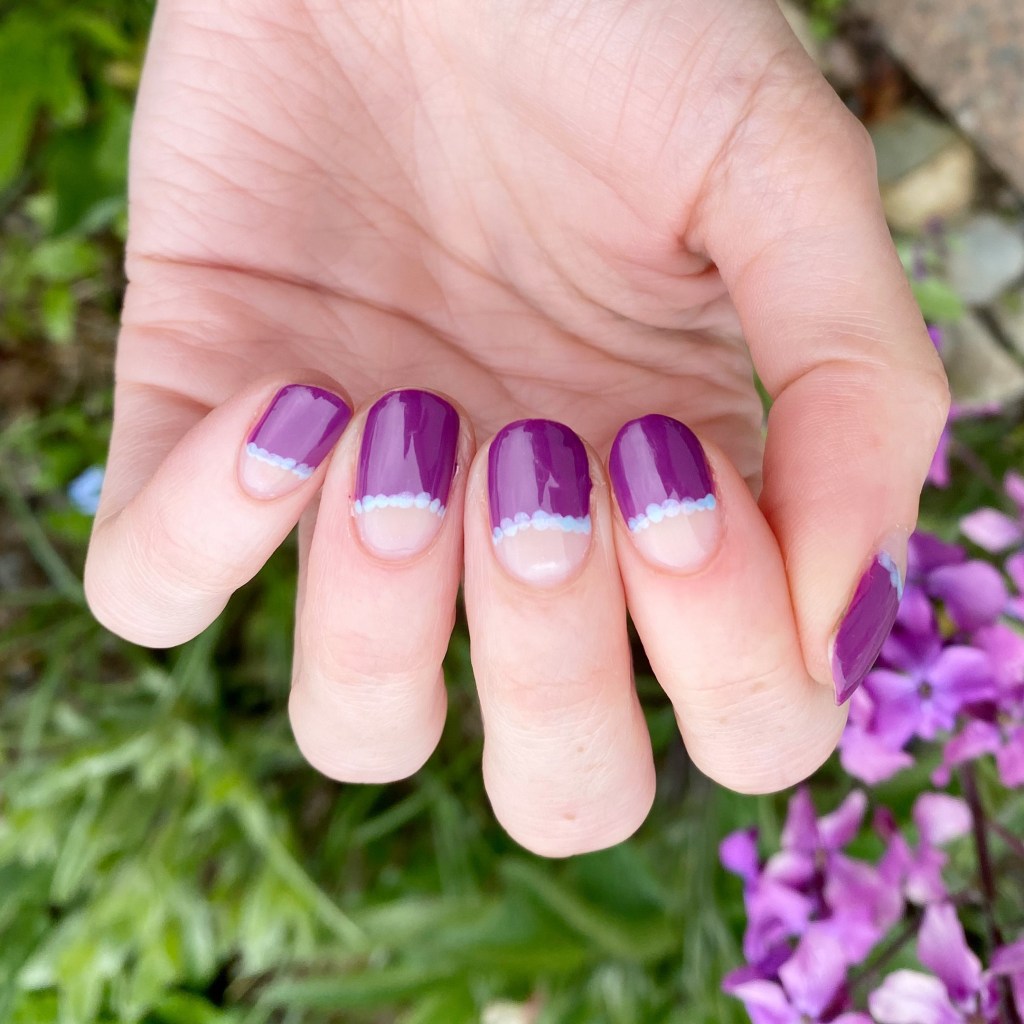
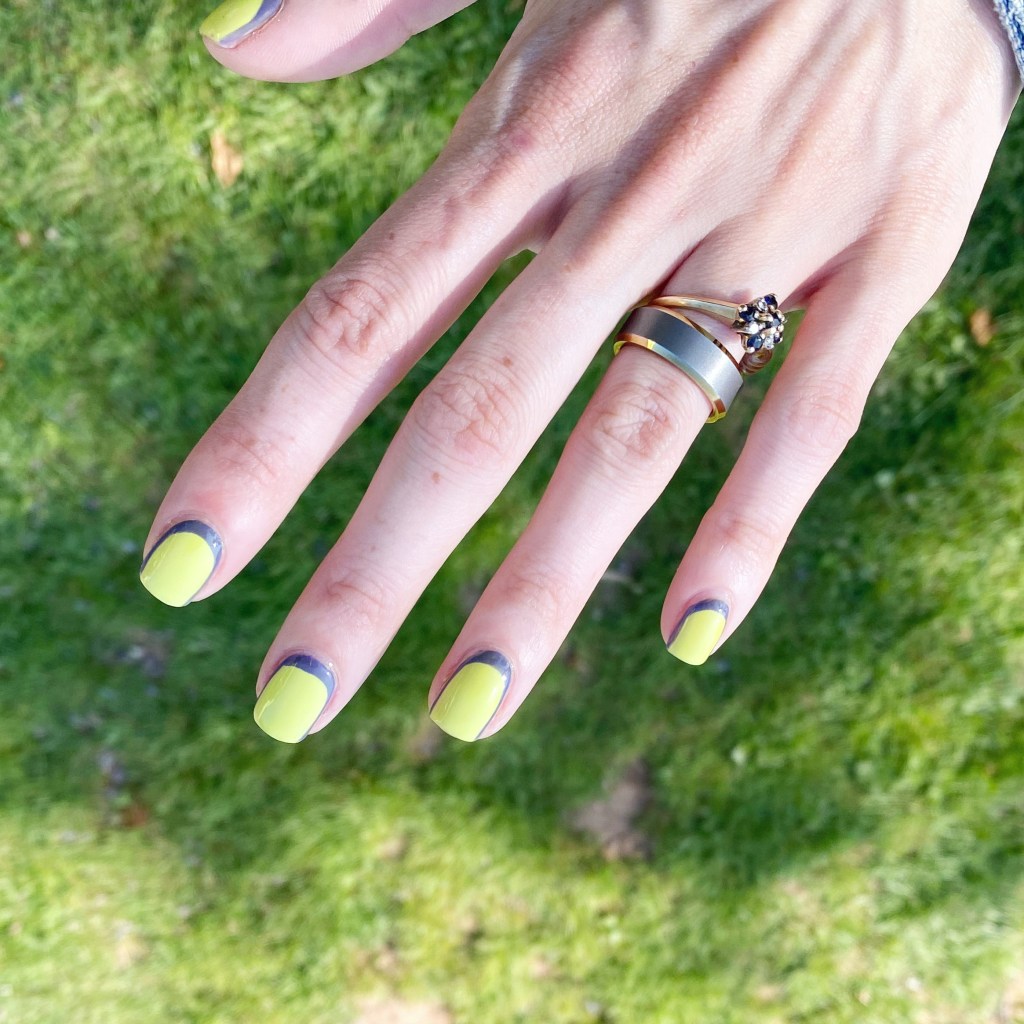
So I thought I would do a fun neon yellow ruffian for my vacation nails, & I’m just obsessed with how they turned out.


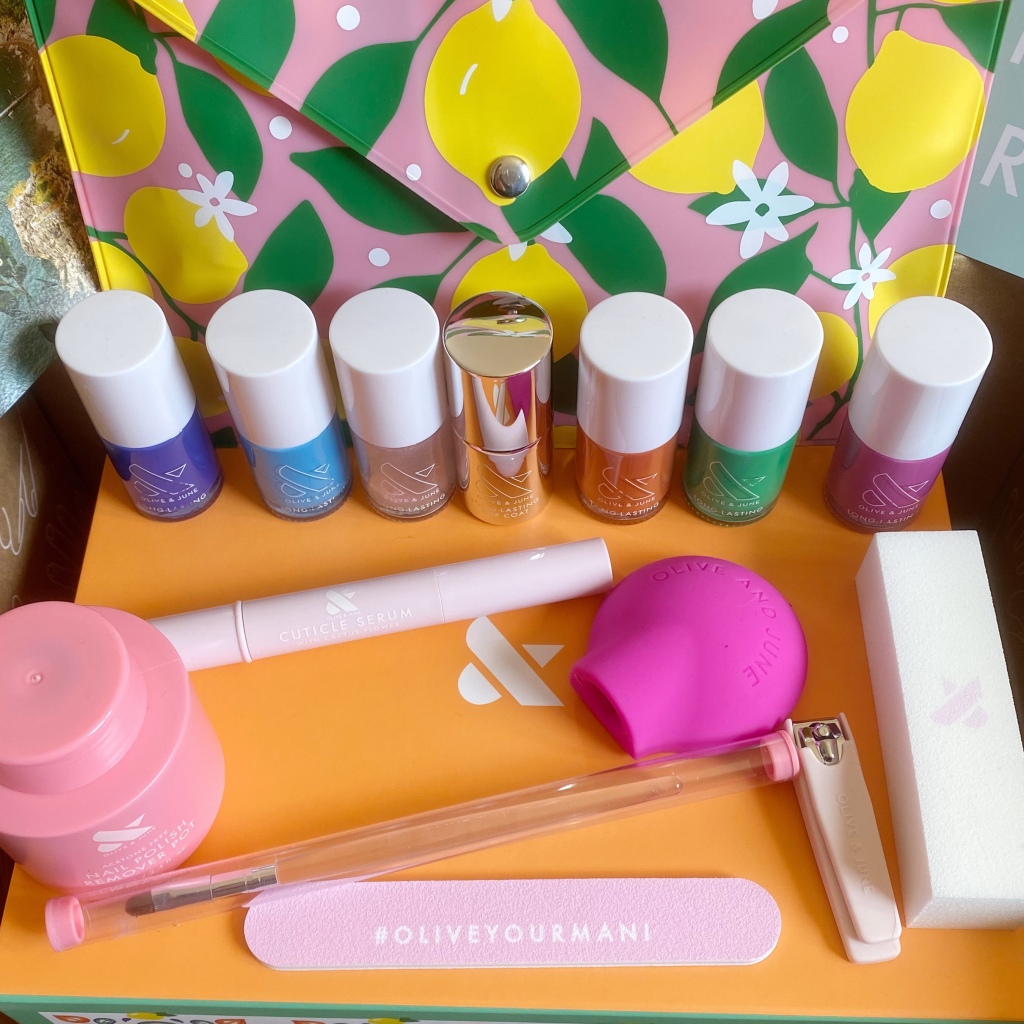
The polishes I used for this manicure are:
- Base Coat: Sally Hansen Miracle Gel Colour Grip Primer Base Coat
- Top Coat: Sally Hansen Miracle Gel Glossy Top Coat
- Sally Hansen Miracle Gel 90s Toadally Buggin’ •pr/gifted•
- Color Club Art Club Striper Passion Flower

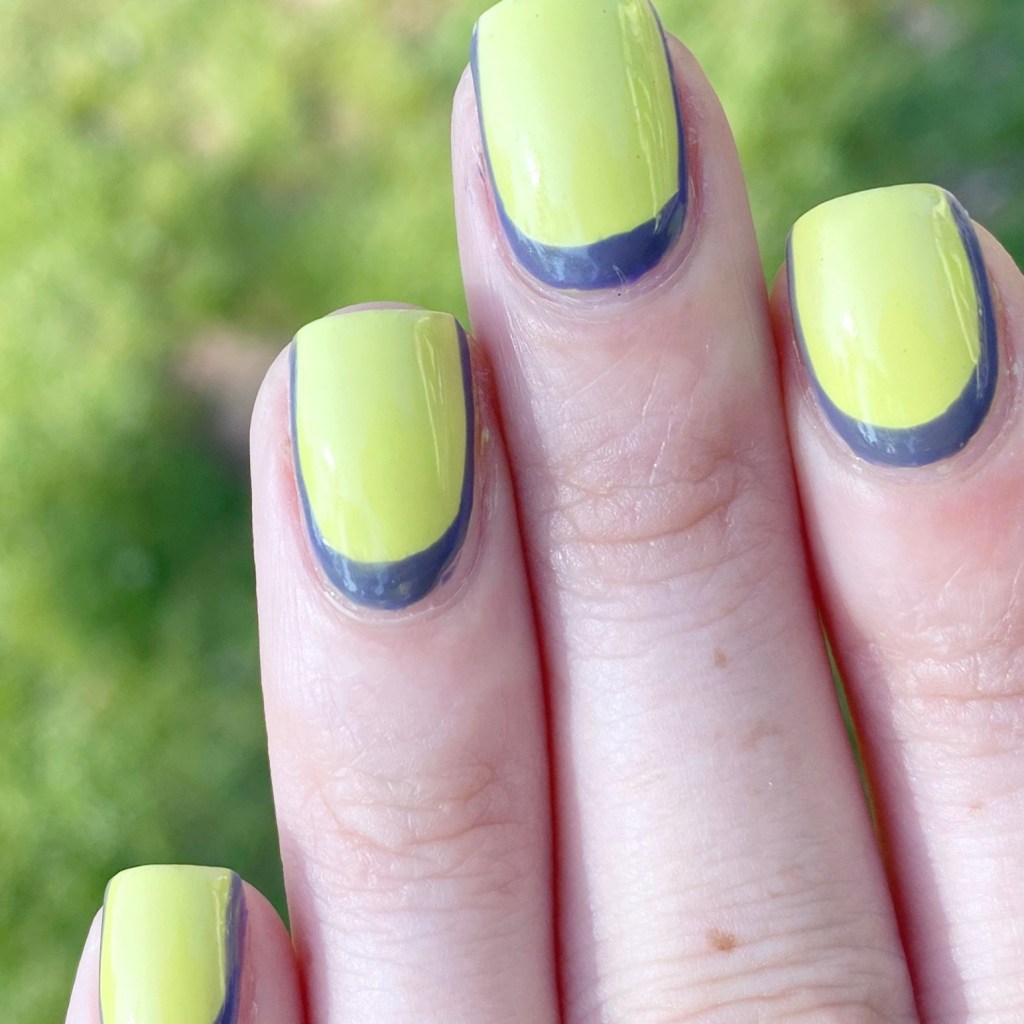
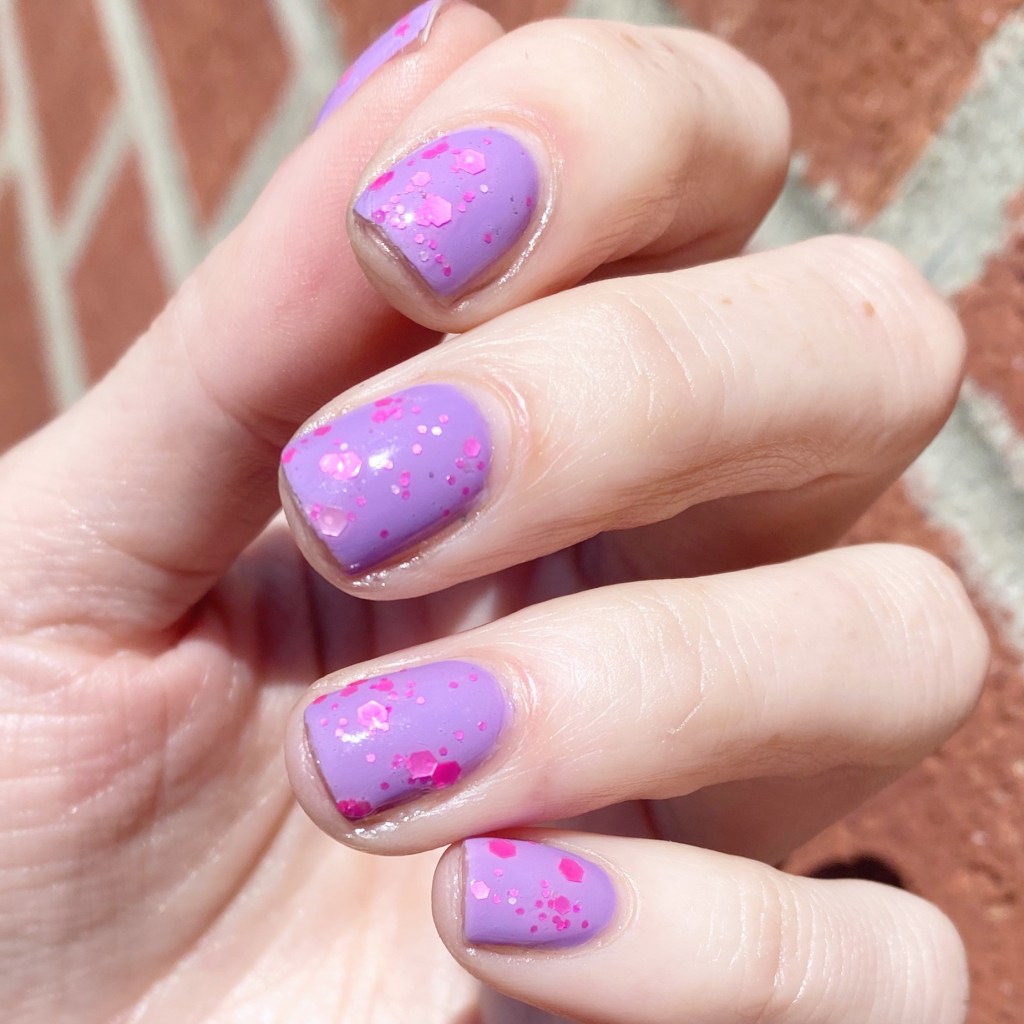
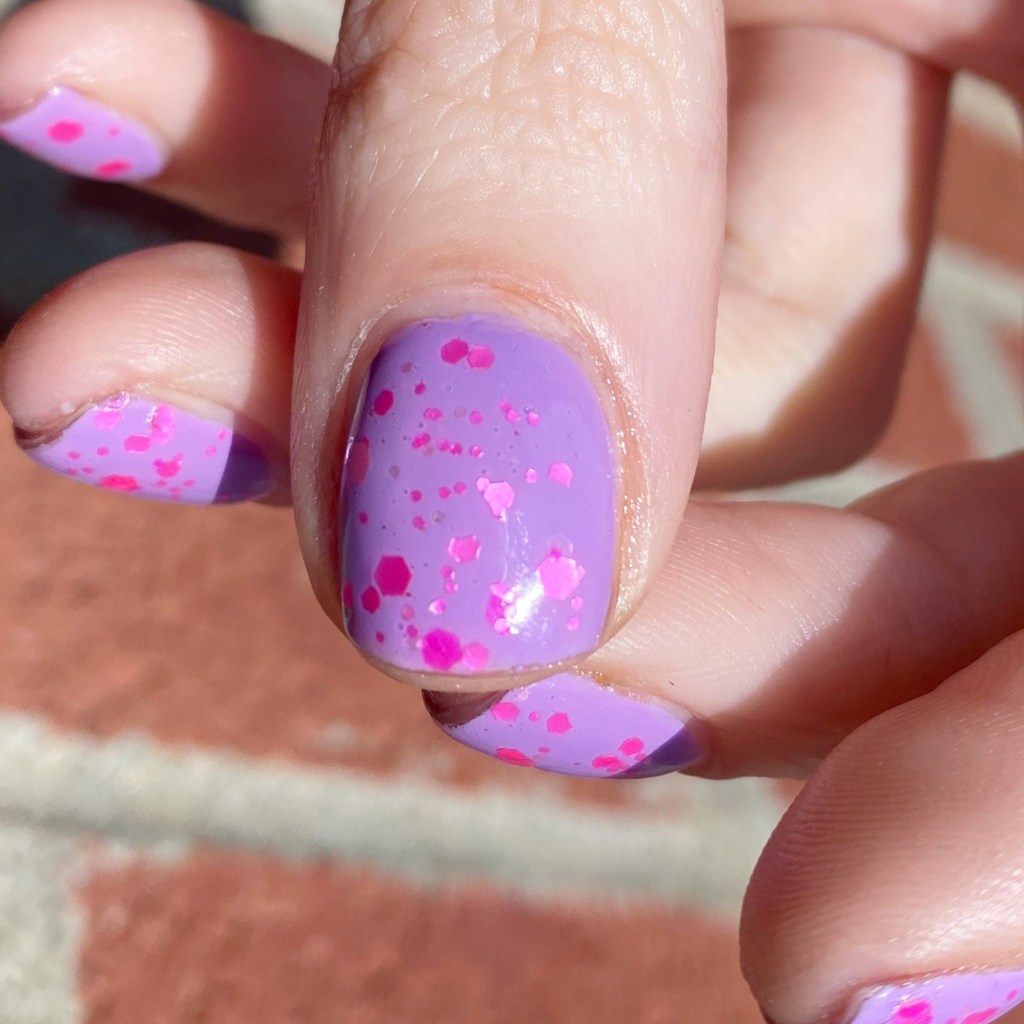
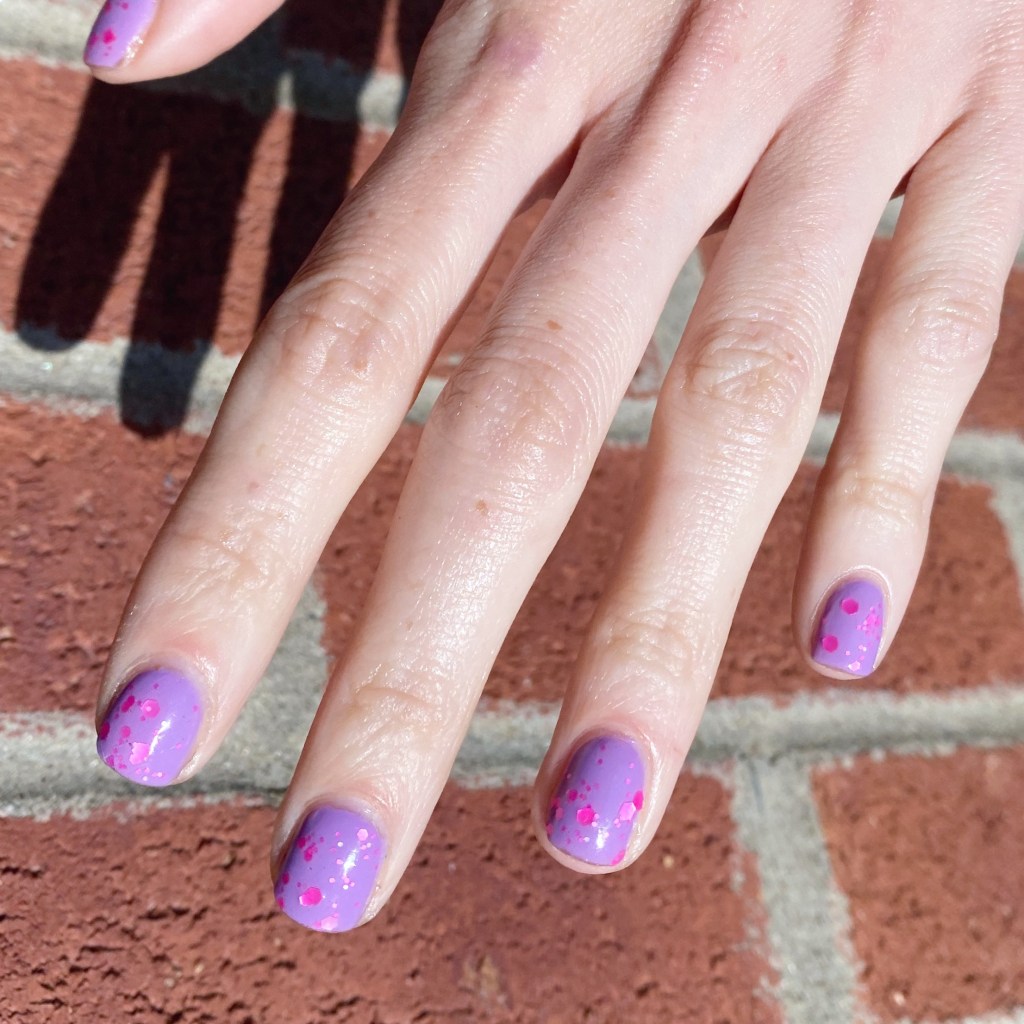
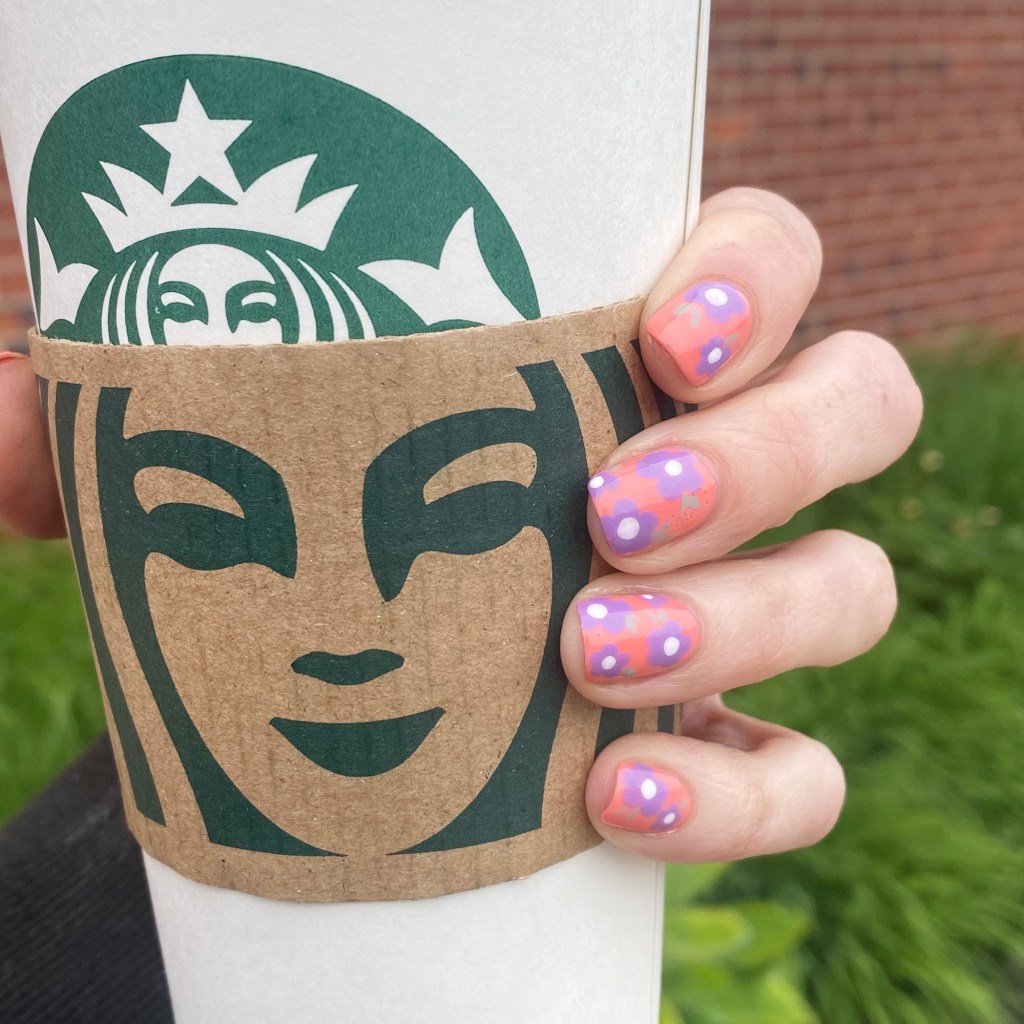
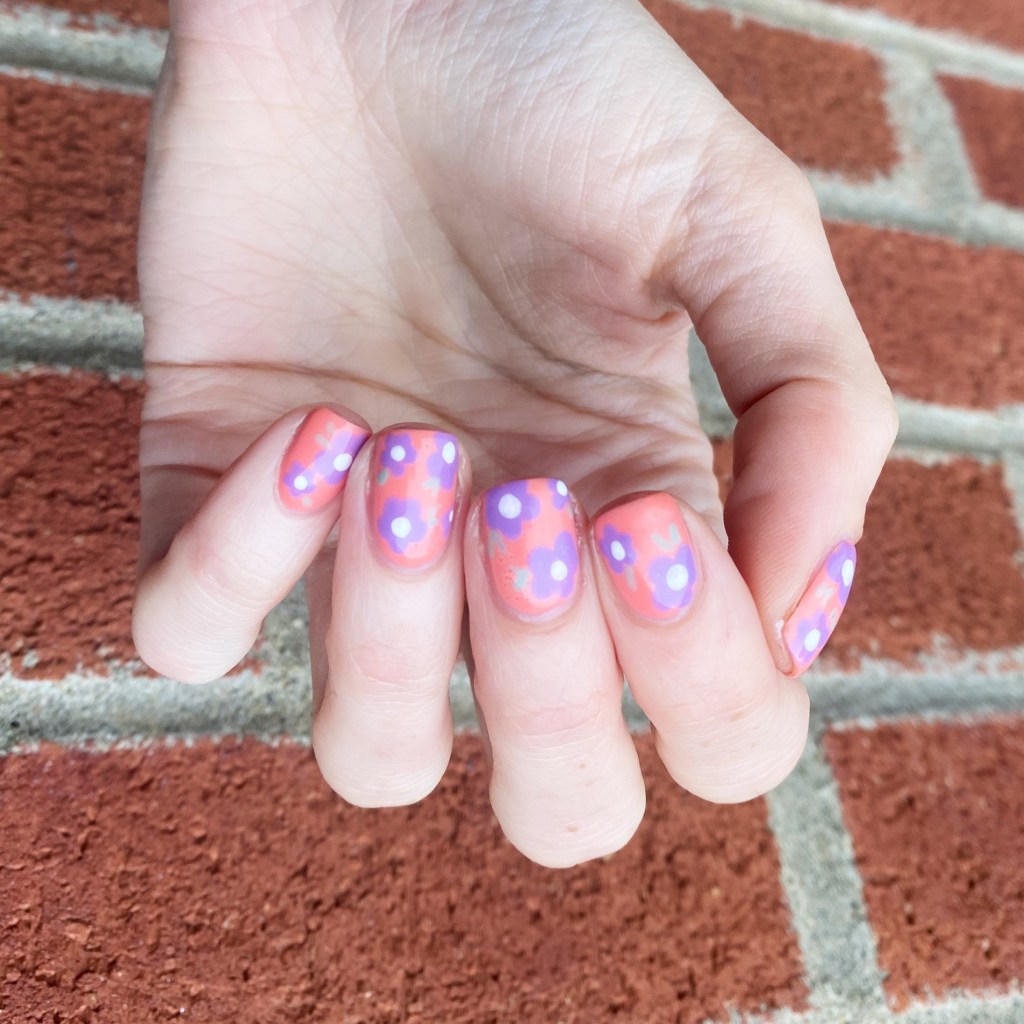
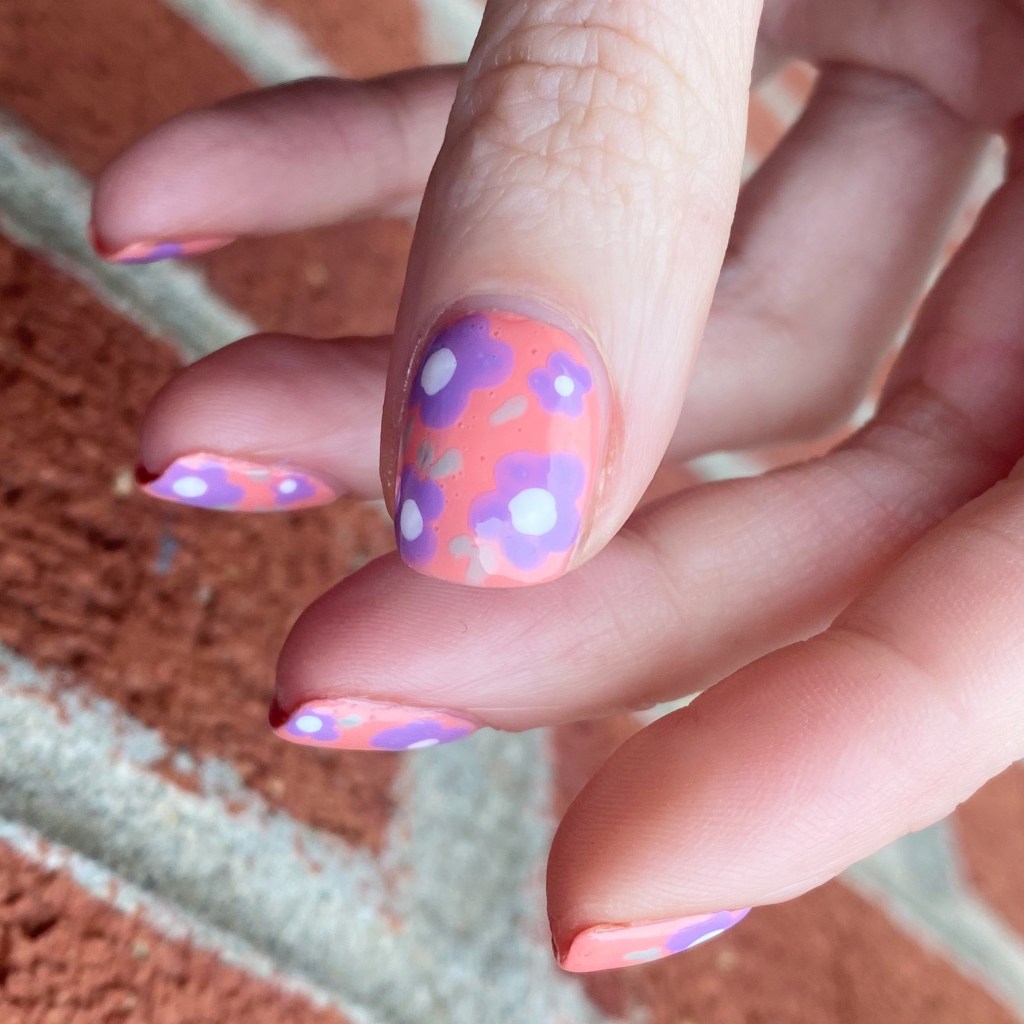
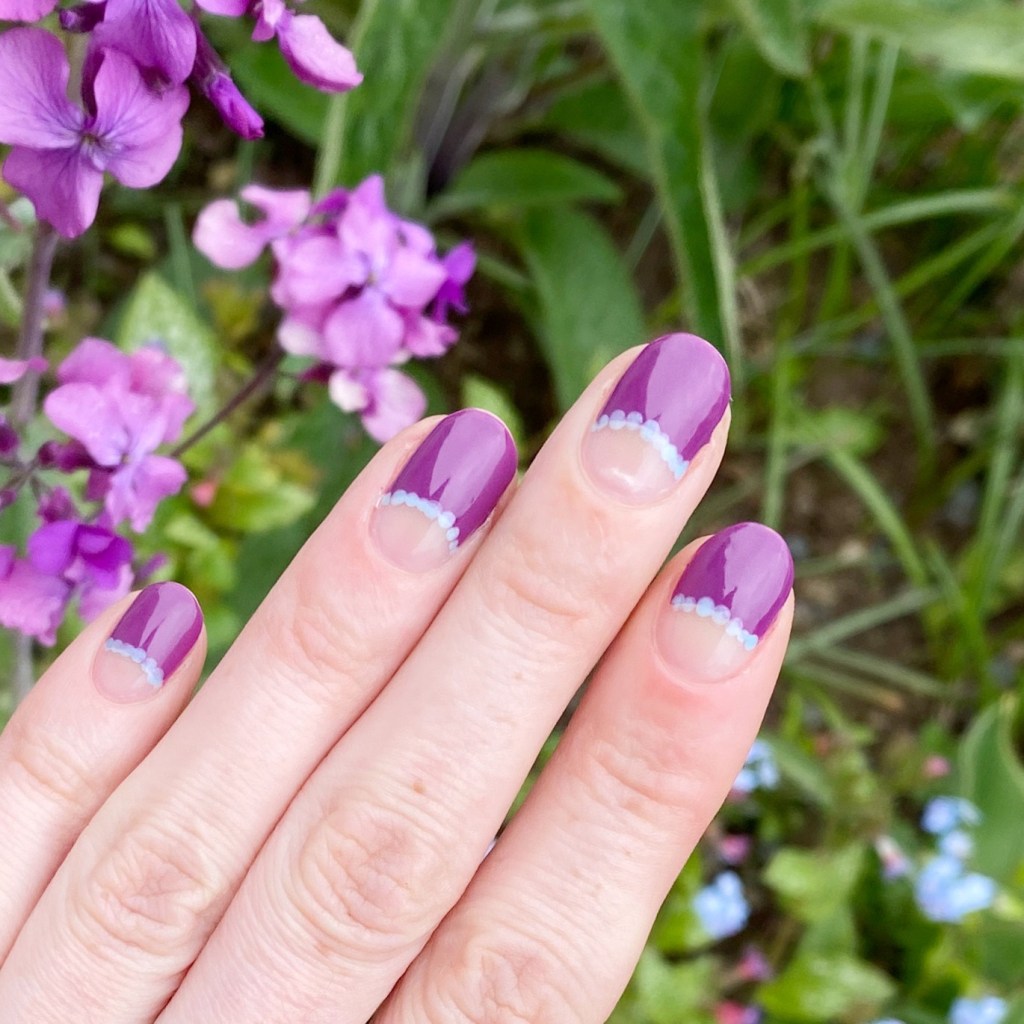
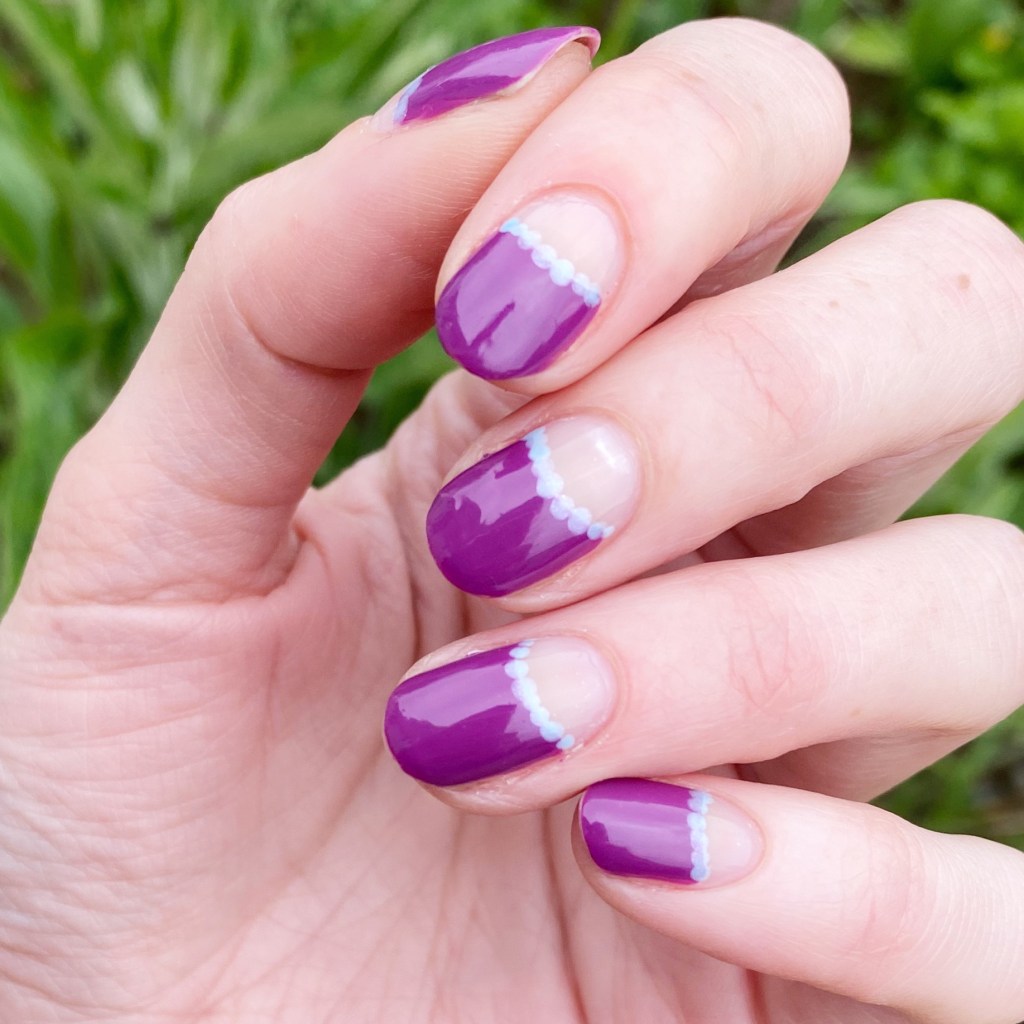
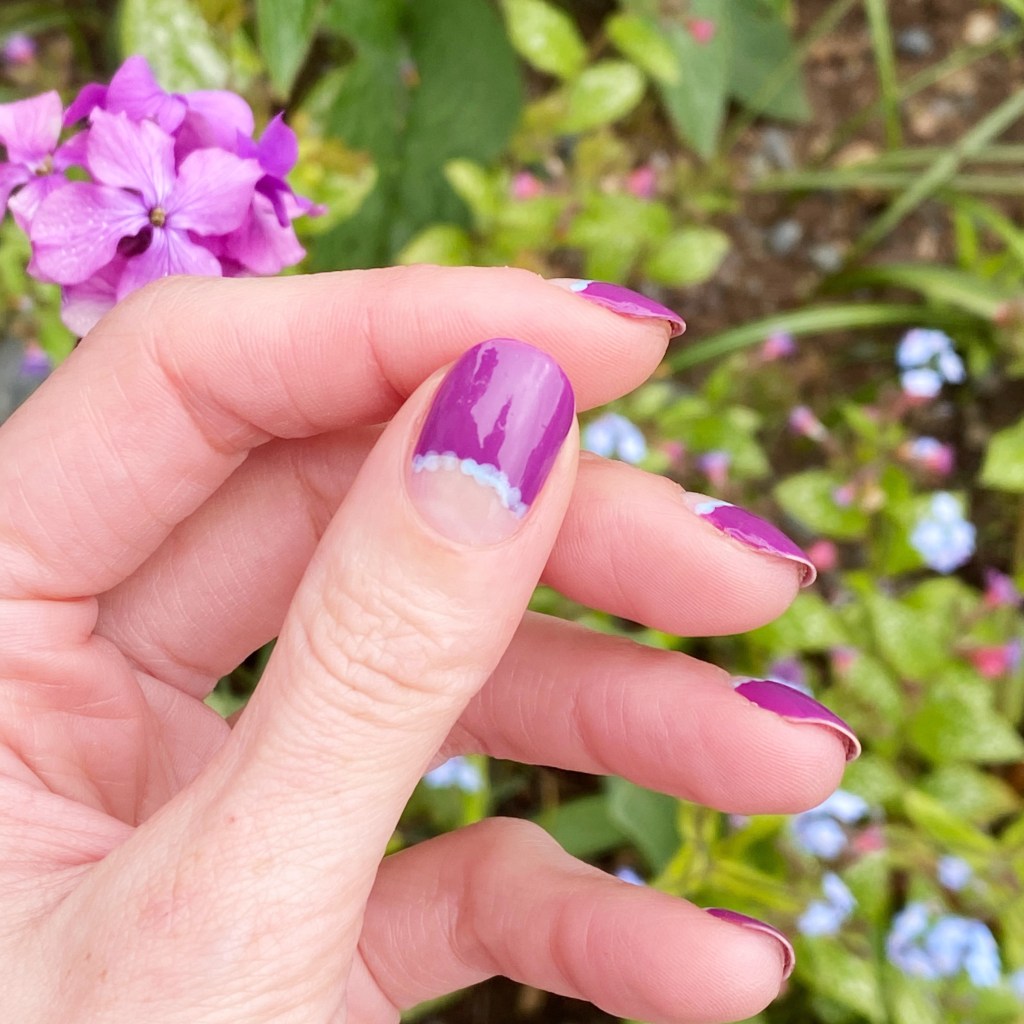
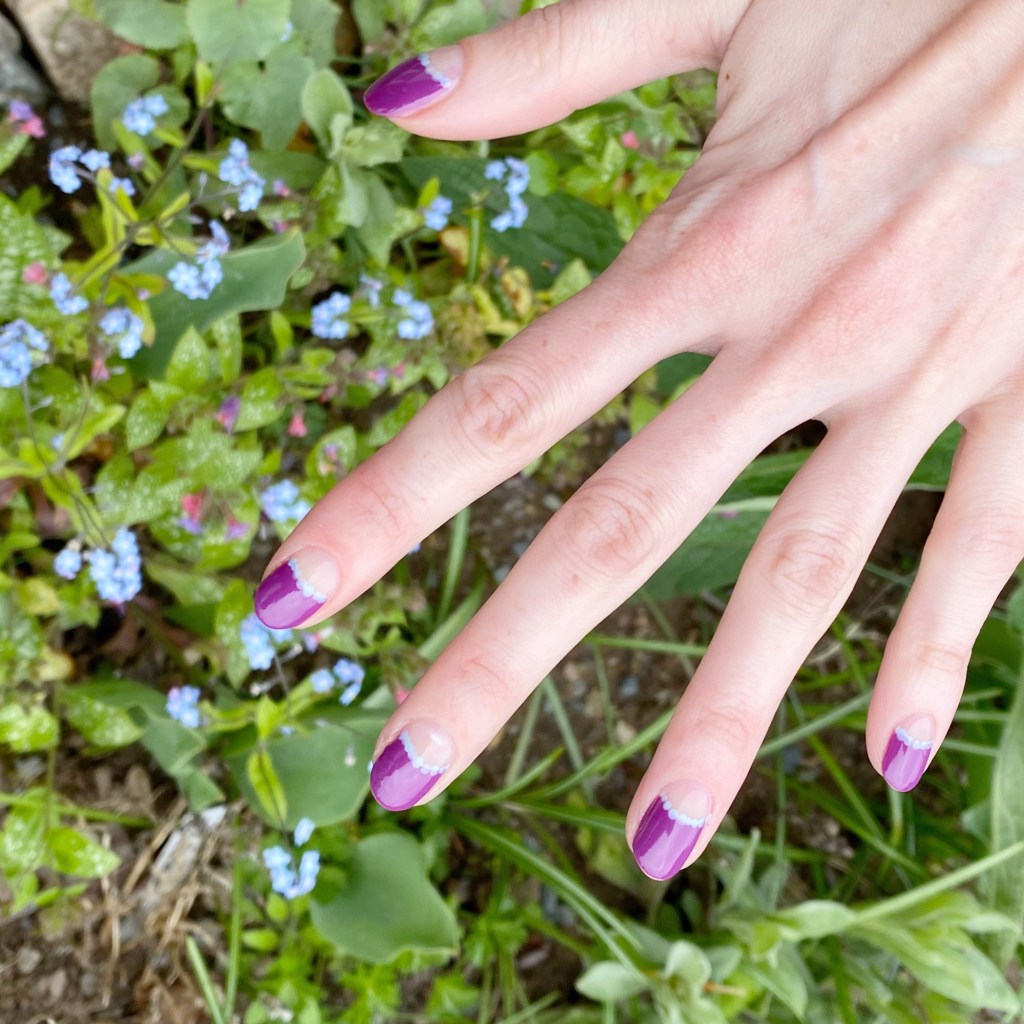
Please excuse my dry cuticles, haha, as I took these photos after reaching our destination & hadn’t had a chance to reach for my cuticle pen. Even still, I think this look is such cute for a vacation mani! The purple of Color Club Passion Flower kind of went a bit grey against Toadally Buggin’ but that’s okay. I really like my little ruffian outlines, & this was the perfect nail art look for vacation.
Bright & colourful, which is just what I wanted!
Are you enjoying your Summer so far? I can’t believe how quickly September is approaching, & back to school. Crazy. & I can’t lie — I have definitely felt myself grabbing a few darker polishes lately without really thinking. I think the Autumn vibes are starting to seep in!
But I promise… I won’t go full Pumpkin Spice quite yet. I’ll still slip in a few Summery shades & manicures before then!
Have a fantastic Wednesday!