Hello lovelies & happy Friday! I hope everyone’s week went went. It’s been a busy one for us. I feel like this whole month is speeding by quickly! It feels like Summer is almost half over; just crazy.
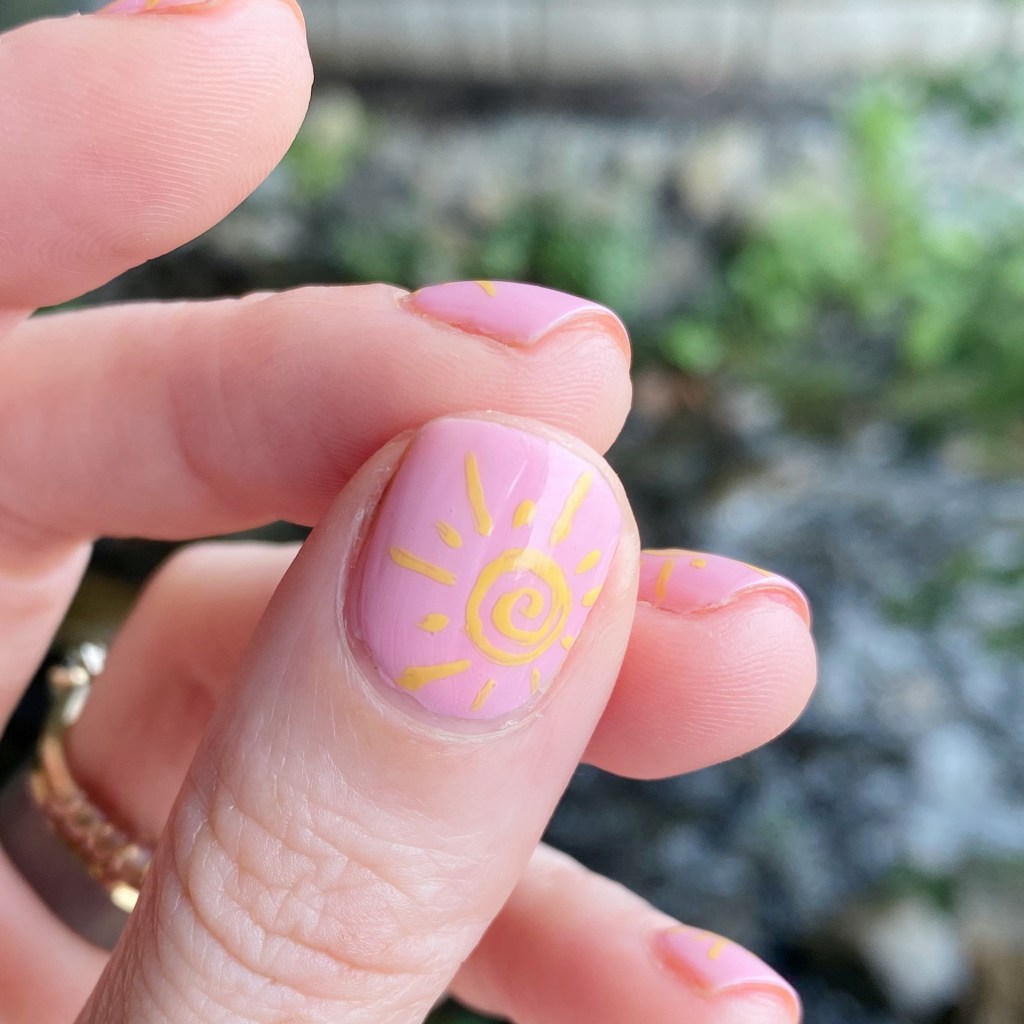
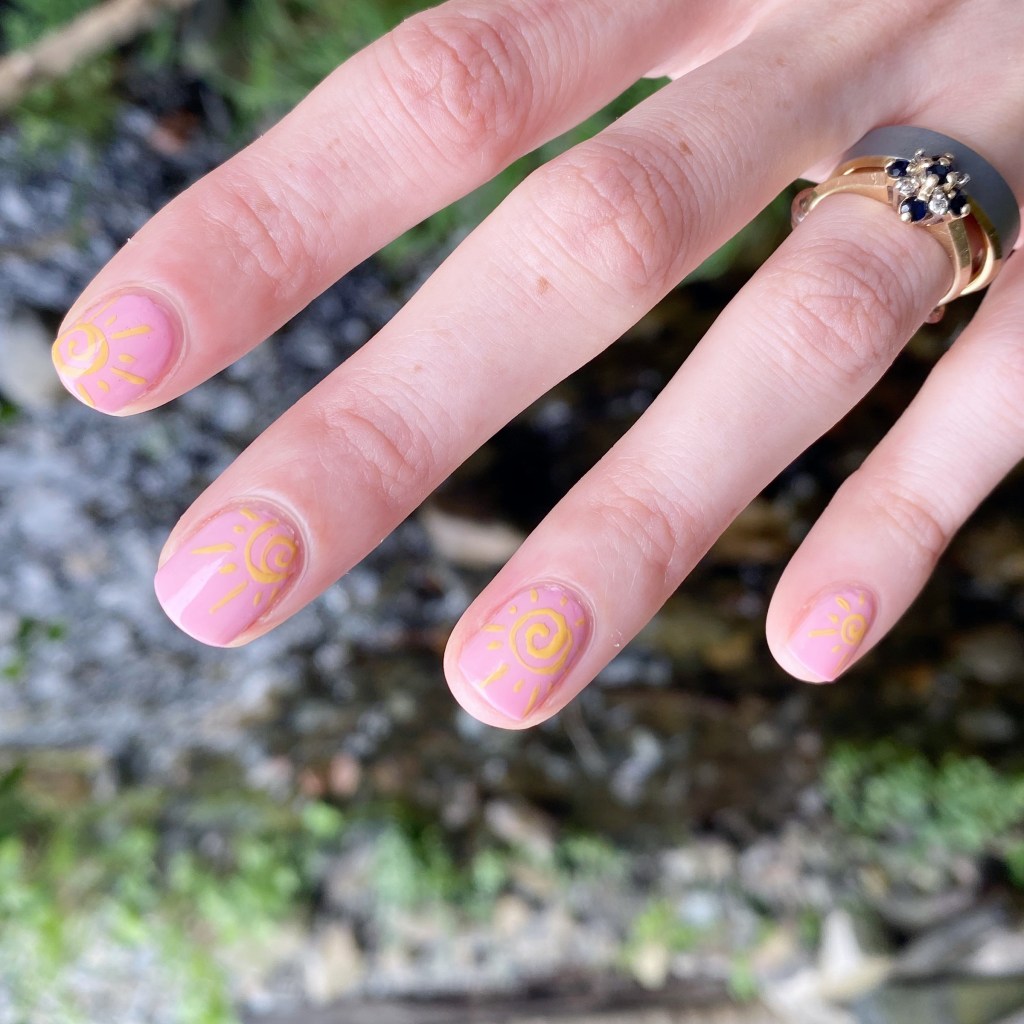
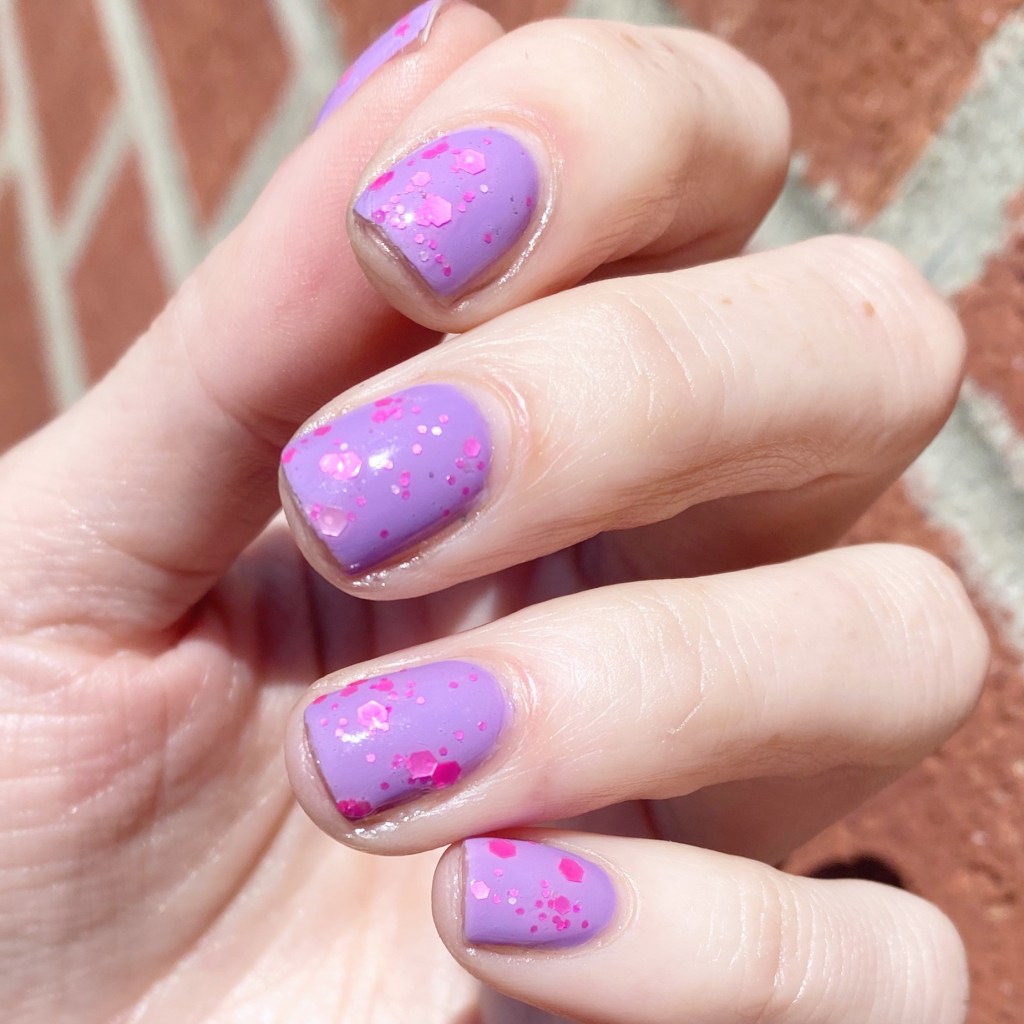
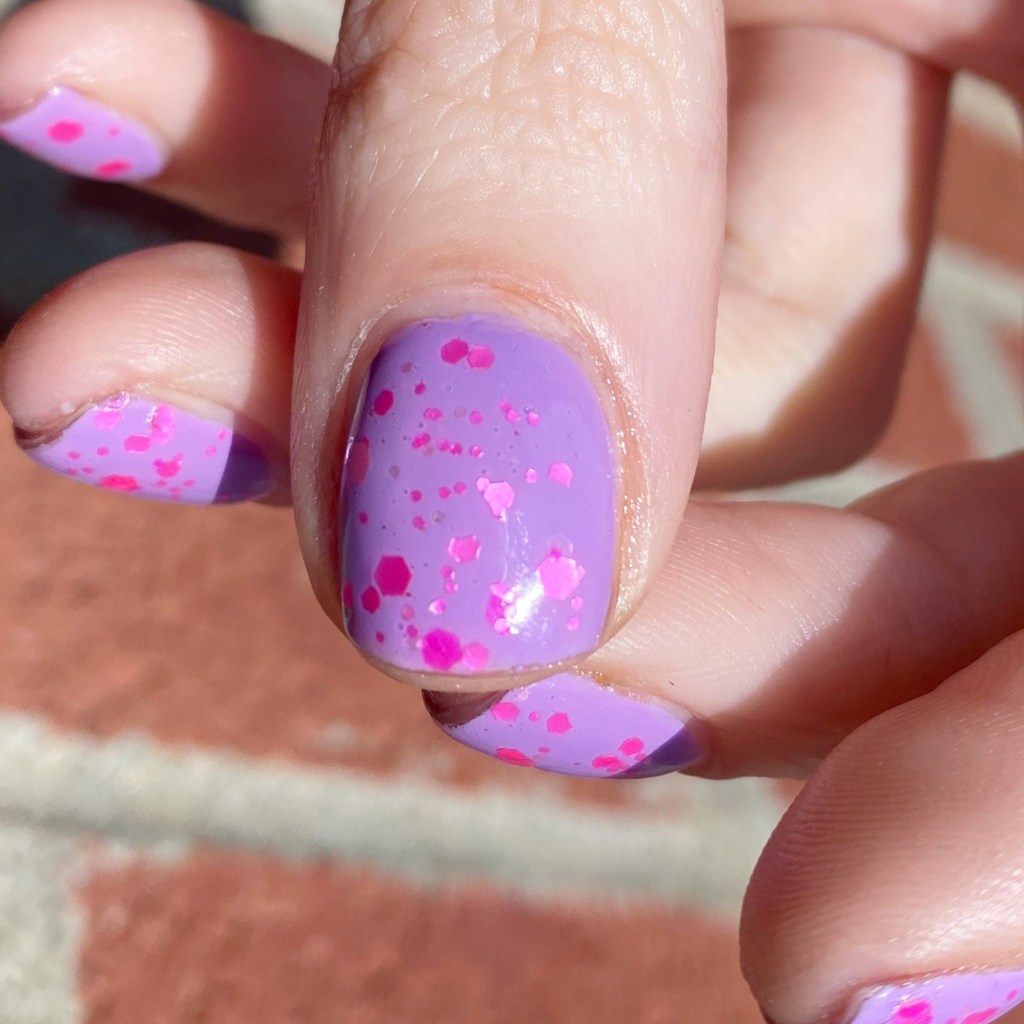
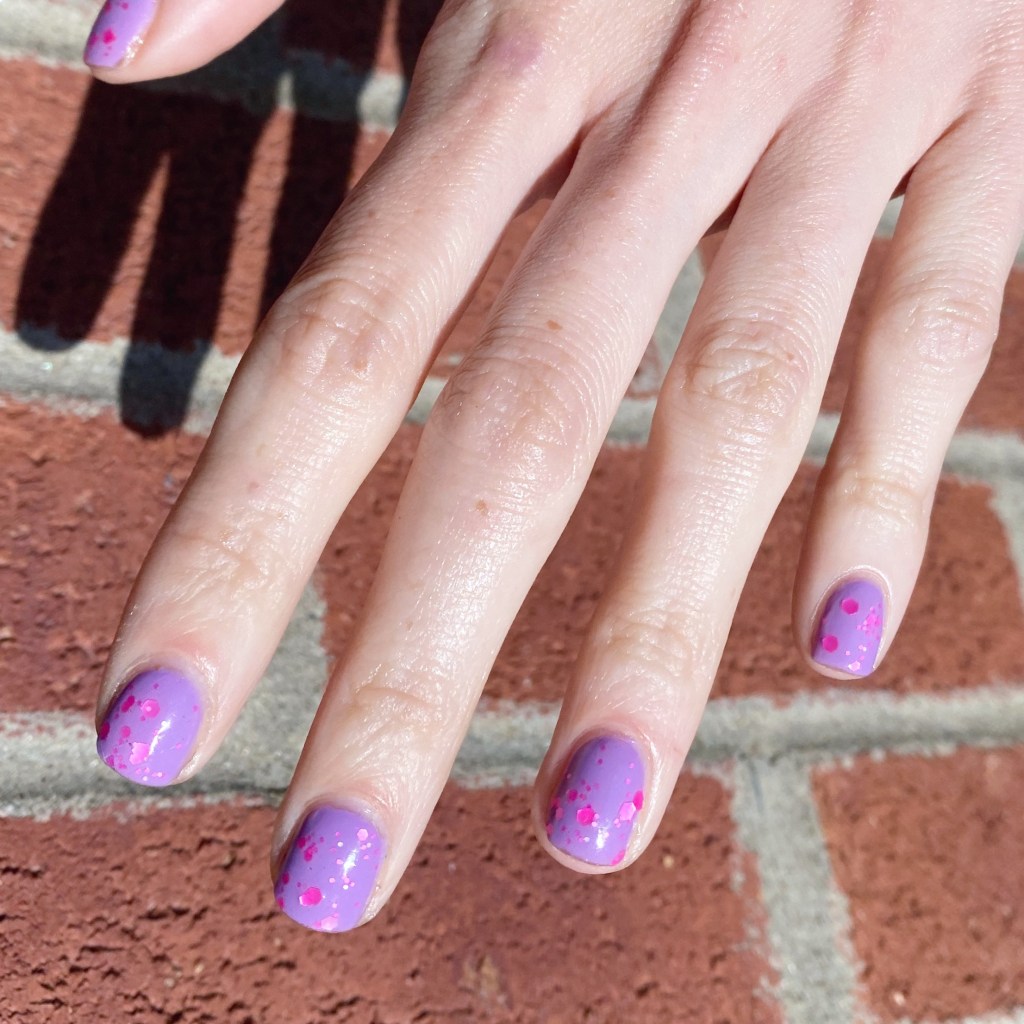
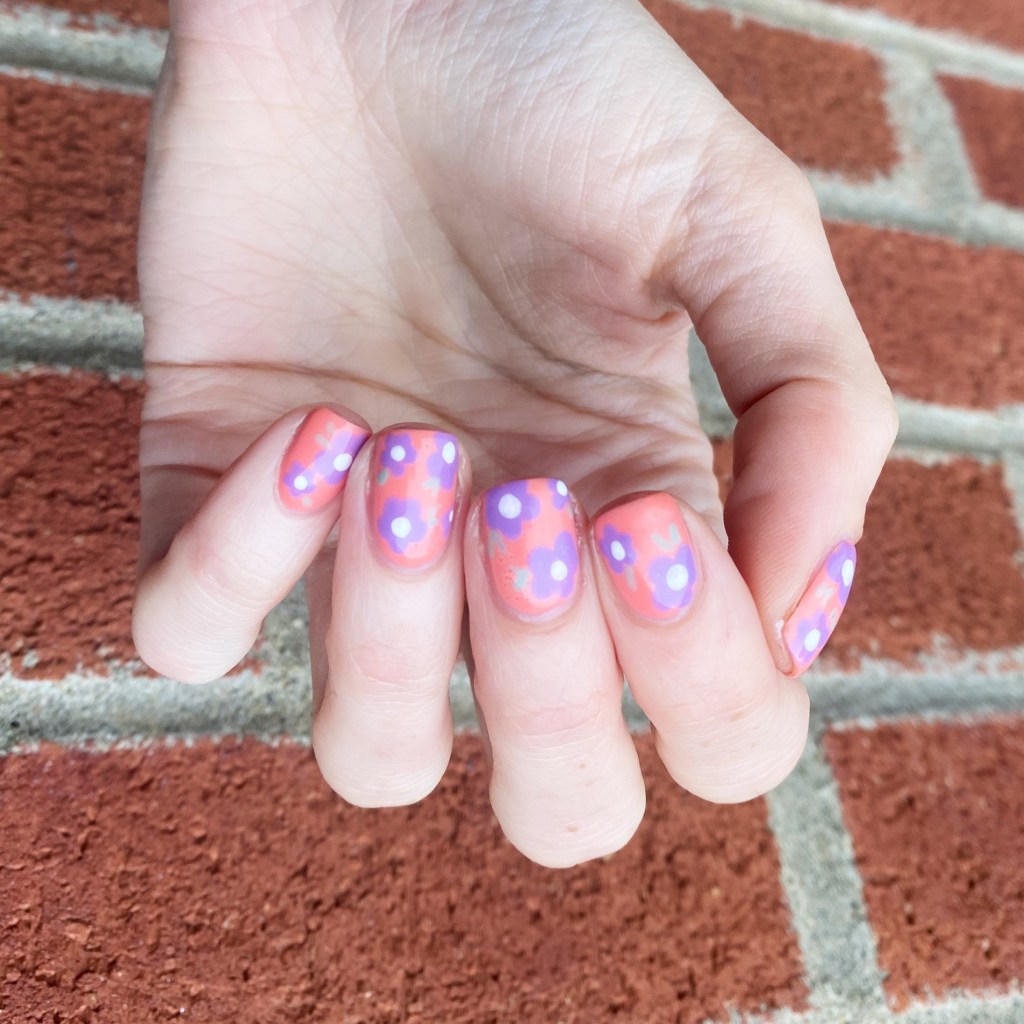
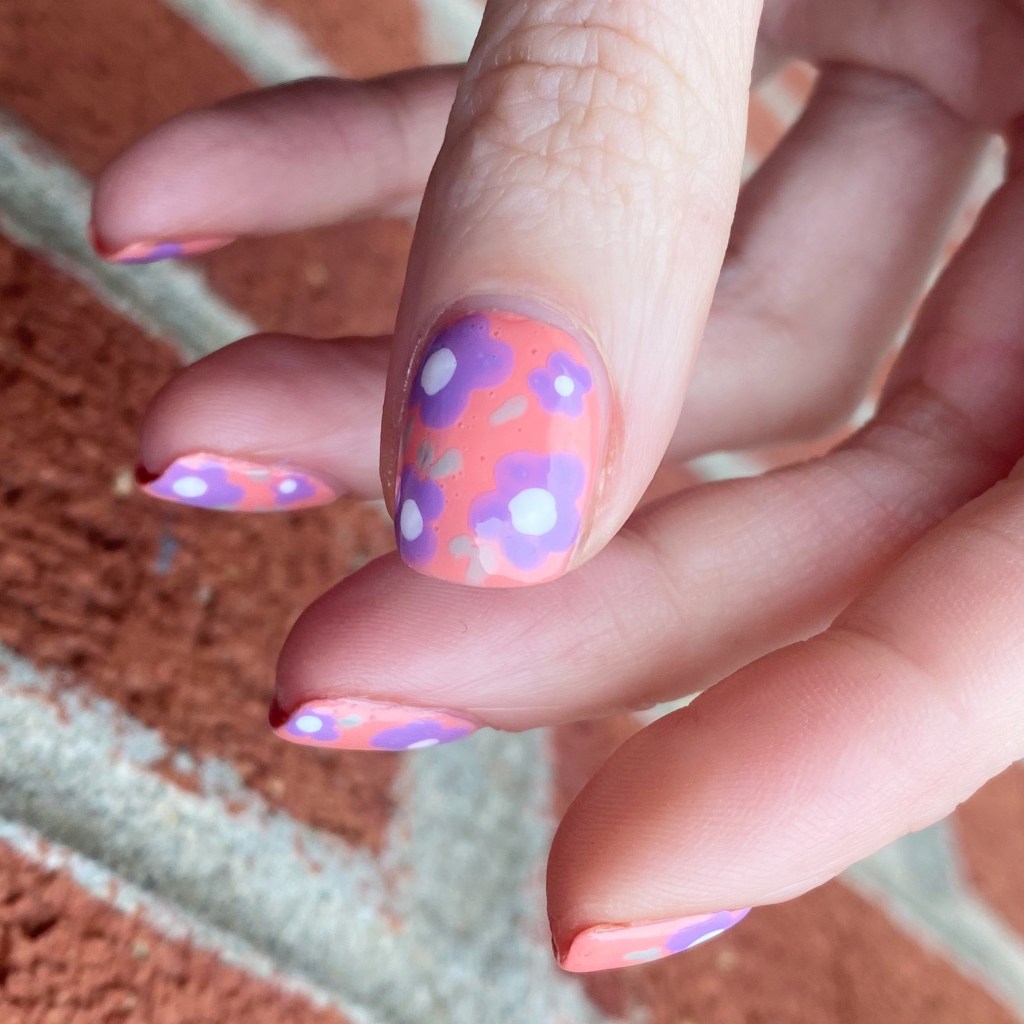
Today I’m pumped to show off a fun new design, just in time for the Barbie movie being released next week. Barbiecore nails have been all over my Instagram & Pinterest, so I needed to try out the theme for myself. I don’t wear all pink nails on their own too, too often, but maybe I should. These nails were very, very fun to wear!

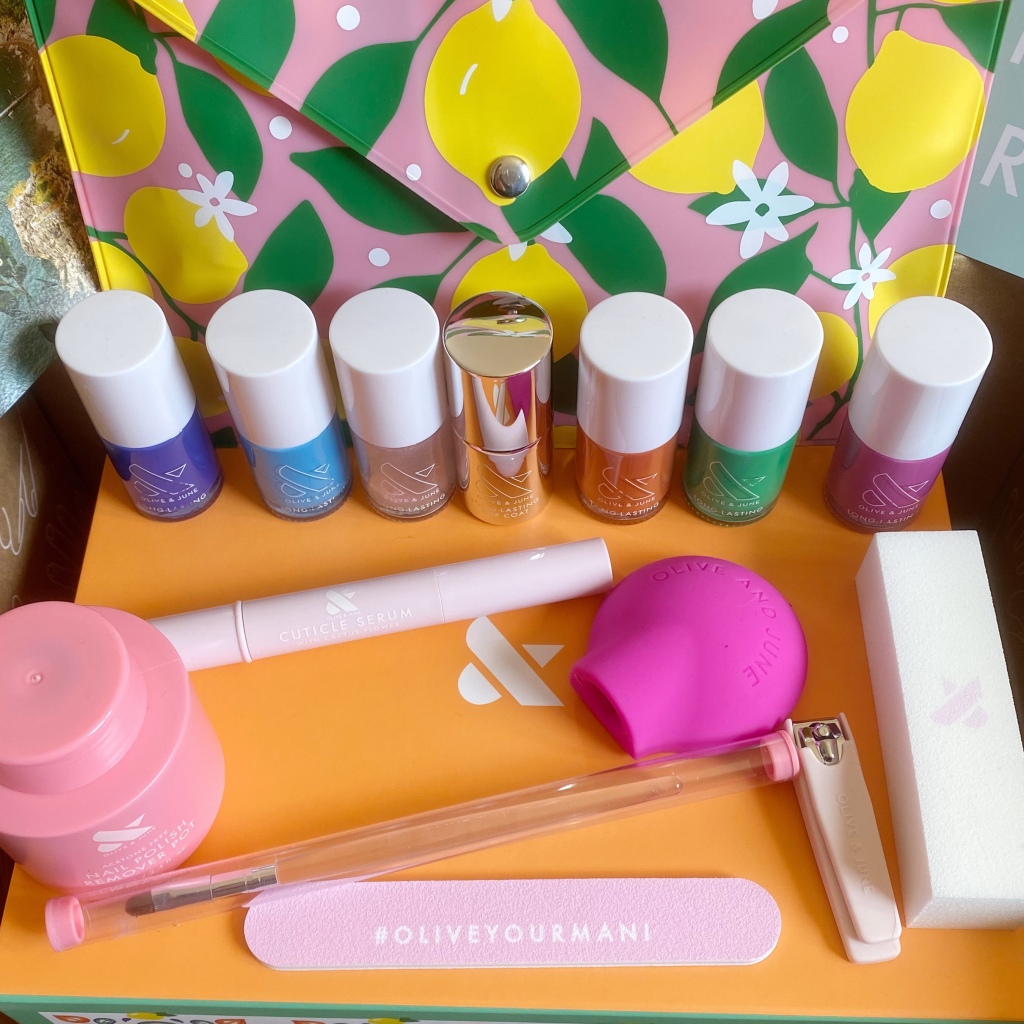
The polishes I used for this manicure are:
- Base Coat: Londontown KUR Nail Hardener & Base Coat
- Top Coat: Olive & June Long Lasting Top Coat
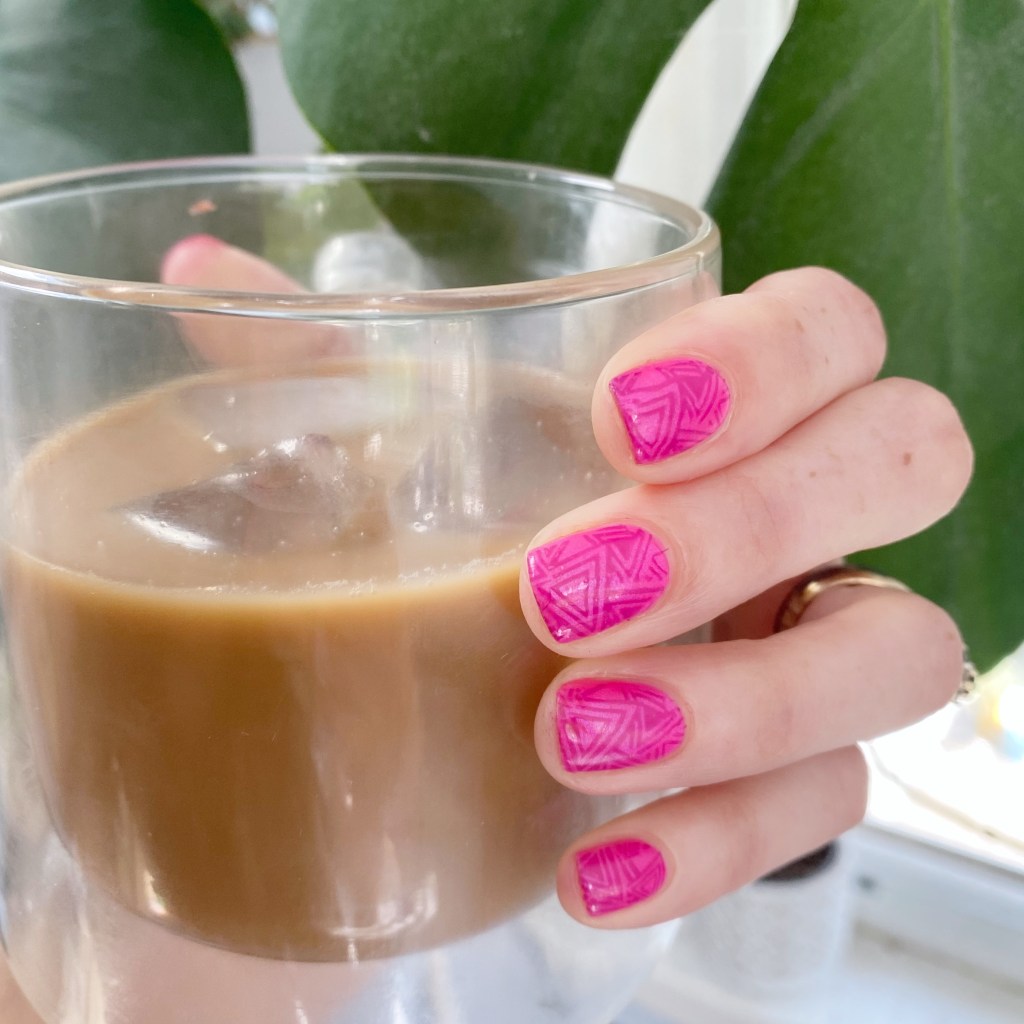
- Sally Hansen Miracle Gel Neons Fuchsia Fever
- Sally Hansen MG Neons Floresc-pink
- Sally Hansen MG Lilac Insomniac
- Born Pretty Stamping Plate — no longer available
- NailStuff.ca Clear Stamper
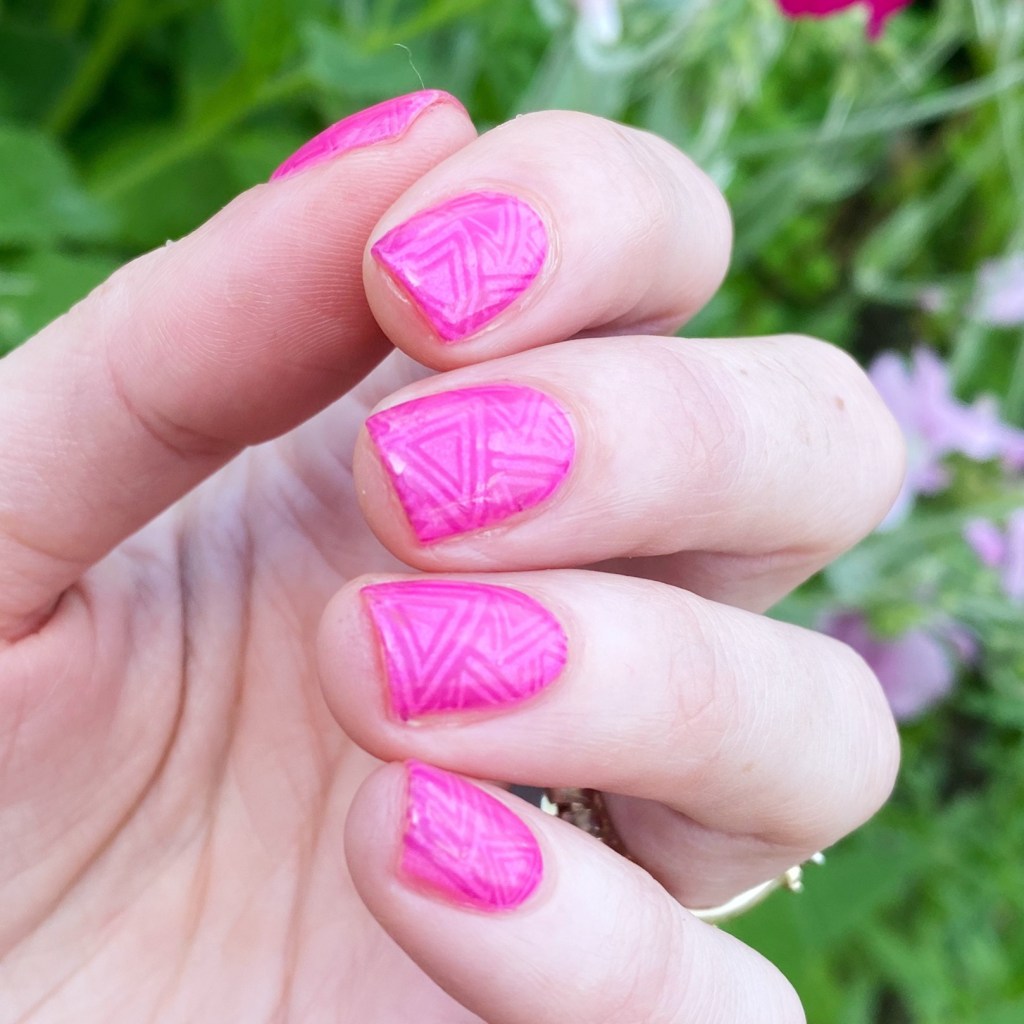

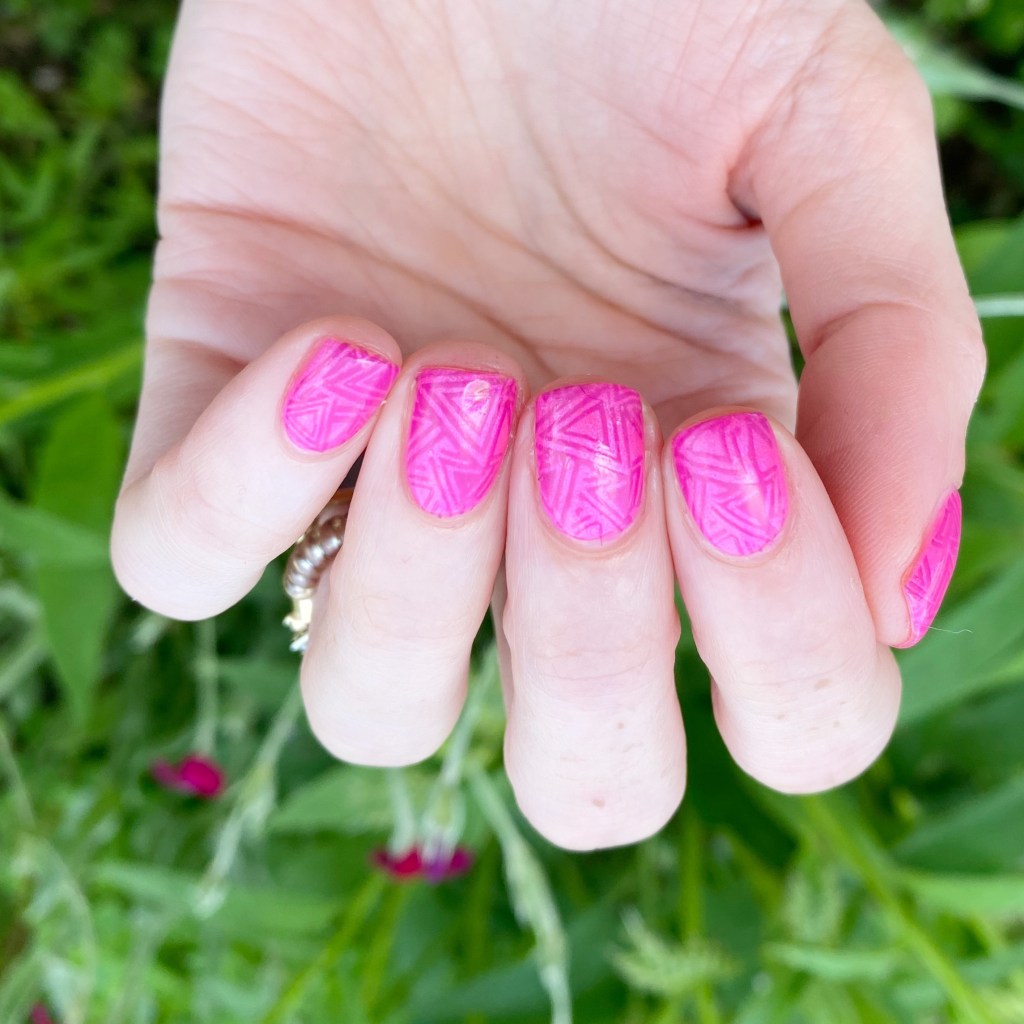
This pattern is reminding me of the dress Totally Hair Barbie wears, which was definitely inspired by Margot Robie’s look on the Barbie promotion tour. I thought the pattern would definitely give off 90s Barbie vibes, which was the look I wanted to portray with this manicure. I wanted you to look at it & your mind just immediately go to Barbie… which I think I managed to accomplish!
Plus it gave me an excuse to pull out some older Sally Hansen Miracle Gel Neons which was great timing because I just received a PR package featuring the Sally Hansen Miracle Gel 90s collection! & I can’t wear to play around with those asap.

What do you think of this Barbiecore nail design? Are you a fan of the current Barbiecore trend? Are you looking forward to seeing the new movie?
Let me know all your thoughts down in the comments below.
Happy Friday loves!