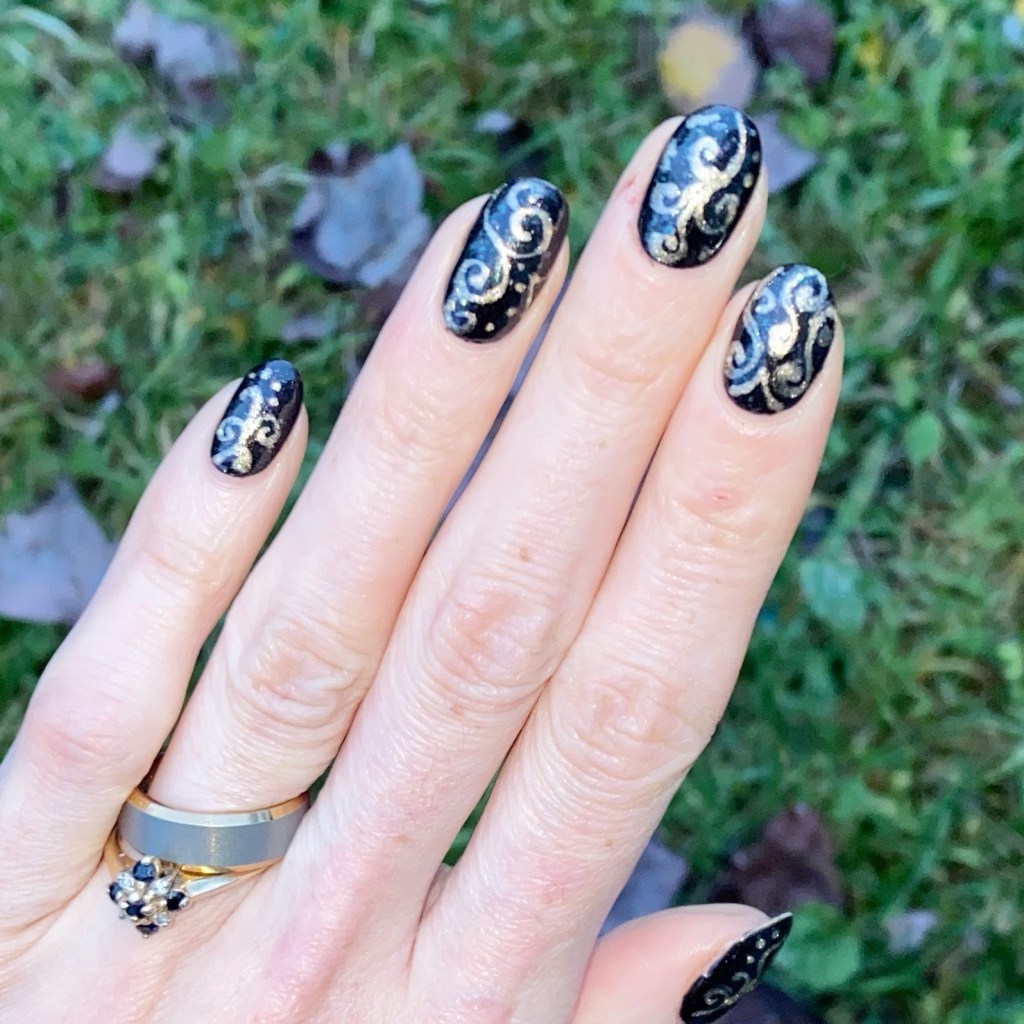
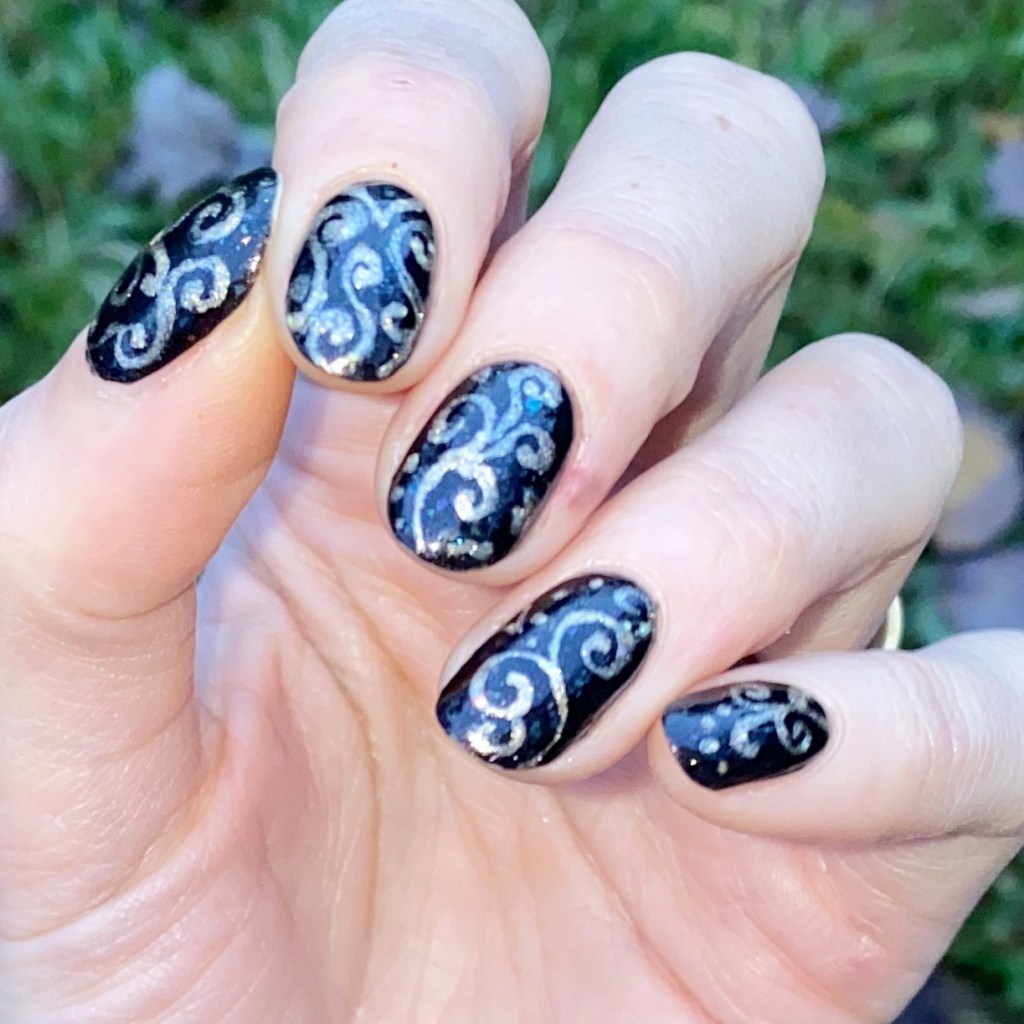
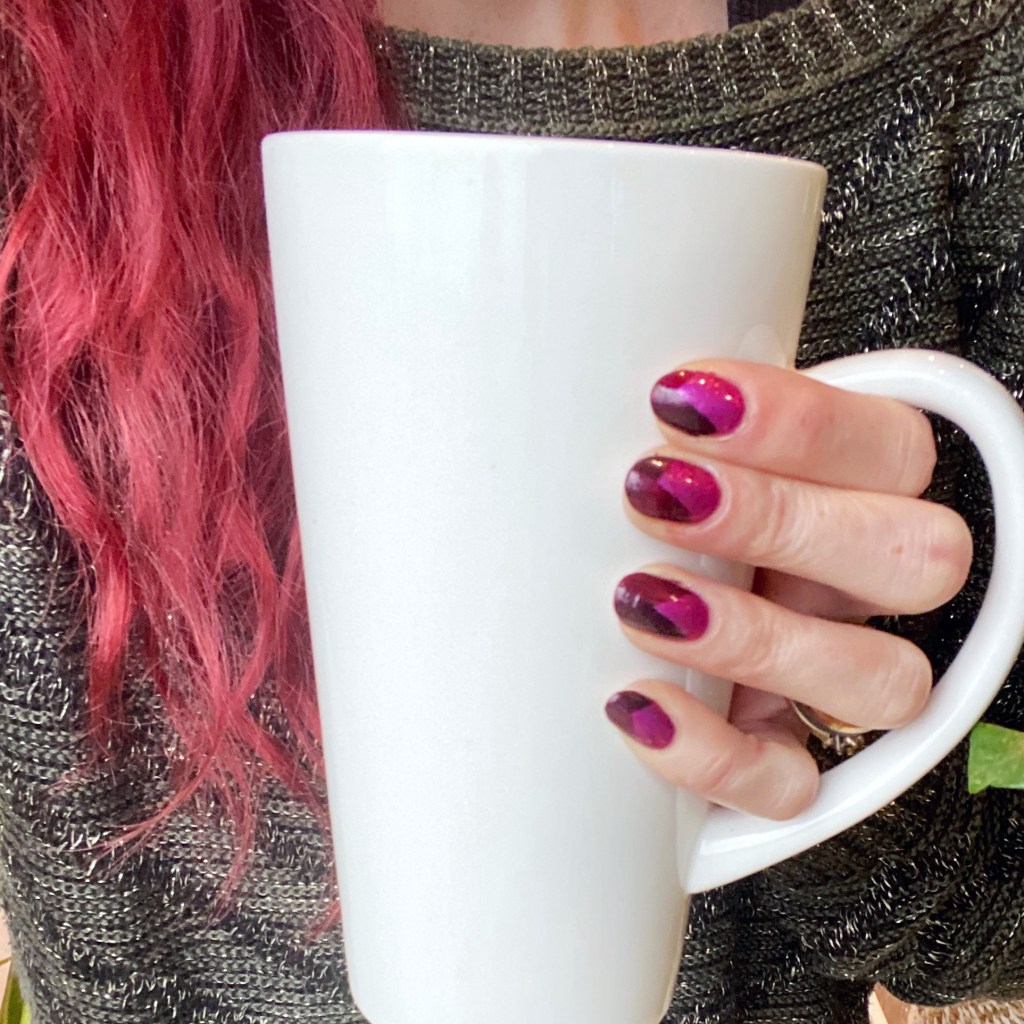
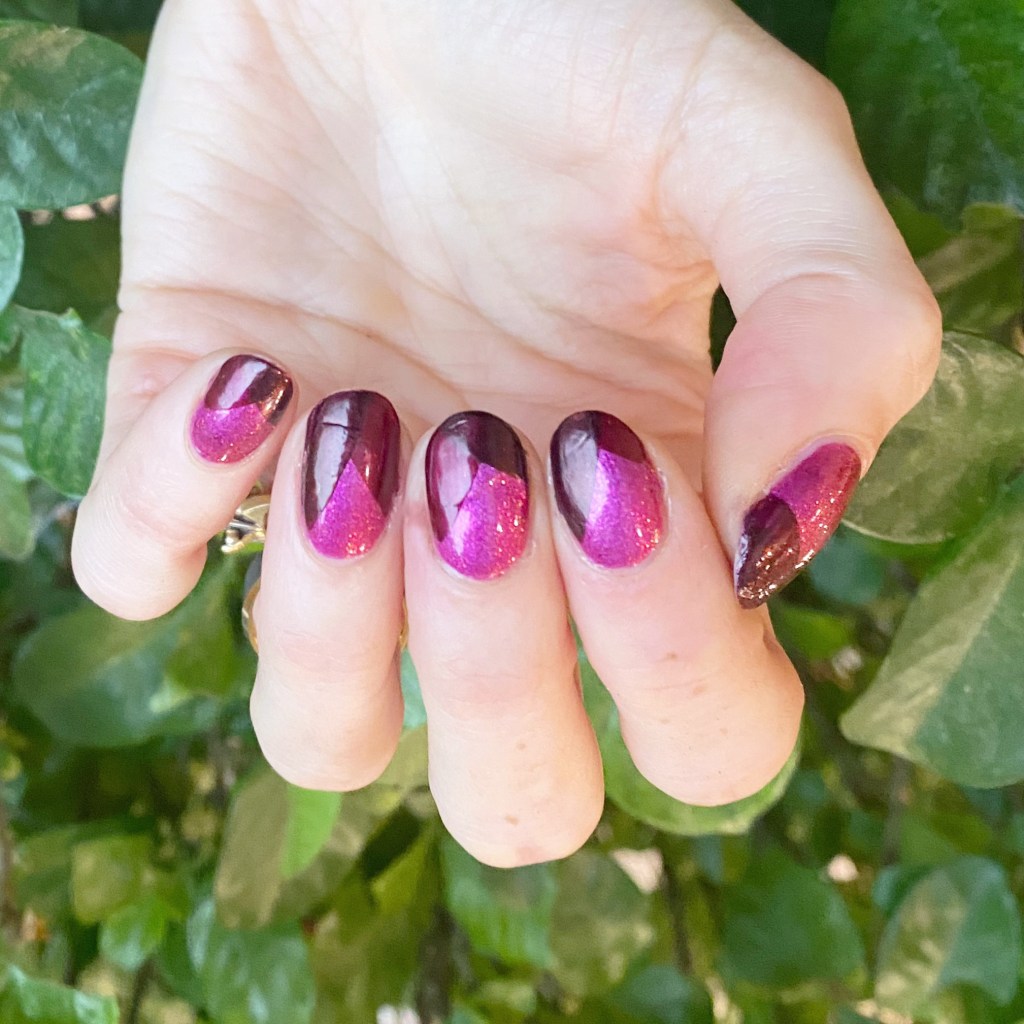
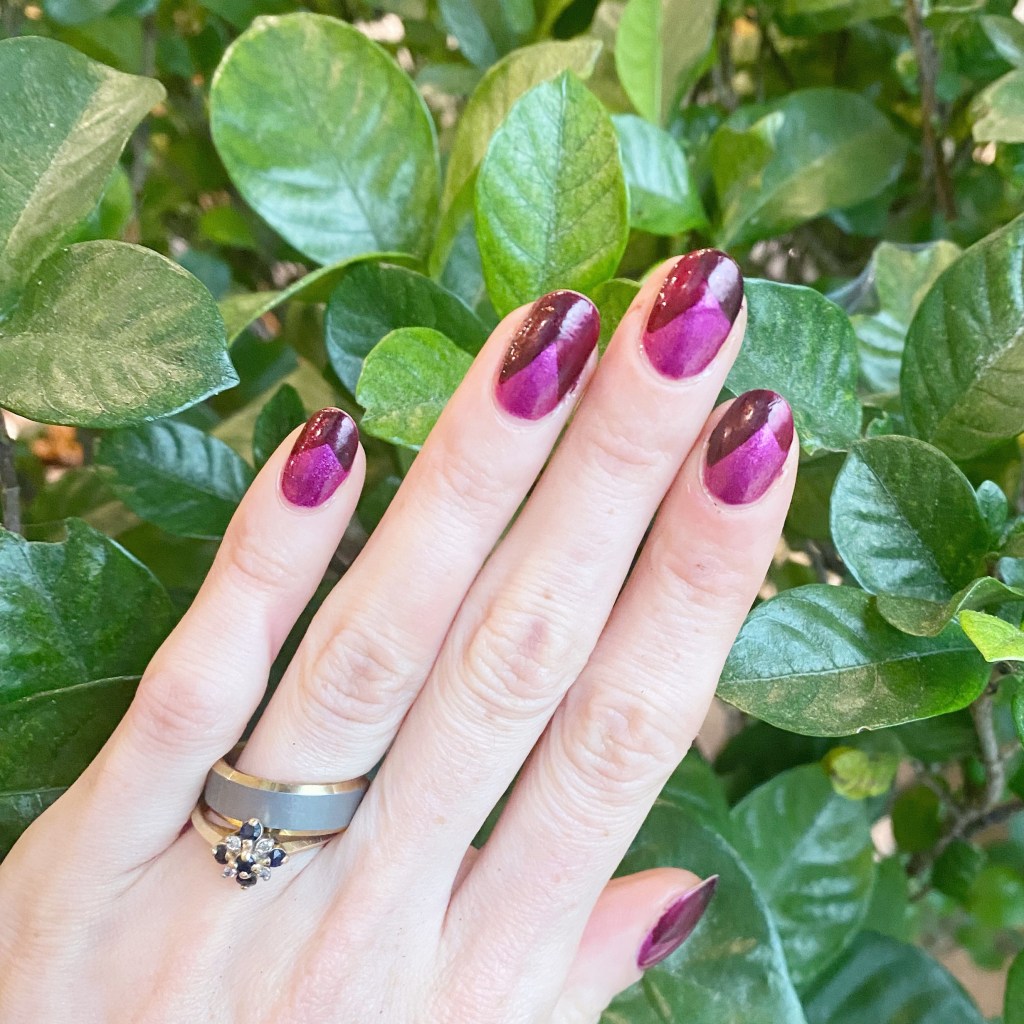
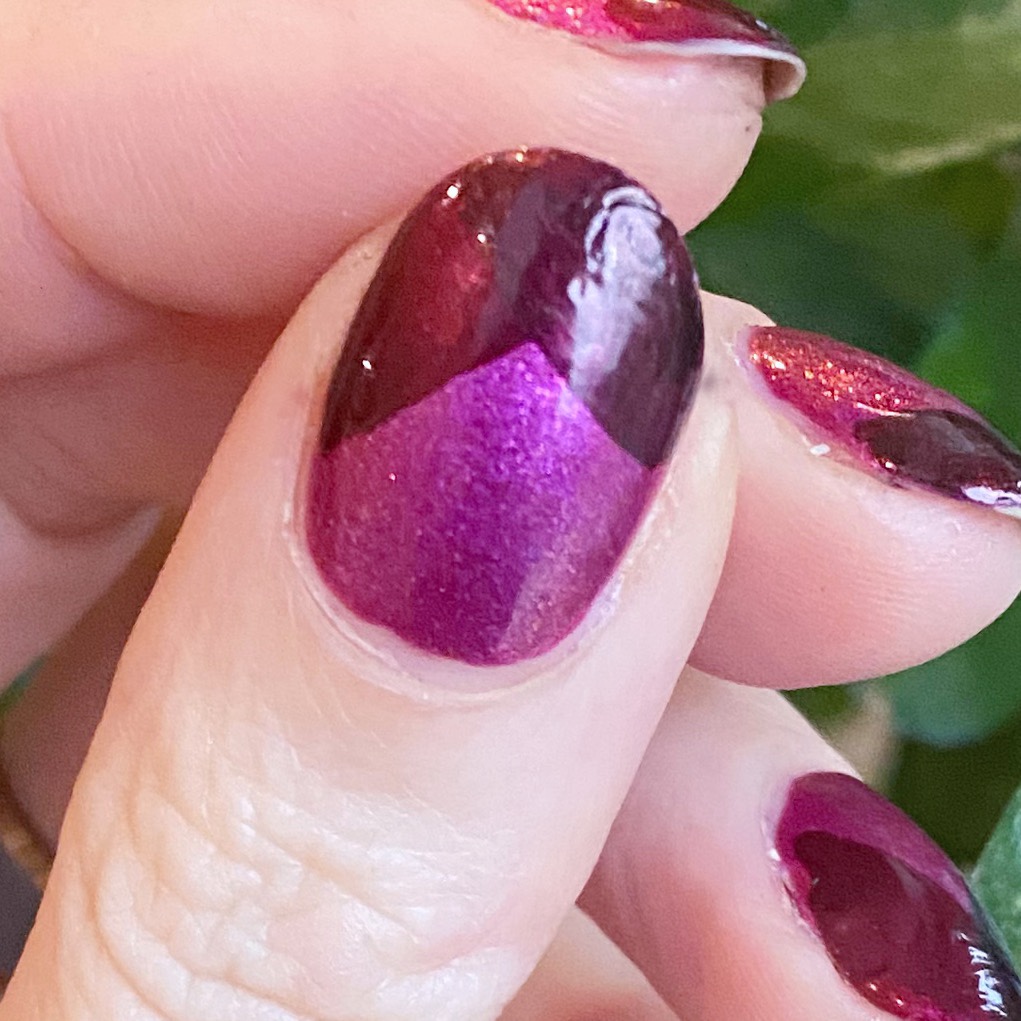
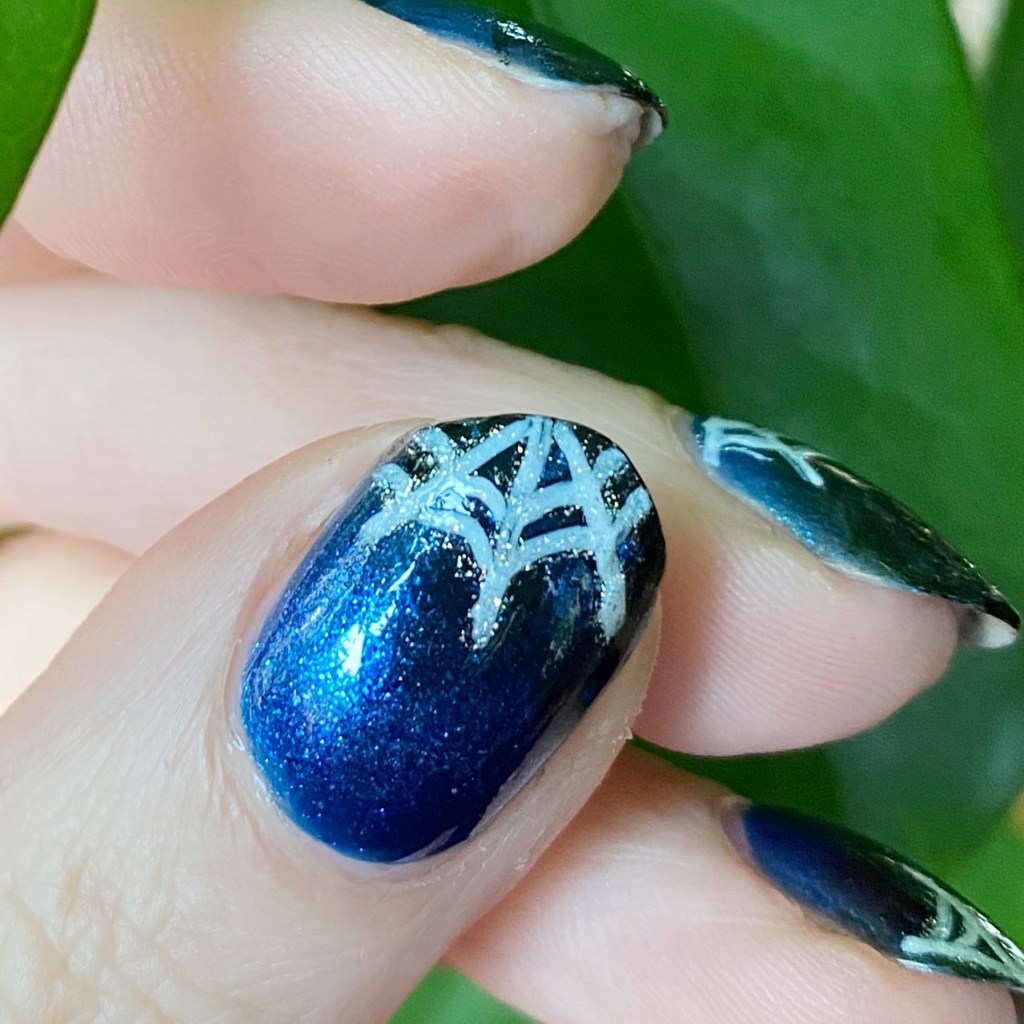
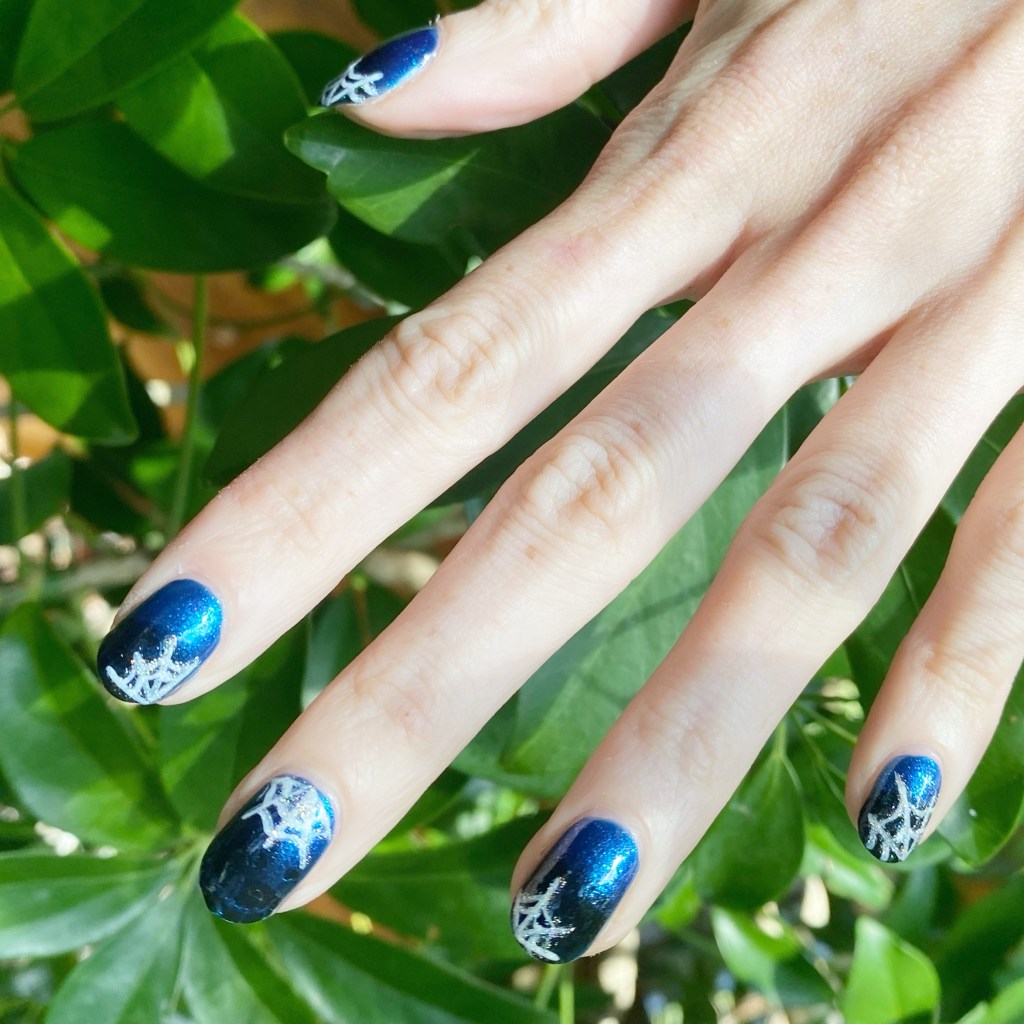
Purple Broken Glass Glitter Placement

Good morning lovelies — happy Friday & Happy July! Can you believe June is already over? How crazy is that. Of course, we’re starting off July foggy & lame. So much for Summer days. So I feel like this manicure is definitely matching the vibe.

June saw a lot of things, including quite the break on my ring finger, which is why I didn’t do a lot of nail art. But I did return to an old favourite design during that growing out period, & it made me realize I (still) need to get more shattered glitters for nail art, to add to my stash.

The polishes I used for this manicure are: 

  • Top Coat: Essie Gel Setter Top Coat 
  • Base Coat: China Glaze Calcium Gel Fortifier
  • OPI In The Moon For Love
  • OPI Infrared-y to Glow
  • Small dotting tool (NailStuff.ca Dotting Tool Trio)

This design has been a go to favourite over here for a long, long time. & I’m always happy to return to them, even if I’m not finding nail polish brands making the kind of shattered glitter toppers like they used to. I mean, I could use loose glitters, but have you met me? I’m a clumsy person, & it usually results in a mess. Haha.

What do you think about this design? Are you a fan of glitter placement designs? Which glitter shade is your favourite for a design like this? Let me know all your thoughts down in the comments below!

& happy Friday.

🖤

Pretty Floral Bouquet Nails

Hello lovelies & happy Wednesday! I hope everyone is enjoying their week so far — & if things are feeling rough right now, I hope at least you have a little bit of calm in your life to sooth those moments.

Today I’m excited to share off some pretty floral nails I did recently. After a bit of a nail art hiatus, I’m feeling good again about painting my nails — even if 95% of the nail I’ve been doing has been hand painted florals. Floral just makes me happy, so I’m going to keep wearing it.

Today’s look is especially pretty because I painted it over another beautiful holographic base shade. When the sun is shining, that just calls for all the holo!

The polishes I used for this manicure are: 

  • Top Coat: Essie Gel Couture Top Coat 
  • Base Coat: China Glaze Calcium Gel Fortifier
  • Sally Hansen InstaDri Euphoric
  • NailStuff.ca Holo Top Coat*
  • Color Club Pucci-licious
  • Butter London Coming Up Roses*
  • Essie Swoon in the Lagoon
  • Essie Set in Sandstone*
  • Essie Cute As A Button
  • Essie Wind in the Willow *
  • Essie Off Tropic *
  • Nailstuff.ca Mermaid Tail 7mm liner brush
  • NailStuff.ca Dotting Tool 

*pr/gifted

These were a bit time consuming to paint, but the end result was totally worth it. I absolutely love the bright floral over the super shiny holographic base. It was exactly how I was hoping it would turn out, & I couldn’t be happier with it.

I just love floral nails so much.

What do you think of this beautiful floral bouquet nails? Do you think it looks pretty over such a holographic base? Let me know all your thoughts down in the comments below, & if you’re enjoying all the floral nails I’ve been sharing.

Happy Wednesday

♥︎

Happy Birthday Nails for @Brydiedoesnails

Hello lovelies & happy Saturday! Is everyone excited for Easter this weekend?

Usually I don’t post on Saturdays, but today I’m taking part in a very special birthday collab for a very special nail artist — @brydiedoesnails. Ive participated in this collab a few times, as Brydie is one of my biggest inspirations on Instagram! Her nails always look so incredible, so I was very excited to join in on this collab to celebrate her!

& naturally, I had to choose one of her floral designs to recreate!

The polishes I used for this manicure are: 

  • Top Coat: Essie Gel Couture Top Coat 
  • Base Coat: Essie Hard to Resist Advanced
  • Essie Gel Couture Gossamer Garments *
  • Madam Glam Acrylic Nail Art Pen in Pink *
  • Madam Glam Acrylic Nail Art Pen in White*

** PR/gifted

How pretty are these little floral tips? As soon as I saw this design, I knew I wanted to recreate it. & using my Madam Glam nail artist pens made it so incredibly easy too! But I like that they don’t look too easy, & I love that.

You definitely need to check out all the amazing nail artists that participated in this collab:

•@raikasnails 

•@blunki_nails 

•@nutshellnails 

•@neeles_nails 

& shout out to @neeles_nails who organized us all together to give this special birthday shout out to Brydie!

Enjoy your Saturday!

🌸

Pretty Pink & Polka Dots

Hello lovelies & happy Sunday. I wish I could say it’s a beautiful sunny Spring day… but we got about 15cm of snow between yesterday & today, so it looks like it’s December outside right now. Not exactly the April weather I was looking forward to.

So let’s brighten things up with some pretty nails. I was feeling a simple dotticure the other day, so I decided to pair two very vibrant shades together for it! & it felt like it needed a little something extra added to it, so I gave it a little extra sparkle!

The polishes I used for this manicure are: 

  • Top Coat: Essie Gel Couture Top Coat 
  • Base Coat: Essie Hard to Resist Advanced
  • Sally Hansen Xtreme Wear Vivid Violet
  • Essie Offbeat Chic **PR/Gifted
  • OPI I Snow You Love Me
  • NailStuff.ca Dotting Tool Trio (small size) 

Gosh, I just love a good dotticure! They are just so chic looking, but surprisingly easy to do. & I think this vibrant blue goes so well against the pretty shimmery pink of Vivid Violet. This is definitely giving Spring vibes, even if the weather outside is not agreeing with me. Hopefully, though, it’ll encourage Mother Nature to get herself together, & bring the actual Spring weather we deserve!

What do you think about this pretty dotticure? Do you love this colour combination as much as I do? Let me know all your thoughts down in the comments below & what the weather is like where you are! Has Spring sprung, or is Mother Nature as confused as she is here.

♥︎

Bright & Vibrant Colour Blocking

Hello lovelies & happy Wednesday! & Happy April! I hope everyone is having a great week so far — it’s been a very, very wet start to our week here, but hopefully that will encourage some beautiful Spring flowers to pop up in our garden.

The polishes I used for this manicure are: 

  • Top Coat: Essie Gel Couture Top Coat 
  • Base Coat: Essie Hard to Resist Advanced
  • ORLY Put The Top Down
  • Color Club Pucci-licious
  • Essie Bustling Bazaar
  • Quo by ORLY Black Striper
  • NailStuff.ca 16mm Striper Brush

I love a good negative space colour block look, but I usually only do it with 2 colours — so I thought I would add a 3rd to change things up a little bit. Plus these colours are so bright & vibrant & completely make me forget the mucky weather we’ve been having — & make me think of Spring & Summer days to come! (Just ignored the raindrops that fell on them while I was trying to take pictures.)

What do you think about these colour blocking nails? Are you a fan of this peek a boo negative space look that I have going on? Let me know all your thoughts down in the comments below! & let me know what you’re wearing on your nails right now.

🖤