Cozy Plaid & Reindeer Nails

Happy Monday Lovelies!

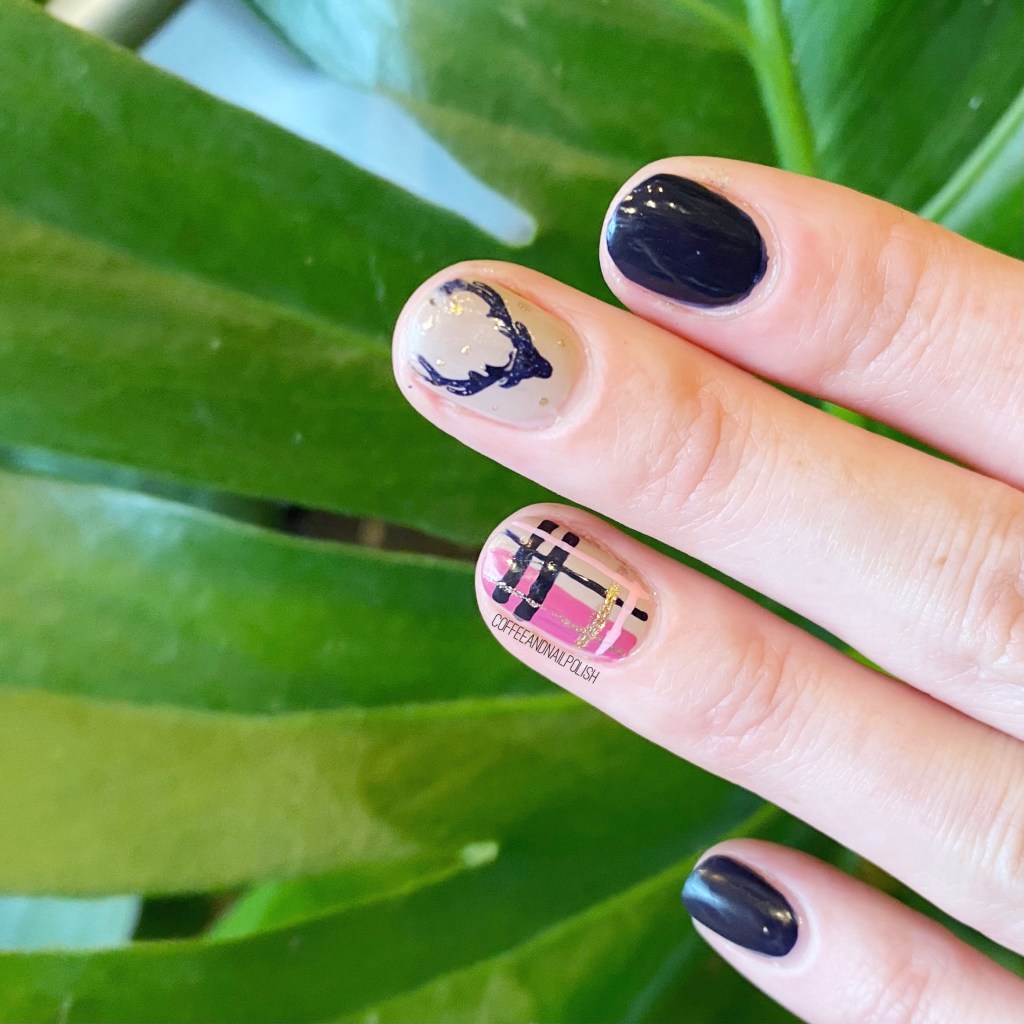
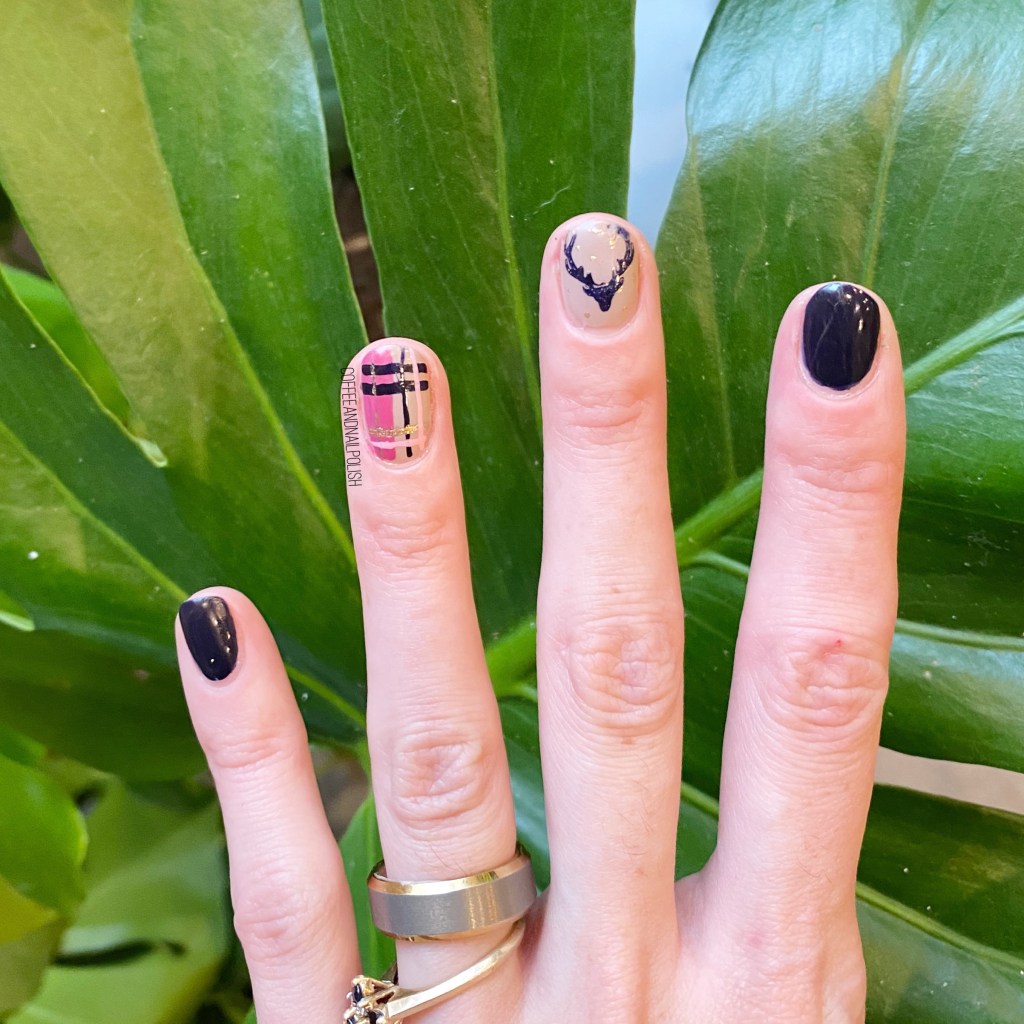
Hope everyone is having a nice start to their week so far. I’ve already enjoyed a nice vegan nog latte, & got our shopping for the next few weeks done. Today, I have some more festive nails to share with you, this time inspired by an older manicure by an older manicure by @nbnailart (which I rediscovered via Pinterest.) I really really liked the mix of the plaid, & the gold & the reindeer head, so I decided to create my own version of it!

For this manicure, the polishes I used were:

  • Base Coat: Sally Hansen Hard As Nails
  • Top Coat: Essie Gel Setter
  • Orly Decades of Dysfunction
  • Essie After School Boy Blazer
  • Essie Mosaic On Down
  • Color Club Art Club Pink Pastel
  • Unnamed Kozmic Kolours Pink (from Dollarama)
  • NailStuff.ca 16mm Striper Brush (COFFEE10 to save 10!)
  • Born Pretty Store Stamping plate BP-L032 (item #23268)
  • NailStuff.ca Clear Stamper

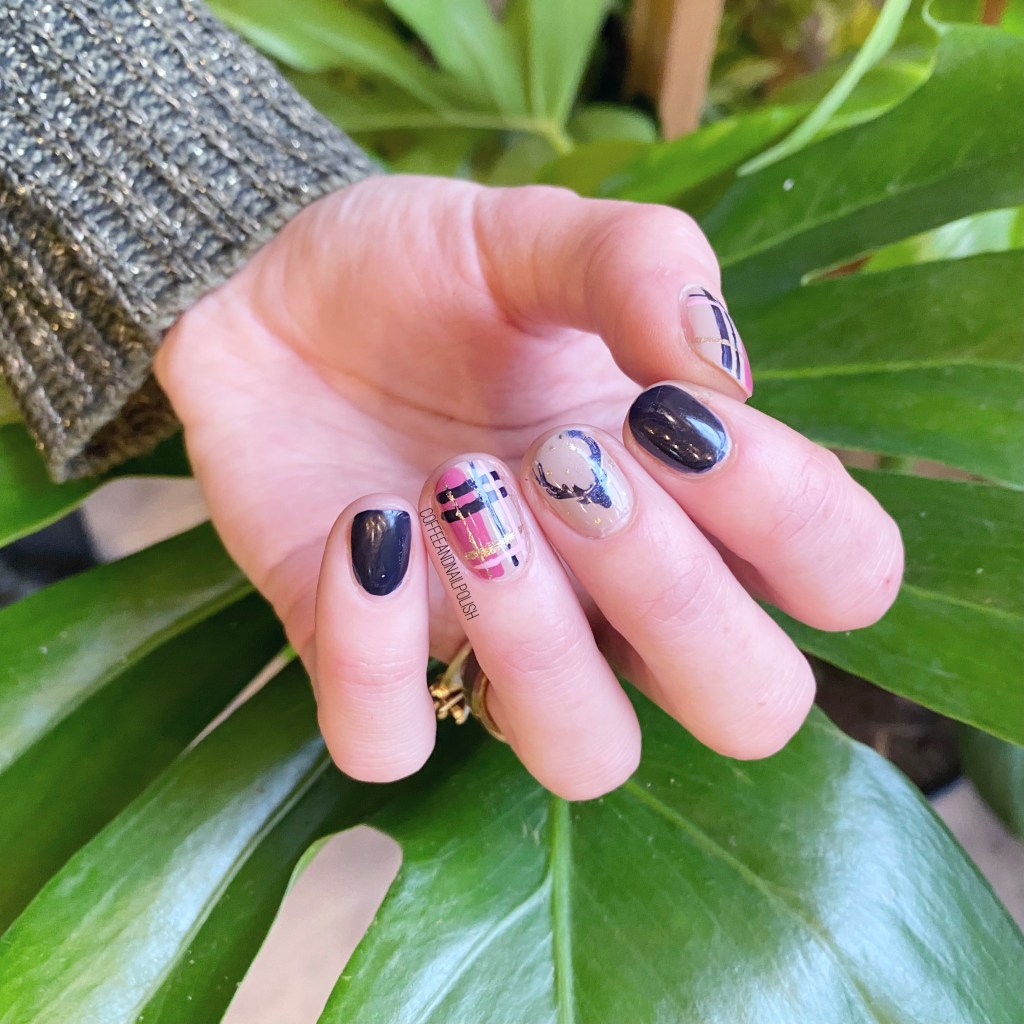
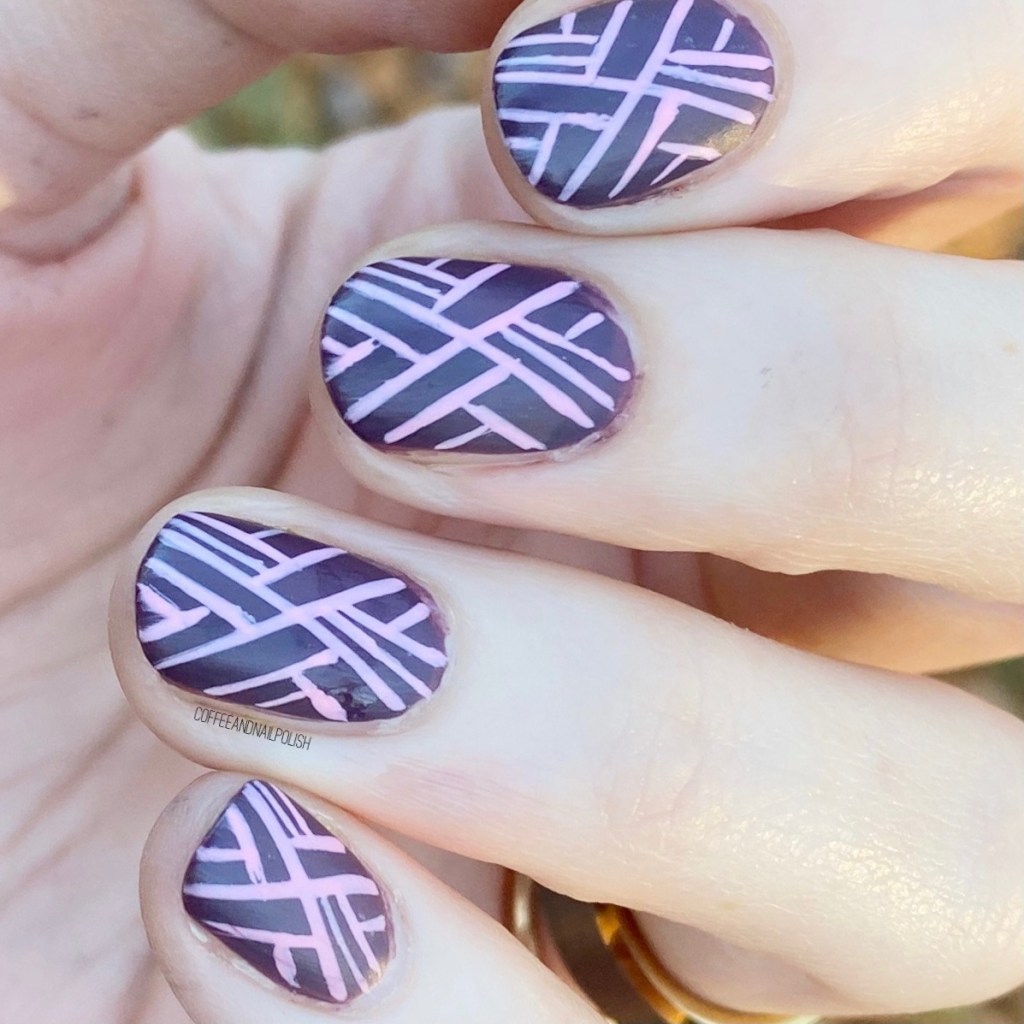
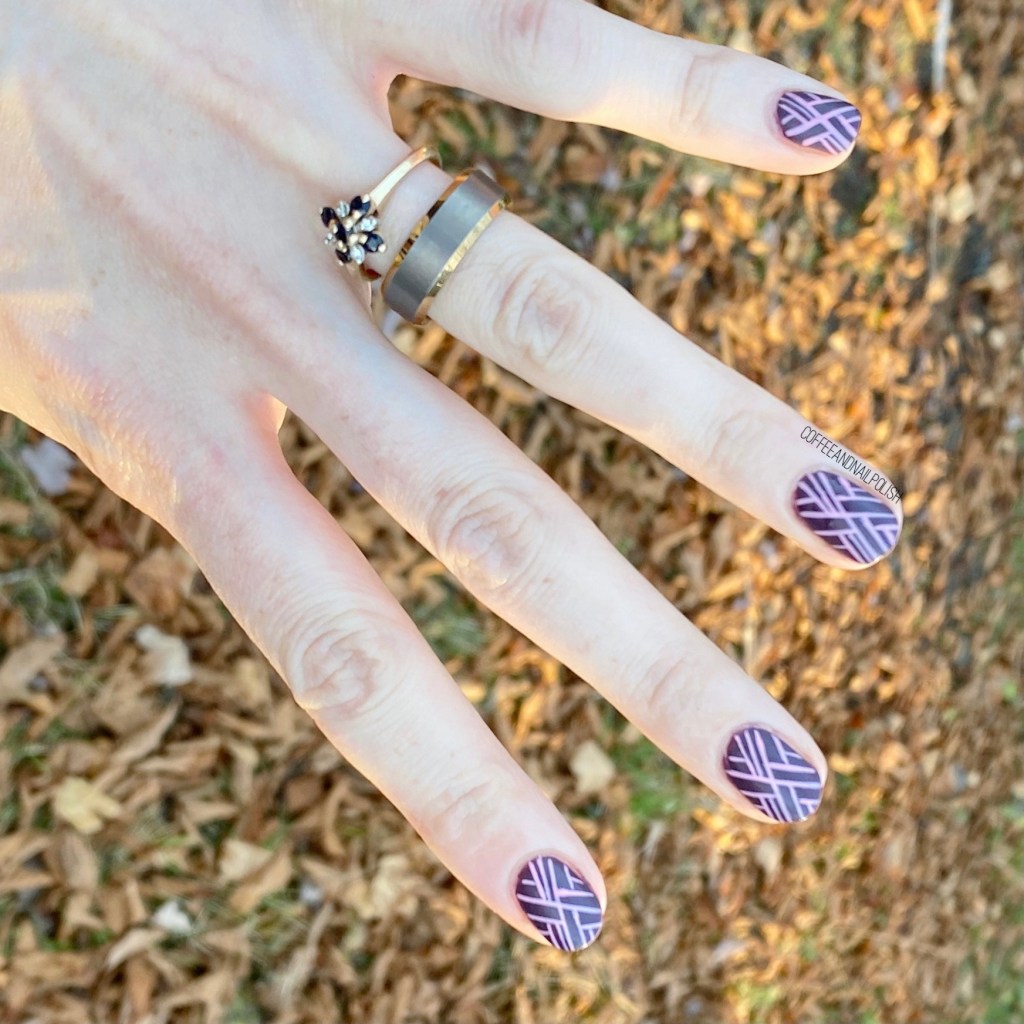
First off, I’m really feeling this colour combination, which gives me cosy Winter vibes. While I’m definitely feeling the shift towards holiday & Christmas inspired nail art, I don’t want to go Full Christmas just yet (aka red & green everything) so I feel like this colour scheme is a good start. You still get holiday vibes, without going overboard. That being said, I’m still going to be adding coconut Nog to my coffee & listening to Glee Christmas albums on repeat haha.

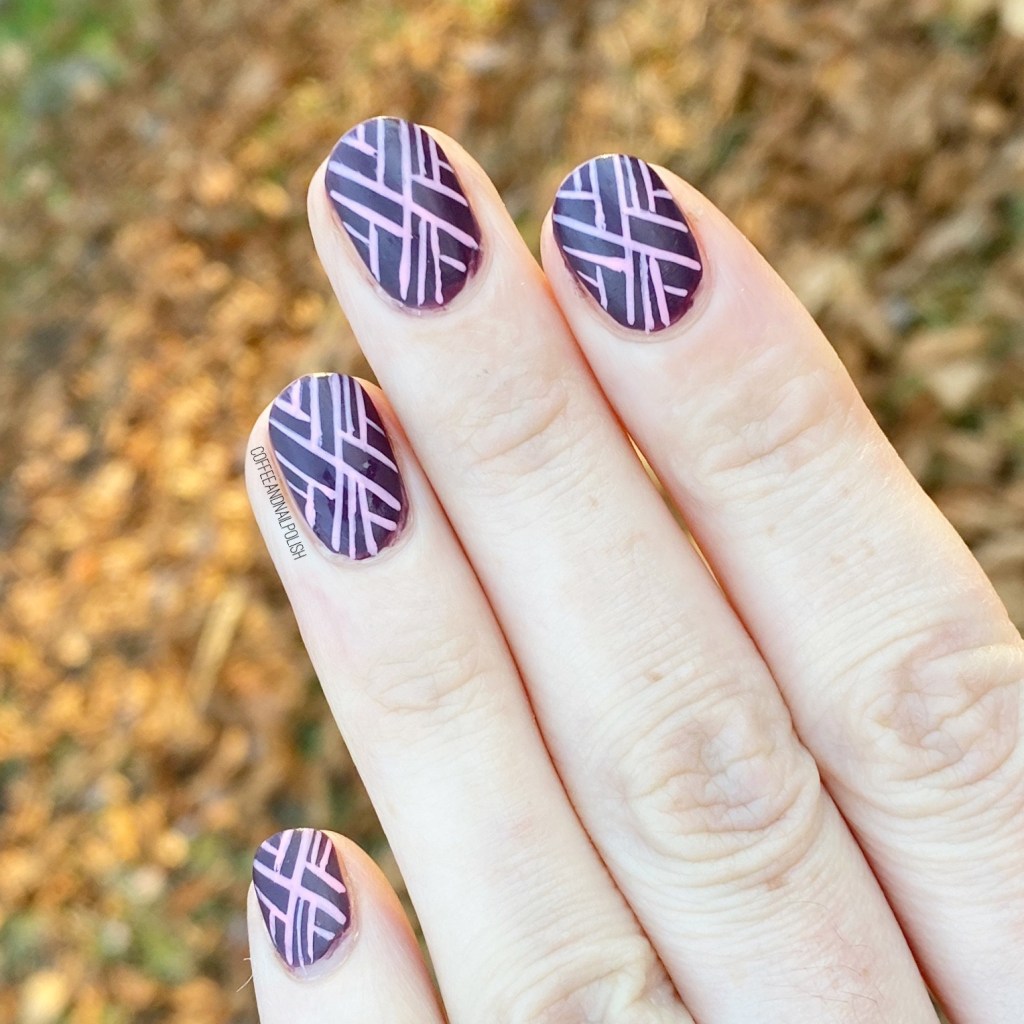
Second, I am really in love with how this plaid turned out. I always feel like my plaid attempts can get a little busy, so I was impressed with how these turned out following the original. Definitely how I’m going to be approaching my plaid nails from now on! & I will totally be doing a green & red plaid using this method…. soon. Probably after December 1st.

What do you think about this design? What Christmas/Winter/Holiday designs are you planning on doing this year? With the world being so scary, & uncertain, I’m definitely going to spend a good amount of time calming my brain by coming up with fun looks to share! I don’t know if I’ll be able to do 1 a day, but I’m hoping to do a great variety for the month of December, plus GlamNailsChallengeDecember, so stay tuned!

Criss Cross Freehand Pattern

Hello lovelies & happy Wednesday. It’s definitely a very, very chilly Wednesday here on the East Coast, & I don’t think I’m quite ready for it! I’m naturally a person who is always cold, so when the weather shifts, there is not enough layers or tea in the world to keep me warm!

But even if I’m cold, I still have cute nails to show off! I picked up a couple nail art stripers on clearance at Lawton’s a while ago, but hadn’t really played with them, so I decided to play around with some line work. I originally intended to do a kind of x-pattern look, which so of shifted as I was doing it. I’m not sure what to call this kind of pattern, but I absolutely love it. & it’s a look that even looks good on nubby nails like mine!

For this manicure, the polishes I used were:

  • Base Coat: Sally Hansen Hard As Nails
  • Top Coat: Essie Gel Setter
  • Matte Top Coat: Sally Hansen Miracle Gel Matte Top Coat
  • Sally Hansen Complete Salon Manicure Clean Slate
  • Color Club Art Club Pink Pastel

Oh man, I think this pattern turned out so neat! It actually wasn’t super difficult to do either; I started with painting an X on my nails, then when it each triangle section to repeat the same pattern over & over so you would get this interlocking/woven effect. It sounds complicated, but it really wasn’t. Just required a bit of a steady hand, & a little concentration, but the end result is totally worth it!

Also yes I’m totally obsessed with using my matte top coat again. I saw that Sally Hansen has a new Miracle Gel matte top coat, so I’m going to see if I can pick some up the next time I’m out. I also think I’m due for another “battle of the matte top coats”, so maybe I’ll have to add it to the mix!

What do you think about this look? Is this something you could see yourself rocking?

Also now that we’re hitting mid-November I was thinking of starting to post the occasional Winter/maybe Christmas look? Do you want to see that, or do you think it’s too soon?

Let me know down in the comments below!

Freehand Moroccan Tile Accent Nails

Hello lovelies & Happy Tuesday! Hope everyone is enjoying the beginning to their week. Today I’m sharing a nail art look I did last week on a whim. I was just playing around with some lines, practicing, & ended up dreaming up these black & white Moroccan tile inspired accent nails.

& honestly, they turned out even more perfect than I had imagined!

  • Base Coat: OPI Nail Envy
  • Top Coat: Essie Gel Setter
  • L’Oréal Totally Turquoise
  • Sally Hansen CSM Let’s Snow
  • Essence Black Is Back
  • NailStuff.ca 4mm Micro Detail Brush (COFFEE10 saves you 10%!)
  • Small dotting tool (NailStuff.ca Dotting Tool Trio)

First off, I have to be honest & say that while this L’Oréal shade Totally Turquoise is beautiful, oh boy is she a stainer upon removal. Which sucks, because she’s such a beautiful colour! Secondly, I am so so so happy with how these accent nails turned out. They’re definitely a little bit different for me, but that’s why I love them! Especially the pinky, & they totally turned out like what I imagined in my brain.

Ahhh, they look so cool! & even though my line work isn’t 100% perfect, I think it adds to the design. They looks a little rustic, which is neat!

What do you think of this accent nail design? Do you like the black & white against the turquoise? Share all your thoughts down in the comments below!

Neutral Leopard Print

Hello lovelies & happy Thursday! I hope everyone is well caffeinated. Today I’m sharing my current nail art obsession: leopard print!

Not going to lie, I’ve been obsessed with leopard print a long, long time. I used to own the most amazing leopard print dress during my teenage years — sadly I have no idea what happened to it, but it was glorious. Now a days, I don’t have much leopard print in my closet, which is even more of an excuse to wear it on my nails! (& maybe go shopping…).

For this manicure, the polishes I used were:

  • Base Coat: OPI Nail Envy
  • Top Coat: Essie Gel Setter
  • Essie Ballet Slippers
  • Essie Kaf-tan
  • Essence Black is Back
  • NailStuff.ca 7mm detail brush(COFFEE10 to save 10%)
  • NailStuff.ca Dotting Tool Trio

Oh man, I really really love how these turned out. Obviously, with my nails being sort of short right now, I need to find cute looks I can wear on my nails. Small delicate designs like this work really well on short-length nails.

Can you tell I’m really, really obsessed with Essie Kaf-tan right now? It’s so funny because I didn’t think it was a colour that was all that “Me” but I can’t help but reach for it for every design I do right now. It’s just such a fun, unique colour for my stash. & it’s definitely going to be a Fall shade staple for me! Which means I’d better in go get myself another bottle then!

What do you think about this leopard print look? Are you digging this pattern right now? Let me know what you think down in the comments below!

Blue & Grey Herringbone Pattern

Good morning lovelies & Happy Wednesday. I don’t know how it’s possible that we’re already half way through the week, but we are! & Today I’ve got a cute nail art look to share that is perfect for short nails (like mine!)

I’ve always been a fan of herringbone/chevron looks, mostly because they’re surprisingly easy to do! & for a bit of a rustic look like this, you don’t need to have the most perfectly thin of straight lines. & it will still look cute! This particular design was actually inspired by this pot, although I added the splashes of blue to make it a bit more Summery.

For this manicure, the polishes I used were:

  • Base Coat: Essie Strong Start
  • Top Coat: Essie Gel Setter
  • Sally Hansen Xtreme Wear Grey Area
  • China Glaze Boho Blue
  • Kiss Products Nail Art Striper in white
  • NailStuff.ca Dotting Tool Trio — I used the small one to fill in my blocks of colour! (Use COFFEE10 to save 10%)

I really really love how these turned out. My white Kiss striper is definitely on it’s last legs which led to a bit of messiness of my stripes, but I feel like it works with this kind of pattern. Truthfully, I could have used a striper nail art brush to achieve the same look, but I was short on time, & this was a bit easier. I will definitely have to try again though, maybe with a few of the Essie Summer 2020 polishes I just received! I think I could do a beautiful quatrefoil design with them too, so stay tuned for fun nail art looks!

What do you think about this herringbone look! I feel like it looks really good on my super short nails! It’s a great way to fancy them up! Let me know what your favourite short nail design is in the comments below!