Hello lovelies & happy, happy Thursday! I hope everyone is having a lovely day.
This week is almost over — & so is this month! Hard to believe we’re already a month in 2021. But I’m very excited it’s almost February because that means all the Valentine’s Day looks! I’m also planning on participating in GlamNailsChallengeFebrury which has some pretty awesome prompts!

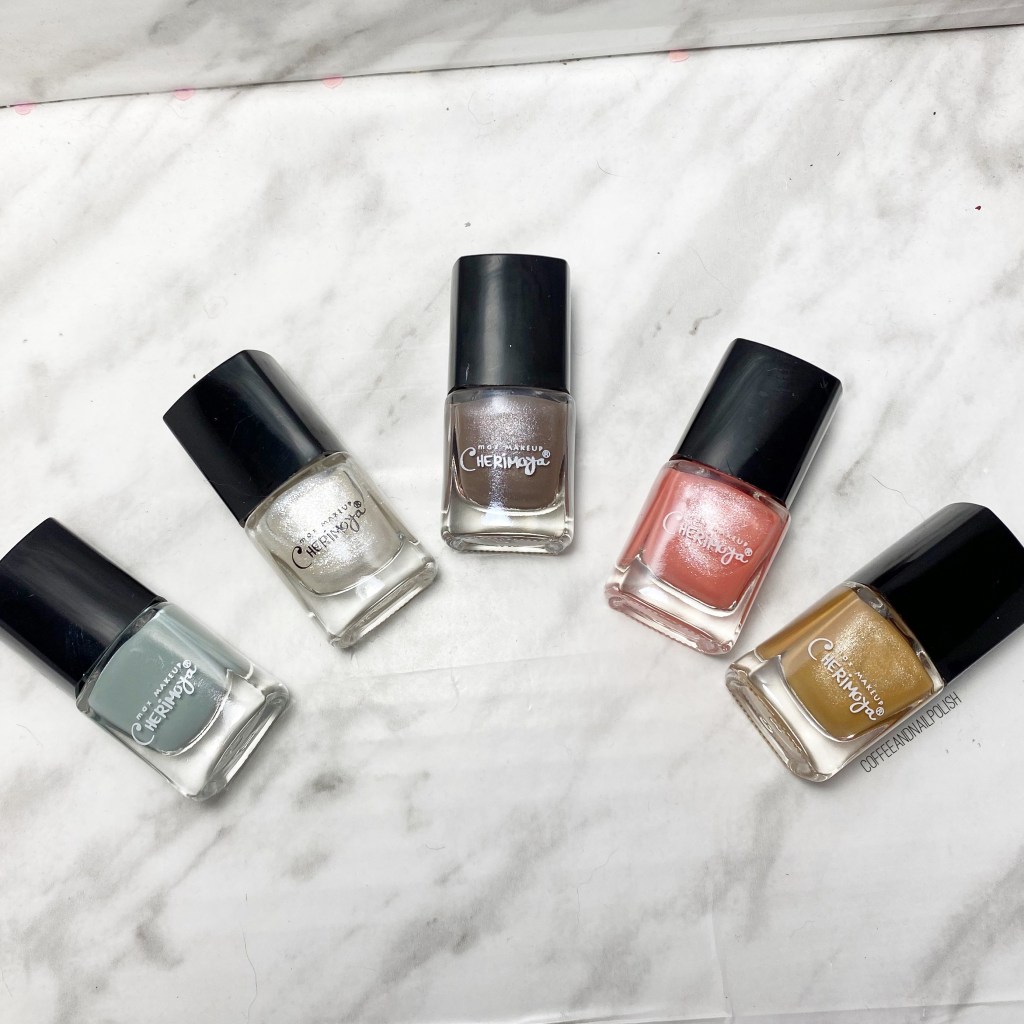
For this manicure, the polishes I used were:
- Base Coat: OPI Nail Envy
- Top Coat: Sally Hansen Miracle Gel Shiny Top Coat
- Londontown — Jane Austen
- Londontown — Bell Flower
- Londontown — Opal
- Sally Hansen Complete Salon Manicure Clean Slate
- Sally Hansen CSM Ruby Doo
- NailStuff.ca 16mm Striper Brush (COFFEE10 saves you 10% on your purchase!)
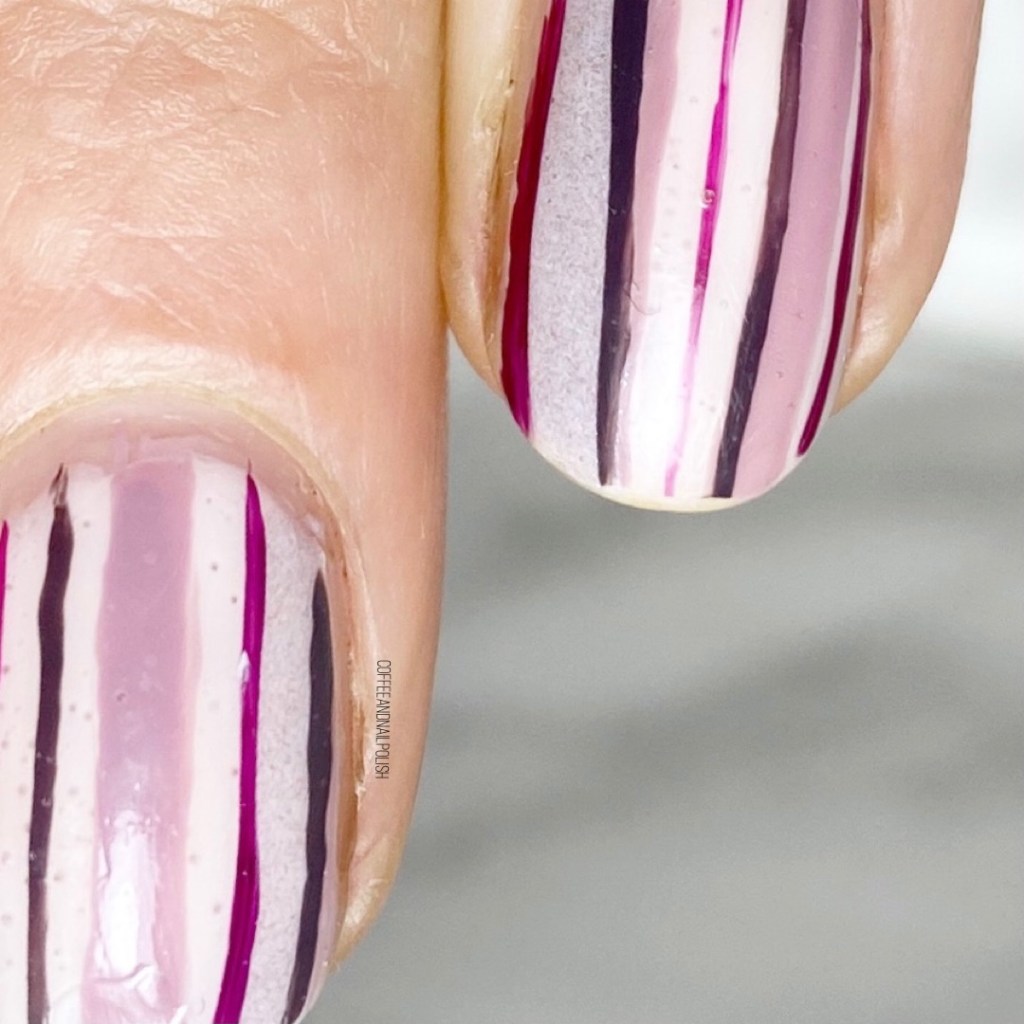

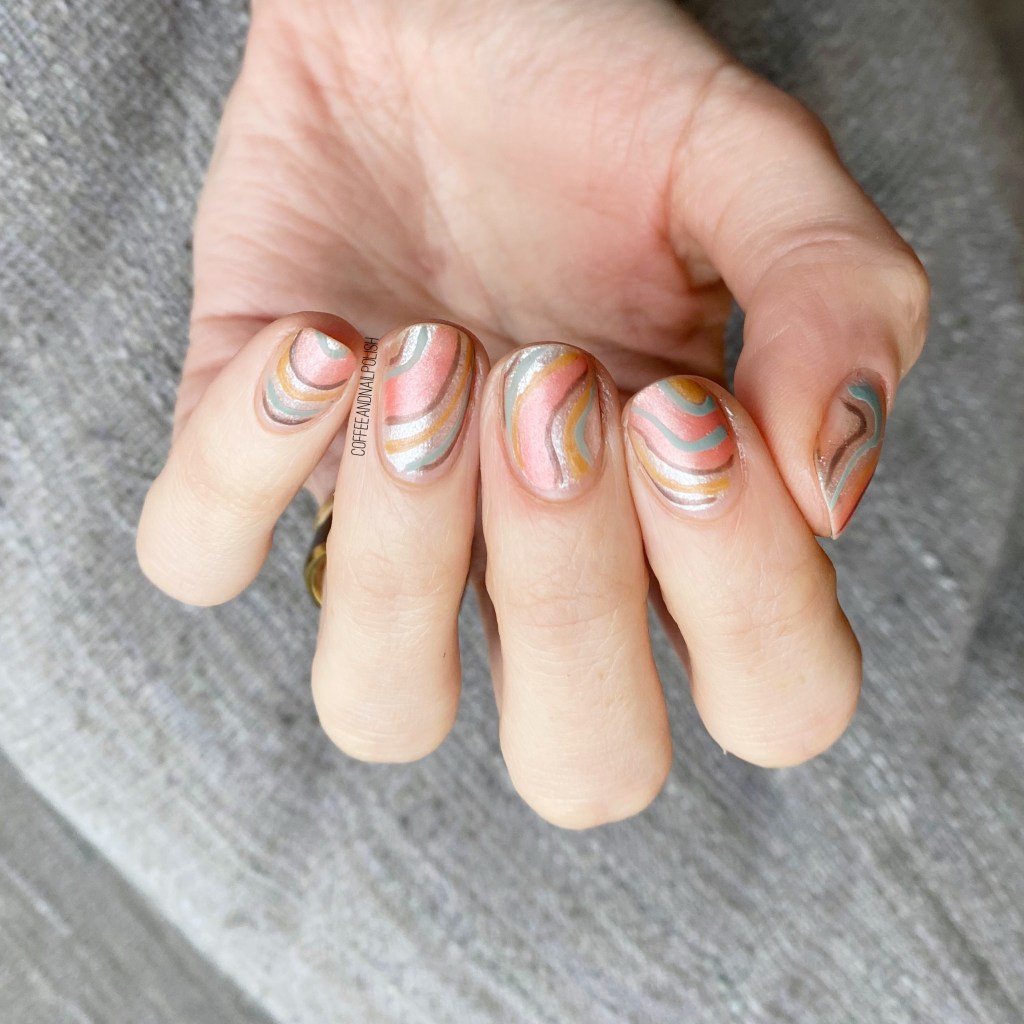
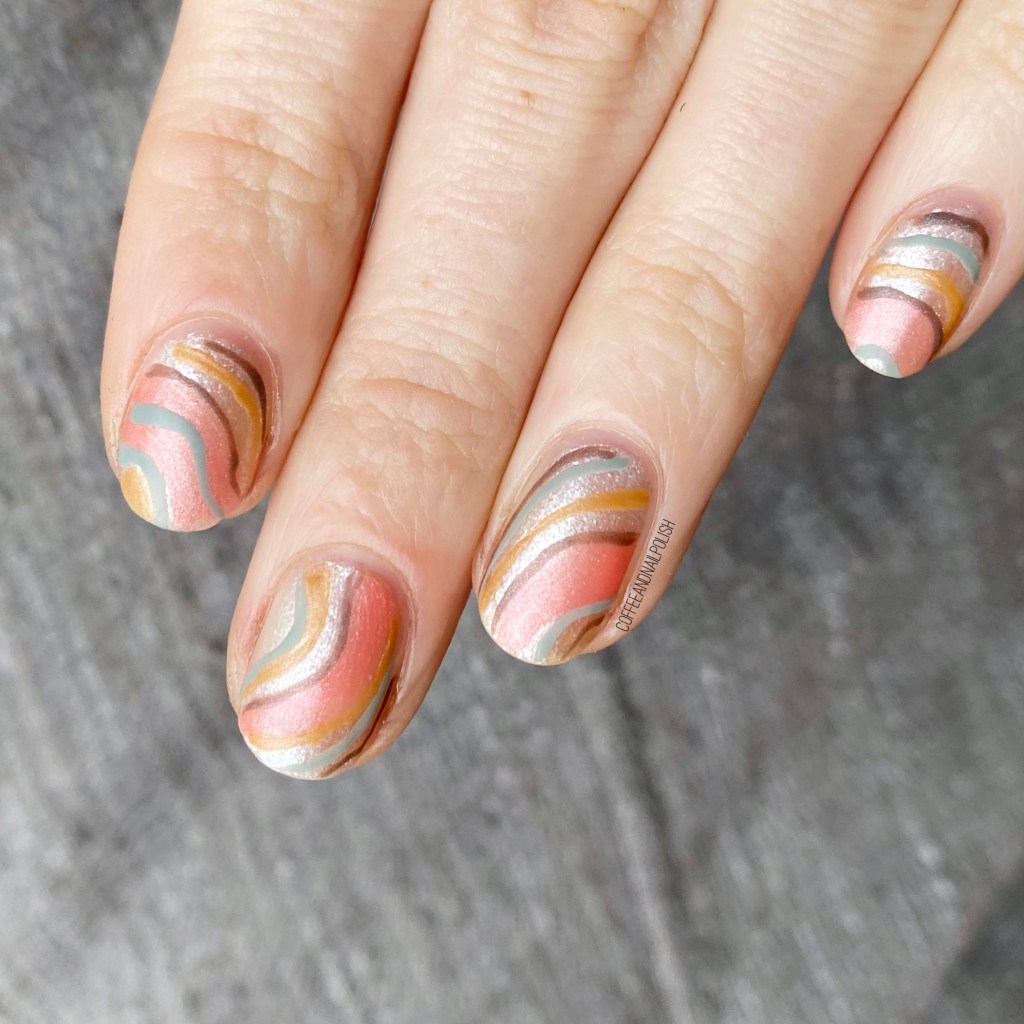
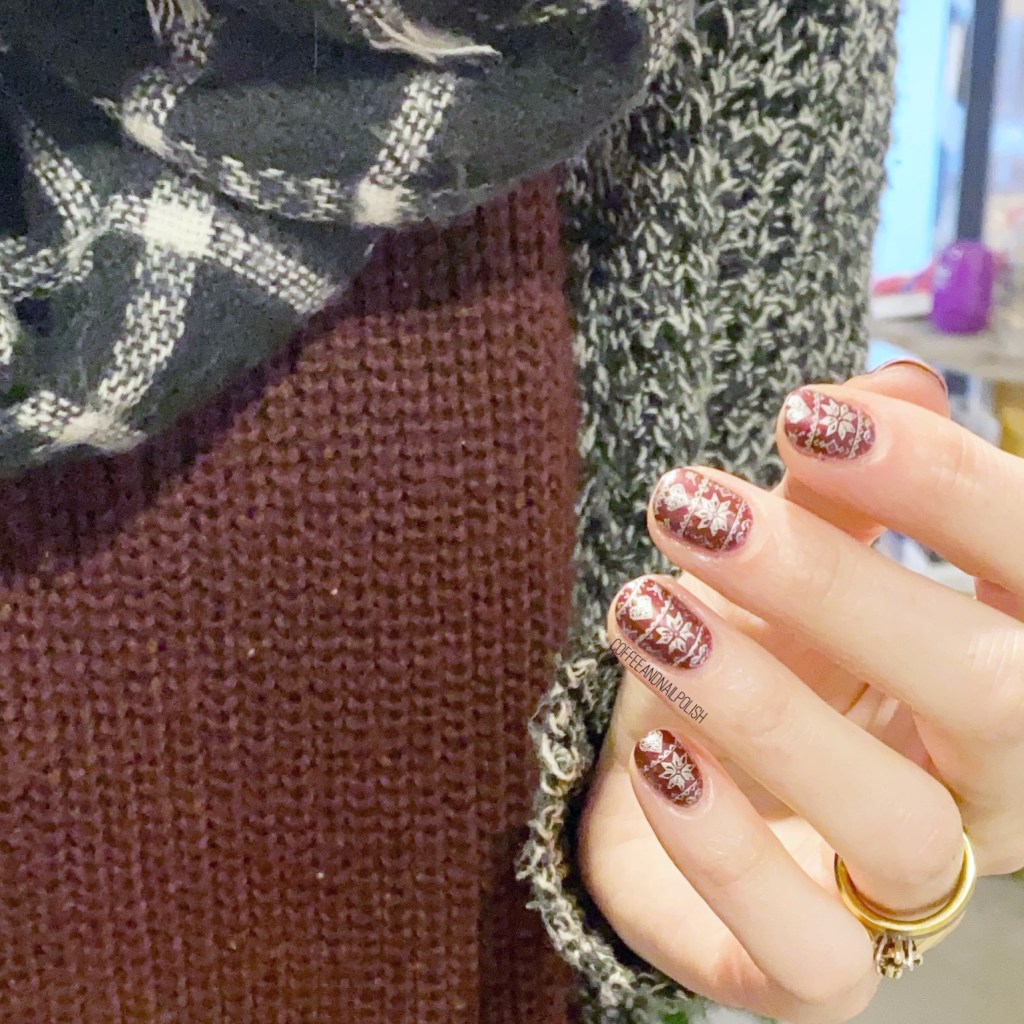
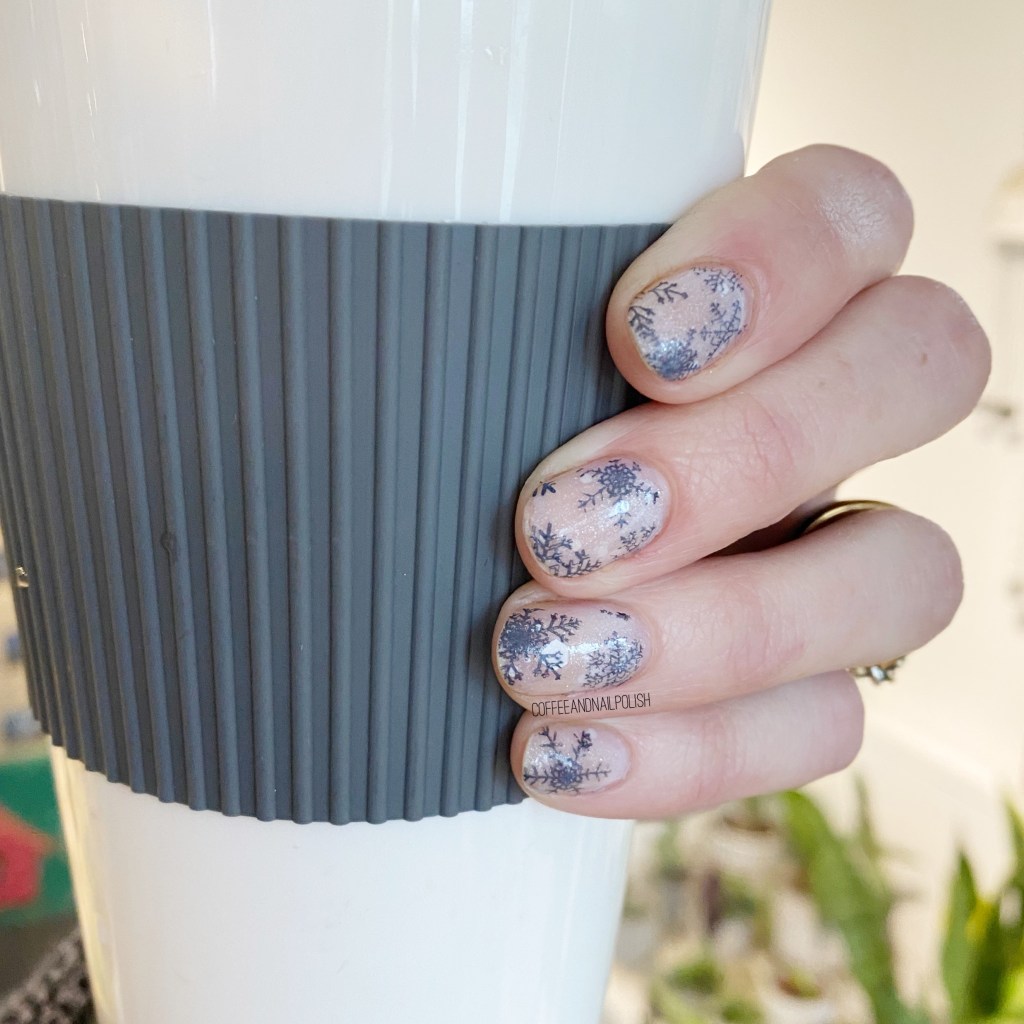
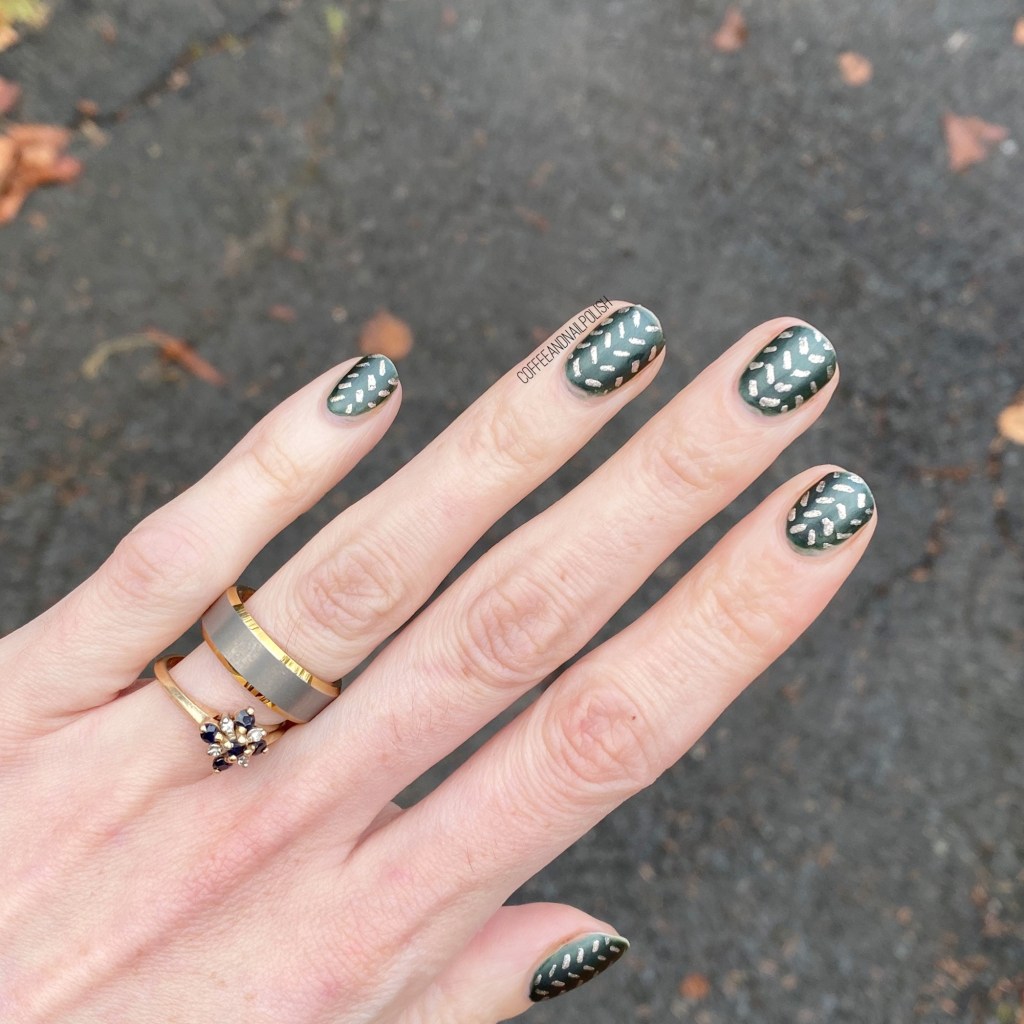
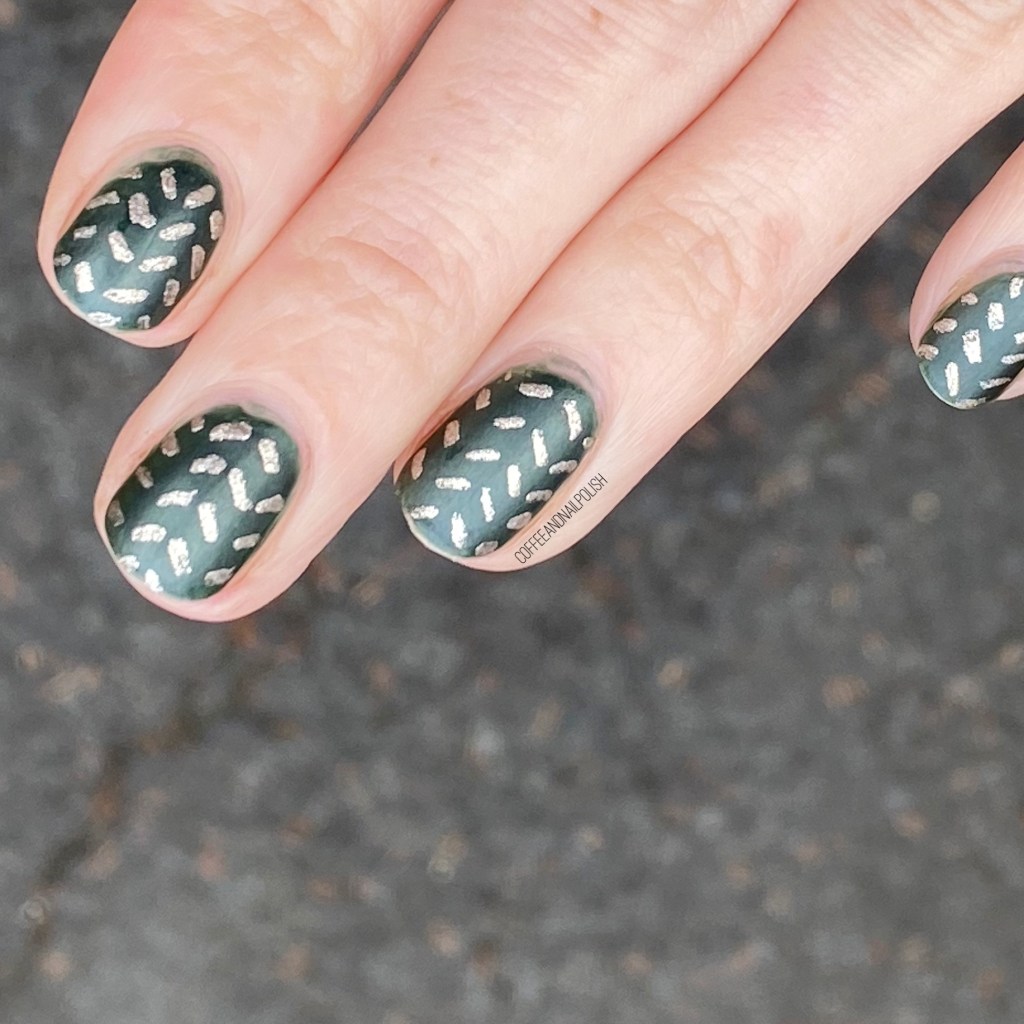
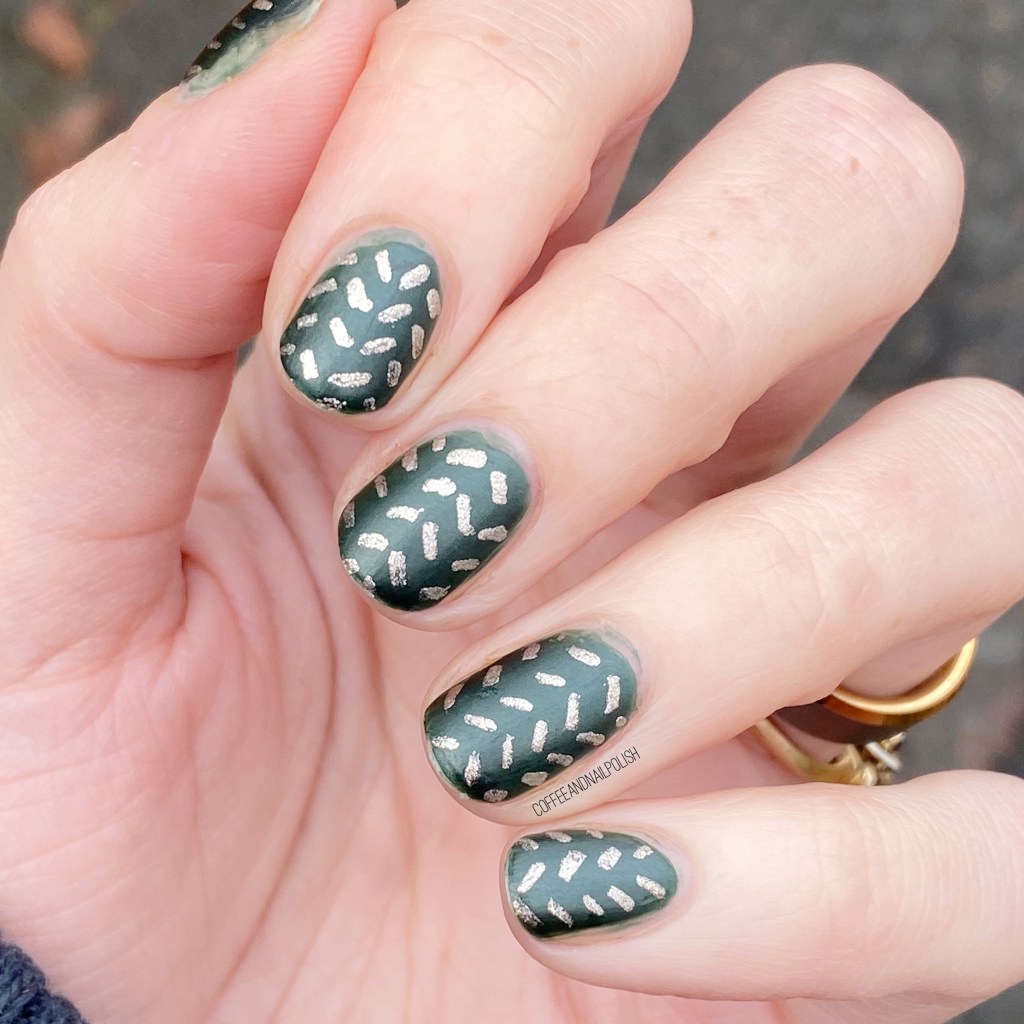
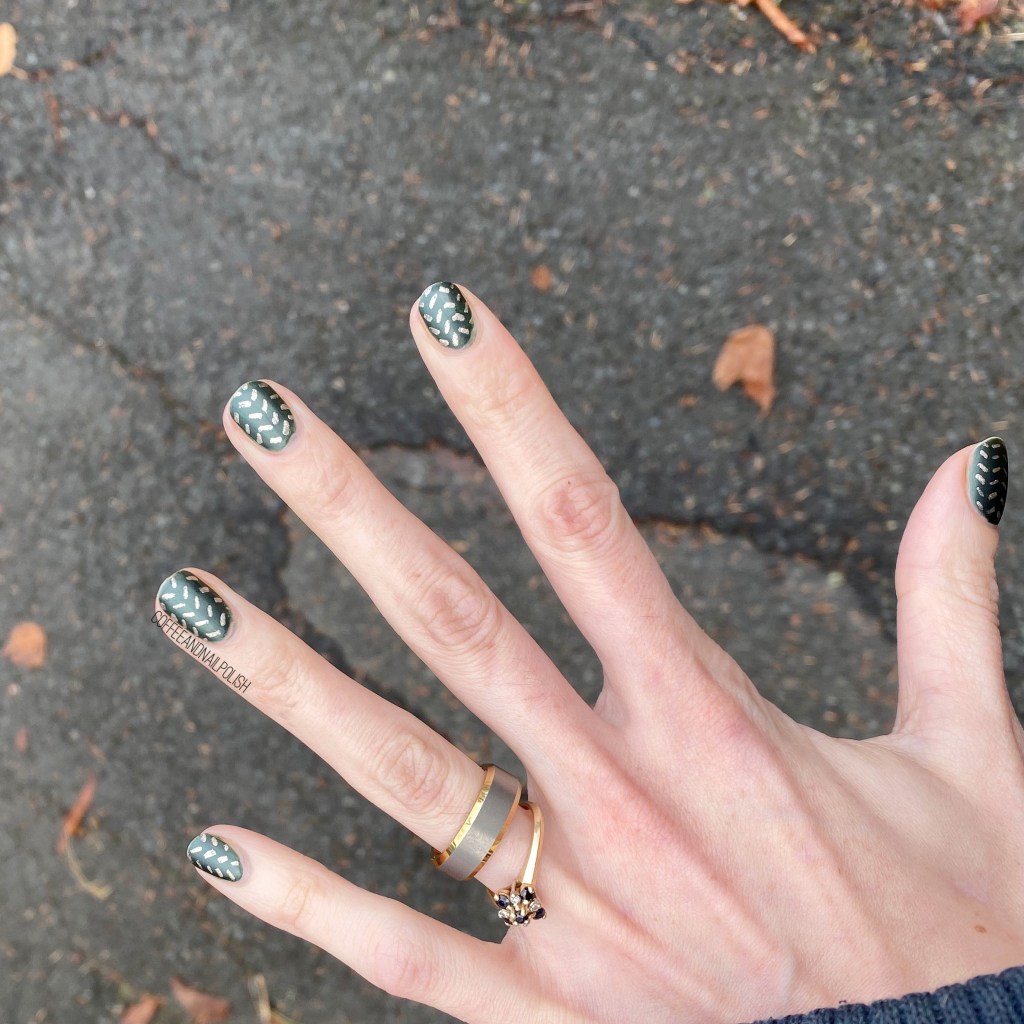
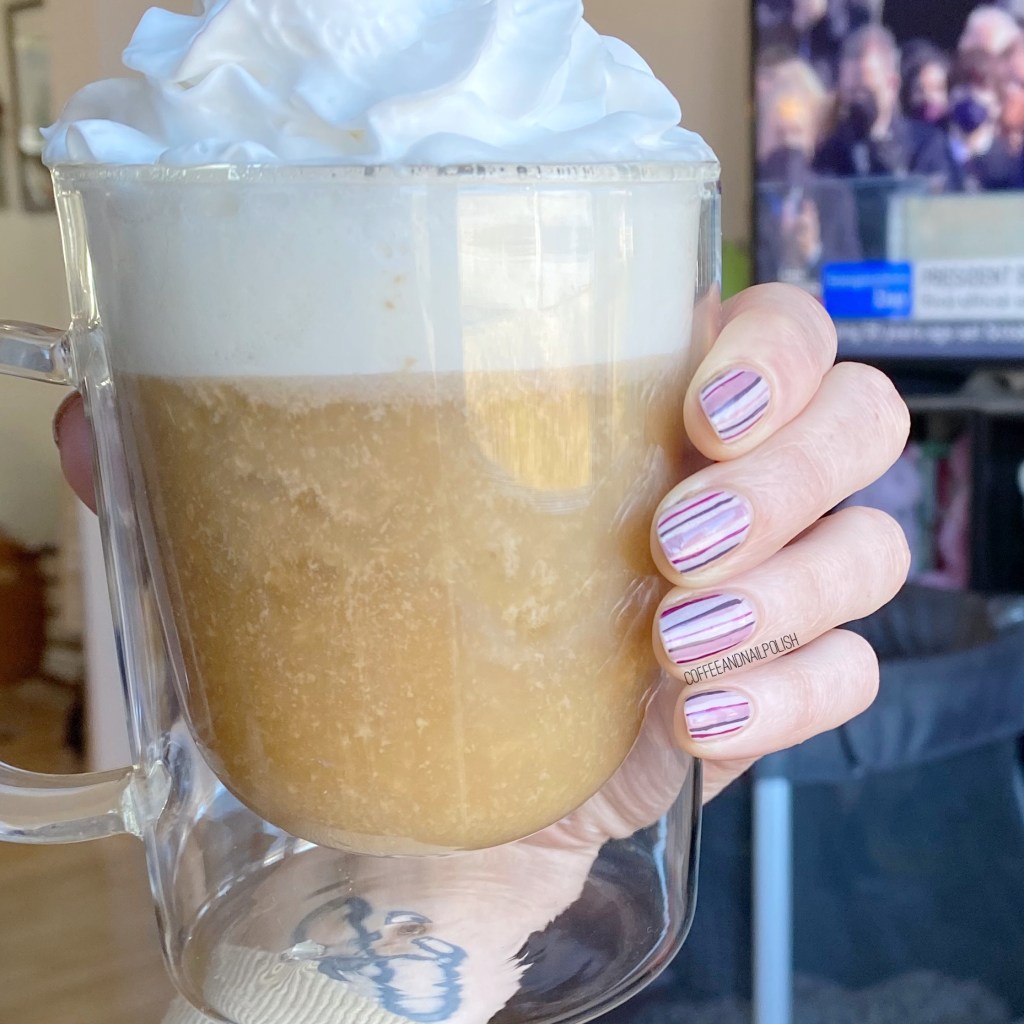
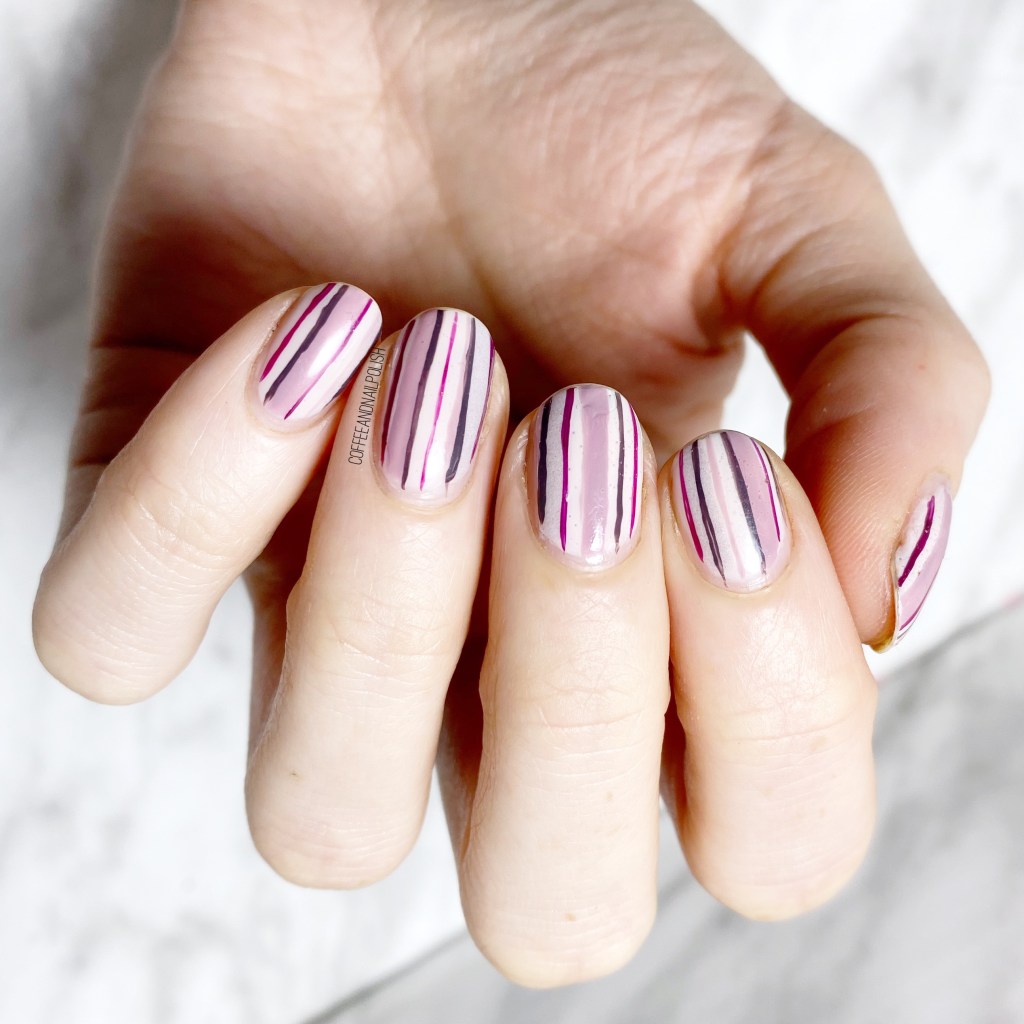
Vertical stripes are such an easy & cute nail art look — plus they have the added bonus of giving your nail the illusion of looking longer! Which I’m always here for, especially right now when the Winter cold is leaving my nails brittle & peel-y, so they’re not growing long like I would like. I also feel like this colour combination is a great one for Valentine’s Day, with the combinations of pinks & purples.
This time of year is the only time of year when I wear this much pink on my nails. But I’m definitely not complaining! Also currently planning another Valentine’s Day inspired Swatch Sunday post with some shades I’m loving for the big day!

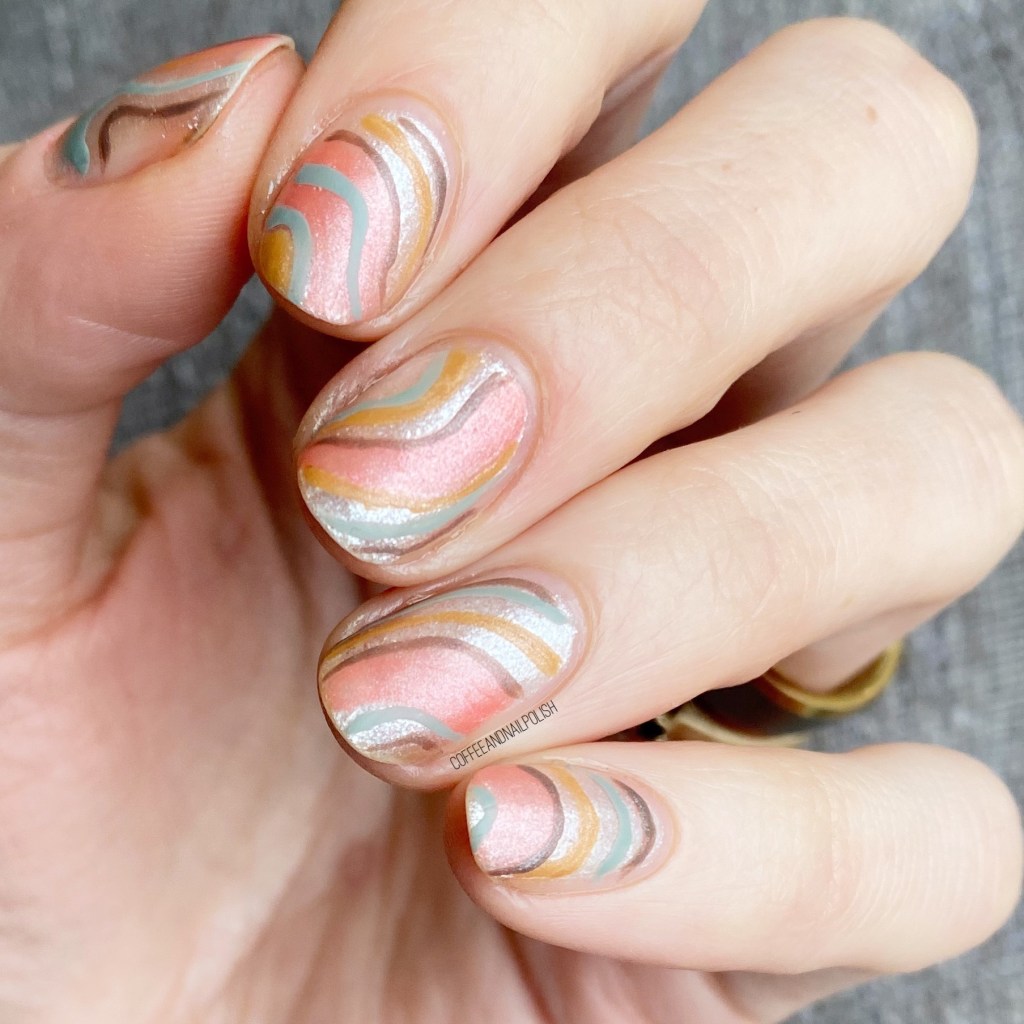
What do you think about this stripey look? Would you wear an easy stripe design like this? Let me know what you think down in the comments below!