Hot Pink & Polka Dots

Hello beauties & happy Tuesday! A very, very snowy Tuesday here. The weather definitely cannot make up its mind lately.

Today I have a pretty design to share that I actually did a little while ago, but didn’t get a chance to share. I thought that it would be gorgeous for a pre-Valentine’s Day design, so I wanted to share.

The polishes I used for this manicure are:

  • Base Coat: Essie Hard To Resist Glow & Shine 
  • Top Coat: Seche Vite Fast Dry Top Coat
  • Essie Swoon in the Lagoon
  • Sally Hansen Miracle Gel Blacky-O
  • Dotting tool (I always use mine from NailStuff.ca — Dotting Tool Trio)

Gosh I love a good polka dot design. It’s literally the easiest & quickest nail art I think you can do — & it always looks so put together. This is definitely a great nail art look for anyone wanting fun nails, without wanting to put an hour+ into painting something.
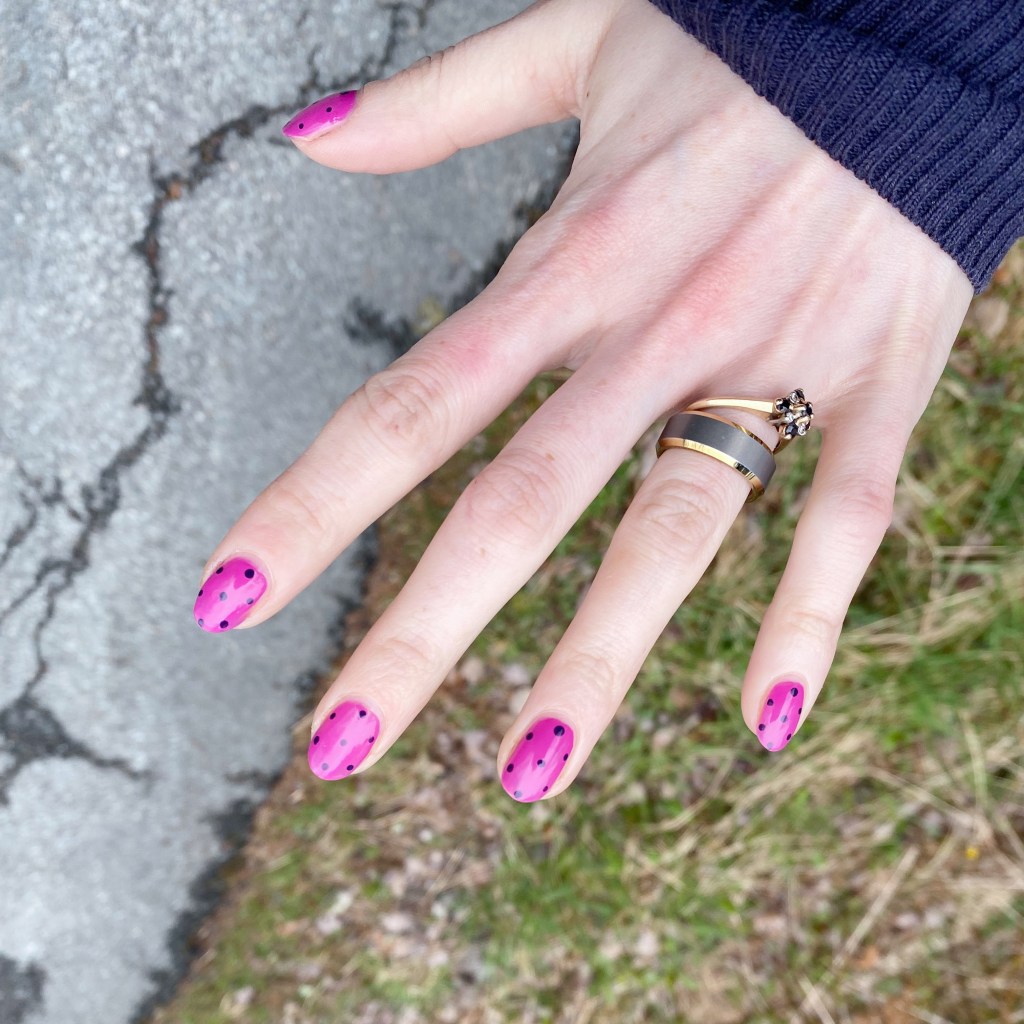
What do you think about this nail art look? Is this a nice prelude to February & the Valentine’s Day looks to come? Let me know all your thoughts down below!

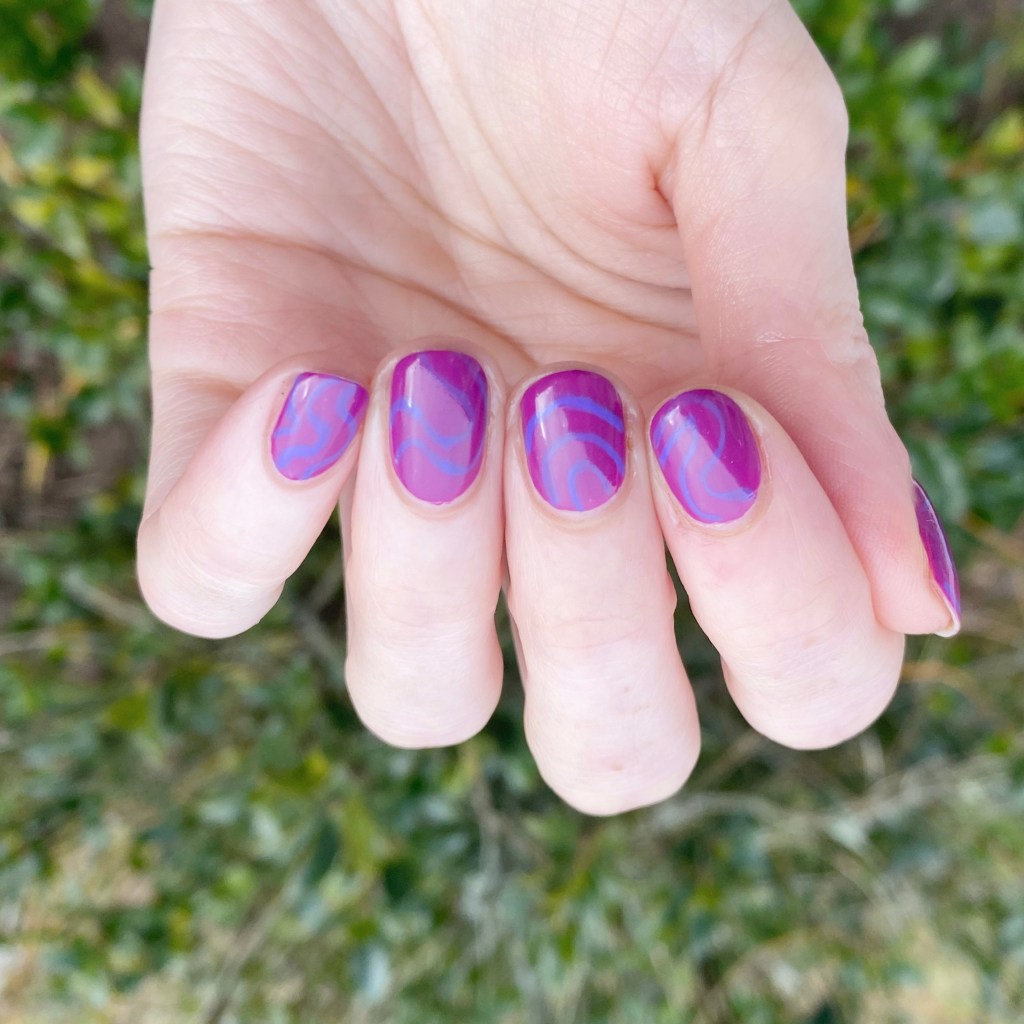
Bright & Simple Swirls

Hello lovelies & happy Tuesday! A freaking chilly Tuesday here. We went from it feeling like Winter this weekend, to it feeling like Spring yesterday, right back into a cold snap. My nails are definitely not happy about the back & forth, but I’m trying to keep them looking cute regardless.

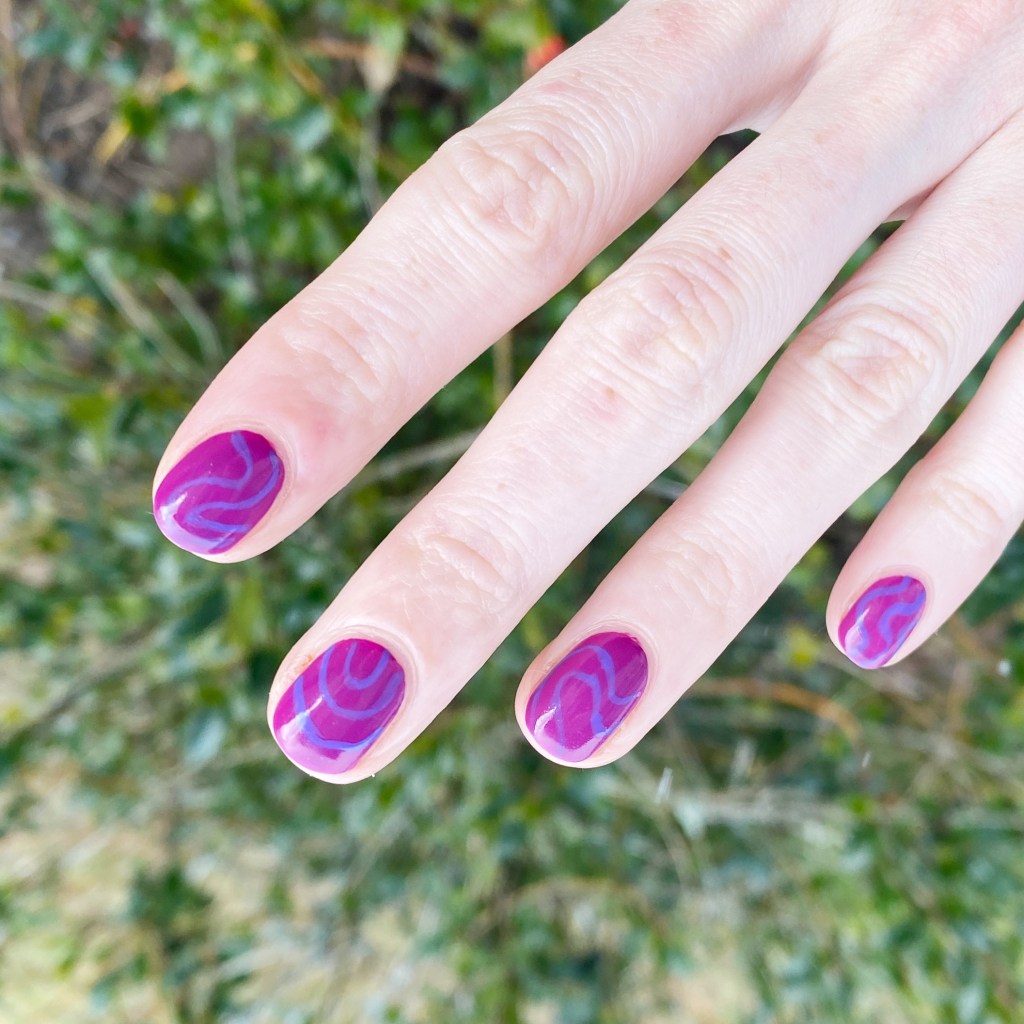
Todays look was a really simple one I did last week. I wanted something a little bit bright & colourful, & I was especially feeling Essie Flowerista as my base shade, so this is what I ended up with!

The polishes I used for this manicure are: 

  • Base Coat: Essie Hard To Resist Glow & Shine 
  • Top Coat: Seche Vite Fast Dry Top Coat
  • Essie Flowerista
  • Color Club Art Club Striper Passion Flower

I really wanted to do some nail art over my base, but I was running short on time. However — I thought these wavy lines using my Color Club Striper was perfect! I thought about doing them in more than one colour, but I think the purple over the fuchsia is more than perfect. I like the simplicity. It’s a great pop of colour which is exactly what you need when it’s still January.

What do you think about these bright & simple swirls? Are you feeling the simplicity of this design or do you prefer nail art that is more complex?

Let me know all your thoughts in the comments below. I love when people share their thoughts on my nail art!

Have a lovely Tuesday! 🌸

Hot Pink Stamped Floral

Good morning loves & happy Tuesday! I hope everyone survived the weekend & Monday relatively unscathed. It was rainy here all weekend which absolutely sucked. It was absolutely torrential.

Spring… you can come anytime!

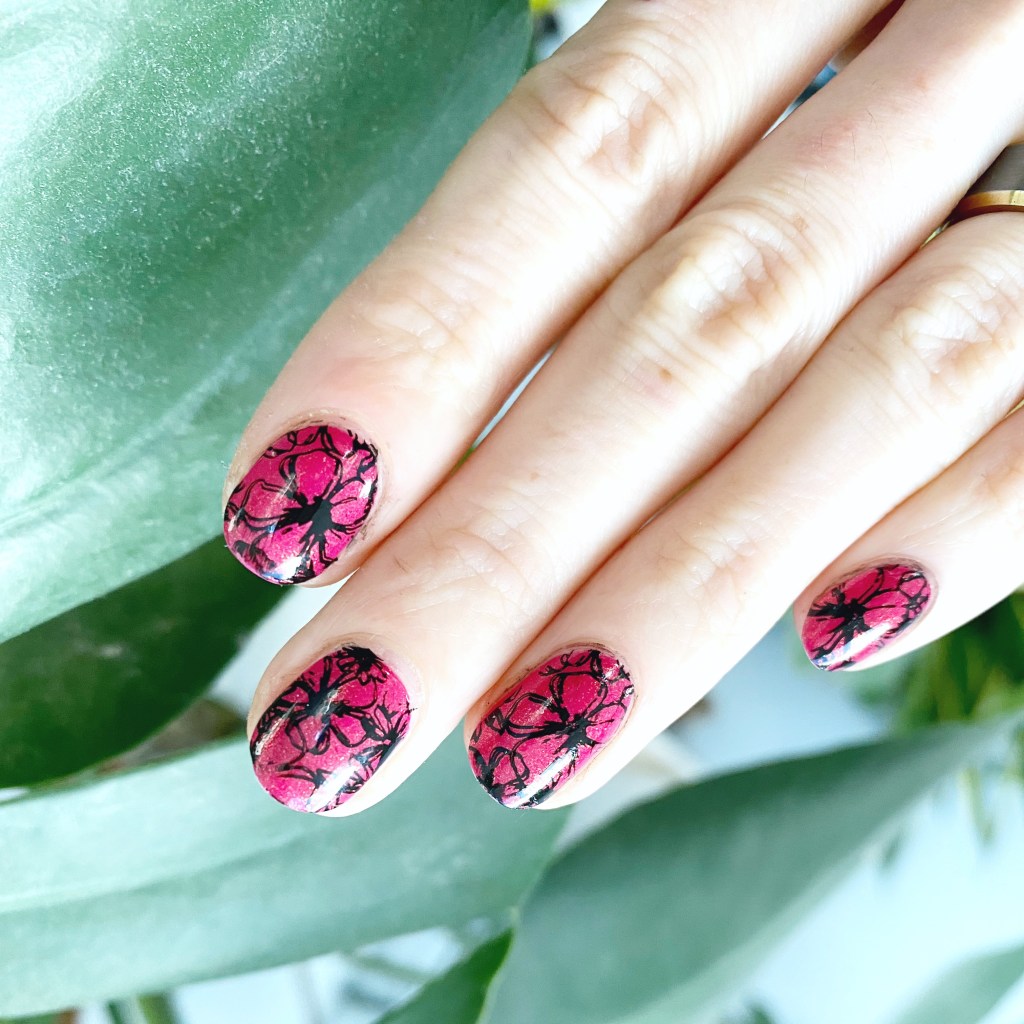
So I’m honour of our cold & wet days, I decided I needed some hot pink nails. & why not throw some floral stamping on there too, just for fun.

The polishes I used for this manicure are: 

  • Base Coat: Essie Hard To Resist Glow & Shine 
  • Top Coat: Seche Vite Fast Dry Top Coat
  • China Glaze Strawberry Fields
  • Starrily Vantablack
  • Discontinued Born Pretty Store floral pattern stamping plate (featured here)
  • Nailstuff.ca clear stamper & scraper set

How pretty are these? I hope they’re pretty because oh boy did I struggle with clean up! I don’t know what was happening, because usually I don’t have so many issues, but my cuticle line just wanted to be stained black.

& also I’m so over this both of Seche Vite & it shrinking every manicure I do. I’ve never had a bottle shrink so bad! Look at my middle finger! So beyond frustrating. But regardless of the issues, my nails did turn out pretty. China Glaze Strawberry Fields is so pretty, I can’t believe I don’t wear it more often!

What do you think of this floral design? Are you feeling early Spring vibes in the middle of January? & to my friends on the other side of the world in the middle of Summer… how is it there? Is it nice?

Have a lovely Tuesday darlings!

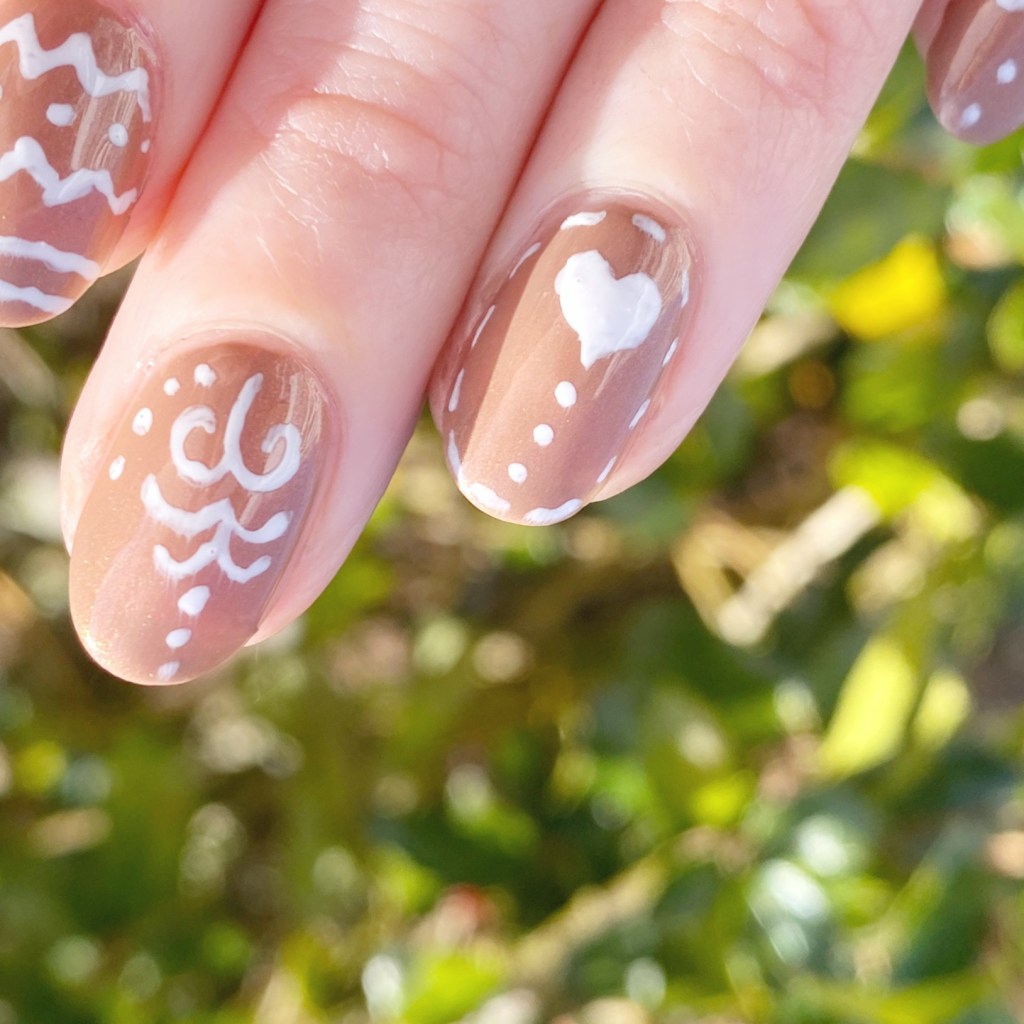
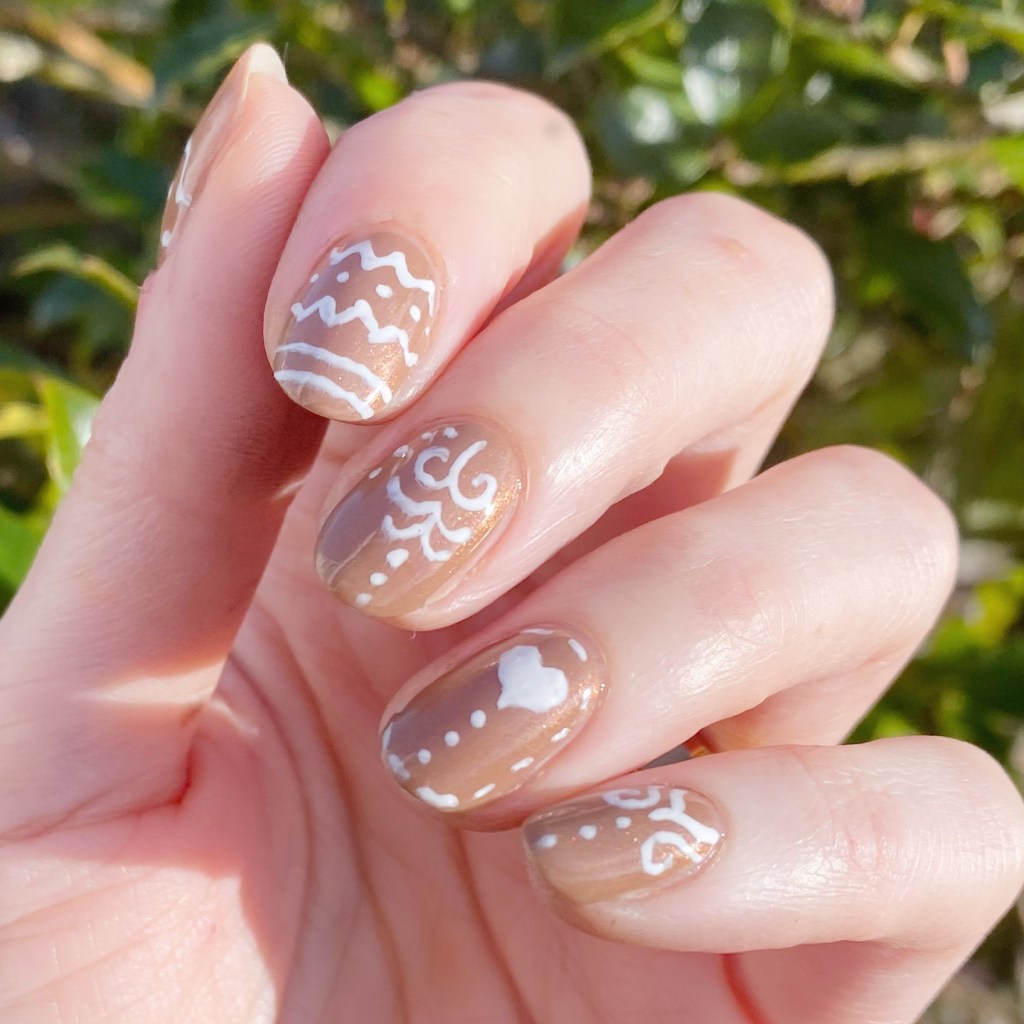
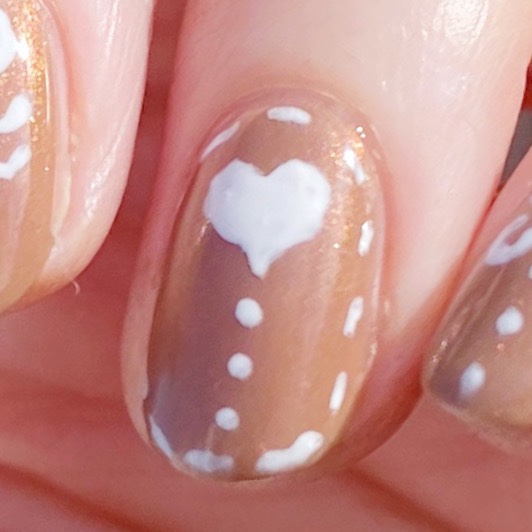
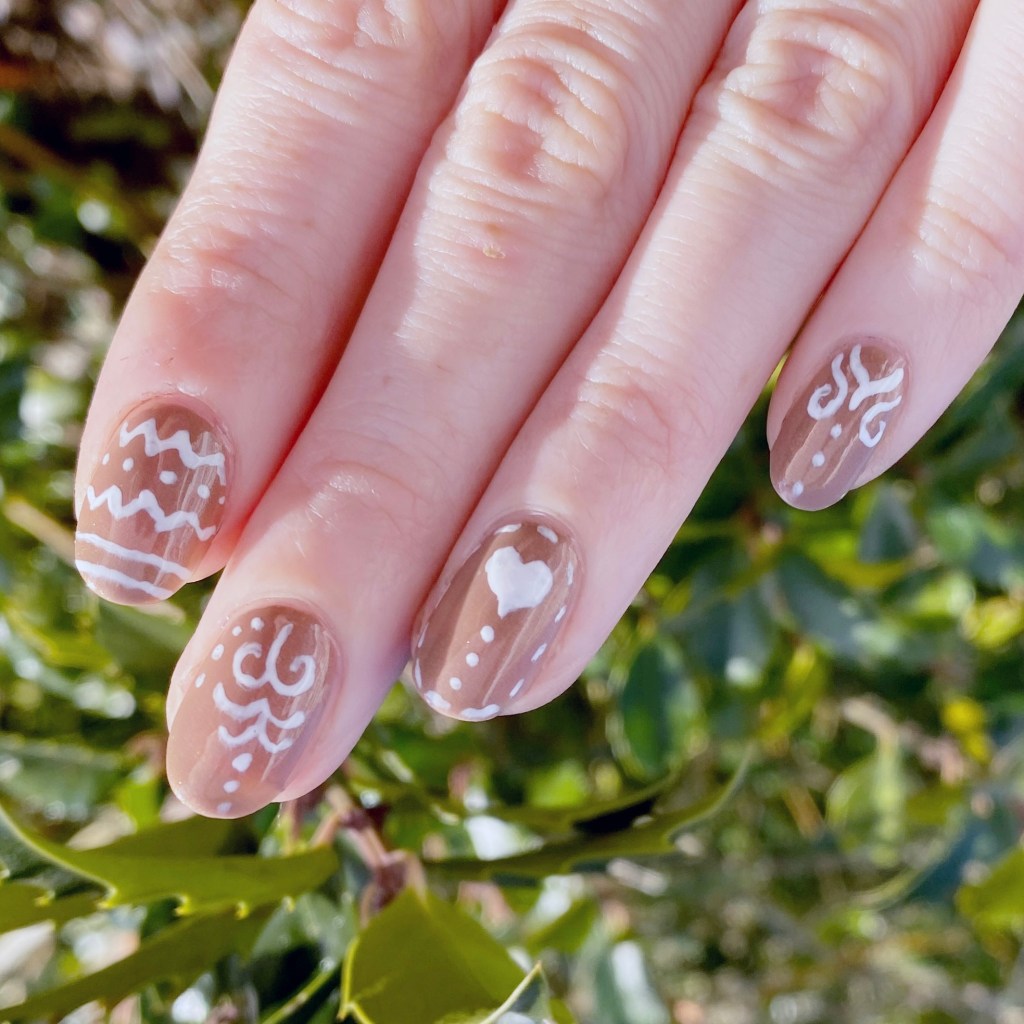
Glam Nails Challenge December — Gingebread

Hello loves & Happy Thursday!

Technically I meant to post this manicure yesterday, but between crazy busy Christmas rushes at work, & Bubba’s first Christmas concert, my mind got a little displaced. Whoops! I’m excited, though, to share this gingerbread look I did for the next prompt of Glam Nails Challenge December.

This is officially the half way point of the challenge, &… even crazier, we only have a week & a half left until Christmas. I’ve literally done no baking, our tree isn’t up… this year is definitely getting the best of me. But at least I’ve managed a few cute festive designs so far this month.

The polishes I used for this manicure are: 

  • Base Coat: Essie Hard To Resist Glow & Shine 
  • Top Coat: Sally Hansen Insta-Dri Anti-chip Top Coat
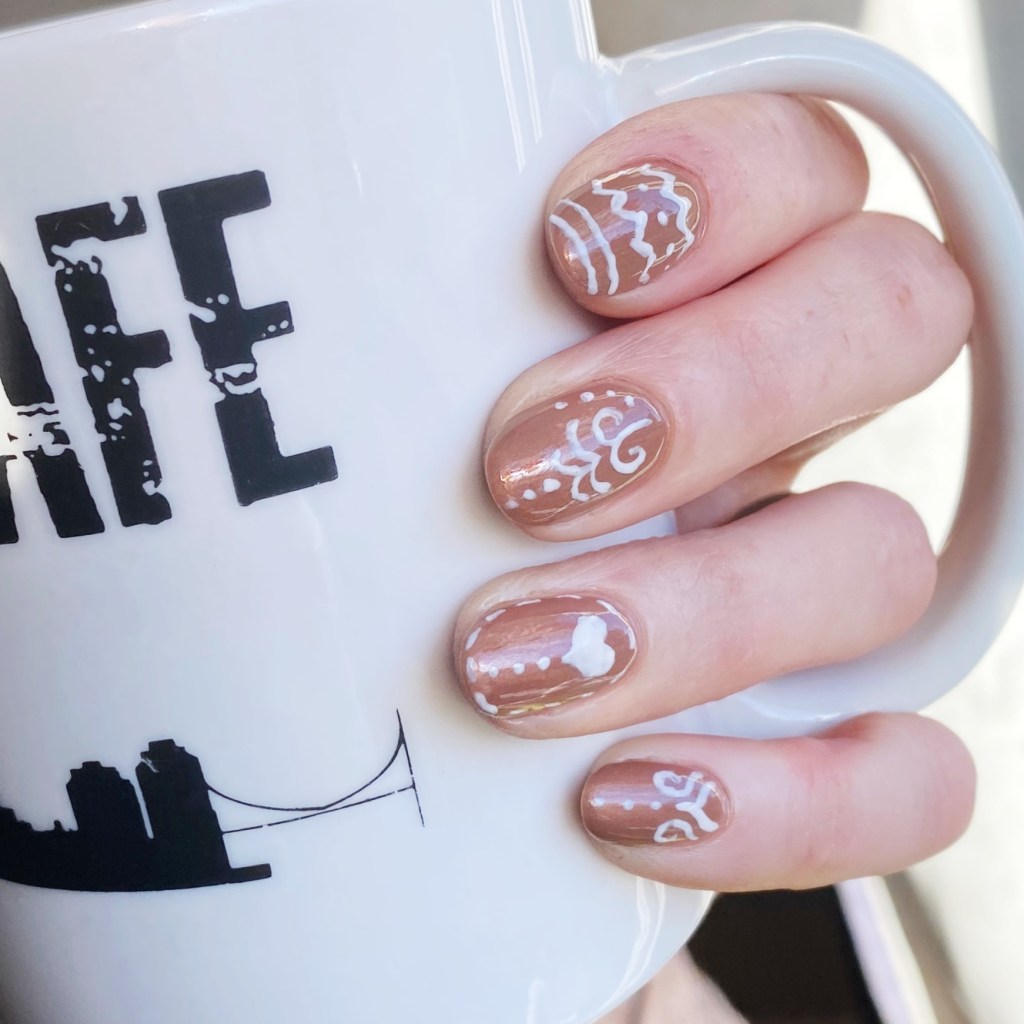
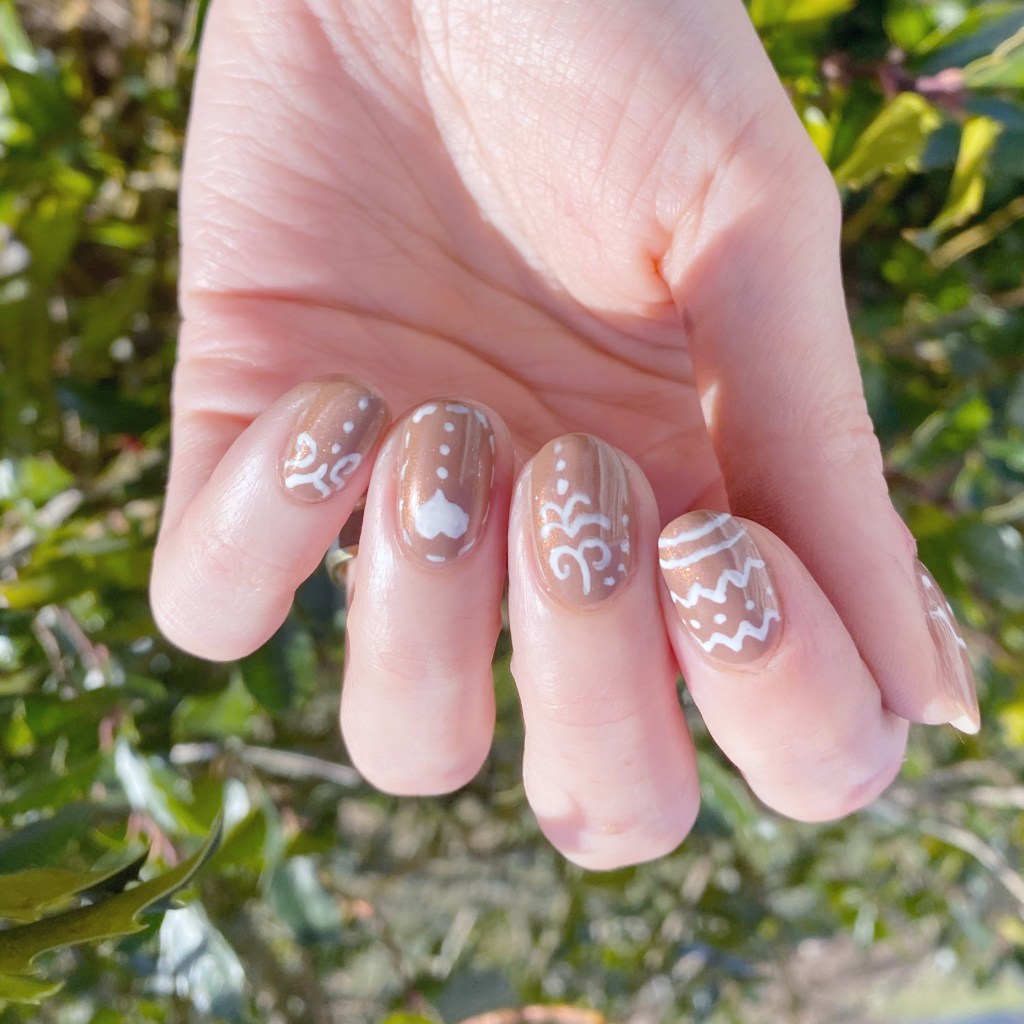
  • Sinful Colors Essenchills Coffee Drip
  • Sally Hansen Miracle Gel Ski Bunny
  • NailStuff.ca Mermaid Tail Nail Brush Trio (11mm Liner Brush)

This look was inspired by this look that I found on Pinterest. I loved the idea of turning your nail into the gingerbread cookie itself. Mine came out a bit more… rustic than my inspiration. But I still think it was a cute idea, & I especially love my ring & pointer finger. I went into this design without a clear vision of what I wanted to do, & I think that’s where my nail art went a bit sideways. Either way, I love this overall look, & I think it’s a fun take on this prompt!

What do you think of this Gingerbread inspired design? Have you been busy with Christmas/Holiday planning? Have you gotten any baking done yet? Let me know down in the comments below. &, as always, I encourage you to check out all the beautiful designs for this month’s  Glam Nails Challenge December on Instagram!

Holo Stamped Snowflakes ❄️

Hey beauties & happy Friday!

I’m trying to share at least one non-Glam Nails Challenge design each week, so I thought I would go for some snowflake stamped nails. Our Halifax weather is nothing close to snow right now–it’s currently, as I write this post, warm-ish & raining–so I thought if I wanted snow, I would need to put it on my nails.

& you know what is more fun than just snowflakes on your nails… holographic snowflakes on your nails.

The polishes I used for this manicure are: 

  • Base Coat: Essie Hard To Resist Glow & Shine 
  • Top Coat: Sally Hansen Insta-Dri Anti-chip Top Coat
  • Dimension Nails Kronosaurus (c/o: NailStuff.ca)
  • SuperChic Lacquer Throwing Shade (c/o: Nailstuff.ca)
  • Discontinued Born Pretty Store Christmas pattern stamping plate
  • Nailstuff.ca clear stamper & scraper set

Lots of holographic sparkle happening in the sunshine. This was not the easiest to photographic in the bright sun, I won’t lie, but I tried my best to capture the effect. The snowflakes really did show up well though, & I like the snowflake pattern. It’s really pretty.

There is just something about Christmas & snowflake nail art. It’s like Christmas, & watching The Muppets Christmas Carol: it just doesn’t feel like Christmas is coming without it. Also this again is not your traditional Christmas colour scheme, but I still like it. I love red nail polish, but I feel like I can overdo it a bit in December, so I’m trying to ration the red nail designs a bit.

What do you think about this holographic stamped snowflake look? Have you been enjoying all the nail art I’ve been posting so far this month? We’re 17 days away from Christmas, so I’m going to try & show off as many nail art looks as possible before the big day!

Enjoy your weekend loves! & stay safe if you have to go our shopping. Christmas shopping can be dangerous.