Good morning lovelies & happy Sunday! Another beautiful sunny Sunday, which I will take after torrential rain yesterday (when I snapped the photos for this post FYI haha).
I haven’t really bought any new polish in a while, so I’ve really been trying to dig into my stash & pull out all the shades that I don’t wear very frequently ( or at all). As I’ve mentioned previously, I do have a lot of these mini bottles of OPI shades that I’ve scored at Marshall’s & Winners, so I thought I would pull one out for this weeks post!
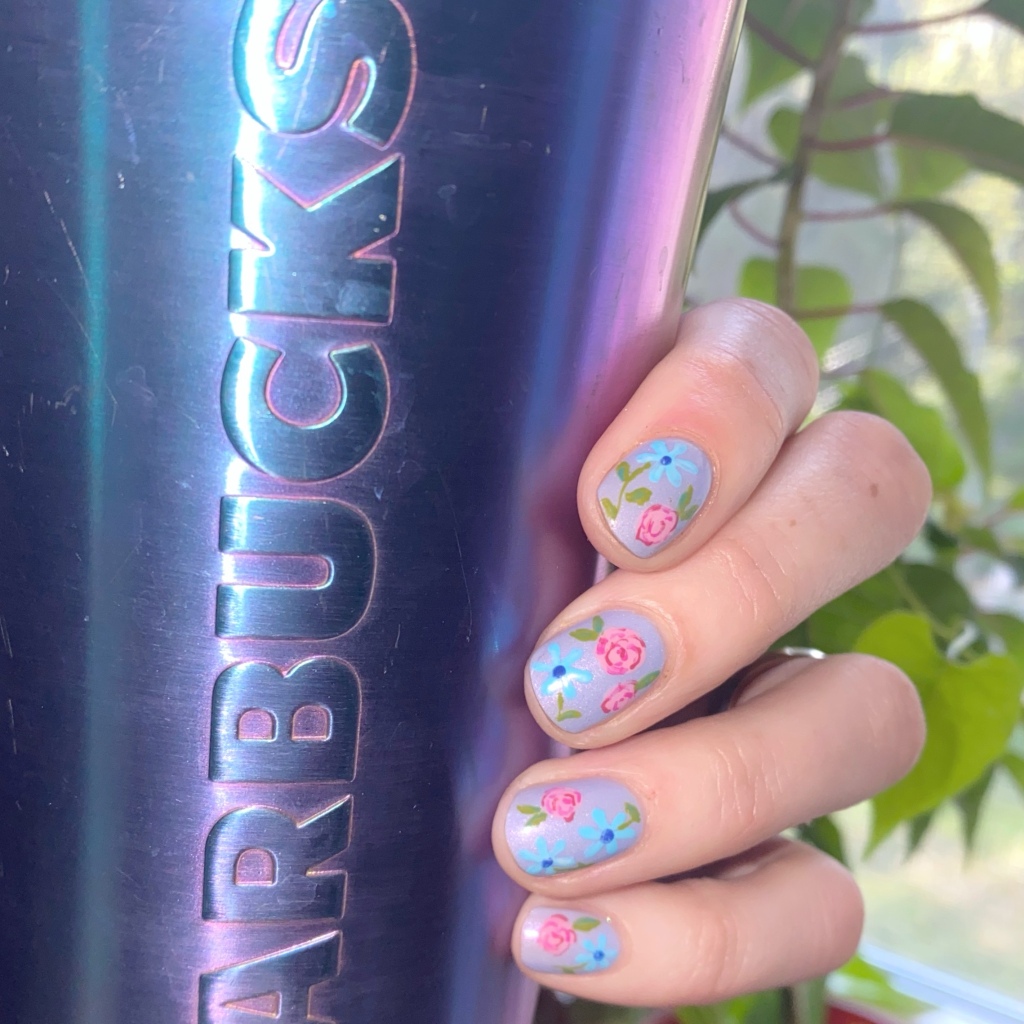
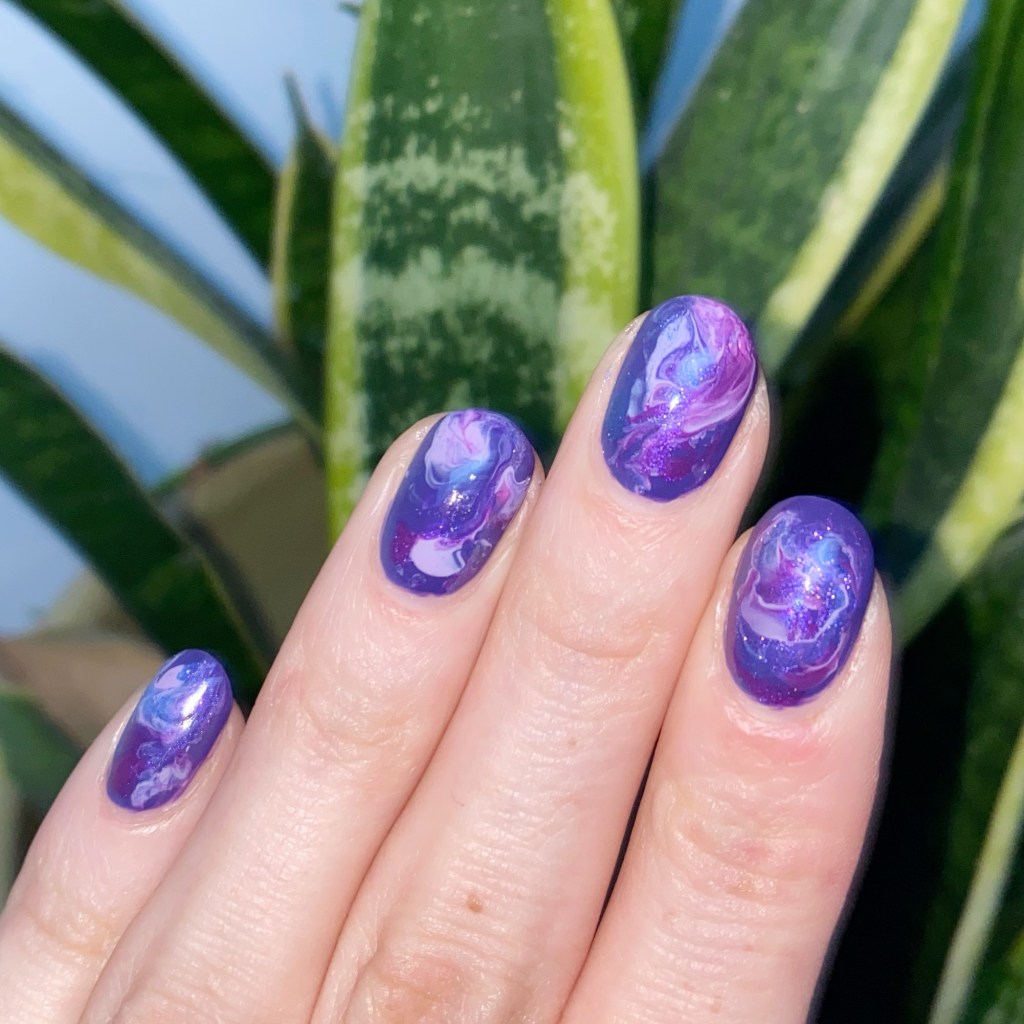
This is OPI Infinite Shine I’m Really An Actress from the OPI Spring 2021 Hollywood Collection.


2 coats + top coat
This beautiful reddish-pink metallic base is packed full of scattered holographic glitters. The formula was relatively opaque, which meant I only needed 2 coats for full coverage. I’ve seen swatches of the non-Infinite shine version of this polish, & it seems more red than mine, which is strange but maybe it’s just the lighting.


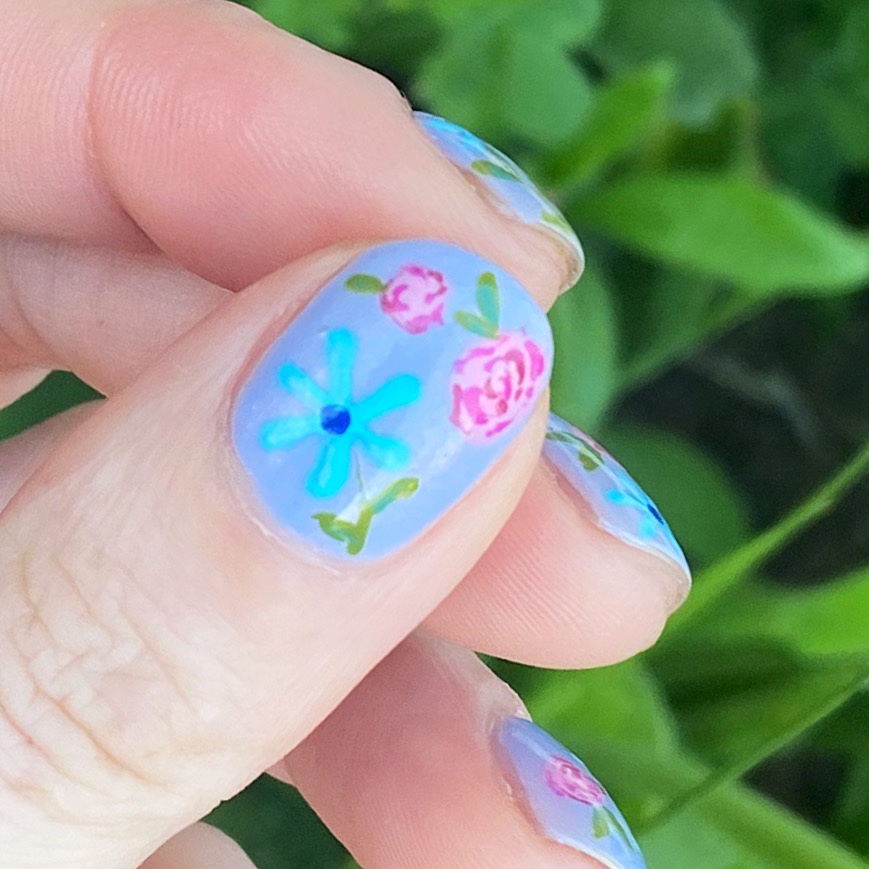
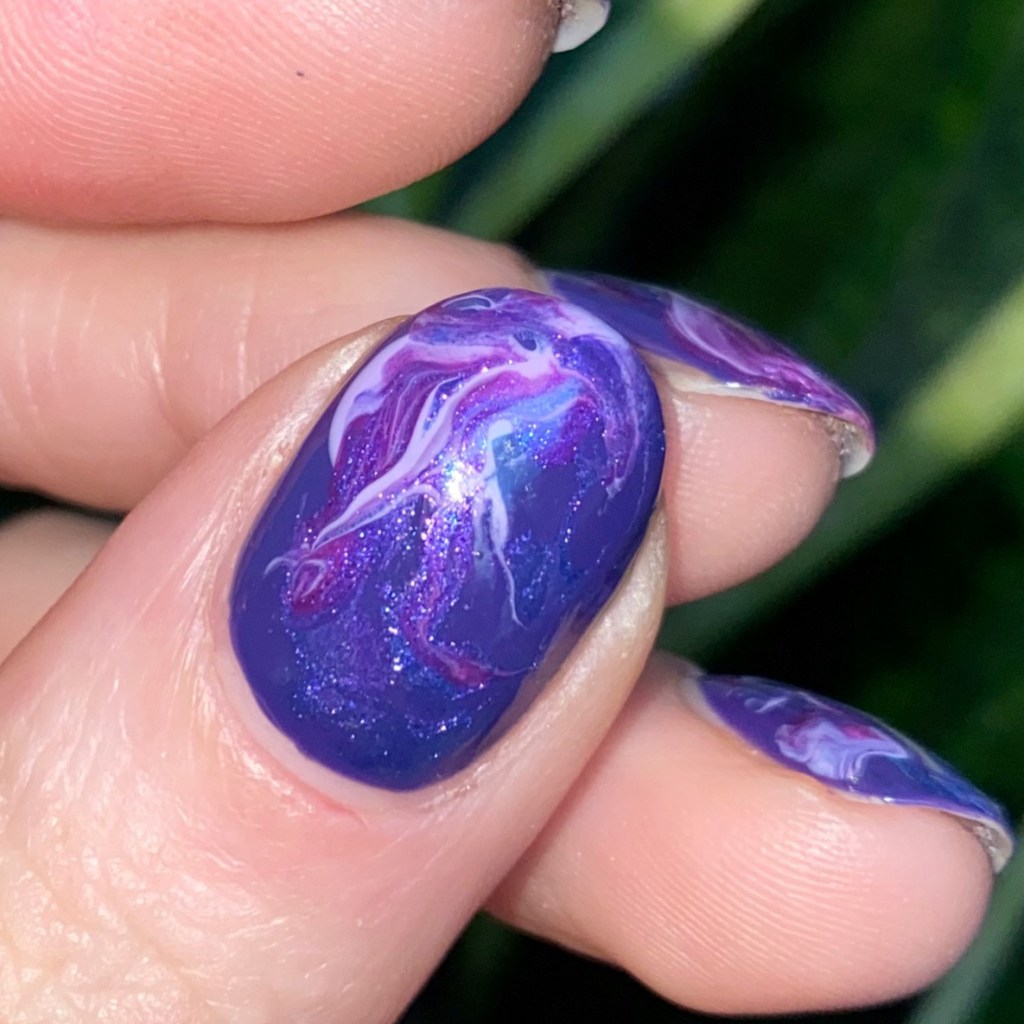
Close up so you can really see those scattered holo glitters. I tried so hard to get them to really show, but even using my flash for pictures it was not working. They are there, though, & they’re beautiful. I can’t believe I haven’t worn this shade more, especially since it’s a real upgrade from my usual go-to red nails. These feel much more glam & dramatic, which I like. I’m all about the glitter right now.
& in case you’re wondering, this shade is still in permanent rotation so you can also pick up the polish & add it to your stash! I found it available on TradeSecrets.ca, Chatters, Beyond Polish (regular formula) & the OPI website (regular formula).

What do you think of OPI I’m Really A Waitress? Do you have this shade in your collection? Like I said, I can’t believe I haven’t worn this shade more because it’s the perfect upgrade to my usual go to red manicure, so I might have to buy myself a big bottle of it for once my mini bottle runs out. I think this is going to become a Summer staple shade for me!
Have a lovely Sunday ♥︎