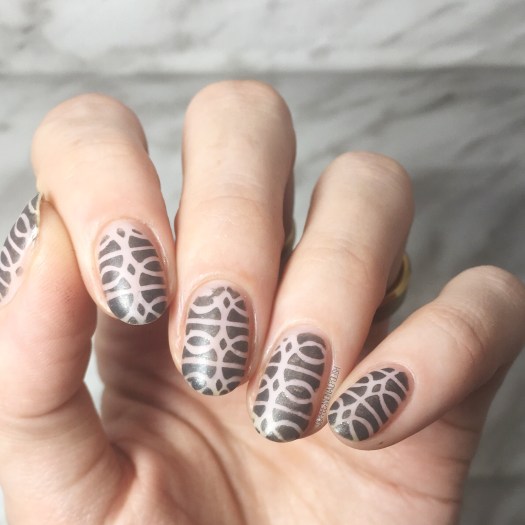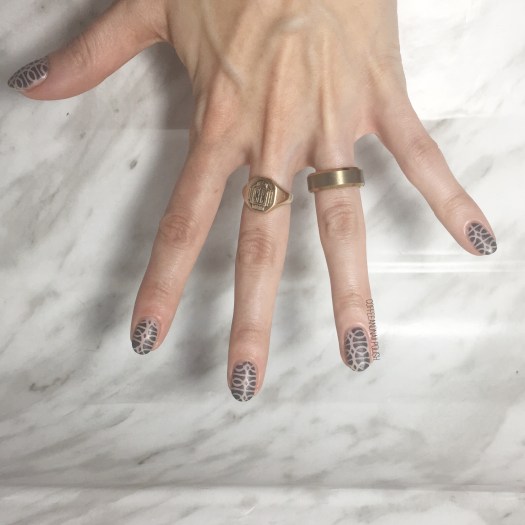
Matte Greyscale Ring Pattern Nails

Happy Friday!

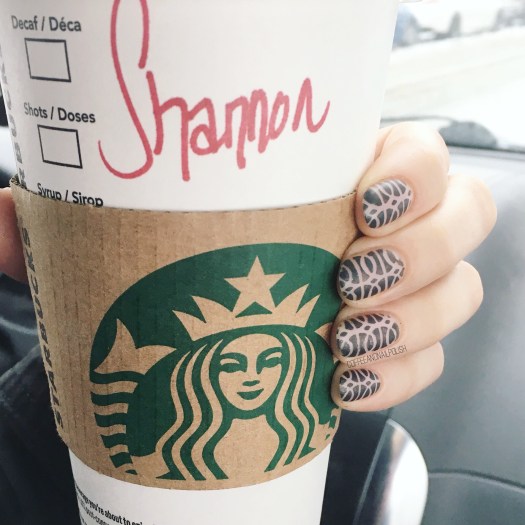
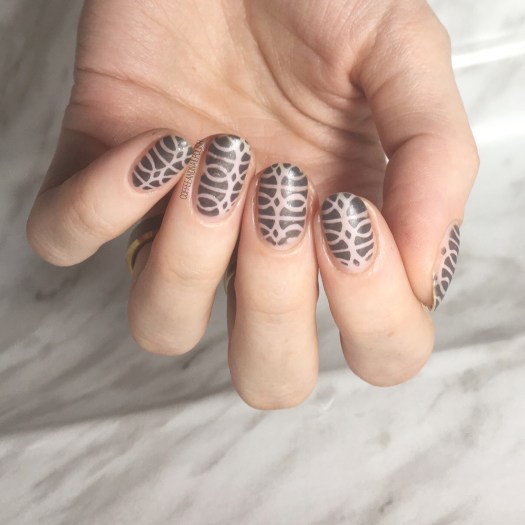
Today’s nails are definitely matching the weather in Halifax–completely greyscale. Cloudy skies, rainy,  & lacking any colour what-so-ever.

I thought after all that pink & red for Valentine’s, a palate cleanser manicure was in order. Pink is nice, but I don’t think I’m used to wearing so much of it on my nails. I’ve also been doing house planning (figuring out room paint colours & putting together some prints for our walls) & completely obsessed with everything grey. So naturally that means it will end  up on my nails eventually!

img_8007

For this manicure, the polishes I used were:

  • Base Coat: Quo by Orly Breathable Kiss Me, I’m Kind
  • Top Coat: Seche Vive
  • Matte Top Coat: Butter London Matte Finish
  • OPI My Pointe Exactly
  • Essie Cashmere Bathrobe
  • Xroma Polish & Vinyls Ring Vinyls
  • Edge Perfection Cuticle Barrier
  • Latex Free Make Up Sponge

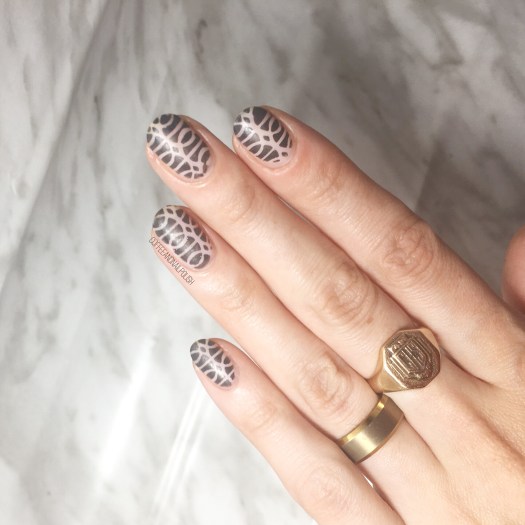
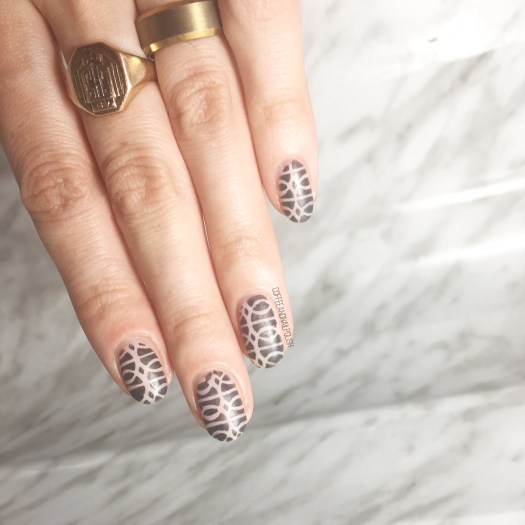
I love colourful manicures, don’t get me wrong! & I really enjoyed wearing all that pink for Valentine’s Day. But sometimes I just want to wear something a little more monochromatic & simple on my nails. Plus any time I get to wear Essie Cashmere Bathrobe–which is my ALL TIME favourite grey–is a good day & matte top coat just makes it look even better. To me, this design is just absolutely perfection.

img_8012

I feel like with all the stamping I’ve been doing, I’ve been neglecting my nail vinyls a bit! I’ve been organizing my nail room though, so hopefully I will be starting to use them more often. But not next week… next week I have a special theme planned for all my manicures, but you’ll have to stay tuned to see what it is!

What do you think of this greyscale manicure? What is your favourite palate cleanser manicure or polish? Let me know your thoughts in the comments below!

My Husband Paints my Nails for Valentine’s Day

Happy Valentine’s Day lovelies!

Today I have a special & fun post I’ve been hoping to do for a while. I’ve been trying to convince my husband he should paint my nails FOREVER (probably as long as we’ve been together), & he finally agreed to do it in honour of Valentine’s Day!   I really wanted to record to whole thing, but I figured it was enough that he was doing them all at so I didn’t want to push my luck too much.  But I did manage to take a few pictures of the whole experience, just for fun! After all, it’s not often someone else does my nails!
Continue reading “My Husband Paints my Nails for Valentine’s Day”

SWATCH SUNDAY — 6 Nail Polishes I’m Loving for Valentine’s Day!

Happy Sunday lovelies.

Since we’re into the first week of the month of love, I thought it would be fun to dedicate Swatch Sunday to some perfect polishes for Valentine’s Day. I own a lot of pink & red shades so I had fun going through my stash to find 6 polishes that I will definitely be loving this month in the days leading up to Valentine’s Day (okay & pretty much always because pink & red nail polish always have my heart). I actually did a post like this a few years ago, so I thought it would be fun to do another one!

So here are my 6 polish picks for Valentine’s Day 2018.


CHINA GLAZE — SEDUCE ME

Firtst up is China Glaze Seduce Me, a deep berry red that applies in 2 coats, although if you’re careful you might be able to get away with one careful coat. My bottle is pretty old, so I went with two. I chose this colour for Valentine’s Day because I feel like it’s a really grown up colour: it has pinkish undertones but it’s not bubblegum pink & it’s also not that classic candy apple red shade either. It’s a little bit different, & I honestly feel like this shade is one that will look great on everyone! It also pairs really well with other pink & reds for nail art (like some zig zag chevrons perhaps?)

img_8393


L’OREAL VERNIS A L’HUILE — JARDIN DES ROSES

L’Oreal Jardin Des Roses is my first pink choice & it’s a pink I’ve really been loving lately. This is two coats for full coverage of this soft romantic pink & it applies really well. This pink is great because of how soft the colour is–you won’t look like you’re Barbie when you wear it.


CHRISTIAN LOUBOUTIN BEAUTY — ROUGE LOUBOUTIN

If you’re looking for a classic red to wear on Valentine’s Day, I feel like you don’t need to look any further than Christian Louboutin Beauty Rouge Louboutin! I received this beautiful red nail polish from a family friend the night before my wedding, & because it is so special to me I tend to save it for special occasions. I used two coats for coverage — it’s pretty good after one, but I wanted to make sure there was no hint of visible nail line. This is definitely the perfect classic red for a Valentine’s Day date, & if your significant other forgets about Valentine’s Day, you can always stab them with the bottle!


ACO BY ARDENE — BOUDOIR

Valentine’s Day is a special occasion, & sometimes I want a little glitter & Ardene Boudoir is a fun glitter choice. It a clear base stuffed full of berry glitters. I used 3 coats for my swatches (thank god for peel off base coat) but normally I would either apply it over top a complimentary shade or sponge the glitter onto my nail. You can build close to opacity though, although I couldn’t imagine the dry time. I just love the colour of the glitter in this polish–sometimes you just need to sparkle a little (or a lot)!


OPI — FIRE ESCAPE RENDEZVOUS

Next up we have OPI Fire Escape Rendezvous. This is 2 coats of this metallic ruby red polish with glitters–both shard glitter & hex glitter. The glitters are interesting, but I really dig them.  They give this polish an interesting texture which makes it unique, although I definitely prefer it top coated (Seche Vive). If you’re looking for something a little more than just red, this would be a great choice.

SINFUL COLORS — BLOOM BLAST FLOWER POWER

Last, but definitely not least, is Sinful Colors Bloom Blast in Flower Power. This milky pink shade is stuffed full of large & tiny matte pink metallic & white glitters. I belive it’s supposed to be worn on it’s own but I think it looks best over top other pink polishes. This is one coat over OPI Two Timing the Zones. How cute does this look? I know not everyone is a nail art person, so a topper like this is a great way of zazzing up your nails without having to worry about freehanding anything! It’s almost a dotticure without any of the work!


So those are the six polishes I’m loving for Valentine’s Day this year? What shades/polishes are your Valentine’s Day favourites? Let me know all your thoughts in the comments below!

Negative Space Floral

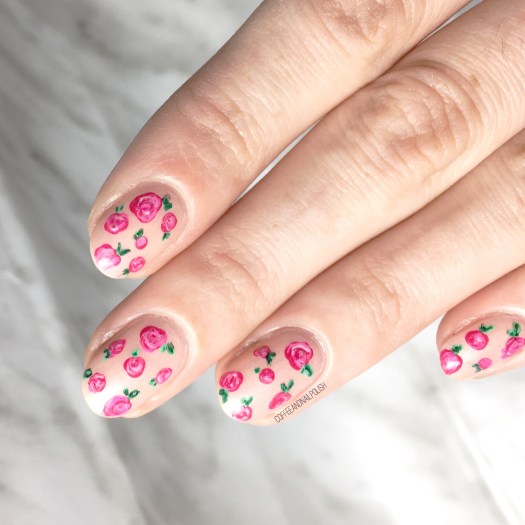
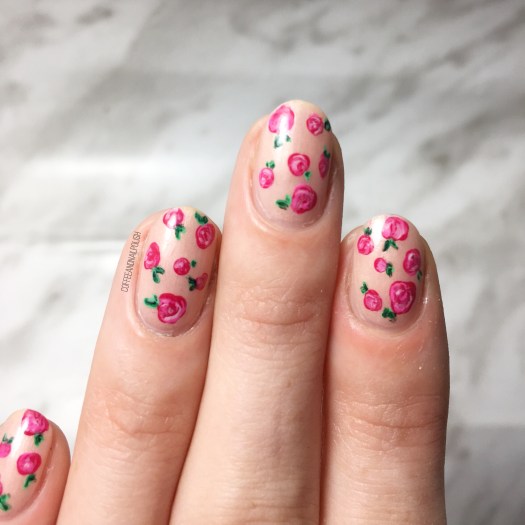
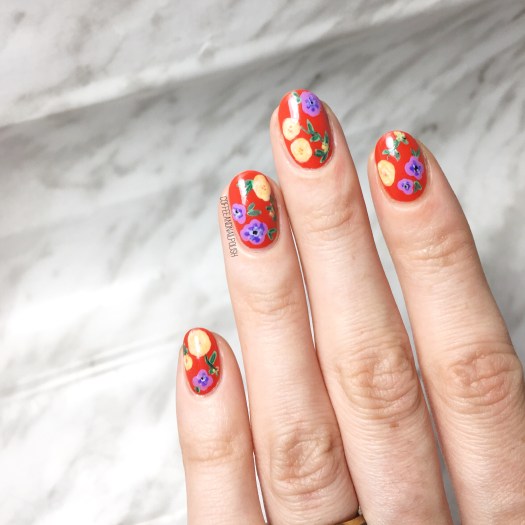
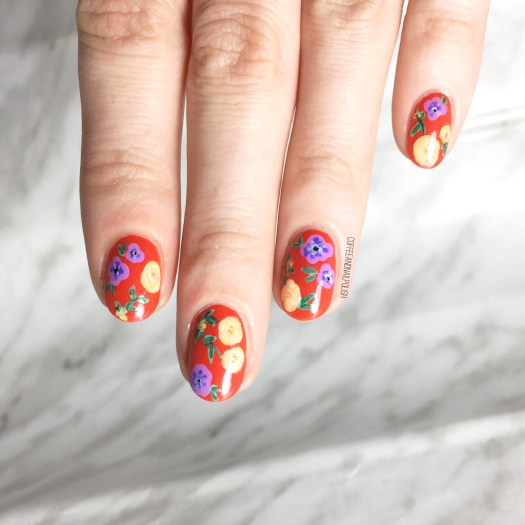
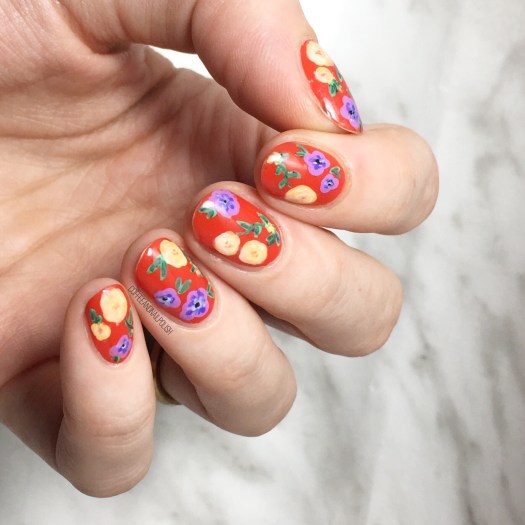
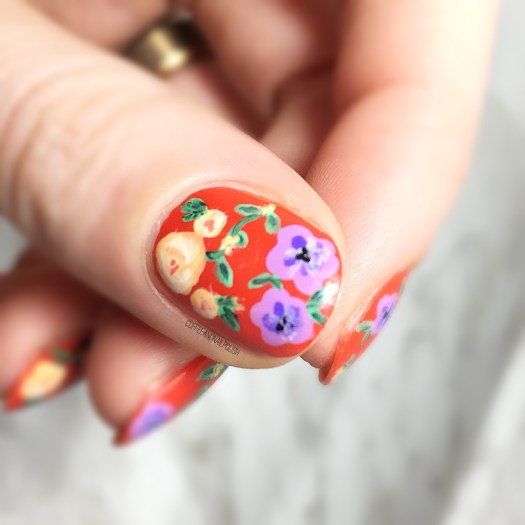
We’re currently being bombarded with 25+ cm of snow here in Halifax, which is not so much fun. I’m really not a Winter person (well, once Christmas is over anyways.) So how about some floral nails to cheer us up? I wore this design this weekend, but with a raging Winter storm outside as we speak I kind of need something pretty & Spring-y to cheer me up. Did I mention I’m really, really over Winter?

Did you know it’s 49 days until Spring? Just a fun fact to get you through those long, chilly days ahead. Unless you’re in the Southern Hemisphere, in which case do you have a spare room because I’m coming to visit!

I took so many pictures of this design. I know every floral manicure is my new favourite, but this one just turned out so well I couldn’t help but take a million pictures of it.

For this manicure, the polishes I used were:

  • Base Coat: Nailtek 2
  • Top Coat: Seche Vive
  • Matte Top Coat: L’Oréal the Matte Velvet
  • Essie The Girls Are Out
  • OPI My Pointe Exactly
  • China Glaze Ever Glaze Don’t Grape About It
  • Sally Hansen Instadri Petal Pusher
  • Essie Bachelorette Bash
  • Sally Hansen I ♥️ Nail Art Pen in Green
  • Essence The Green & the Grunge
  • Essie Play Date
  • Sally Hansen Xtreme Wear Mellow Yellow
  • Small detail brush (Born Pretty Store)
  • Small & large dotting tools (Bundle Monster)

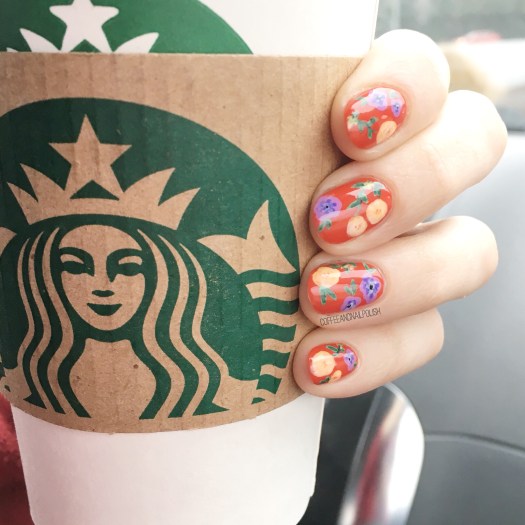
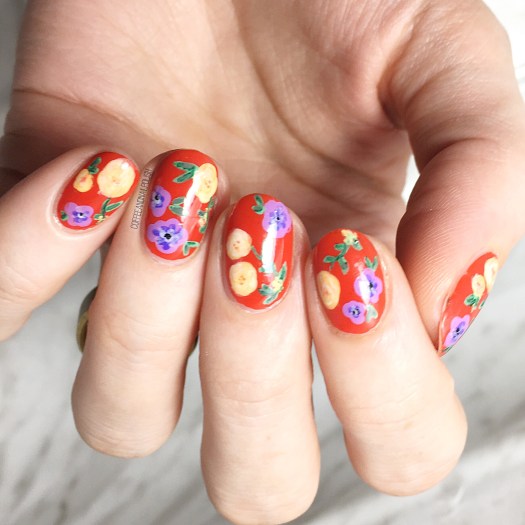
So many polishes were used for this design, but it was so worth it. & I think the matte top coat just makes the end result that much more beautiful. This is definitely not a quick to do design, but floral just makes me so happy I don’t even care! 💗 I hope you love floral, because I have a feeling there will be a lot of floral leading up to Spring. Also even though it’s snowing today, I’m totally pulling out my favourite floral romper, since I have no plans on leaving the house today… except to maybe go to Starbucks & get coffee but even then I won’t be leaving the car.

What are your thoughts on today’s floral design? Are you a fan of floral nails? Let me know your thoughts in the comments below!

Multicoloured Chevron Accent Nails

Good Morning! We’re half way through the week & in Halifax it’s actually snowing. I seriously thought we would never see actual Winter, so it’s pretty exciting! Although I’m sure it will lose its novelty in about a day & a half.

Today I’m sharing a chevron accent nail design with you. I’ve really been into darker shades right now (& grey, always) so I decided to combine a whole lot of shades together. & I even made you another tutorial to show you the technique I used.

Music: bensound.com

For this design, the polishes I used were:

  • Base Coat: Nailtek 2
  • Top Coat: Seche Vive
  • Sally Hansen Complete Salon Manicure Pat on the Black
  • Essie Merino Cool
  • Color Club Silver Lake
  • OPI Aurora Berry-alis
  • L’Oréal Feeling Kilty
  • Kiss Products Nail Art Chevron Vinyls
  • Small detail brush (from Born Pretty Store)

You can see in the video above, I was originally going to use Essie Merino Cool (such a good grey) as my main colour, but switched it to Sally Hansen CSM Pat on the Black because it just went better with the accent nails. Also next time I want to try filling in each chevron with a different colour for even more coloured stripes.

This is such a great design for a beginner because it looks complicated, but it’s really not. The hardest part honestly is just placing your vinyls (as you can see from the above video!) You could also use straight vinyls to make your stripes, but that would involve extra wait time for drying. Your stripes don’t have to be perfect because you’re covering them up anyways, so freehanding them usually is just easiest!

What do you think of this design? Would you try it out? Let me know your thoughts below! & if you do try it out, don’t forget to tag me on social media & use the tag #lookcoffeeandnailpolish! 💜 Happy Wednesday everyone!